Zelda - The Divine Trial dungeon in Breath of the Wild DLC 2
How to beat the end dungeon of Breath of the Wild DLC 2, The Divine Trial
The Divine Trial is the final challenge in The Champions' Ballad, which is the main quest in Zelda: Breath of the Wild's second DLC.
If you're after help for the main game itself, then consult our Zelda: Breath of the Wild walkthrough and guide.
Where to find and start The Divine Trial
To start it, you must complete all four 'middle' sections of the DLC - EX Champion Mipha's Song, EX Champion Revali's Song, EX Champion Daruk's Song and EX Champion Urbosa's Song.
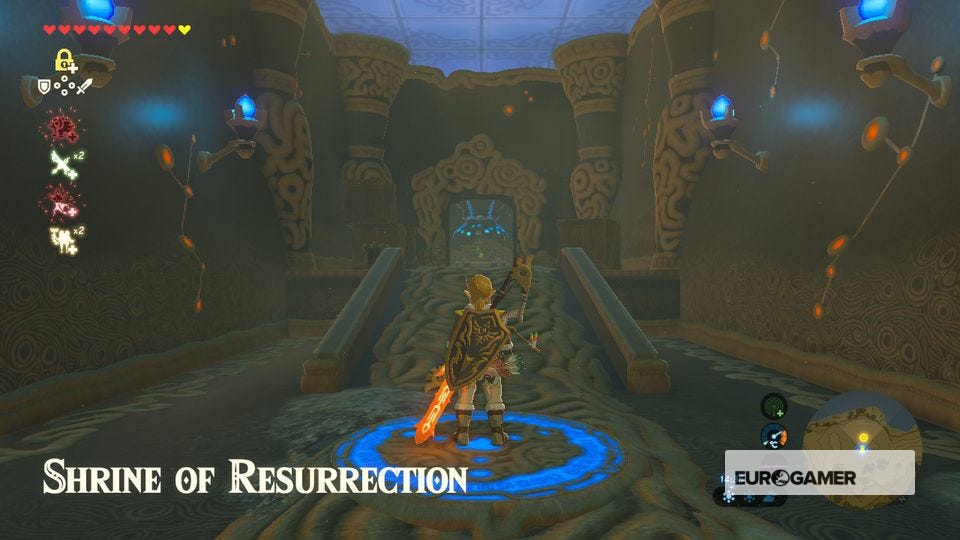
To kick things off, warp back to the Shrine of Resurrection and place the Sheikah Slate back in the slot from which you first removed it at the start of the game.
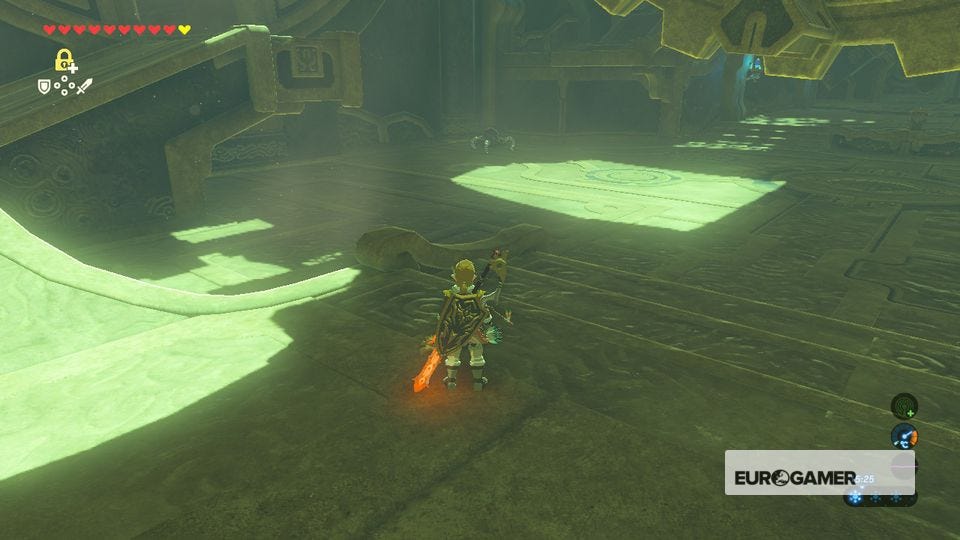
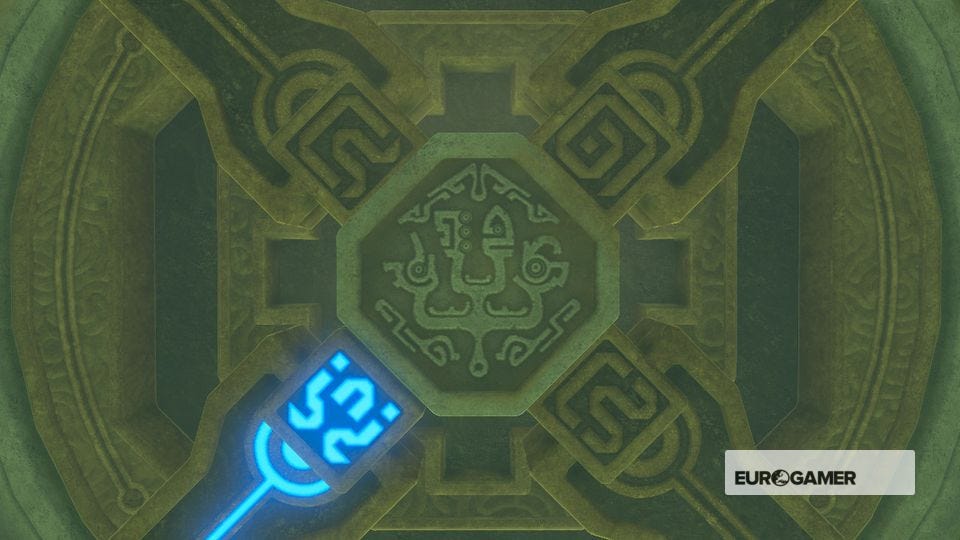
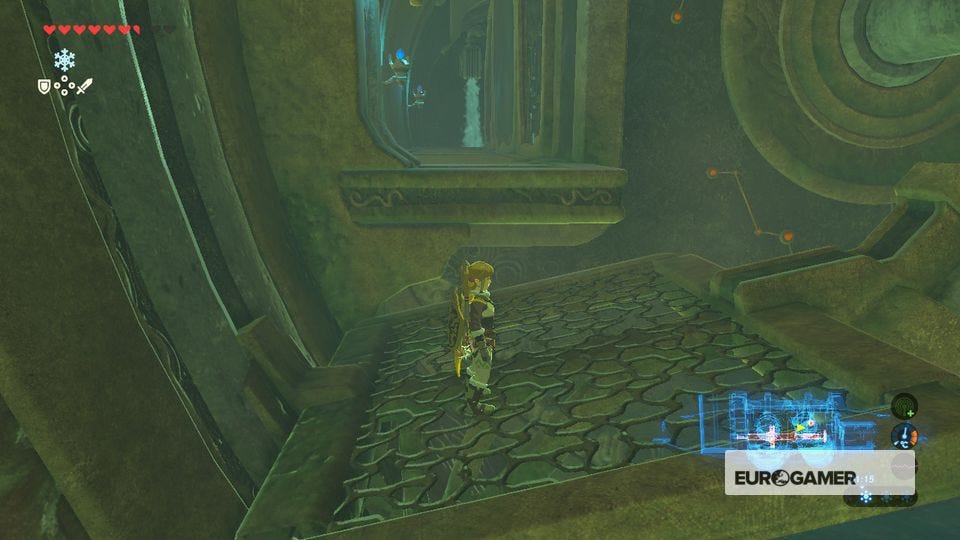
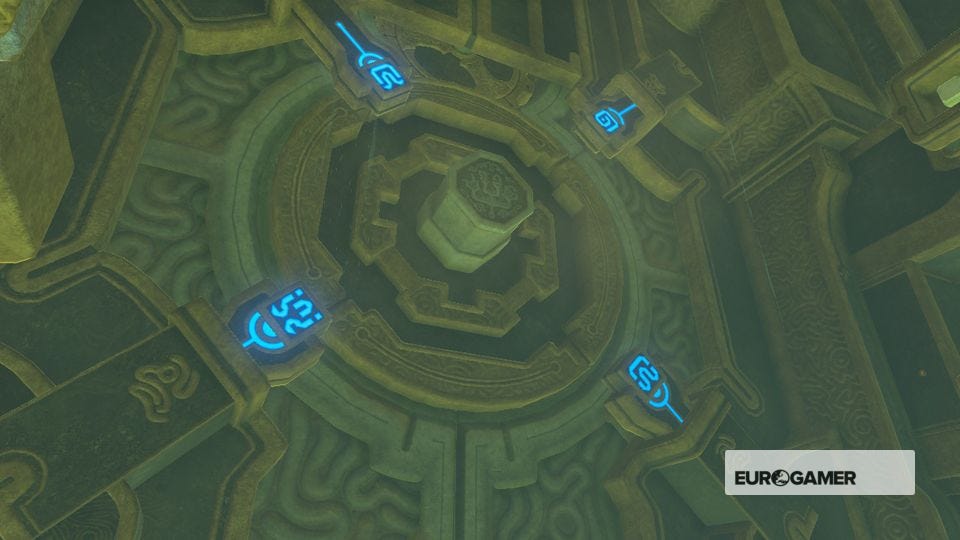
This will cause a secret lift descend the entire shrine into a labyrinth below. The same basic principle for completing this trial applies, so you'll need to track down and use a Guidance Stone to download a map of your location.
How to complete The Divine Trial dungeon
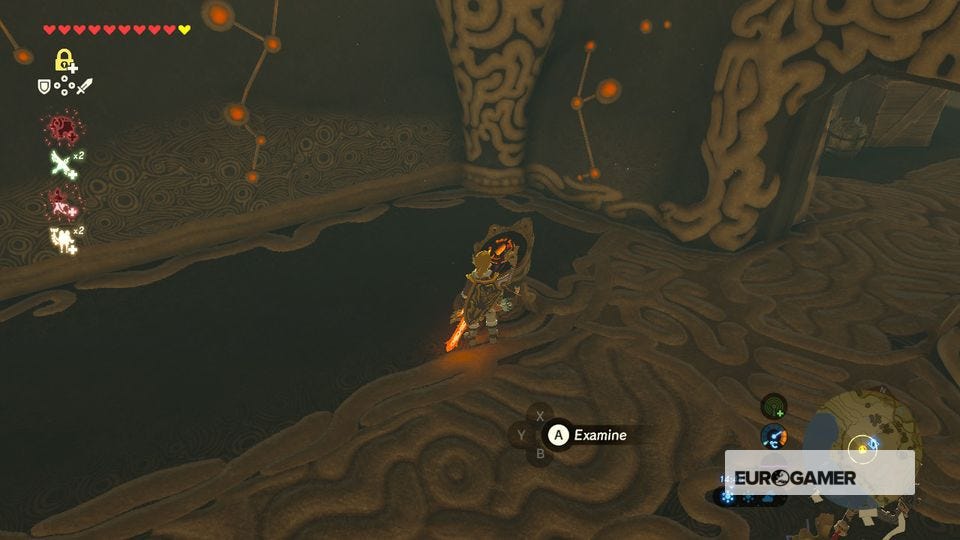
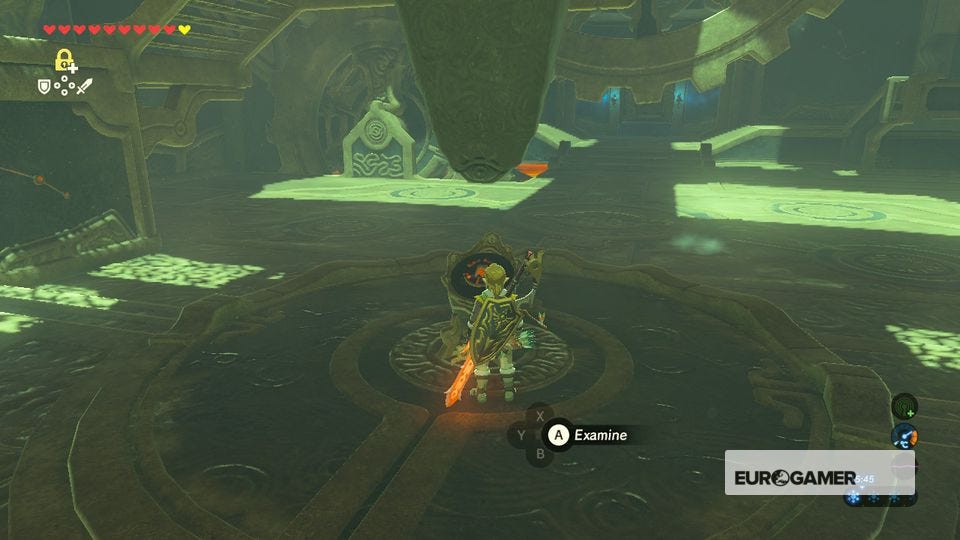
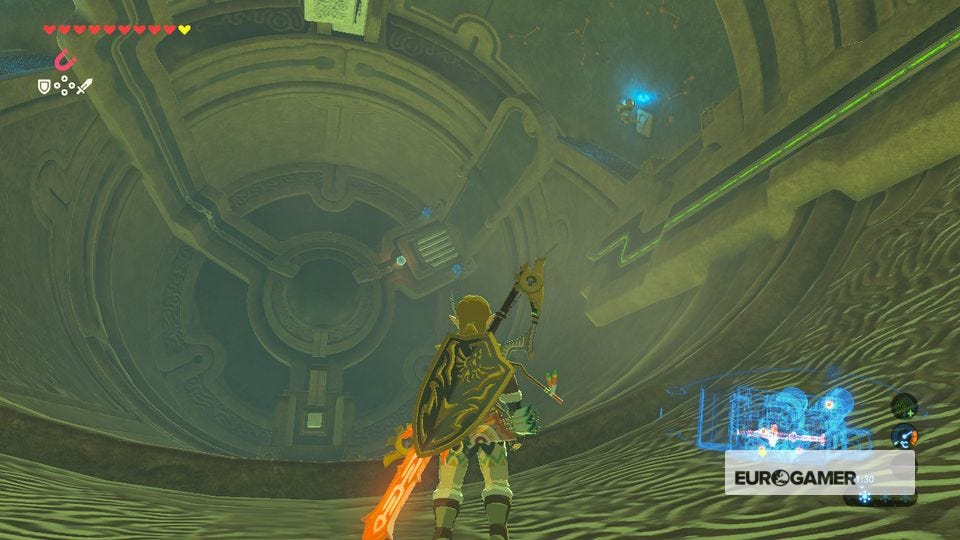
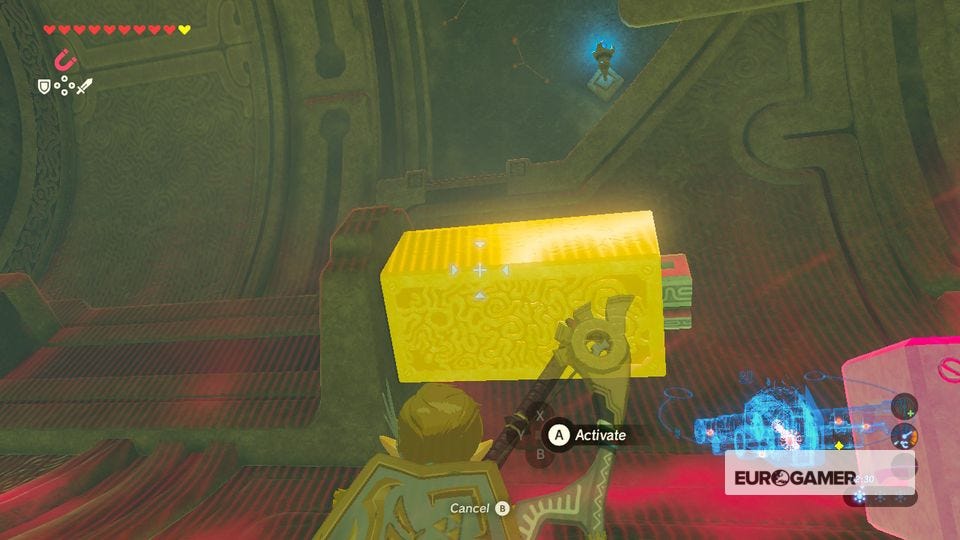
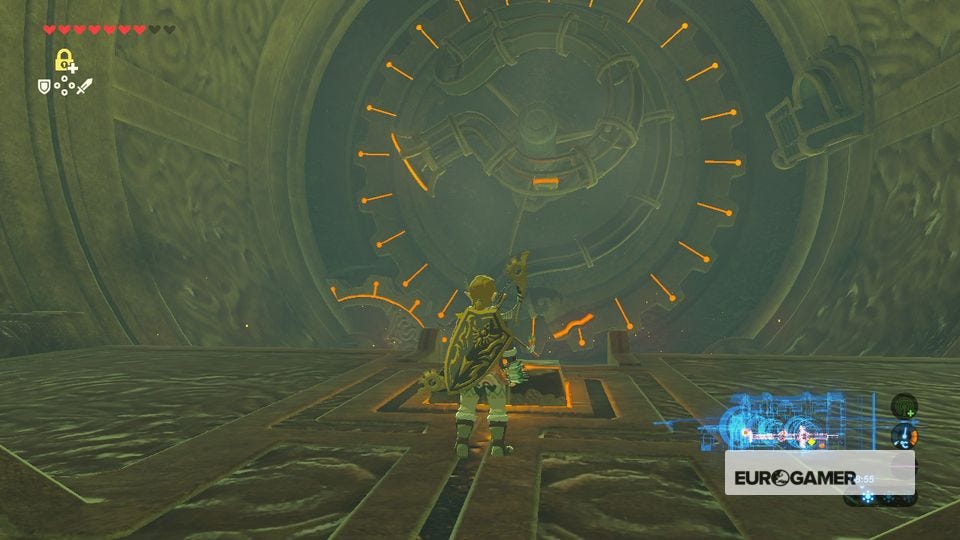
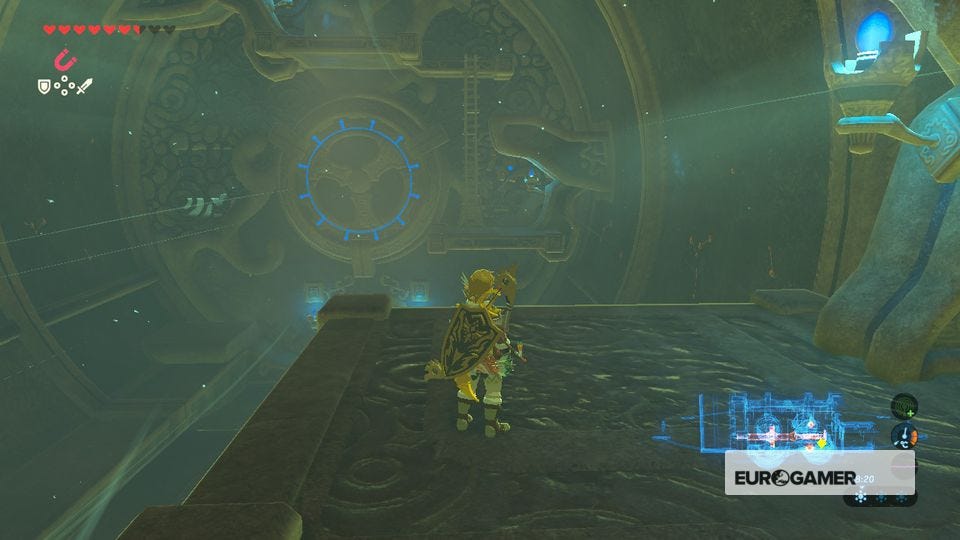
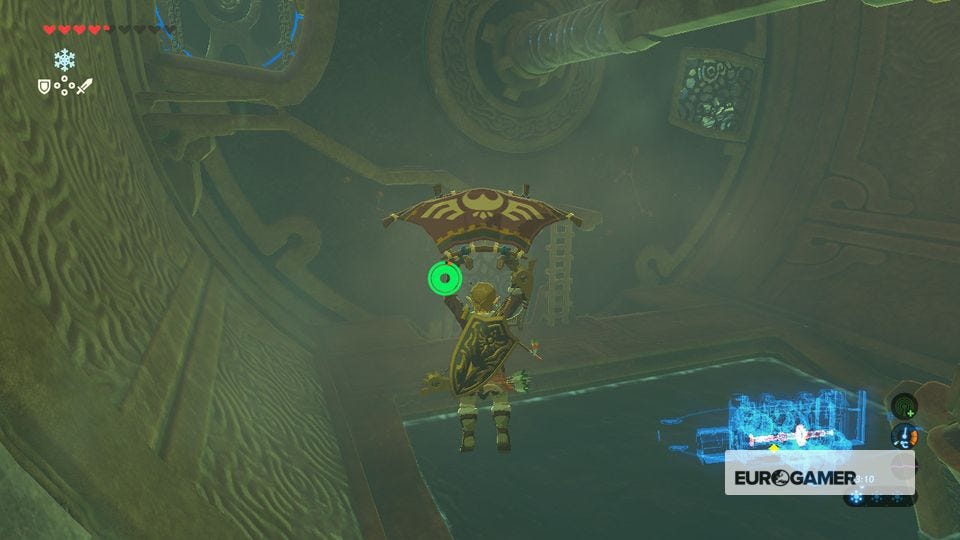
As soon as the lift stops descending, take out the lone Guardian to your left, then activate this first Guidance Stone from the console in the middle of the room.
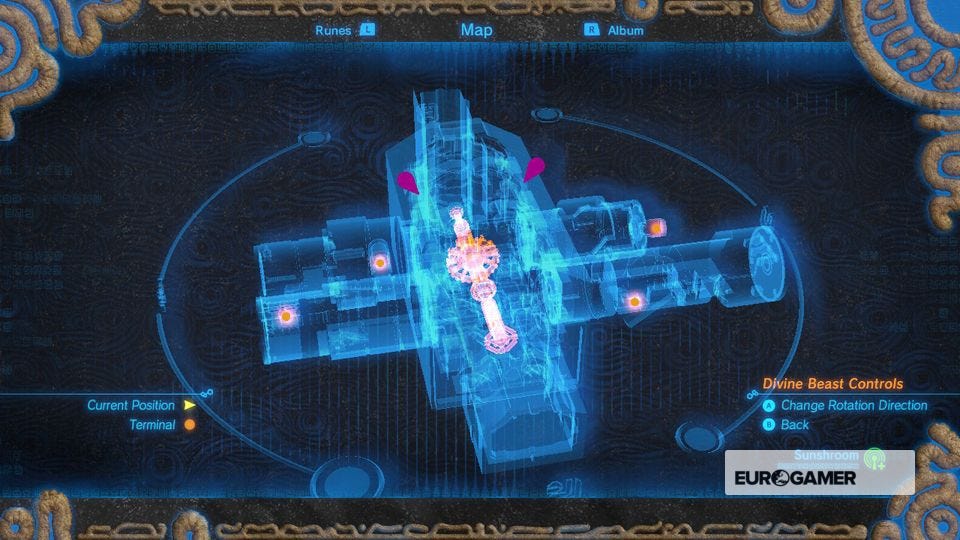
You'll notice that you can also tilt the Divine Beast, much like the previous ones, so this will become very useful later on. For now, turn around and head back the way you came.
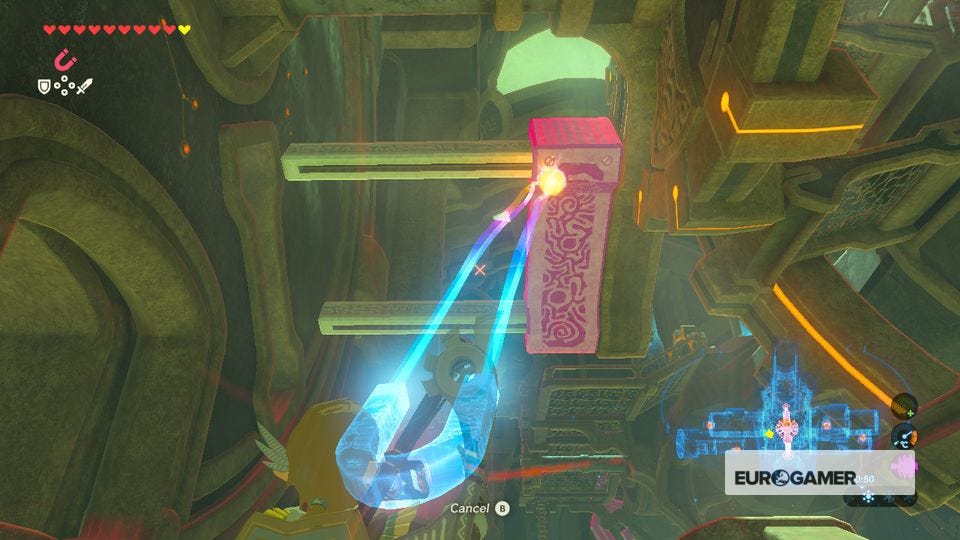
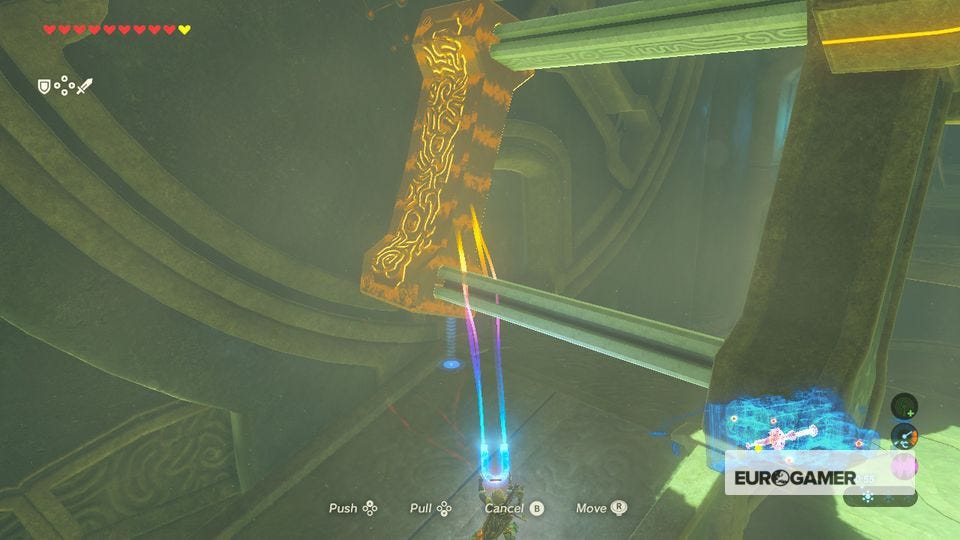
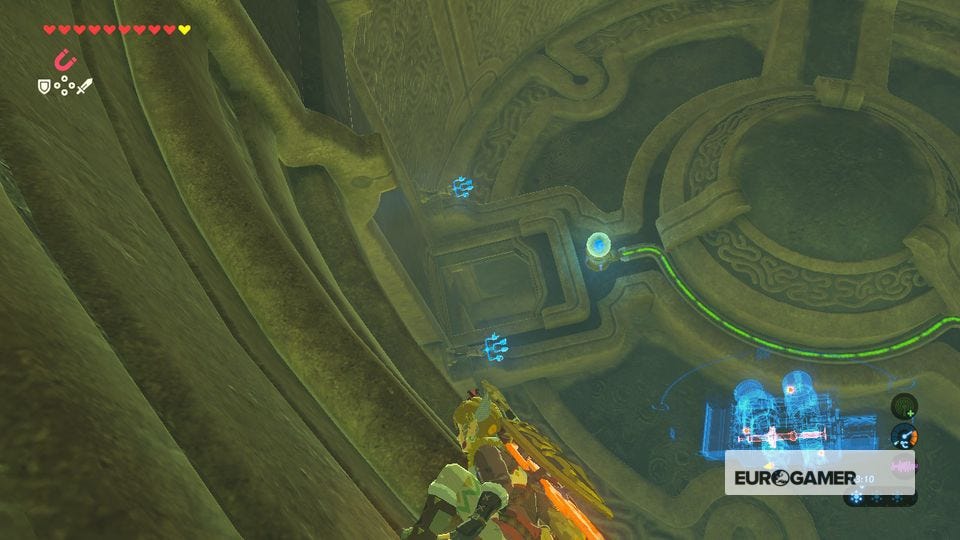
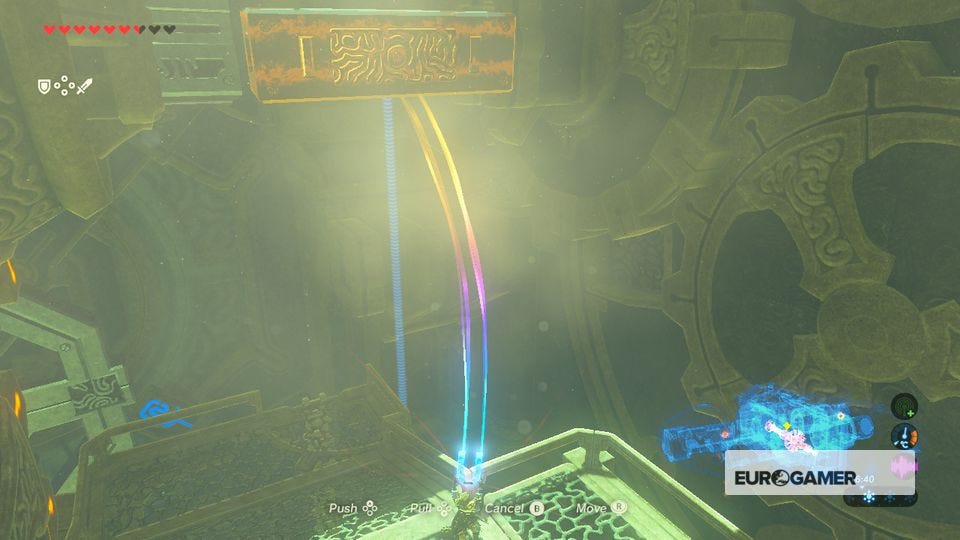
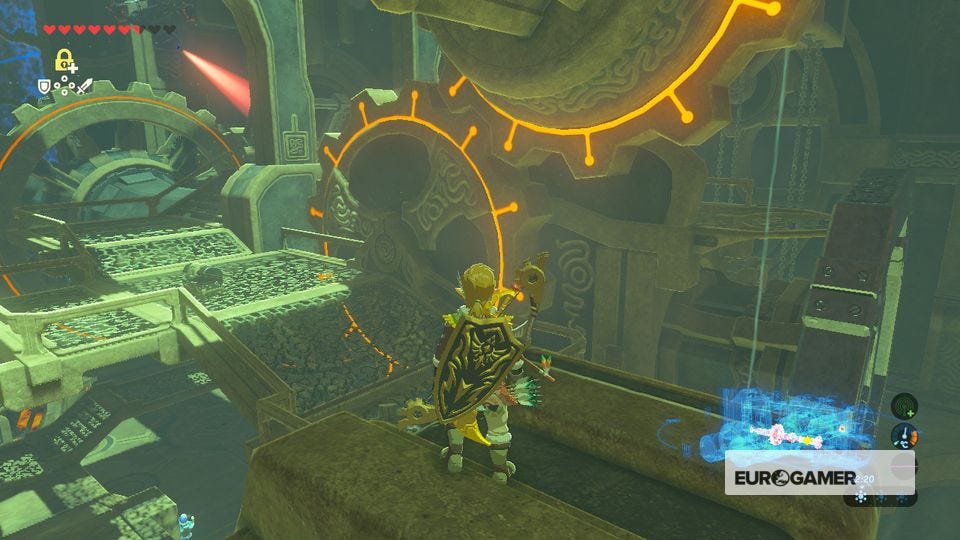
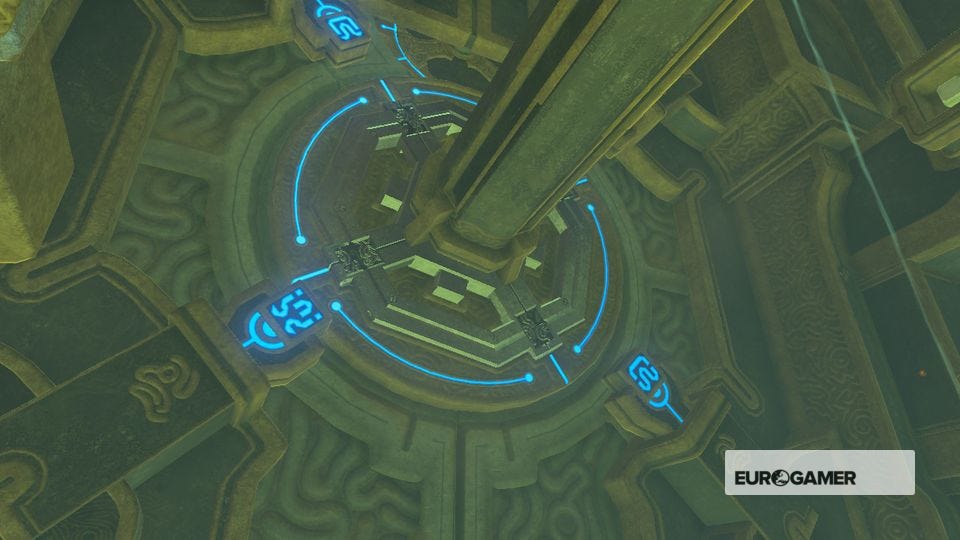
Now head to your map and make the cylinders of the Beast turn clockwise. From the direction of the Guidance Stone, go up the ramp to your fight, activate Magnesis and look up.
You should see a metal rod - pull this to the left so it fits into a slot on the wheel wall. The wall will now start rotating. Go inside and ride the room up to the non-moving platform to the right.
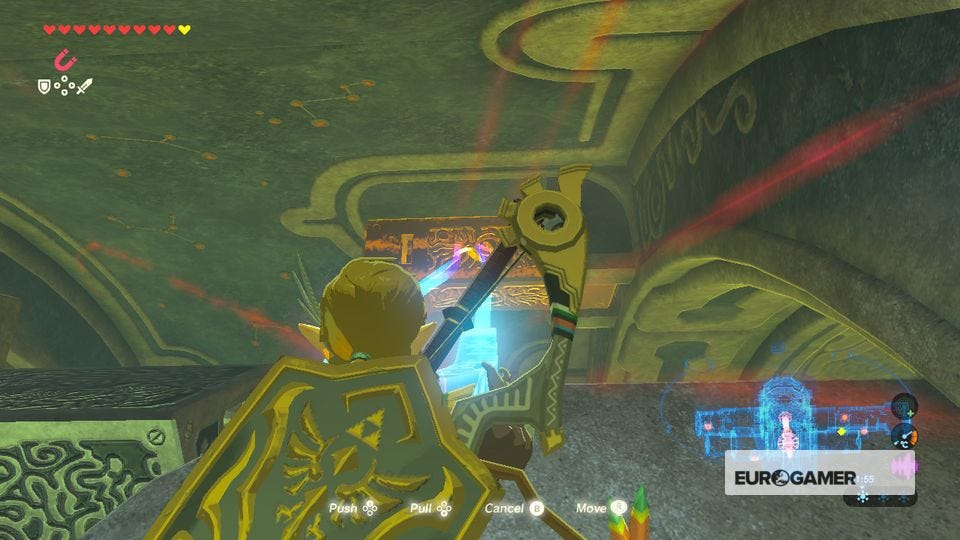
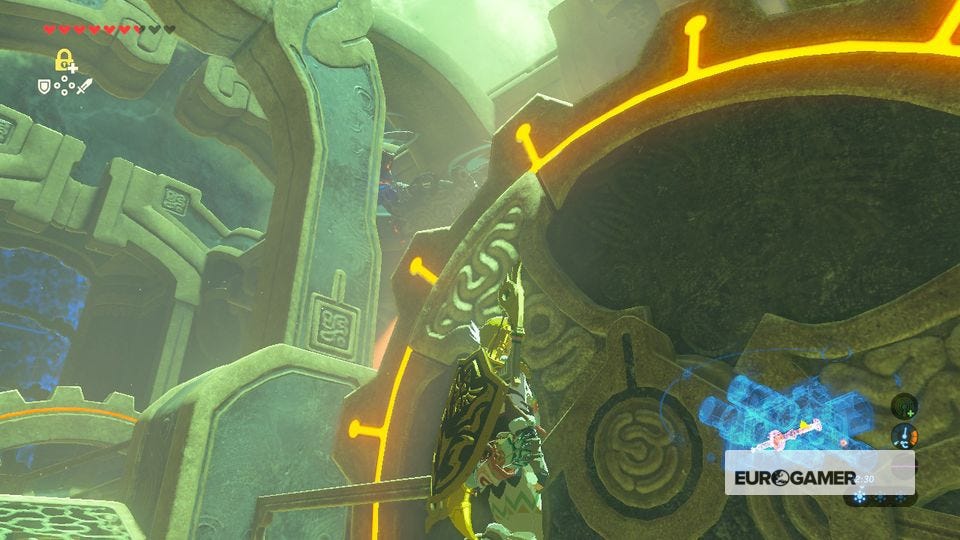
From up here, activate Magnesis and look up. Control the metal rod above you and pull it to the left - it will pull free and fall to the ground. Glide down and move the rod into the non-moving socket at the far-end of the room (watch out for the middle part of the room which is still rotating).
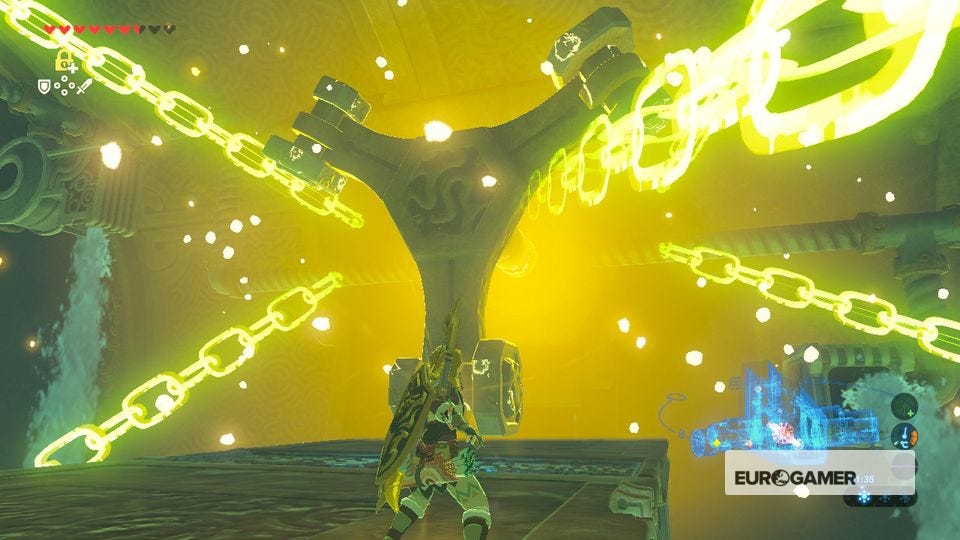
When it's in place, wait for the metal rod that's rotating in the middle.
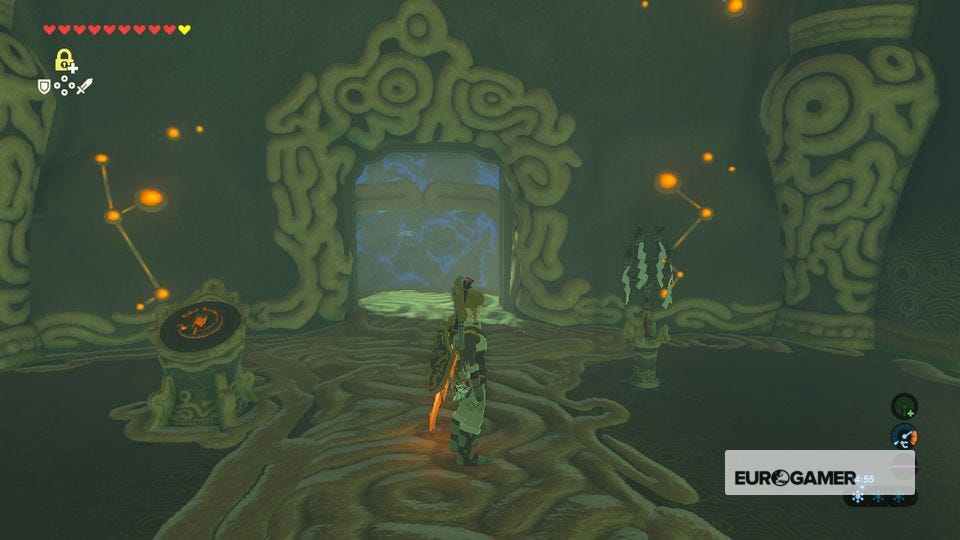
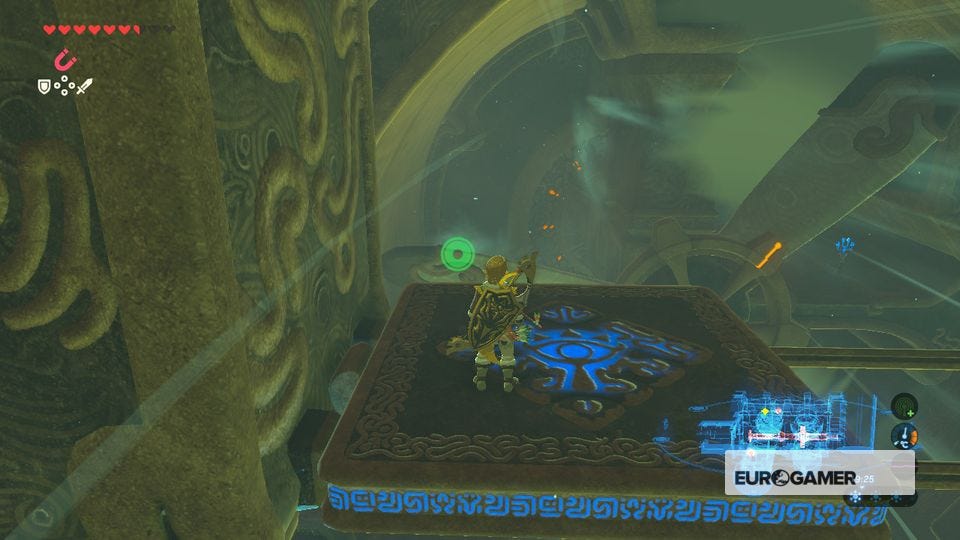
Pull it out with Magnesis so it's touching the rod you just slotted into place. The gate at the far end of the room will open. Run inside and activate the console. This will unlock one of four locks barring you from the final fight. Time to unlock the other three.
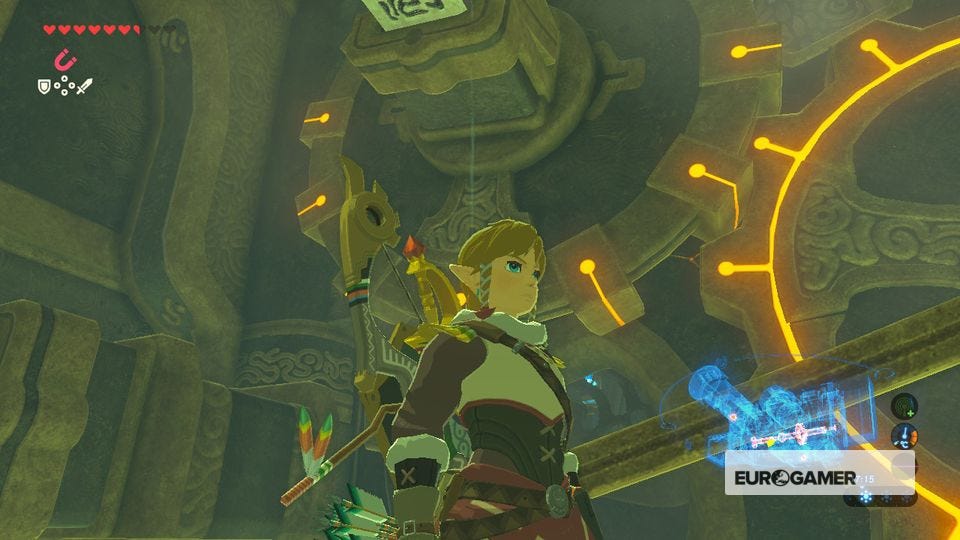
Now head back to the main room, and change the direction that the apparatus are spinning to the opposite direction. Four Guardians will now appear - take them out and head towards the side of the room with the lava. Ride the lava mill platforms up and wait for the doorway to the next challenge room to revolve its way around.
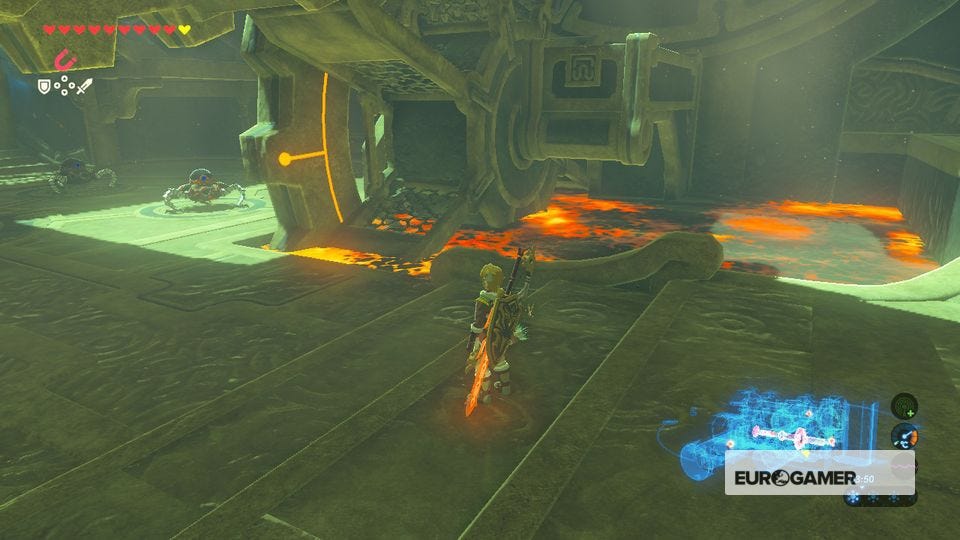
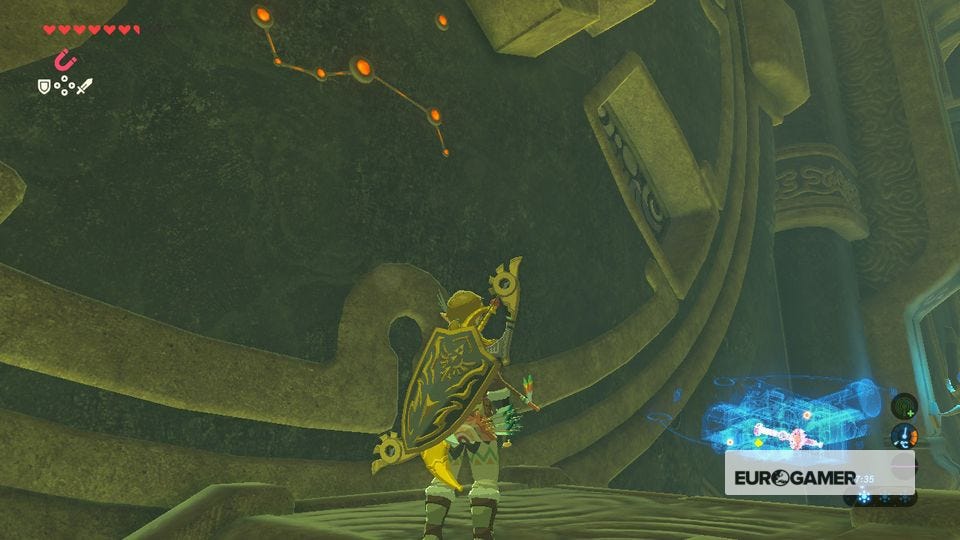
Inside, use Stasis to freeze the revolving spiked cylinder in the middle (aim for the big cog at the far end of the room) - you'll probably get stung at least one crossing this section.
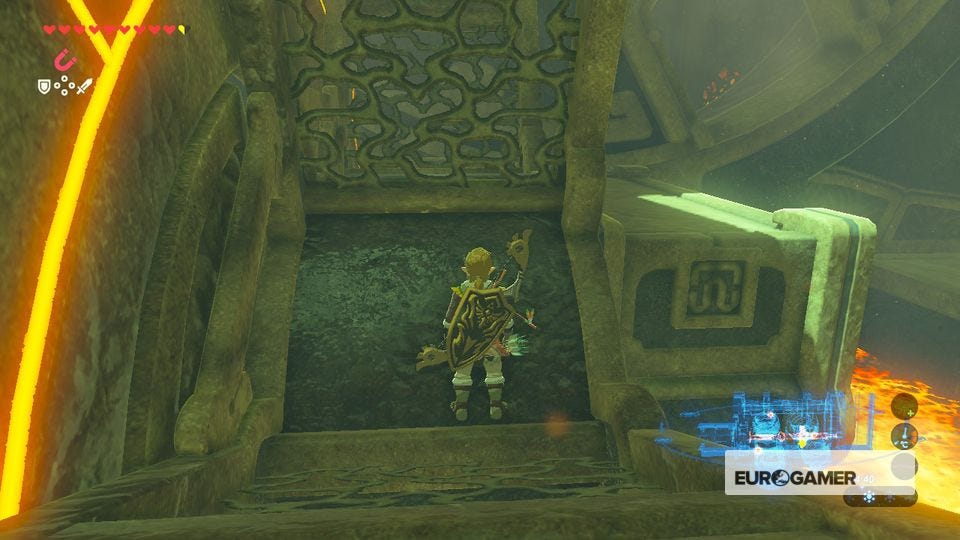
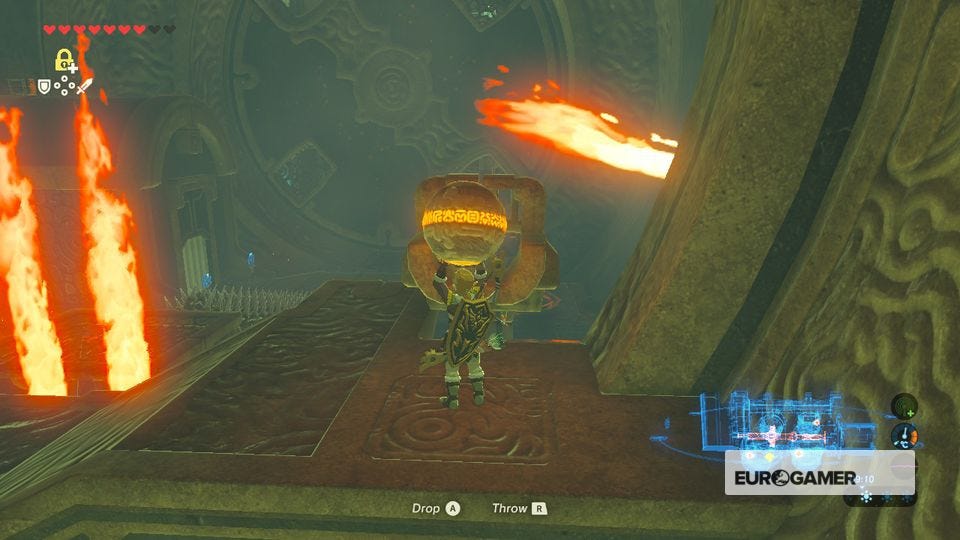
On the other side, avoid the wall of fire and approach the big cog - you'll see it has a curved pipe on it and ball that's sat on the far-right behind a gate.


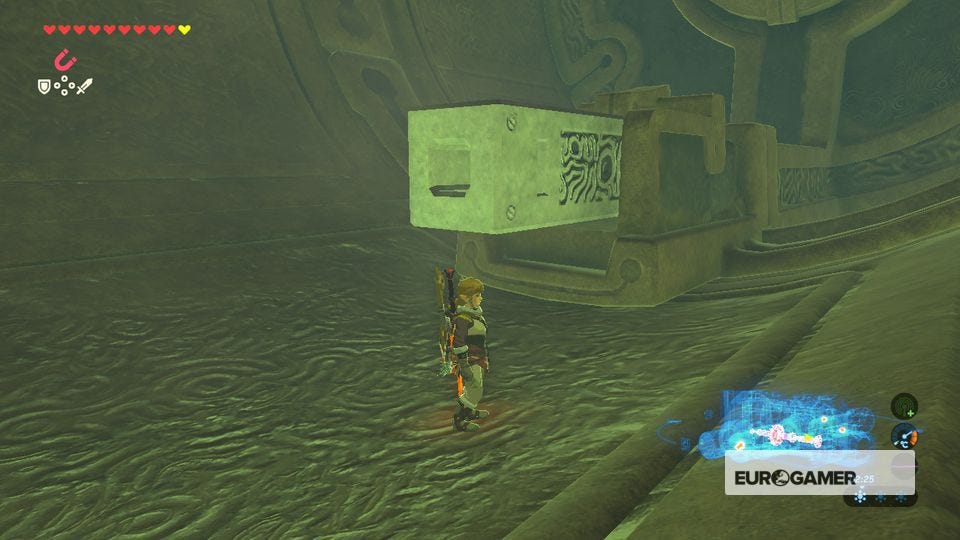
Wait for the small end of the pipe to approach the gate, then step on the orange button on the floor to open the gate and drop the ball into the pipe. Now use the map controls to move the ball through the pipe system until it drops out the large end.
Carry this ball over to the chute next to the spiked cylinder then glide back to where you started. When the ball drop into the crater, the gate to your left will open, and a terminal that unlocks another lock.

Thanks to a new update, it's now possible to play Zelda Breath of the Wild in VR. Want help with the main game? Our Zelda: Breath of the Wild walkthrough can help complete Divine Beasts Vah Ruta, Vah Rudiana, Vah Medoh and Vah Naboris and more. There's also how to get the Master Sword, Hylian Shield and all Zelda Captured Memories and Great Fairy Fountain locations, while our Shrines locations and Shrine maps hub explains where to find and solve every puzzle room, including dragon locations and Labyrinth solutions. We also have a DLC 1 guide and DLC 2 guide, including all Tingle, Majora's Mask, Phantom, Midna outfit locations.

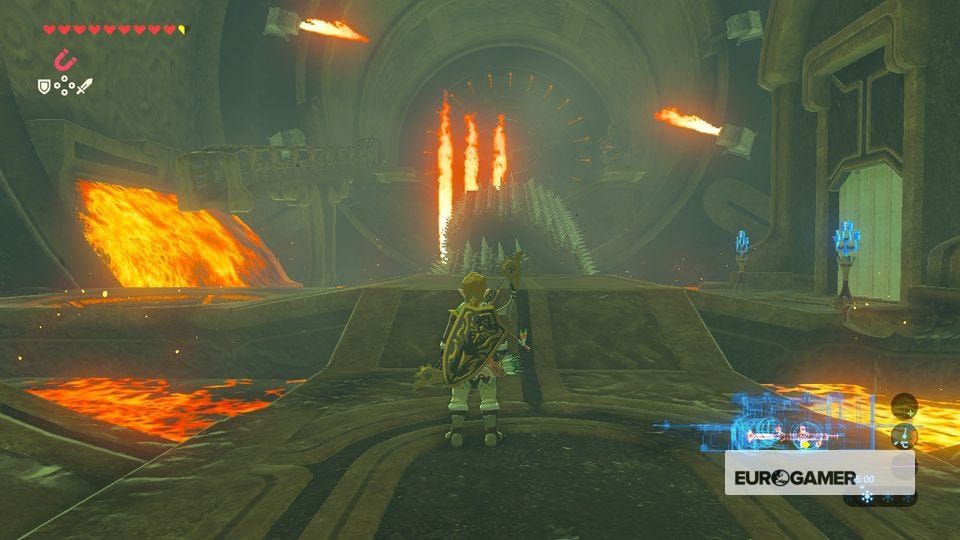
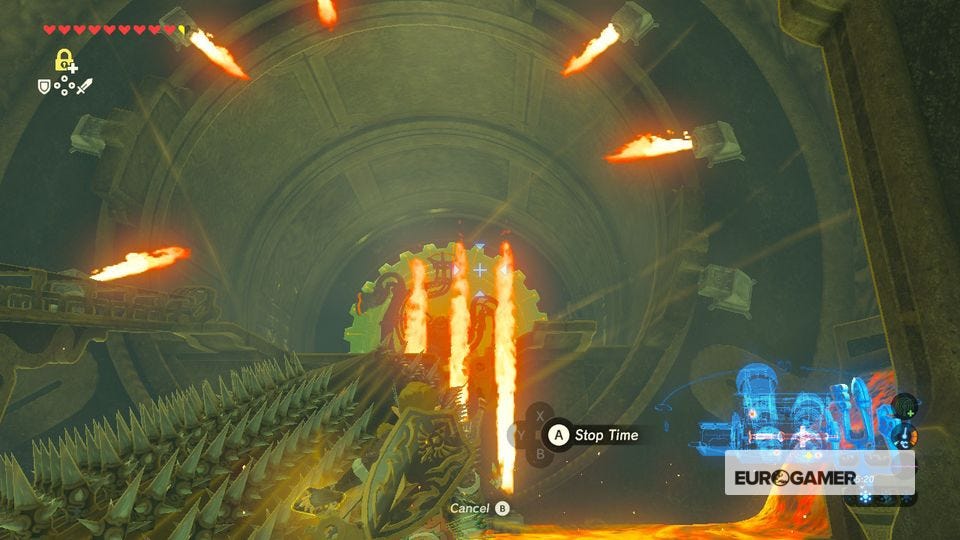
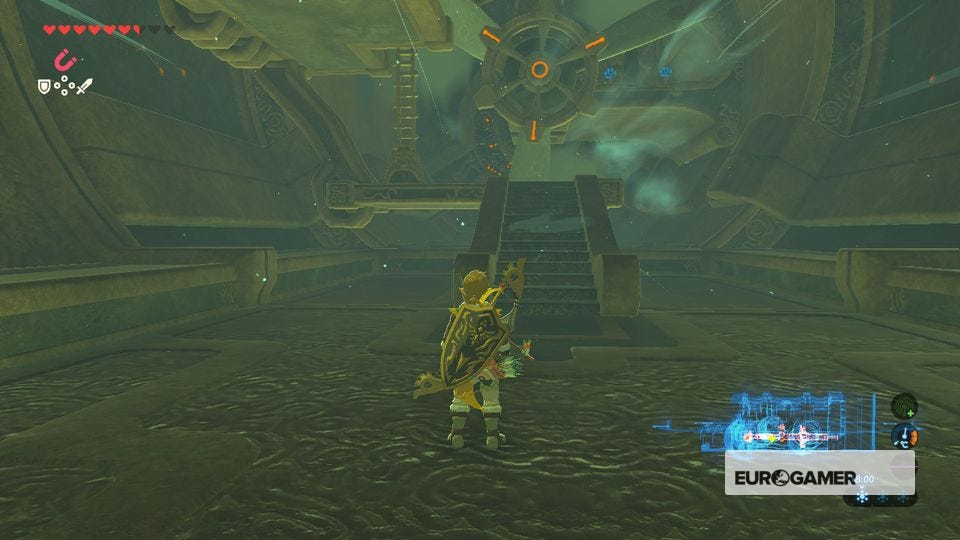
When you leave the lava challenge room, a Guardian Turret will appear in the middle of the room. Use arrows to stun it when it aims at you, then rush in and melee it to cause significant damage.
You can also pull off a Perfect Parry, but since your Daruk's Protection has been deactivated, you'll need to nail your timing or you'll be blown to smithereens.
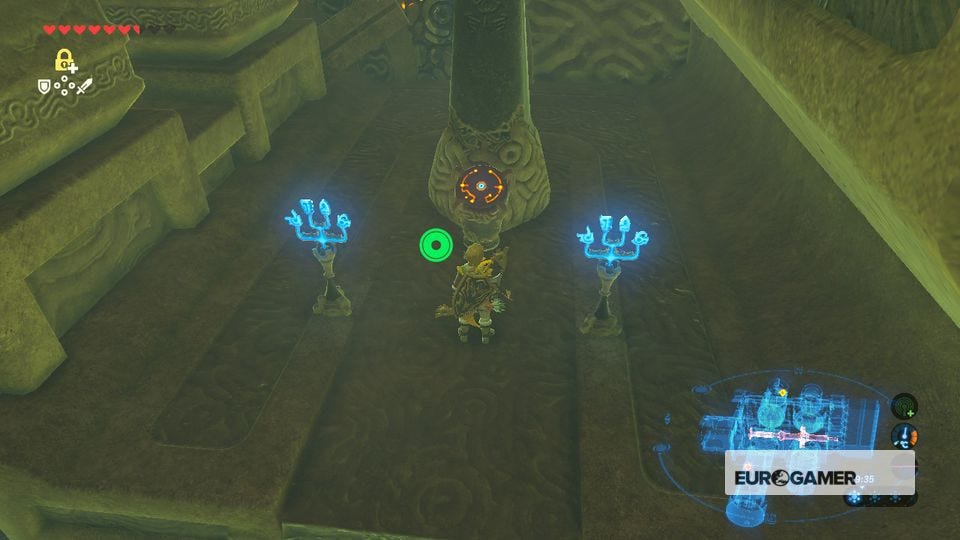
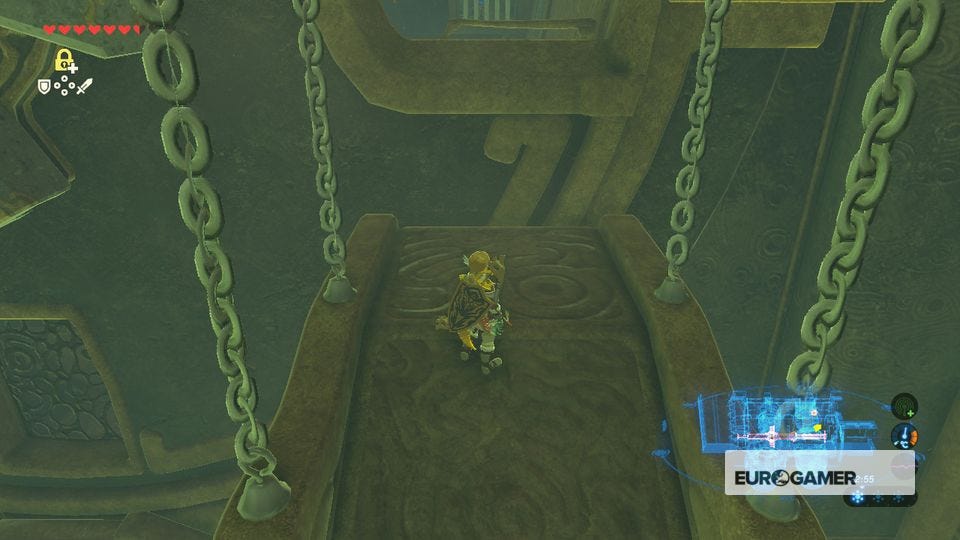
Once it's dead, use the moving platforms to reach the central horizontal column at the top of the room. Take out the Guardian waiting for you at the end, then take the right-hand catwalk.
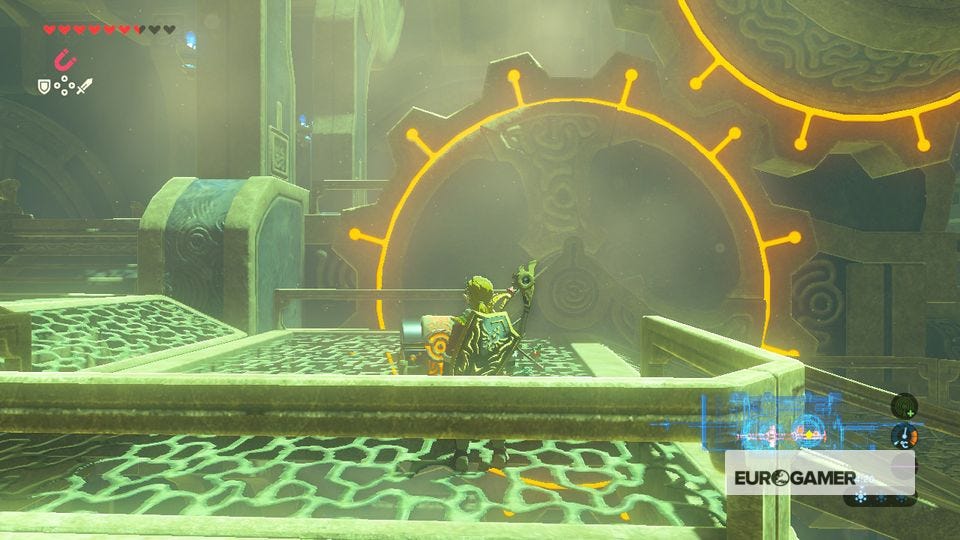
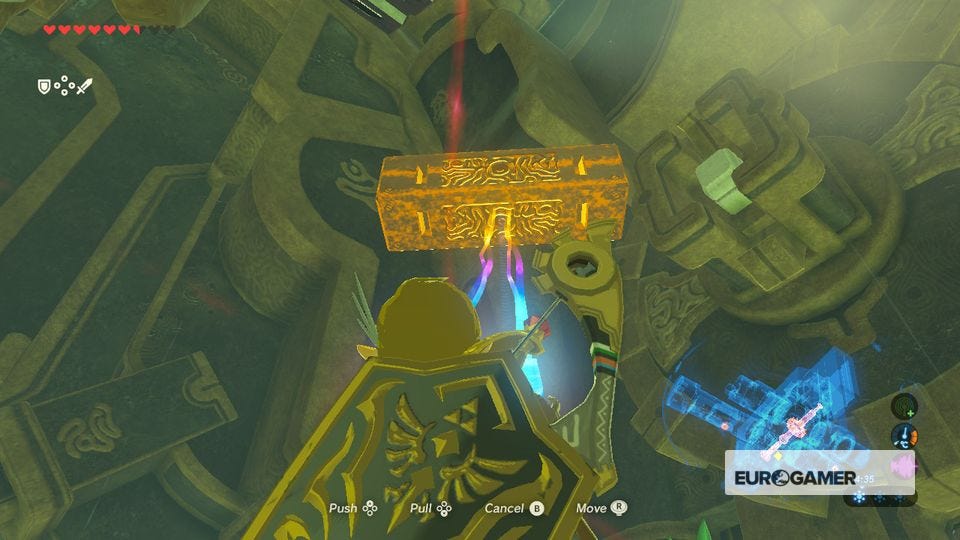
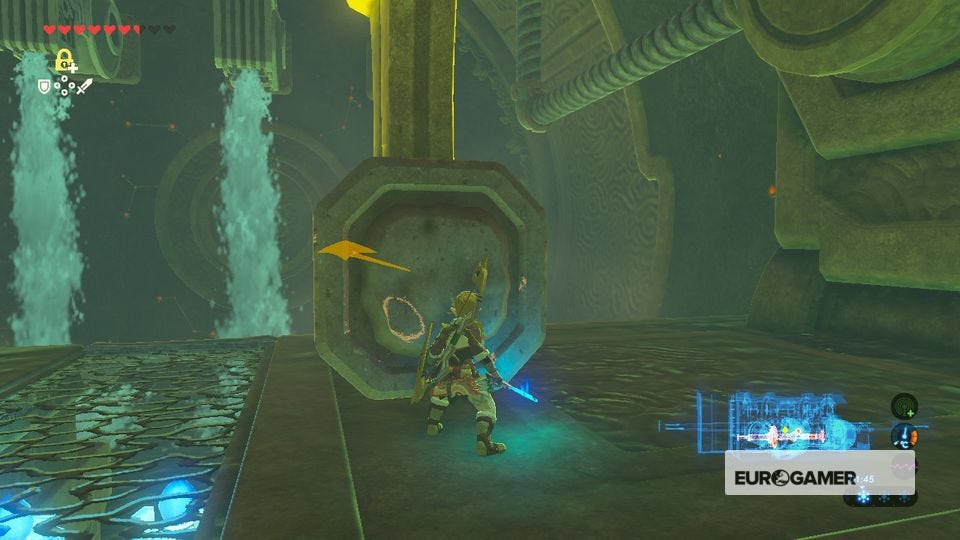
Pull the chest down above you for five Bomb Arrows, then use Magnesis again to pull out the metal rod in front of you. Move back to the top of this catwalk and slot the rod in place above you. Now pull the connecting rod beside it into place. The wheel wall to your right will now be moving.
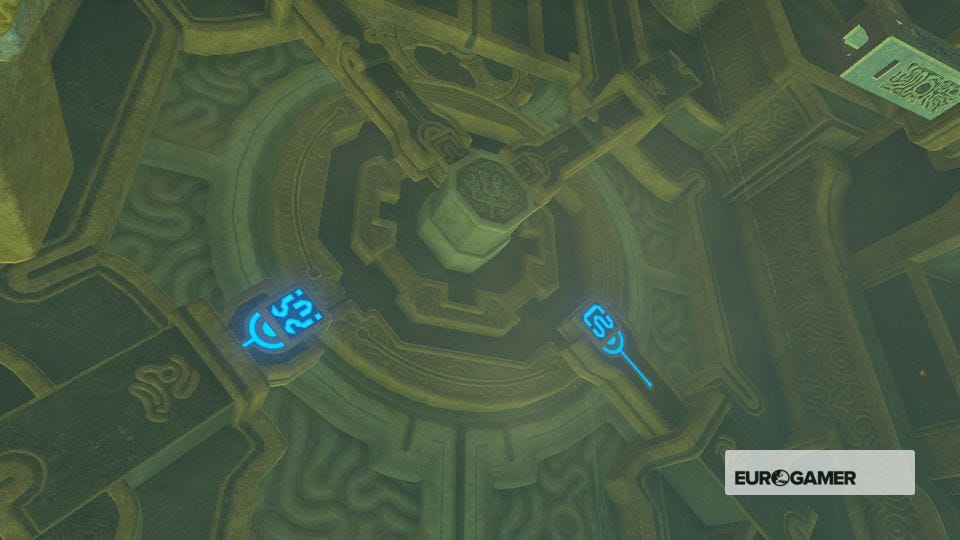
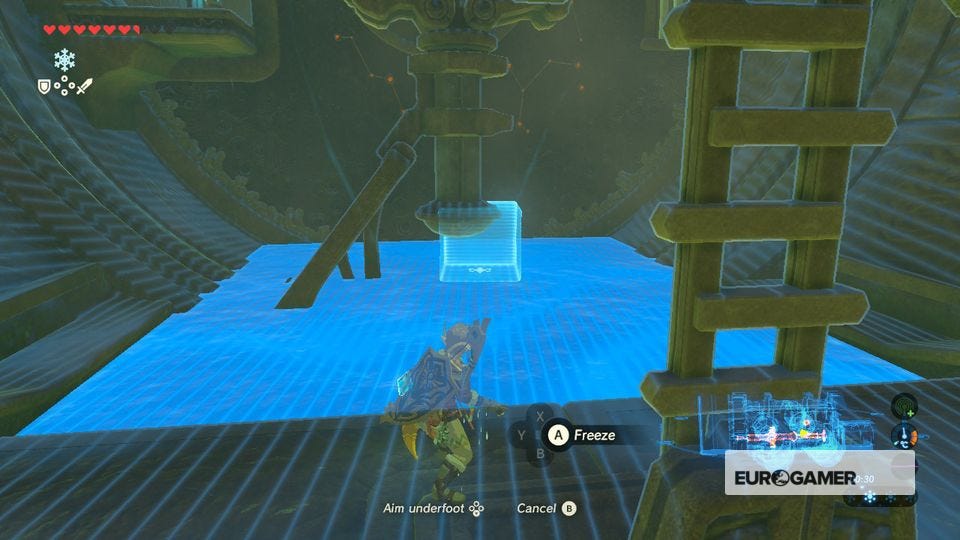
Drop down and enter the challenge room - wind will be your puzzle solving mechanic here. Climb up the ladder to your right (just up the ramp) and change the direction of the Divine Beast so the room glows blue.
Now glide across to the platform on the other side. Climb the ladder, change the direction so the room turns orange then glide across and land on the moving platform. Use Stasis to freeze the fan, then glide over and activate the console.
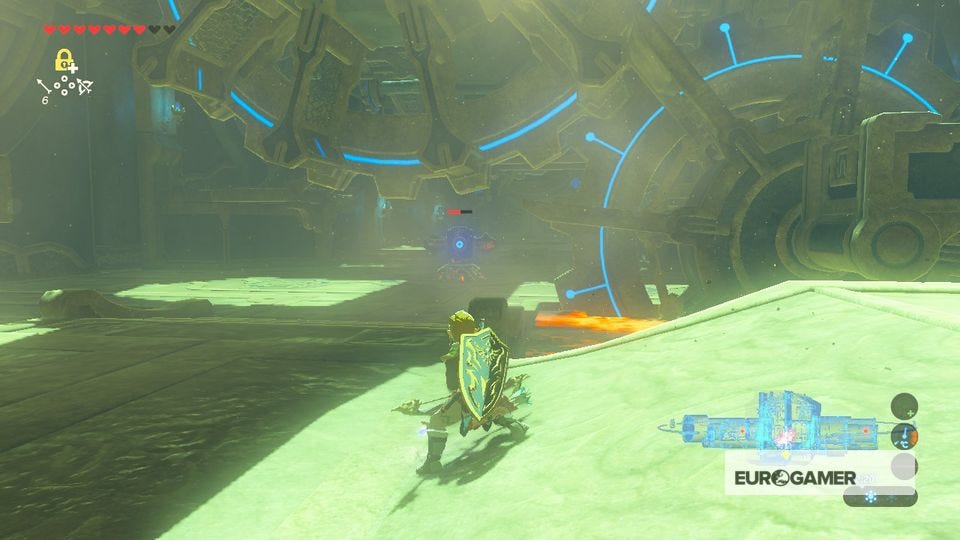
With one lock remaining, leave this challenge room. A Guardian Sentry will now be patrolling this area. Use Bomb Arrows on its turbines or sneak past to the other side of the room (the corner you haven't explored yet).
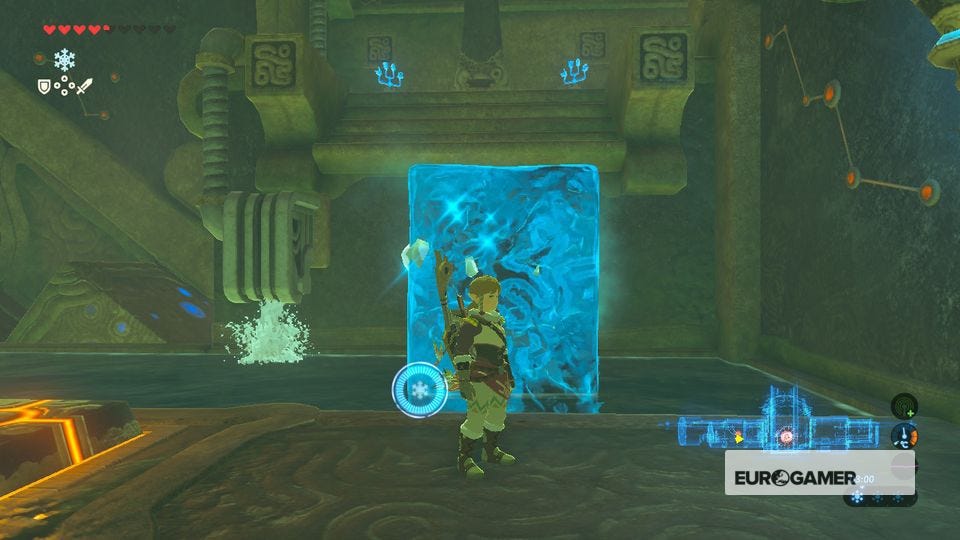
Use Stasis on one of the rods in the middle of the moving wheel wall and ride the platform in front of you up the doorway.
Inside, use Cryonis to activate the central column and use the moving platform to reach the room beyond. In here, hit the main cog in front of you with Stasis and hit its hammer-like arm to send it towards the fountains of running water.
This will turn of those fountains and lower the water level. Drop down and look for an orange button on the other side of the room.
This button will activate a launcher, and reveal a metal ball inside. While staying on the button, use Magnesis to move the ball in front of the launcher.
Now step off to reset the launcher, then step on the button again to launch the ball, hit the far cog and raise the water level. From this platform, use Cryonis to raise an ice pilar then use this to reach the final console.


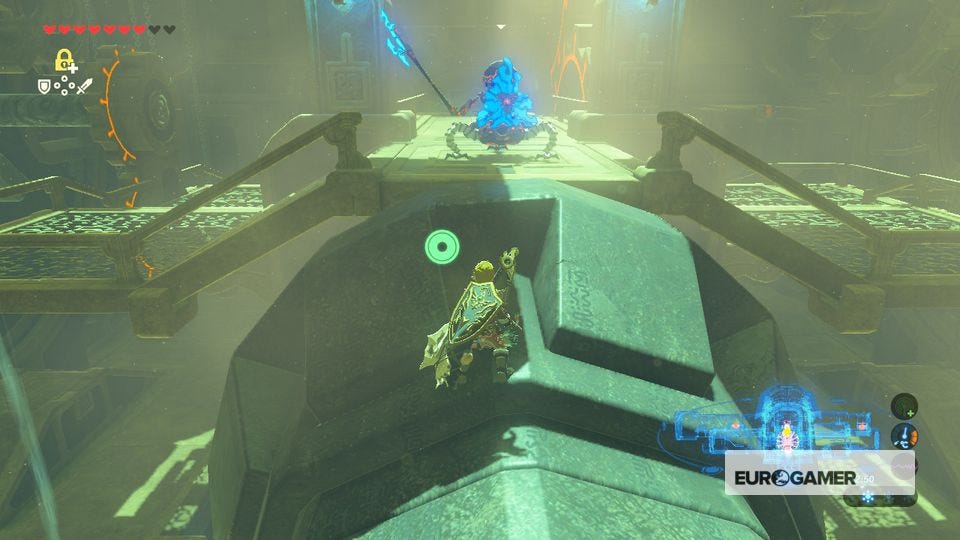
Glide back to the first room, then outside onto the catwalk (watching out for that Guardian Sentry if it's still floating about).
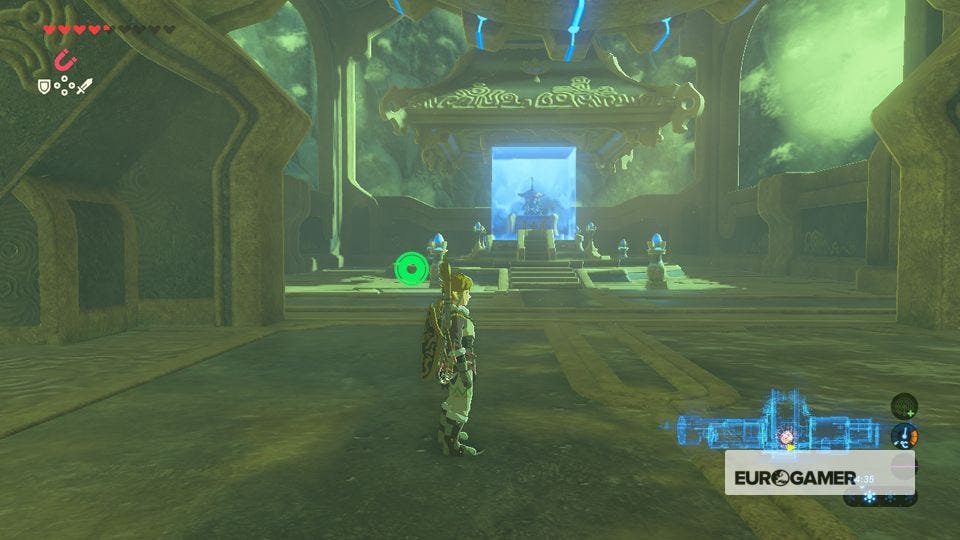
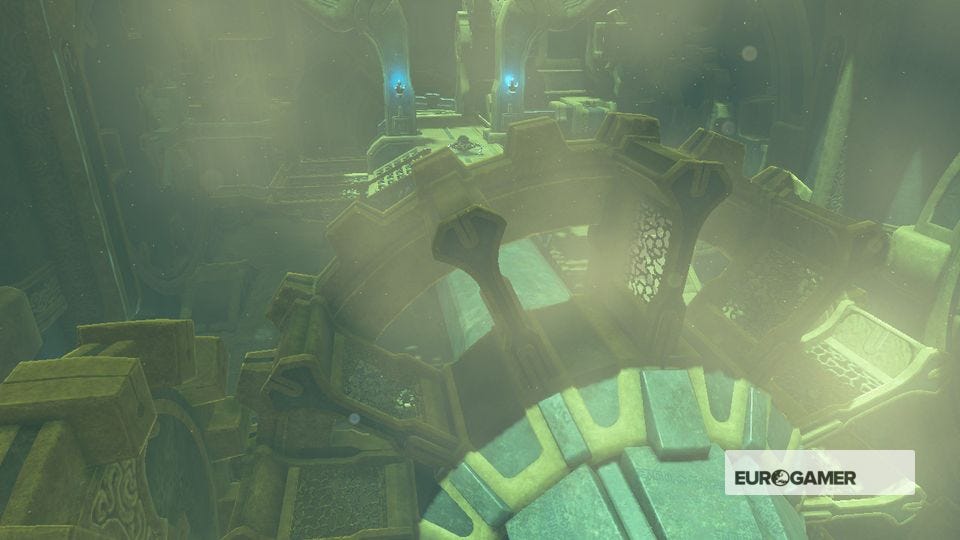
Now use Magnesis to pull the cog facing the far-end of the room (where the locks have been unlocked) into the door until it fits. This will reveal your final boss in the game.