Monster Hunter World - Zorah Magdaros strategy in One for the History Books and A Colossal Task, and how to get Zorah Magdaros Gem, Pleura and other parts
How to take on the screen-filling Zorah Magdoras in Monster Hunter World.

Zorah Magdaros is in an encounter during Monster Hunter World's story, coming after some early game encounters that tease what's to come.
The two quests - One of the History Books and A Colossal Task - are a little different to the usual hunts elsewhere in the game, which gives you specific objectives in a unique area as you attempt to capture the mountain-sized Zorah Magdaros.
Elsewhere, our Monster Hunter World tips can help you decide when to farm, what to forage and what to do between hunts, and our Monster Hunter World walkthrough and guide can help with main quest and story progress.
On this page:
How to complete the first part of One for the History Books and weaken Zorah Magdaros
Zorah Magdaros weaknesses:
- Fire - Null
- Water - High
- Thunder - Low
- Ice - Medium
- Dragon - High
- Poison - Null
- Sleep - Null
- Paralysis - Null
- Blast - Null
- Stun - Null
At the start of the quest you'll have Zorah Magdaros advancing towards you. First you must load up the cannons and ballistas with ammunition, which are in crates not far from the respective weapons.
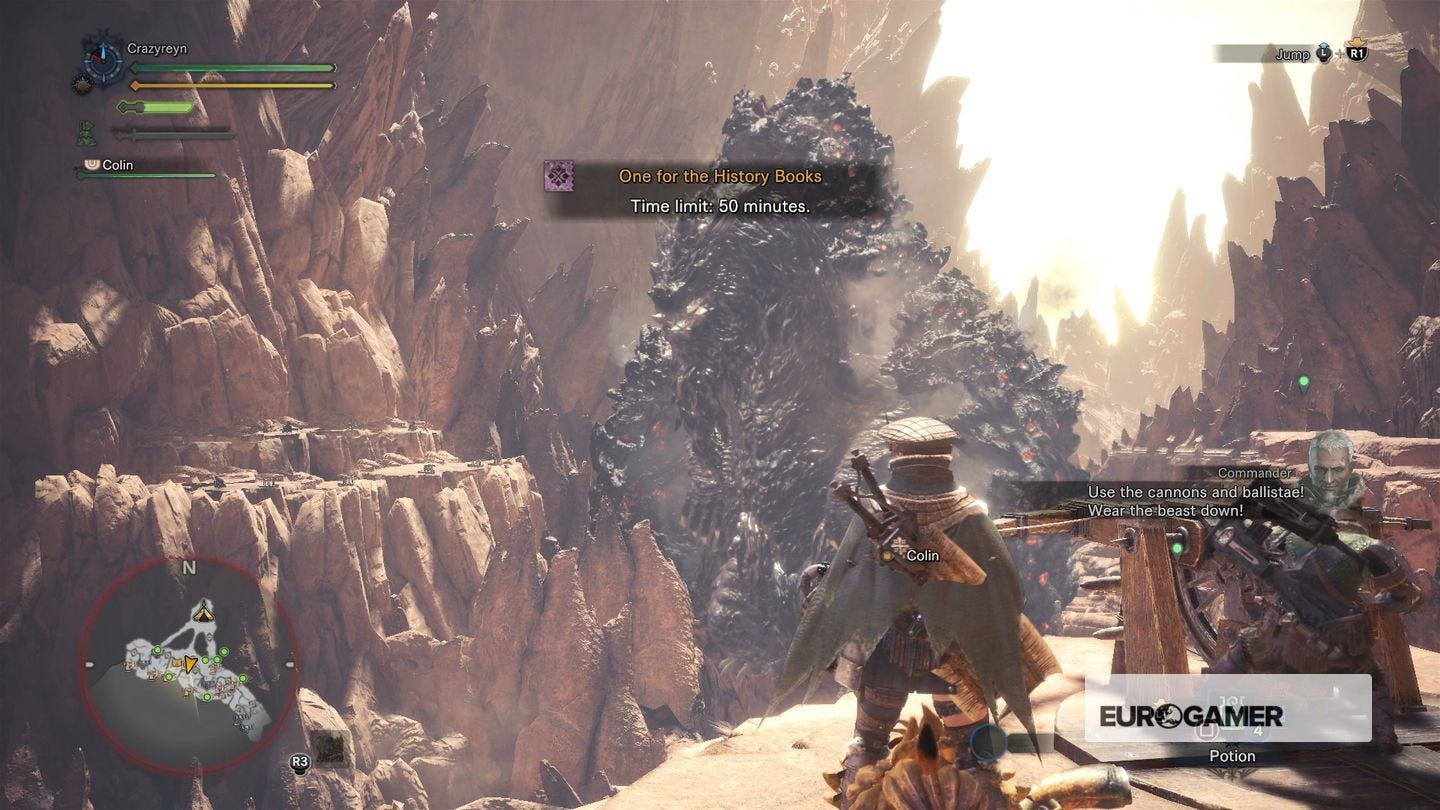
Start with cannon balls, putting four in a cannon and firing at Zorah. Numbers appearing on screen means you've landed a hit, but if you are missing then the cannon is probably not in the right direction; simply run round the front and move to the left or right to angle it at the beast.
Doing so will give you Zorah Magdaros parts, so it's worth doing as much as you can.
You'll also be interrupted by flying beasts, which is what the ballistas are for. Load them with arrows, and when you control the ballista, you can freely aim at the beasts. Be sure to skin them for Wingdrake parts afterward.
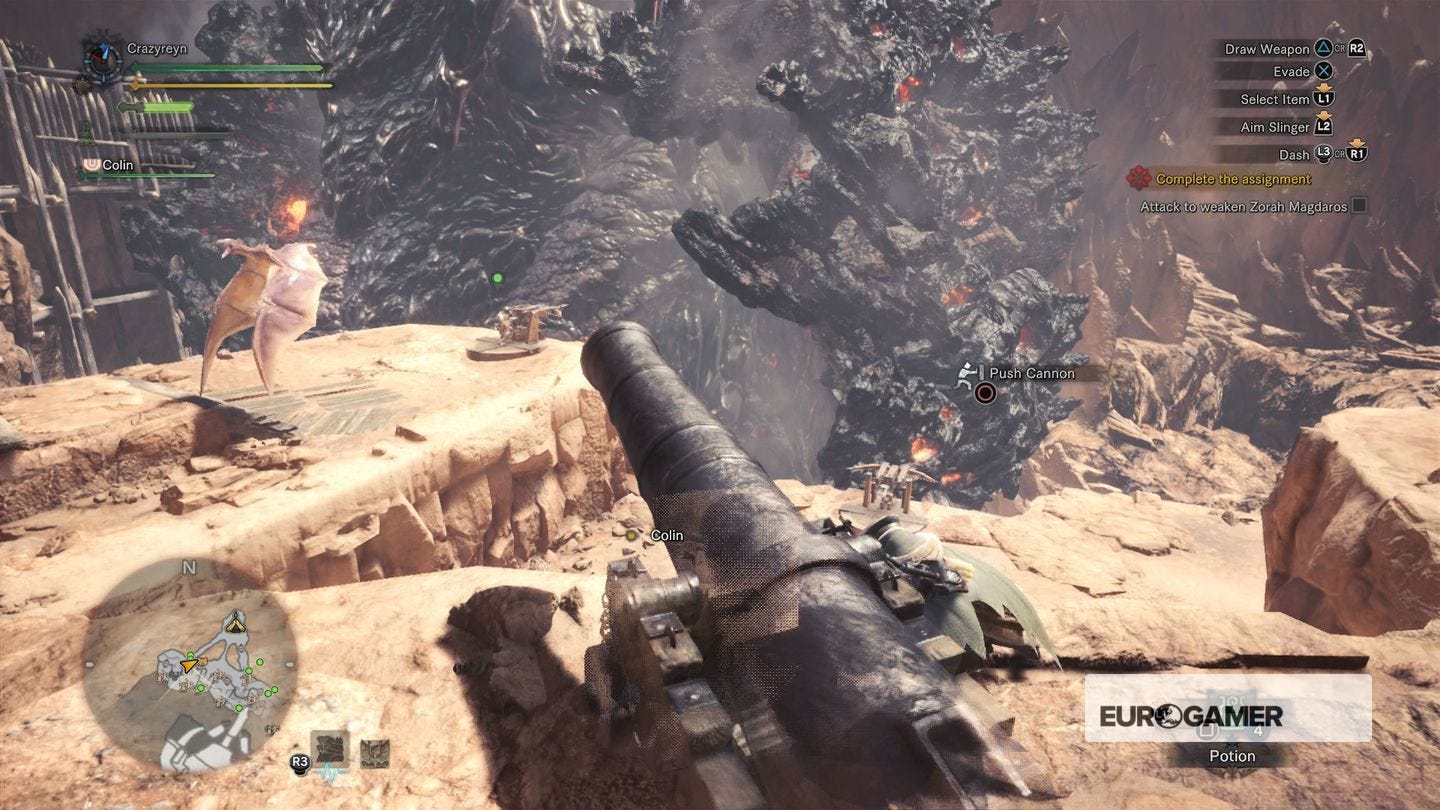
At one point when the team attempts to capture, you must run over to the far left and use the cannon there. Keep firing until Zorah Magdaros breaks through the barrier (there's no way to prevent this happening, so keep firing until it occurs).
Head to the hitching post, destroy the magmacores on Zorah Magdaros
To continue the quest, up the nearby cliff then use the hitching post to get on the beast.
There are then three magmacores to find - which are giant red glowing horns - as marked on the map. The first (or on the map, the middle one) is straight ahead of where you start.
Attack it with your equipped weapon until you see lava coming from the side. At this point back away and after the explosion, then move back in and attack. Repeat this until the magmacore is destroyed.
It's best to be cautious here, since you'll want to save any curatives lava will eat up for a later encounter, but the good news is you can take as much time as you need. (Be sure to also roll around with your weapon sheathed to extinguish the flames if you are hit.)
After this first 'middle' magmacore, the next is down below you. Drop down the cliff and at the bottom is a cave with the second inside. After that, exit the cave and wait until Zorah Magdaros changes position. Now climb up its back and you'll find the third and final magmacore.
You have plenty of time until the next section begins, as Zorah has to slowly make its way to the next barrier. If you have done all three magmacores, run around Zorah and find red Mining Outcrops to get some valuable resources - such as Dragonite Ore and Zorah Magdoras parts - useful for crafting.
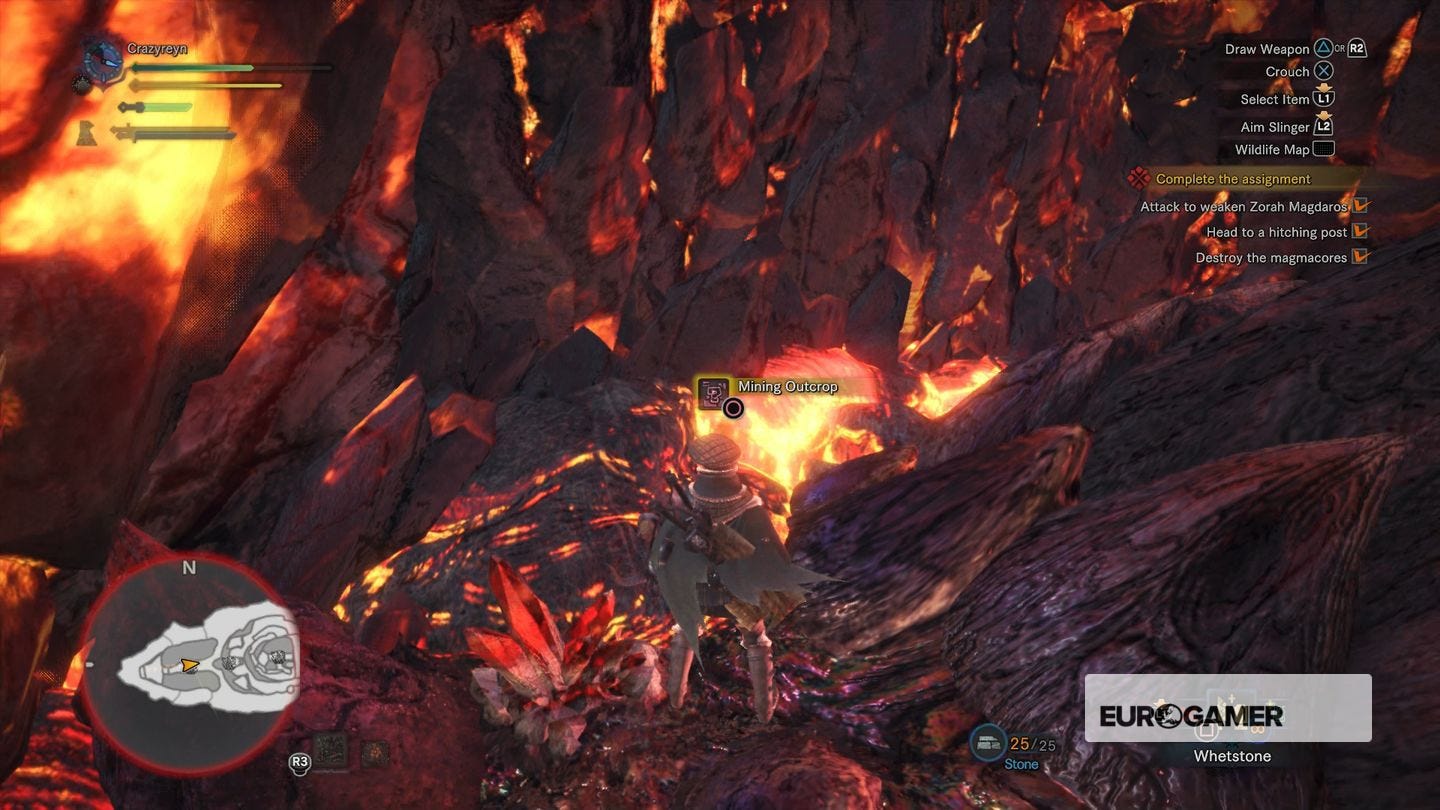
Keep exploring for these Mining Outcrops until the next section begins. It might take a while, but if you look at your surroundings, you'll see the barrier looming closer, which is the next part of the mission.
Repel the attacking monster on Zorah Magdaros
The final part of this Zorah Magdaros msision is facing off against a smaller but equally fearsome dragon, Nergigante. As with all new creatures, keep your distance and observe its attacks.
It's a fearsome beast, but tactically isn't too unusual to anything you've faced to date, lurching forward to swipe, then locating you and repeating. After an attack you can quickly run in and get some swipes in, then back out and dodge whatever's coming next.
It can also swipe with its tail, which can knock you for six, so try to approach from the side if you can.
After either a certain amount of damage - meaning you can take your time with your attacks - a cutscene will play to end the mission.
How to complete A Colossal Task
A late game mission is A Colossal Task, which sees you once again attempt to scale and slow down Zorah Magdaros. The mission plays out largely the same, though there are some key differences:
- Can use your Slinger to shoot down explosive-covered stalactites above you. When you first land on Zorah's shell, there is a Stone pile straight ahead you can use as ammo. If they don't land when you aim at them, you are too far away; the only time we managed to do it was round the back when fighting Nergigante.
- Nergigante doesn't need too much battling before it runs away and you can get on with the mission.
- We didn't manage to take down all three Magmacores, so don't worry if you don't either.
- The final stage has you load cannons at Zorah as it attacks the barrier. When the boat is ready, you have to go to the far left side and drop all the way down, then pull the switch. After that, use one of the wingdrakes to fly you back up and continue loading barrels. It takes a while with seemingly no progress, but eventually a cutscene will trigger, ending the mission.
Getting Zorah Magdaros materials
Zorah Magdaros High Rank materials list:
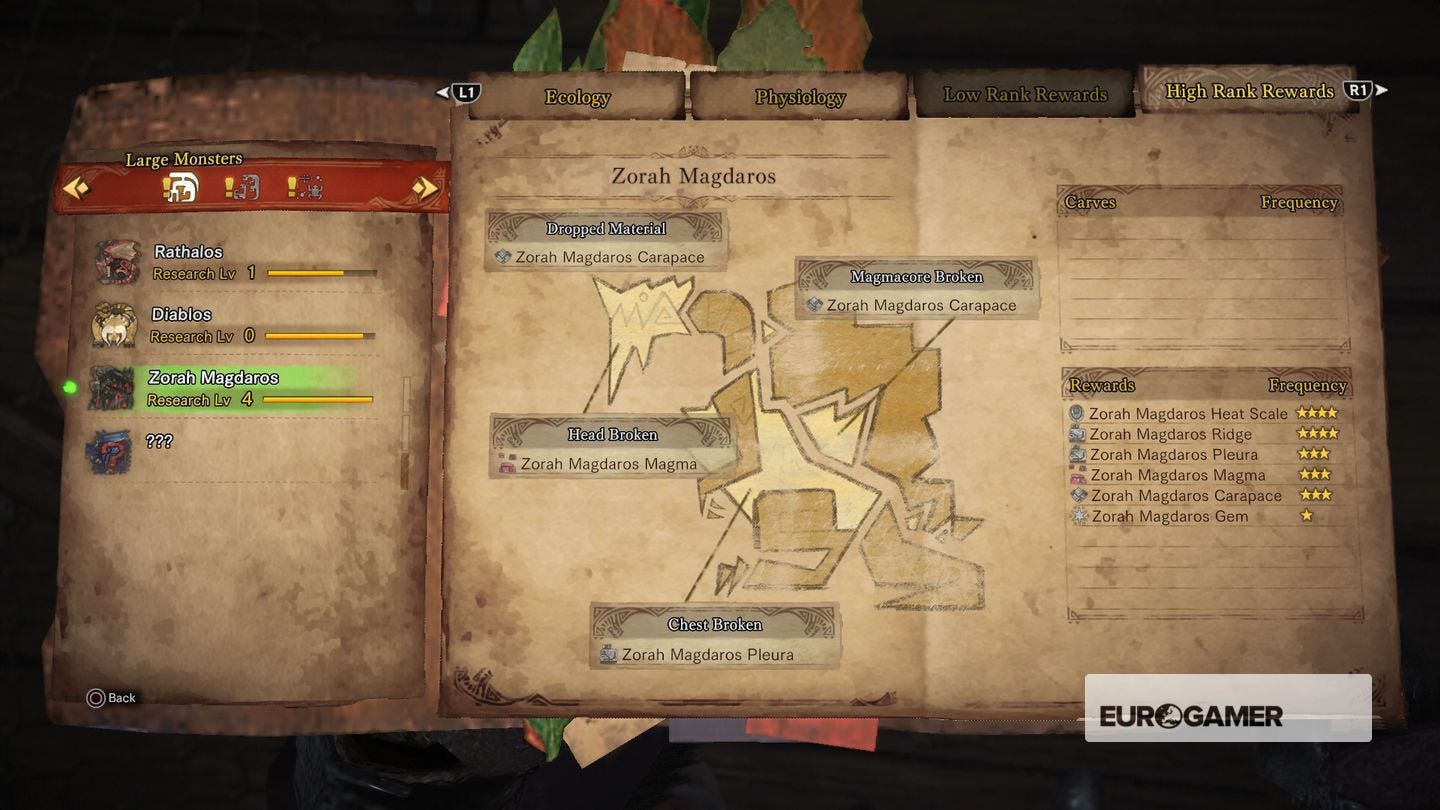
- Zorah Magdaros Carapace (Magmacore Broken, also dropped and reward)
- Zorah Magdaros Magma (Head Broken, reward)
- Zorah Magdaros Pleura (Chest Broken, reward)
- Zorah Magdaros Heat Scale (reward)
- Zorah Magdaros Ridge (reward)
- Zorah Magdaros Gem (rare reward)
Since this is not a traditional encounter, farming Zorah Magdaros parts is not easy. You'll get parts from several sources - by firing the cannon at its face, by mining ores on its back as you roam around attacking the magmacores, and as quest rewards.
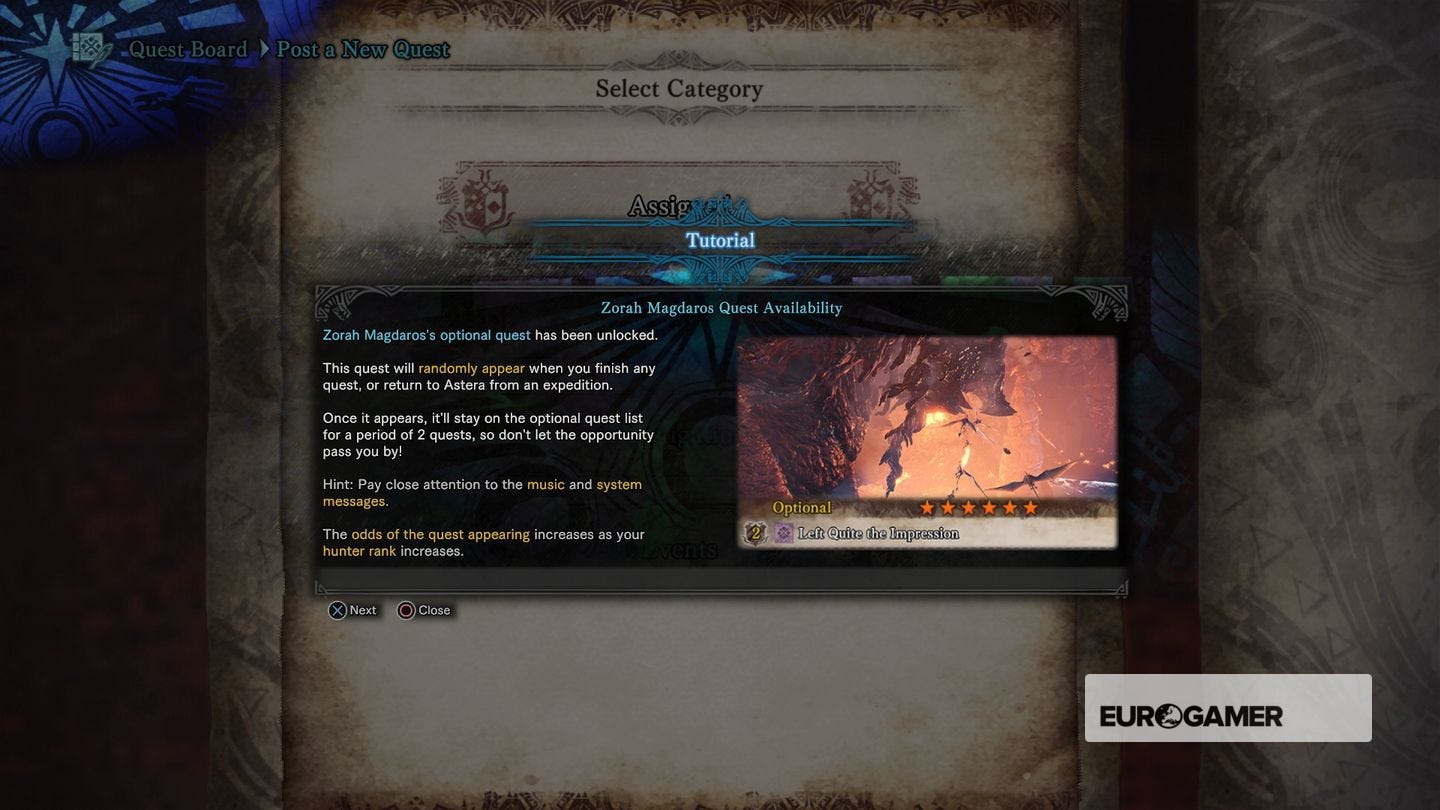
As you play High Rank, you'll be told Zorah Magdoros has returned, with the same mission appearing in your Optional quest log for a handful of quests.
You can also join a friend's playthrough, or use the SOS request system to search for Zorah Magdoras encounters to join in someone else's game.