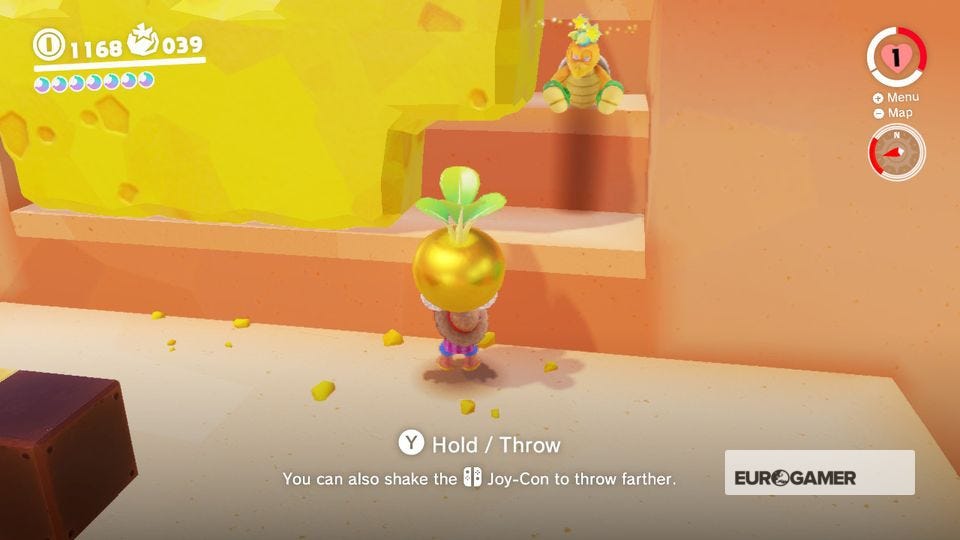
Super Mario Odyssey Luncheon Kingdom Power Moons - where to find Luncheon Kingdom Moons
Where to find the main set of Luncheon Kingdom Power Moons.
Luncheon Kingdom Power Moons are what you'll find on this page, where we detail each Luncheon Kingdom Power Moon and its location in the region with accompanying screens for extra clarity.
This is where to find Luncheon Kingdom Moons then, but for other regions you can cycle back to our Power Moon locations guide hub, or our main Super Mario Odyssey guide and walkthrough hub for much more.
On this page:
- Super Mario Odyssey Luncheon Kingdom Power Moons 1 to 10
- Super Mario Odyssey Luncheon Kingdom Power Moons 11 to 20
- Super Mario Odyssey Luncheon Kingdom Power Moons 21 to 30
- Super Mario Odyssey Luncheon Kingdom Power Moons 31 to 40
- Super Mario Odyssey Luncheon Kingdom Power Moons 41 to 50
- Super Mario Odyssey Luncheon Kingdom Power Moons 51 to 56
- Other Luncheon Kingdom Power Moons you can unlock
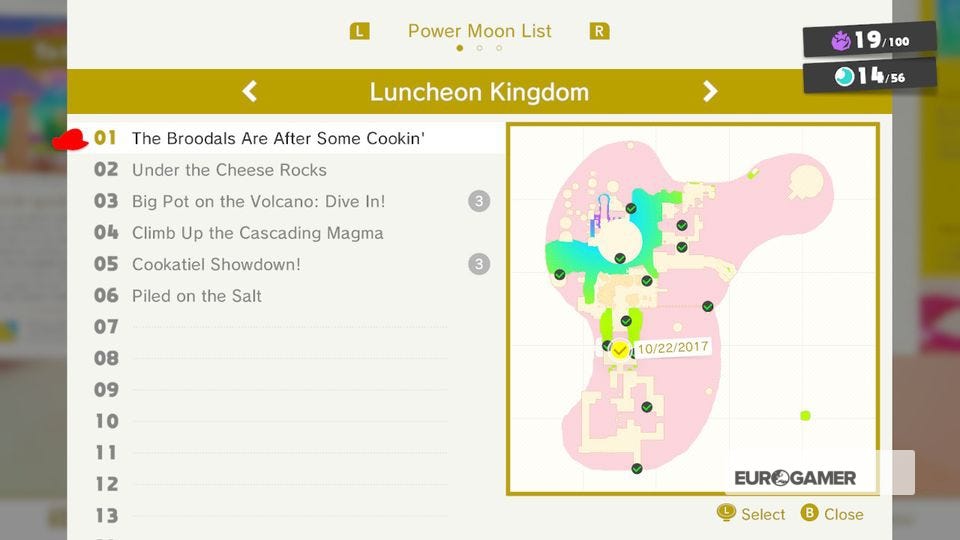
Super Mario Odyssey Luncheon Kingdom Power Moons 1 to 10
There are 55 Power Moons to find until you reach the end-game, with one involving Peach and then some more.
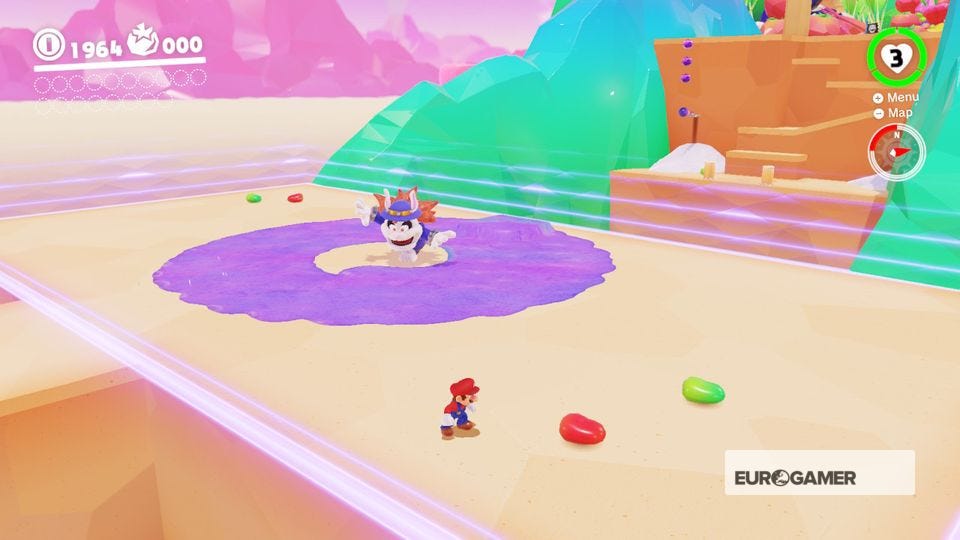
1. The Broodals Are After Some Cookin'
To win this Moon, you'll need to big the Fat Broodal once again. His tactics are easy - avoid his poison, hit him with Cappy jump on his head, repeat. His treasure will then be yours.

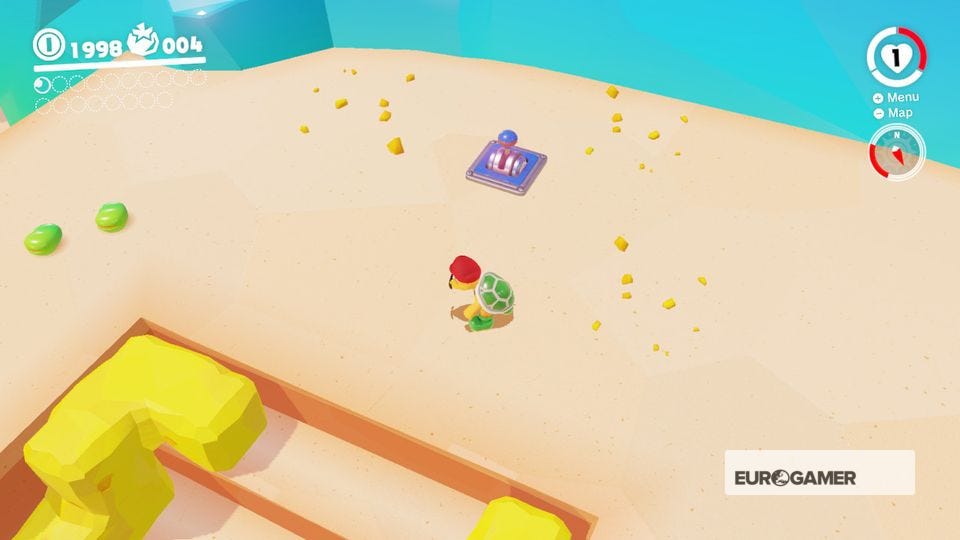
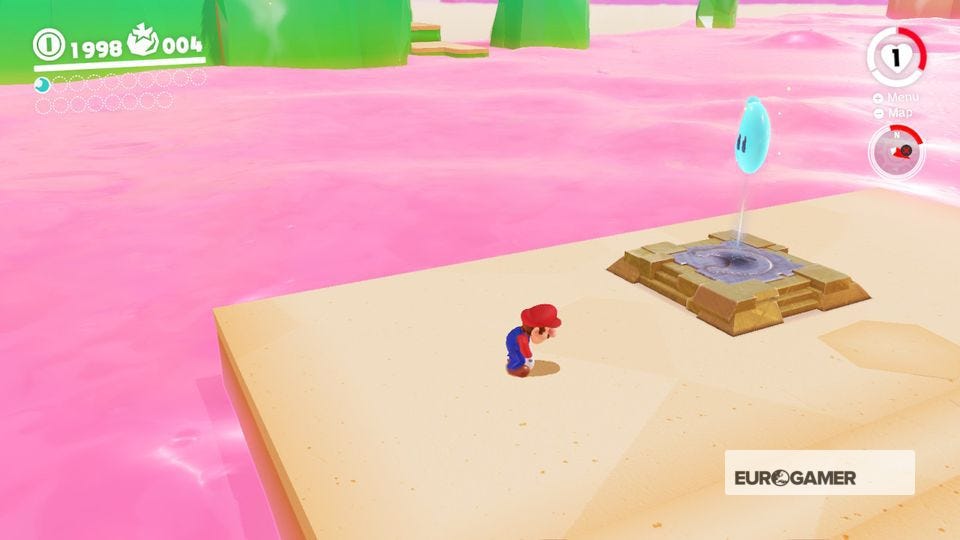
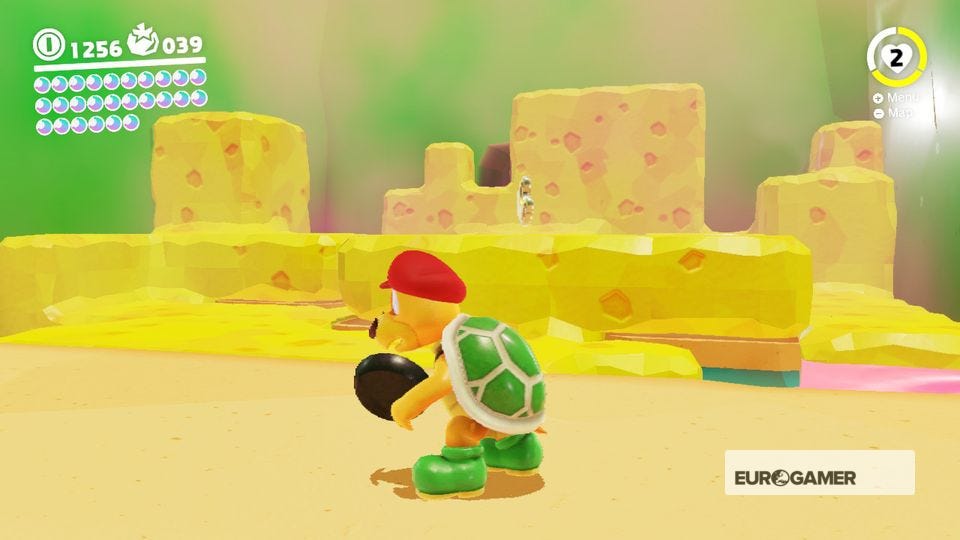
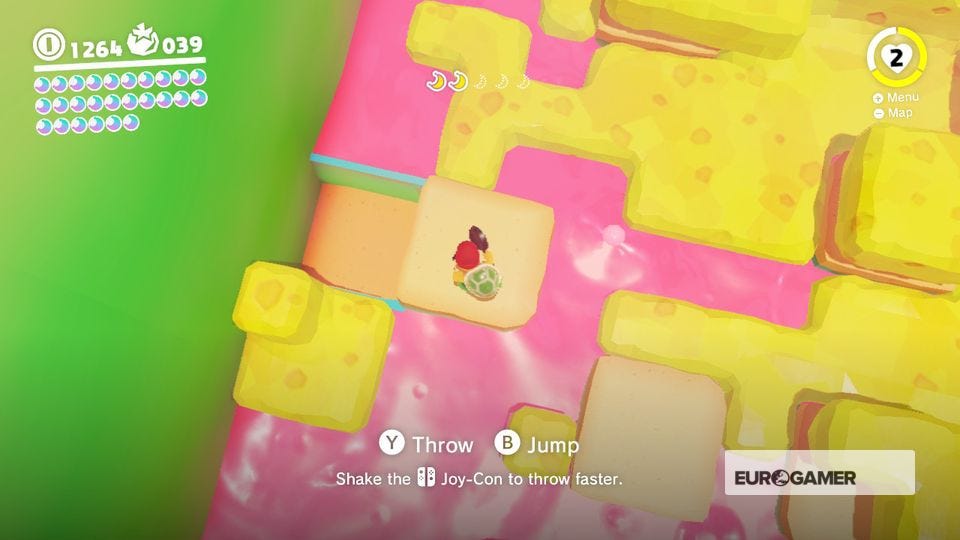
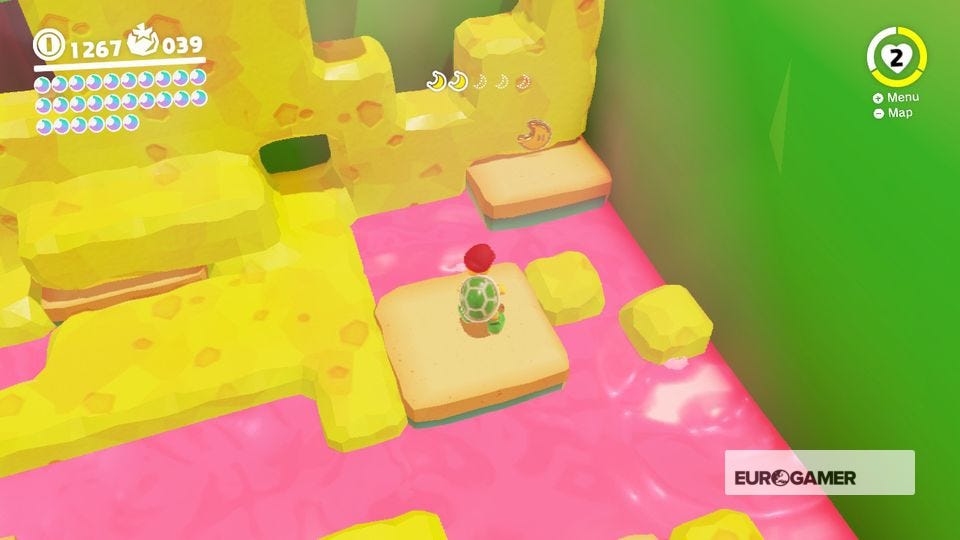
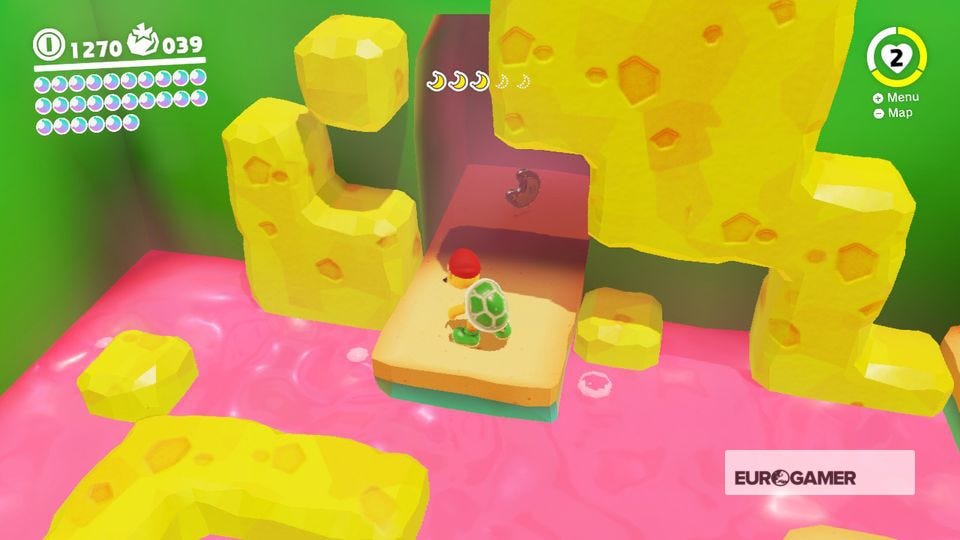
2. Under the Cheese Rocks (3 Moons)
Use the Hammer Bro to destroy the two cheese blocks, pull the switch with Cappy and jump down to grab the Power Moon that's been freed from its colourful case.


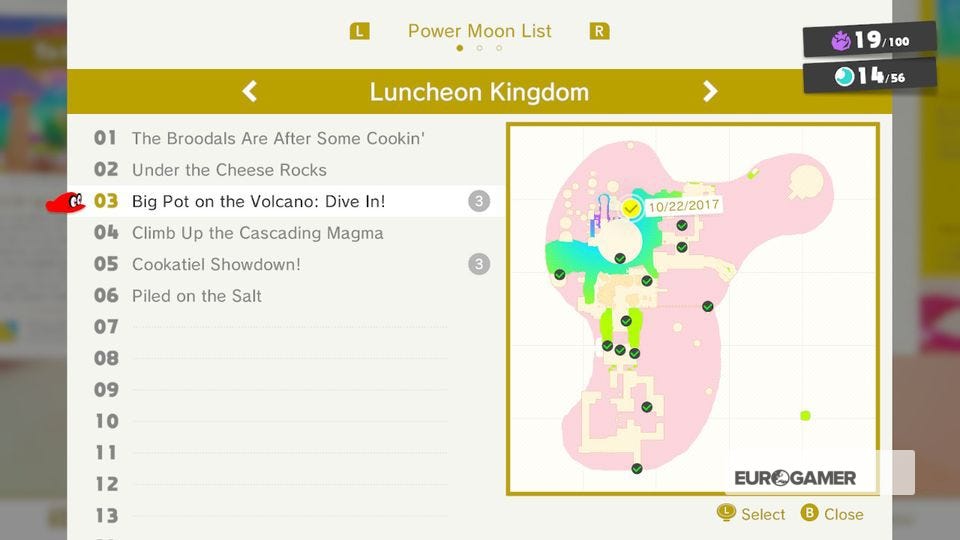
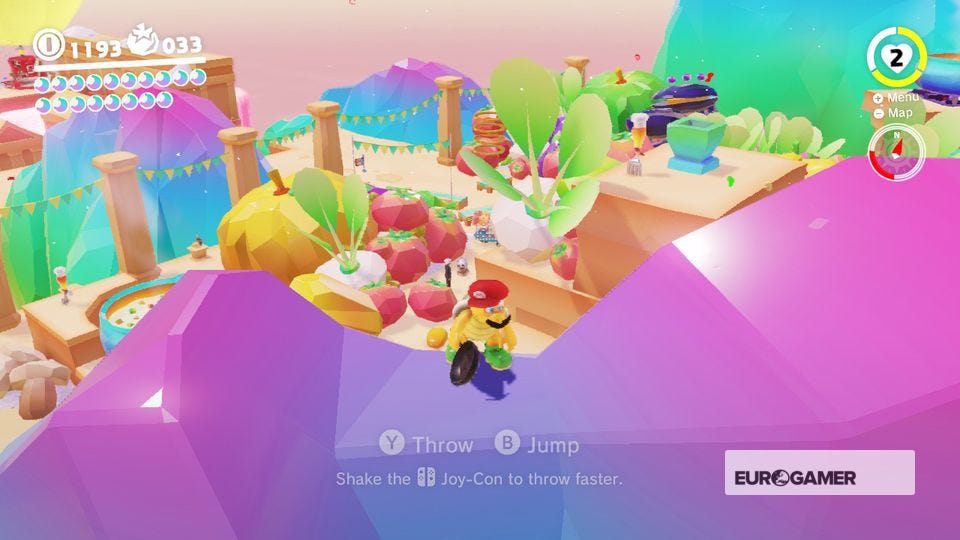
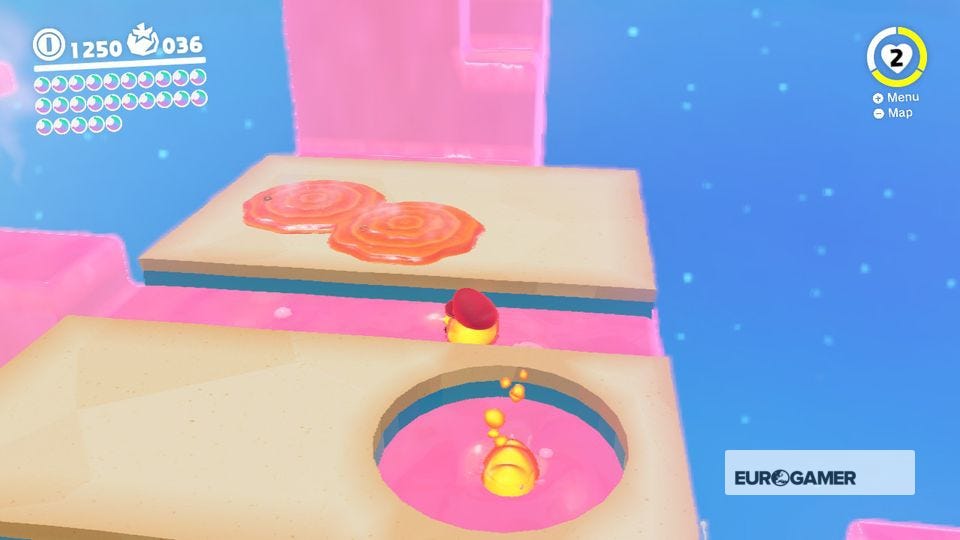
3. Big Pot on the Volcano: Dive In!
To reach the stew pot on top of the volcano, throw Cappy at the giant piece of meat, wait until the Cookatiel has dropped you in, then navigate the stew pot and claim the Moon at the highest point.


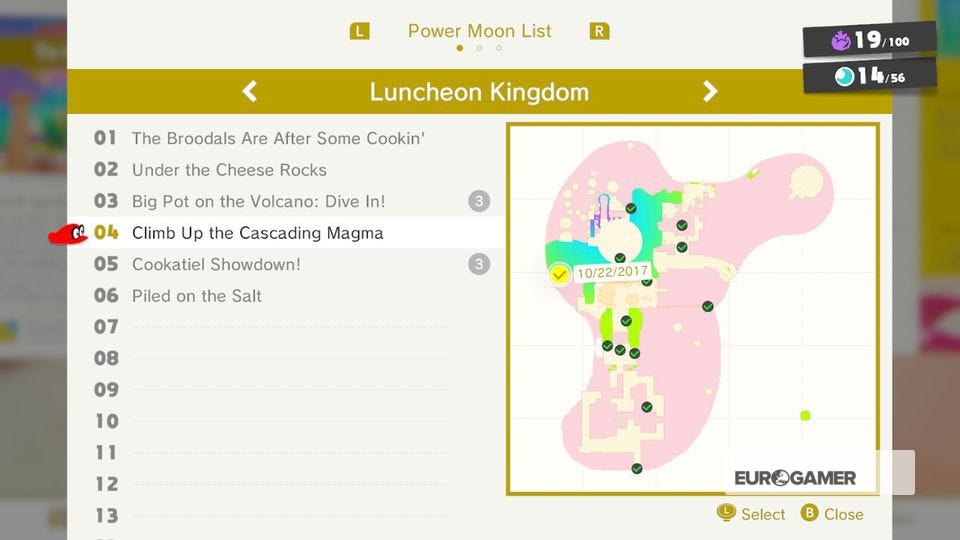
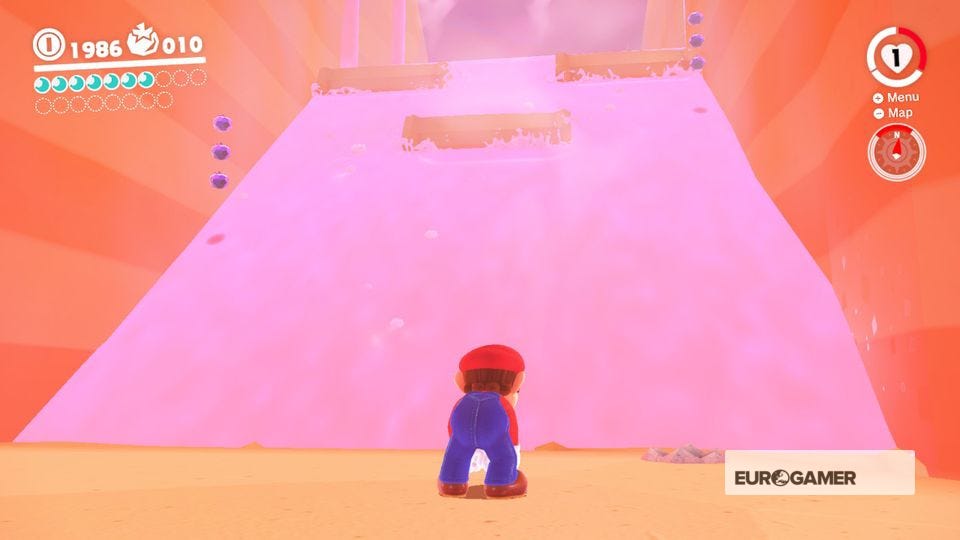
4. Climb Up the Cascading Magma
Use a Magma Bubble to climb to the top of the magma ramp, avoiding the obstacles that roll down. Light the final torch with the Magma Bubble and claim your prize from the plinth.


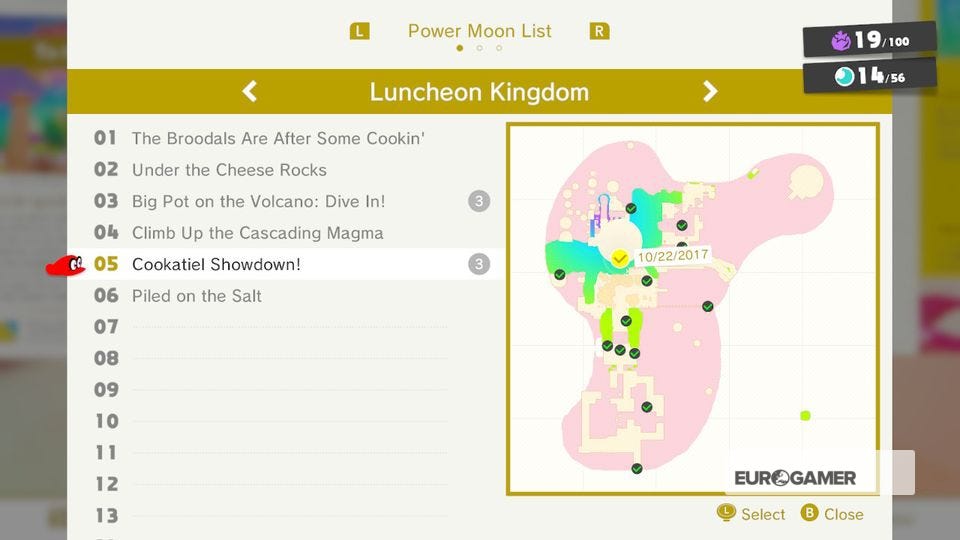
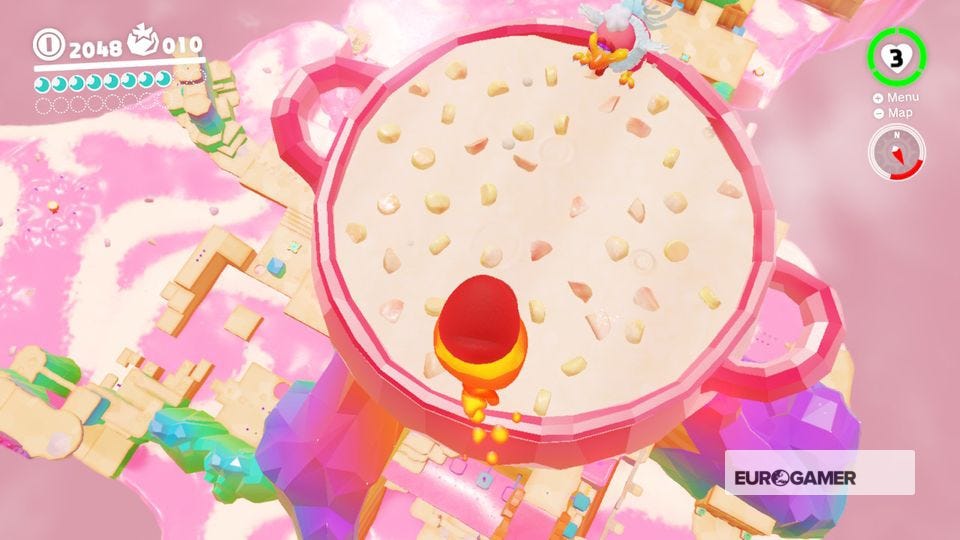
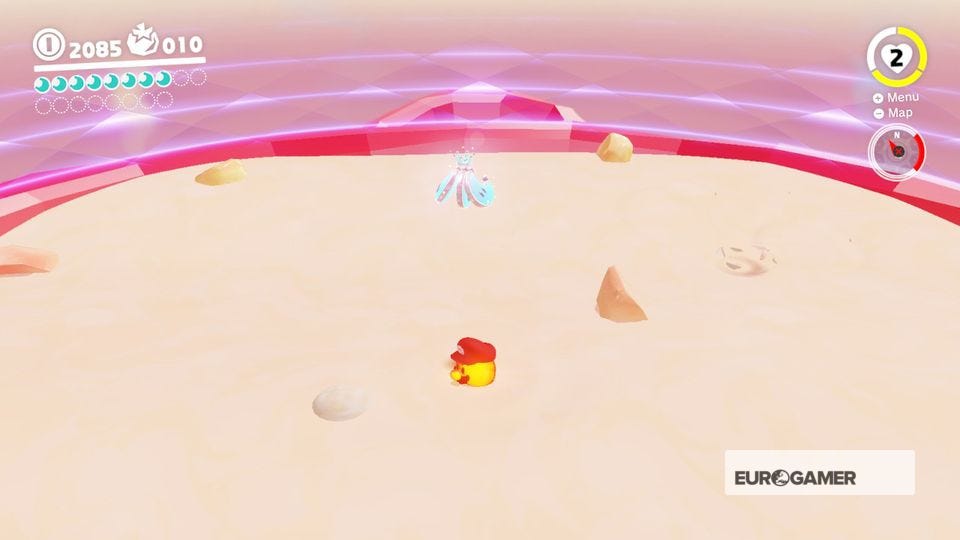
5. Cookatiel Showdown! (3 Moons)
After landing in the giant stew pot for a second time, ride up the magma slide the Cookatiel spits out to hurt it. Bounce up the zig zag ramp and the platforms on the second and third phases, jumping on the Cookatiel each time to finally reveal a Multi Moon.

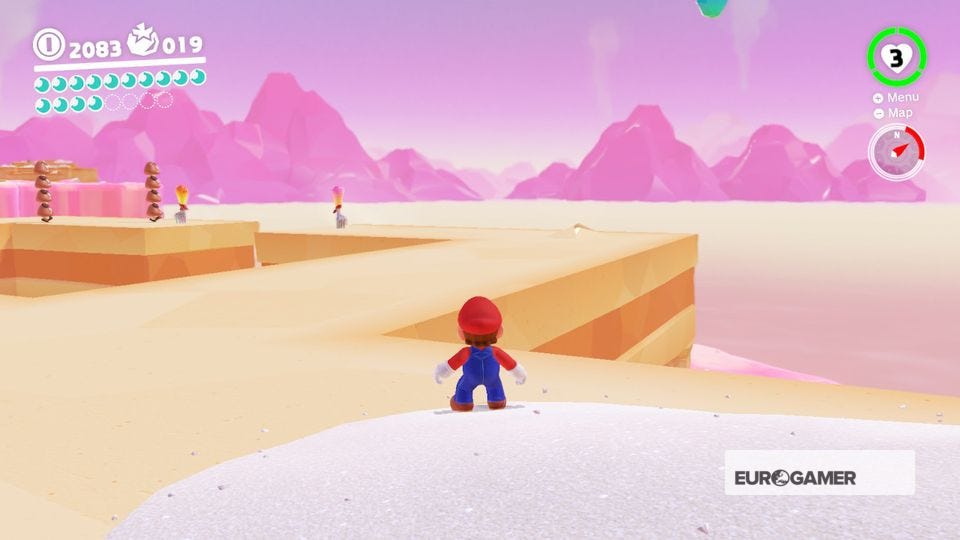
6. Piled on the Salt
From the Odyssey look up and to the right. On a pile of salt, you'll see a Power Moon. There are multiple ways to get up there, including two blue rocks in front of the building next to the Moon. Mind the Goombas, use the fork to flip across and grab your prize.

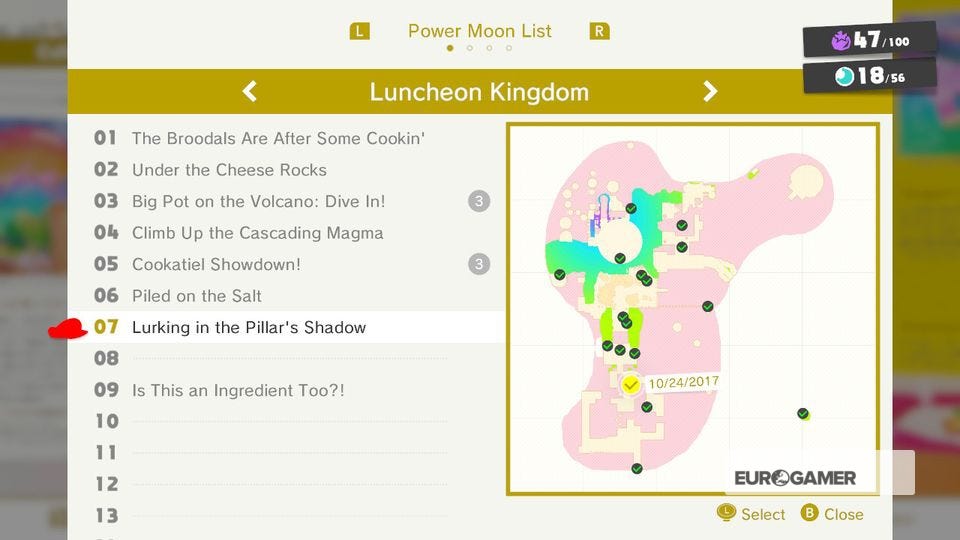
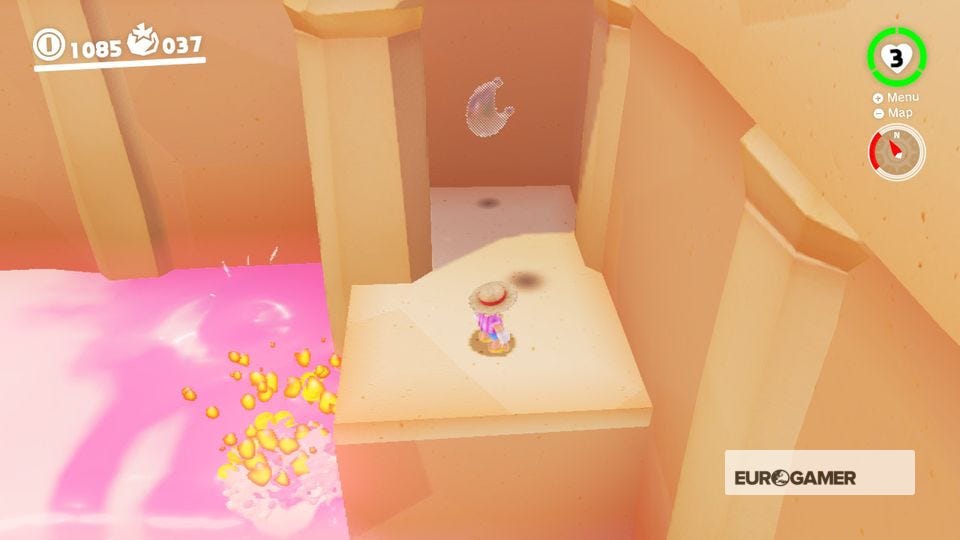
7. Lurking in the Pillar's Shadow
From Peronza Plaza, turn 180-degrees, jump over the platforms and climb onto the roof on your right. On the other side, on a lower ledge, is a Moon.
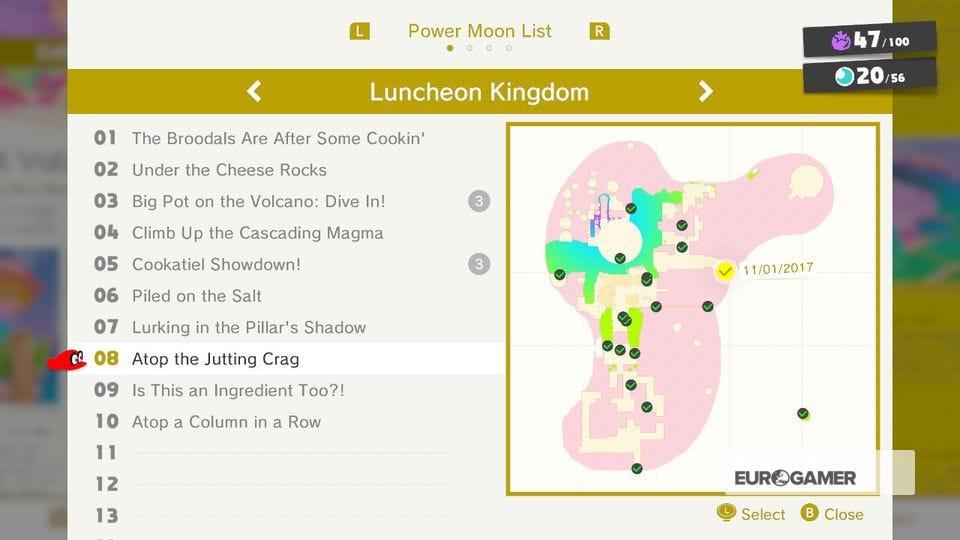
8. Atop the Jutting Crag
From Salt-Pile Isle, use the Lava Bubble to reach the next platform, use the cannon then de-possess above the higher ledge to grab the Moon here.

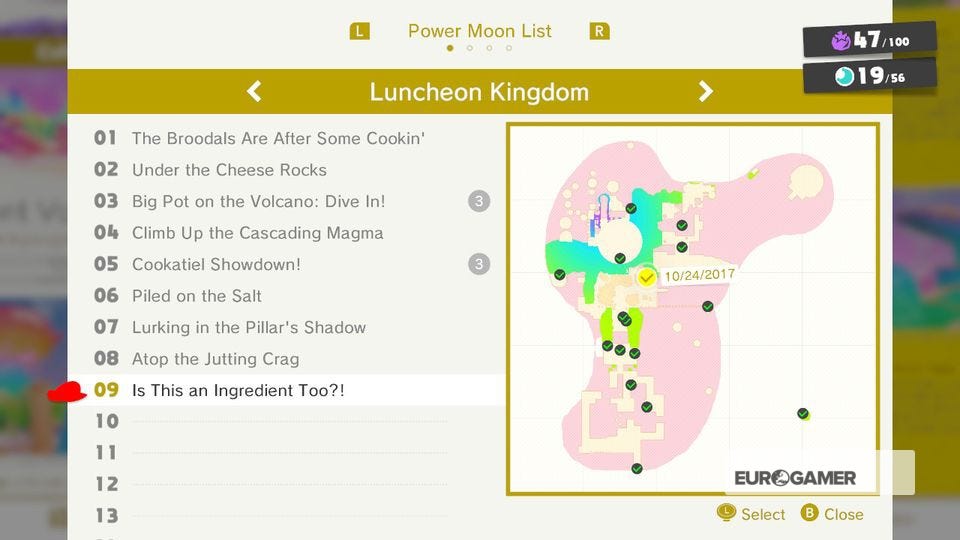
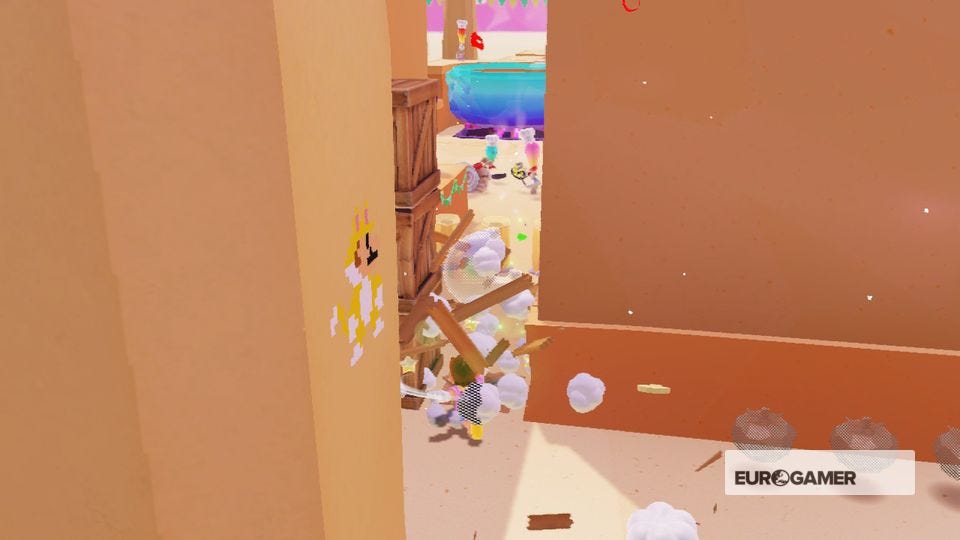
9. Is this an Ingredient, Too?!
From Peronza Plaza, go behind the Crazy Cap shop, smash up the boxes and send the Moon flying up onto the rooftop above. Use the fork to reach it.
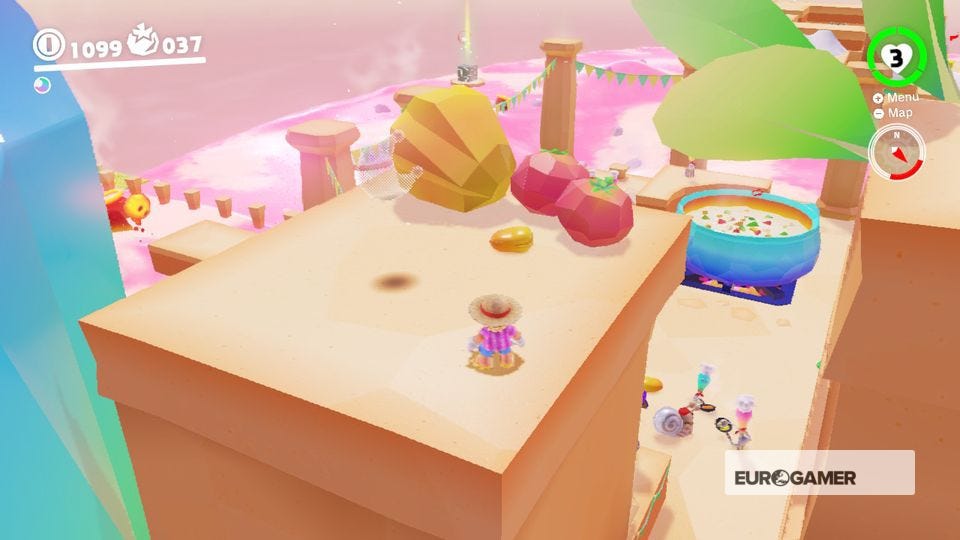
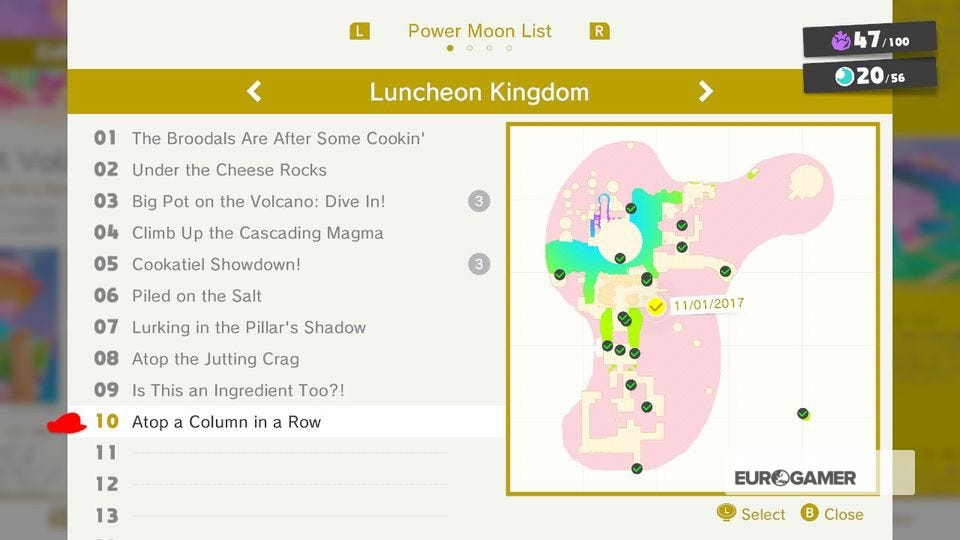
10. Atop a Column in a Row
From Peronza Plaza, climb onto the column nearest the giant pumpkin. Now do long jumps to reach the end column and Ground Pound for a Moon

Super Mario Odyssey Luncheon Kingdom Power Moons 11 to 20
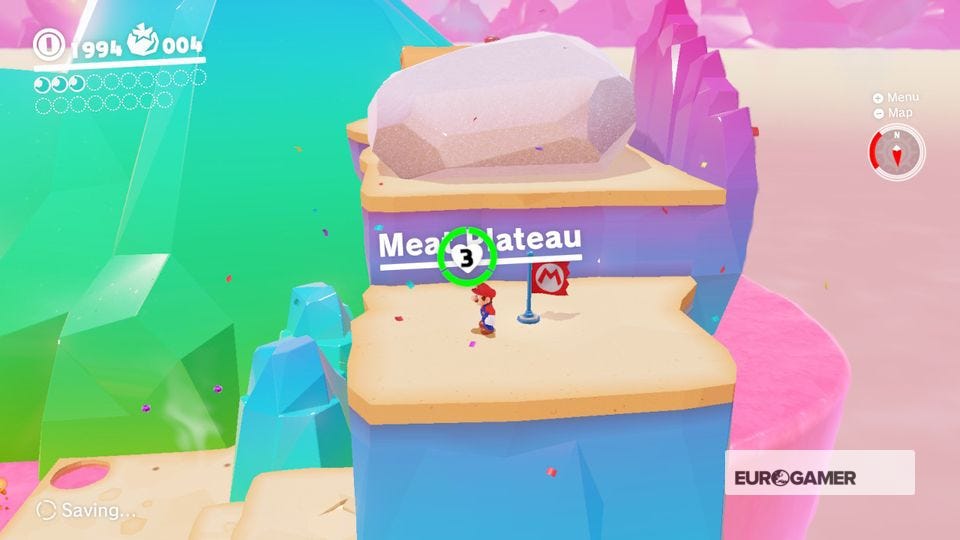
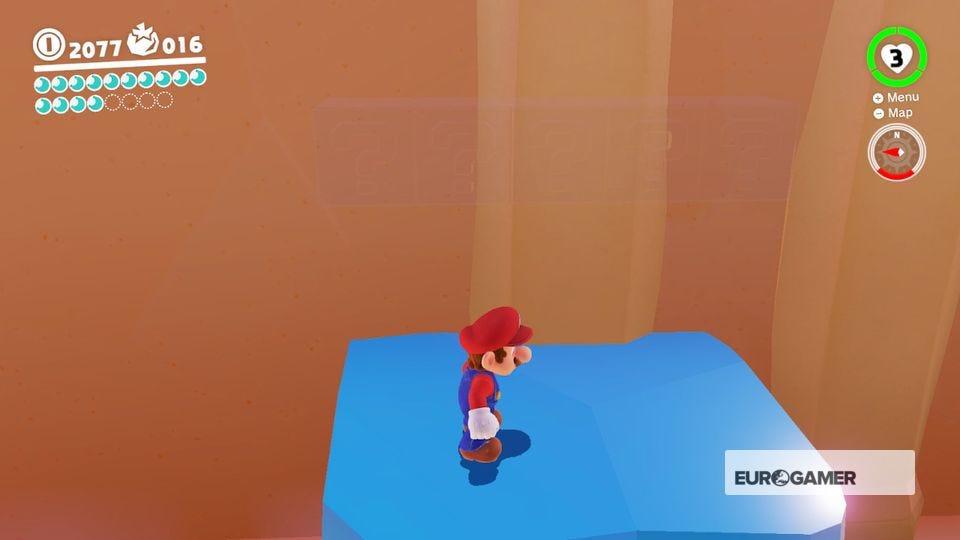
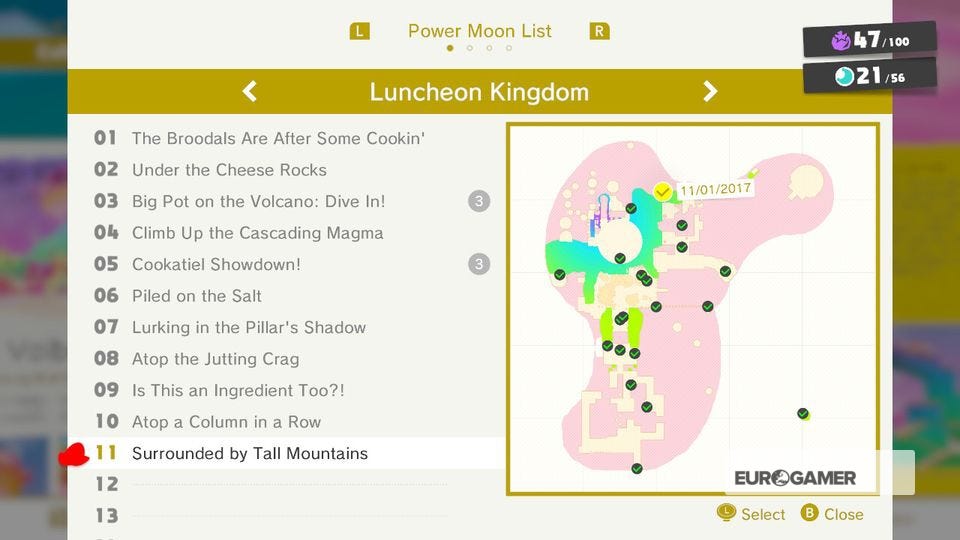
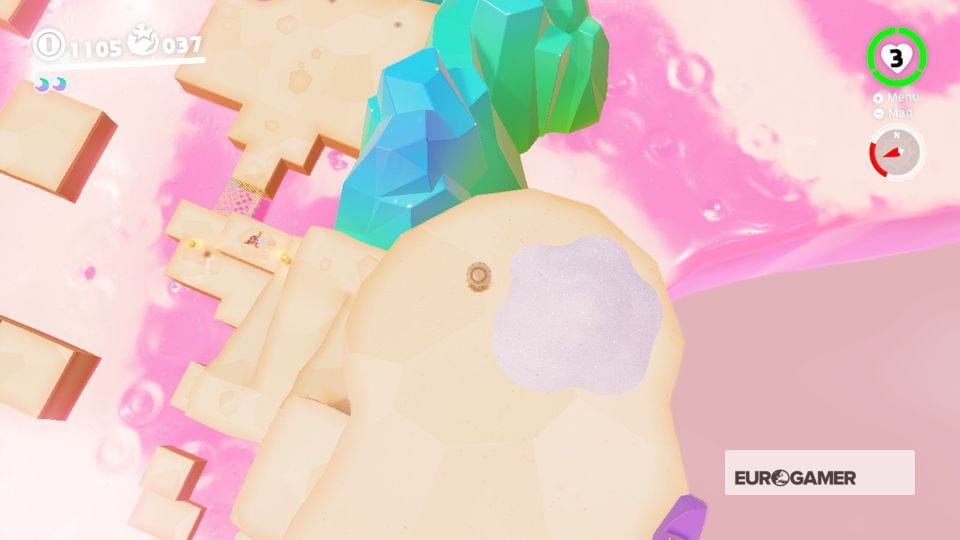
11. Surrounded by Tall Mountains
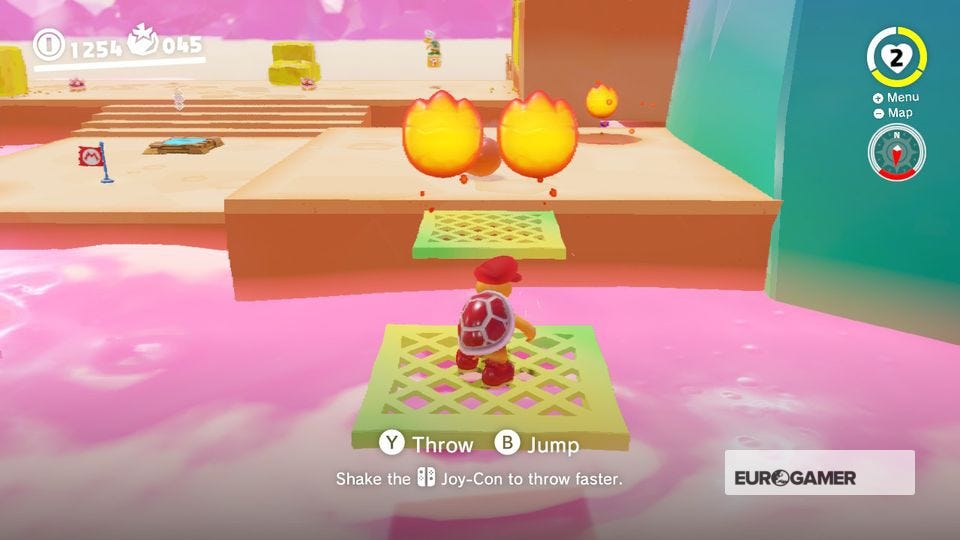
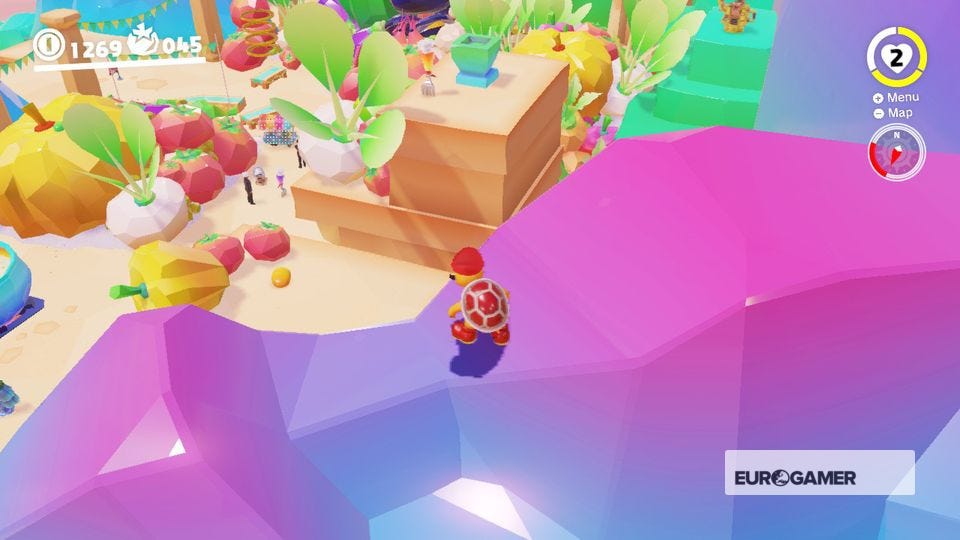
From the Meat Plateau, long jump to the blue mountains. Ground Pound the sparkling spot to the rear and grab your Moon.

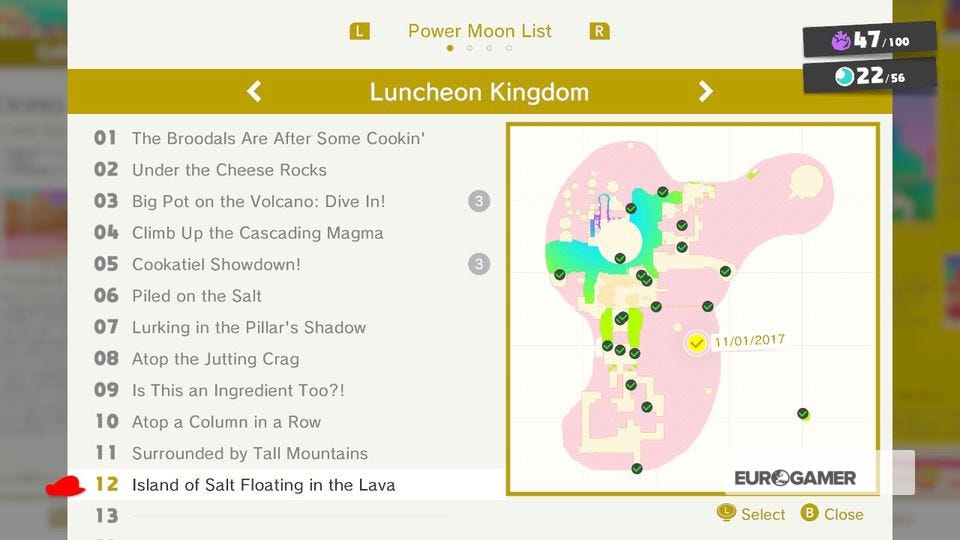
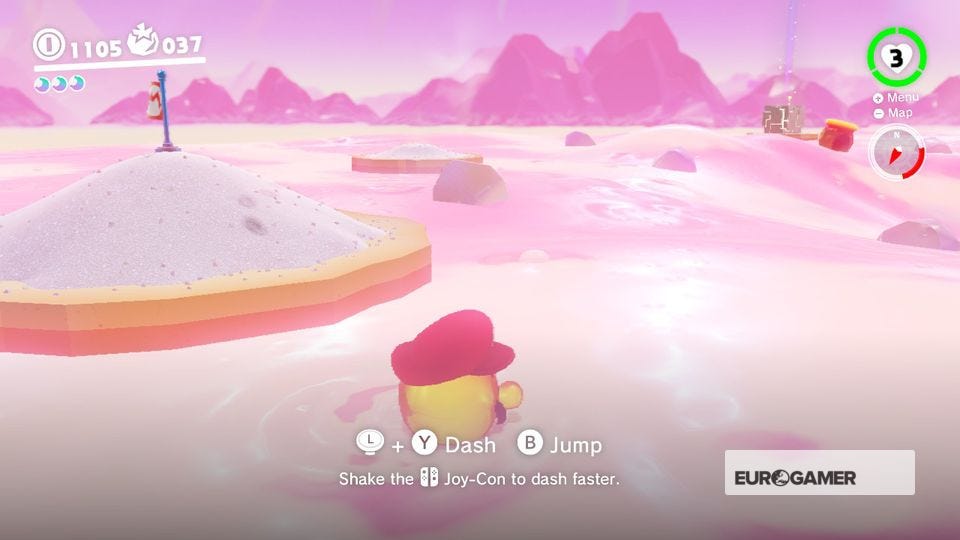
12. Island of Salt Floating in the Lava
From Salt-Pile Isle, use a Lava Bubble to reach the salt pile on the island near you. Ground Pound to reveal a Moon.

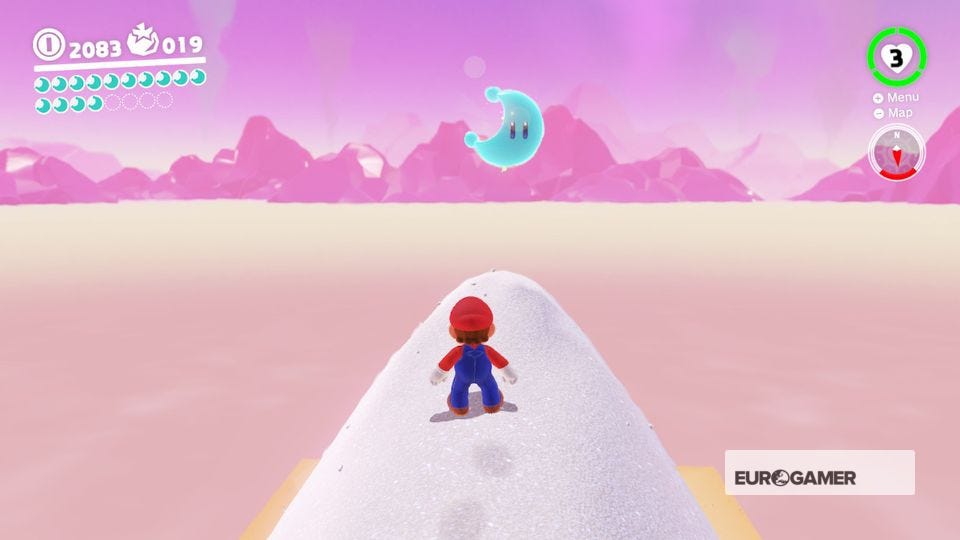
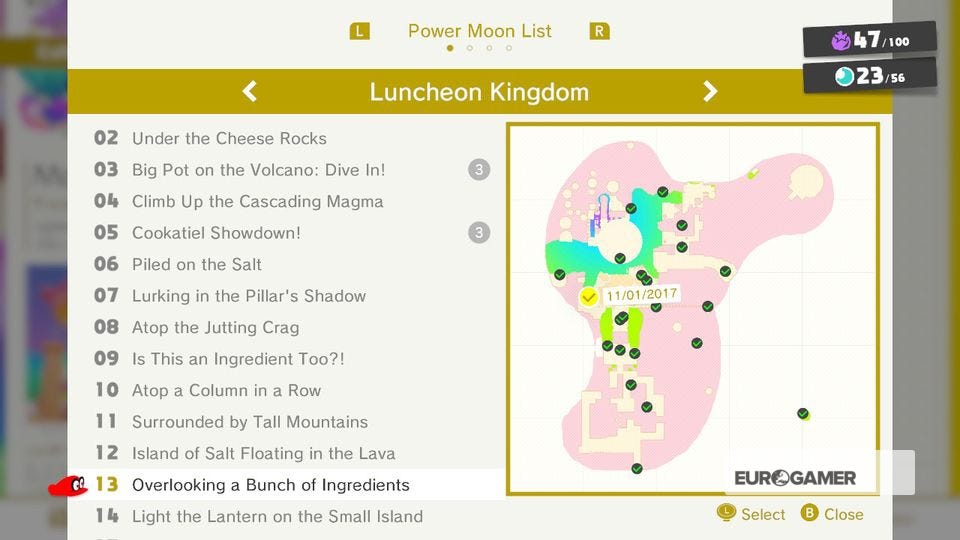
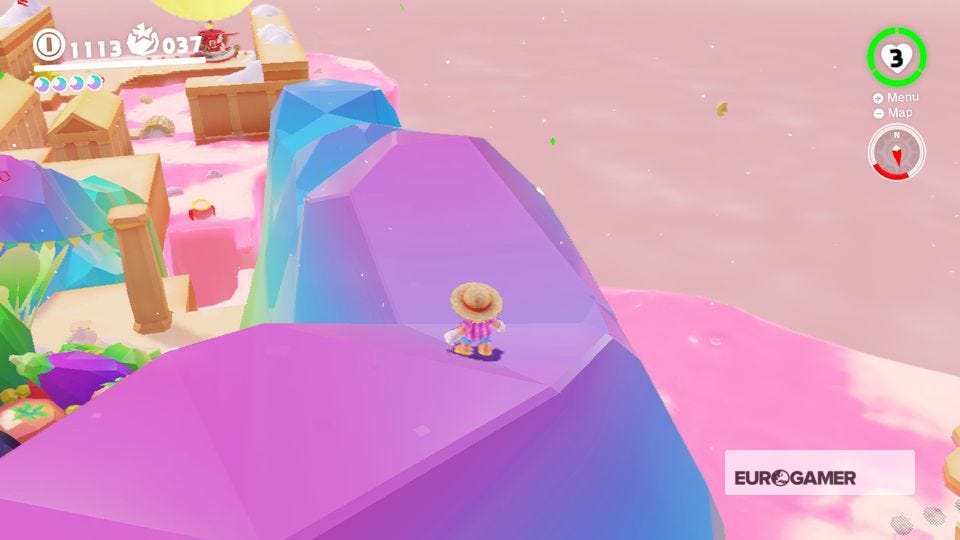
13. Overlooking a Bunch of Ingredients
From Top of the Peak Climb, use the Lava Bubble and cannon to reach the big pot. No jump off towards the green and blue mountain shown in the screenshot. Ground Pound its end point to reveal a Moon.

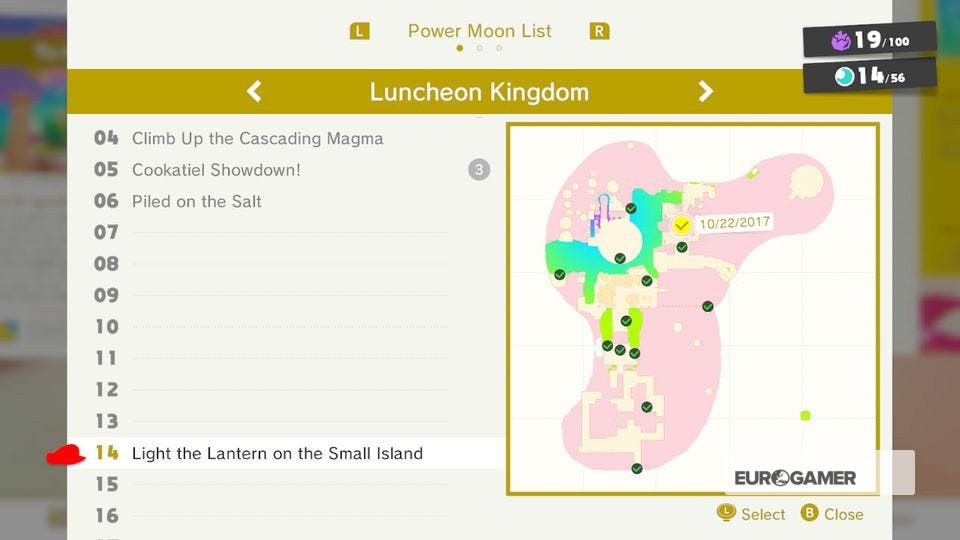
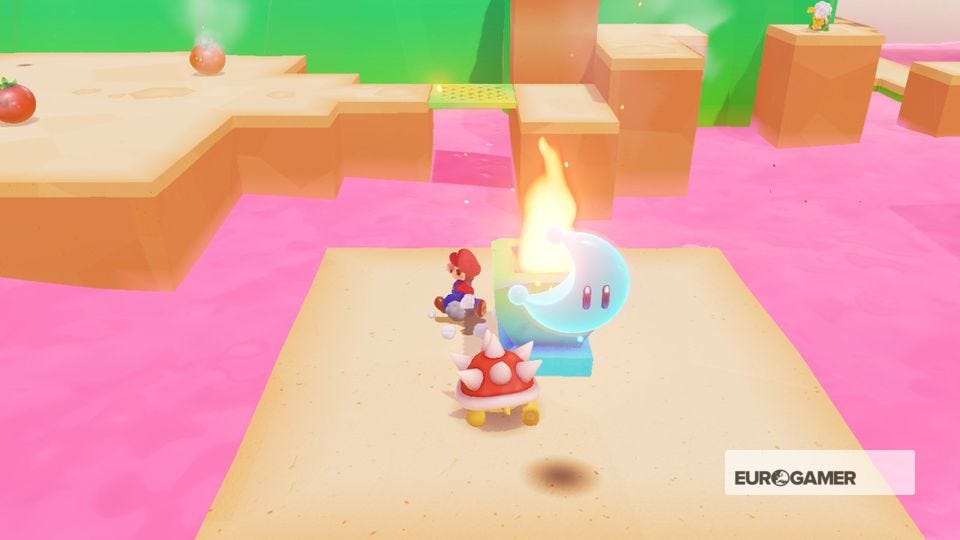
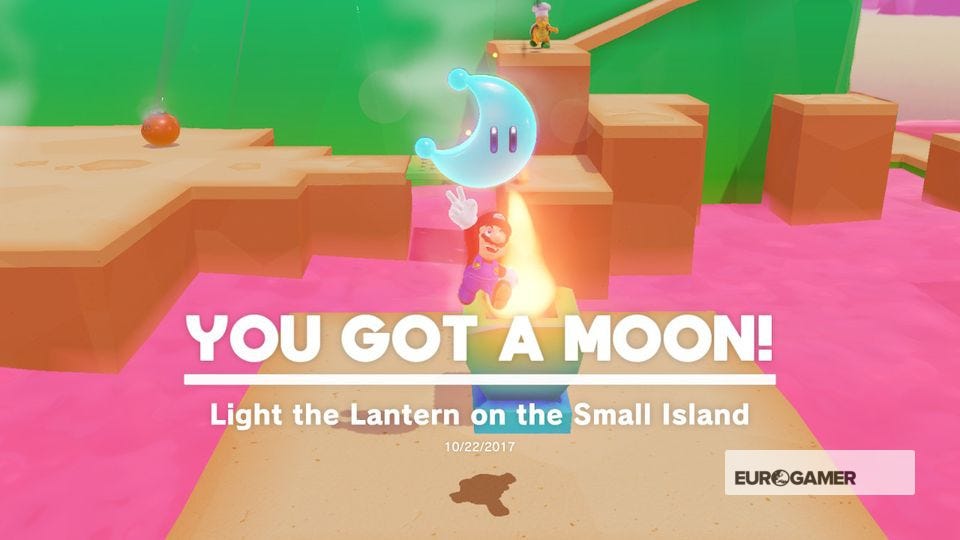
14. Light the Lantern on the Small Island
From the Path to the Meat Plateau checkpoint, possess the Magma Bubble and jump onto the blue torch on the middle island. A Moon shall appear.

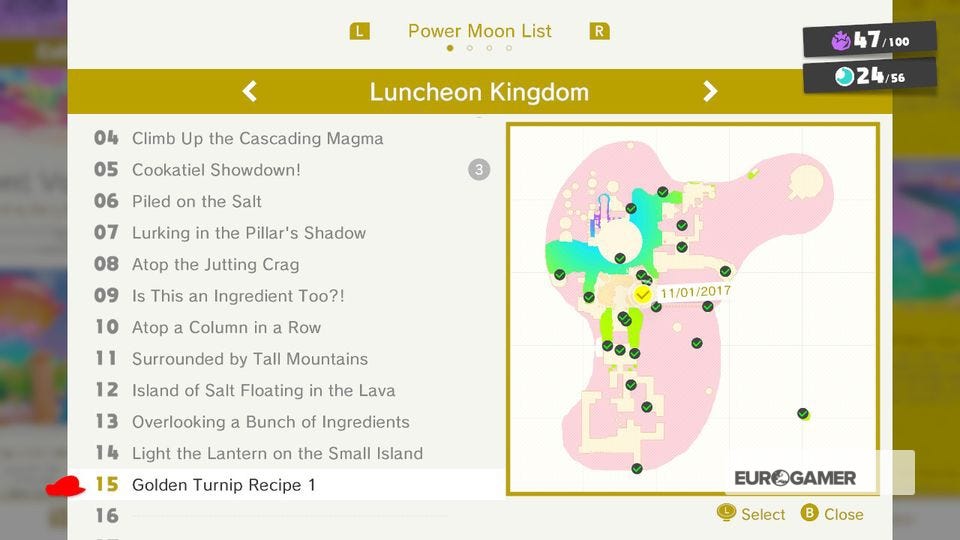
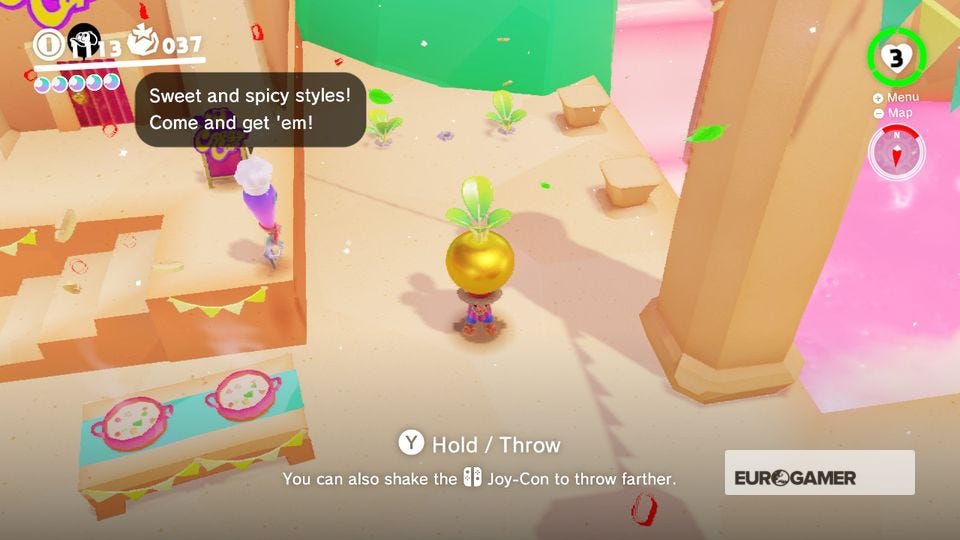
15. Golden Turnip Recipe 1
From Peronza Plaza, use Cappy to pull of the three turnips out of the ground (found to the right of the Crazy Cap shop) and throw it into the blue pot. A Moon will emerge.

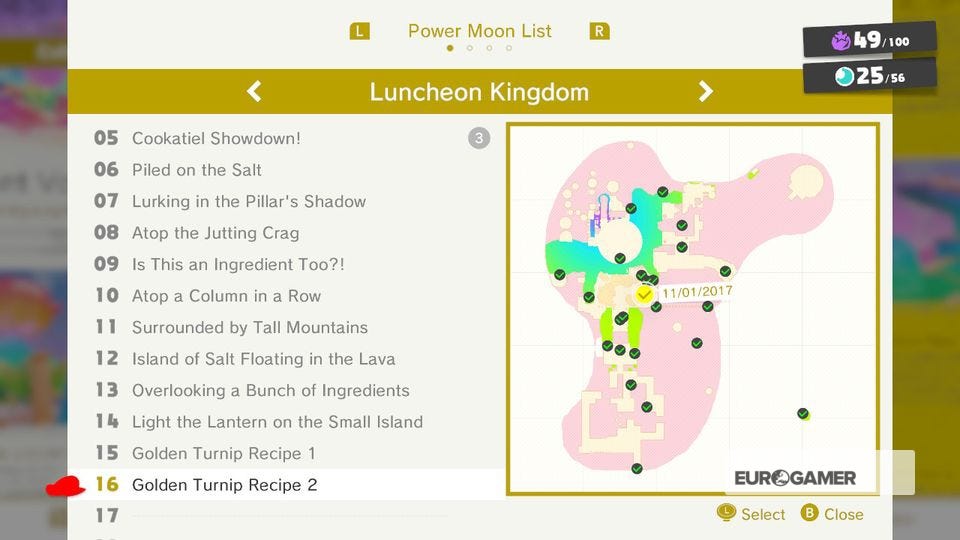
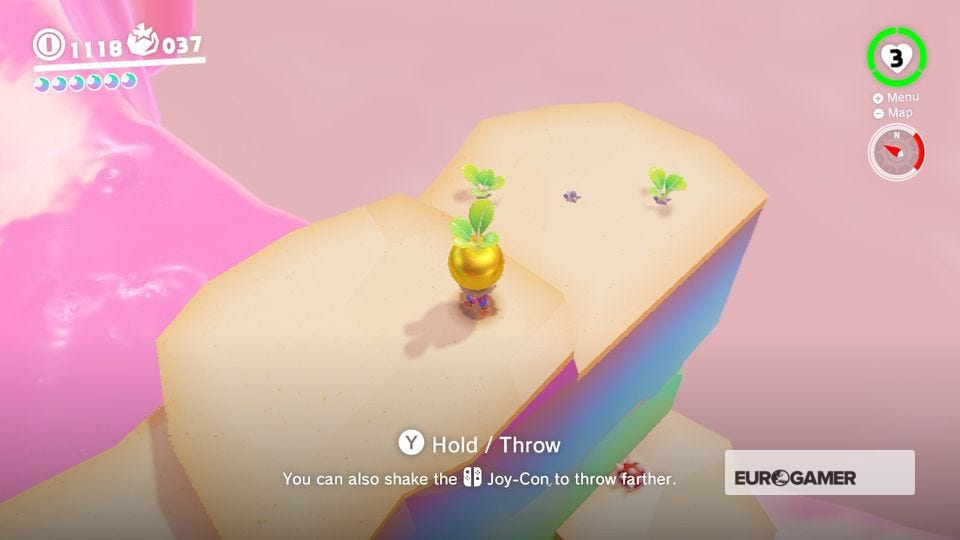
16. Golden Turnip Recipe 2
From Salt-Pile Isle, use the Lava Bubble and the cannon on the next level to pass over the green mountain. Jump out halfway, pull out a golden turnip from the three plants then jump down towards the two Hammer Bros and cheese blocks.
Use one of the Hammer Bros to smash a clear path up the steps, being careful not to take too long. Taking too long will reset the turnip, and restore the wall. Use the green wall show in the screenshot to reach the plaza. Throw the turnup in the pot to reveal a Moon.
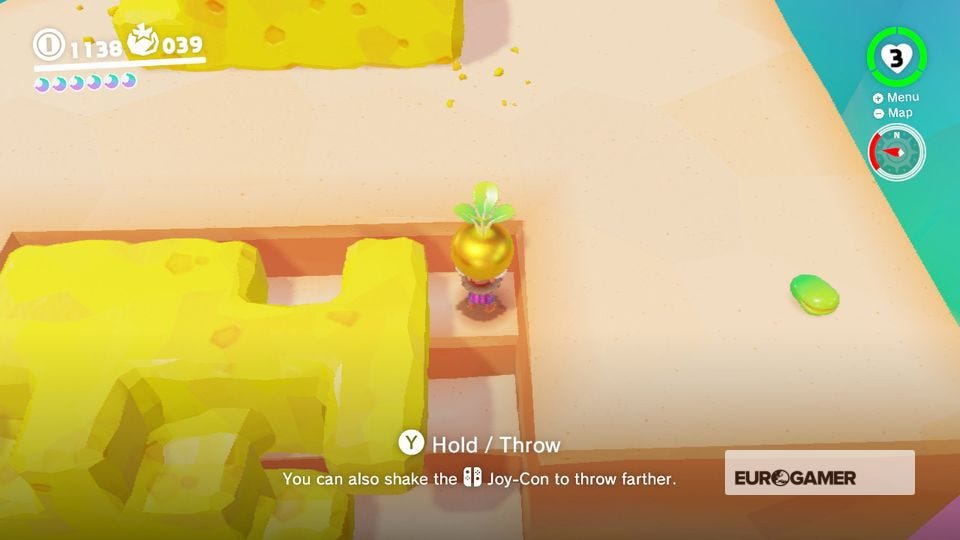

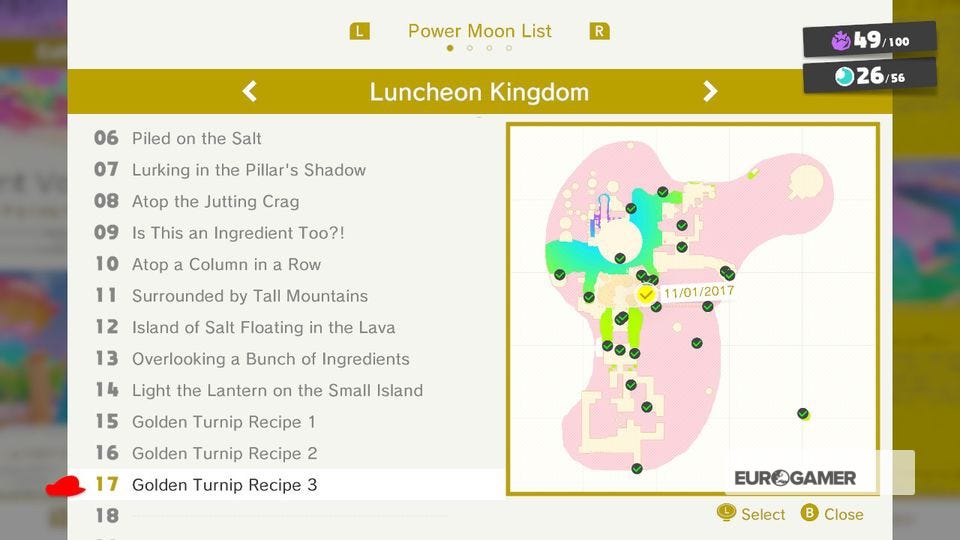
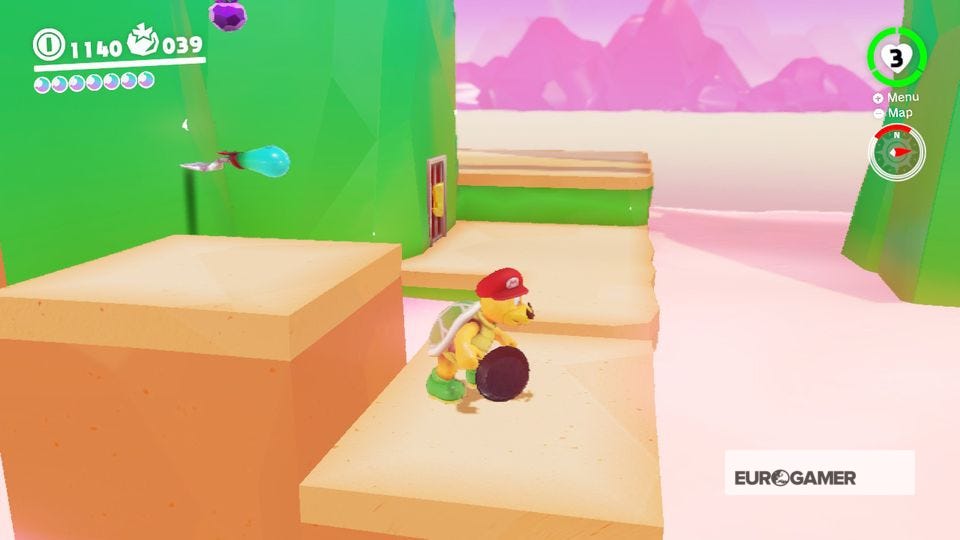
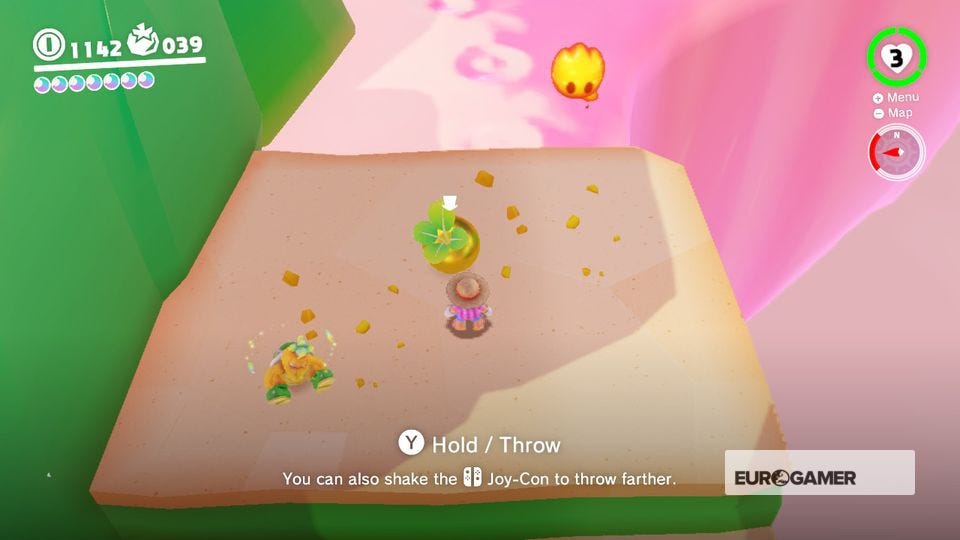
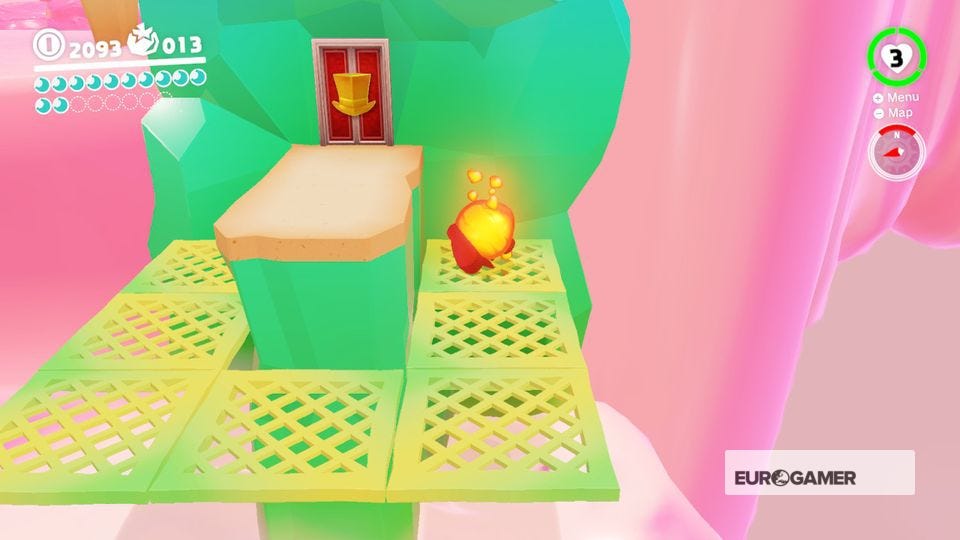
17. Golden Turnip Recipe 3
From Path to the Meat Plateau, possess one of the Hammer Bros behind, follow the platforms around, past the two Fire Bros, around the corner and past the hat door. Destroy the cheese block, pull out the golden turnip and return the way you came.
Watch out as one hit will make the turnip respawn back where you started. Repeat the cheese block process from Moon #16 and throw the turnip in the pot at Peronza Plaza to earn this Moon.

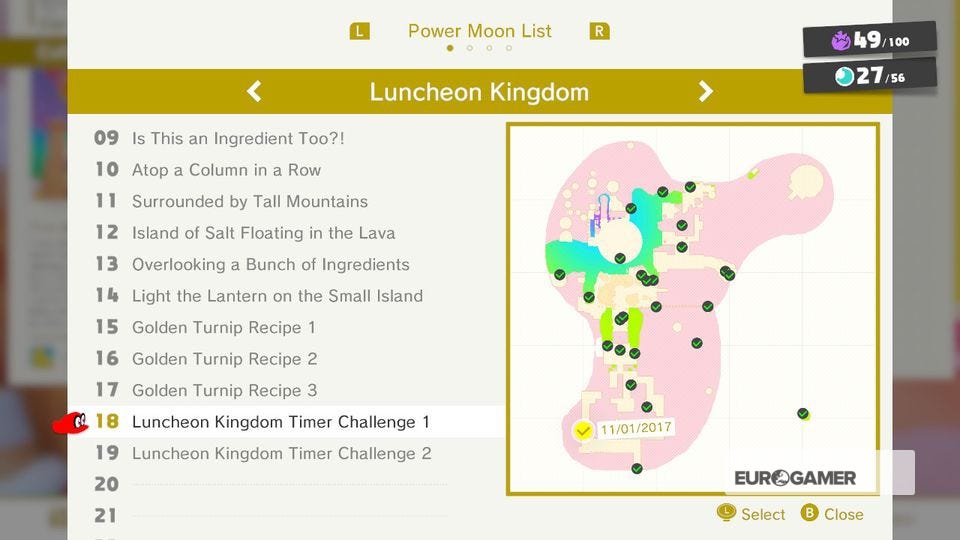
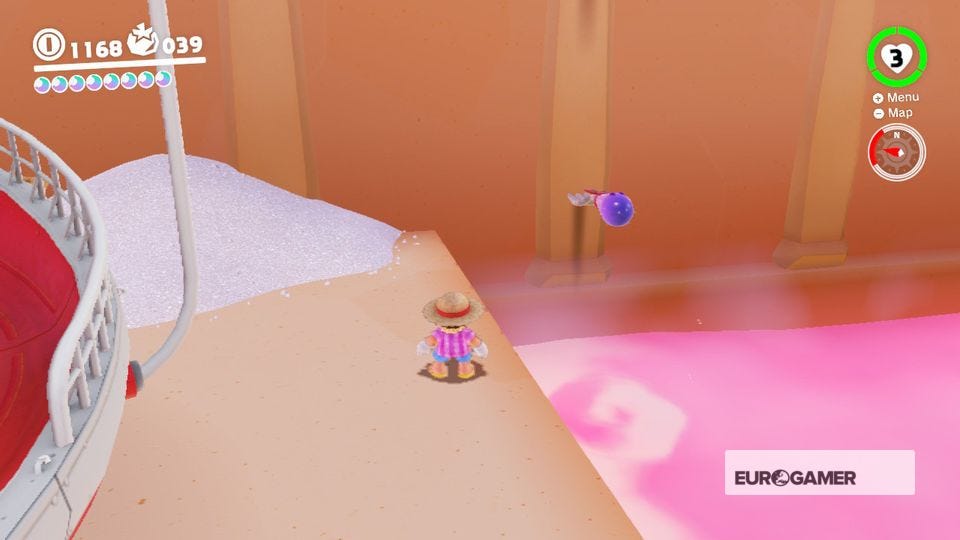
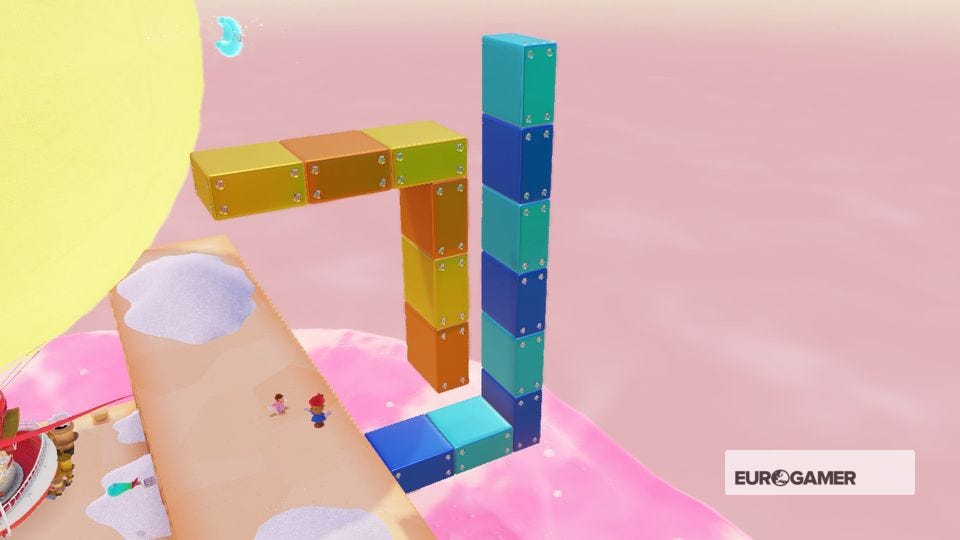
18. Luncheon Kingdom Timer Challenge 1
From the Odyssey, use the forks on the wall to reach the scarecrow. Simply wall jump to the top to grab the Moon above.

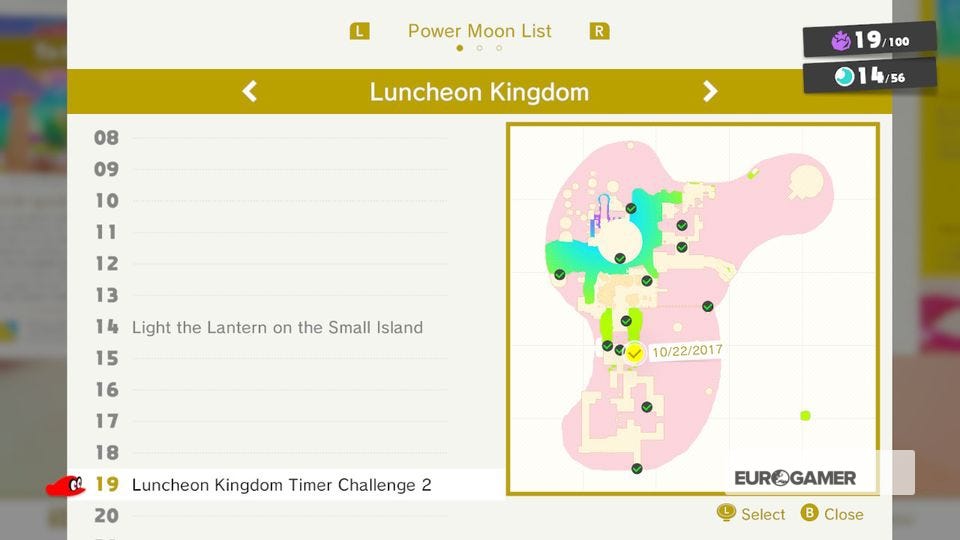
19. Luncheon Kingdom Timer Challenge 2
From the Peronza Plaza checkpoint, drop down to the lower level behind you, turn right and throw Cappy at the scarecrow. Run across the purple bridge to grab the key, then keep to the left-hand side and leap once to reach the Moon.
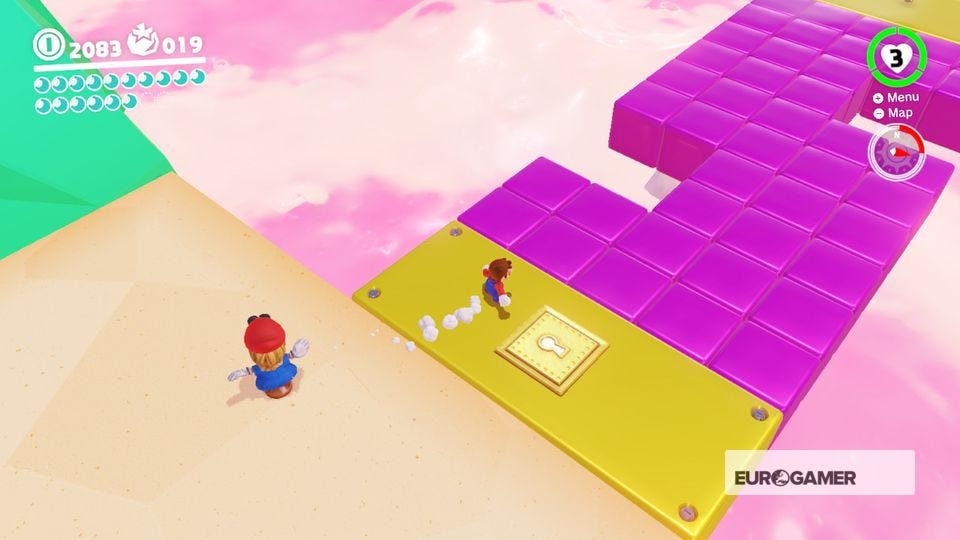

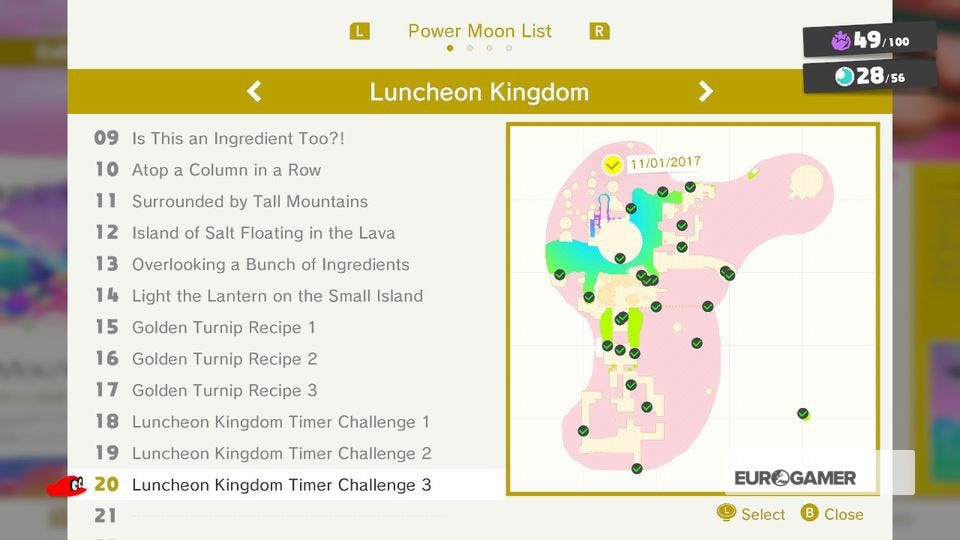
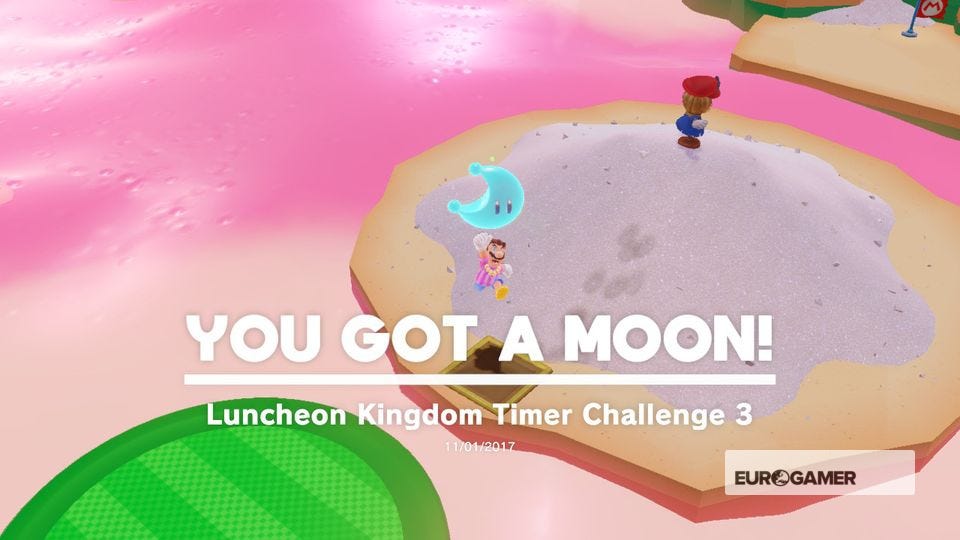
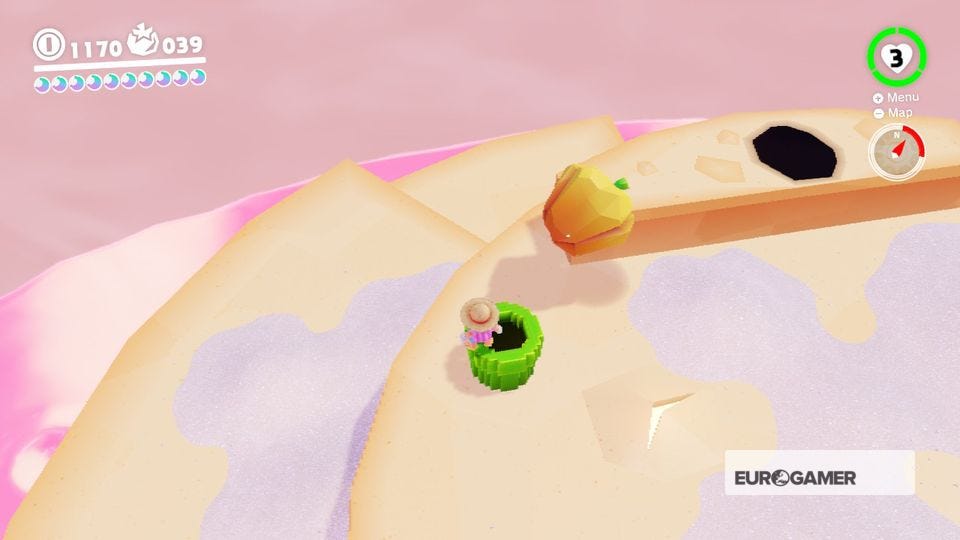
20. Luncheon Kingdom Timer Challenge 3
From Start of the Peak Climb, turn around the use the scarecrow to reveal the two round platforms. Do a backflip under the key, then grab the Moon at the end.
Super Mario Odyssey Luncheon Kingdom Power Moons 21 to 30
21. Beneath the Rotting Vegetables
From Remote Island in the Lava, enter the Warp Pipe and use the 2D section (which is split into two parts) to reach the Moon. The 3D veggies can't hurt you, but will put you off. Watch out for the Hammer Bros at the start.

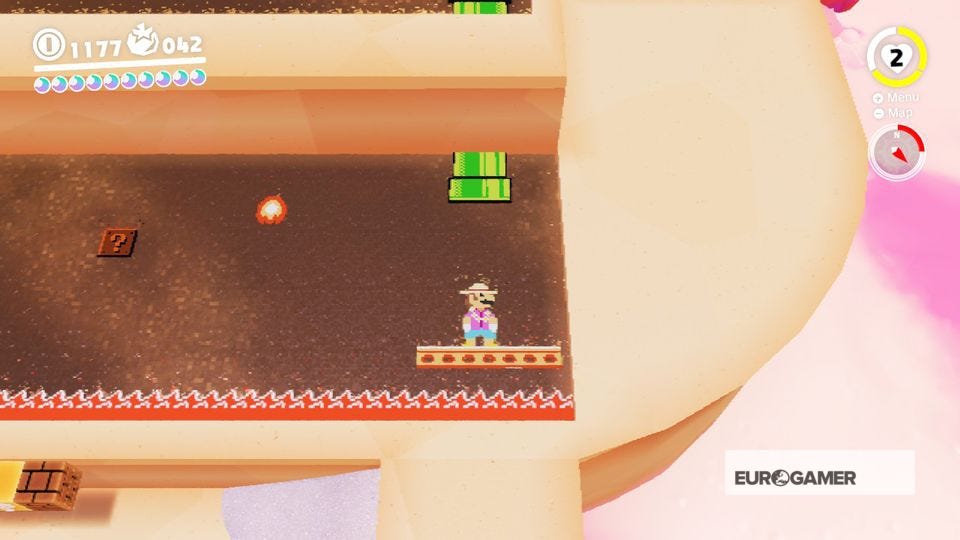

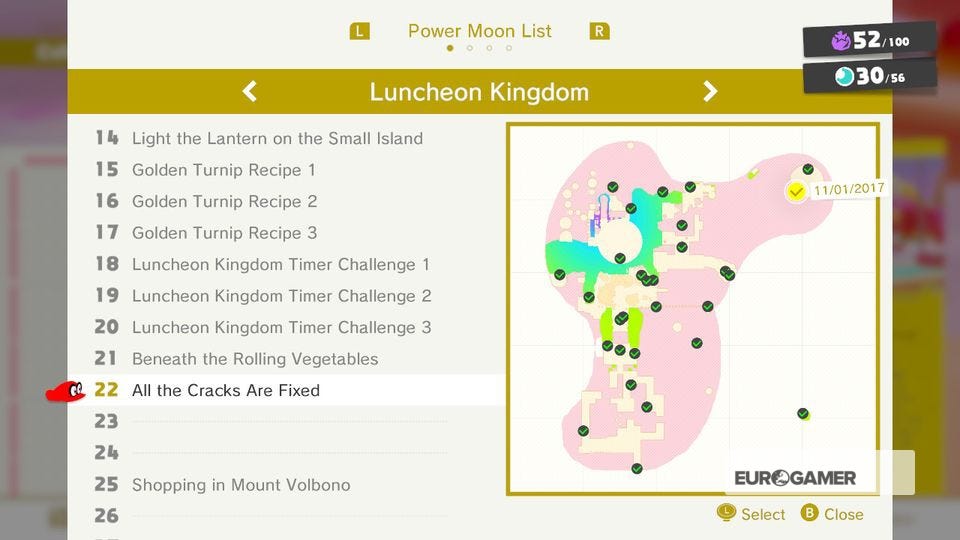
22. All the Cracks Are Fixed
From Remote Island in the Lava, Ground Pound the six cracks in the ground to reveal a Moon. Watch out for those bouncing veggies.

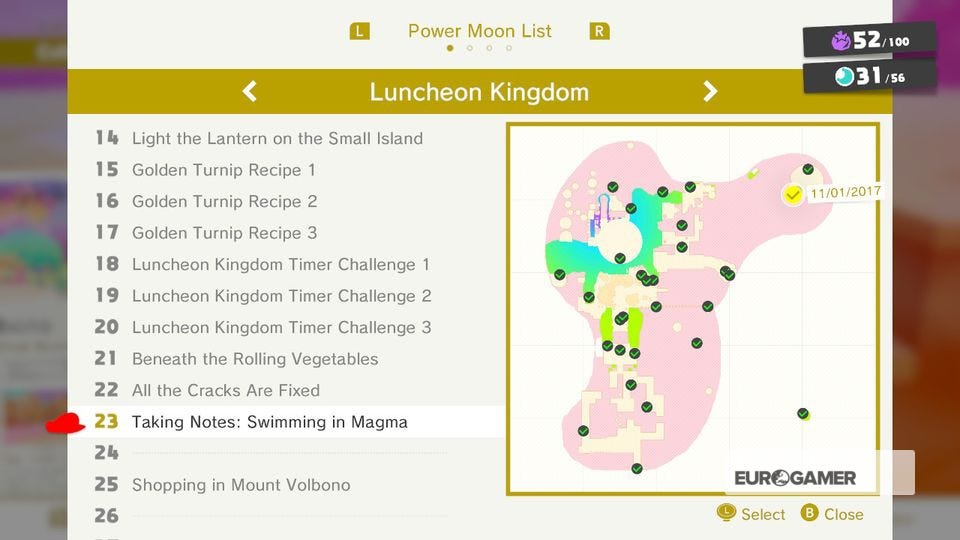
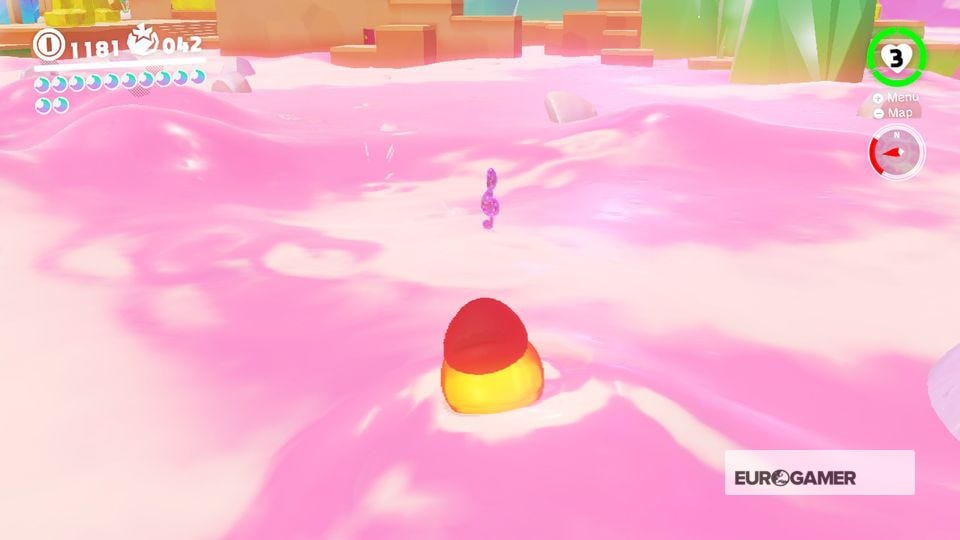
23. Taking Notes: Swimming in Magma
From Remote Island in the Lava, use the Lava Bubble to reach the clef. Now follow the line of notes and jump back onto the island to release the Moon.

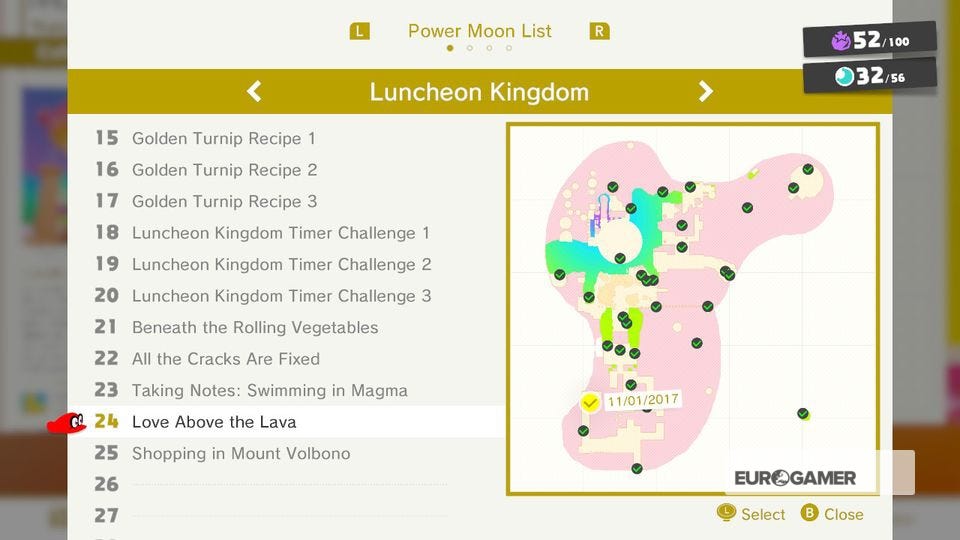
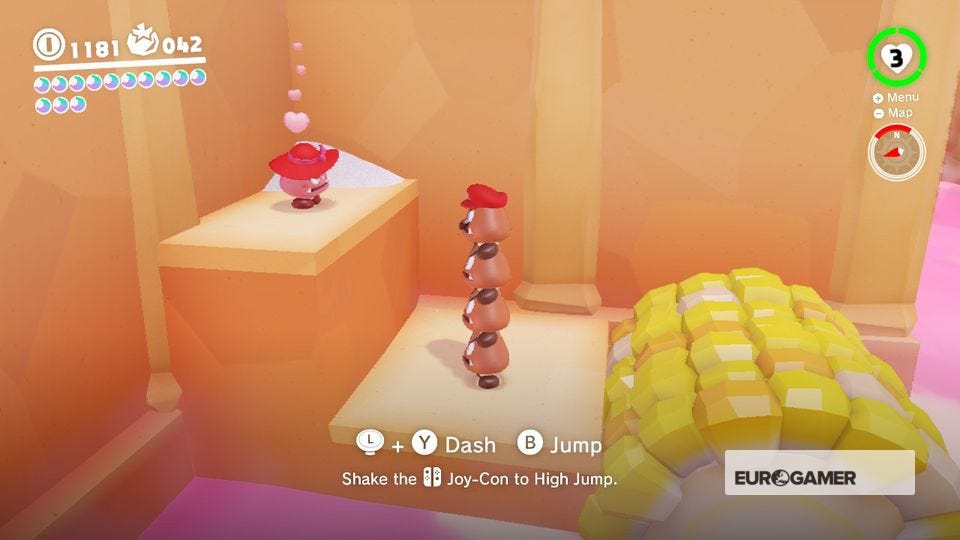
24. Love Above the Lava
From Peronza Plaza, possess the four Goombas on the roof behind you. Then drop down and use the spinning corn on the cob to reach the lady Goomba across the lava. She'll give you a Moon for you troubles.

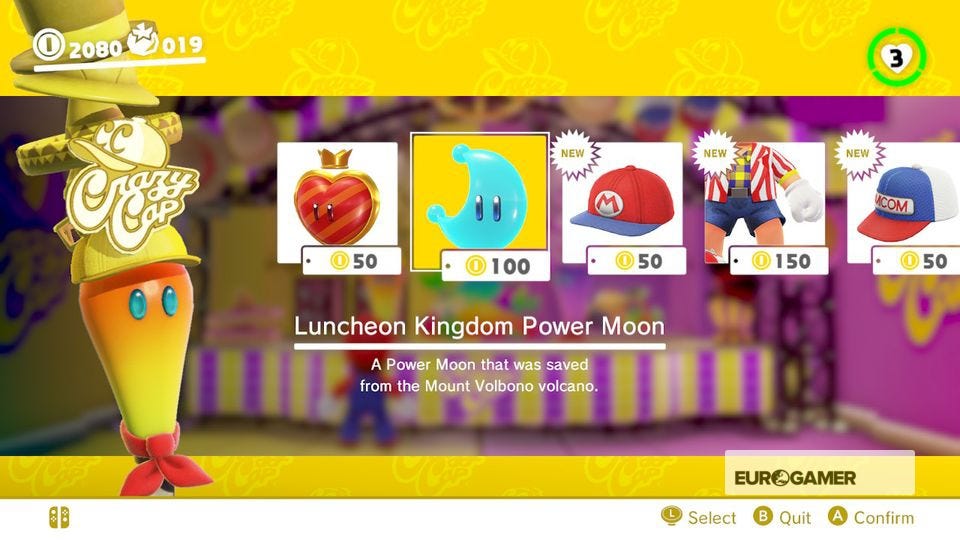
25. Shopping in Mount Volbono
From the Peronza Plaza checkpoint, head forwards, turn right and you'll find the Crazy Cap store on your left. Buy the Moon inside for 100 gold coins.


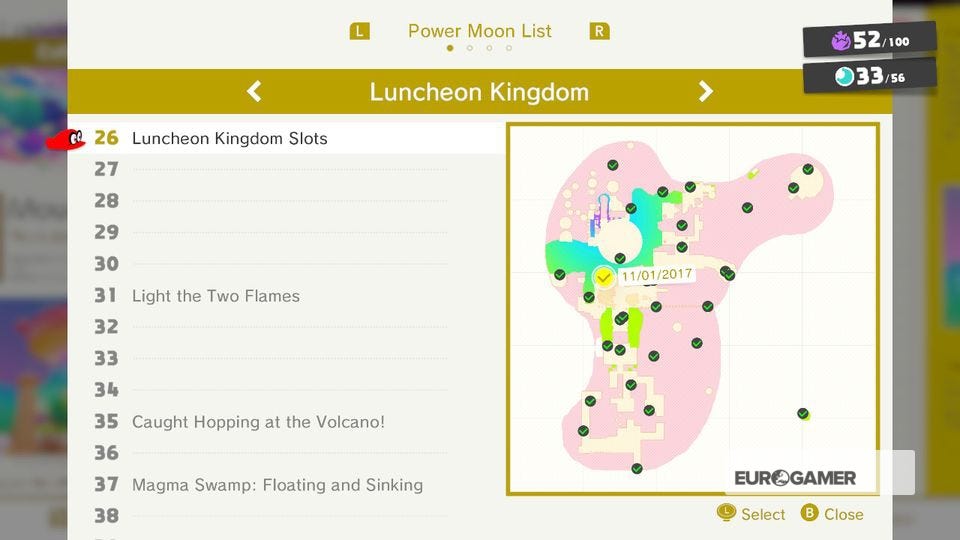
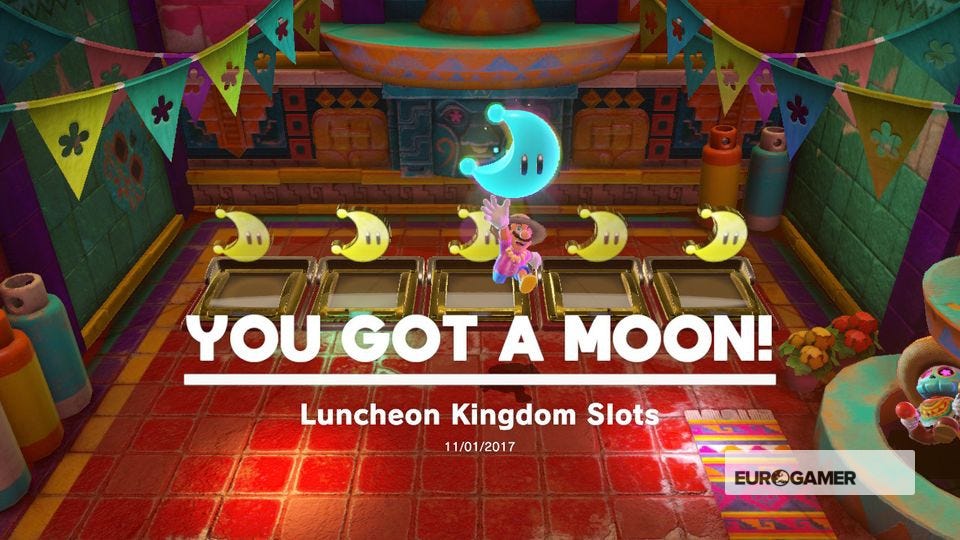
26. Luncheon Kingdom Slots
From Peronza Plaza, enter the slots building and stand by either side of the flashing symbols. Throw Cappy when the heart appears to get a line of moons and a Moon of your own.
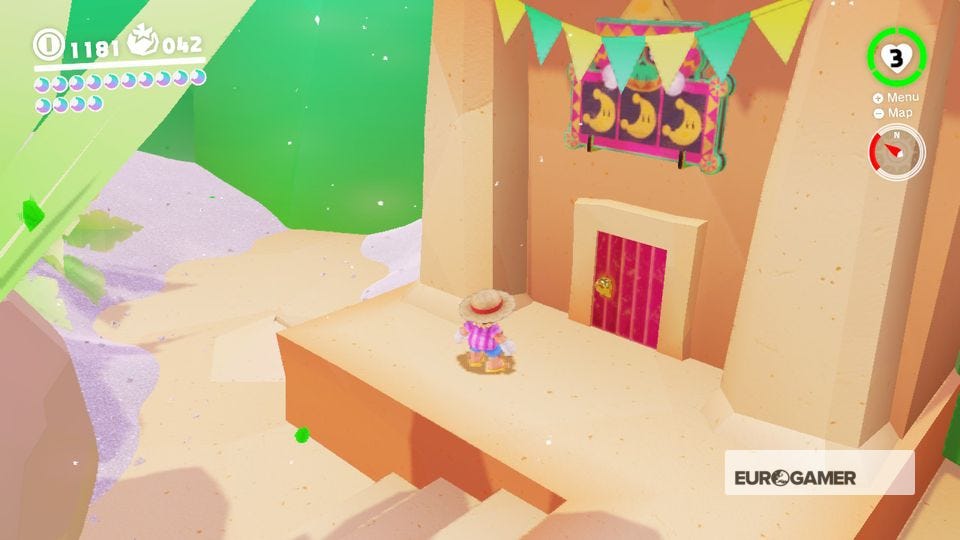
27. A Strong Simmer
From Peronza Plaza, buy the Chef Hat and Chef Outfit from the Crazy Cap shop, now enter the previously locked room next to the shop. Inside, use a Lava Bubble to jump into the pot and reveal a Moon.
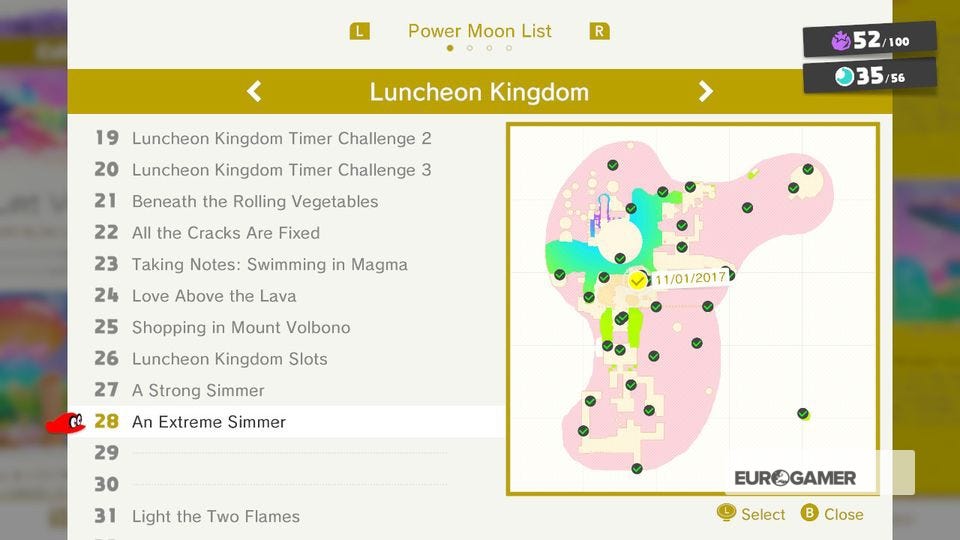


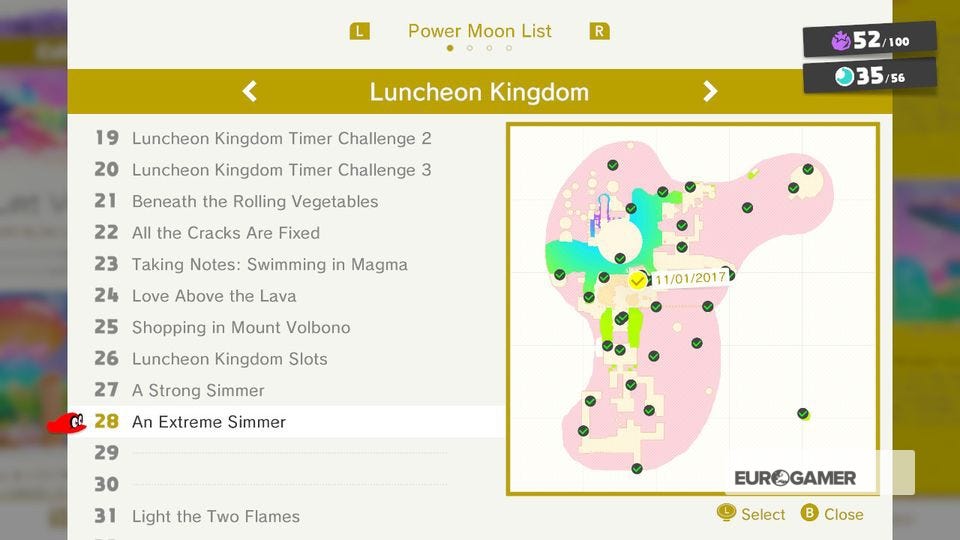
28. An Extreme Simmer
In the same area you collected Moon #27, splat all the tomatoes on the steps past the first pot, the use this puddles to possess a Lava Bubble and reach the magma on the other side. Now jump in this second pot to reveal a Moon.
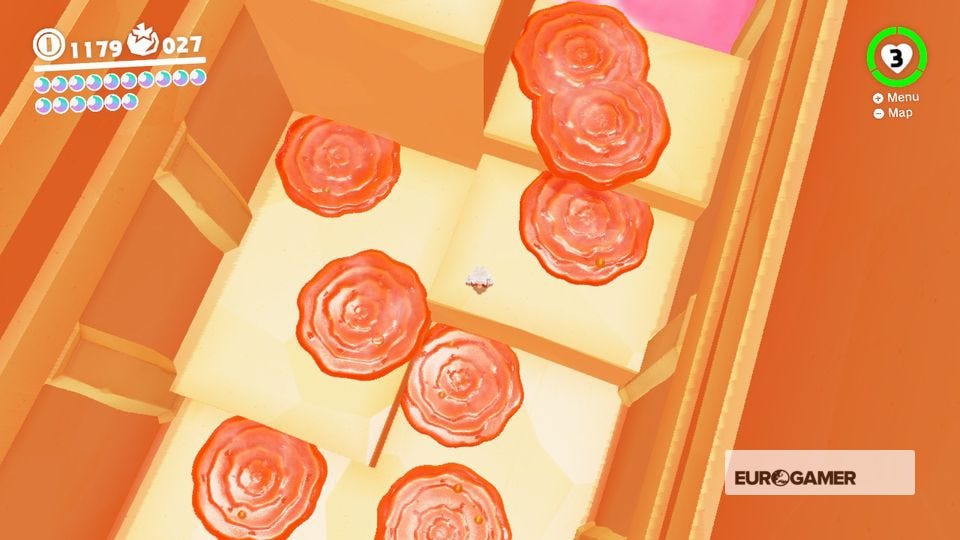

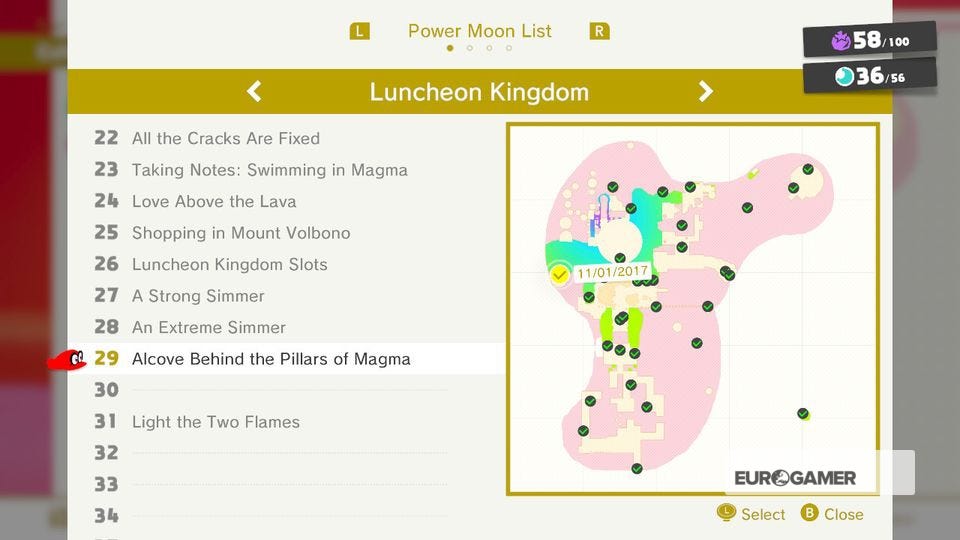
29. Alcove Behind the Pillars of Magma
From Volcano Cave Entrance, use a Lava Bubble to reach the entrance. Inside, ride up the hill, dodge the pillars then drop down to find a Moon hidden on the other side of the hill itself.
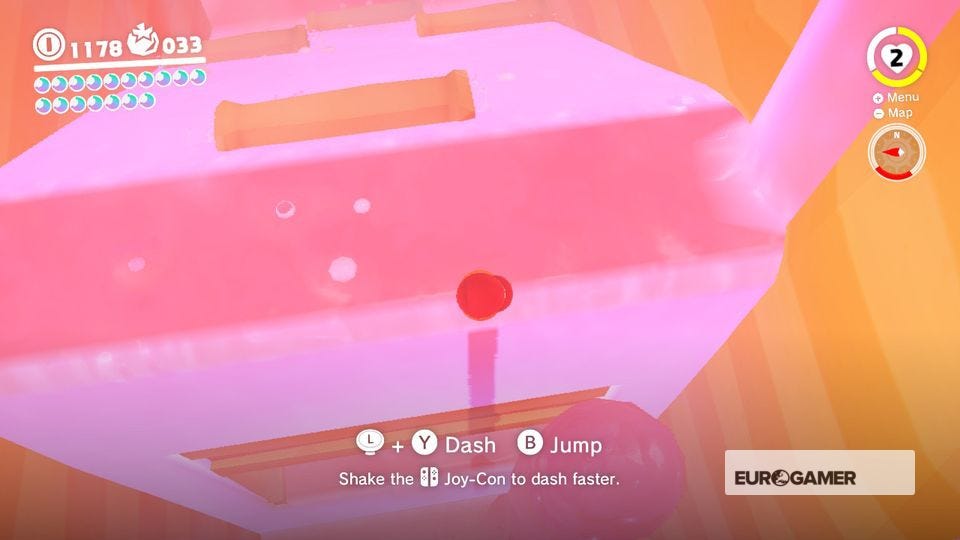

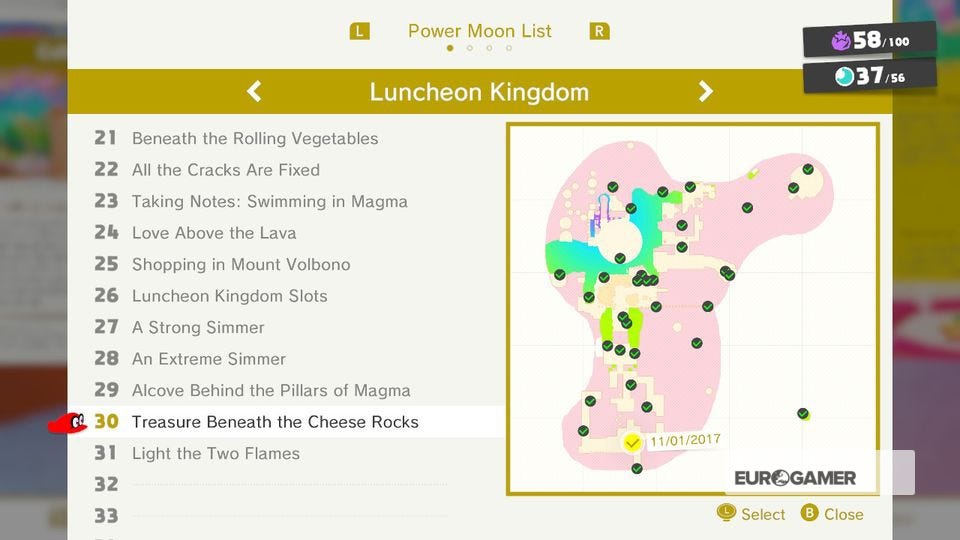
30. Treasure Beneath the Cheese Rocks
From Path to the Meat Plateau, grab a Hammer Bro, destroy the cheese blocks on the stairs, climb up over to Peronza Plaza, use the rooftops to reach the opening area and destroy the cheese block near the Odyssey to get your Moon.

Super Mario Odyssey Luncheon Kingdom Power Moons 31 to 40
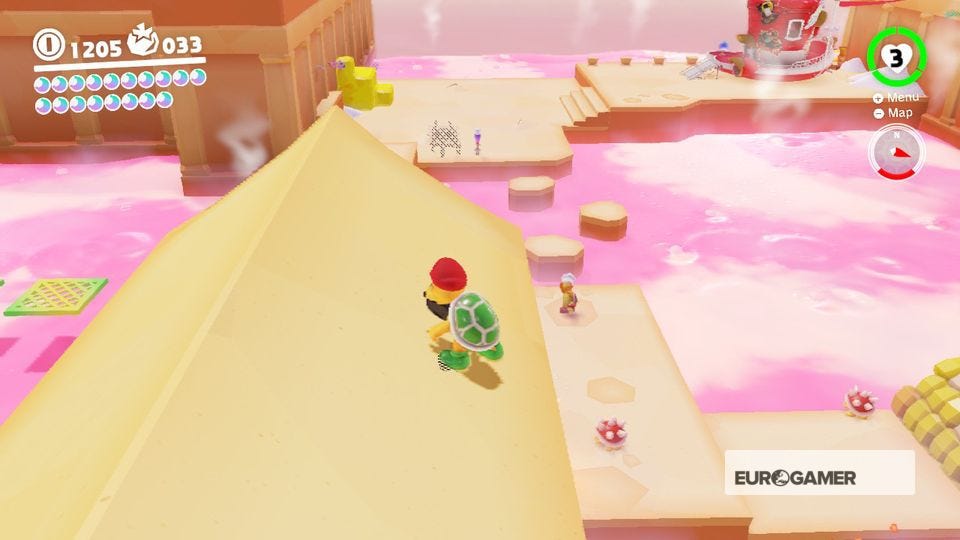
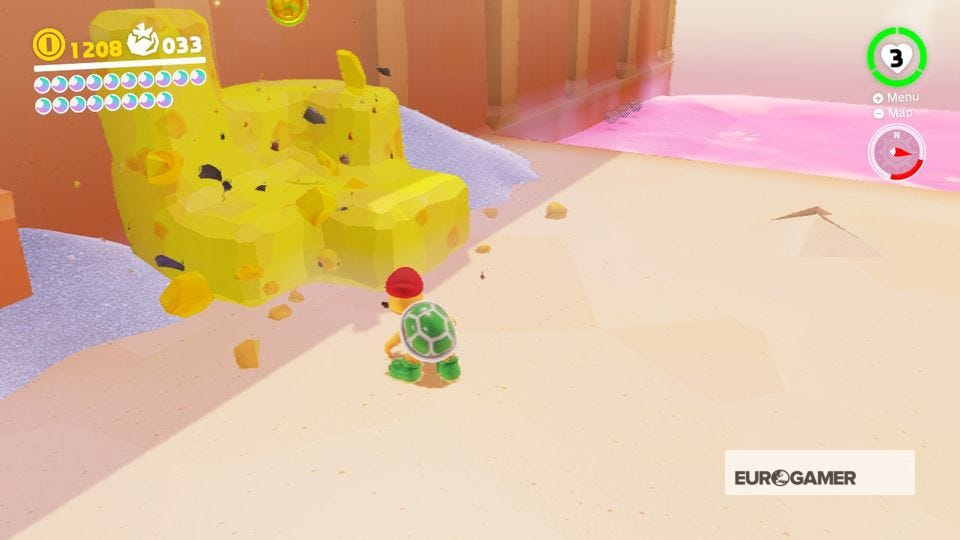
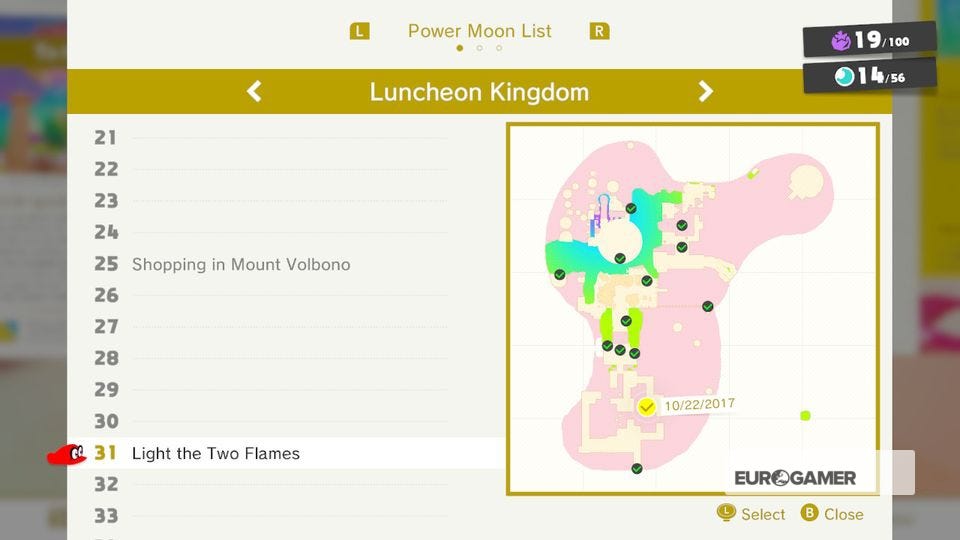
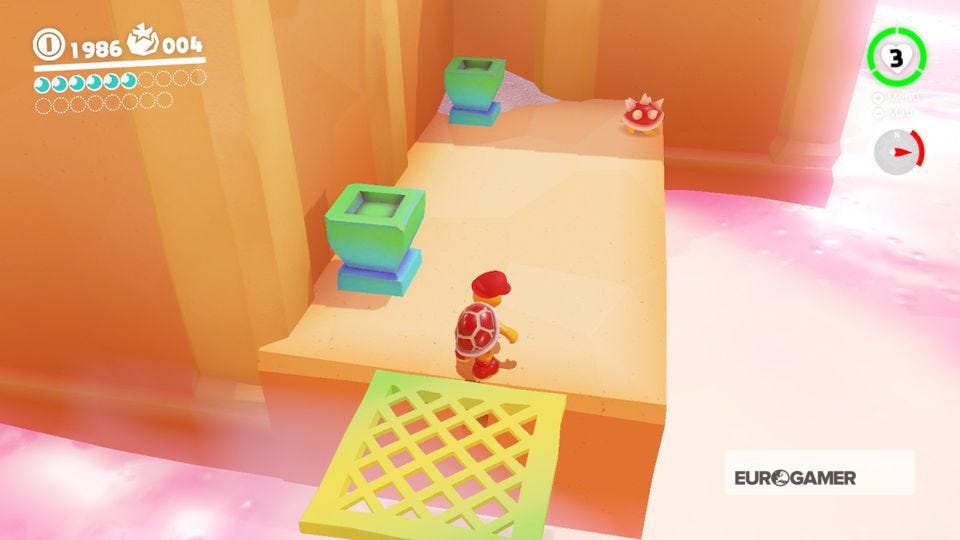
31. Light the Two Flames
Anytime after completing the third story objective (Big Pot on the Volcano: Dive In!), the opening area will have Fire Bros. Posses one, turn right and look for the two blue torches against a wall. Light both for a Moon.
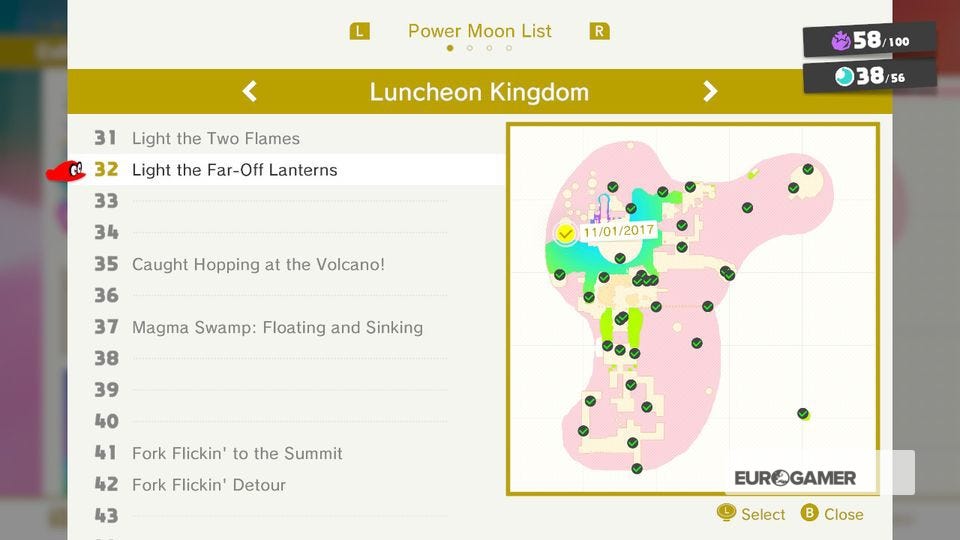
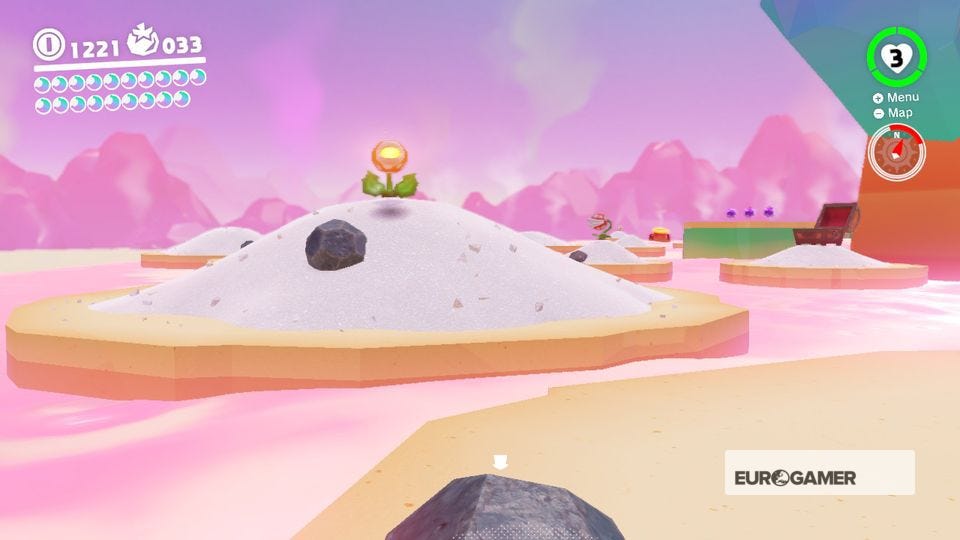
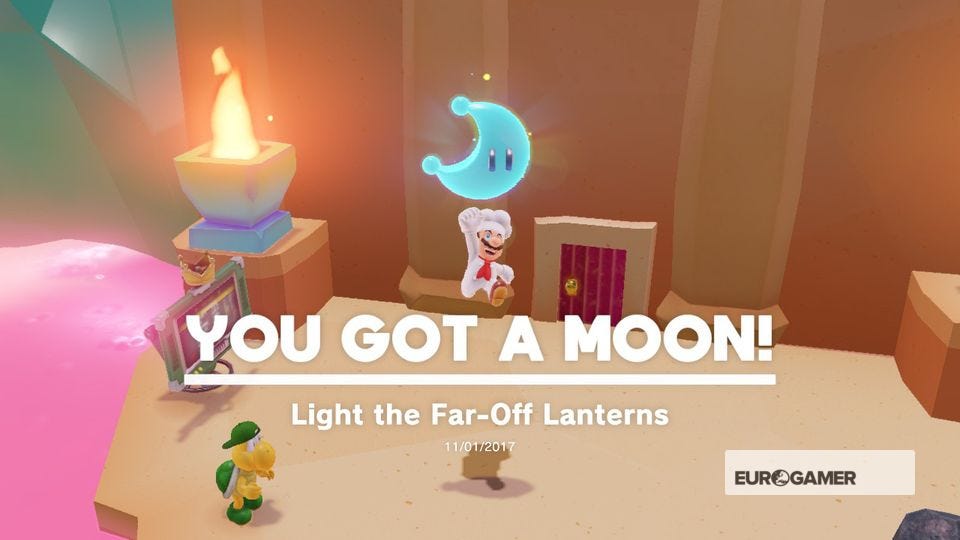
32. Light the Far-Off Lanterns
From Top of the Peak Climb, turn around the long jump down to the platform with the door and the two unlit lamps. Stand in front of each one and use the fire-spitting plant's attacks to light each one, releasing a Moon.
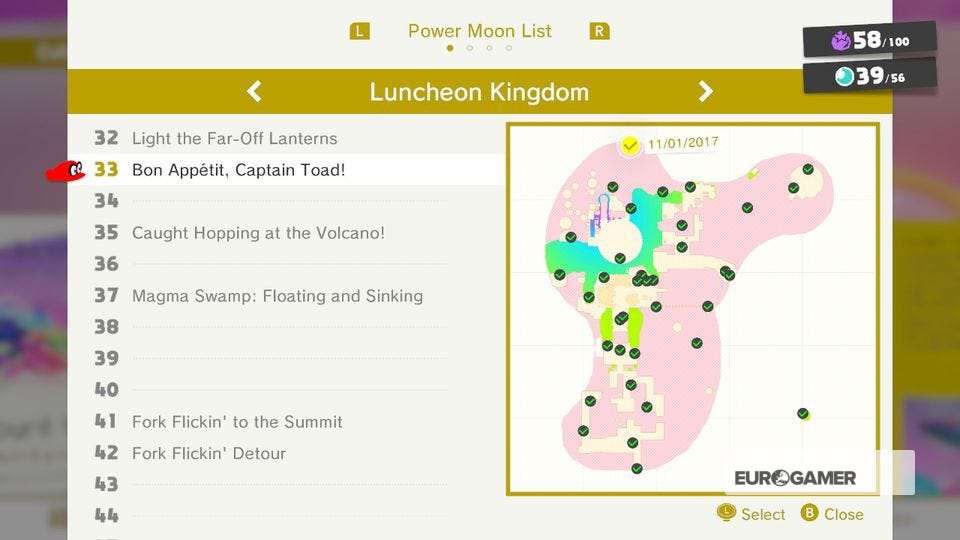
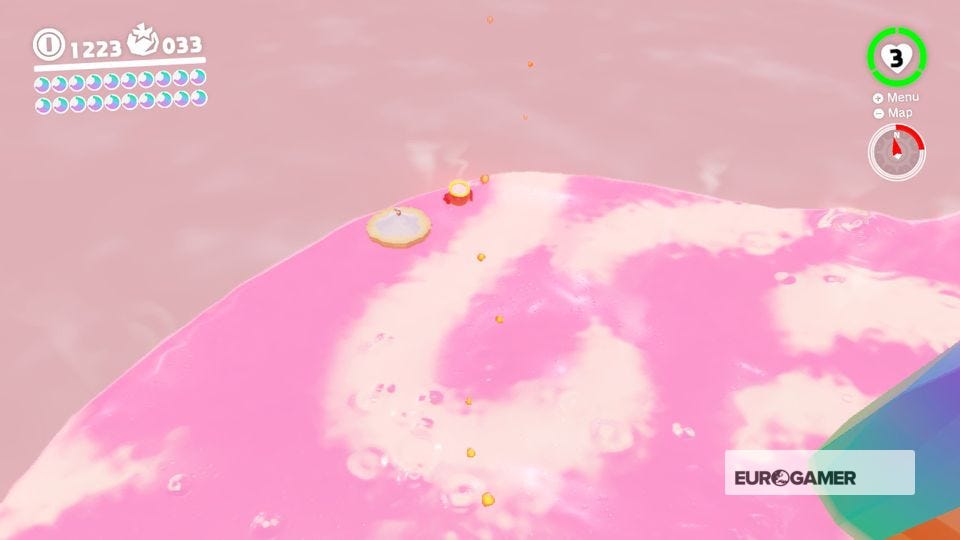
33. Bon Appetit, Captain Toad!
From Top of the Peak Climb, use a Lava Bubble to ride up to the cannon. Now jump past it and down into the lake below. Captain Toad is on an island next to another cannon. Speak to him and receive a new Moon.

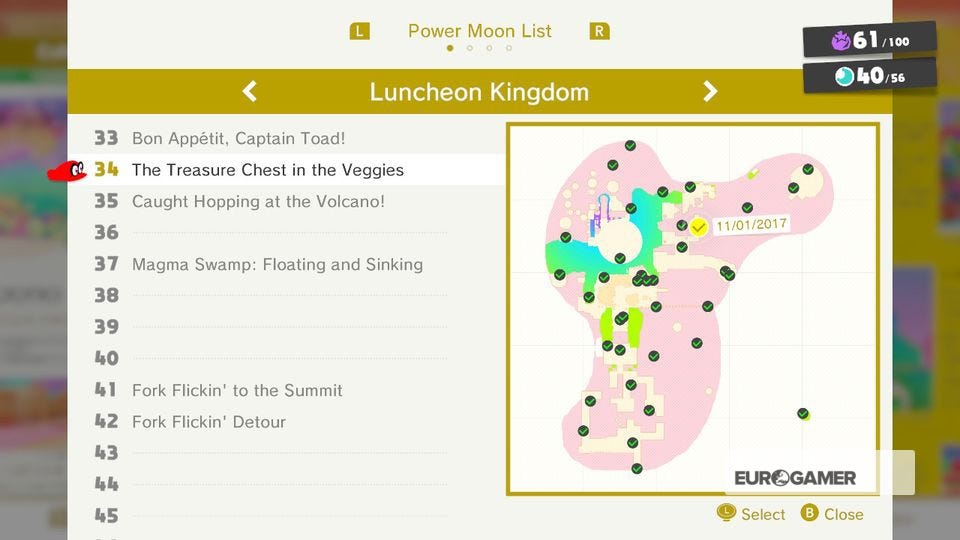
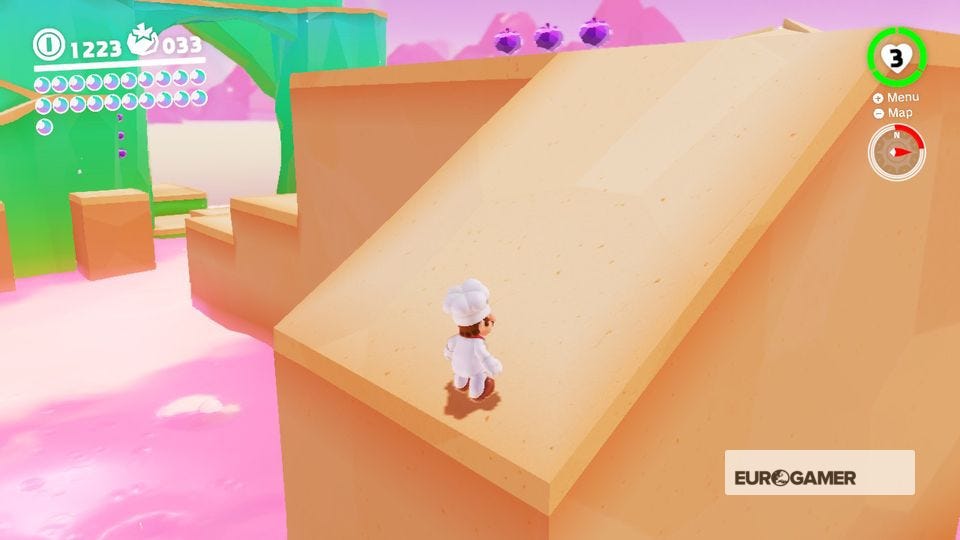
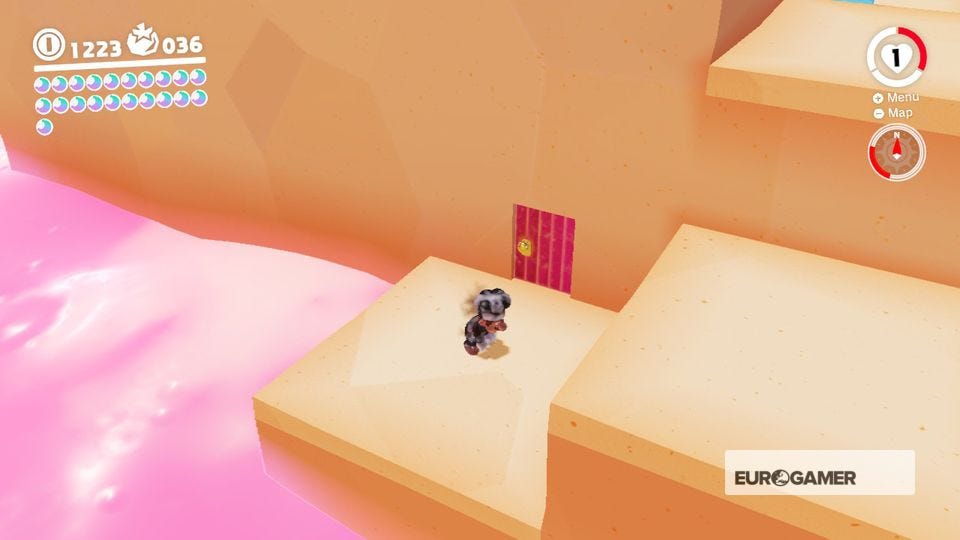
34. The Treasure Chest in the Veggies
From Path to the Meat Plateau, jump up onto the ledge to your right, jump down the other side, enter the doorway and collect the Moon from the chest within.

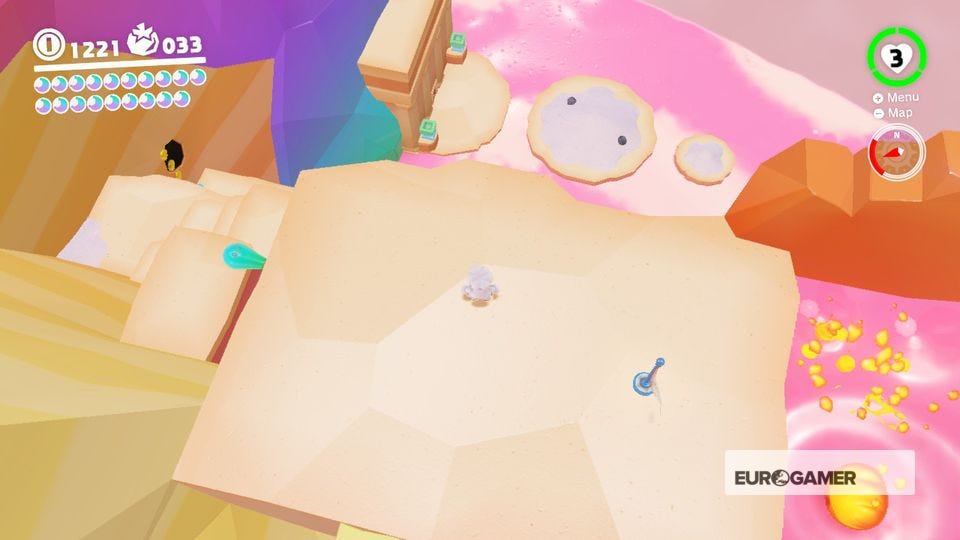
35. Caught Hopping at the Volcano!
From the Peronza Plaza checkpoint, turn around and drop down the cliff face. A rabbit in a hat will be bouncing in circuit from the base of this cliff up and back down again. Hit it with Cappy to claim another Moon.


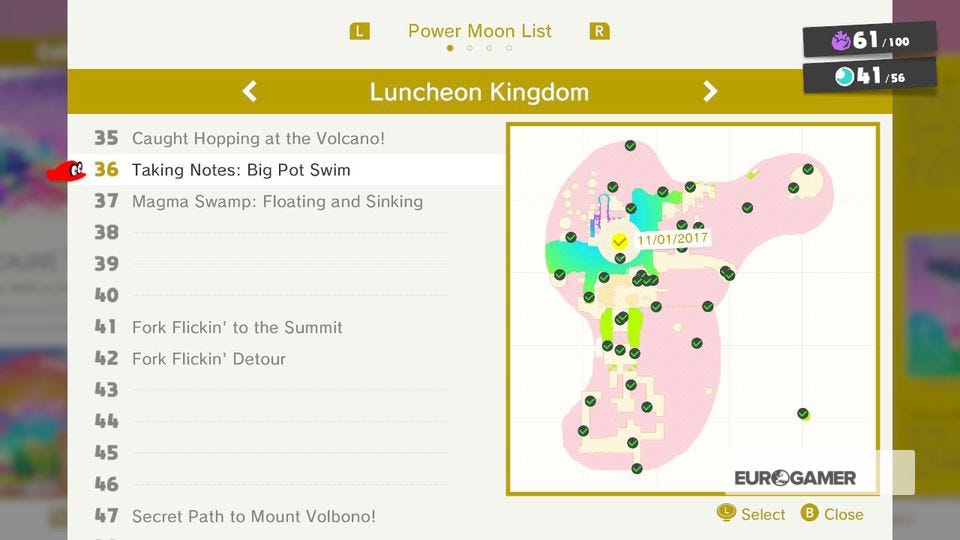
36. Taking Notes: Big Pot Swim
From Top of the Peak Climb, use a Lava Bubble to enter the cannon and leap into the big stew pot. Hit the clef and collect the three sets of notes to reveal the Moon. Try moving the camera so it's behind you - it'll make jumping at the right angle easier.

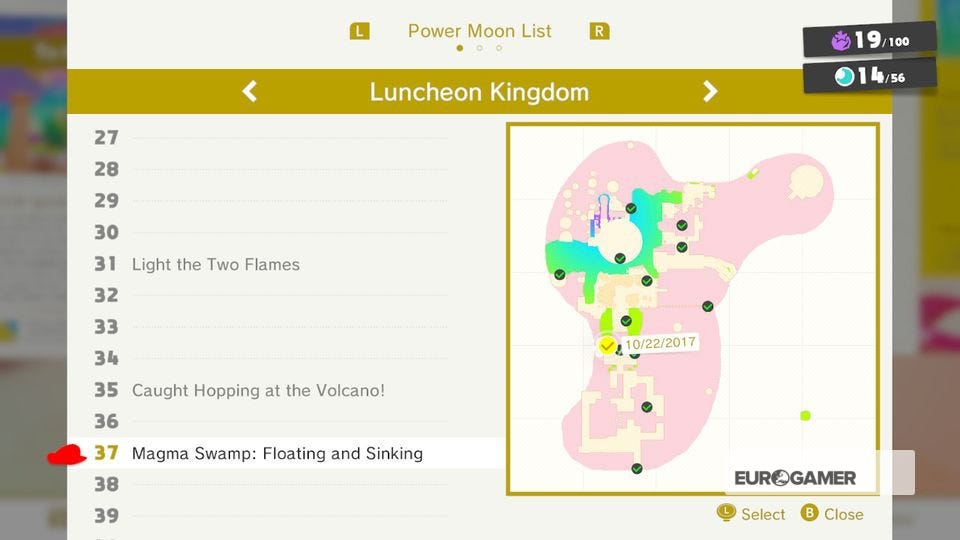
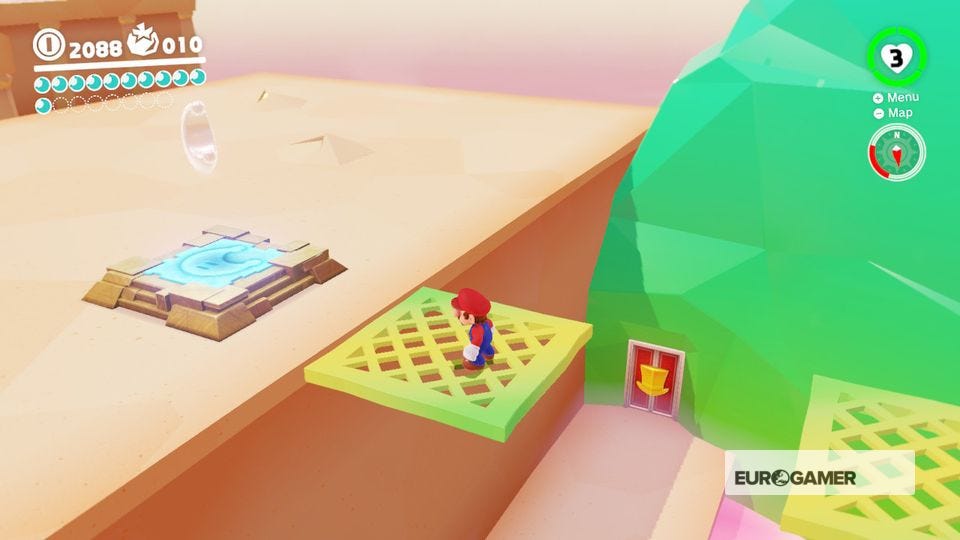
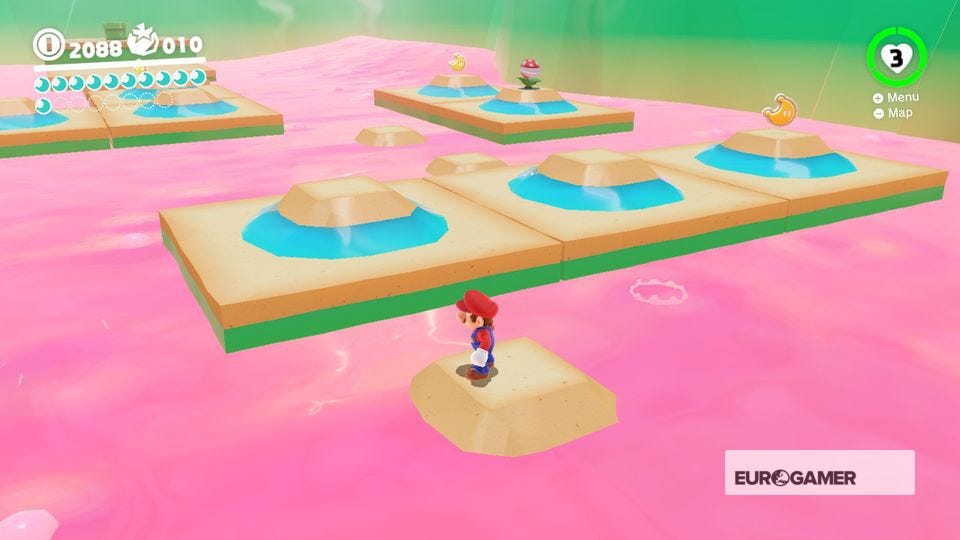
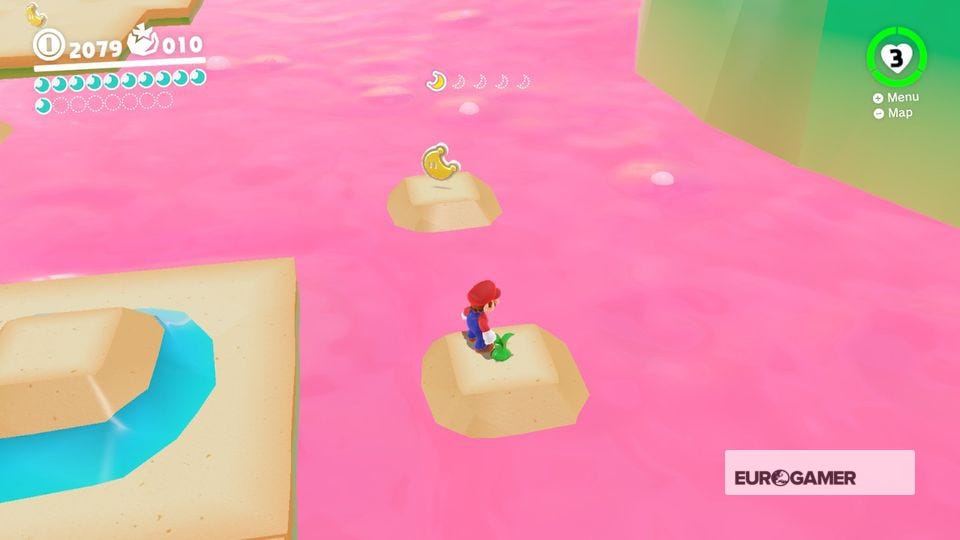
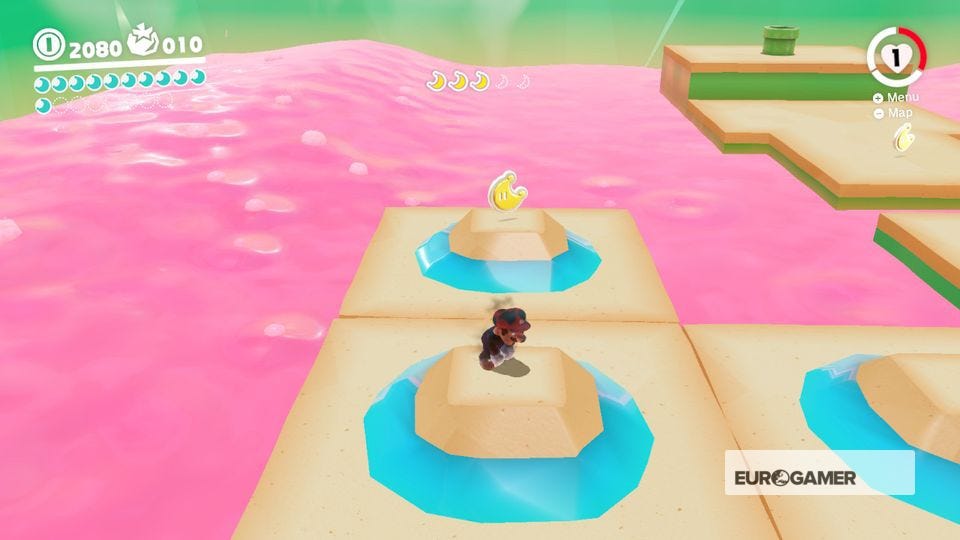
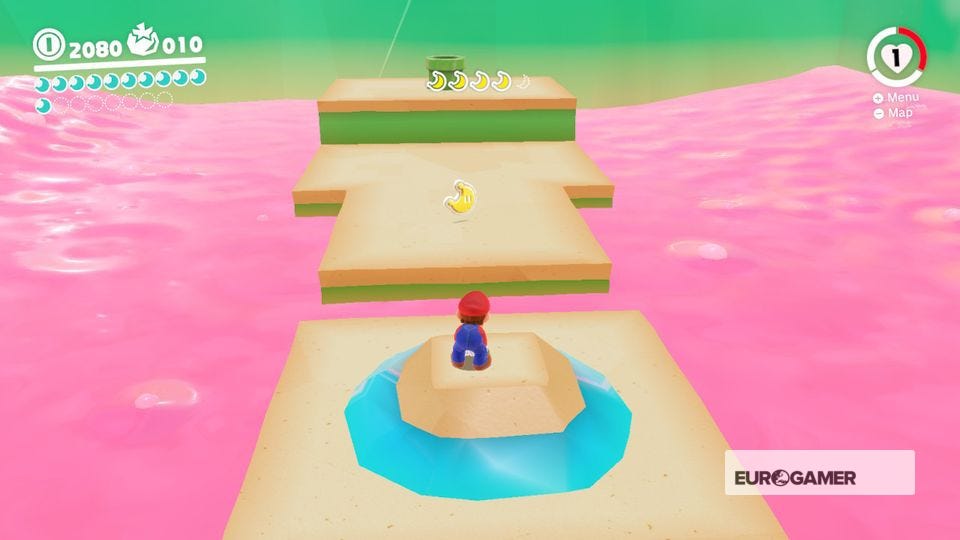
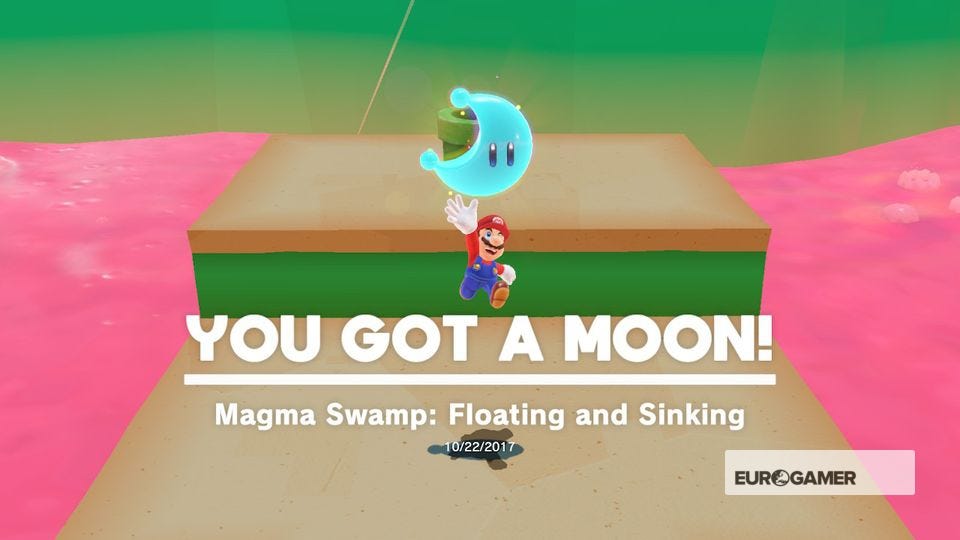
37. Magma Swamp: Floating and Sinking
From the Peronza Plaza checkpoint, turn around, drop down and cross the platforms. Look right and enter the hat door. The platforms in this area sink into the magma, leaving only a small mound at the top. The first two Moon Shards are to your left. Beware of the fire spitting Piranha Plant. The third one is to the left of the Piranha Plant, while the fourth is to the far left near another Piranha Plant. The fifth and final Shard is on the final platform by the Warp Pipe. Collect the Moon that appears.

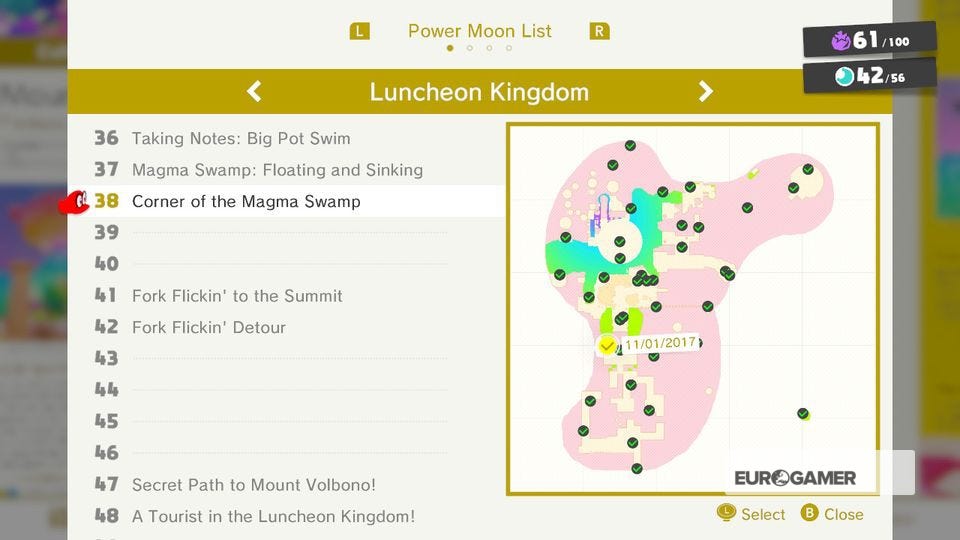
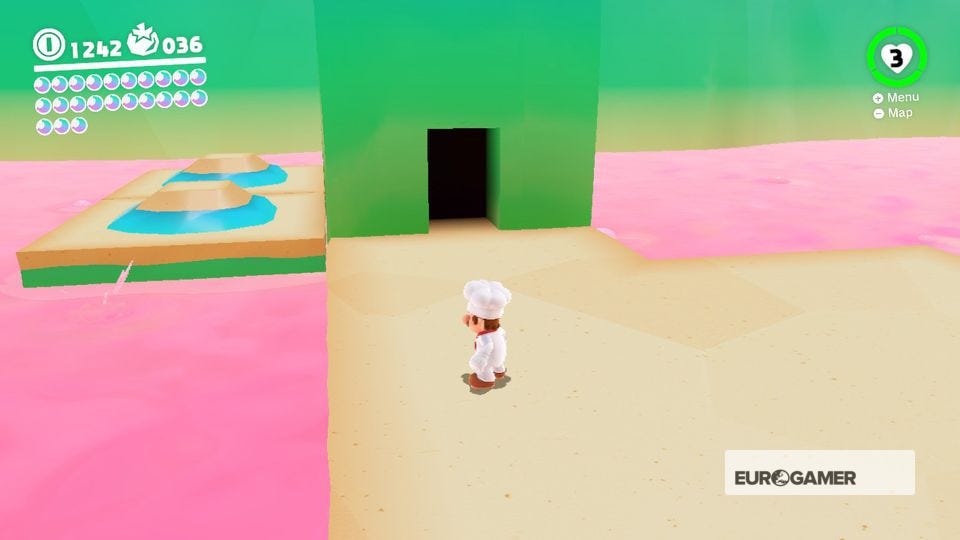
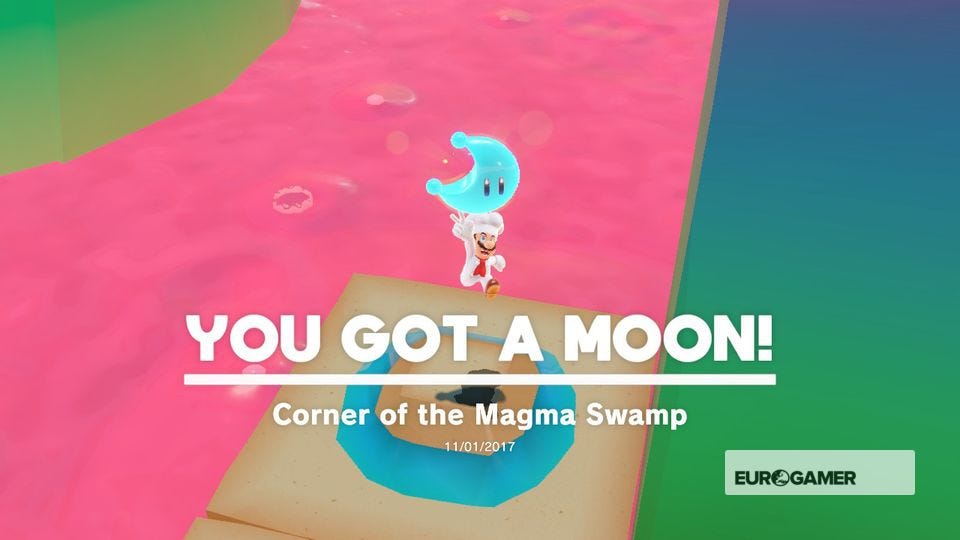
38. Corner of the Magma Swamp
From Peronza Plaza, turn around and jump down to the door in the far right-hand corner of the section below. Inside the area where you found Moon #37, look for some platforms to the left of the entrance. Run around and grab the Moon.
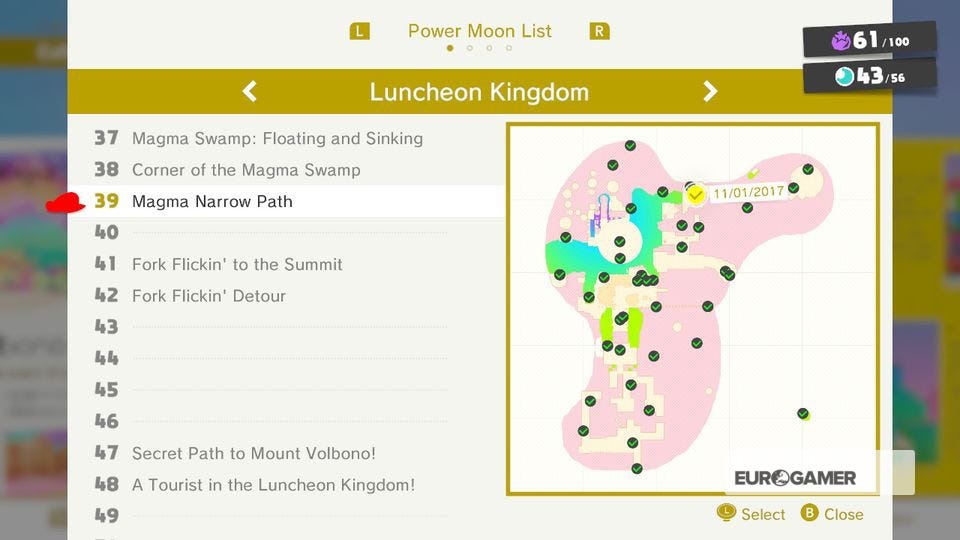
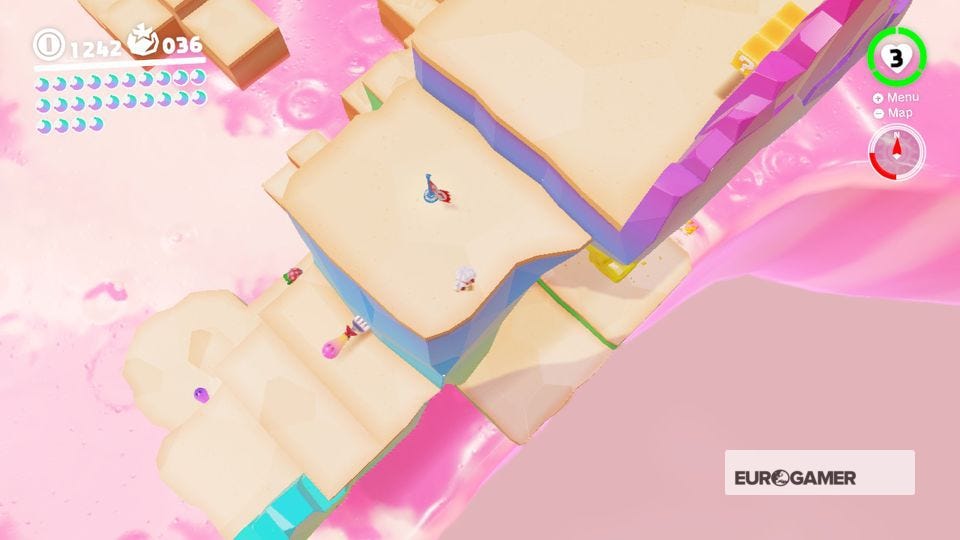
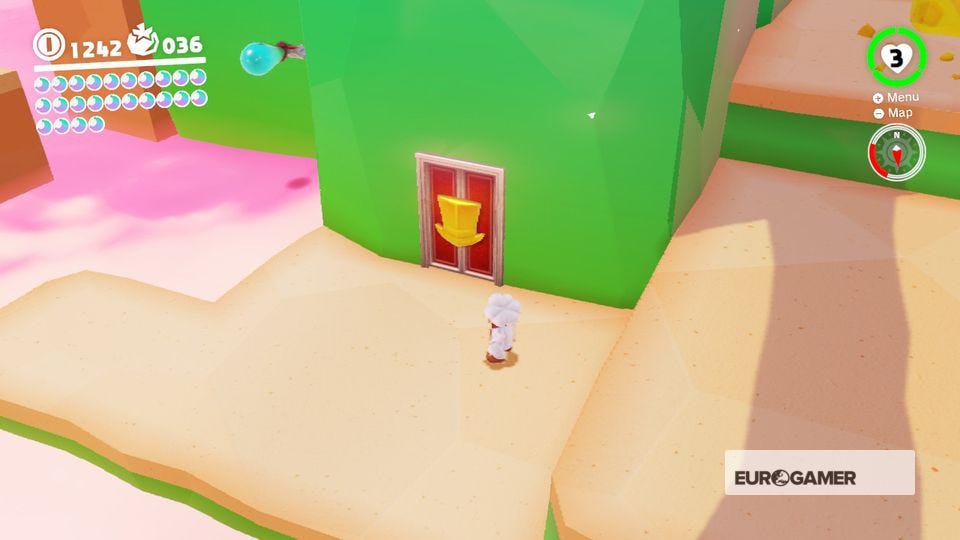
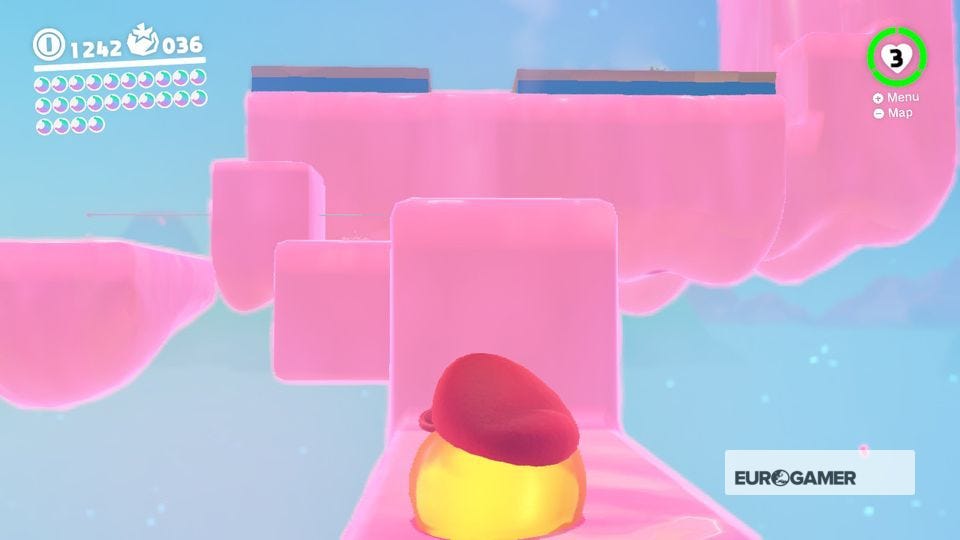
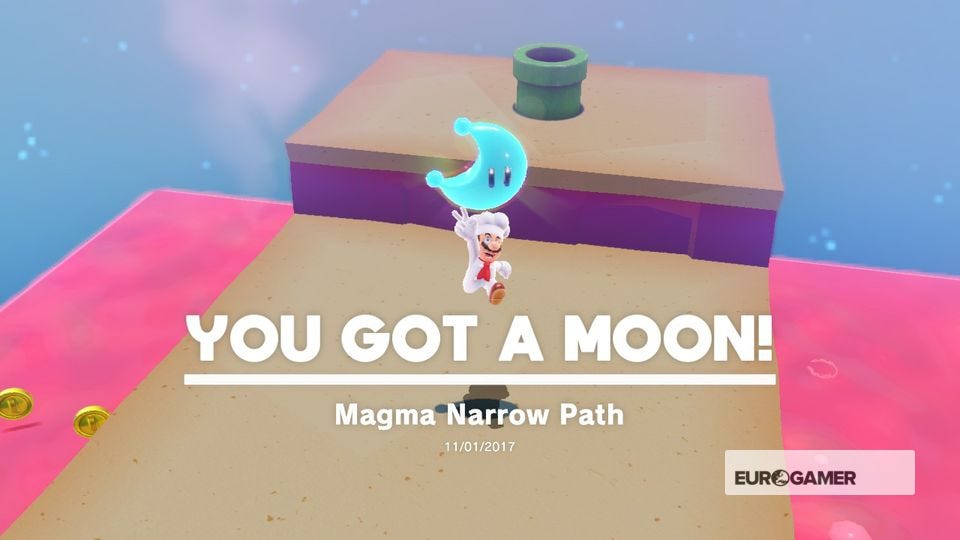
39. Magma Narrow Path
From Meat Plateau, drop down to the hat door. Inside, use the Lava Bubble to navigate the moving platforms and narrow walkways. Take your time here, especially on the narrow parts. The Moon will be your reward at the end.

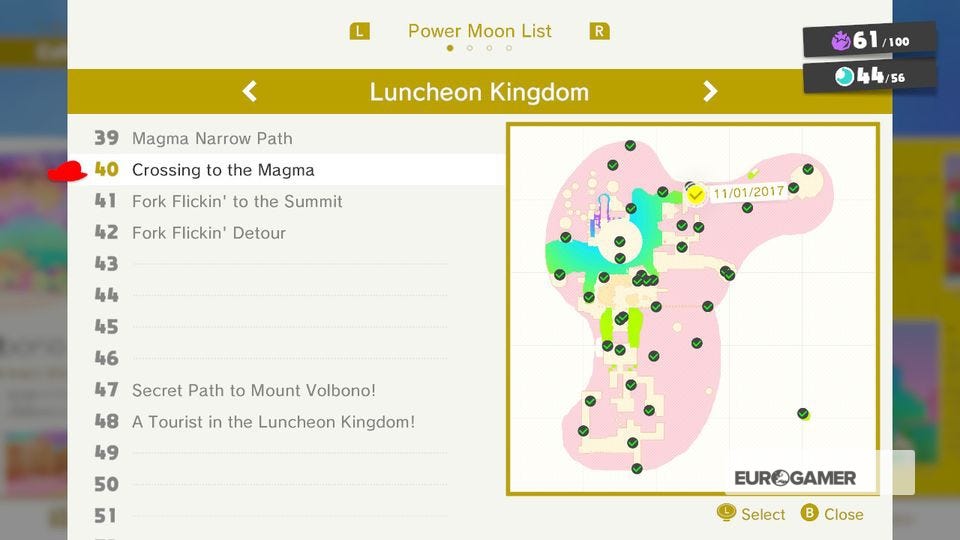
40. Crossing to the Magma
In the area where you collected Moon #39, hit the two tomatoes as Mario, then use them as a Lava Bubble to reach the rising platforms and the Moon above.

Super Mario Odyssey Luncheon Kingdom Power Moons 41 to 50
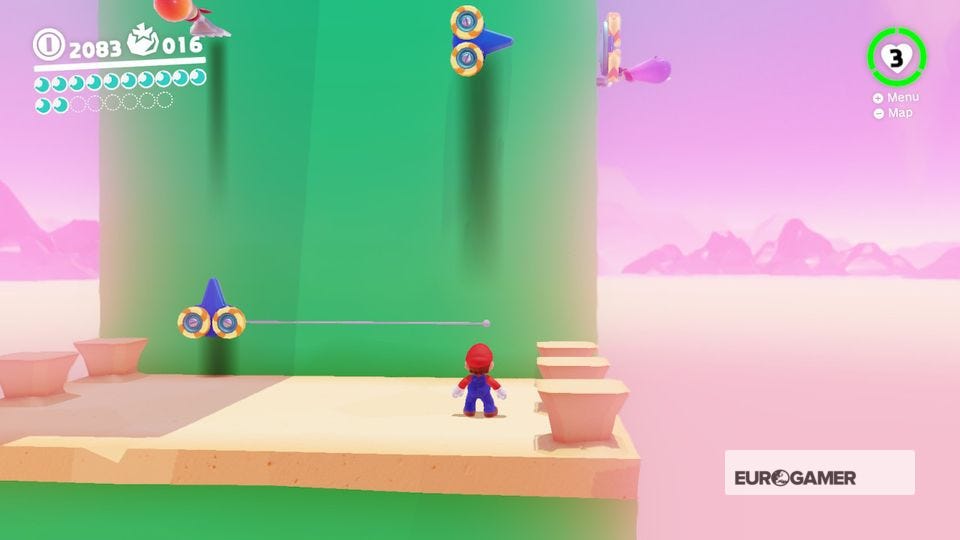
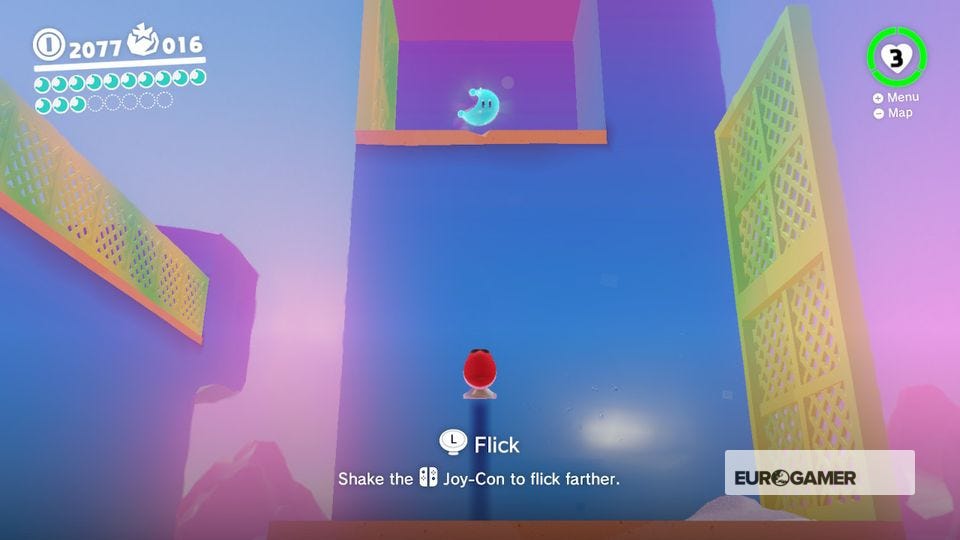
41. Fork Flickin' to the Summit
From the Salt-Pile Isle checkpoint, use a Magma Bubble to reach the platform with the hat door. Use the forks and the turbine devices to traverse the face of tower. Take your time, don't rush, and claim the Moon at the top.

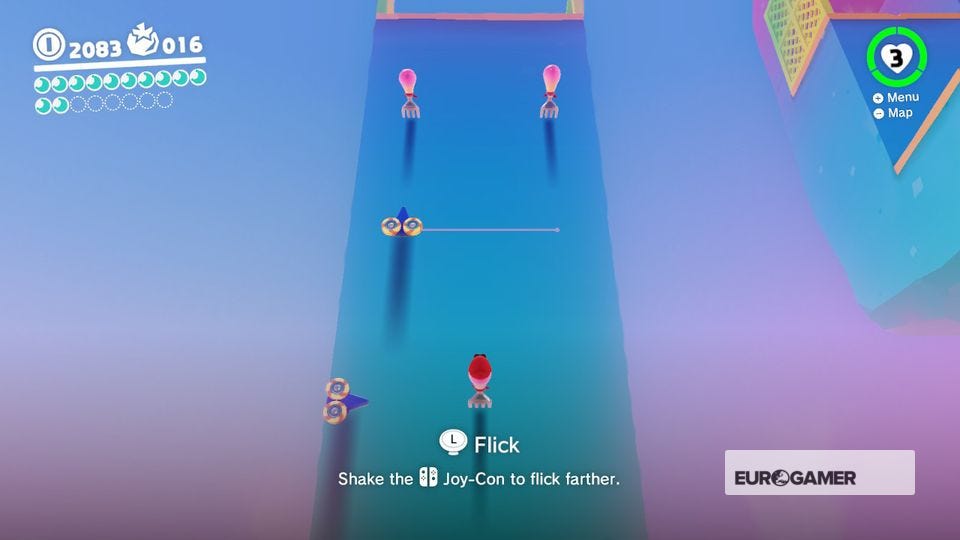

42. Fork Flickin' Detour
From the final pair of forks, which would lift you up to Moon #41, turn the camera to the right and flick the fork to the right. Hit Cappy against this new fork, then flip up to claim this secret Moon.


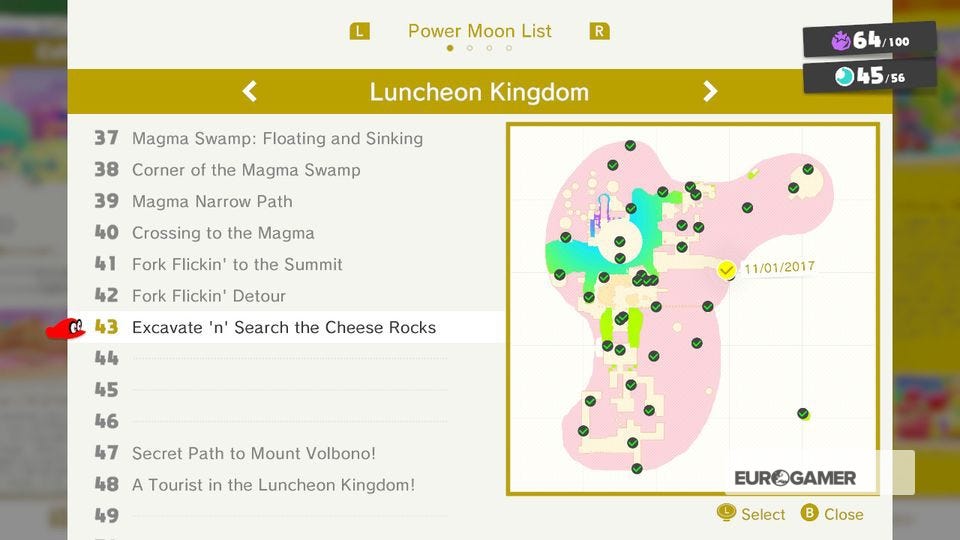
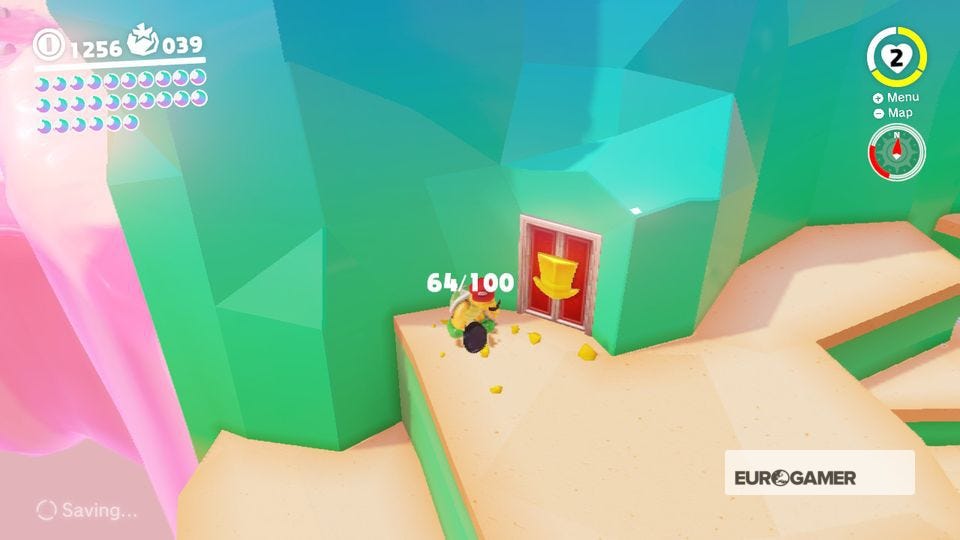
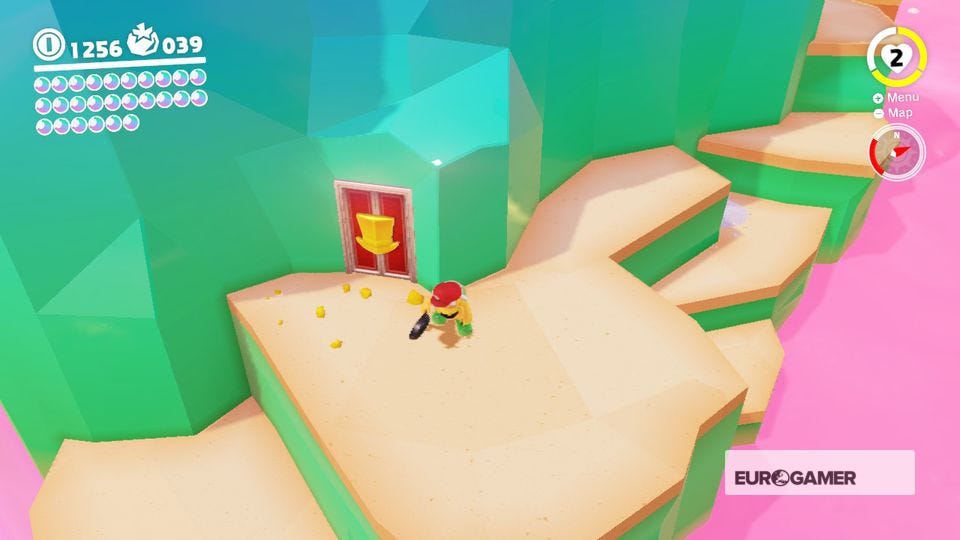
43. Excavate 'n' Search the Cheese Rocks
From Path to the Meat Plateau, use a Hammer Bro and head towards the green rocks and move around its left-hand side. Destroy the cheese blocks concealing the hat door to enter it. Inside, destroy the cheese blocks to reveal the Moon Shards and the Moon.

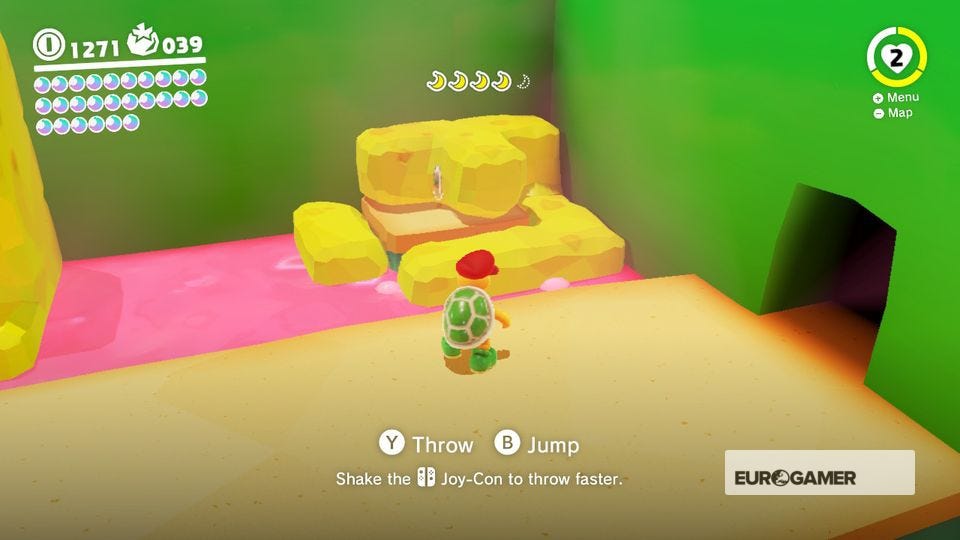
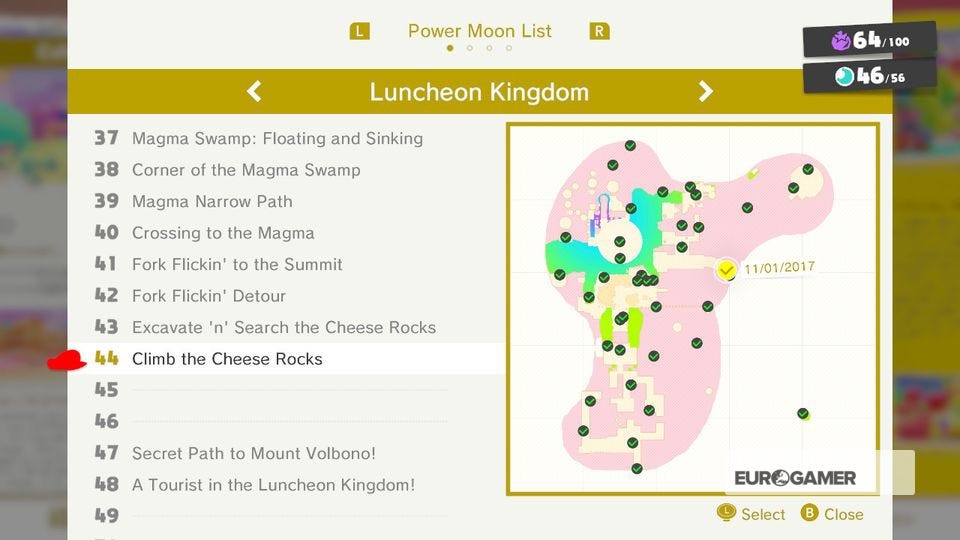
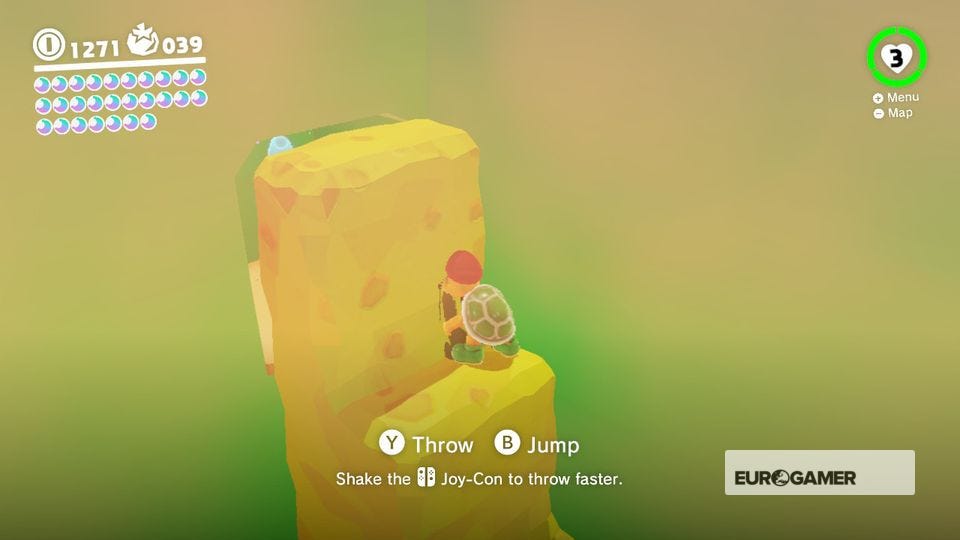
44. Climb the Cheese Rocks
In the same area you collected Moon #43, turn right as you enter and use the Hammer Bro to ascend the tall cheese block tower. The Moon is concealed in an alcove.

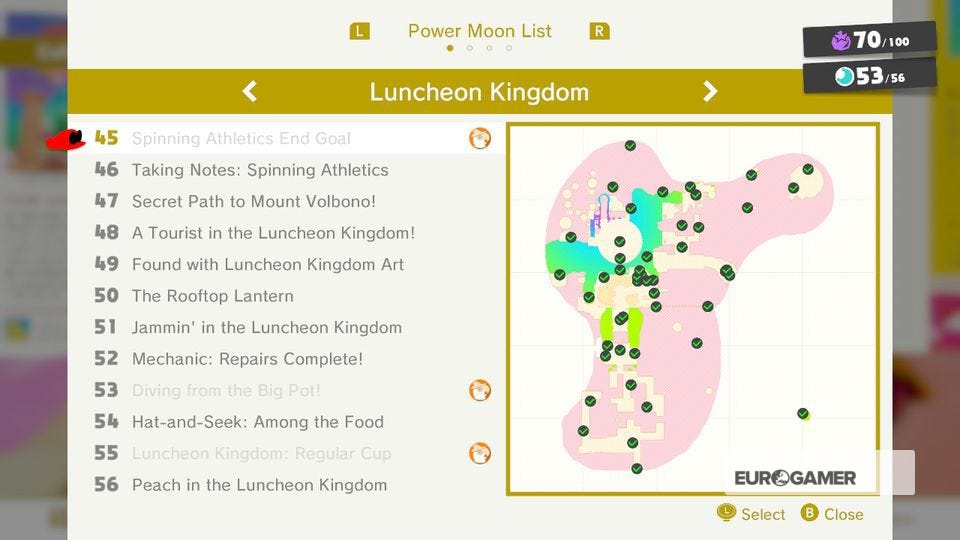
45. Spinning Athletics End Goal
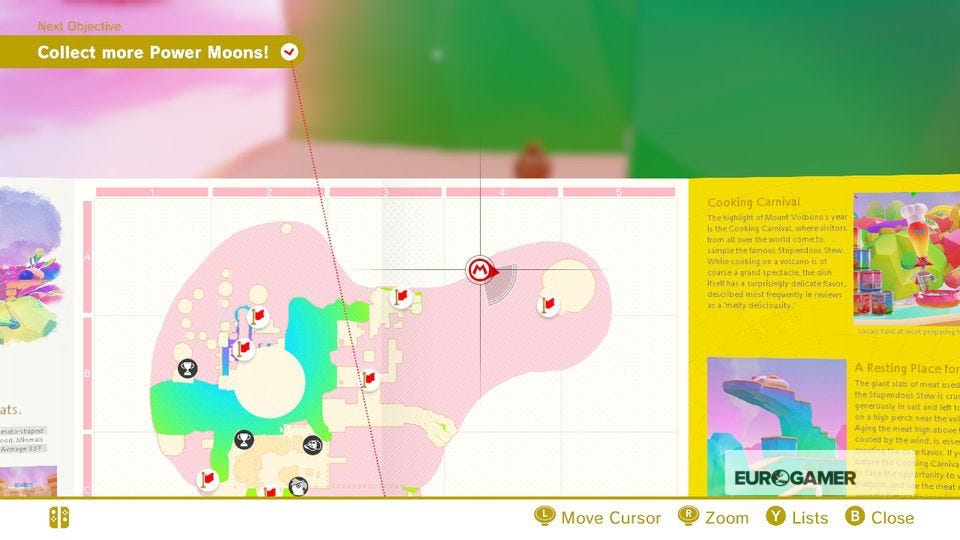
From Path to the Meat Plateau, enter the scarecrow door on the map shown. Inside, time your jumps over the spinning shapes and avoid the Spinies. When you reach the end, the Moon is yours.
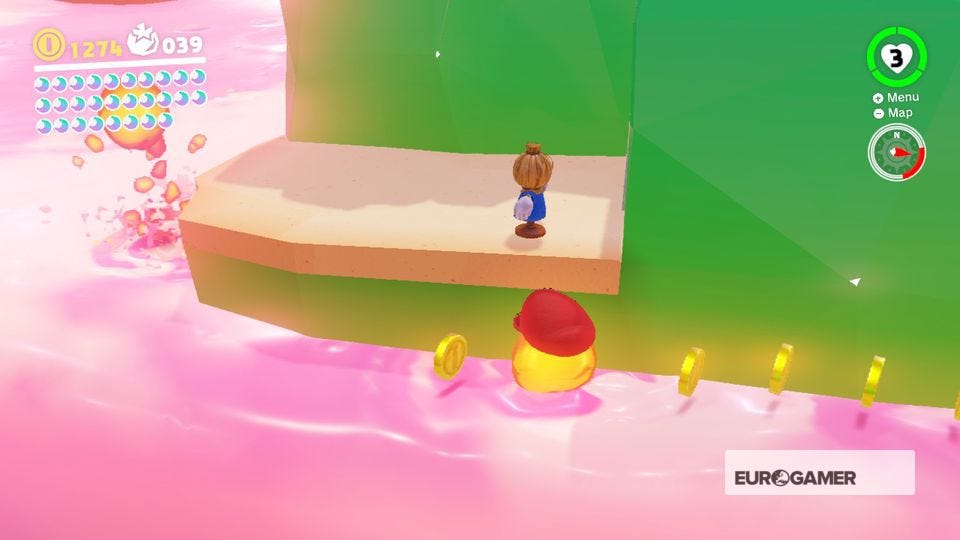

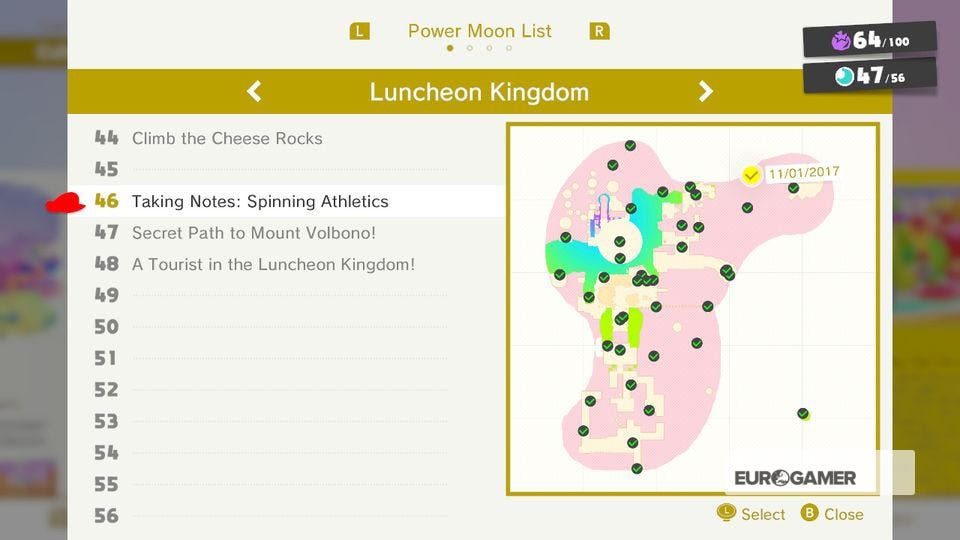
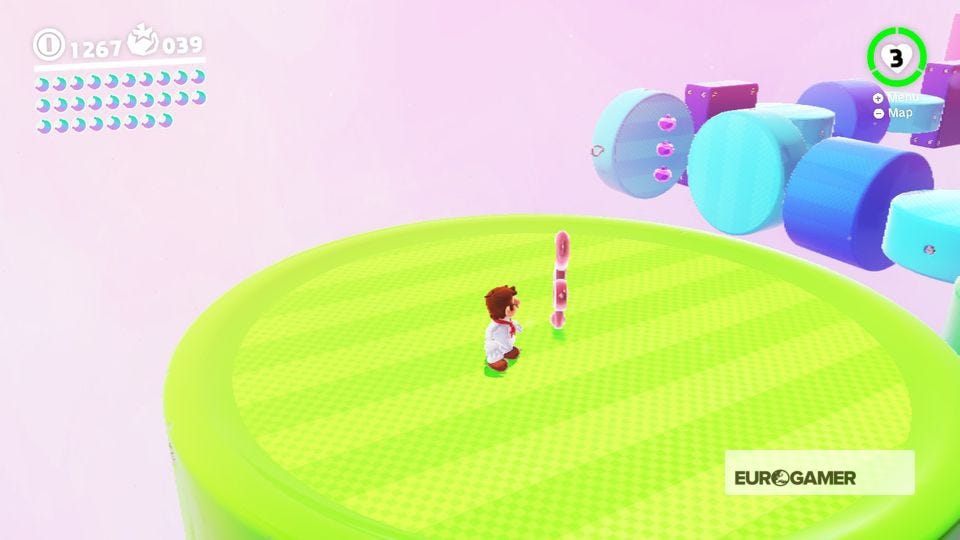
46. Taking Notes: Spinning Athletics
In the same area you collected Moon #45, jump onto the large dark green circle after the first set of spinning shapes. Collect the notes by hanging from the edge then dropping down onto the platform below. Hang off the ledge while over that final platform to collect the notes in one revolution.


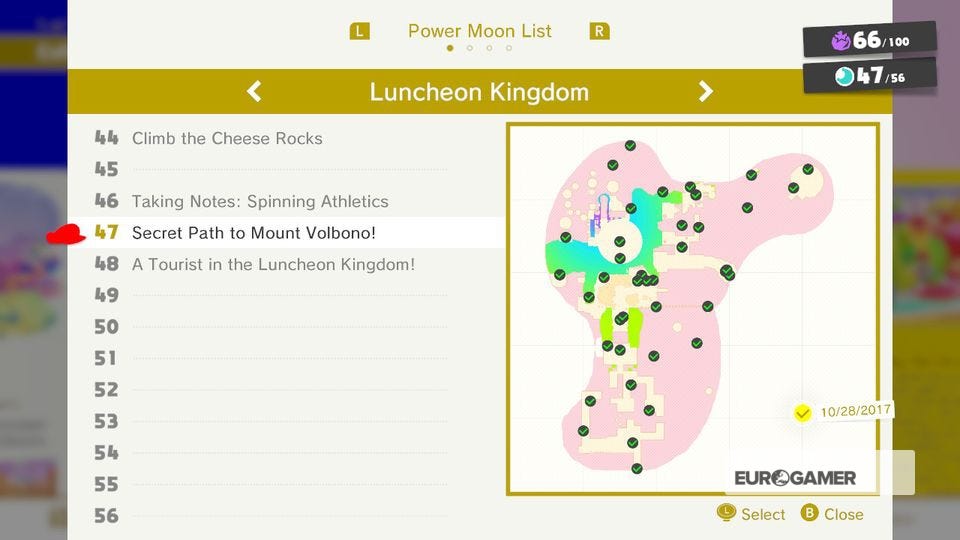
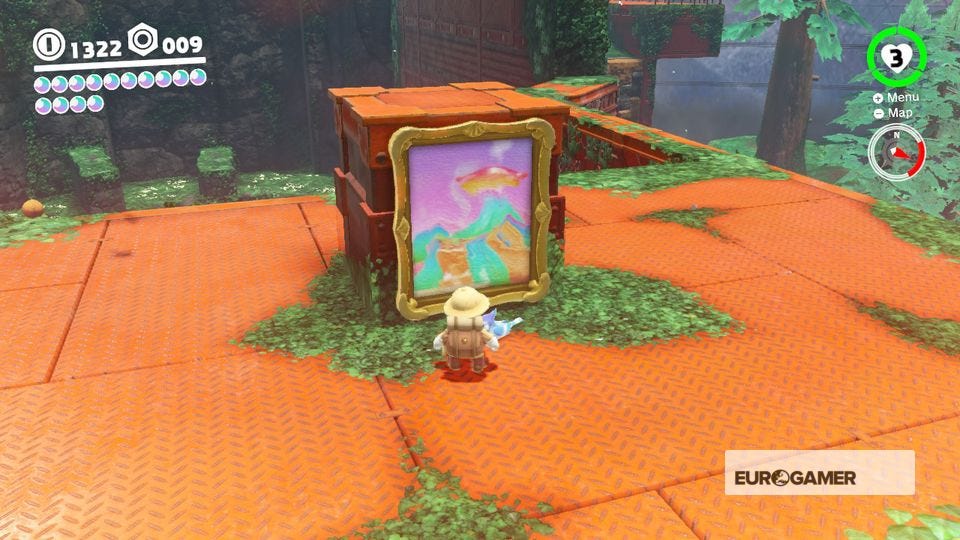
47. Secret Path to Mount Volbono!
Head to either the Wooded Kingdom or the Lake Kingdom (depending on which kingdom you visited first) to use its painting to reach the Floating Sky Island it Moon.

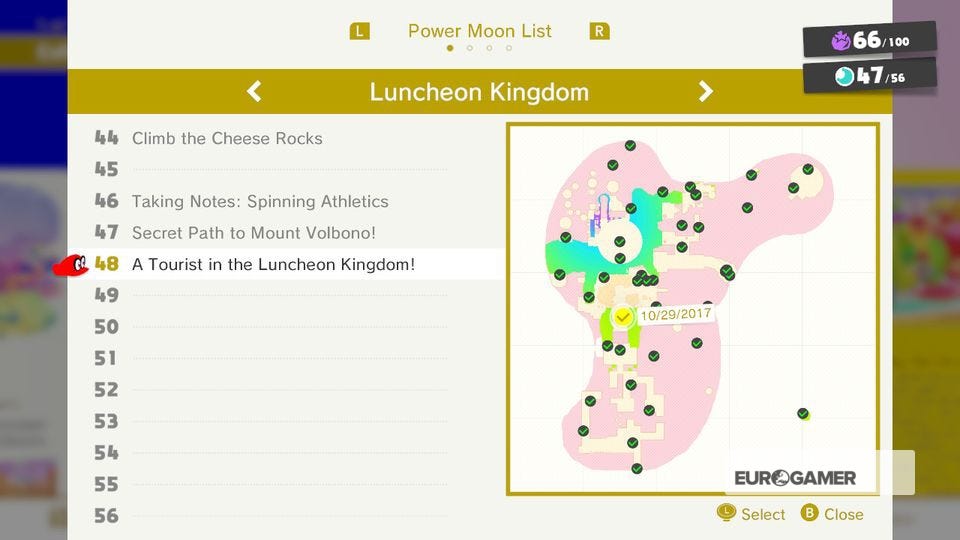
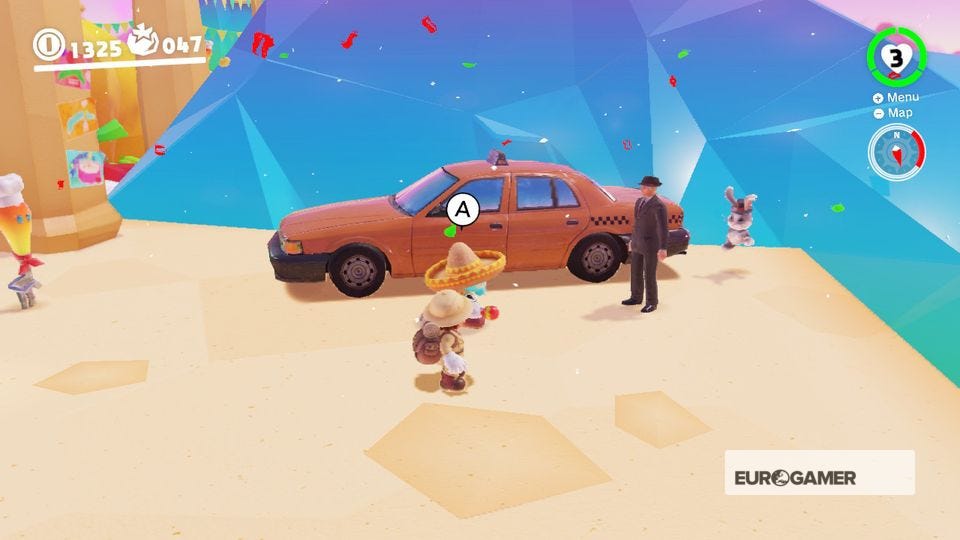
48. A Tourist in the Luncheon Kingdom
This Moon is part of the multi-kingdom quest for Moon #68 in the Sand Kingdom. Follow the sequence and you'll find the tourist in Peronza Plaza next to his taxi. Speak to him to unlock the Moon.

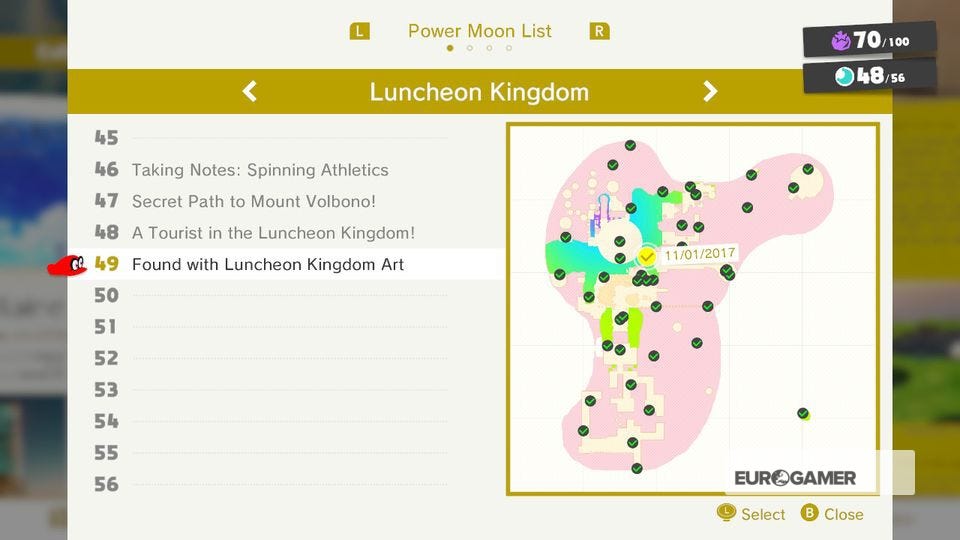
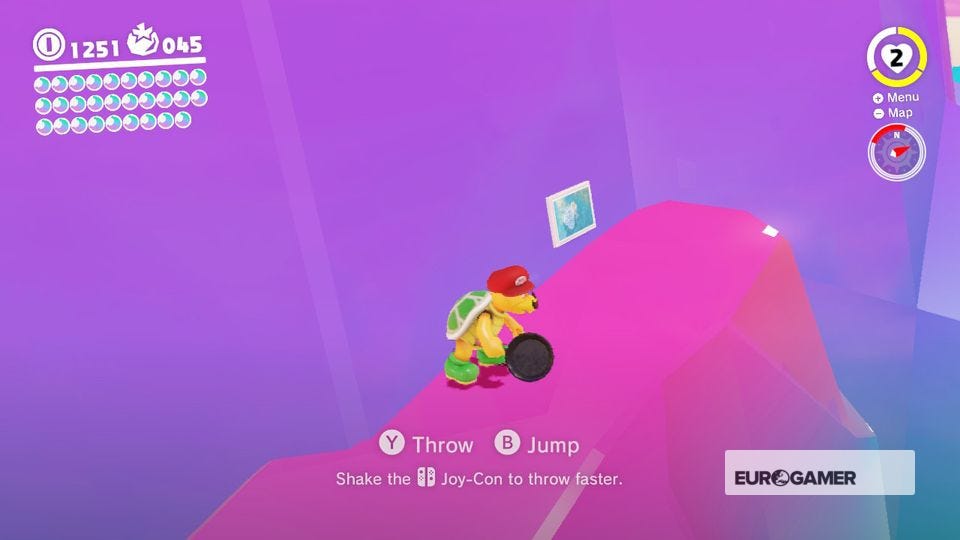
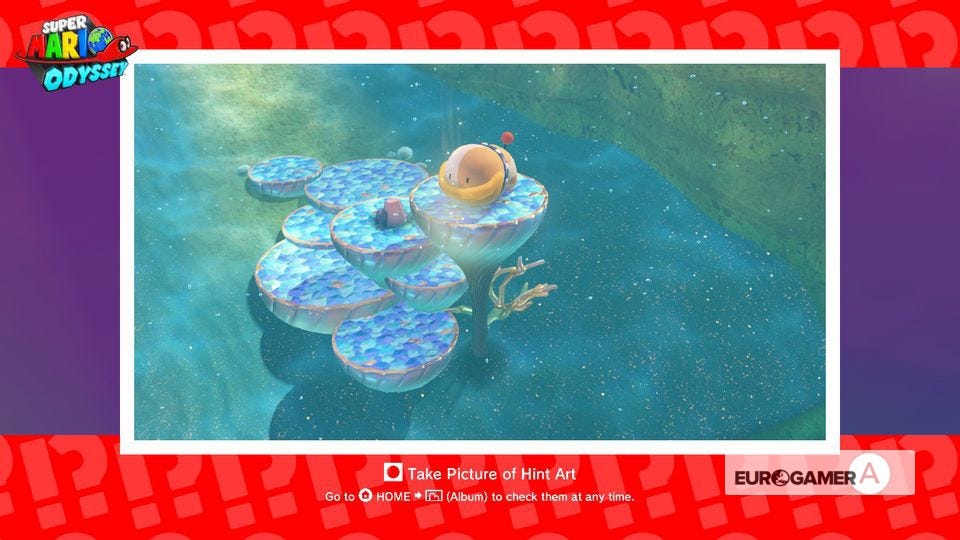
49. Found with Luncheon Kingdom Art
From Path to the Meat Plateau, possess a Hammer Bro and use his attack to reach the blue rocks shortcut to Peronza Plaza. Turn right instead of dropping down and you'll see the clue art. Head to the Seaside Kingdom, warp to Ocean Trench West and Ground Pound the top platform on the set of blue ledges.


Need more assistance? Our Super Mario Odyssey guide and walkthrough goes through all objectives in each Kingdom, while our Power Moon locations can help you track down the likes of Cascade Kingdom Power Moons, Sand Kingdom Power Moons, Metro Kingdom and New Donk City Power Moons and more collectables. We also have Purple Coin locations for each Kingdom, and if you want to know what to spend it on, we have a hats list, outfits list, stickers list, a souvenirs list as well as a music list to kit out the appearance of both Mario and the Odyssey.
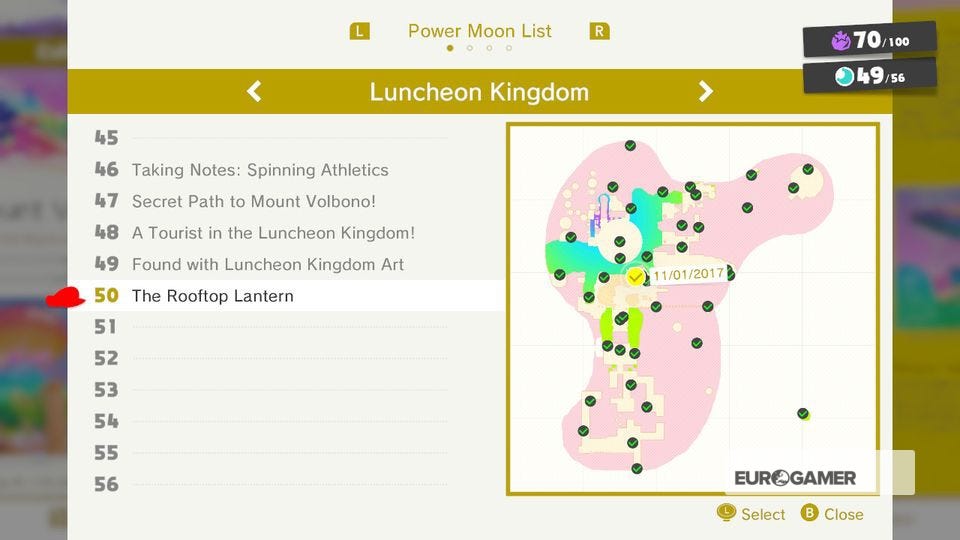
50. The Rooftop Lantern
From Path to the Meat Plateau, grab a Fire Bro and carry him back to the area with the two Hammer Bros and the cheese blocks. Quickly use a Hammer Bro to reveal the steps, then jump back into the Fire Bro. Climb the blue stone step shortcut to Peronza Plaza. Light the torch above the Crazy Cap shop with your fireballs to reveal this Moon.

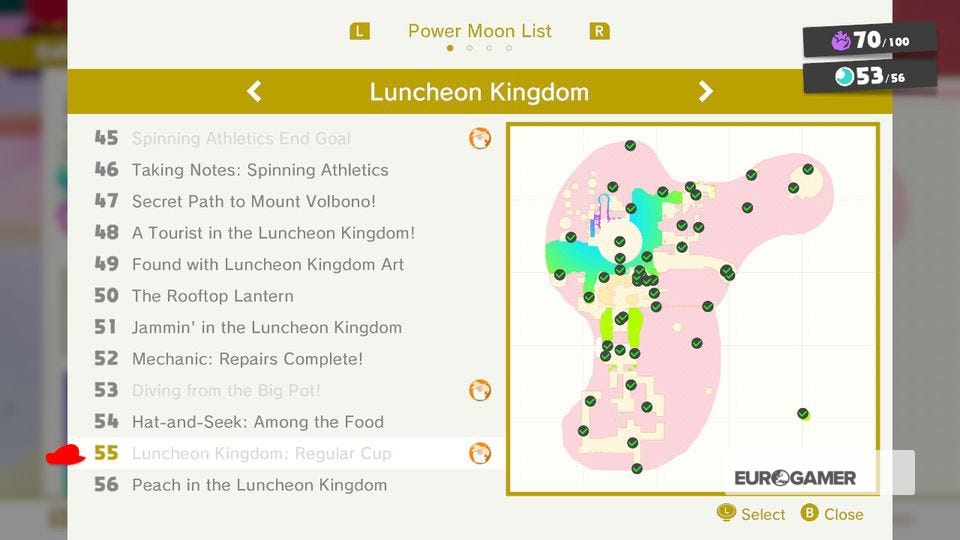
Super Mario Odyssey Luncheon Kingdom Power Moons 51 to 56
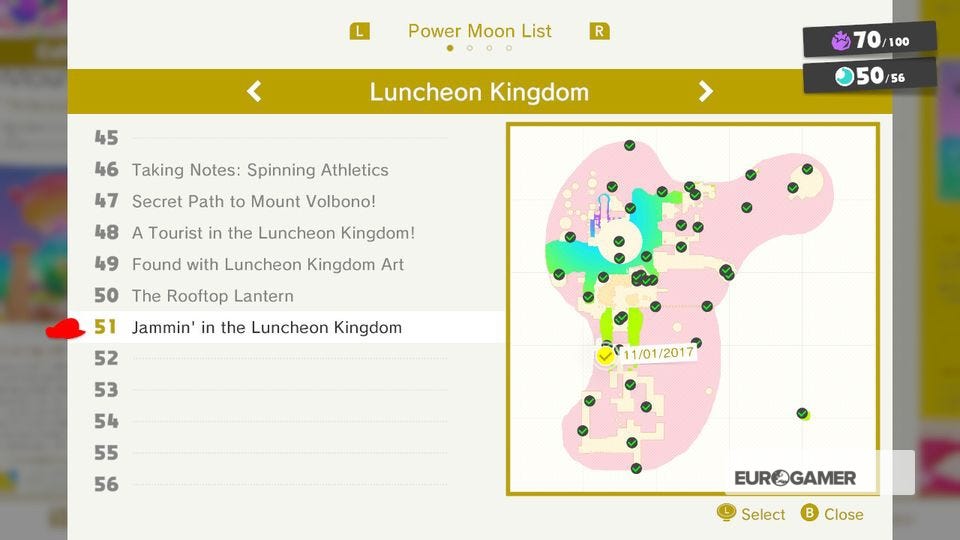
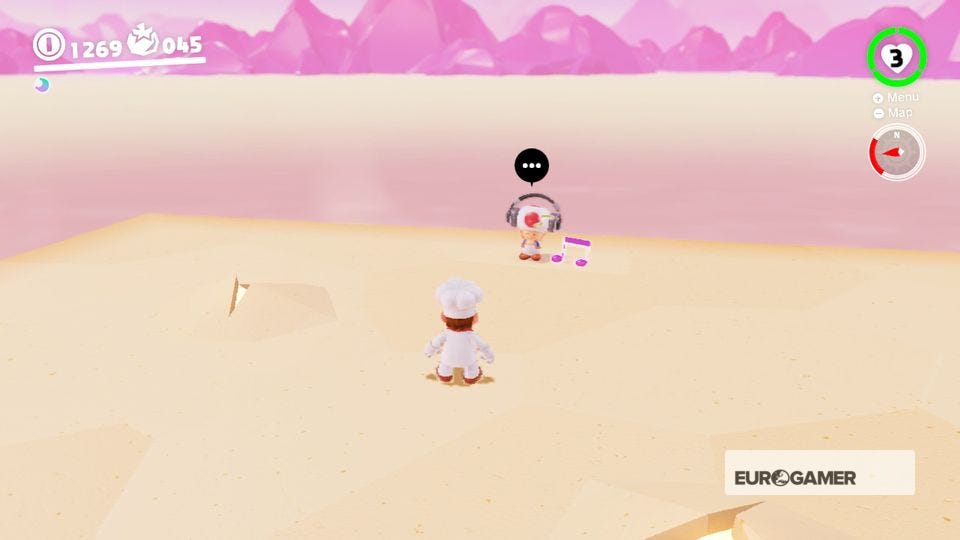
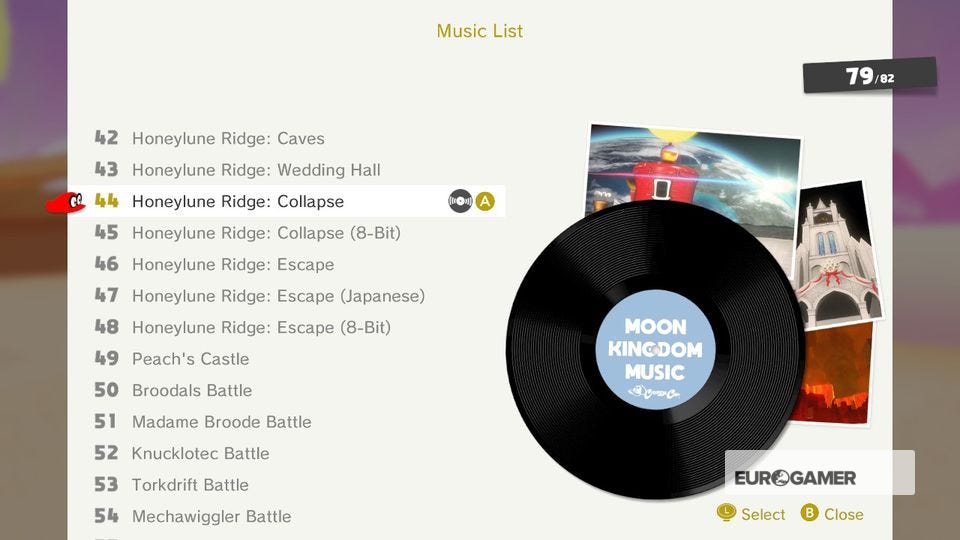
51. Jammin' in the Luncheon Kingdom
From Peronza Plaza, turn around and cross the platforms. After completing the story, a Toad with headphones will be here. Speak to him and select 'Honeylune Ridge: Collapse' from the Music List to earn this Moon.

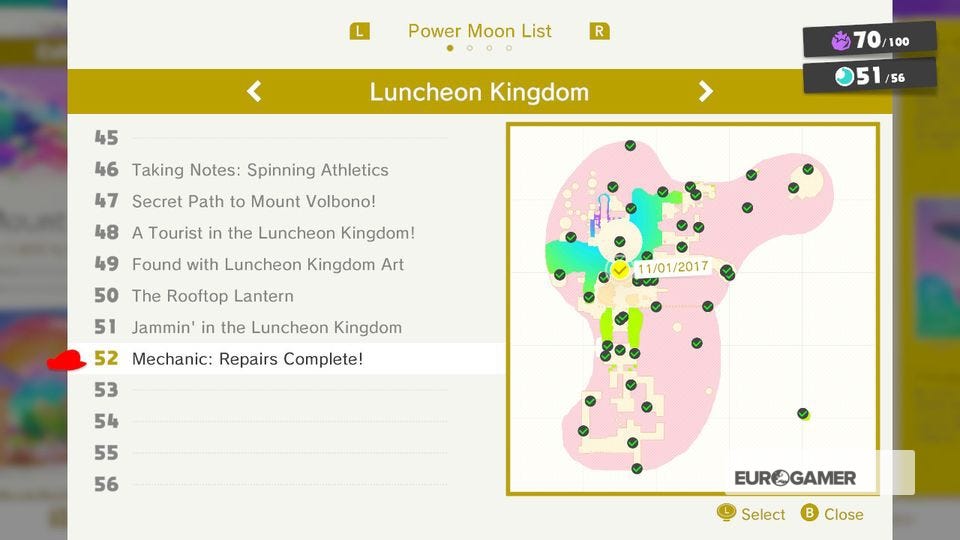
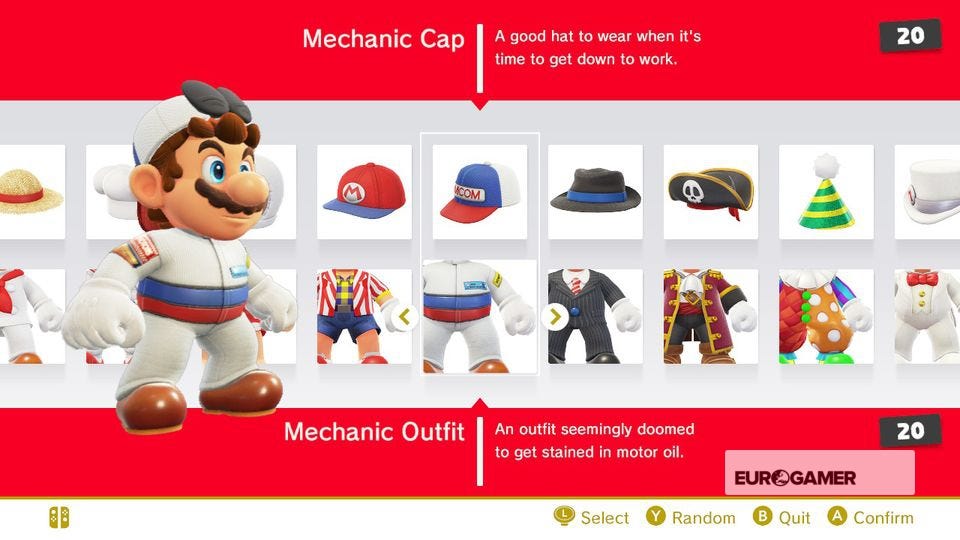
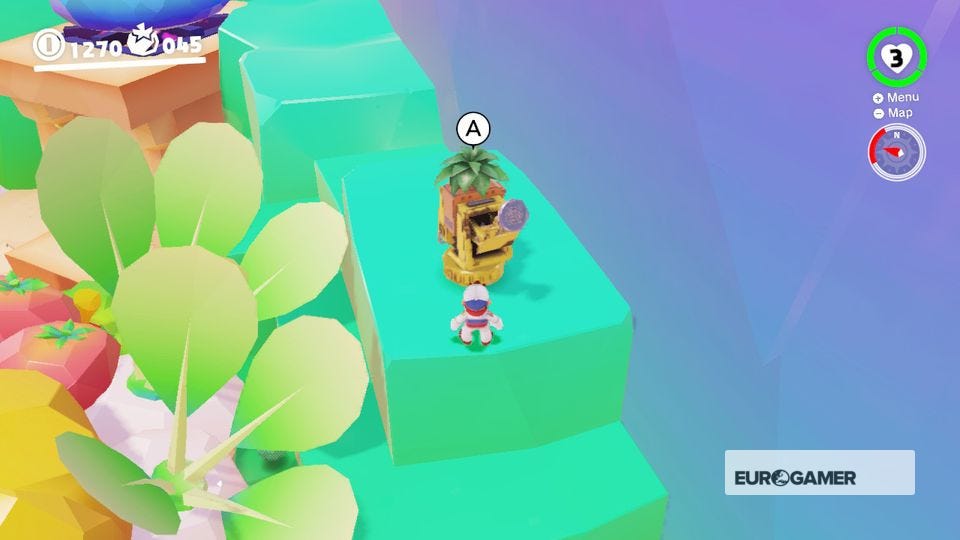
52. Mechanic: Repairs Complete!
Change into the Mechanic Outfit and Mechanic Cap (available from any Crazy Cap shop) and speak to the Steam Gardener on a set of blue steps behind the main carnival in Peronza Plaza. You'll get a Moon for your troubles.

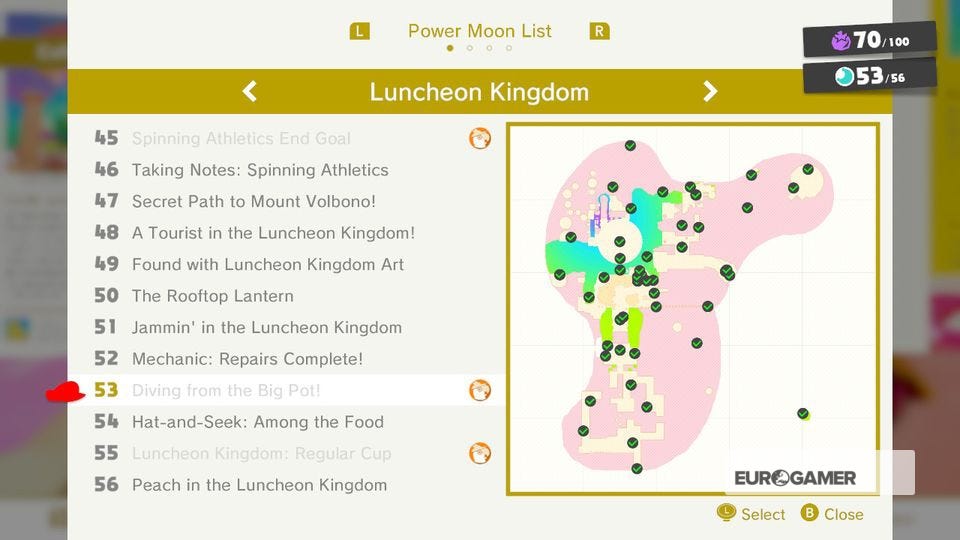
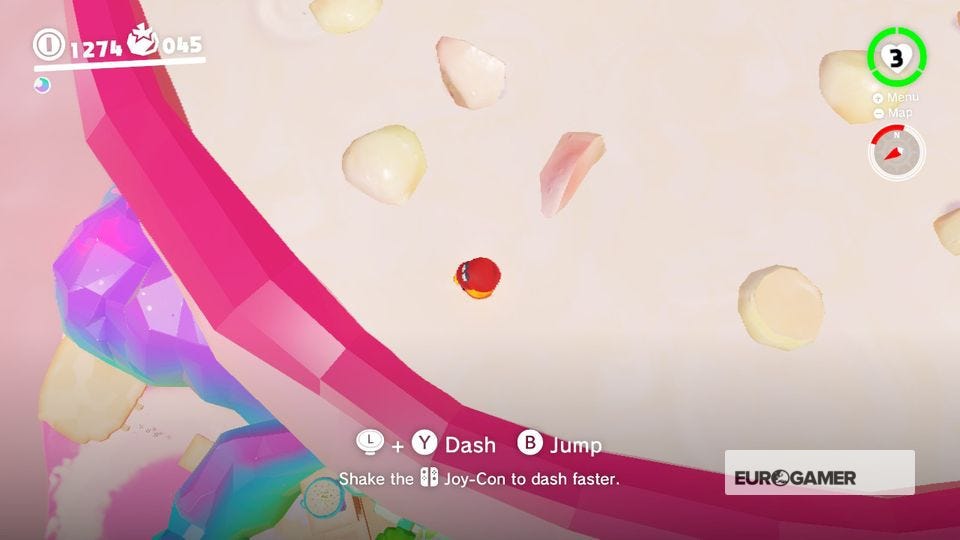
53. Diving from the Big Pot!
From the Top of the Peak Climb, launch yourself into the giant pot, leap out on the south side and land in the pot above the slots building in Peronza Plaza. A Moon is yours.
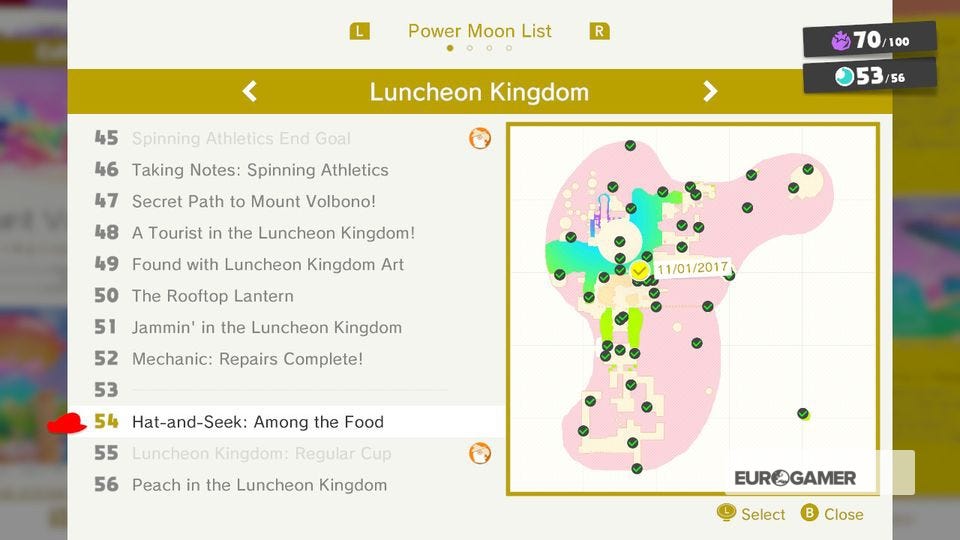
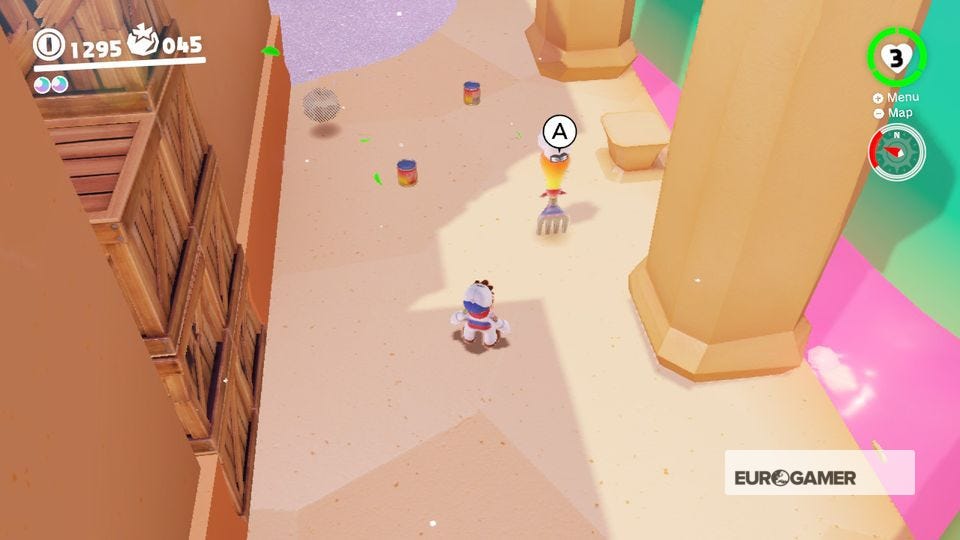
54. Hat-and-Seek: Among the Food
Speak to the Bonnerton in Peronza Plaza. His friend is located behind the Crazy Cap shop. Talk to him to grab a Moon.

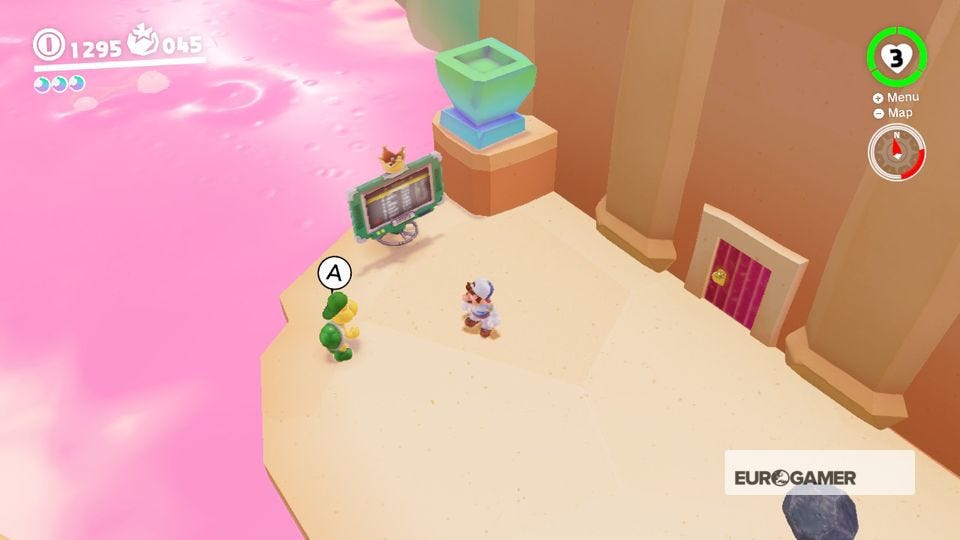
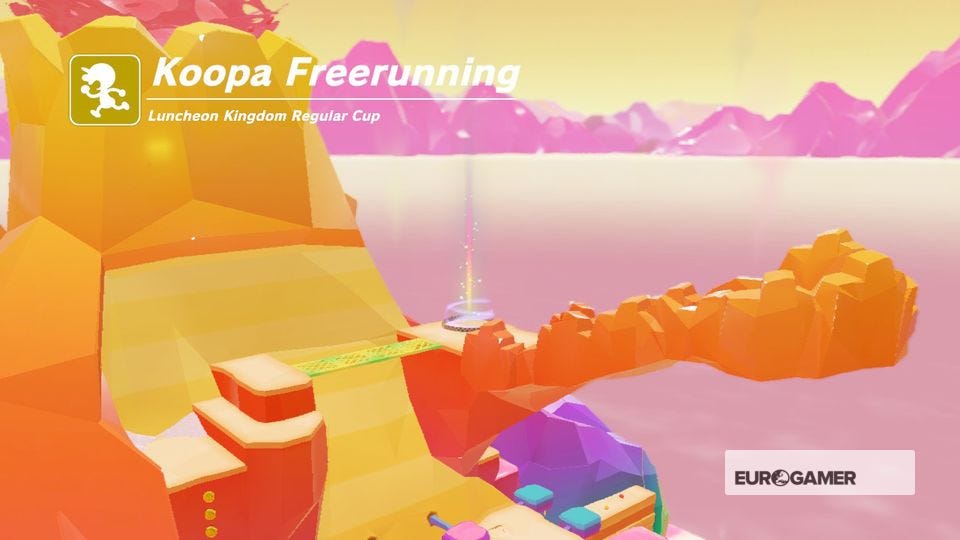
55. Luncheon Kingdom Regular Cup
This is a tricky freerunning race. Time your jumps across the islands right and use long jumps and triple jumps to make up vauable seconds where you can. Reach the finish to nab the win and the Moon.
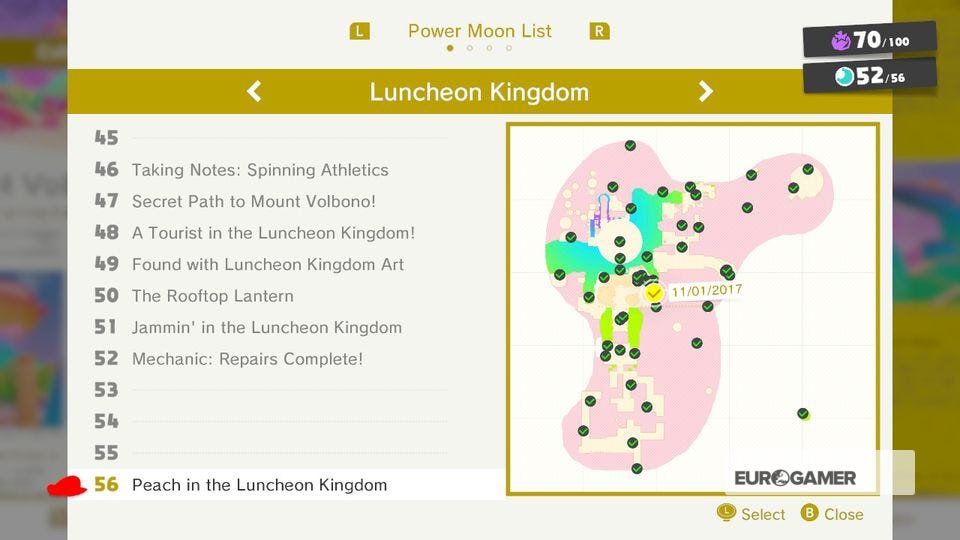
56. Peach in the Luncheon Kingdom
Find Peach just outside the Crazy Cap shop in Peronza Plaza. Speak to her to gain another valuable Moon.

Other Luncheon Kingdom Power Moons you can unlock
As well as the above Moons that appear when you clear a Kingdom for the first time, there is yet another set that you can collect later in the game. Be warned the following contains some light spoilers.
When exploring each Kingdom previously, you may have noticed a giant, grey block that seemingly has no purpose. It's this object you must find once you have completed the game that'll give you even more things to do.

The above video by Nintendo Life explains this in more detail, but in short - complete the game, find the block in any given Kingdom, and more Moons will be available for you to find.
We won't detail these extra Moons here, but the number of these extra challenges available in each Kingdom varies - just like the amount of Moons you could find to begin with. Good luck!