Final Fantasy 12 - Ultima, the High Seraph location, requirements and strategies
Everything you need for tackling the tricky Esper.

There are thirteen Espers in Final Fantasy 12, eight of which are optional foes outside of the main story. Ultima, the High Seraph is one of the final optional Espers that you'll be able to attempt tackling, so don't expect it to be easy!
All of the Espers are highly challenging, so here on this page we'll be taking you through Ultima's location, requirements, and of course strategies for how to defeat Ultima in combat, too.
If you're looking for one of the other Espers, you can head back to our Esper battles, locations, and strategy hub. For other tips and explainers meanwhile, head to our Final Fantasy 12 The Zodiac Age guide and walkthrough, where we cover plenty more.
Ultima, the High Seraph location and requirements
Before you get to the actual battle, here's everything you need to know about Ultima, the High Seraph:
- Prerequisites: finish Giruvegan.
- Location: Crystal Peak area of The Great Crystal
- HP: ~250,000
- Weaknesses: Dark.
- Absorb: Light.
- You'll need: Sages Rings are handy but not essential.
- Recommended level: 60+
- Steal: Virgo gem, Megalixir, High Arcana

If you remember your last visit to Giruvegan and the Great Crystal, you'll be glad to know it's even easier to get lost this time. Make your way through the Steps and Fire Gate to the Great Crystal, and follow these directions:
- A Prama Vikaari - Facing Gate Scorpio, take the exit to the right.
- Sthaana Scorpio - Touch the stone, then head back down the slope.
- A Prama Vikaari - Turn right and go through what used to be Gate Scorpio.
- A Vikaari Dhebon - Use the Way Stone.
- Dha Vikaari Kabonii - Take the only available exit.
- A Vikaari Kanhru Ra - This is where it starts getting really easy to get hopelessly lost! Take either of the two open exits - they both end up in the same place.
- Dhebon Hilaam Praa'di or Dhebon Jilaam Pratii'dii - Whichever way you go, take the only available exit - watch out for the bombs!
- Sthaana Sagittarius - Use the Gate Stone - a 72 second timer will start. If you don't make it to the gate in time you'll have to do it again, so we'd advise Fleeing - retrace your steps to A Vikaari Kanhru Ra and touch Gate Sagittarius I.
- A Vikaari Serhu Praa - Touch the Way Stone quickly to avoid being blown up my the bombs.
- Dha Vikaari Dhebon Praa - The paths are opposite each other, so to avoid any left/right confusion step on one of the paths; if it goes up, keep going, and if it goes down turn around and take the other one.
- Sthaana Gemini - The Necrophobes will respawn continuously so don't bother trying to fight them, just touch the Gate Stone. Another timer, this time 144 seconds. Exit through the other opening.
- Sirhru Jilaam Praa'dii - Take the only available exit.
- Sirhu Jilaam Praa - Take the non-gated exit. (There's some loot behind the gate, but if you open it you'll then have to double back and touch the previous Gate Stone again.)
- Sirhu Pis Praa - Take the only available exit.
- Sirhu Pis Avaa - Touch the gate. You can now either tackle the Ash Wyrm, or just run through either of the available exits - they both lead to the same destination.
- Sirhru Jilaam Avaapraa or Sirhru Jilaam Avaapratii - Take the only available exit.
- A Vikaari Uldobi - Touch the Way Stone.
- Dha Vikaari Sirhu - Take the middle path.
- Sthaana Libra - Touch the gate stone for another 72 second timer, and head back the way you came.
- Dha Vikaari Sirhu - Take the exit to your right.
- Uldobi Jilaam Praa'dii - Touch the gate and pass through it.
- Uldobi Jilaam Praa - Take the exit on the left.
- Sthaana Capricorn - Touch the gate stone for a 180 second countdown, and run all the way back to where you started (Dha Vikaari Sirhu - double back, turn right, and keep going straight).
- Dha Vikaari Sirhu - Head through the exit opposite you.
- Sthaana Virgo - Touch the gate then activate the gate stone for a 180 second timer, then double back.
- Daa Vikaari Sirhu - Take the rightmost path.
- Sthaana Libra - Touch the rightmost gate.
- Uldobi Jilaam Pratt'vaa - Take the only available exit.
- Uldobi Jilaam Avaa - Take the rightmost exit.
- A Vikaari Kanhbru - Touch the Way Stone. Nearly there now…
- Dha Vikaari Uldoni - Only one exit.
- Kanbhru Pis - Behold, a save crystal! When you're ready, head through the only other path to face off against Ultima.
For more help with? Final Fantasy 12? Our Final Fantasy 12 The Zodiac Age guide, walkthrough, Switch and Xbox differences gives an overview of the game to get you started. Elsewhere, there's our hidden Espers strategy and locations and Elite Hunts and Marks pages, how to get the best Zodiac Jobs for each character, advice on farming LP from Jellies and even how to get the Zodiac Spear.

Ultima, the High Seraph strategies and how to defeat it
Start with a by-now obligatory Dispel, and weigh in with physical attacks, particularly if you have a weapon that deals Dark damage, and also throw in a few Darkja spells but don't go overboard as you're going to need the MP for a lot of healing later - we'd recommend setting up gambits for healing with spells and items just in case. Some of her later attacks will inflict Sap, too, so a Regen or Remedy wouldn't go amiss.
During the fight she'll erect a number of varying restrictions on what you can use during combat, so you'll need to adjust your strategies to compensate:
- MP drain will rapidly deplete your party's MP supplies. Don't try and recover them while it's active as you'll be fighting a losing battle, and wait until it's dropped then either throw out some Ethers or, if you manage to steal one, a Megalixir.
- HP drain is like Sap on overdrive. Give everyone a gambit to use X-Potions or Hi-Potions to counter it.
- Gravity Field acts like an amplified version of Slow, and is even worse if you're wearing heavy armour so swap to light or mystic armour if you can during this phase. Haste will counteract it a little, but your commands will still take much longer than normal to execute.
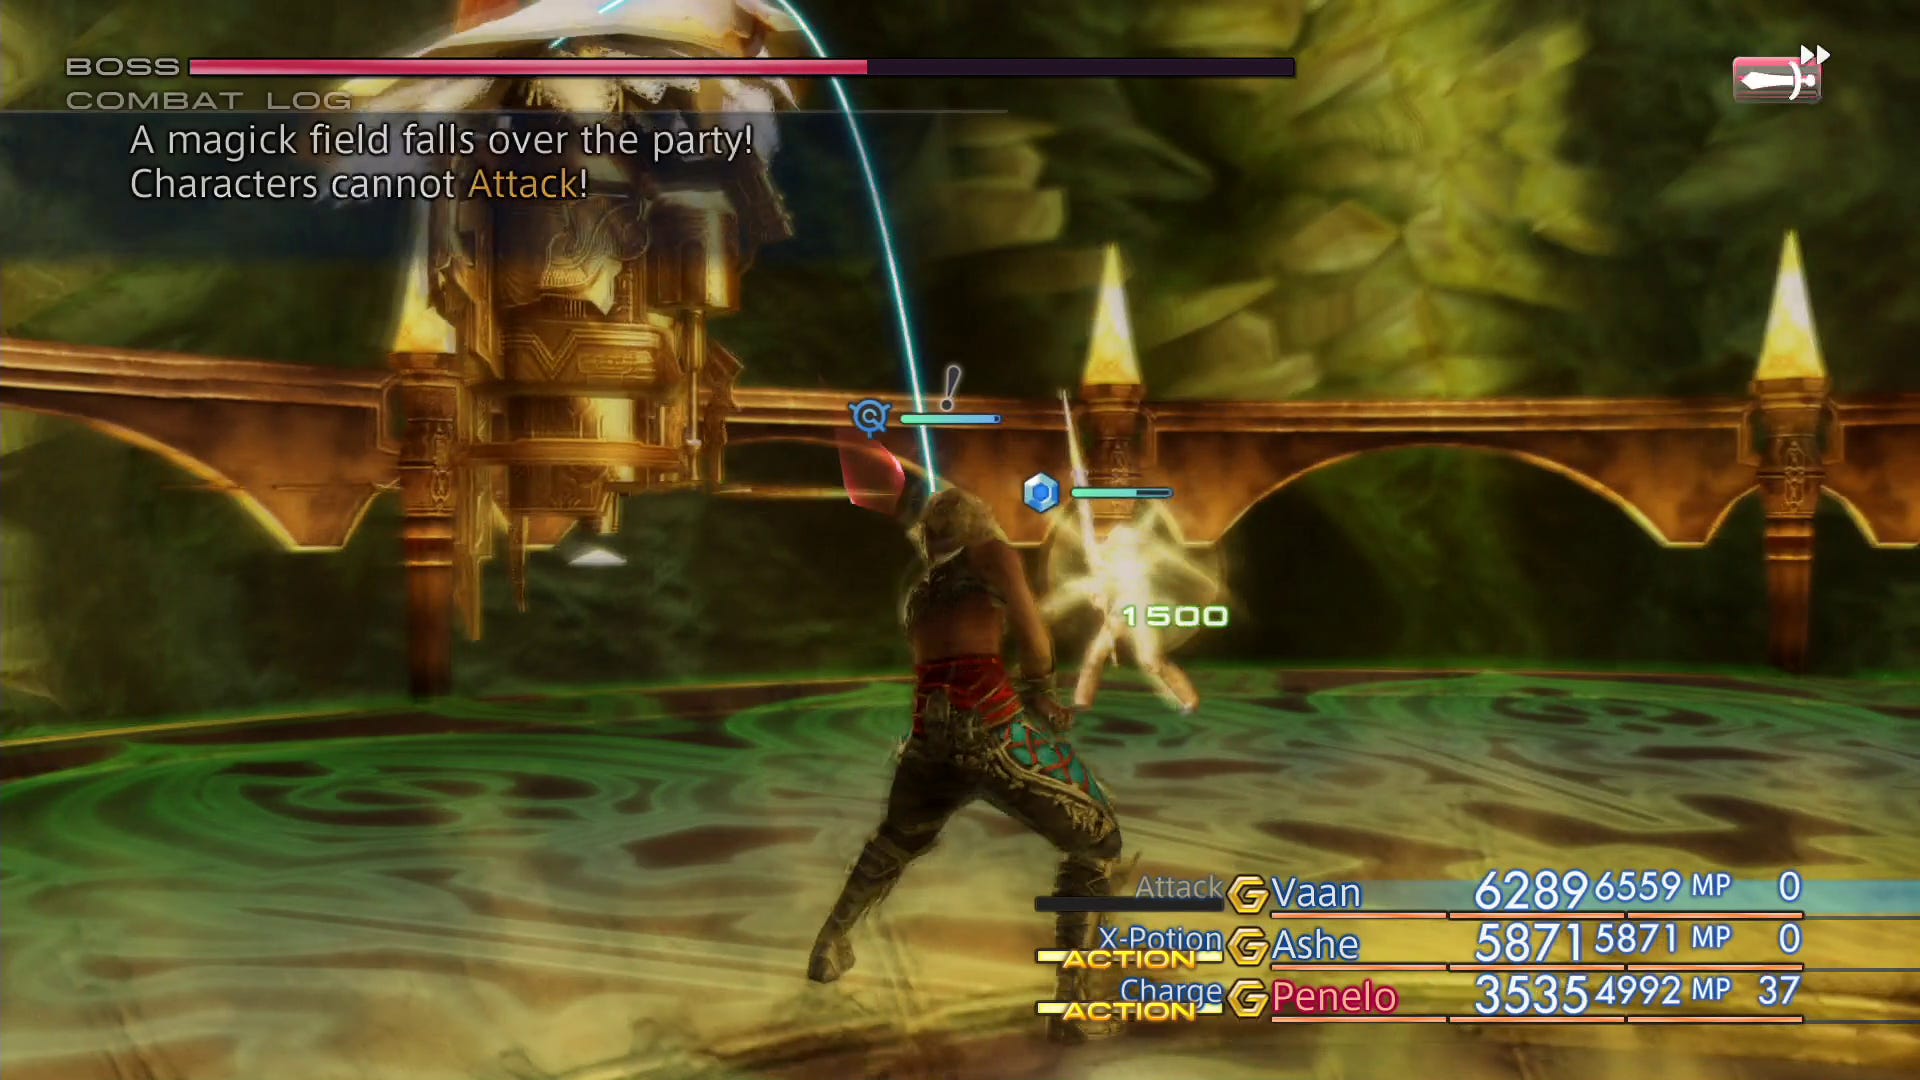
- No magick/technicks/attack/items will remove the respective option from your menus, so change your healing gambits as required and switch to alternate attacks is needed.
At about 50% HP she'll use a Great Barrier to replace her buffs, so Dispel them again (either with a spell or mote as required) and get ready for her Holyja attacks which she'll use at random from now on - equip Sage's Rings if you have them when she charges it up.
Once she's thrown out a few Holyjas she'll start to use Reverse followed by Curaja - a gambit to attack party members with this status affliction is a good bet, and it should be placed above any of your healing gambits to avoid unfortunate team killing incidents. Her next trick will to to cast Reflect on the party, so either Dispel it, switch to item healing, or pop on some Opal Rings to nullify the status.
At 25% her defence will go up dramatically so most of your damage should now be done with Darkja - physical attacks will still work, but they'll be pretty inefficient. She's run out of tricks, though, so if you've made it this far you should be on to a winner.
When she's dead grab Excalibur from the treasure chest in the middle of the arena, and head back out to the save crystal. Making your way out is a little more straightforward than getting here - take the exit to the left to get to Dha Vikaari Debon Ra, use the Way Stone there and it will take you to Way Stone XX which will take your party to the exit of the Great Crystal.
Head back to our Esper battles, strategies and locations hub for more on the various other Espers, or our main Final Fantasy 12 The Zodiac Age walkthrough and guide hub for plenty of other guides, too!