Final Fantasy 12 - Chaos, Walker of the Wheel, King Bomb, Fury, and Humbaba Mistant location, requirements and strategies
Everything you need for tackling the tricky Esper.

There are thirteen Espers in Final Fantasy 12, eight of which are optional foes outside of the main story. Chaos, Walker of the Wheel is one of the later optional Espers that you'll be able to attempt tackling, but it's also a little different to the others, with three sub-bosses - King Bomb, Fury, and Humbaba Mistant - in the way first, so don't expect it to be easy!
All of the Espers are highly challenging, so here on this page we'll be taking you through Chaos' location, requirements, and of course strategies for how to defeat Chaos in combat, too.
If you're looking for one of the other Espers, you can head back to our Esper battles, locations, and strategy hub. For other tips and explainers meanwhile, head to our Final Fantasy 12 The Zodiac Age guide and walkthrough, where we cover plenty more.
Chaos, Walker of the Wheel location and requirements
Before you get to the actual battle, here's everything you need to know about Chaos, Walker of the Wheel:
- Prerequisites: visit Archades, complete Lost in the Pudding, Waterway Haunting, and Crime and Punishment hunts.
- HP: Chaos ~200,000, Chaosjets ~4,000
- Weaknesses: Earth.
- Absorb: Wind.
- You'll need: Rose Corsages.
- Recommended level: 57+
- Steal: Choas: Taurus gem, Elixir, High Arcana. Choasjets: Feystone, assorted elemental Crystal and Magicite
Getting this Esper requires a lot of work, and while you can do bits of it earlier in the game at around level 30 we'd suggest at least waiting until you're in the mid to high 50s so you can do it in one hit - it'll make some of the boss encounters a lot easier, and it will save too much backtracking.
First, make sure you've completed the Lost in the Pudding, Waterway Haunting and Crime and Punishment hunts so that you have in your possession a Blackened Fragment, then head for the Grand Bower in Salikawood to fight the first of many bosses.
For more help with? Final Fantasy 12? Our Final Fantasy 12 The Zodiac Age guide, walkthrough, Switch and Xbox differences gives an overview of the game to get you started. Elsewhere, there's our hidden Espers strategy and locations and Elite Hunts and Marks pages, how to get the best Zodiac Jobs for each character, advice on farming LP from Jellies and even how to get the Zodiac Spear.

King Bomb, Fury, and Humbaba Mistant locations and strategies
Salikawood: King Bomb
Just before you enter the area, cast Haste, Shell, Protect, Regen and Vanish (or as many of those as you have) on your party then touch the orange crystal to get your MP back. Equip everyone with Gillie Boots if you can, and wear whatever flame-resistant gear you've got in your stock.
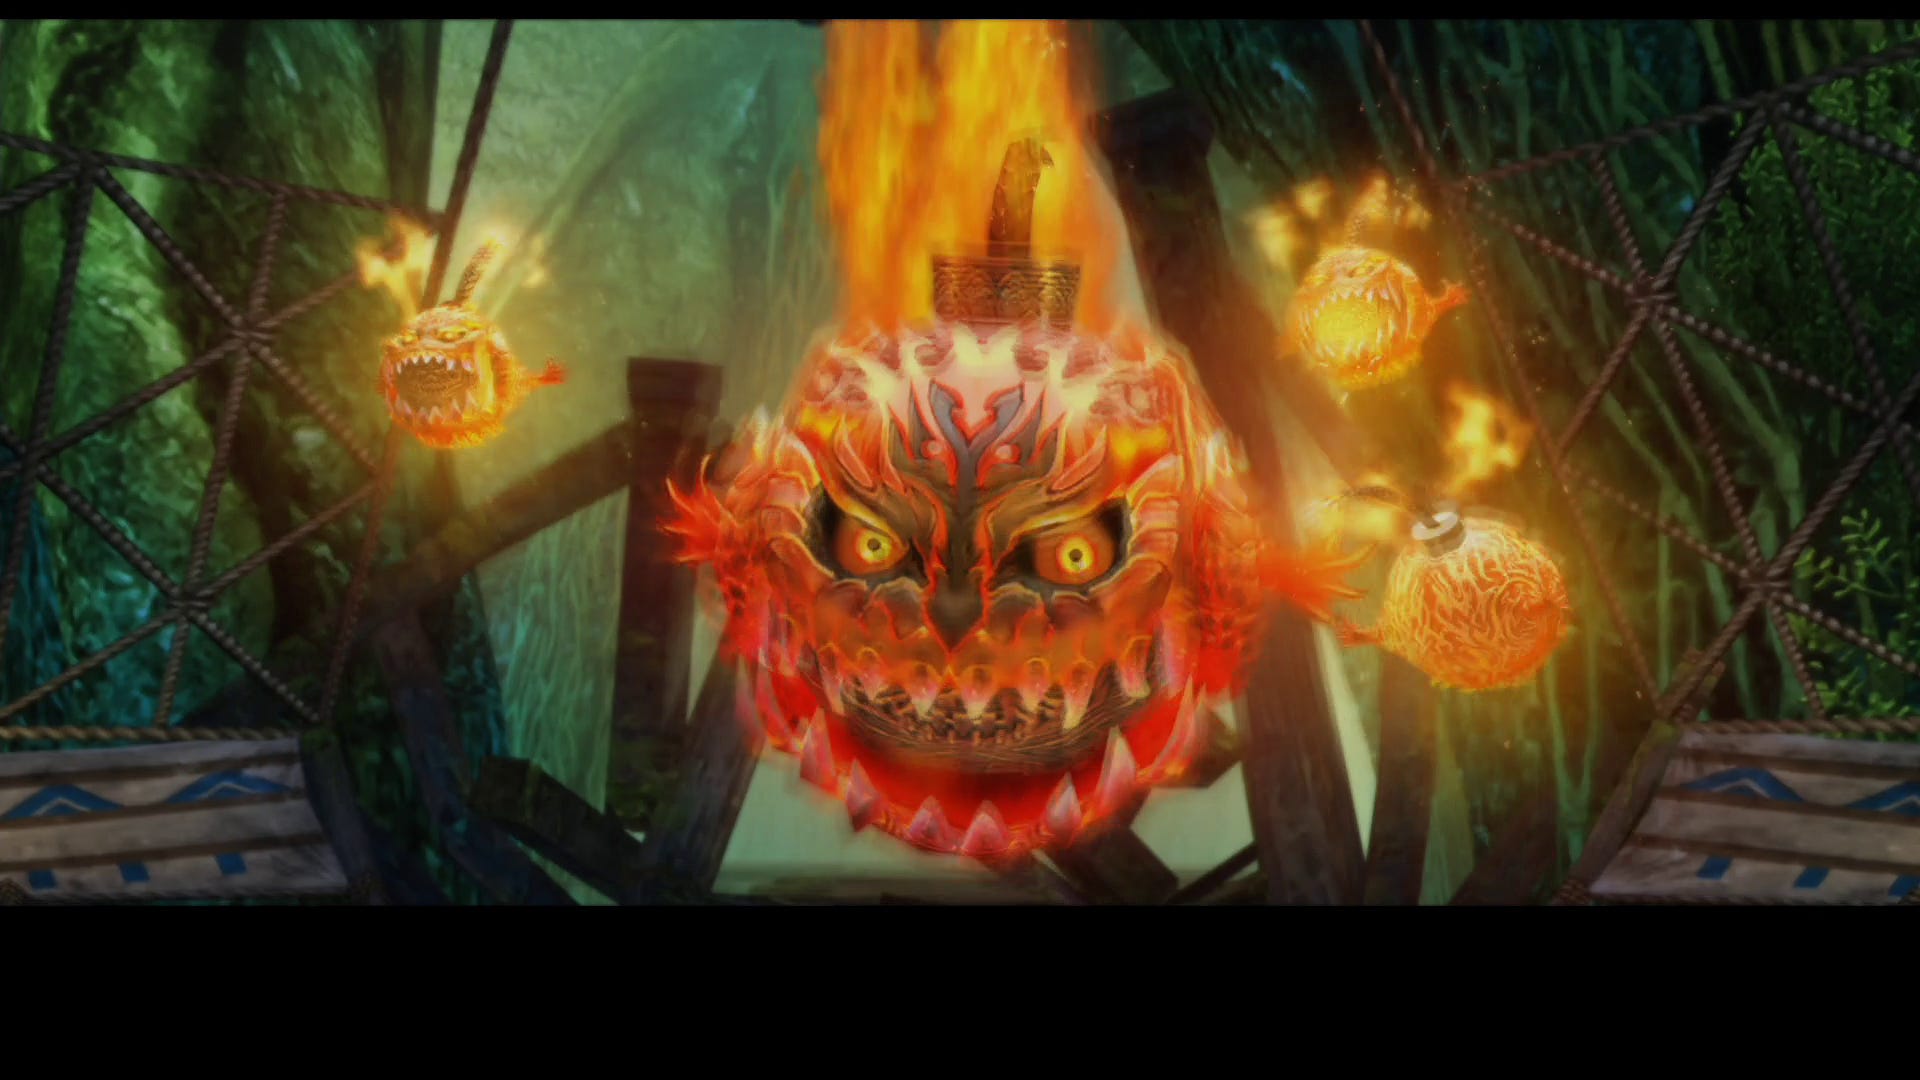
Start by casting Dispel on King Bomb, and once his defence is down hit him with Silence, then turn your attention to the three smaller bombs and get rid of them - they're not particularly tough but getting rid of them makes King Bomb less troublesome.
Once they're gone focus on King Bomb. When he's on his own he'll only use physical attacks, but he will try and run from your party and cast Renew; if you're quick you may be able to use a Quickening to cut him short, otherwise he'll return to full health.
Make sure to keep him silenced to prevent him summoning more smaller bombs, and work away at him - he will use Renew twice more, but after the third time he's done with that so don't despair if he doesn't seem to be going down.
Once the way is clear head through the arch, keep to the east, and exit into Piebald Path. Keep east again and you'll emerge into the Nabreus Deadlands.
Nabreus Deadlands
Make your way through Greencrag and into The Muted Scarp. Follow the winding path upwards and you'll find Ma'kleou at the top - speak to him, ask him who he is and what he's doing, then head back the way you came and use the orange crystal in Salikawood to return to Rabanastre.
Lowtown
Head back to Lowtown and enter the residence in the north east where you were given the Waterway Haunting hunt details and speak to Deeg inside. Read the letter on the table and speak to Deeg again, then head into Garamsythe Waterway to Central Waterway Control.
Open all the gates using the controls (so all the lights are off), then using the clues in the letter operate the controls in order:
- Close No. 11 (light on)
- Close No. 4 (light on)
- Open No. 11 (light off)
- Close No. 3 (light on)
- Open No. 4 (light off)
You'll hear a faint tinkling if done correctly. Head to the southern side of the semi-circular path and you'll see a twinkling on the ground - grab it and you've now go a Dull Fragment.
Head back to Lowtown and speak to Roh'kenmou in Old Dalan's house, then speak to Filo in the south east part of Lowtown - she's in the short alleyway just north of Dalan's house.
Once she's told you the only place she hasn't looked is the city streets, go to the Southern Plaza in Rabanastre and speak with the Curious Woman standing near the fountain in the middle. Now head to Muthru Bazaar and speak to a Merchant there - the one you're looking for is just south of the Clan Provisioner.
The Imperial he mentions is drinking in a corner of Yugri's Magicks; talk to him and tell him about the Curious Woman. He wants to see her, but there's no point going back to the fountain as she's no longer there, so head to Lowtown instead and talk to Kytes near Warehouse #5 (the Garamsythe Waterway entrance area) - doesn't matter if you have the good or bad news first, the upshot it the same.
Go back and talk to Filo and tell her you need to see the Curious Woman; agree to go with her and you'll be taken straight to Yugri's. Talk to the Imperial again, and you'll eventually end with with a Grimy Fragment. Return to Old Dalan's and give Roh'kenmou the fragments you have.
Archades
One item left to find. Head for Charlotte's Magick in Archades, head to the top of the stairs, and speak to Roh'kenmu. Ask about the Moonsilver Medallion, then head to Alley of Muted Sighs in Old Archades. In the noth east corner of the grid area you'll find a Proper Gent; speak to him and after a passionate speech about the class divide he'll hand over the Moonsilver Medallion. Take it back to Charlotte's and give it to Roh'kenmu.
Nabreus Deadlands
The end of the fetch quest is in sight! Return to the Muted Scarp and speak to Ma'kleou, and after a lot of exposition he and the acolytes will head for Overlooking Eternity.
Exit the other end of Muted Scarp into Vale of Lingering Sorrow; there are three other exits here - one directly north east, and two to the east. Both paths will lead you to the same destination, but going north east is quickest.
Exit into Hope's Reach, follow it round, and you'll emerge on the western edge of The Slumbermead. Keep to the northern edge and you'll come to a bridge which you need to cross. From here head north west and you'll be able to walk out into the water into an area not marked on the map which will lead you to The Fog Mutters.
Proceed very slowly here as Dead Bones will spawn as you approach, and if you run too quickly you'll find yourself swamped before you know what happened. Follow to the end and you'll reach Overlooking Eternity - somehow the acolytes made it here unscathed, and after some more dialogue you'll be in posession of three amulets and ready to take on what lies ahead in the Necrohol of Nabudis.
You can now enter the Necrohol from the Deadlands or Salikawood, but either way it's no picnic to save backtracking we'll take you the Deadlands route…
Head back to the Slumbermead and head west along the edge to find an exit to the north. The save crystal here is actually a Crystalbug that'll need beating into submission before you can use it, and it doesn't give up without a fight - some of its spells do huge amounts of damage, so have your healer on alert.
Head north from here into Lifeless Strand; there are lots of Treasures scattered around, but there alre also a lot of traps and nasties lurking in the swamp so don't get greedy. Head west as soon as you enter, then north, and then east across a couple of bridges to the exit.
Field of the Fallen Lord is the last area in the swamp - just bear east south east to find the entrance to the Necrohol.
Necrohol of Nabudis
Libra is essential here as the place is lousy with traps, including a dozen right inside the entrance. If you've got Float this is a good place to use it!
In the Hall of Slumbering Might head south, and then follow the ruins in a generally southwesterly direction. You'll encounter a lot of new and horrifying enemies in here, but whatever you do do not rush - a slow and steady pace dealing with one batch of nasties at a time is a lot safer than trying to flee with s horde on your tail: Baknamys can easily overwhelm your party if you get caught between a few so use Blizzaga to take them out from a safe distance, and most of the rest of the denizens are weak to Holy so give your healer a “Foe: Undead - Cura” gambit so they can help out.
Once you reach the Hall of the Ivory Covenant head south, and when you're half way down examine the door to the east, pop the medallion in it, and prepare for pain.
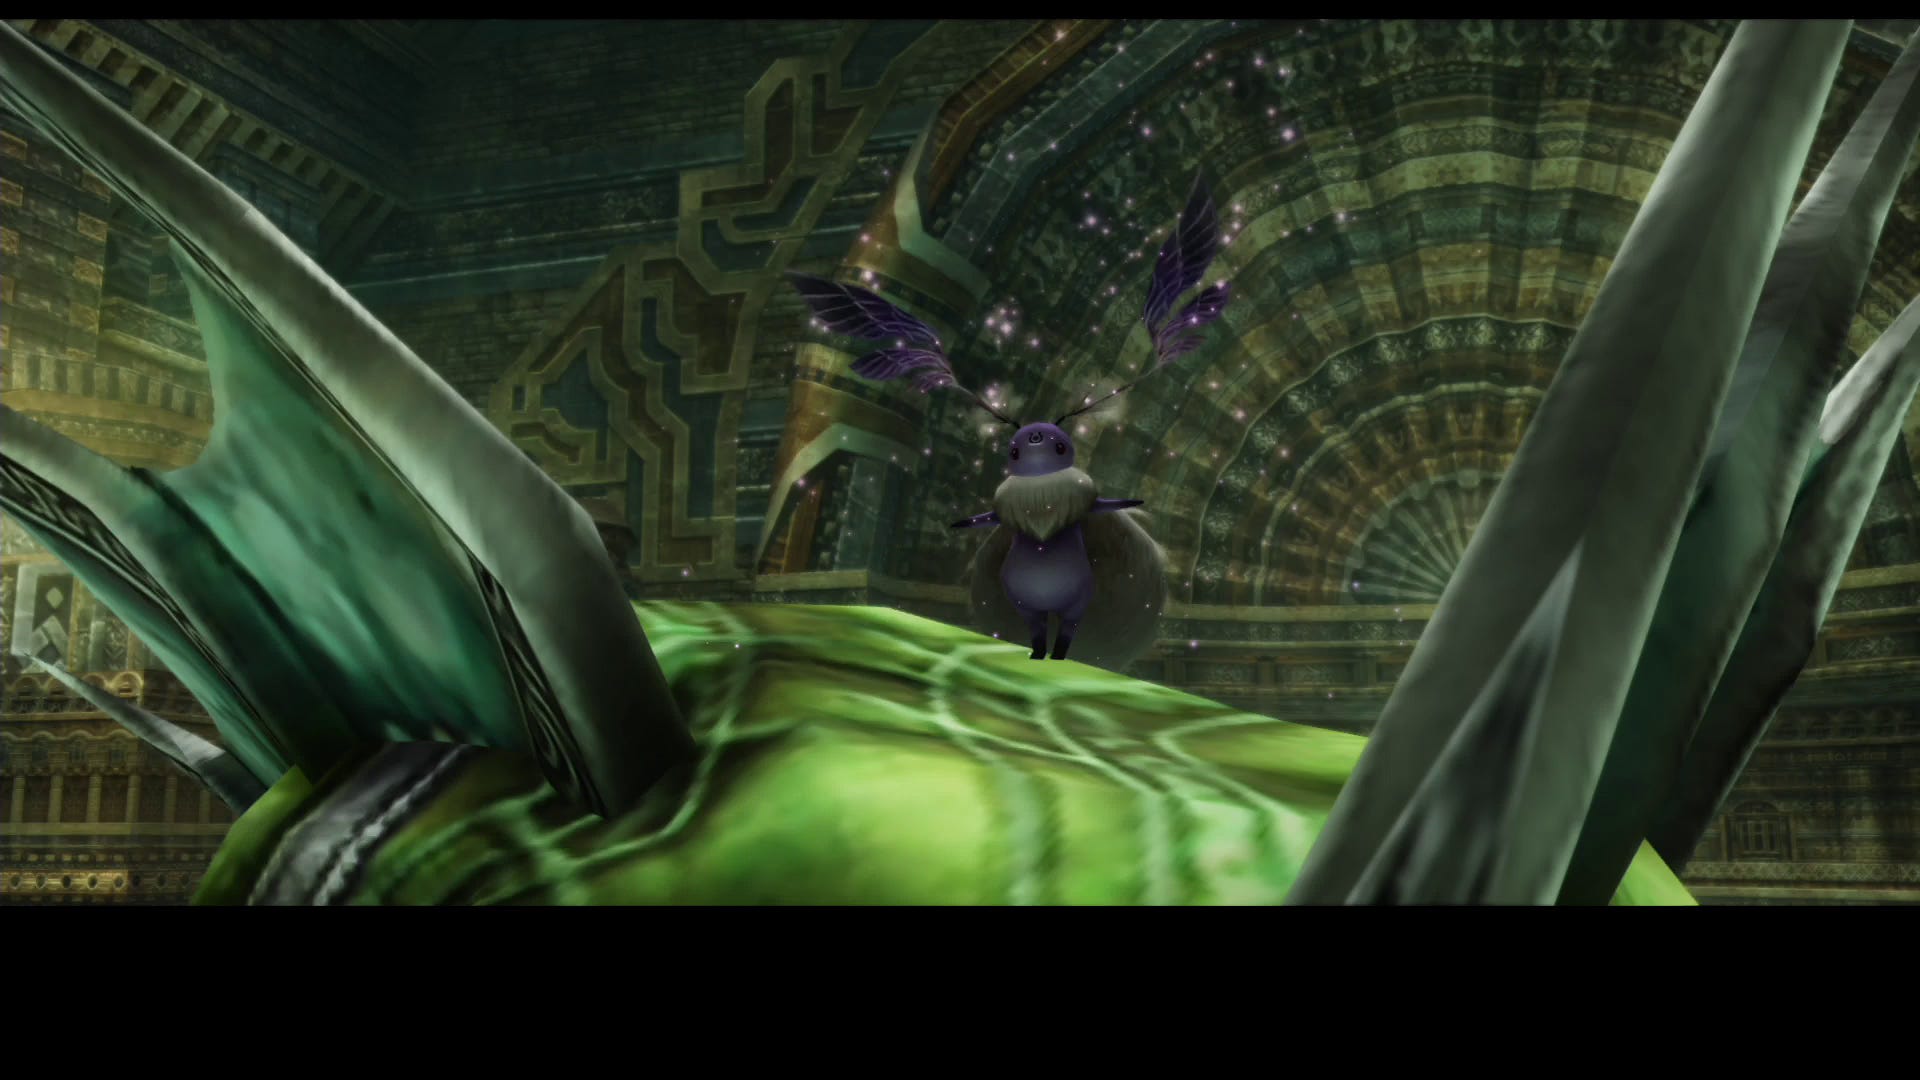
Fury
Don't laugh - he may be small and fuzzy, but this guy is brutal. Start with Dispel, and if you see him use Hero's March follow it up with another Dispel - even unbuffed he's a pain, so there's no point handing him an advantage.
He will also sometimes crack out a Bacchus Wine which will Berserk him, so you'll need to Dispel that. Occasionally when he lands a hit on your party he'll send one or more of you Berserk - if he hits your tank that's probably fine, but be mindful that he doesn't take your healer out of active duty.
When his HP hits critical he'll be desperate to go Berserk, so if you can keep using Dispel he'll waste a lot of turns just drinking wine and not be able to get much attacking in. If you split your party between dealing damage, healing, and casting Dispel the last phase should be over rapidly.
Head back out to Hall of the Ivory Covenant and resume your journey to the south, then take the stairs to Cloister of the Highborn. Head south and keep travelling west - you'll pass a door to the south about half way, but that's locked until you defeat the next boss.
Head south in the Cloister of Distant Song and then take the long narrow corridor west about half way down for another boss fight.
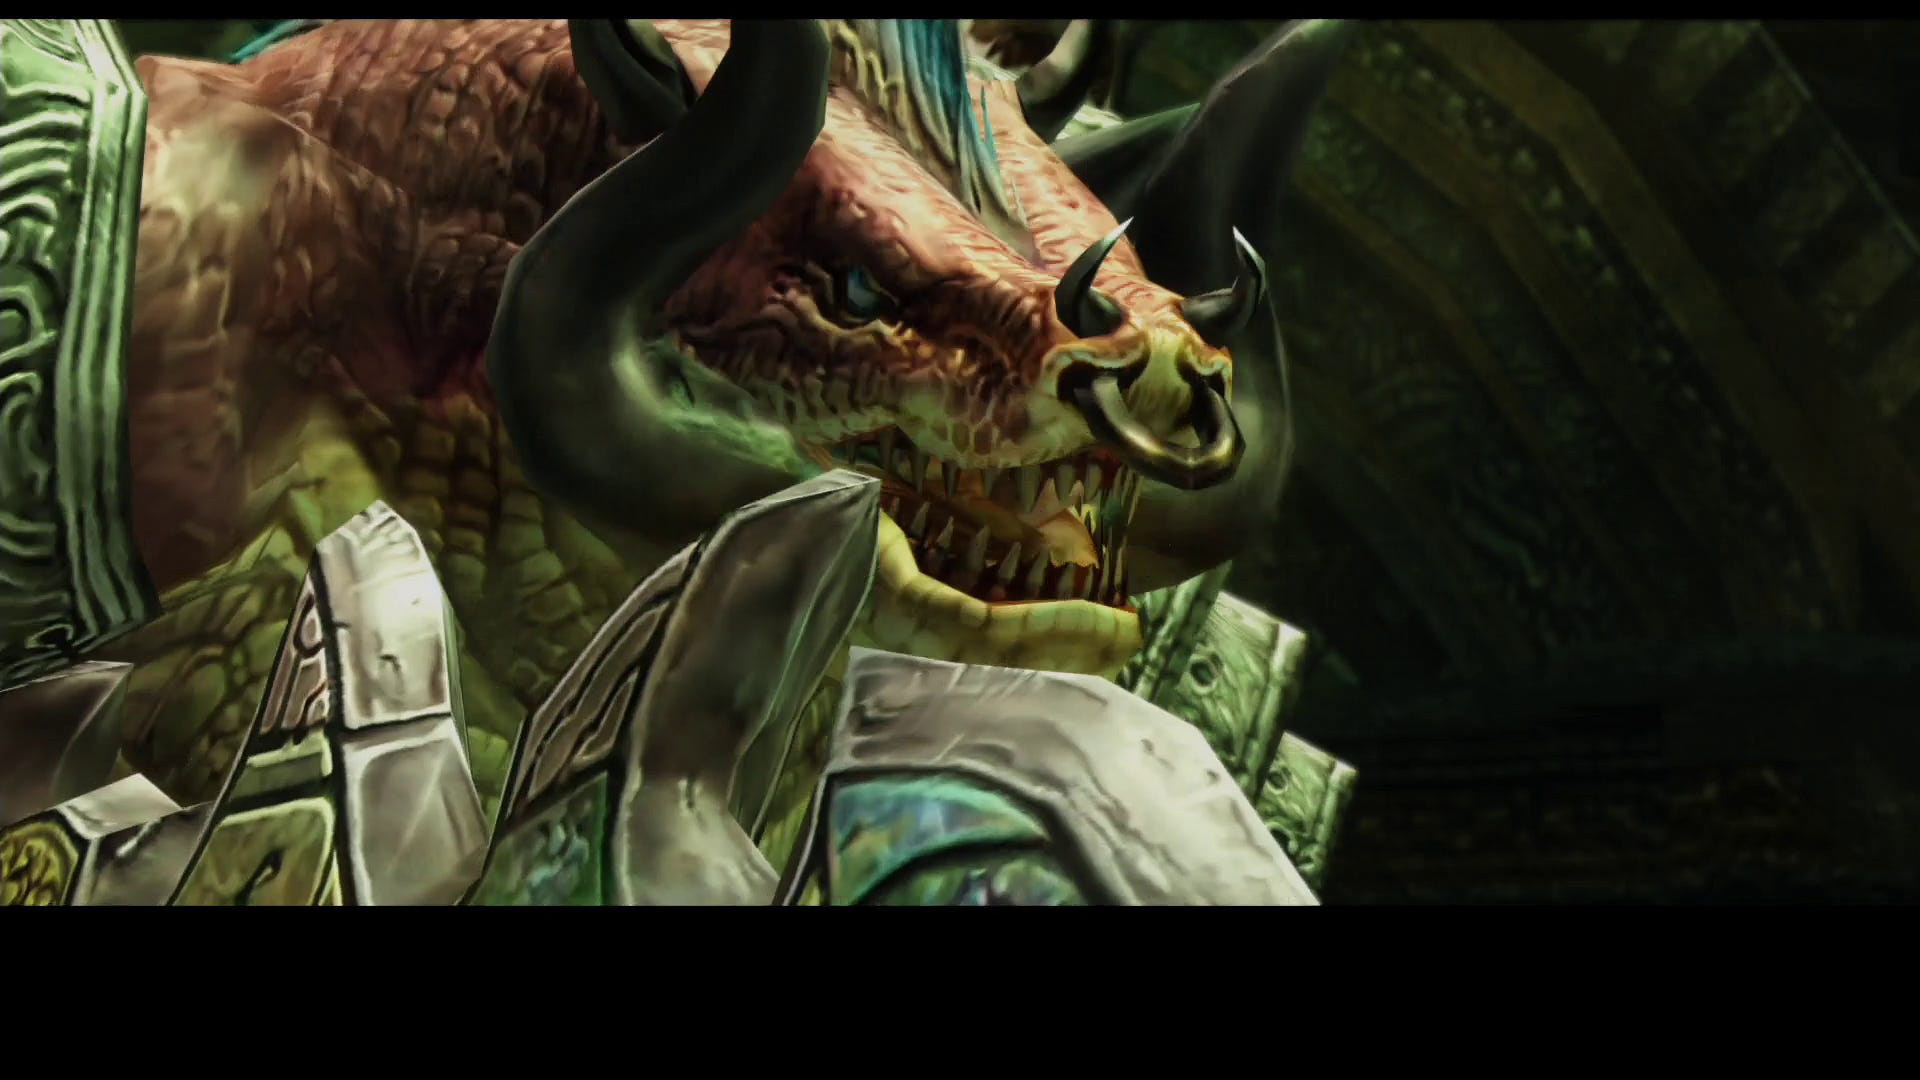
Humbaba Mistant
As ever, start with Dispel. Humbaba will switch between physical and Dark attacks, so Demon Shields can mitigate both, and keep up some Protect on your party for extra, er, protection. His Tremblor attack can not only deal 1000+ HP damage to everyone it can also inflict Immobilise or Disable, but Float renders it ineffective so if you've got the MP and casting rate it's worth keeping everyone covered with that too.
Keep Dispelling him as much as possible as he's fond of using Protect, and if you're not coming too close to death get your healer in on the attack to exploit his Holy weakness. When he reaches HP critical he doesn't change up his tactics which makes a nice change, so if what you're doing is working ti will keep working until he's gone.
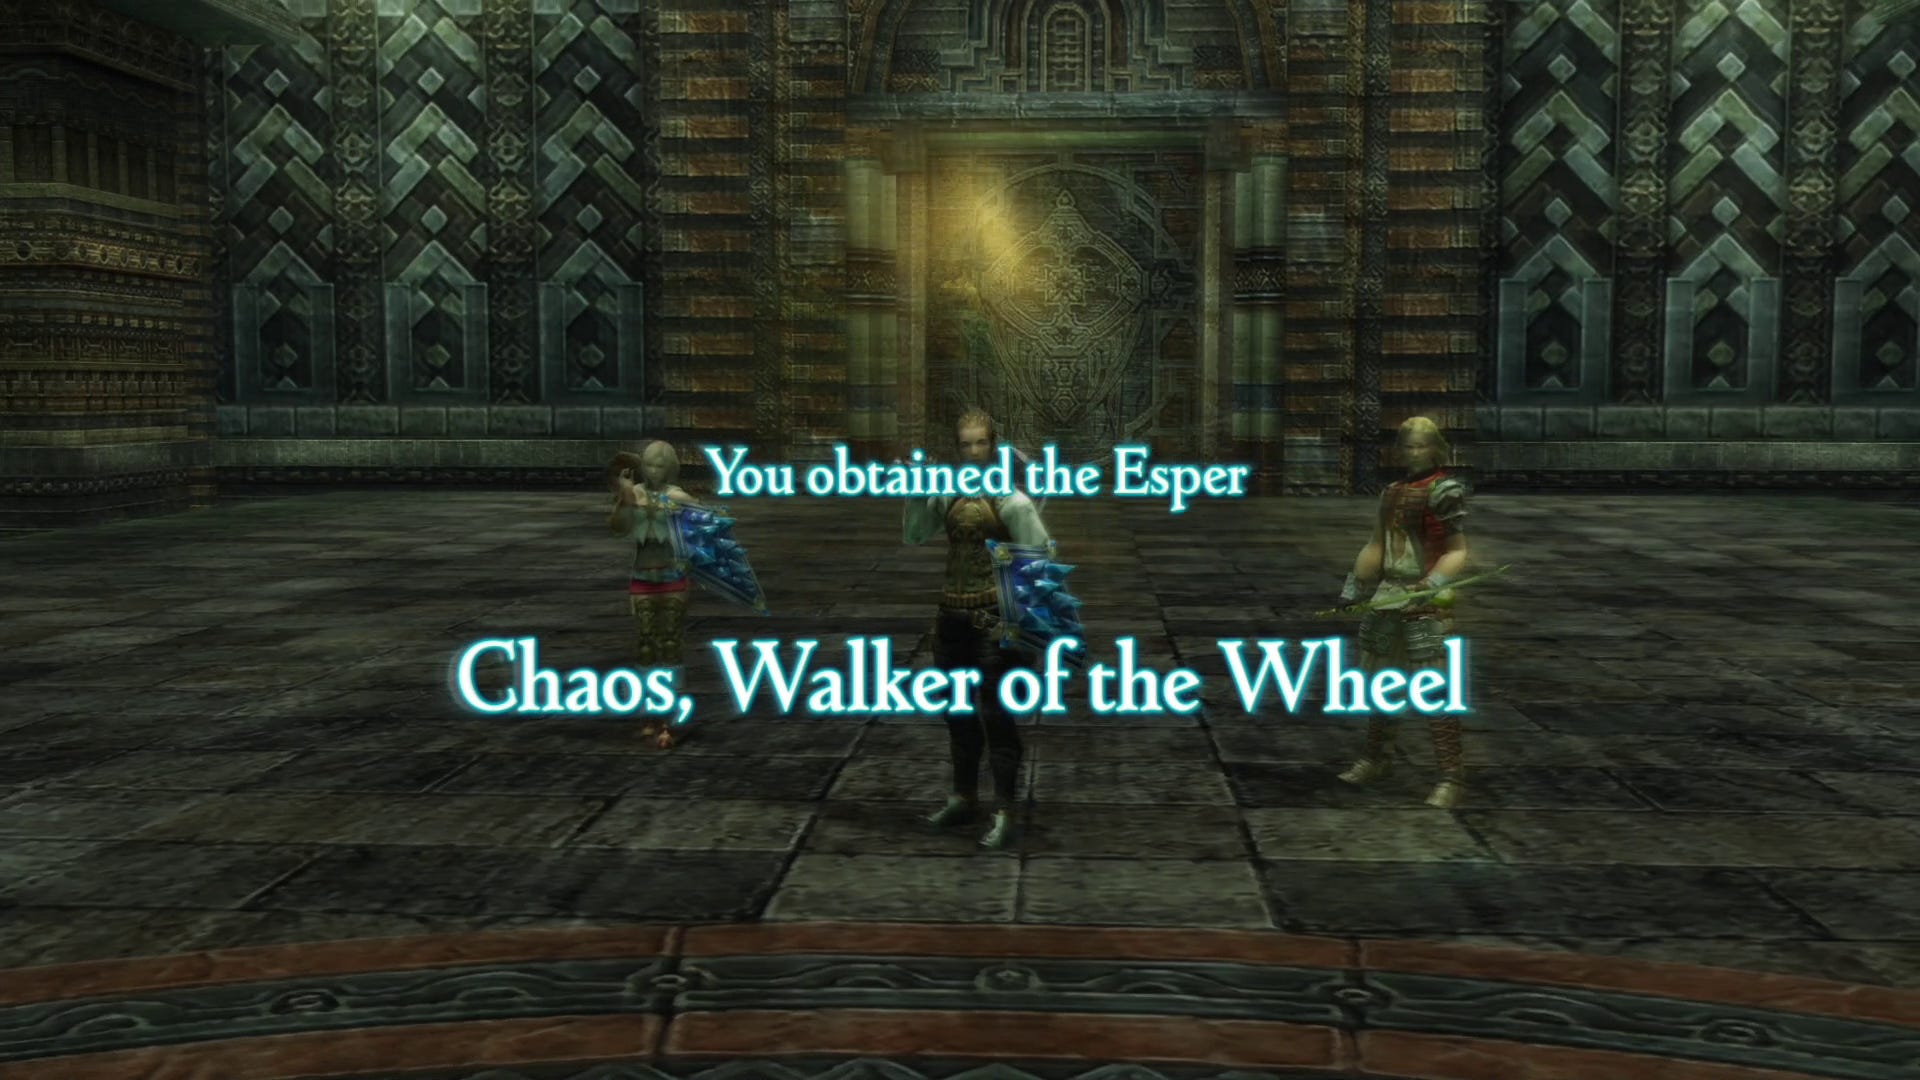
Once he's down you'll be the proud owner of one Medallion of Might, and you now have everything you need to take on Chaos, Walker of the Wheel. Head back to Cloister of the Highborn and exit through the door in the south.
Chaos, Walker of the Wheel strategies and how to defeat it
For this fight the Attack command is a no-go, so you'll likely need to make some adjustments to your party and tactics as you'll be restricted to magic and Technicks, and if you do nothing else equip everyone with a Rose Corsage or you'll be doing nothing but eating Echo Herbs for the rest of your short and painful existence.

Immediately open with Dispel as Chaos summons for Chaosjets, basically elementals that have spent too long at the gym. Ignore Chaos now, and focus on the Chaosjets - they'll continually spam Silence and heal Chaos, so until they're gone there's no point attacking him.
Use each Chaosjet's weakness to deal heavy damage - Air is weak to earth, Earth is weak to wind, Fire is weak to water, and Water is weak to Fire - or use Scathe on them if you've got it. If you're missing an element then the Souleater Technick or a shot of Bio can be just as effective.
Once the Chaosjets are down switch your Corsages for Bowline Sashes, and turn your attention to the big guy. Chaos himself only has physical and air elemental attacks, although he will also use Fearga to drain your MP so a "Self: MP less than 10% - Charge" gambit can save you in a pinch if you're low on Ether. Try and keep him on the back foot with Slow, and hit him with your heaviest non-Wind spells and Technicks - Scathe, Souleater, Bio, and Telekinesis FTW.
As the battle nears to a close Chaos will use Enrage to increase his attack damage, so combine Shell and Protect, and maybe try for a Quickening Chain to knock a big chunk off his HP in safety.
Head back to our Esper battles, strategies and locations hub for more on the various other Espers, or our main Final Fantasy 12 The Zodiac Age walkthrough and guide hub for plenty of other guides, too!