Final Fantasy 12 - Zalera, the Death Seriph location, requirements and strategies
Everything you need for tackling the tricky Esper.

There are thirteen Espers in Final Fantasy 12, eight of which are optional foes outside of the main story. Zalera, the Death Seriph is one of the earlier of those optional Espers that you'll be able to attempt tackling, but don't expect it to be easy!
All of the Espers are highly challenging, so here on this page we'll be taking you through Zalera's location, requirements, and of course strategies for how to defeat Zalera in combat, too.
If you're looking for one of the other Espers, you can head back to our Esper battles, locations, and strategy hub. For other tips and explainers meanwhile, head to our Final Fantasy 12 The Zodiac Age guide and walkthrough, where we cover plenty more.
Zalera, the Death Seriph location and requirements
Before you get to the actual battle, here's everything you need to know about Zalera, the Death Seriph:
- Prerequisites: the Barheim key from the Patient in the Estersand sidequest.
- Location: Barheim Passage, Terminus No. 7.
- HP: ~70,000
- Weaknesses: None.
- Absorb: None.
- You'll need: Nishijin Belts.
- Recommended level: 44 (but see below for more details).
- Steal: Gemini gem, pebble, High Arcana.
For this one you're going to need to be around level 44, but (for reasons that will become clear) level 49 is the sweet spot. Having Curaja will help a lot in getting to the boss, too, as there's a lot of undead in the area.
After completing Patient in the Estersand make your way into the Barheim Passage through the hidden entrance in the south east corner of the Sand-strewn Naze in Estersand, and head through the ruins; you'll eventually end up back in Great Central Passage. Head west and take the northern fork when the path splits and the door at the end will now be open. Go west along the East-West Bypass, and up the small set of stairs on the northern side to exit to the next area.
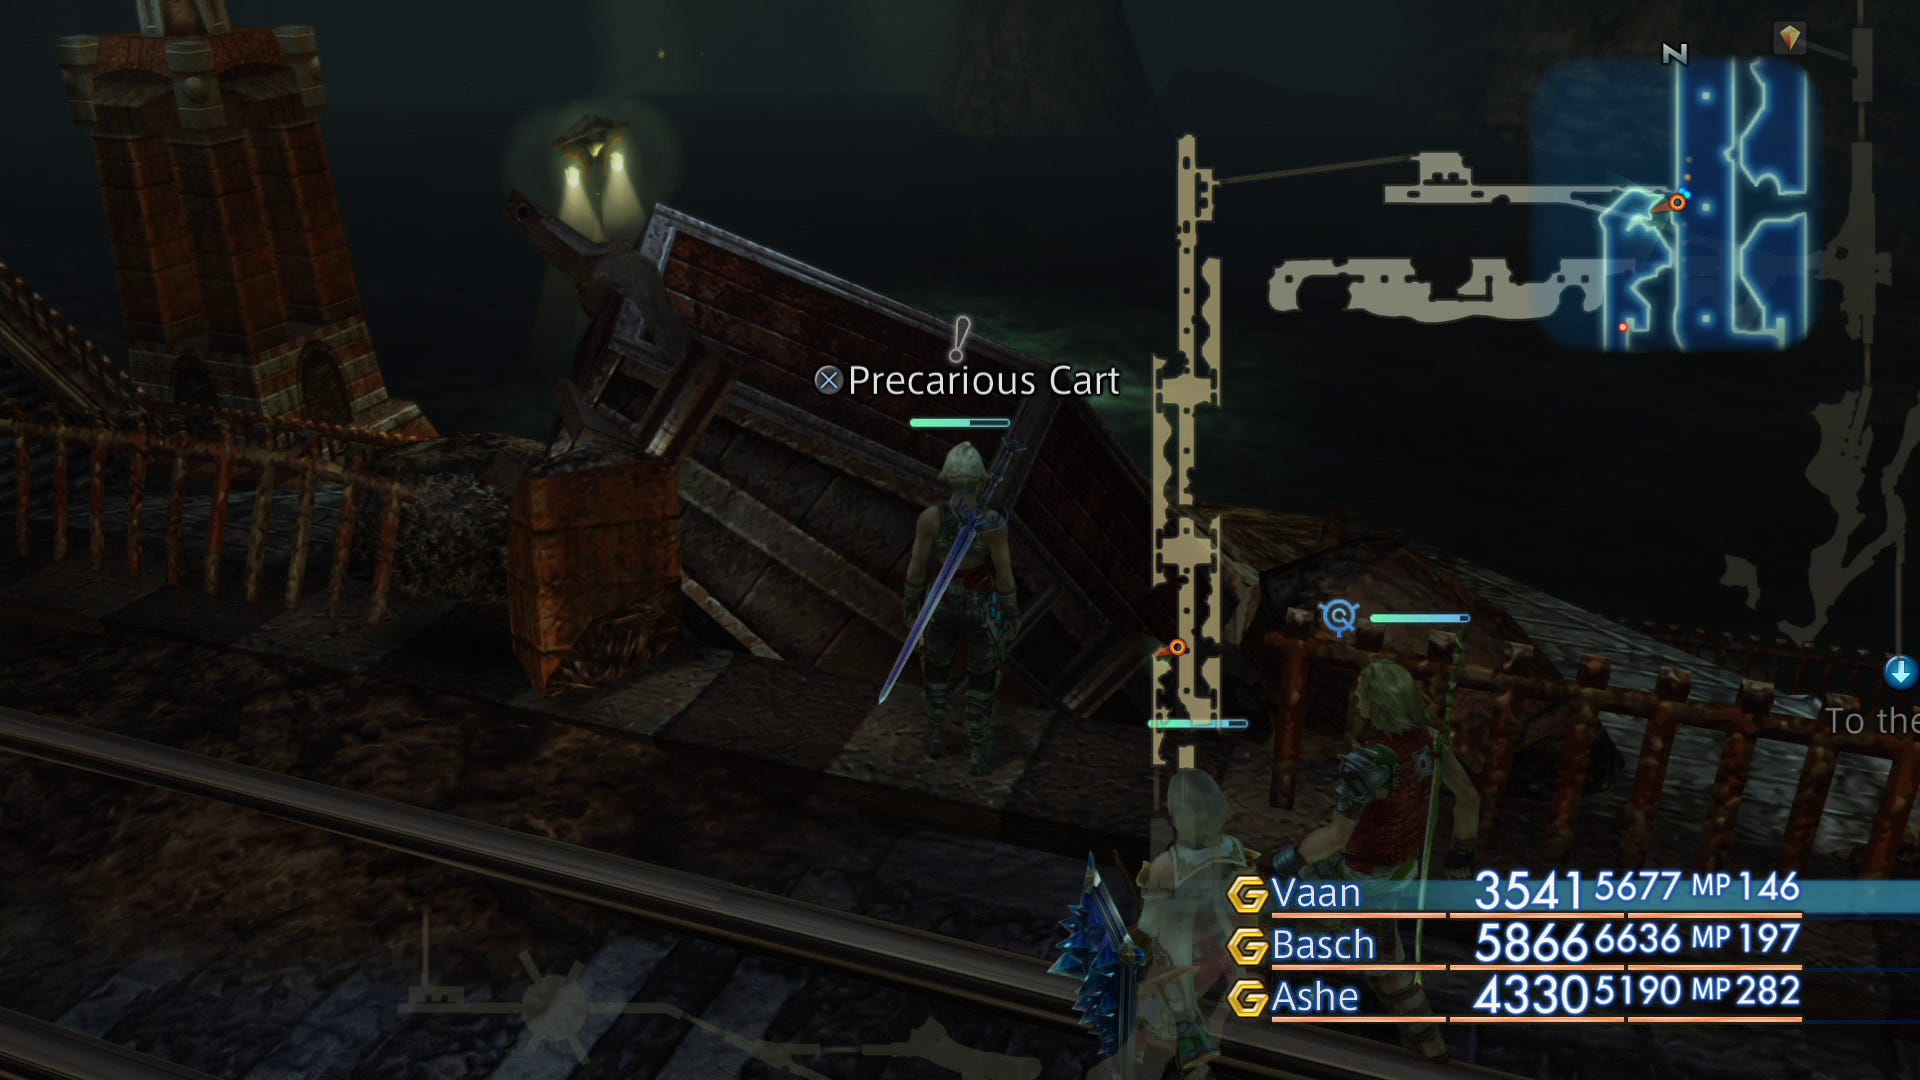
As you cross the Zeviah Span take the first set of stairs down on the left to find an Urn containing the Barheim Candle. Carry on across the bridge, head down the walkway on the west when you reach a dead end, and up the other end. There are some bombs lurking here, but if you don't bother them they won't bother you. There's a "precarious cart" on the edge near the bombs - give it a nudge and it'll form a path down allowing you continue your progress.
The next area is teeming with skeletons and ghosts, so take your time - if you rush you may end up being overrun by them. You'll eventually come across a save crystal, so use it to heal and get back on your feet before going west to face your foe.
For more help with? Final Fantasy 12? Our Final Fantasy 12 The Zodiac Age guide, walkthrough, Switch and Xbox differences gives an overview of the game to get you started. Elsewhere, there's our hidden Espers strategy and locations and Elite Hunts and Marks pages, how to get the best Zodiac Jobs for each character, advice on farming LP from Jellies and even how to get the Zodiac Spear.

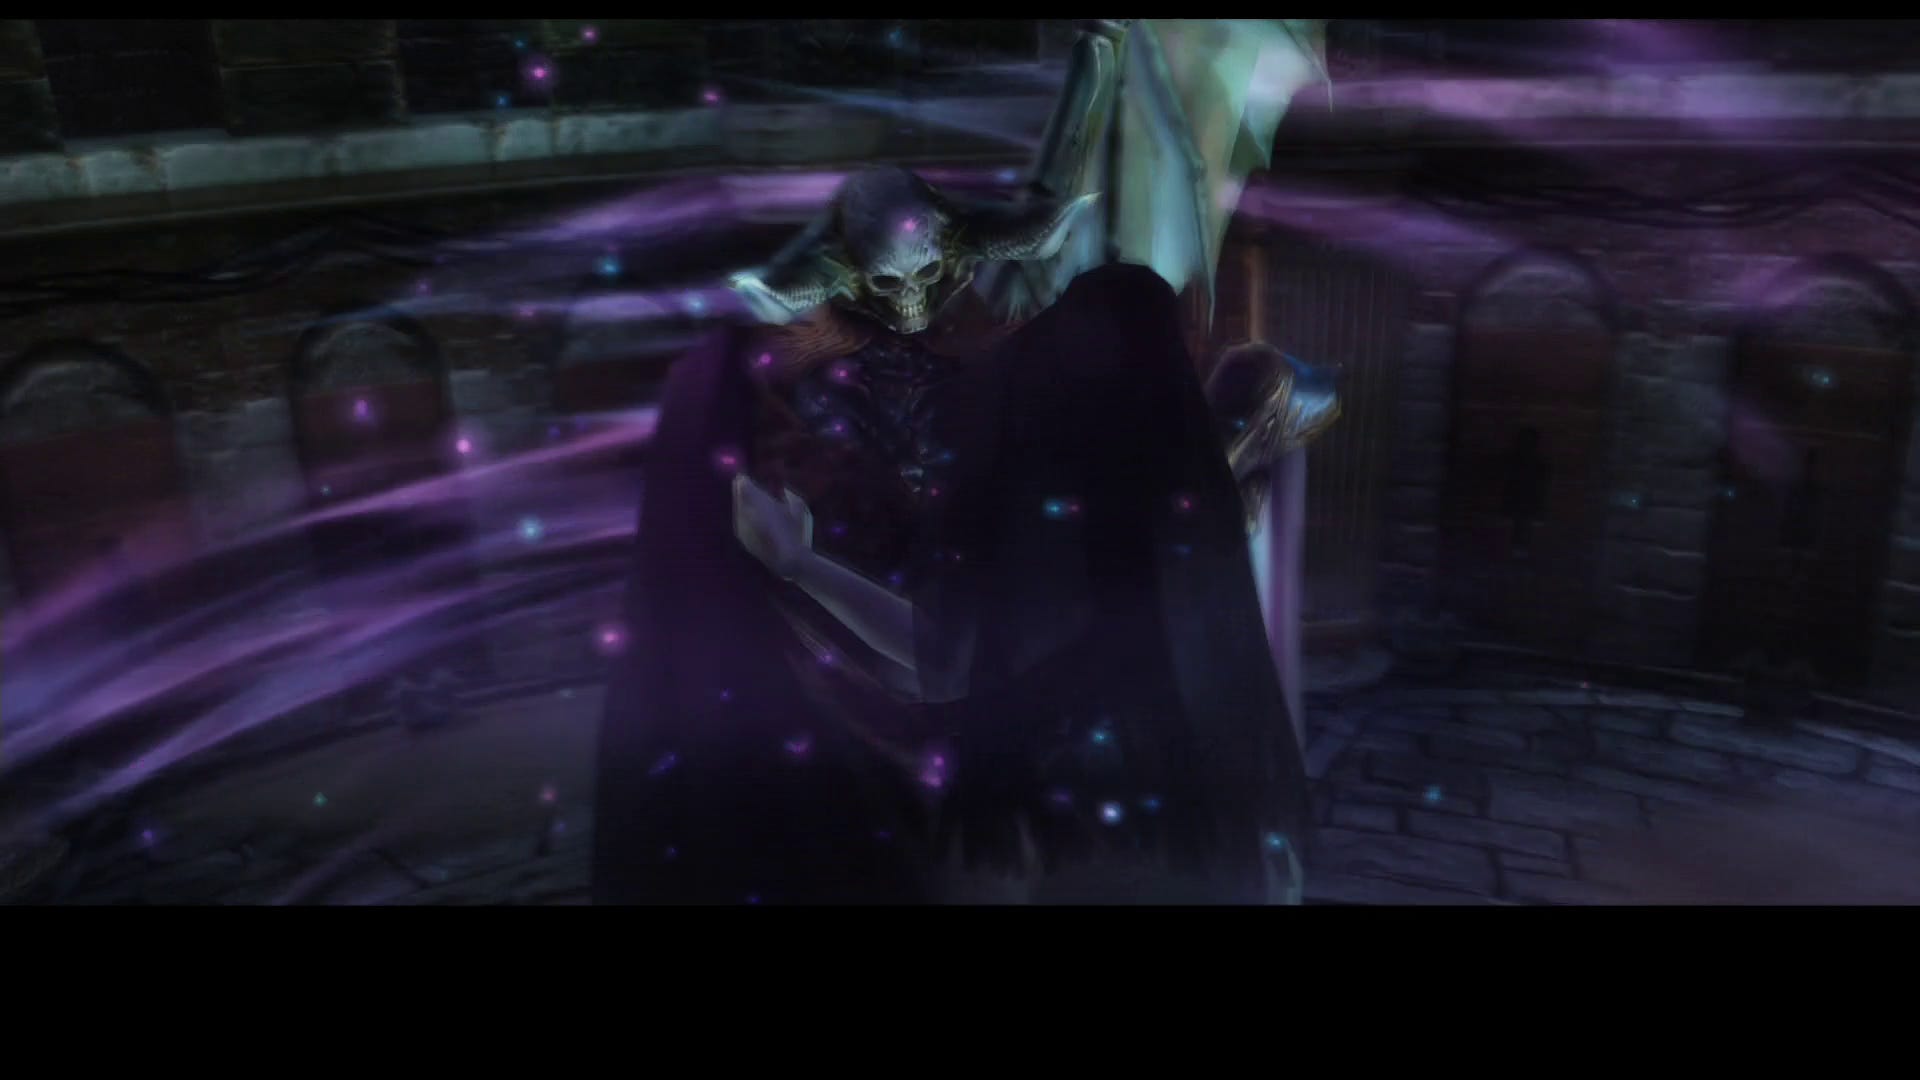
Zalera strategies and how to defeat it
These boss fights normally come with some sort of added pressure, and for this one time is your enemy: fail to defeat him within five minutes and you'll be ushered out of the arena and have to start again!
The fight consists of two phases. To start with Zalera will summon two undead minions while he himself will be immune to all attacks, so ignore him and deal with the smaller enemies, and when they're defeated another pair will arise. The skeletons will try and put Blind and Disable status effects on your party, so try and avoid everyone being Disabled at once - swap in an auxiliary character to clear one of your main party if you need to.
Once the four undead minions are defeated Zalera will start his own attacks. His first round follows a set pattern:
- Kill: a one shot KO of one party member. Get them back on their feet as quickly as possible.
- Physical attacks: a decent set of armour and maybe a dose of Protect can help here. You may get unlucky and become Confused if you get hit too many times.
- Death: like Kill, only spelled differently.
- Sleepga: an area-effect Sleep spell. Try and keep at least one character out of range, but as before you can always swap a secondary character in temporarily to wake one of the main party if they all get hit.
- Physical attacks: same as before.
- Lv. 2 Sleep: any character whose level is divisible by 2 will be targeted with a Sleep spell.
- Lv.3 Disable: any character whose level is divisible by 3 will be targeted with a Disable spell.
- Lv. 4 Break: any character whose level is divisible by 4 will be targeted with a Break spell.
- Lv. 5 Reverse: any character whose level is divisible by 5 will be targeted with a Reverse spell (hitting them with healing spells causes damage).
- Prime Lv. Death: any character whose level is a prime number will be instakilled.
He'll now summon more undead and the cycle will repeat, but note that his next attack phase won't follow the same pattern as the first.
The "Lv. X" attacks aren't guaranteed to hit so you may get lucky and avoid them even if you're a viable target, but being level 49 is super useful: it's not divisible by 2, 3, 4, or 5, so none of the smaller spells will be cast at you, but it is divisible by 7 so the Prime Death will also have no effect. (And you thought all that stuff you learned in maths at school about factorisation would never come in useful!)
Once he's dead head west and you'll emerge in Garamsythe Waterway so make your way west and north to return to Lowtown.
Head back to our Esper battles, strategies and locations hub for more on the various other Espers, or our main Final Fantasy 12 The Zodiac Age walkthrough and guide hub for plenty of other guides, too!