RE7 Not a Hero - Abandoned Mine, how to survive contaminated areas, exploring the Central Cavern
Complete the opening of the Not a Hero DLC.

Not a Hero's Abandoned Mine and Central Cavern form the very start of the new DLC, seeing you revisit some familiar sights before exploring new underground locations elsewhere.
If you need a guide to other areas, our Resident Evil 7 Not a Hero walkthrough can help.
On this page:
Want more help? Our Resident Evil 7 walkthrough provides step-by-step instructions on how to survive the main story, as well as finding the Shotgun, Grenade Launcher and the game's many Lockpicks and Treasure Photos. Meanwhile, our Antique Coins locations, Mr Everywhere statue locations and File locations lists will help you find every available collectible on Normal and Easy difficulties.
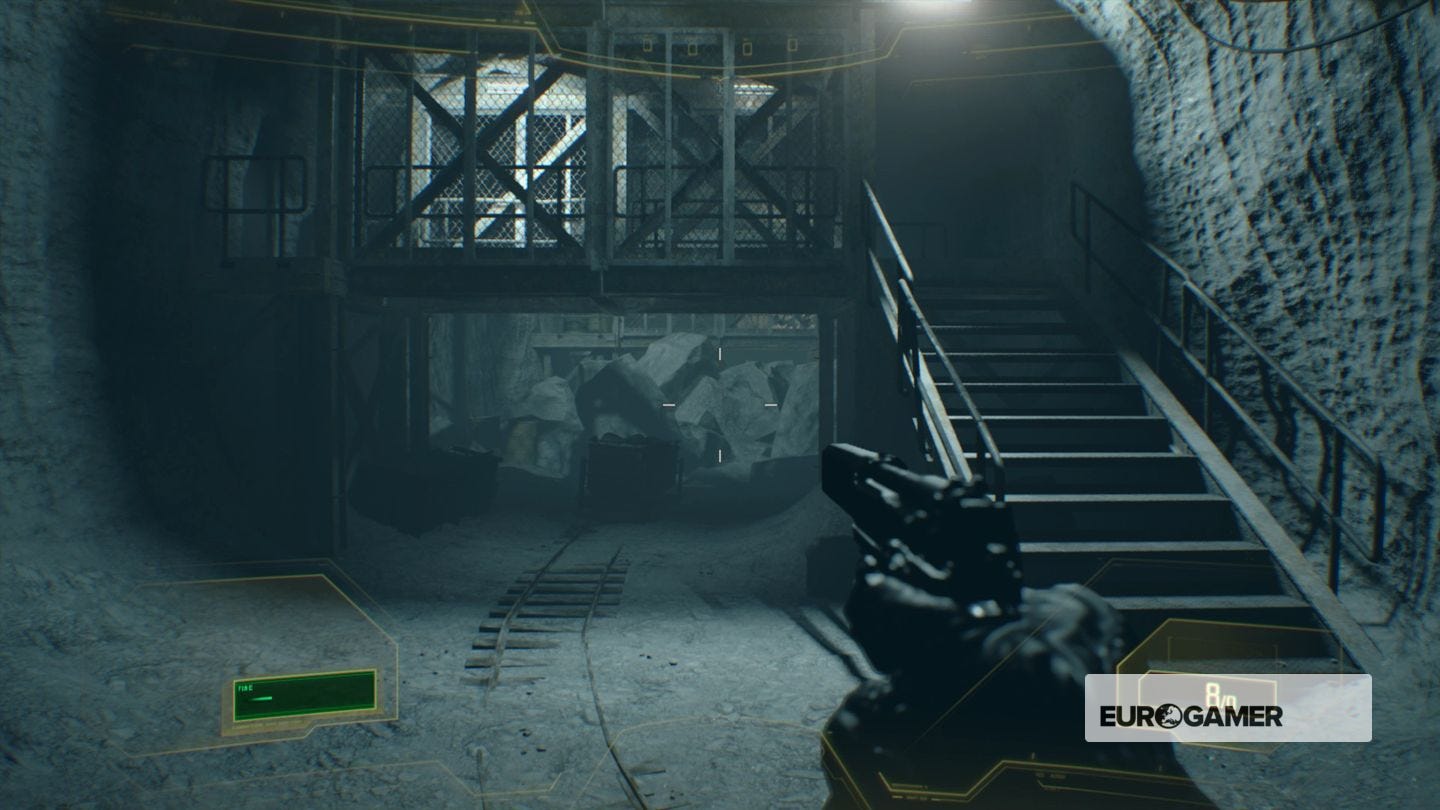
Abandoned Mine
From where you begin, go straight ahead, and enter the tunnel on the other side and right of the central column. When you emerge, there are two Molded - one left, and one right. Go for headshots, and when staggered, you can punch them - press the right trigger without aiming - to go for a powerful blow without wasting any ammo. Keep this in mind when taking on individual Molded in future.

Head right, and you'll see a lit tunnel. Make sure you reload before stepping forward; a Molded will drop from the ceiling, and another from said tunnel. Back away and fire at their heads to hopefully get through unscathed.
Follow the linear tunnels round (keep taking lefts) until you reach the stairs to the lab. Head up and enter.
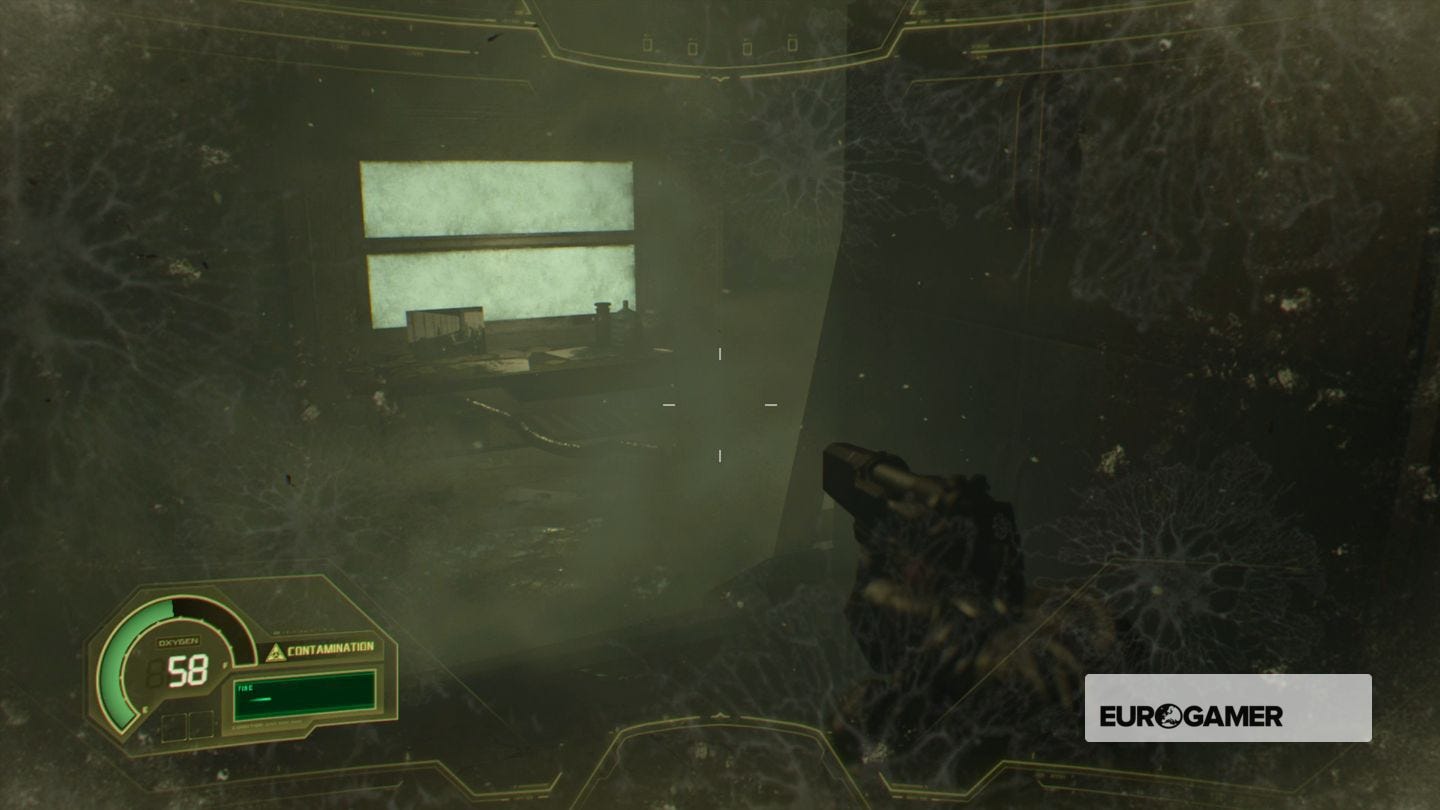
How to survive contaminated areas
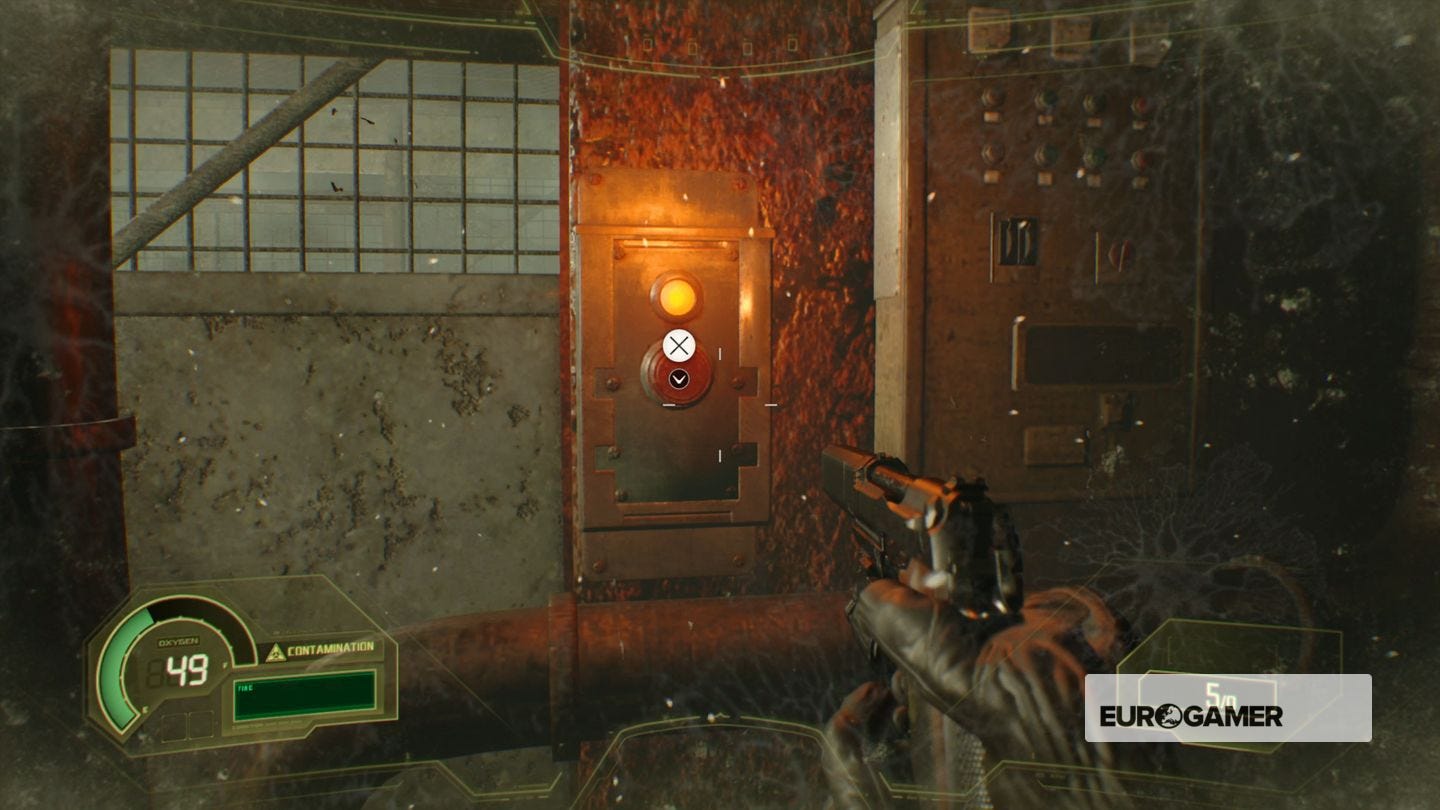
After the cutscene, you'll be in a contaminated area, with your oxygen tank ticking down. If it reaches zero, you have just a few seconds to reach clear air before you die.
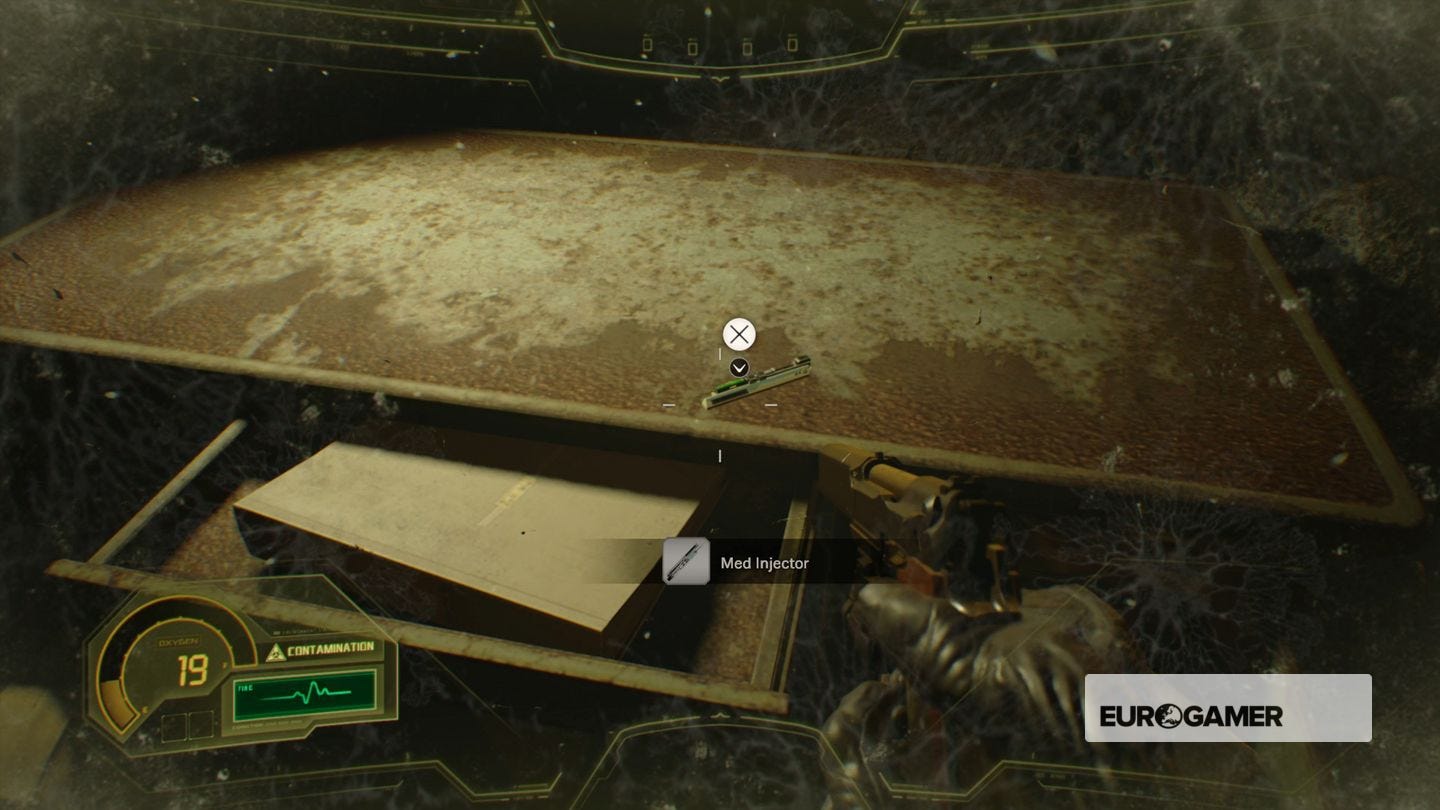
That said, don't panic - simply head through the doors ahead until you're back outside the lab. Feel free to pop back into the last room to get the Med Injector from the desk, otherwise head through the door opposite to move on.
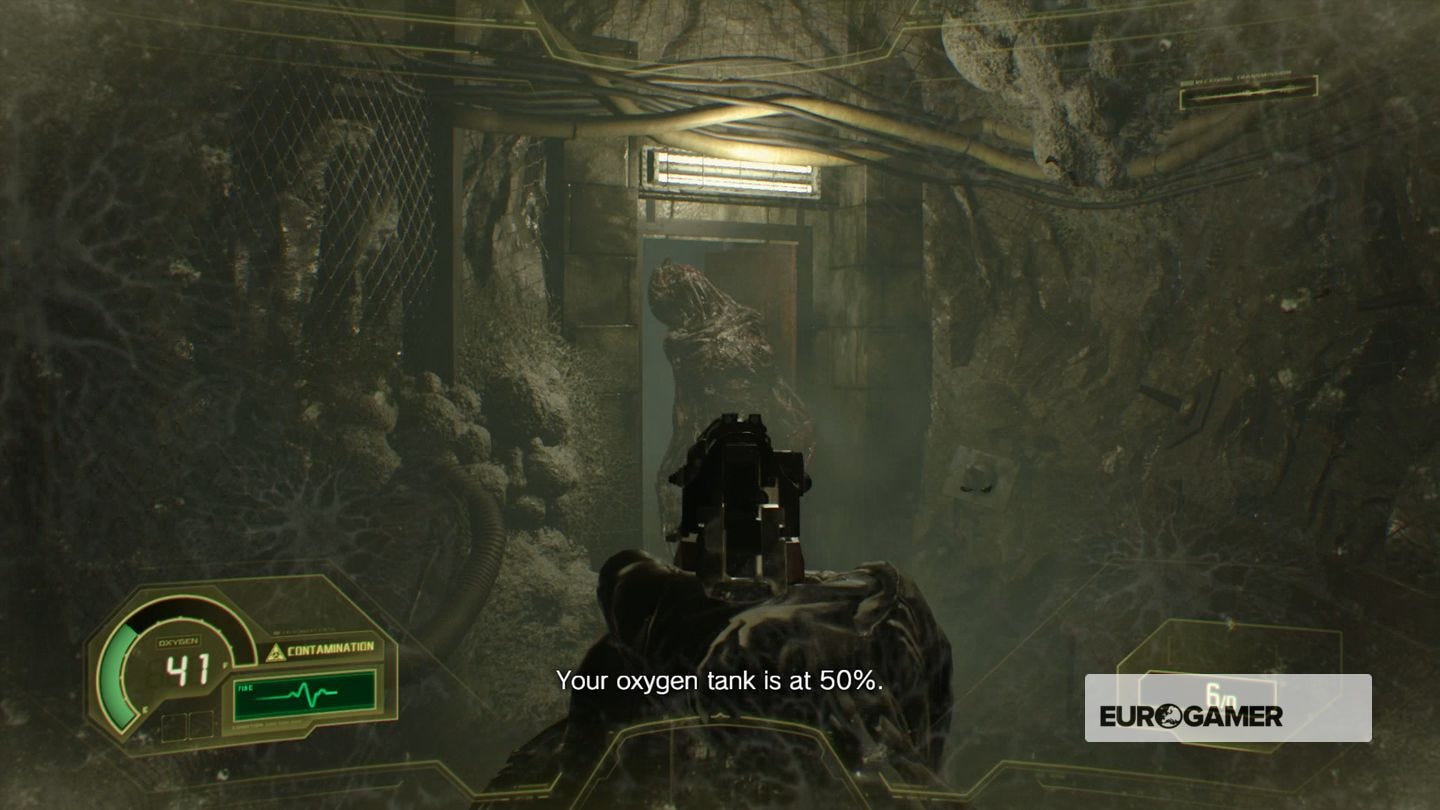
This is another contaminated section. Sprint down the long corridor and open the door, revealing an room with Molded. Sprint back the way you came to the clean area back outside, drawing it to you so you can take your time dispatching it.
With a full tank, head back into the room, press the switch to the right of the lift to open the doors. Enter and, when you descend, the tank will regenerate.
After the chat about Umbrella, you'll emerge in the Central Cavern.
Exploring the Central Cavern
This large room has several points of interest:
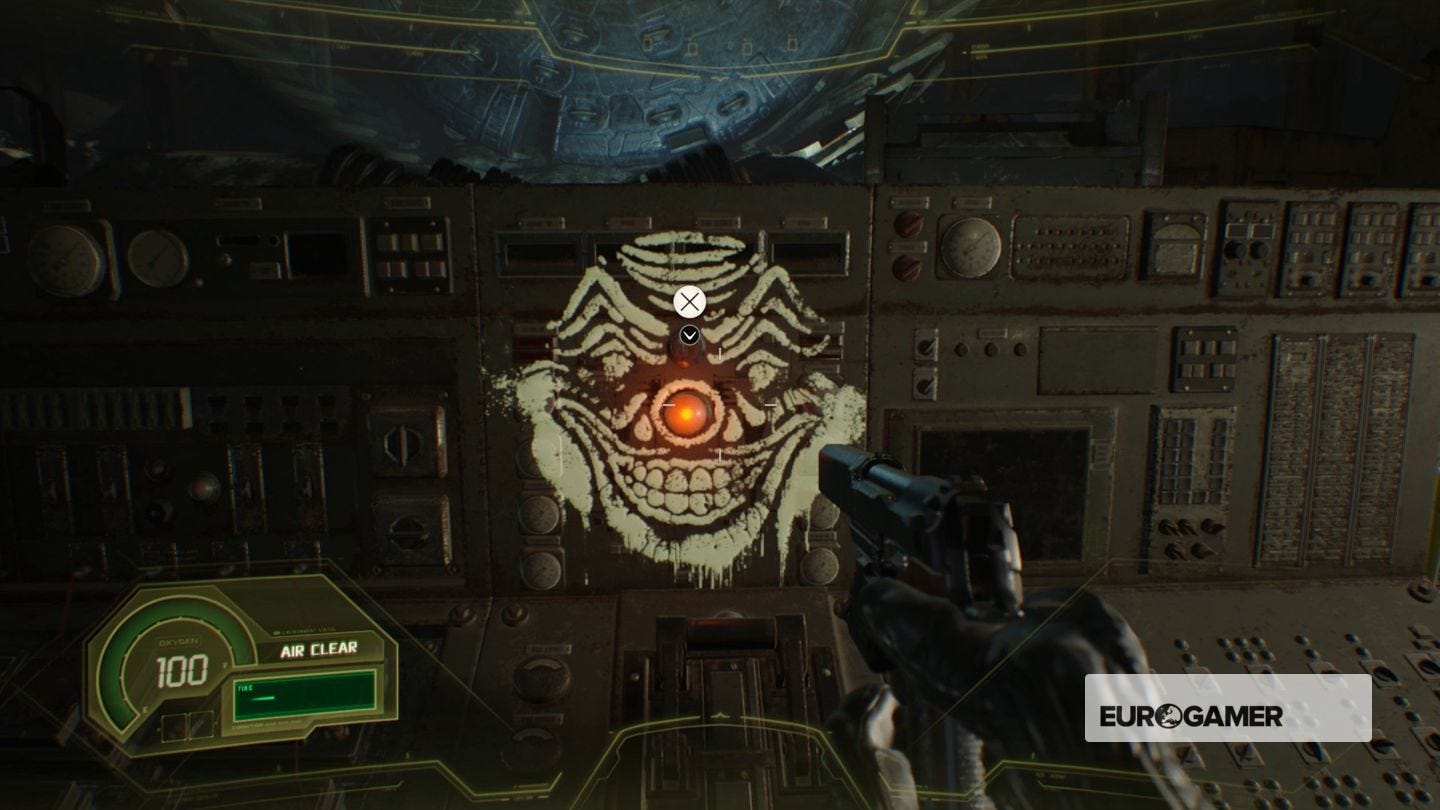
- In the centre is a console with a clown face and a red button. You cannot do anything with this right now, but remember it for later.
- To the right of the console is a desk with a tape recorder, where you can save, and an inventory box. We recommend putting the two files in there to save space.
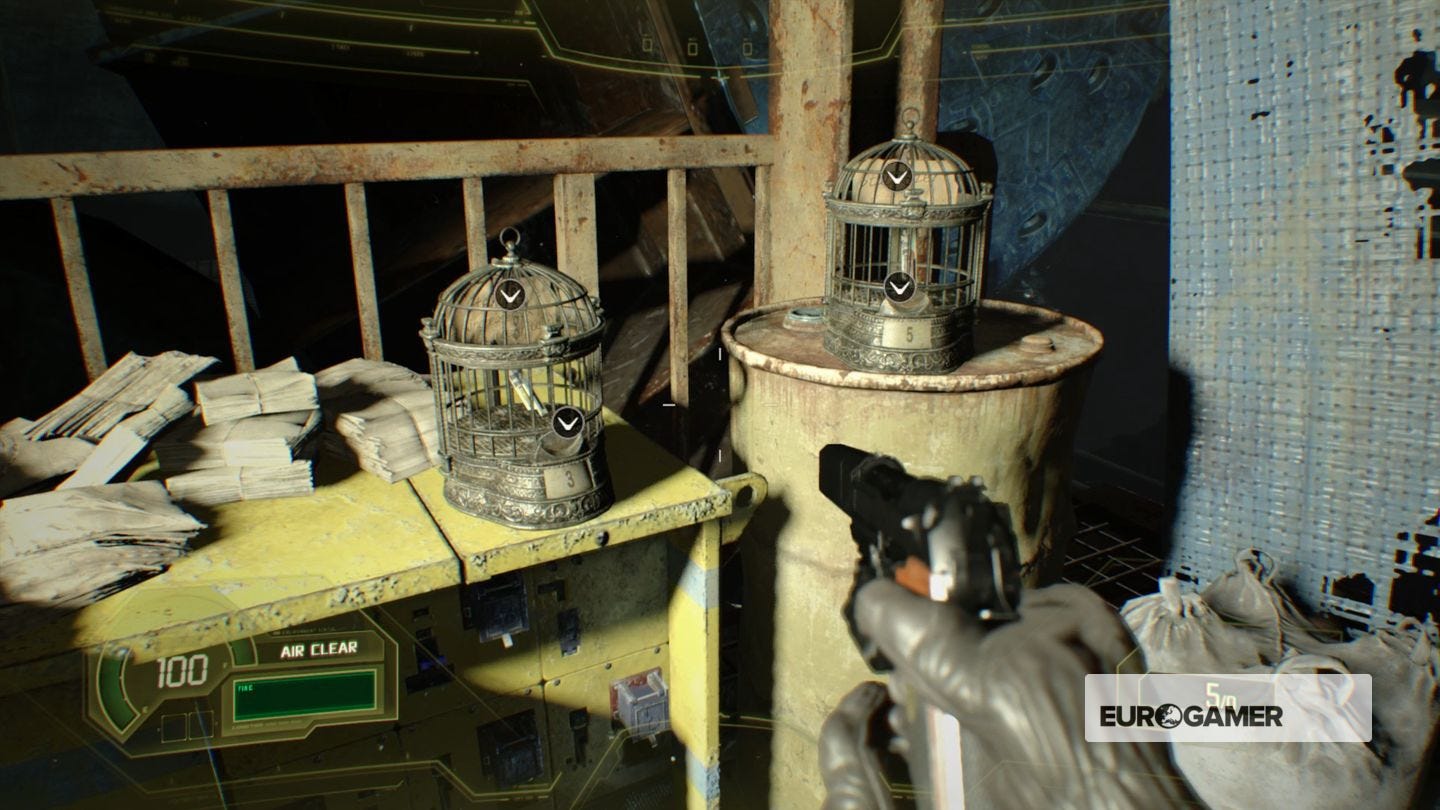
- Head up the stairs at the back left to find a Grenade on the sacks to the left, and two bird cages with Steroids and Stablizer upgrades, at a cost of 3 and 5 Antique Coins respectively.
- Three shutters - one green on the left side, one red to the right, and another on the left that's black at the bottom of the steps.
- An Antique Coin on the right-most side, before you come to the Red Shutter from where you first entered.
It's these shutters you'll want to explore when you're done here. However, two of them - the green and black on the left side - cannot be explored properly without the proper equipment (the High Grade Filter and Night Vision Device respectively).
So first, let's head into the Red Shutter and get the High Grade Filter to help us explore further.