Resident Evil Revelations - Search for Chris, Search for the Key, Crew Quarter's Area Key location
Continuing episode one in Resident Evil Revelations.

The Search for Chris continues in Resident Evil Revelations, as well as the Search for the Key to help you progress further into Episode 1: Into the Depths after you've got a 100% analysis with the Genesis device.
This page explains the Crew Quarter's Area Key location before rounding off the end of the chapter.
If you need more help, our complete Resident Evil Revelations walkthrough can assist with other sections of the game, including all Handprint locations, Raid mode and unlockables.

Search for Chris
Back on the boat, and back in the present day, it's time to leave the grimy kitchen where you had your first slimy encounter and explore more of the vessel. You'll be going it alone for a while - Parker will stay behind for now, and you won't have any backup if a fight breaks out.
A quick reminder: scan enemy corpses to score a 100% analysis for each specimen type (and to earn some handy health supplies), and remember to scan around each room to reveal useful items.
This isn't essential, but you'll definitely appreciate the extra ammo and health items when things start to get sticky. Try scanning the cooking pot, the corpse on the table, and the boxes on the counter in the northeast corner of the kitchen to get you started.
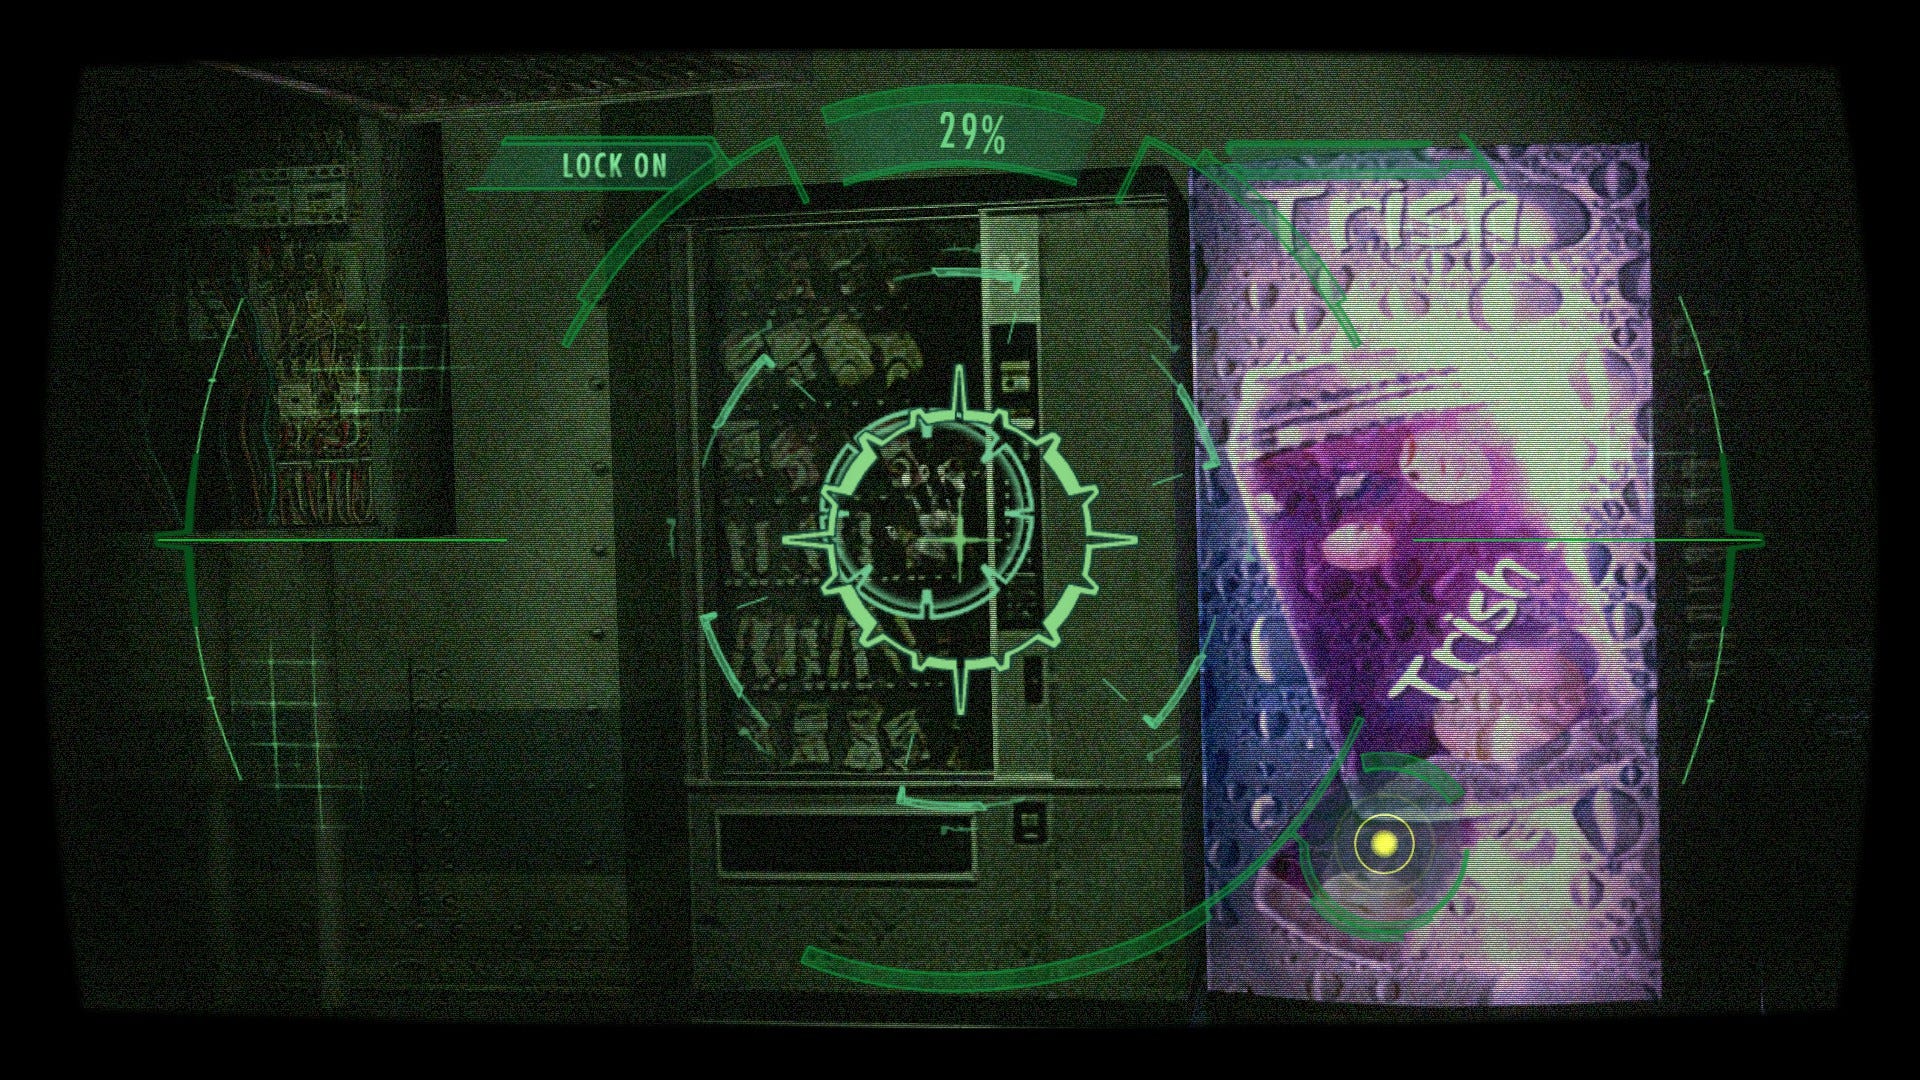
Before heading deeper into the ship, now is a good time to backtrack and gather up a few valuables that you weren't able to get earlier. First, head through the door to the west and make your way to the glowing purple vending machine in the corner of the room.
Bring up your scanner and you'll see Handprint 2 on the machine to the left. Scan it before continuing to add it to your collection.
Leave the room via the door to the south, take a right along the corridor and follow the passage all the way around until you reach the staircase on your right. Climb the steps, and follow the corridor into the next room.
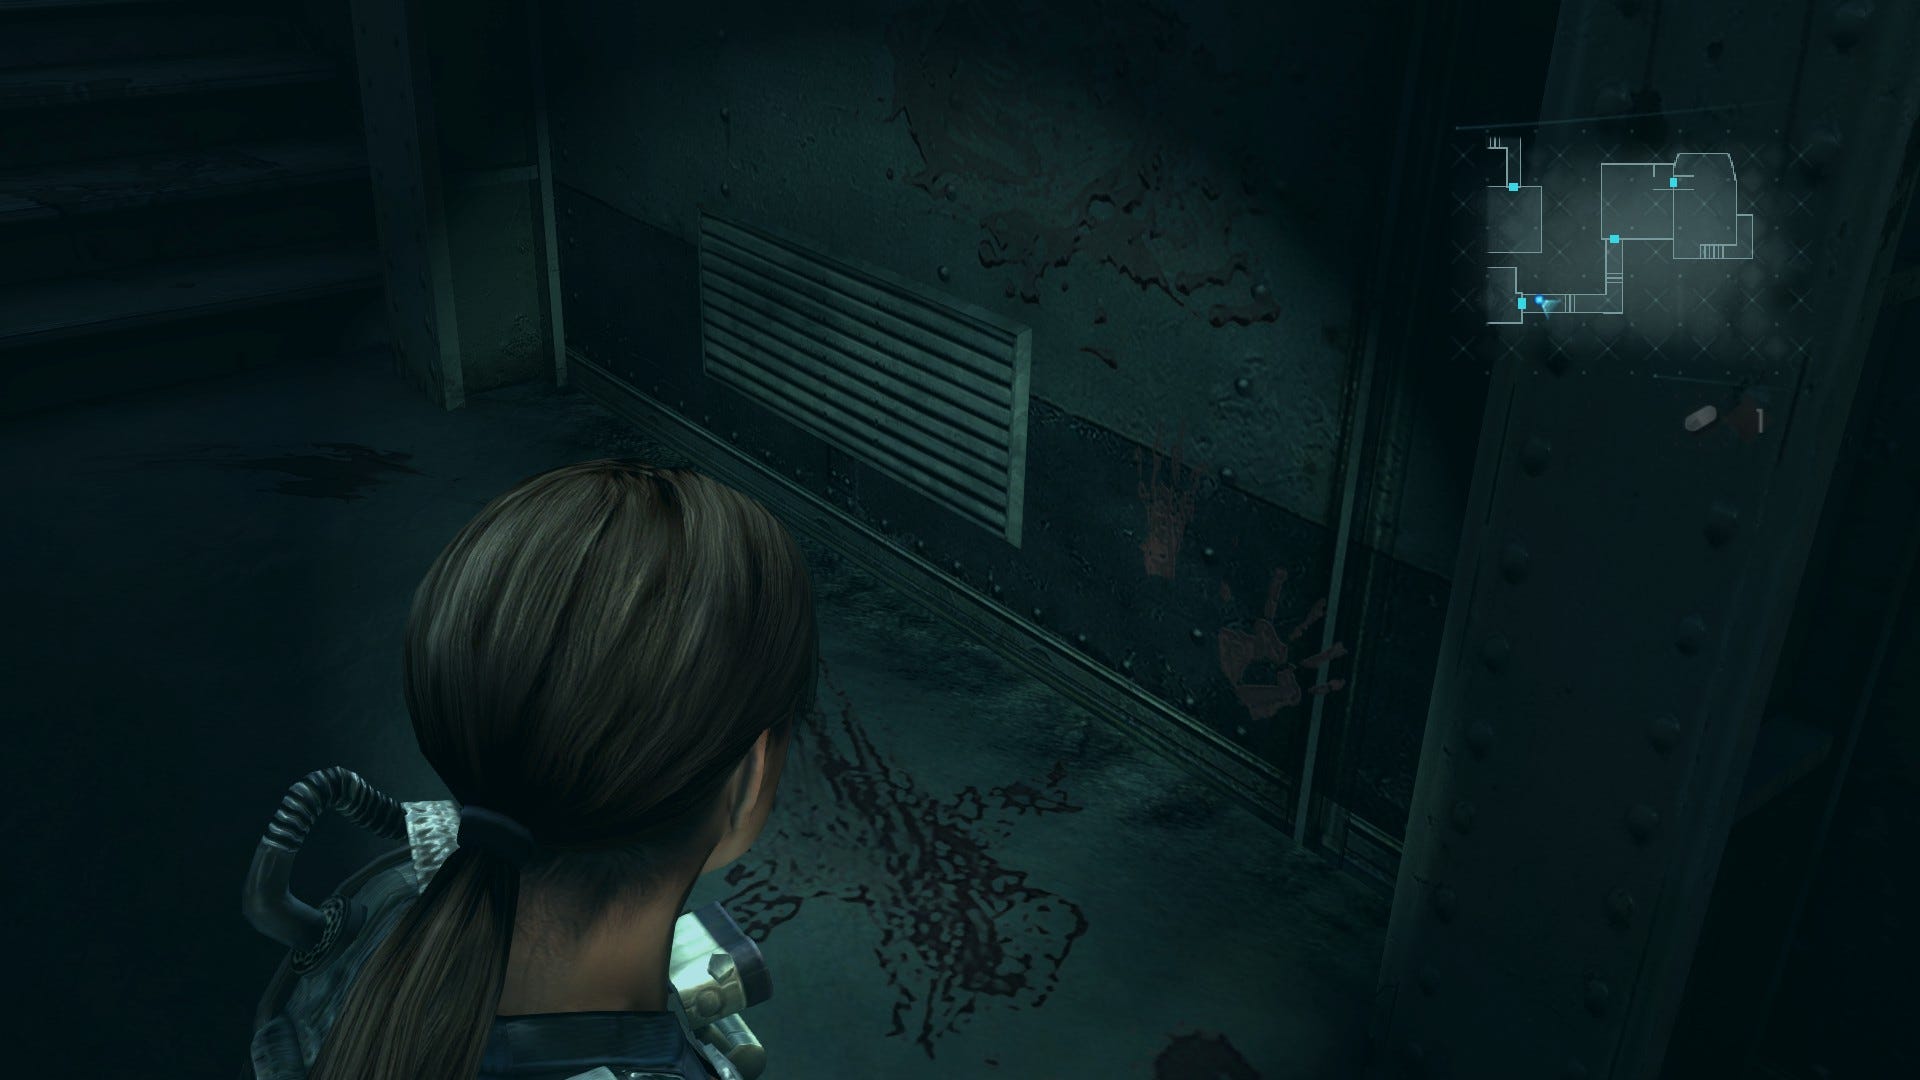
Pass through the door to the east and slowly proceed along the corridor, looking for the air vent at ankle level on the right. When you see it, bring up your scanner to reveal Handprint 3. Scan the print then return to the kitchen.
With that taken care of, make your way through the door to the north and follow the passage along until you reach the junction at the foot of the stairs. Interact with the brown door directly ahead to trigger a cutscene showing Chris slumped inside the room.
Return to the junction and make your way north along the short passage. Head through the blue door and ascend the staircase - you can safely ignore the steps down as they lead to a dead end. At the top of the stairs, swipe the green herb and proceed through the door.
Head forward, up the steps, and take a left at the junction. The path ahead is blocked by boxes so slip through the door immediately to your left.
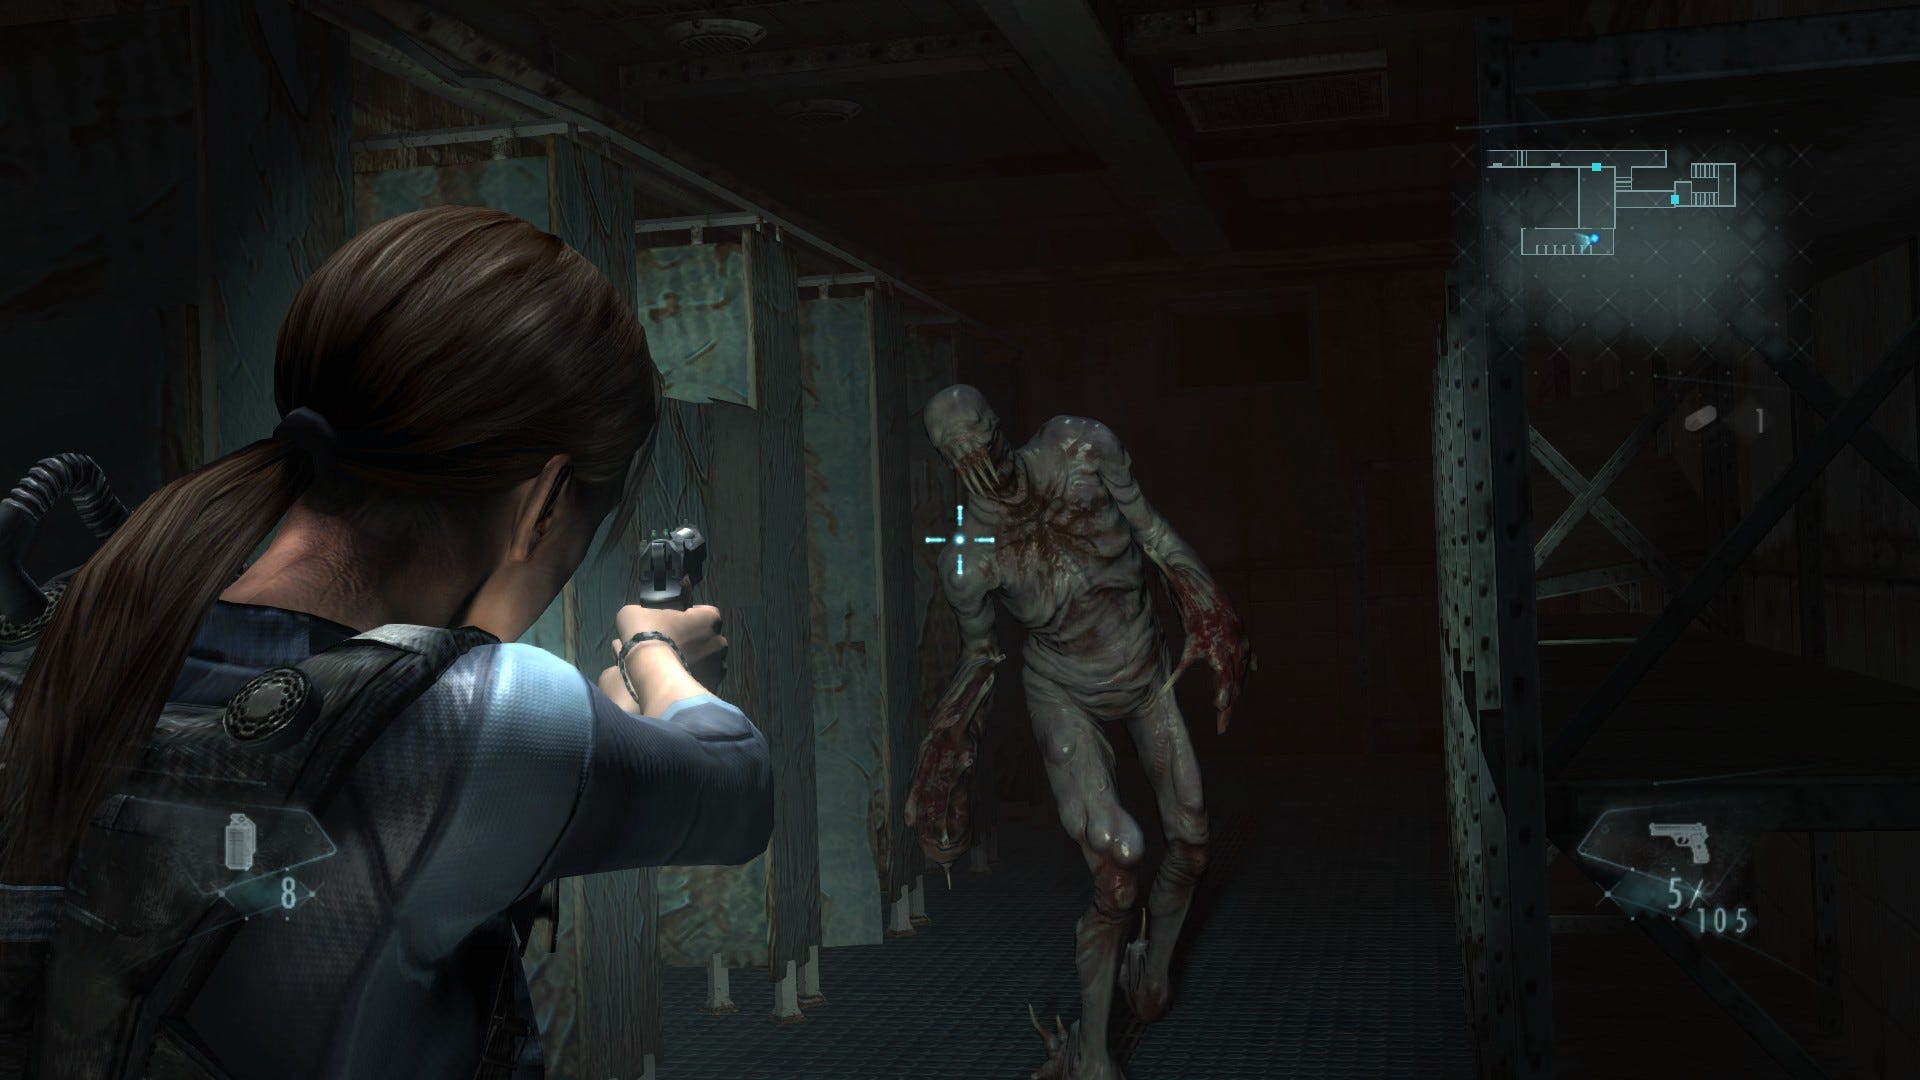
Inside the Crew Quarters, head through the doorway at the end of the room and take a right, travelling past the shower stalls. About halfway along, another mutant will burst from a stall, so be ready with your weapon. There's not a huge amount of room to manoeuvre in this narrow area so you'll need to be accurate with your headshots in order to bring the monster down without backing yourself into an awkward corner.
With the creature dead, continue forward passed the stalls and turn into the room on the right. Wind your way around the lockers and leave the room through the door. You'll emerge in a passage on the other side of the blockade from earlier. Head west up the steps and note the ornate door to the left. It's locked, alas, and you'll need to the Anchor Key to open it.
Search for the Key, Crew Quarter's Area Key location
Continue west and follow the passage around. The brown door to the right is locked so proceed through the door at the end of the corridor for now.
As you head down the steps on the other side, you'll hear a scream and the sounds of a woman struggling. Continue along the corridor and descend the steps. On reaching the junction, you'll see two mutants attacking a survivor behind the glass. It looks like you've arrived a little too late.
Head north and grab the ammo from the locker. Next, about-face and move south, following the passage around until you reach the door. On the other side, you'll need to deal with two creatures at once, so prepare yourself then step on into the room. Approach the creatures feeding on the corpse to initiate the battle.
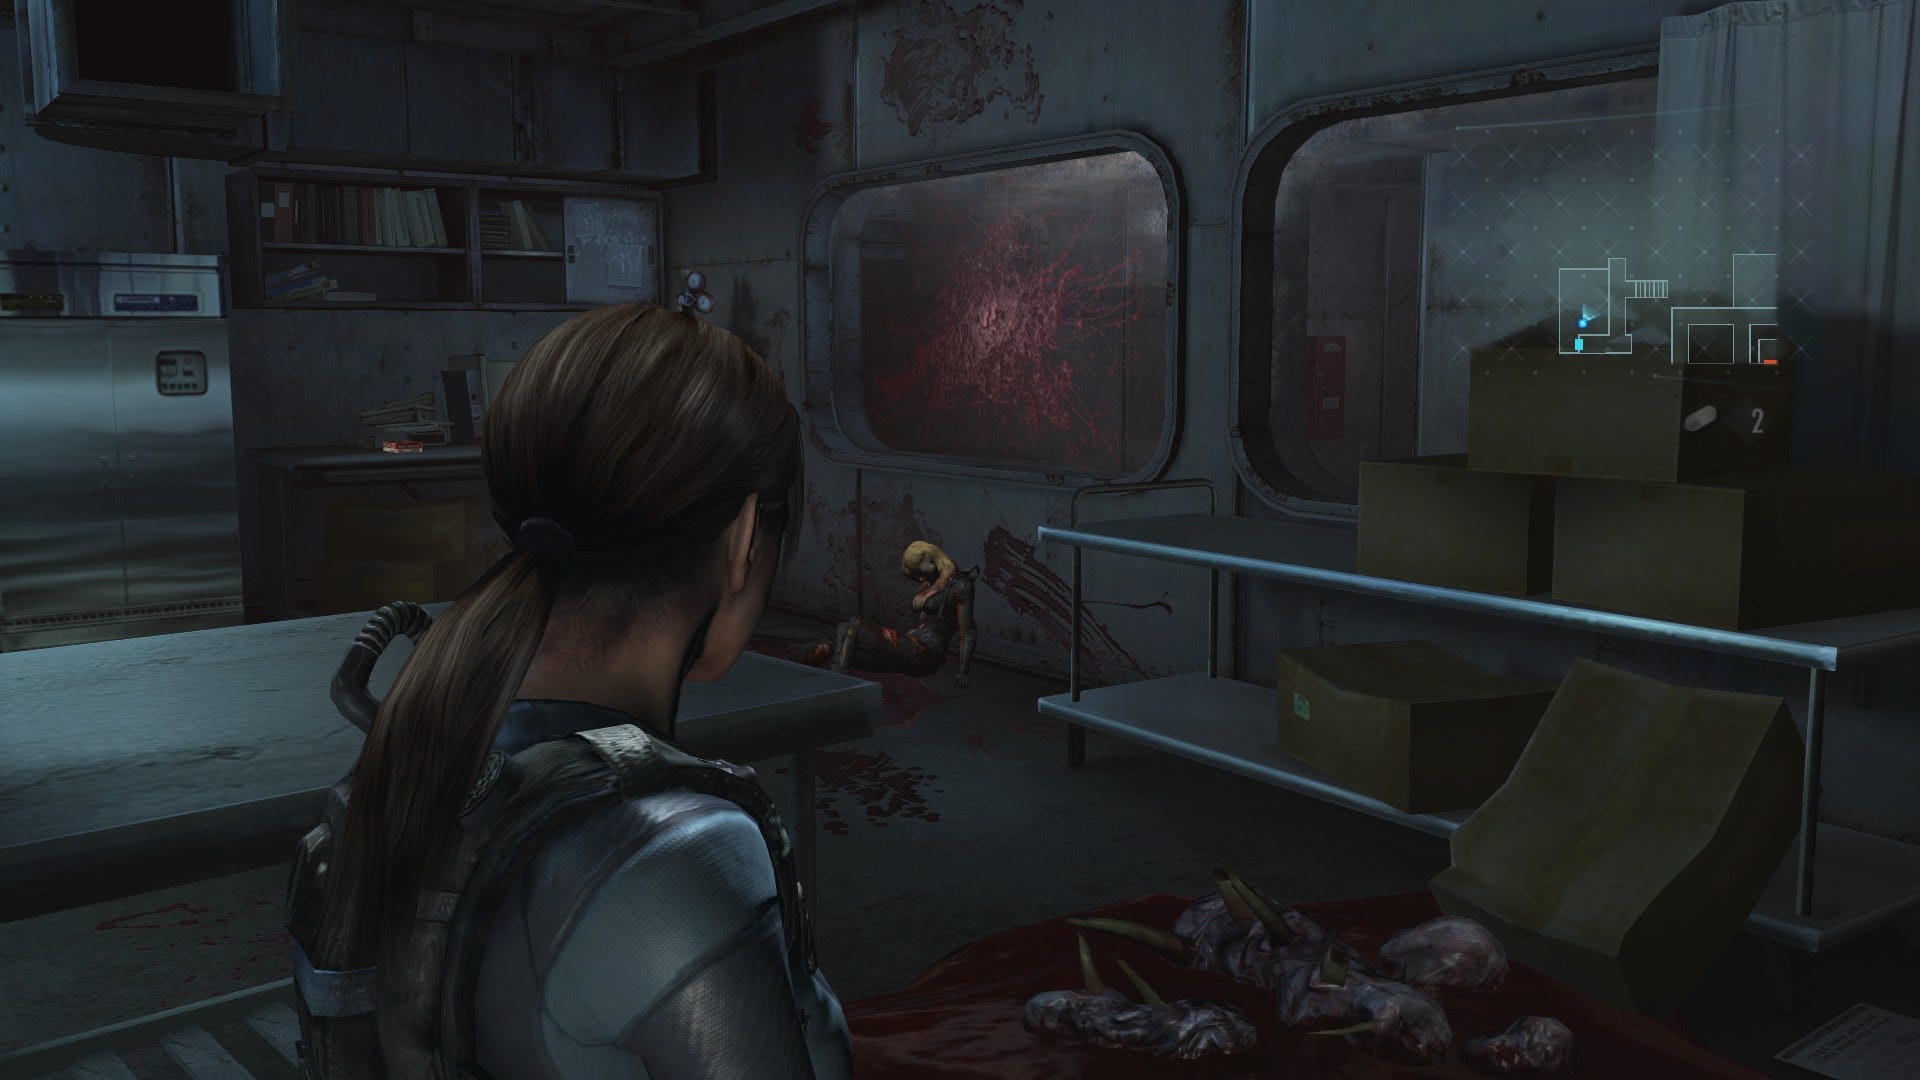
This fight is much like the last, but, obviously, the danger is greater. Your best tactic here is to slowly, continuously back around the table in the centre of the room, luring the creatures toward you. This will keep them focussed to your front so that they can't you by surprise from another angle. Empty shots into their heads whenever the opportunity presents itself.
Once victory is yours, loot the room for ammo, then scan the corpses. You'll also find some hidden ammo in the area if you scan diligently. Next, approach the woman's corpse and scan the ground by her legs to reveal the CREW QUARTER'S AREA KEY. Take it to proceed.
Objective: Go to the Room Chris was in
Before leaving the room, scan the X-ray photos hanging on the wall by the computer monitor to reveal Handprint 4.

With that taken care of, begin the journey back to the room where you saw Chris earlier. As you near the top of the stairs, a mutant will wriggle out of an air vent and attack, so deal with it swiftly. Once it's dead, continue up the steps and pass through the door.
You can now, optionally, use the key to open the brown door on your left along the passage. Inside, you'll find ammo and a grenade on the table. Be careful though: as you approach the far end of the room, another creature will wriggle out of the open washing machine door. Dispatch it then scan the laundry room for additional supplies.
Back out in the main corridor, resume your return journey to Chris' room - it's marked as a yellow blinking dot on the mini-map if you forget the way. As you re-enter the Crew Quarters, there's a monster waiting to attack immediately on your right - there's virtually no room to manoeuvre here, so you'll want to do some sharp shooting.
You'll encounter another mutant, which drops out of an air duct directly ahead, as you reach the far end of the shower stalls, and there's a third that crawls out from under a bed to the right in the next room. If you're getting low on ammo, scan your surroundings to restock your supplies.
Once you reach your final destination, Parker will join you. Use your newly acquired key to open the door to Chris' room and a cutscene will play, bringing Episode 1 to a close. Next is Episode 2: Double Mystery, which sees you play more new characters - including a familiar face.