Resident Evil Revelations - Episode 12, The Queen is Dead: Search the sunken ship, search for power, find video evidence
How to complete the opening part of episode 12 in Resident Evil Revelations.

Episode 12: The Queen is Dead is the final episode in Resident Evil Revelations as we search the sunken ship and search for power as we find video evidence.
If you need more help, our complete Resident Evil Revelations walkthrough can assist with other sections of the game, including all Handprint locations, Raid mode and unlockables.
Search the sunken ship
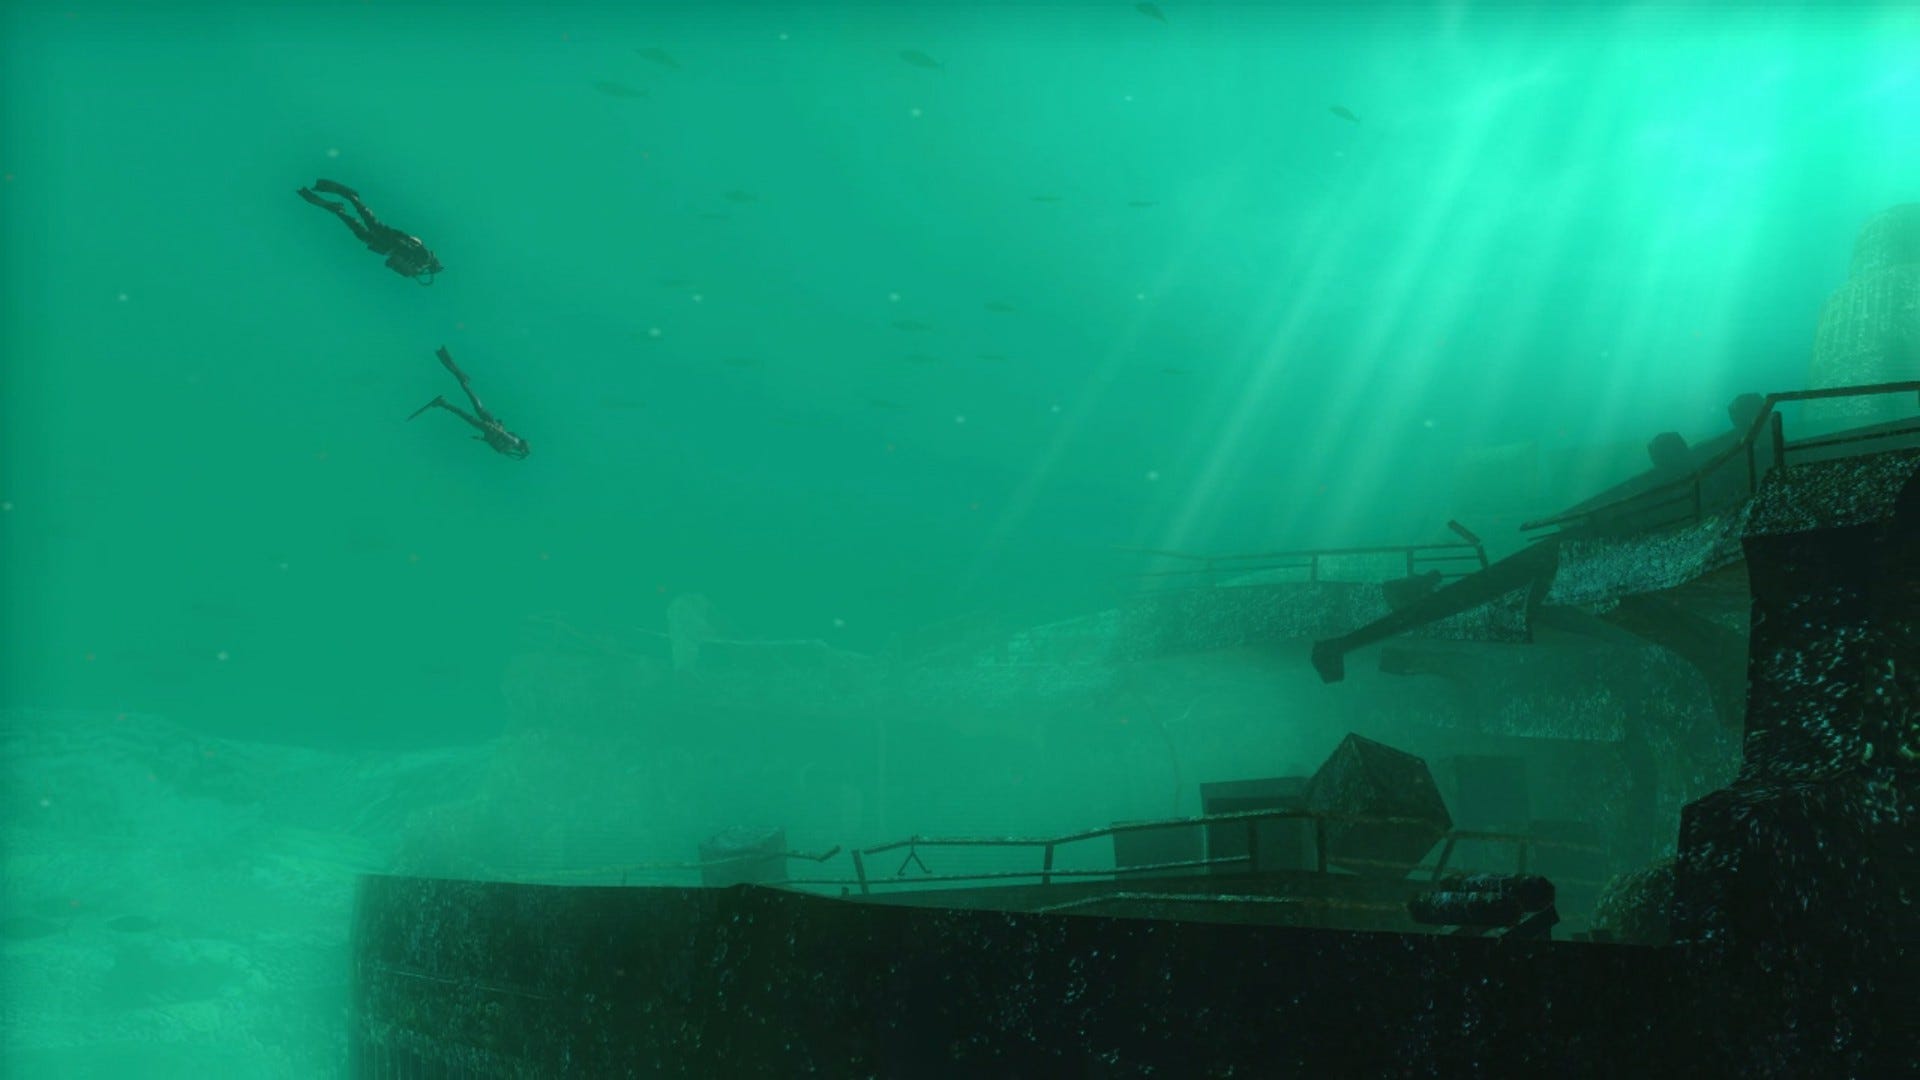
Queen Dido might be identical to its seafaring siblings, but it's also currently at the bottom of the ocean - so you can expect a little more swimming before the game reaches its conclusion. The good news is that you'll have a proper diving suit this time around, so you won't need to worry about your oxygen depleting, or having to constantly resurface for air.
When you finally take control of Jill, follow the onscreen prompt to open the bulkhead doors and gain access to the ship's interior. Sweep the room for ammo and a green herb then interact with the door directly ahead. Jill will take a few moment to torch it open. Once you're able to proceed, swim along the corridor and into the room containing the blob-like enemy that you last saw all the way back in Episode 1. Don't worry though - it's too dead to attack.
Take the ammo then swim through the door to the north. Swipe the green herb, ammo, and Illegal Custom Parts, then return to the blob room. This time, make your way through the door to the west. Follow the route around until you see a blob chow down on a corpse directly ahead.

Next, proceed forward to the junction and take a left. Swim into the room at the end of the passage, then pocket the ammo and the Rifle Ammo Case. When you're done, swim west along the corridor. Once you near the girders at the far end, take a right, grab the ammo, and go through the door. There's more ammo in the next room so swipe it then go through the door to the west.
Search for power
As you proceed along the next corridor, Chris will start tinkering with the unresponsive keypad in the previous room. To get it working again, and to open the door that leads deeper into the ship, you'll need to find a power source.
The passage you're in currently has several thick bars running across it to the right. You'll be able to see a very frisky blob creature swimming around on the other side - these things are much deadlier underwater than on dry land. After a short while, it will swim off to other quarters - but it won't be long before it returns as part of its looping patrol route.
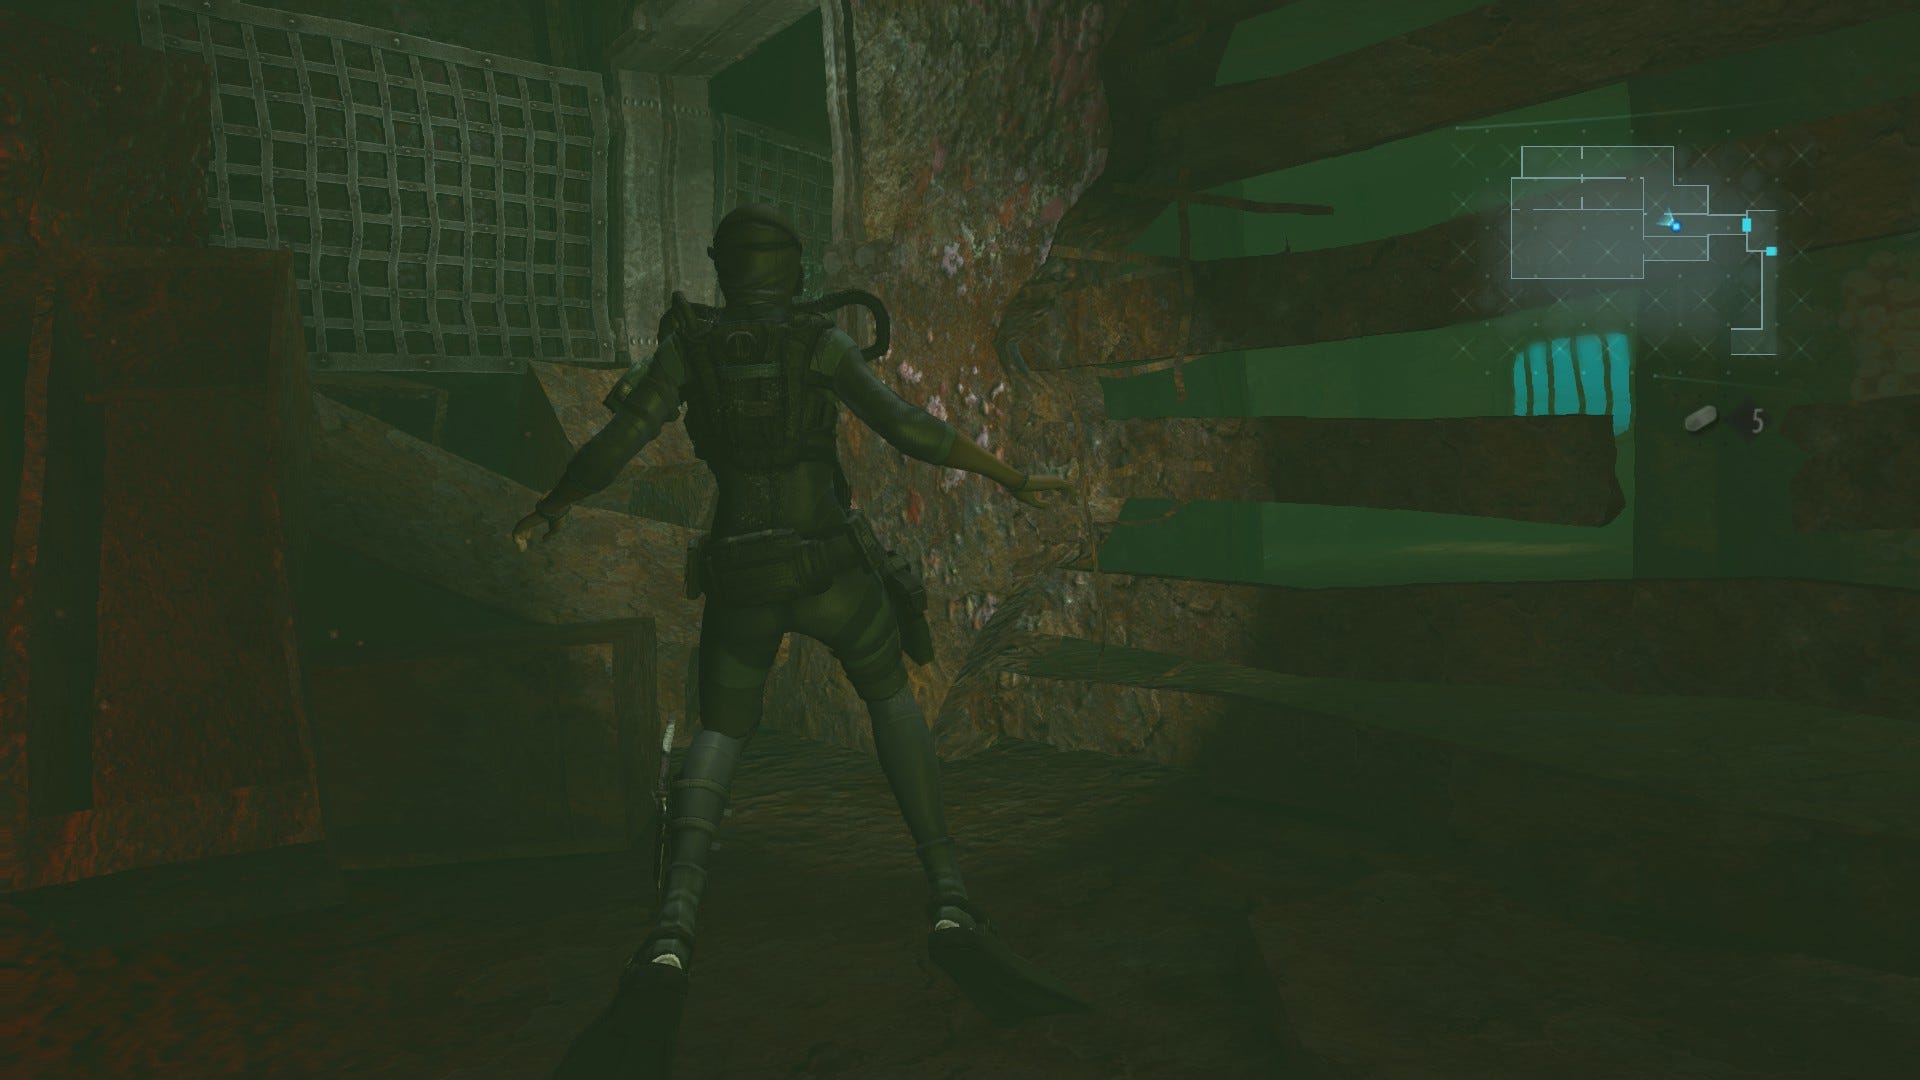
Your next task is to swim through the hole to the right, at the end of the passage. However, you'll want to time it so that you're able to slip passed the creature undetected, seeing as you've no way to defend yourself right now.
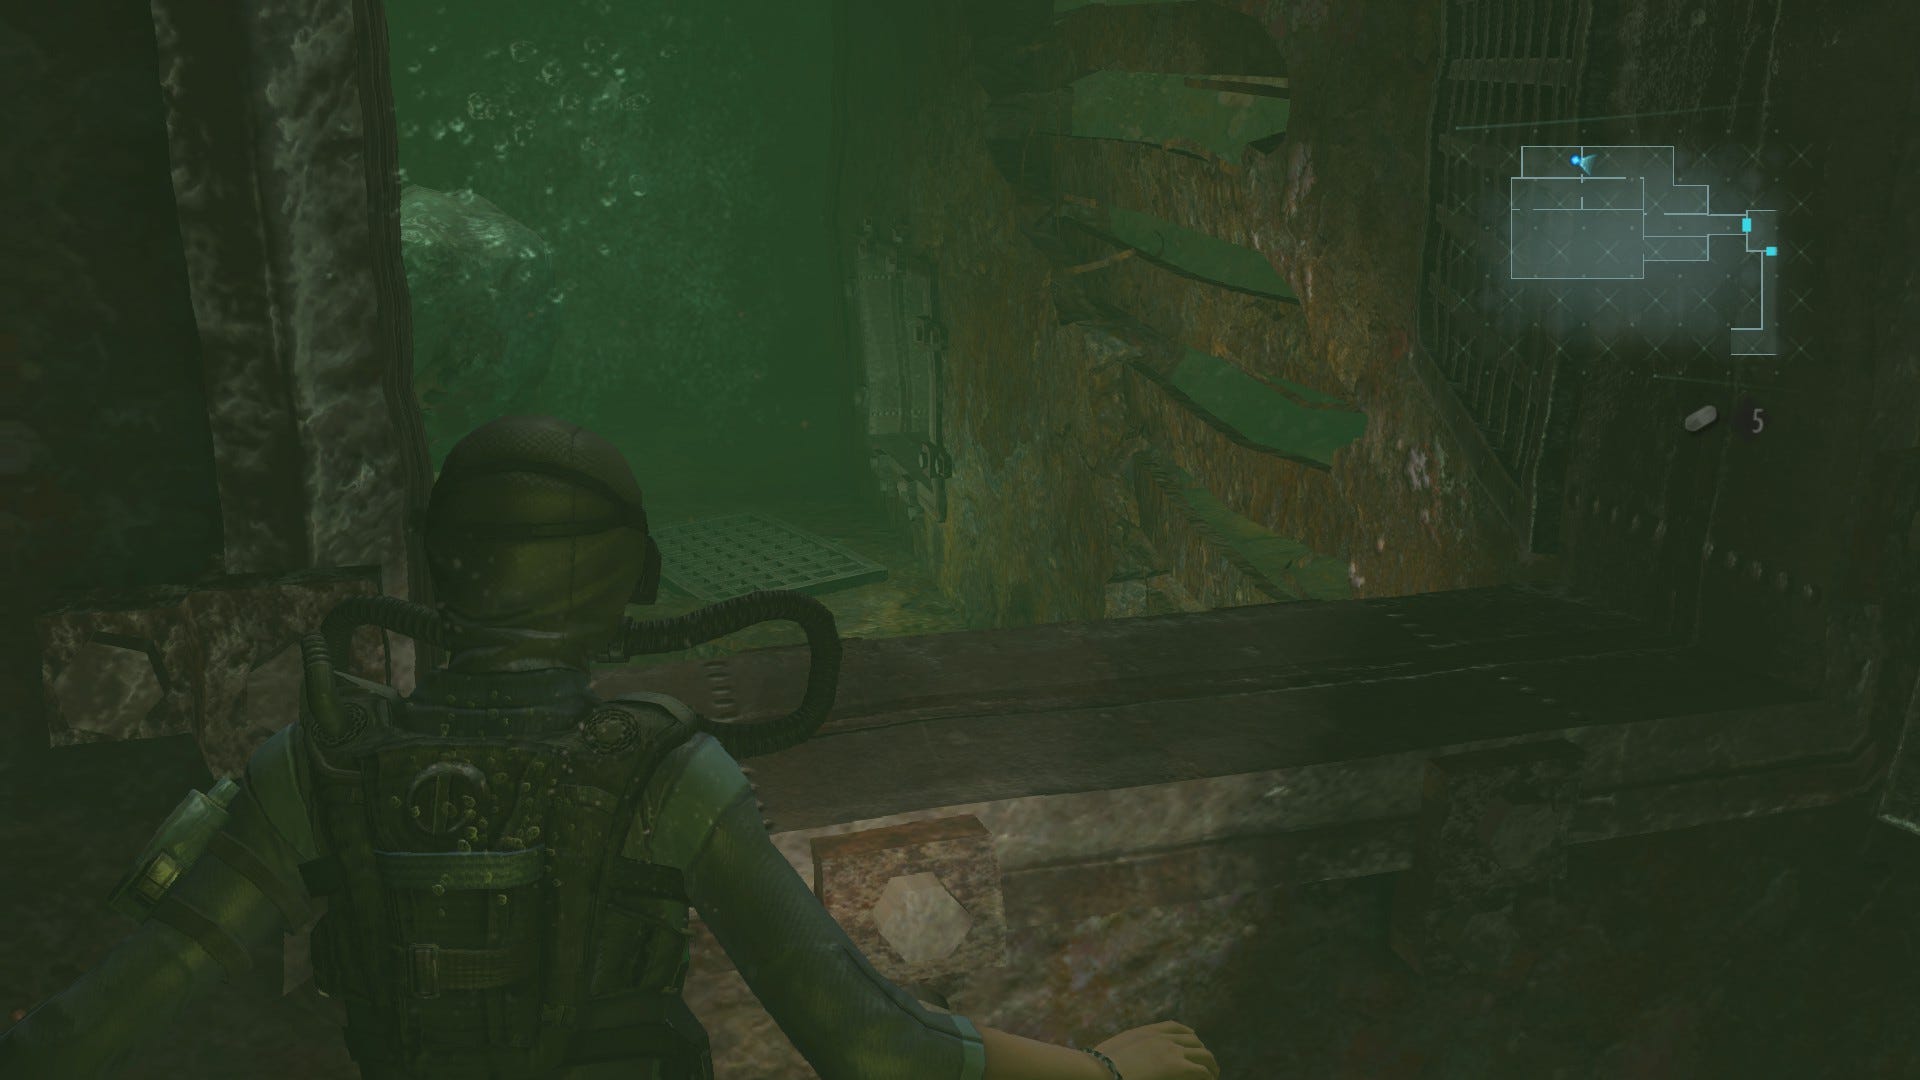
Swim up to the hole (but don't go through just yet) and watch the creature. It will swim away from you, disappear off to the left, then swim back toward you and go right. Slip through the hole as it swims away to the left, grab the ammo from the alcove to the right, then swim back through the hole to safety. Wait for the creature again. As soon as it swims towards you and goes right into the little alcove, swim through the hole, whizz forward along the passage then turn left, going through the opening in the wall ahead when you reach it.
About-face and peer through the hole you just swam through. At the far end of the wall to your right, near the floor, you'll see another small opening. Wait for the creature to start swimming away from you then quickly swim out and slip through this next hole. Take a right in the next passage and swim through the hole ahead, grabbing the pulse grenade as you go.
There's another opening ahead in the wall to the left. Swim up to it and observe the creature on the other side. It will continuously loop clockwise around the circular passage beyond so wait for it to swim passed and start moving away from your position. Dive through the hole and follow the blob, moving clockwise around the area. Locate the next opening in the wall to the east, and swim through. In the next room, hit the red button on the wall to the right and restart the power.
Go back to Chris
With the power restored, turn around and retrace your steps (well, strokes) all the way back to Chris, sneaking passed the ravenous blobs as before. If you're struggling with the timing of the second blob on the way back, wait for it to go left passed the hole before you duck through, then swim down the passage to the right.
When you reenter the room with Chris, the door to the north will be functional again. Head on through, swipe the ammo to the left then swim up where the ladder is.
Once the cutscene is over, you'll be back on dry land. Or at least not underwater, despite still being at the bottom of the ocean. Immediately grab the VOICE RECORDER from the corpse ahead and listen to the message - it will play automatically.
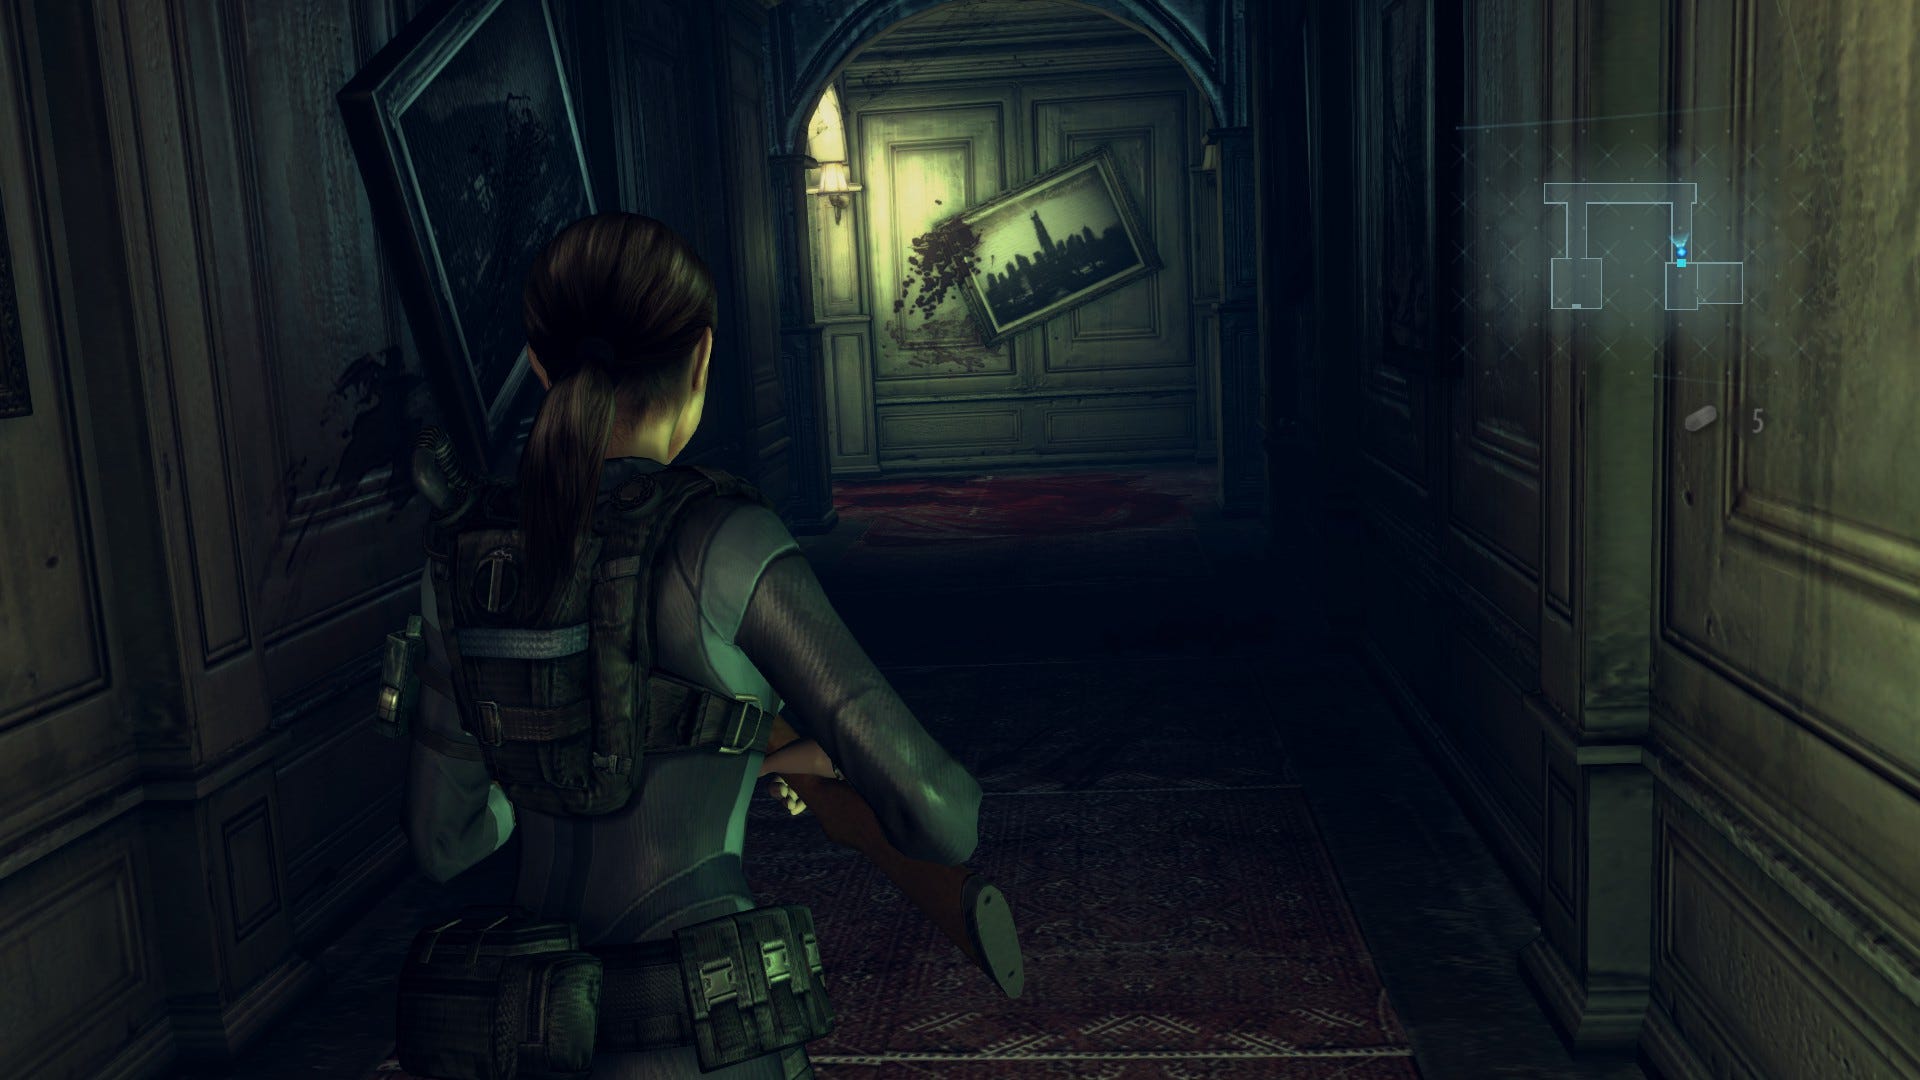
Make your way through the wooden door to the north and follow the unexpectedly grandiose hallway around to the left. Take another left when you reach the incapacitated blob and head into the room at the end. Grab the ammo - you can scan the corpse for more if you like - then proceed through the door to the south.
Move out into the dining hall and investigate to the desk in the northwest corner of the room - you can scan the southeast corner for a hand grenade, and there's another green herb under the dining table. Read the document on the desk then approach the bloody scribbles on the southern wall. Scan here to reveal Handprint 29.
Finally, make your way toward the door in the southwest corner. As you approach, it will ominously swing open of its own accord and the room will be plunged into semi-darkness. Head on through to trigger another cutscene.
Find video evidence
Once the cinematic is over, grab the green herb from the ground, and the assorted bits of ammo from around the room, then scan the floor near the projector screen for a hand grenade. There's also a green weapon crate in the room if you want to customise your weapons or change your load-out - you should have acquired the Burst 6, Critical 1, and Charge Shot 2 custom parts on your travels since the previous crate, assuming you've been following along with this guide.
When you're ready to continue, head through the double doors to the east. Proceed down the long, candlelit staircase on the other side, swiping the ammo as you go. Finally, pass through the double doors at the bottom.
Once you enter the large, theatre-like chamber, pull out your scanner and point it at the stage that Norman sits on to the west. At the front, near the ground, you'll spot Handprint 30.
As you move closer to scan it, Norman will start to thrash and moan - but don't worry about that. This is the final handprint in the game and, assuming you scanned the others before it, will earn you an achievement and the G18 handgun (for campaign use) at the end of the sequence.
Shortly a cutscene will play and Norman will drop his PDA on the ground. Before picking it up, do a quick sweep of the room, gathering up ammo and supplies. You'll find more if you search around with your scanner. There's also another green weapon crate to the north of the room if you need to do any more tinkering around with your load-out.
With all that taken care of, head back toward the stage and collect NORMAN'S PDA from the ground. Suddenly the room with begin to shake violently.
Leave with PDA evidence
About-face and head toward the double doors to the east. Interact with them and another cutscene will play, bringing this penultimate segment to a blood-spattered close. Time for the final boss in Resident Evil Revelations - hope you are ready!