Resident Evil Revelations - Episode 10, Tangled Webs: Head for the Bridge options, rendezvous with Jessica
How to complete the opening part of episode 10 in Resident Evil Revelations.

Episode 10: Tangled Webs sees Parker and Jessica being equally busy following Chris and Jill's escapades in Chapter 9 as they head for the bridge and rendezvous with Jessica.
If you need more help, our complete Resident Evil Revelations walkthrough can assist with other sections of the game, including all Handprint locations, Raid mode and unlockables.
Head for the Bridge options
Once the episode begins, you'll find yourself back in the main hall - and the waves are clearly getting rough outside. The boat (and the camera) rocks all over the place now, making it just that little bit harder to aim your weapon. Hopefully you're not the queasy sort.

Your ultimate goal in this first segment is to reach the Bridge, and, once again, there are two possible routes you can take to get there.
The first, quickest, route leads through the Promenade - accessed through the doors on the ground floor of the main hall, directly west of your current position. The second, slower but more lucrative, route will take you through the Cafeteria, which can be reached through the doors to the west on the landing above. If you take this second route, you'll confront the ever-resurrecting Rachael again. Defeat her to gain some more Illegal Custom Parts.
Option 1: Take the Promenade route
If you opt for the Promenade, come out from behind the staircase and head west, straight across the main hall. Go through both sets of double doors, and note the door to the right. Grab the ammo from the crate at the bottom of the stairs then head through the door you just noted. Follow the corridor along and pass through the door to the left.
Out on the balcony, you'll immediately be ambushed by Hunters - jump down through the gap and use the door in the southwest corner of the room. Move forward along the passage, exit out onto the Promenade, and make your way west. You'll be attacked by a couple more Hunters, and encounter a sword-and-shield-type Scarmiglione, as you close in on the double doors. Feel free to dodge your way around the opposition if you're not in the mood to fight.
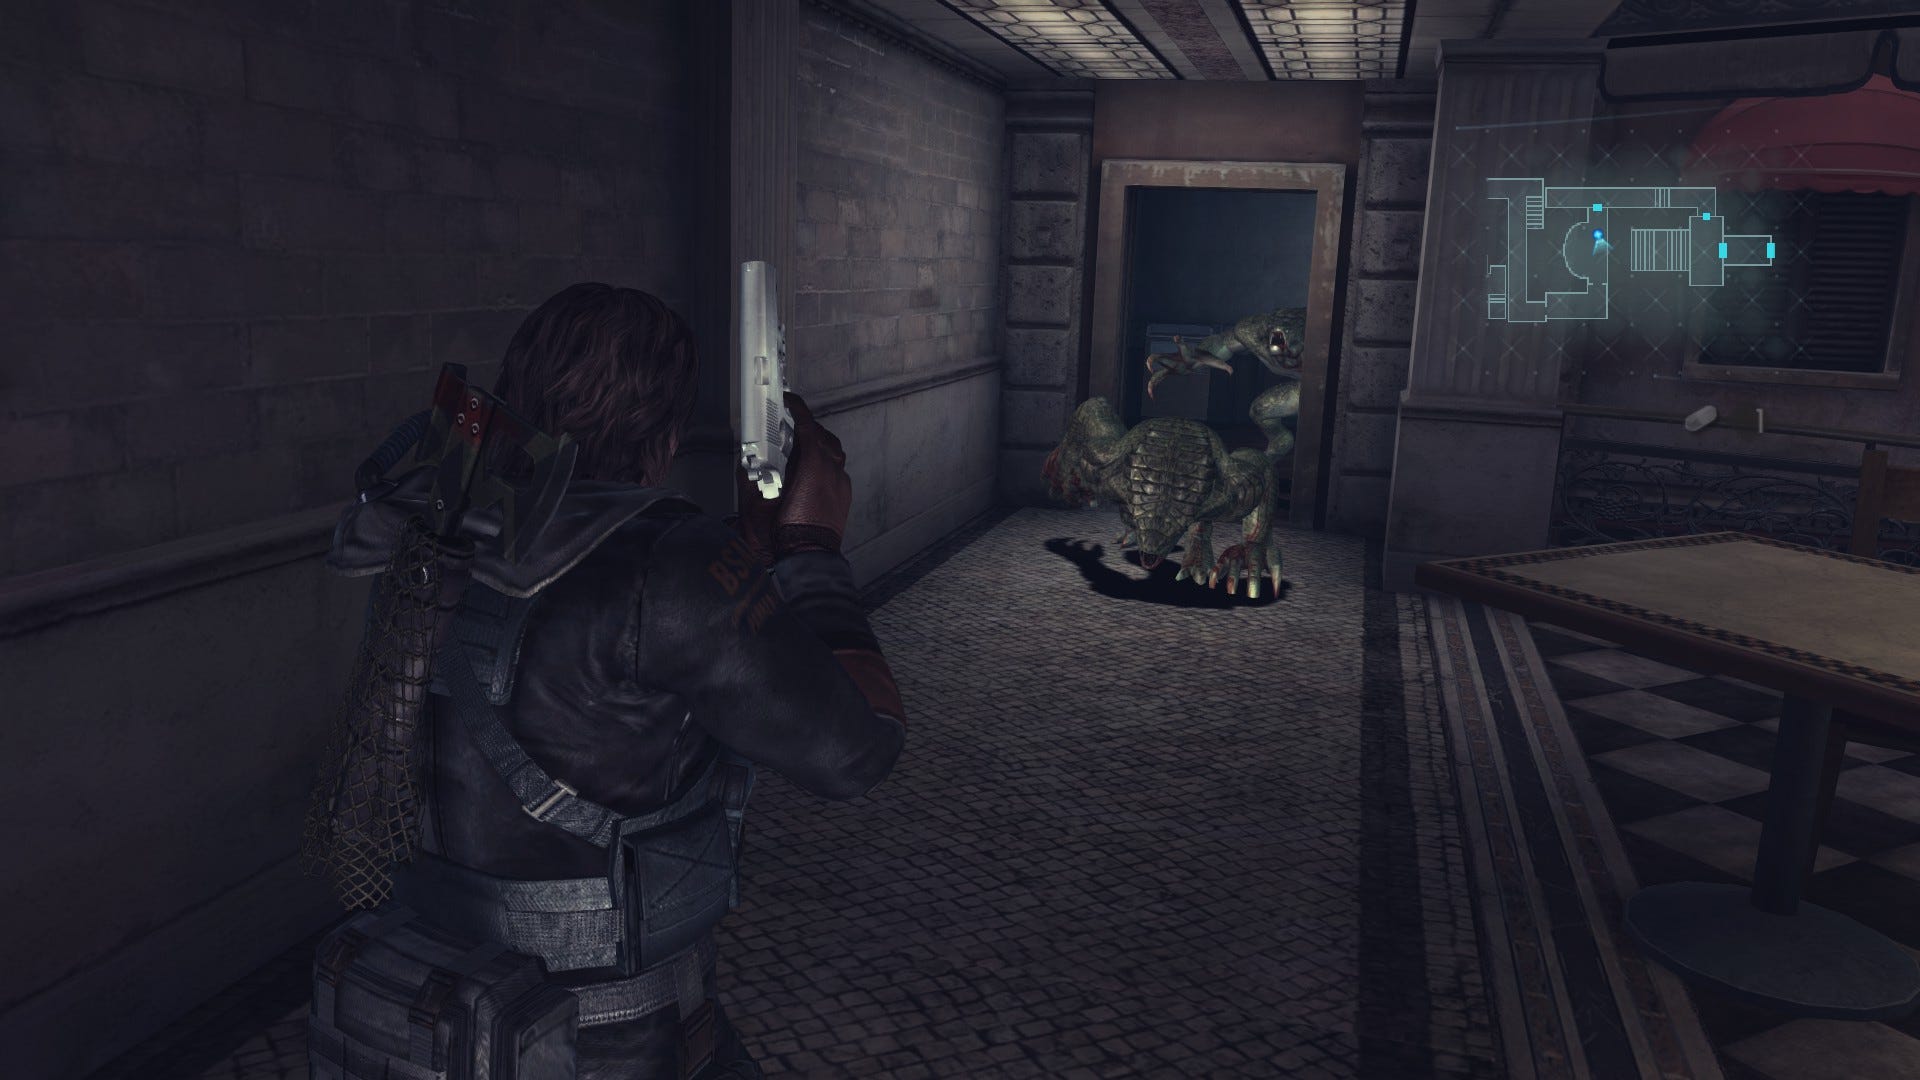
Pass through the double doors into the next corridor and you'll come face to face with more Hunters and another Scarmiglione. The tight confines here means that confrontation is pretty much unavoidable, so thin their ranks as required then leap into the lift at the end of the passage. Finally, select the Bridge as your destination and enjoy the ride.
Option 2: Take the Cafeteria route
If you'd rather head through the Cafeteria and collect the Illegal Custom Parts, move out into the main hall and head up the staircase. When you reach the landing, follow it around to the west (the green weapon crate here is currently unusable, sadly) and go through the Cafeteria doors.
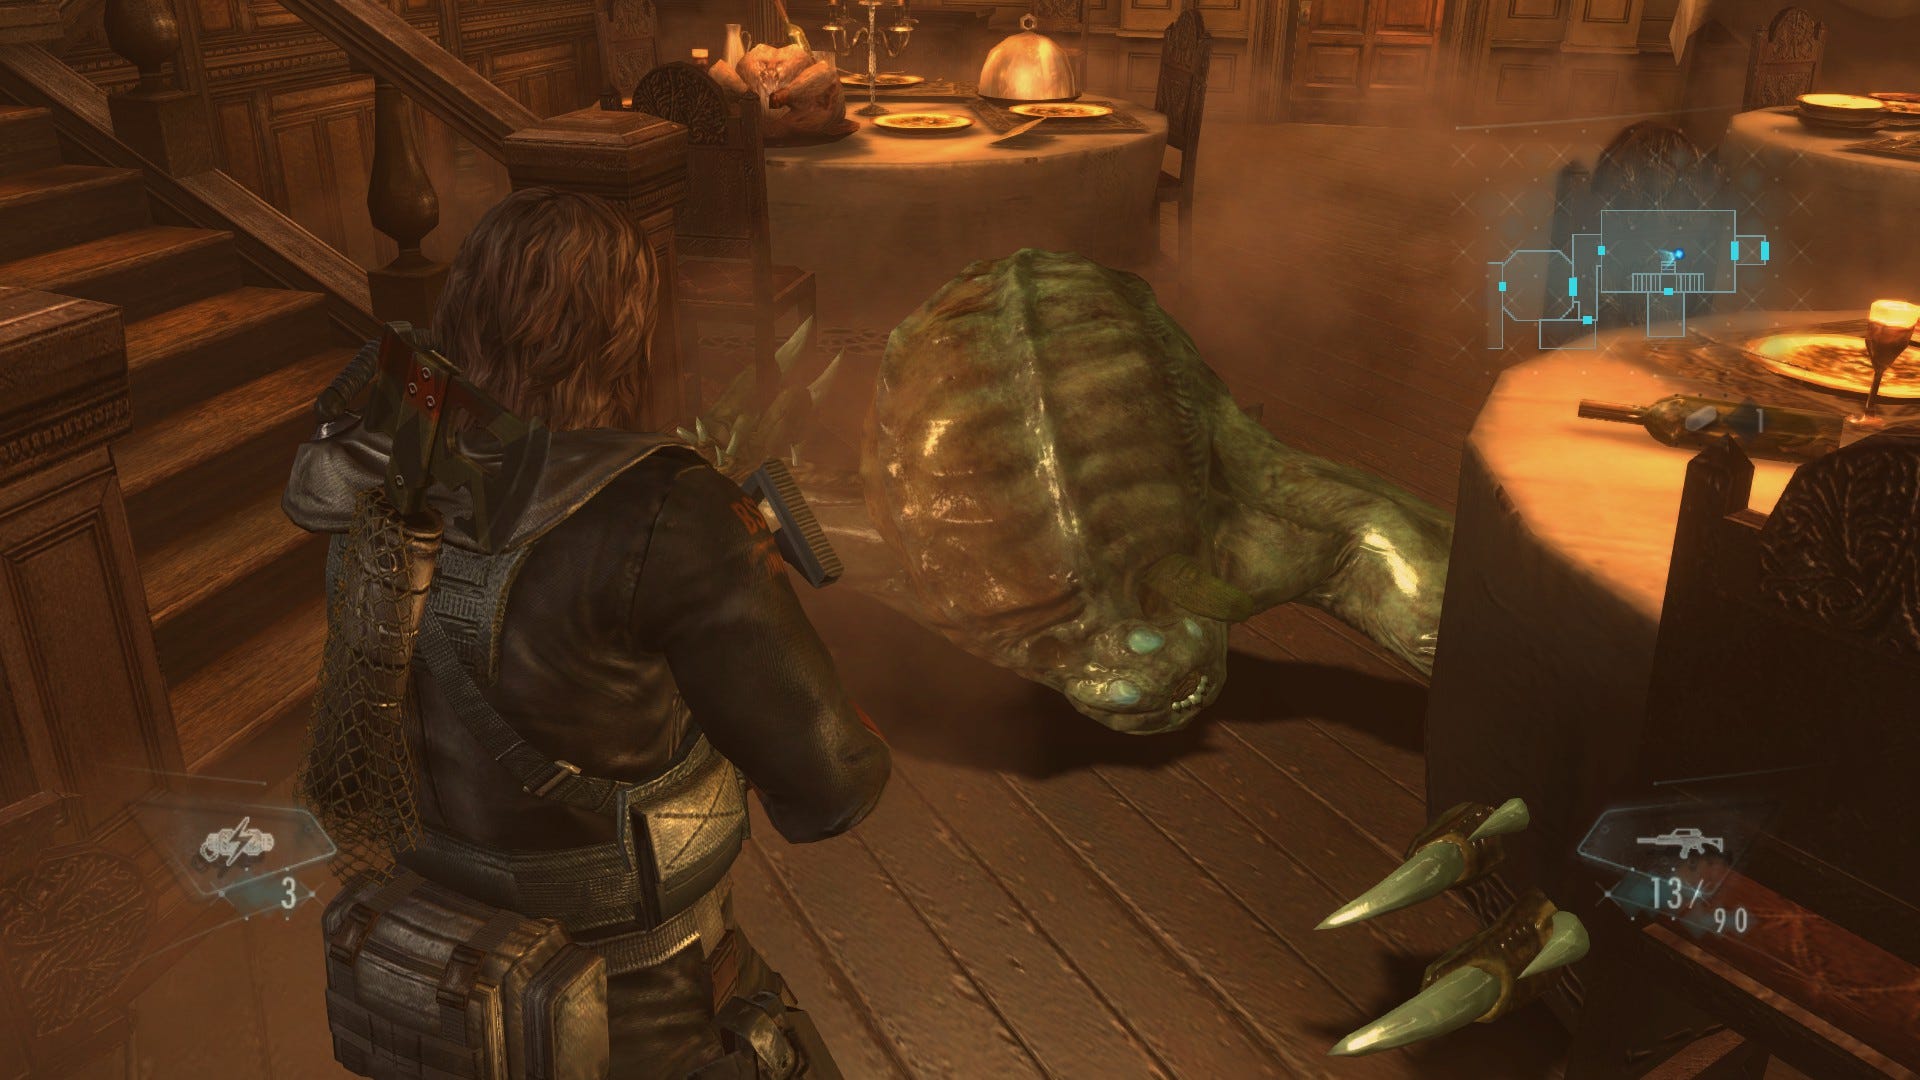
Head west across the dining room and you'll immediately encounter a Wall Blister that drops from above. Step back to create some space and unleash your machine gun into its head to bring it down with minimal effort - don't forget to stand well back to avoid its explosive end!
Scour the room through the silver door for ammo then return to the Cafeteria. Another Wall Blister will have spawned in the area, so finish it off quickly. Once it's safe to continue, head through the double doors to the west and follow the corridor forward to reunite with Rachael.
Immediately eliminate any other mutants in the area so that you can fully focus on Rachael. The strategy to defeat her here is the same as always - lure her to one end of the corridor, firing as she approaches, then duck under and run to the other end of the passage. About-face and repeat until she's down, earning you the Illegal Custom Parts.
When you've secured your prize, head through the double doors to the west and scoot through the two library rooms into the next corridor - watch out for the Chunk mutants and try not to get caught in any explosive chain reactions if you decide to attack. Once you're through the library, take a right at the junction and use the door at the end. On the other side, make your way into the lift directly ahead and select the Bridge as your destination.
Rendezvous with Jessica
While you make your ascent, Jessica will radio to announce that she's already at the Bridge. Once your ride come to a stop, step out into the corridor and follow the passage around, heading through the door at the end. Keep going through the doors and you'll eventually reach the Bridge. Sit back and enjoy the cutscene before we need to get off the ship and continue the chapter.