Resident Evil Revelations - Go to the laboratory, beat the Scarmiglione, Magnum L Hawk location
Continuing episode eight in Resident Evil Revelations.

Finally, the dream team is back together, as you'll play as Jill, with Chris Redfield in tow as you go to the laboratory following the events at the start of episode 8.
If you need more help, our complete Resident Evil Revelations walkthrough can assist with other sections of the game, including all Handprint locations, Raid mode and unlockables.
Go to the laboratory
The action resumes in the Casino's VIP room, so make use of the green weapon crate if you need to tinker with your load-out before continuing.
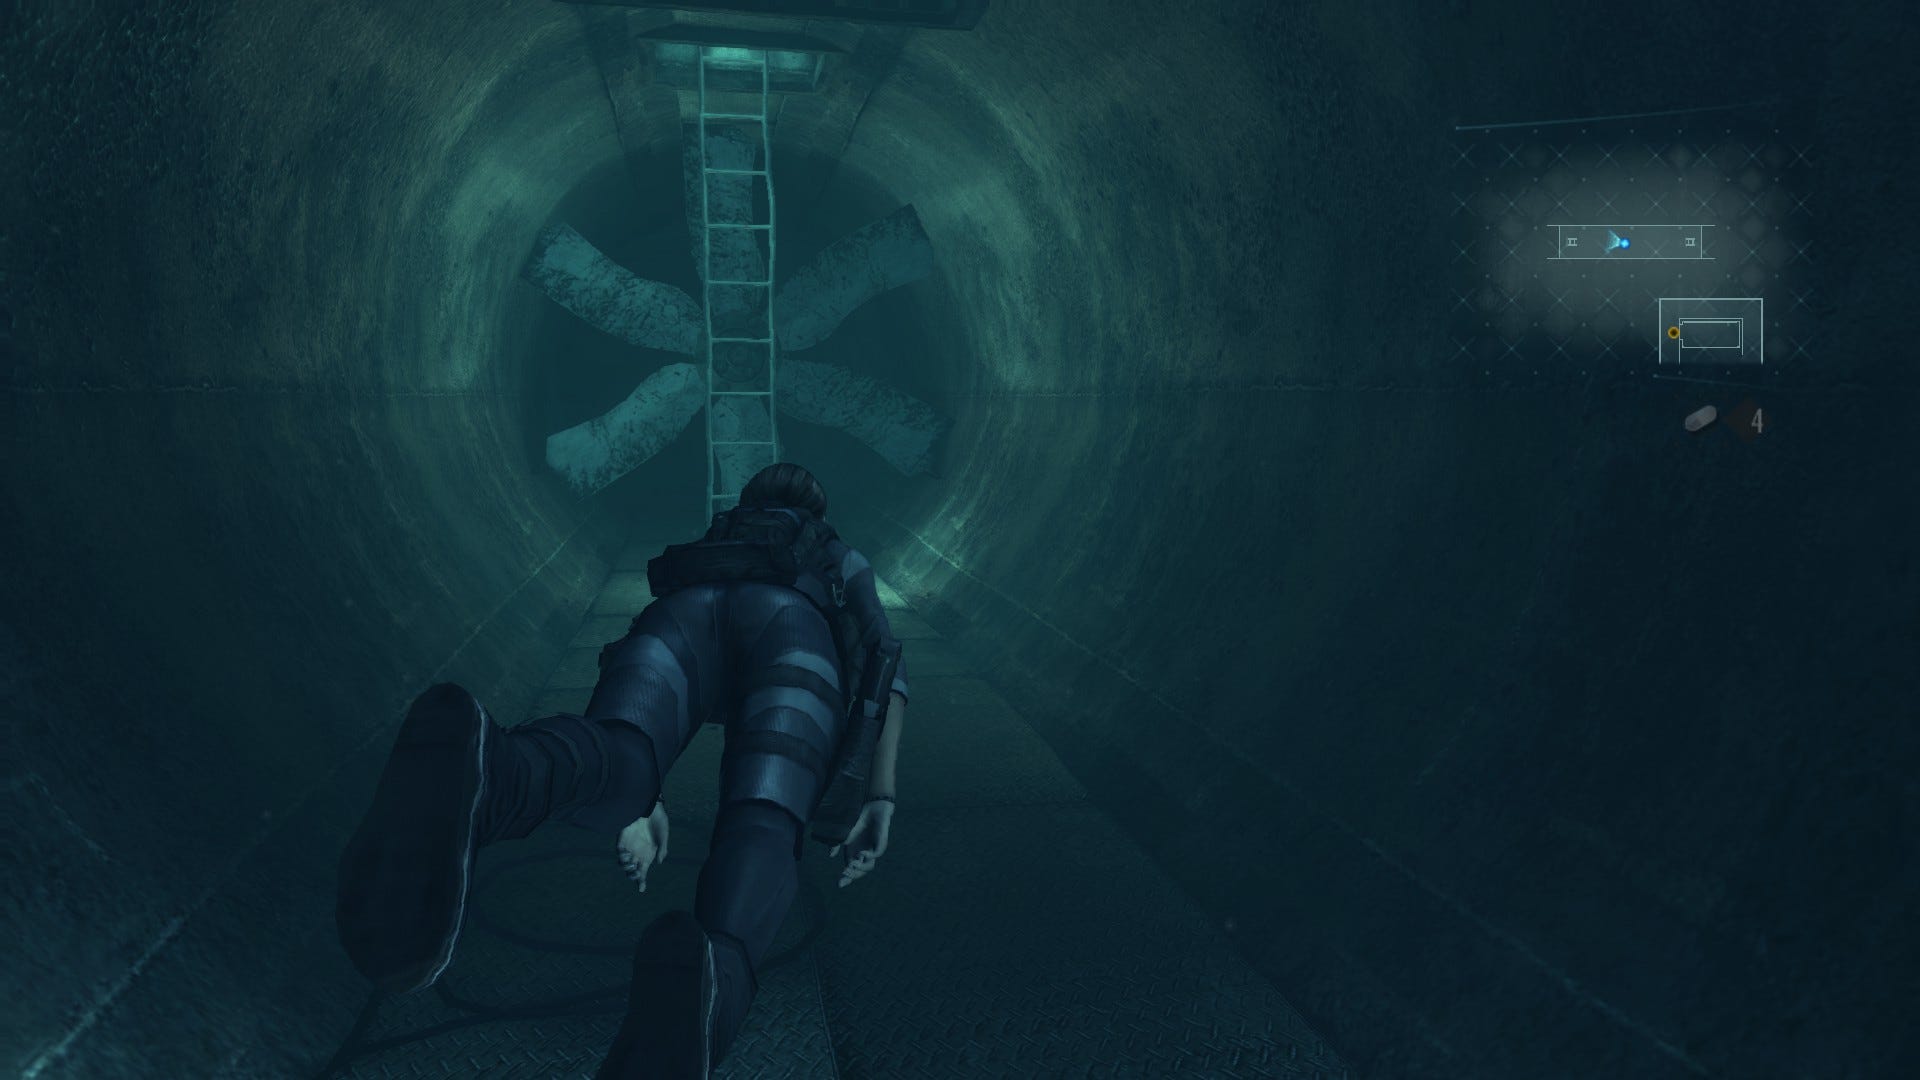
When you're ready to proceed, climb down the ladder in the corner of the room. Follow the tunnel along, and descend the next ladder, plunging into the water once more. Dive straight down to the bottom of the shaft then swim along the tunnel toward the next ladder, avoiding the mutant as you go.
You'll pick up pulse grenade along the way. These send out a powerful frequency pulse, temporarily paralysing opponents caught in its blast. In other words, they're a great tool for crowd control in the water when things start to get hectic.
Once you reach the ladder at the far end of the tunnel, climb out then make your way along the next passage. At the end, drop down into the flooded elevator room and dive into the water, leaping off the yellow ledge to the west.
Swim to the bottom of the shaft, using your pulse grenades to stave off Sea Creepers if need be. You'll find some Custom Parts and ammo on your way down, situated on the stationary elevator platform holding a shipping container to the north. Grab them, then use the Veltro Key Card on the door to the south at the very bottom of the shaft.
Follow the linear route forward, swiping up the ample ammo and avoiding the Sea Creepers as you go. Dodge over and under the debris blocking your path and using the ceiling air pockets as required.
You'll eventually unlock a door at the very end of the route that opens back out onto the area where you fought Rachel during the 5-minute countdown in the previous chapter.
Swim toward the ladder in the northeast corner of the room (Chris will take the lead and run ahead here) then climb out onto the walkway. Take a left and follow Chris back down into the water once you reach the ladder ahead. Dive underwater, swim west and head through the door.
Proceed along the corridor and pass through the door into the next room. Swim up the flooded stairwell and follow Chris toward the ladder in the southwest corner of the room. Climb up and out onto the walkway then use the Trident Key that Chris gives to unlock the door directly ahead.
Proceed through the next door then follow the corridor around to the right.
Both doors are locked so leap through the broken window at the end of the passage. You'll find a few useful supplies here by scanning around, and there's a green weapon crate against the west wall if you need to adjust your load-out - you should have the Long Magazine 3 custom parts now if you've been following along with this guide.
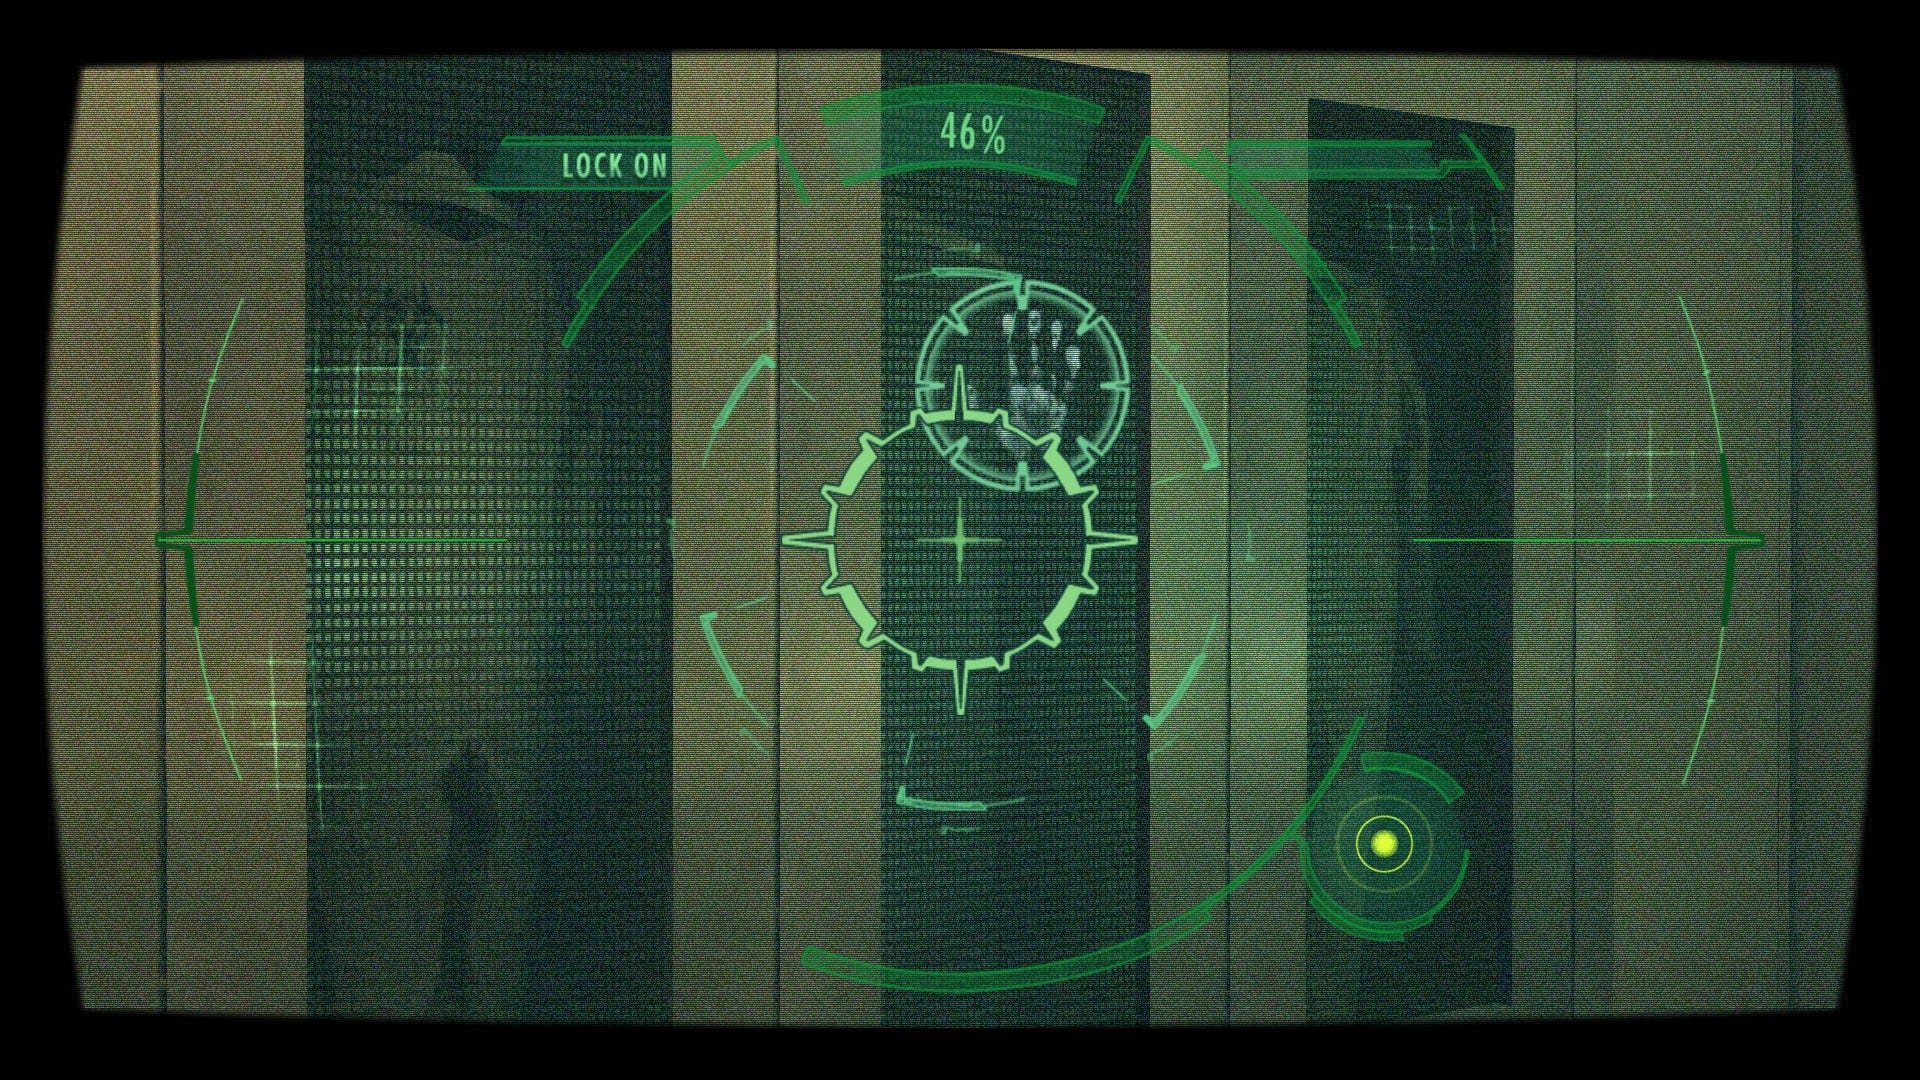
Interact with the glowing computer terminal in the corner of the room to register your fingerprint then head back out into the corridor. This time, use the fingerprint device to the left of the double doors to gain access to the room beyond.
Before entering the sterilisation chamber ahead, scour the locker area for useful items. There's a decoy grenade on the floor, ammo and Illegal Custom Parts on the bench in the corner. Next, scan the empty locker on the southern wall to locate Handprint 24.
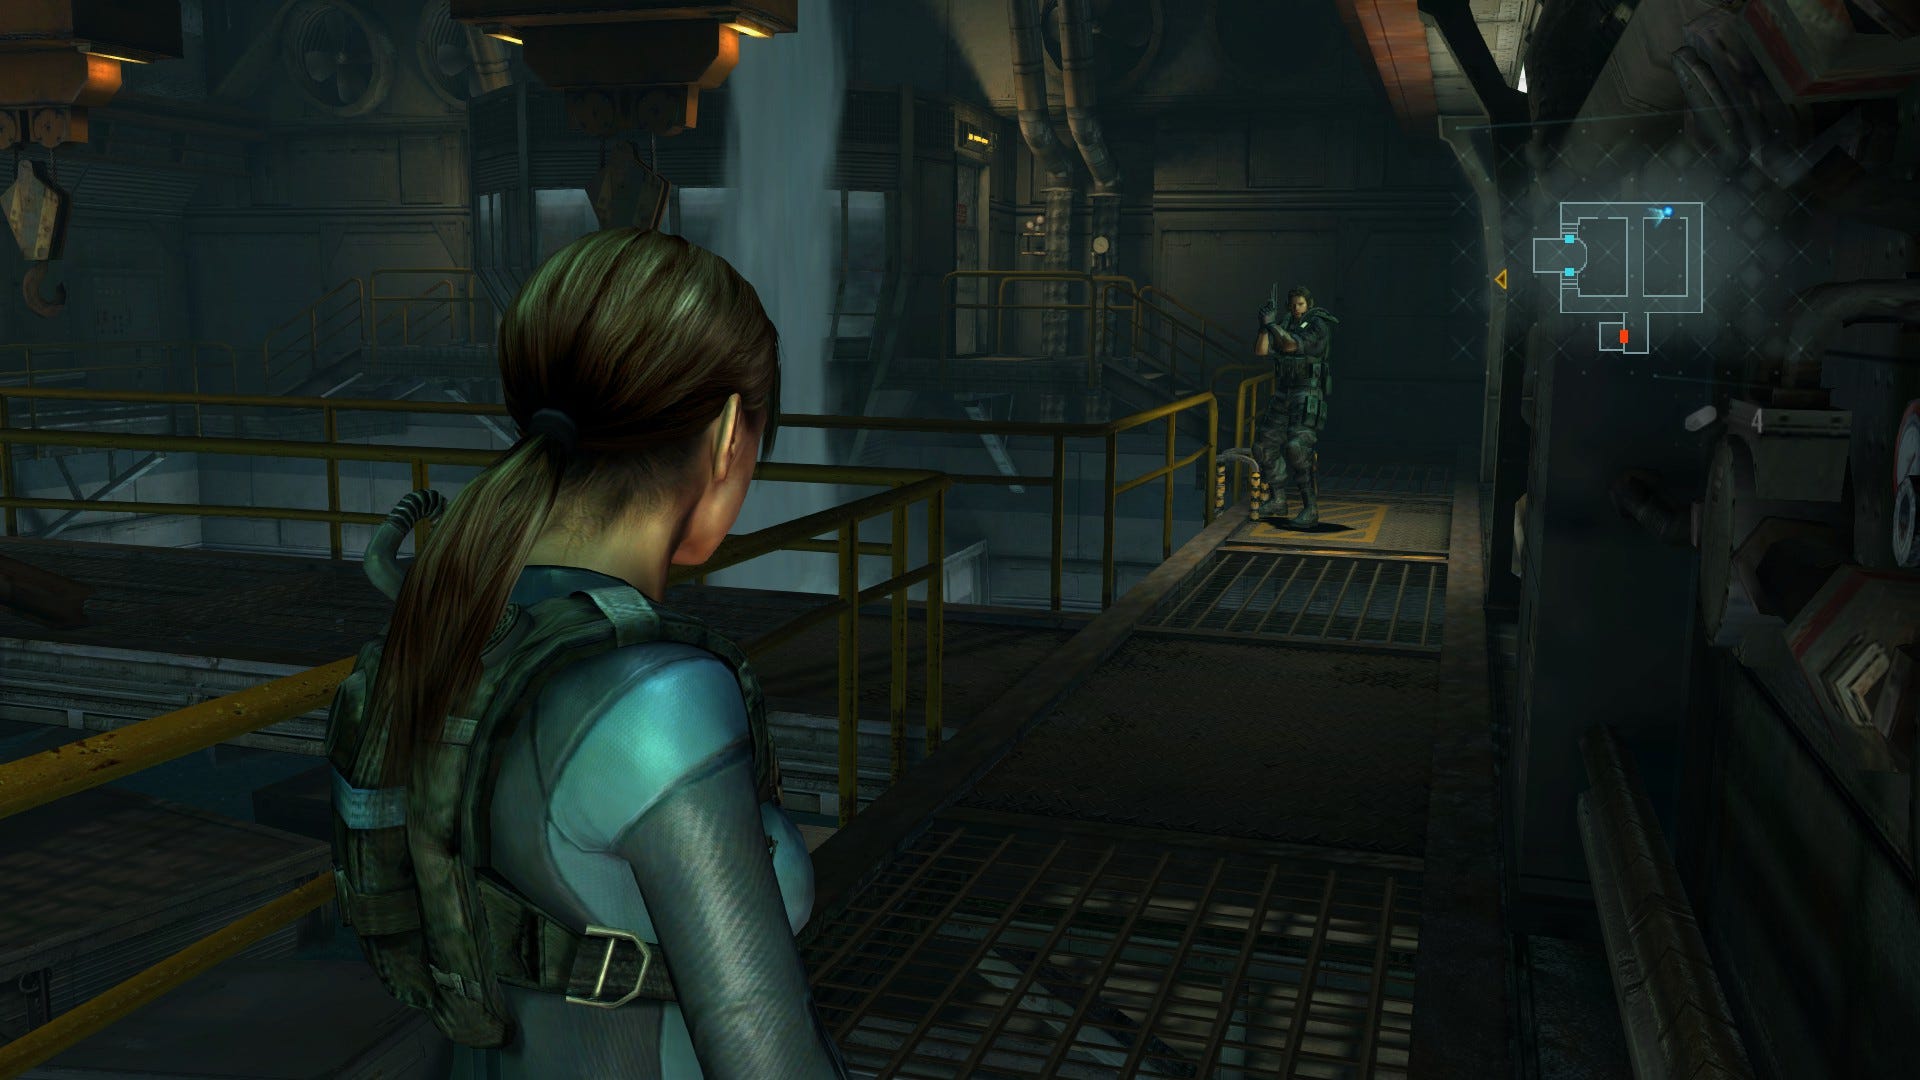
With that taken care of, head west along the corridor and use the door at the end. Chris will take the passage to the right (you'll see his handsome face through the glass window) and the sterilisation process will begin. Unfortunately, something in the immediate vicinity has other ideas and it will shortly crash through the metal wall behind you.
Scarmiglione
This fishy behemoth, known as the Scarmiglione, is equipped with sword-and-shield-like appendages. It will attempt to stab you with its sword, and protect itself with its shield.
Thankfully, it's not a particularly fast enemy, but its pointy-ended appendage does have a long reach. As such, you'll want to stand at one end of the narrow room and lure the creature towards you - when it nears your position and readies a stab attack, duck under and head toward the far end of the room. As it closes in again, simply repeat the process. This will give you maximum space and time to shoot before you're forced to relocate.
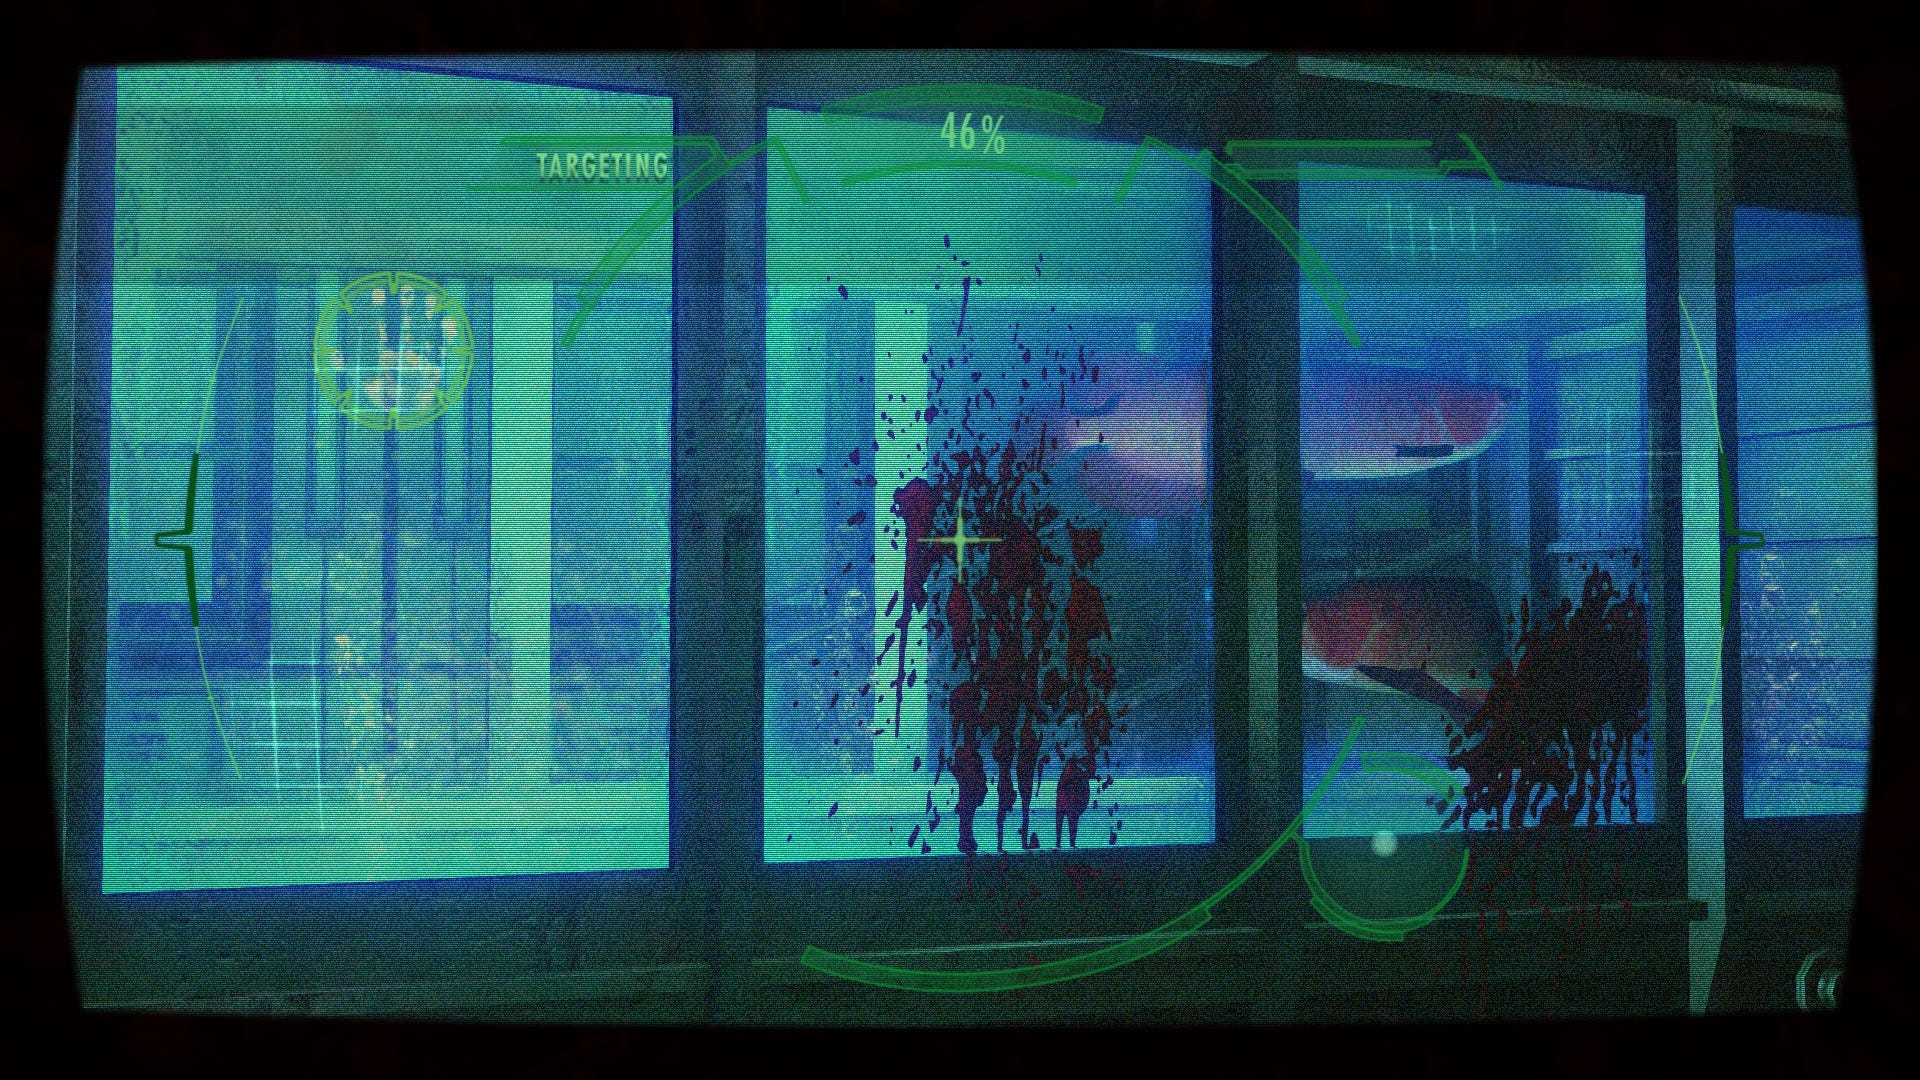
Take as many shots as you can whenever the opportunity arises, and be sure to aim for its face or legs (whichever isn't obscured by the shield).
You'll find the very tip of its head - which is never hidden behind the shield - particularly sensitive to gunfire, and a rifle shot here can finish the brute off in no time. Be on-guard though: occasionally, the creature will split in two on death, revealing a deadly, electrically charged spinal cord. You'll need to fire off more shots and bring that down too.
Eventually, the door to the chamber will open and Chris will join you to help out in the fight. Move out into the larger room to give yourself a bit more space to manoeuvre safely if needed. Despite the creature's formidable appearance, it won't actually take too many hits to bring down, so just keep plugging away until victory is yours.
With the creature defeated, nip down the corridor that Chris was holed up in during sterilisation process and scan the floor to locate some Illegal Custom Parts. Next, return to the large room and make your way down the steps.
Magnum L Hawk location
Collect the ammo off the ground, and the MAGNUM L HAWK from the table in the corner, then scan the south-facing side of the large fish tank in the centre of the room to reveal Handprint 25. Finally, proceed through the double doors and hit the button inside the elevator to begin your ascent.
Step out into the rather swanky looking corridor and scan the lefthand side of the first archway to reveal Handprint 26.
Make your way to the end of the corridor, collecting ammo as you go, and head through the sturdy looking door at the end. This will take you to the laboratory and complete both your current objective. What follows is episode 9 as you find the PC with some familiar faces.