Resident Evil Revelations - Head to the Control Room and beat the countdown clock
Continuing episode seven in Resident Evil Revelations.

It's time to head to the Control Room and beat the countdown clock to finish off the end of episode 7.
If you need more help, our complete Resident Evil Revelations walkthrough can assist with other sections of the game, including all Handprint locations, Raid mode and unlockables.
Head to the Control Room and beat the countdown clock
Before you begin, run around the helipad again and smash up the newly re-spawned crates for some welcome ammo and a green herb.
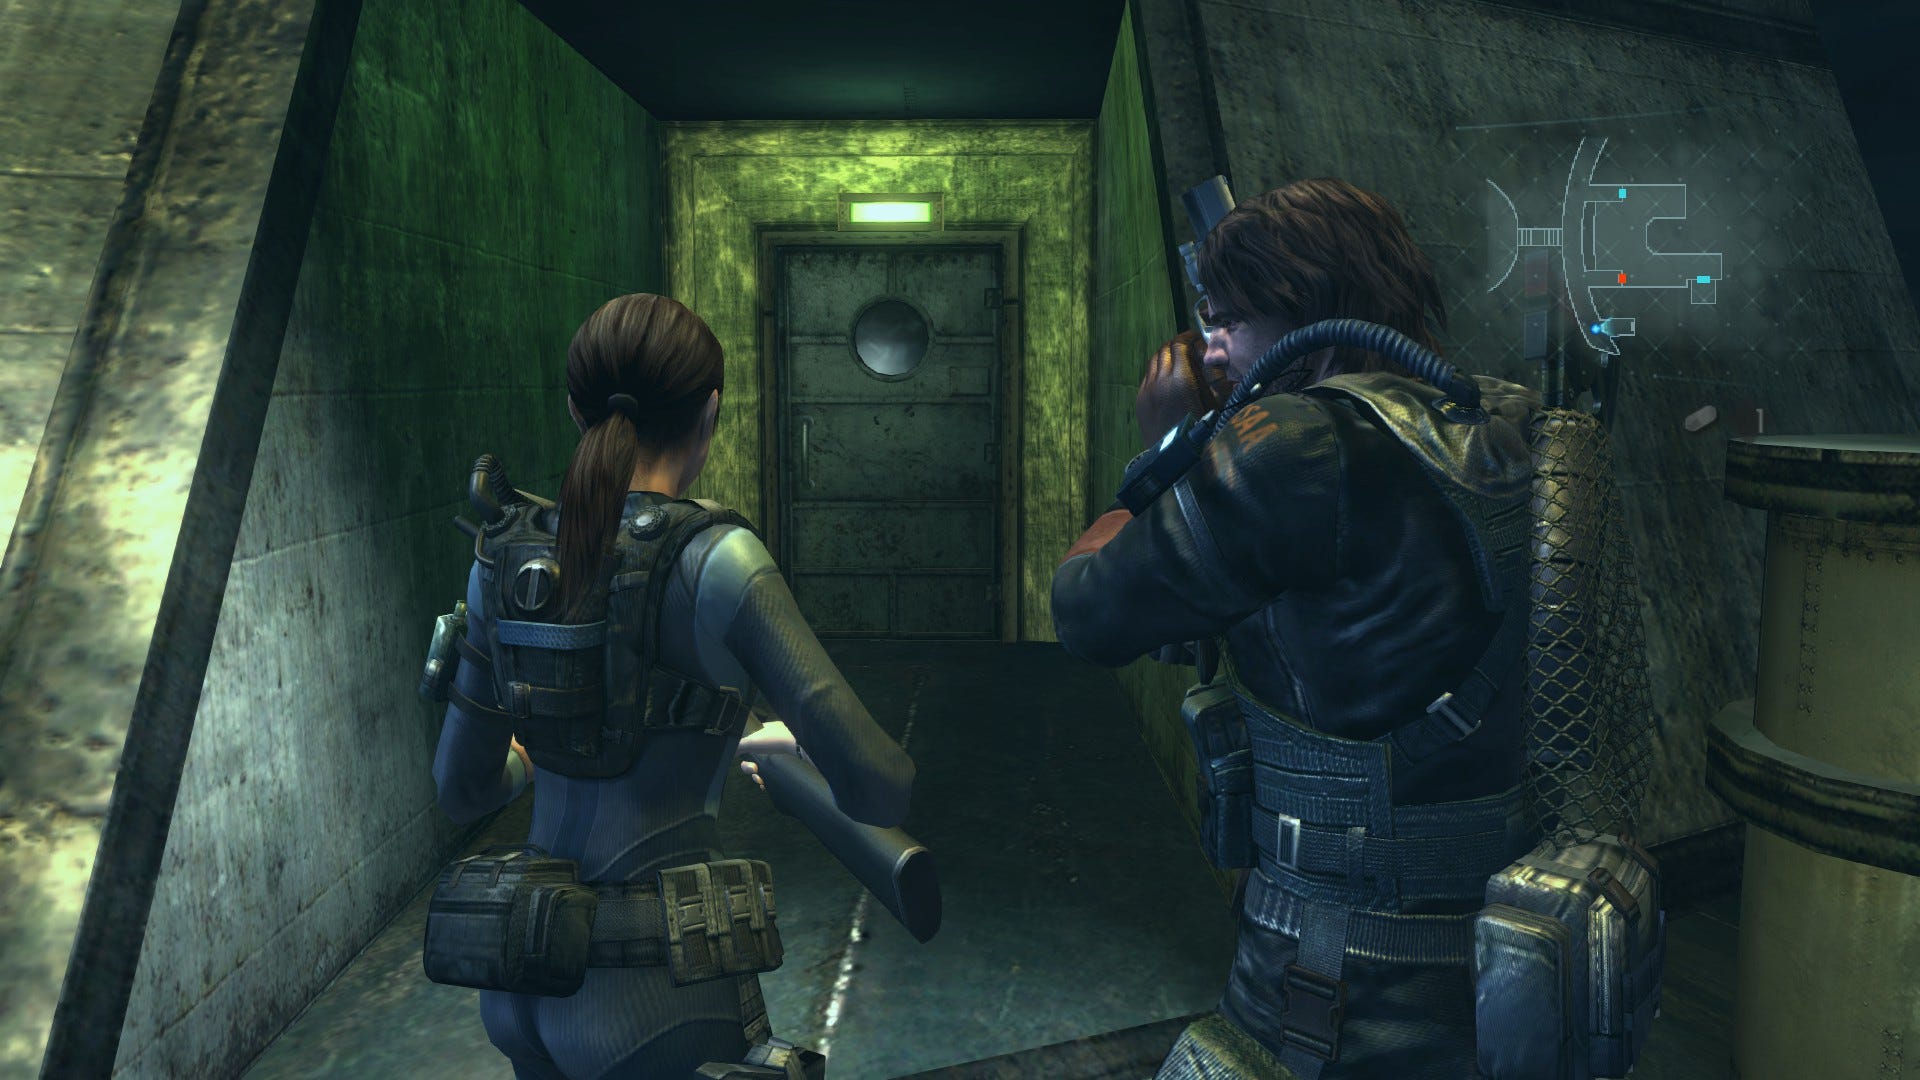
Next, head east along the walkway and take a right at the junction, moving toward Parker. You'll spot a door illuminated by a green light to your left - move inside to trigger another cutscene.
Once it's finished, a five minute countdown will begin - you'll need to do the following sequence within the time limit or it's Game Over. Head along the corridor, swiping the green herb as you go, and begin picking your way through the swarm of mutants milling around the passage ahead. If you feel confident in your dodging prowess, just slip on passed (watching out for the exploding Chunk Ooze) and smash the crates for supplies as you go.
Proceed through the door at the very far end of the deck and follow the corridor around to the left. Dispatch any enemies in the area (and keep your distance from the explosive one) then enter the lift. Hit the button and you'll start your descent.
After what feels like an eternity, the elevator doors will open. Step out and a brief cutscene will play.
If you have your rifle equipped, stay where you are and immediately bring down the Tricorne Oozes directly ahead and to the northeast. Next, grab the green herb from the ground then step out into the larger area. Immediately, you'll be ambushed by Rachael again from the right.
If you manage to defeat her during this sequence, you'll be awarded with yet more Illegal Custom Parts. However, time is VERY limited so it's not an easy ask. If you don't finish her off, however, she'll attempt to harass you for the rest of your journey.
Assuming you decide to ignore Rachael, duck beneath her grasp and proceed to the ladder in the northeastern corner of the room.
Eliminate the Tricorne if you didn't do it earlier then climb down to the lower level. Next, wind between the crates until you reach the door in the southwest corner of the room that you saw in the cutscene a little earlier.

You'll need to wind back and forth between the crates to get there, and dodge through a whole bunch of enemies. In particular, watch out for the bear-trap-like devices on the floor - if you step in them, you'll have to wriggle free, losing precious seconds.
As you close in on the door, you'll once again come face to face with a Comms-Officer-style mutant. Duck under his grasp (watching out for the floor traps) and pick up the Rocket Launcher. About-face and lay a rocket straight in its - or Rachael's - chops. You'll receive Illegal Custom Parts for defeating either.
Proceed through the door and work your way along the hallway. As you near the end, you'll run into more Tricornes and, delightfully, Rachael again if you didn't kill her in the previous room. If you still have the Rocket Launcher, now would be a good time to use it, otherwise dodge by.
Finally, slip through the door at the end of the passage, run across the room and interact with the control panel directly ahead to bring the sequence, and the episode, to its topsy-turvy conclusion. Episode 8 and making it out of the flood follows.