Resident Evil Revelations - Episode 7, The Regia Solis: Head to the Deck options, Magnum Python location, UAV Containers
How to complete the opening part of episode seven in Resident Evil Revelations.

Episode 7: The Regia Solis picks up precisely where the previous episode's observation deck boss Draghignazzo left us; atop the Queen Zenobia, mid-conversation with HQ. Soon you will Head to the Deck and deal with some UAV Containers, as well as seek out the Magnum Python.
If you need more help, our complete Resident Evil Revelations walkthrough can assist with other sections of the game, including all Handprint locations, Raid mode and unlockables.
Start of Chapter 7
You won't have any particular objective at first, so start your descent, retracing your previous steps all the way back to the observation deck where you fought the bludgeon mutant boss - you'll have a few words with Quint along the way.

Inside the observation deck, take a few moments to adjust your load-out at the green weapon crate if necessary, and swipe the Machine Gun Ammo Case on the seat to the left. Next, you'll need to ride the lift back down to the main hall - but the one you used previously is broken.
Head to the northern end of the semicircular room and use that lift instead. Hit the button to start your descent and you'll eventually come to a halt between floors. When the doors open, pull yourself up onto the landing. Start moving away from the elevator to trigger your next objective.
Head to the Deck options, Magnum Python location
Your ultimate goal here is to reach the Deck at the other end of the ship. You can either head through the Promenade, or make your way through the Cafeteria from much earlier in the game. The first route is quicker, but the second will let you gather up a whole bunch of delicious goodies that you weren't able to collect earlier. The second route is recommended but the choice is yours.
Option 1: Taking the Promenade route
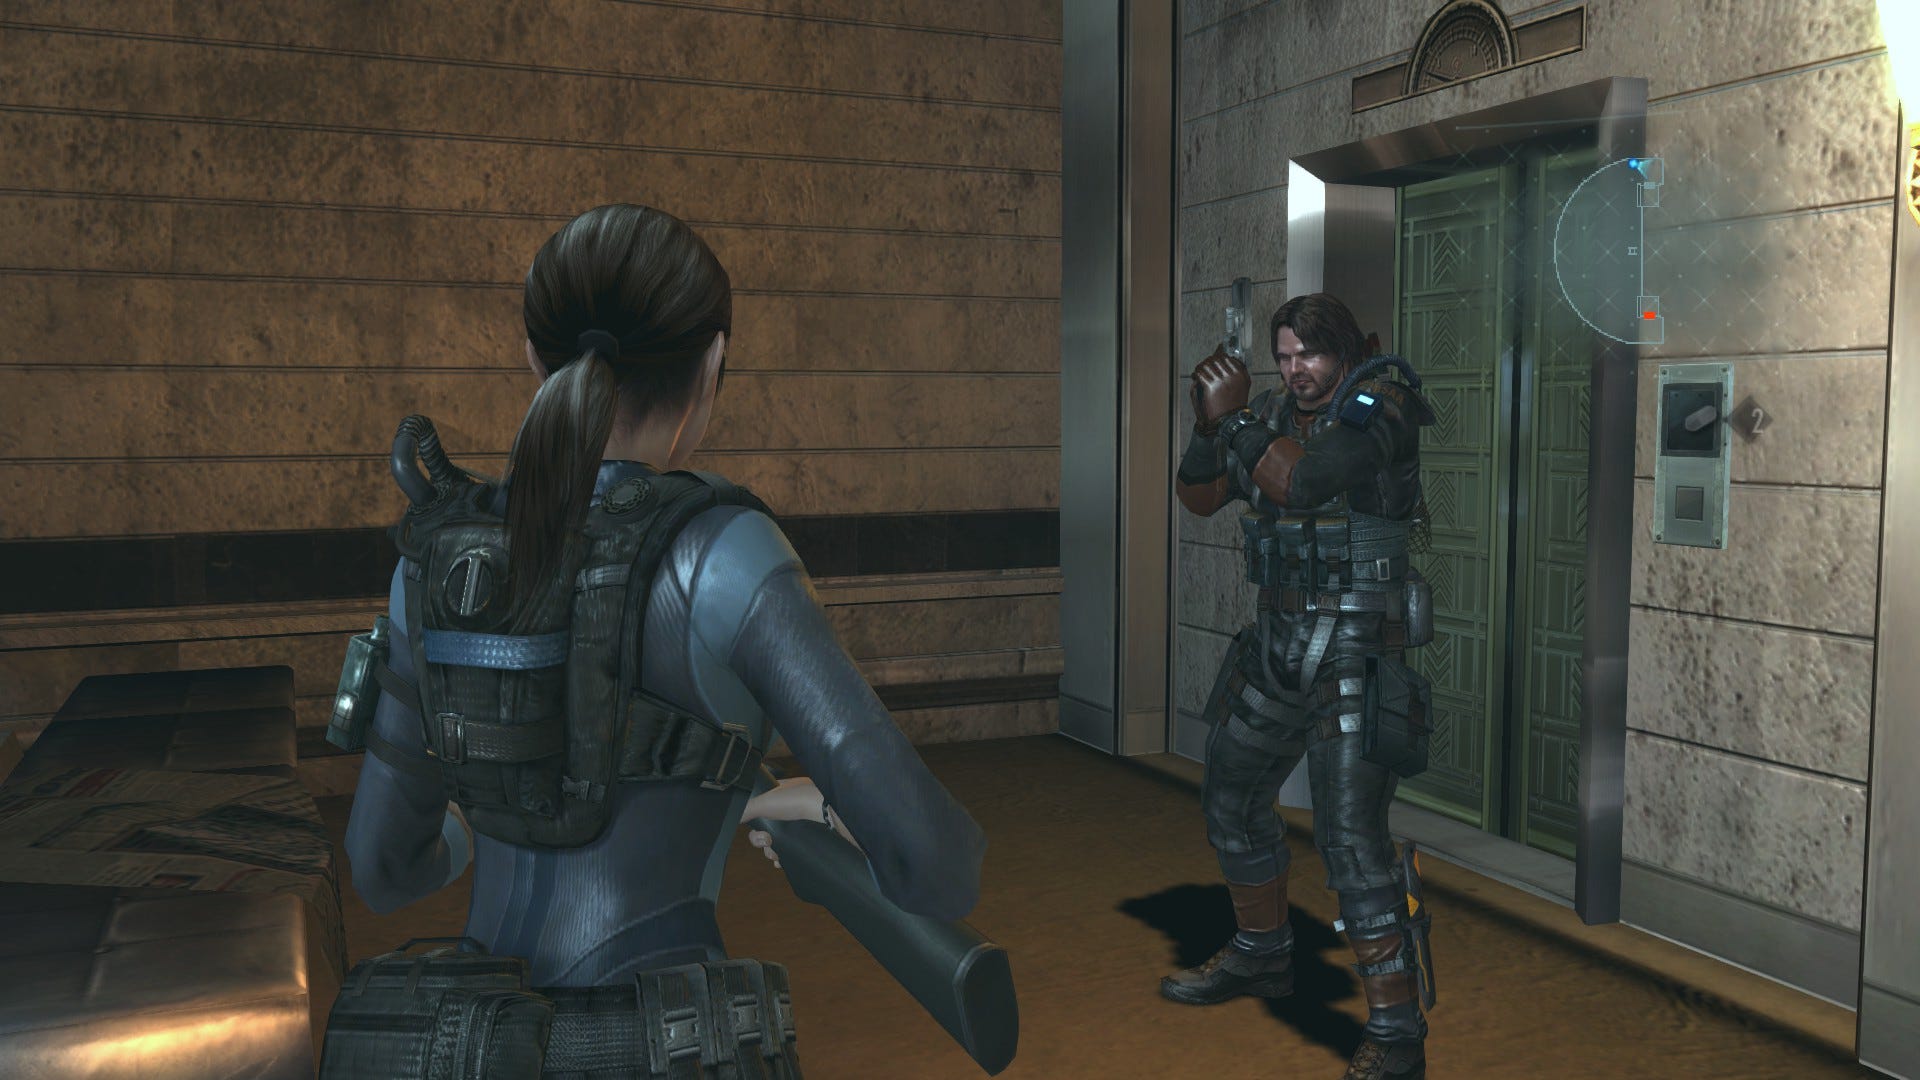
The Promenade route is the swiftest, and you can reach it by heading through the archway to the east then taking the stairs all the way down to the ground floor. The door to the Promenade is clearly signposted to the west, and you'll meet Raymond as you approach. Head through both sets of double doors and take a right at the top of the stairs. Follow the passage around and use the door to enter the upper level of the Promenade. You'll see something scuttling away as you enter the area. Ominous.
From here, drop down off the balcony between the railings and pass through the door to the southwest. Pop out the other side of the corridor and proceed west along the central Promenade. You'll be ambushed by Hunters as you go, so just slip on by and head through the double doors at the far end of the area.
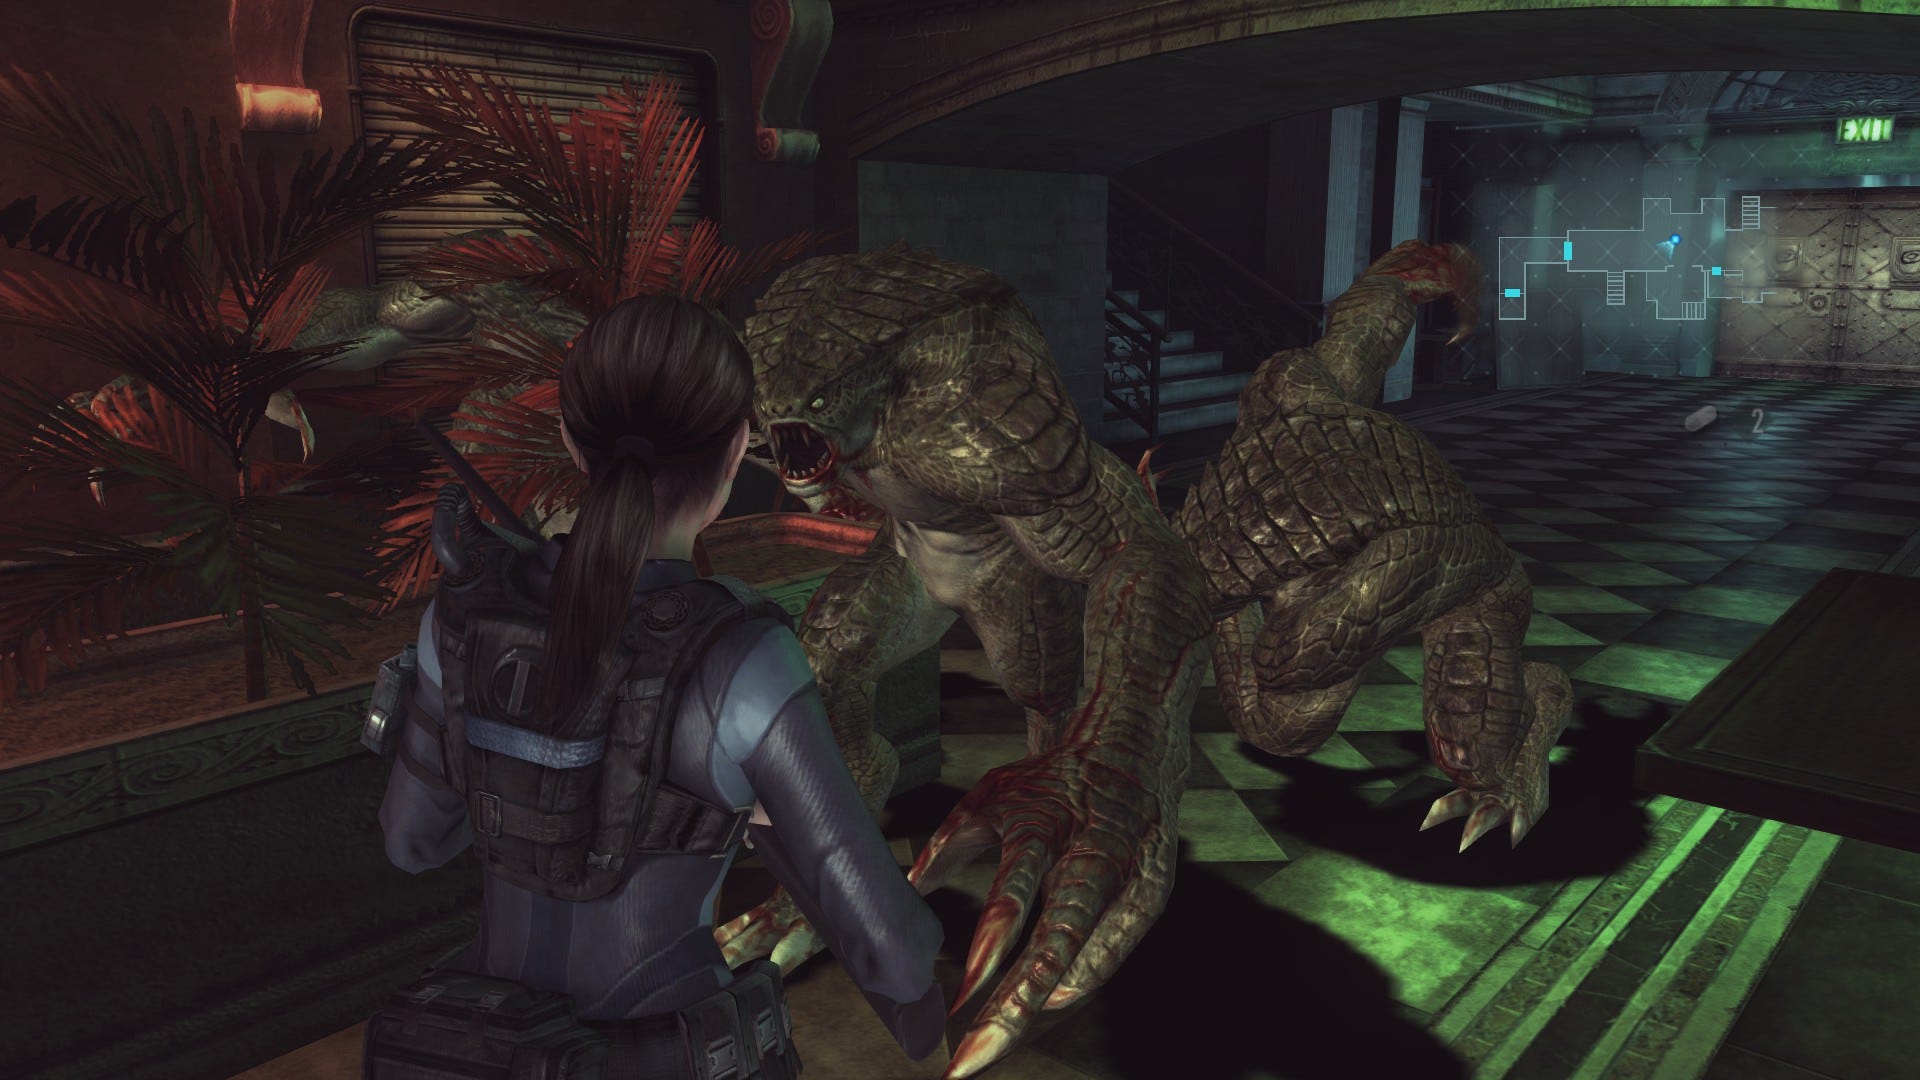
Unfortunately, more Hunters will spill out in the next corridor, and there isn't a whole lot of room to manoeuvre. Your final destination is the lift at the far end of the passage so feel free to try and slip passed unscathed in these close confines, or take out your opponents first if you prefer.
Enter the lift and interact with the panel inside, then select the Deck as your destination.
Option 2: Taking the Cafeteria route
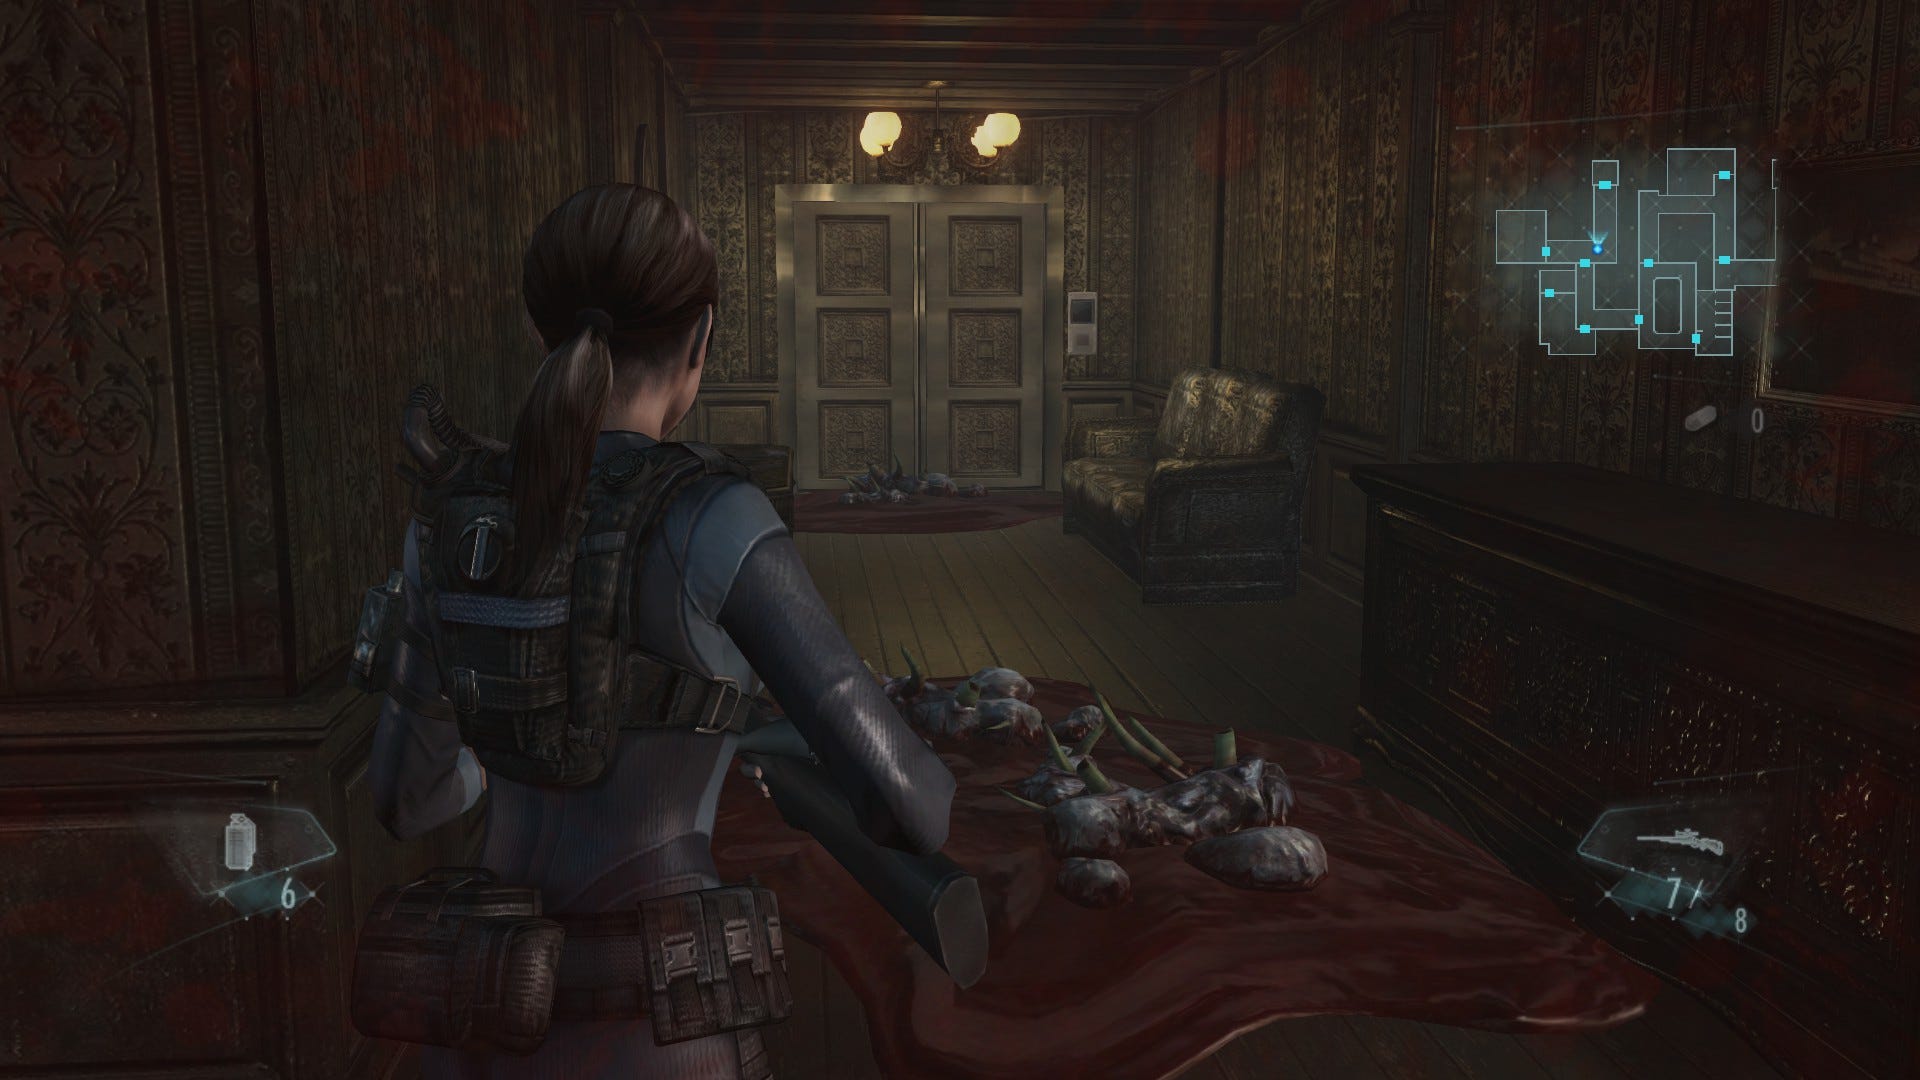
From outside the lift in the main hall, head through the archway to the east then take the stairs down to the landing below. Pass through both sets of Cafeteria doors to the west, and deal with the mutants lying in wait - there's some at ground level and on the upper balcony.
As you near the centre of the room, a Wall Blister will drop from the ceiling - it won't take much to finish it off, but you might want to eliminate the other enemies first before triggering its arrival. That way, it'll be easier to keep your distance and avoid its one-hit kill.
Once the area is clear, climb the steps to the south and head through the silver door. It'll open now that you have the Iron Anchor Key. Inside, take the ammo then return to the Cafeteria.
This time, proceed through the double doors to the west, avoiding any dastardly new arrivals in the area. Head to the far end of the corridor and use your Veltro Key Card to unlock the door.
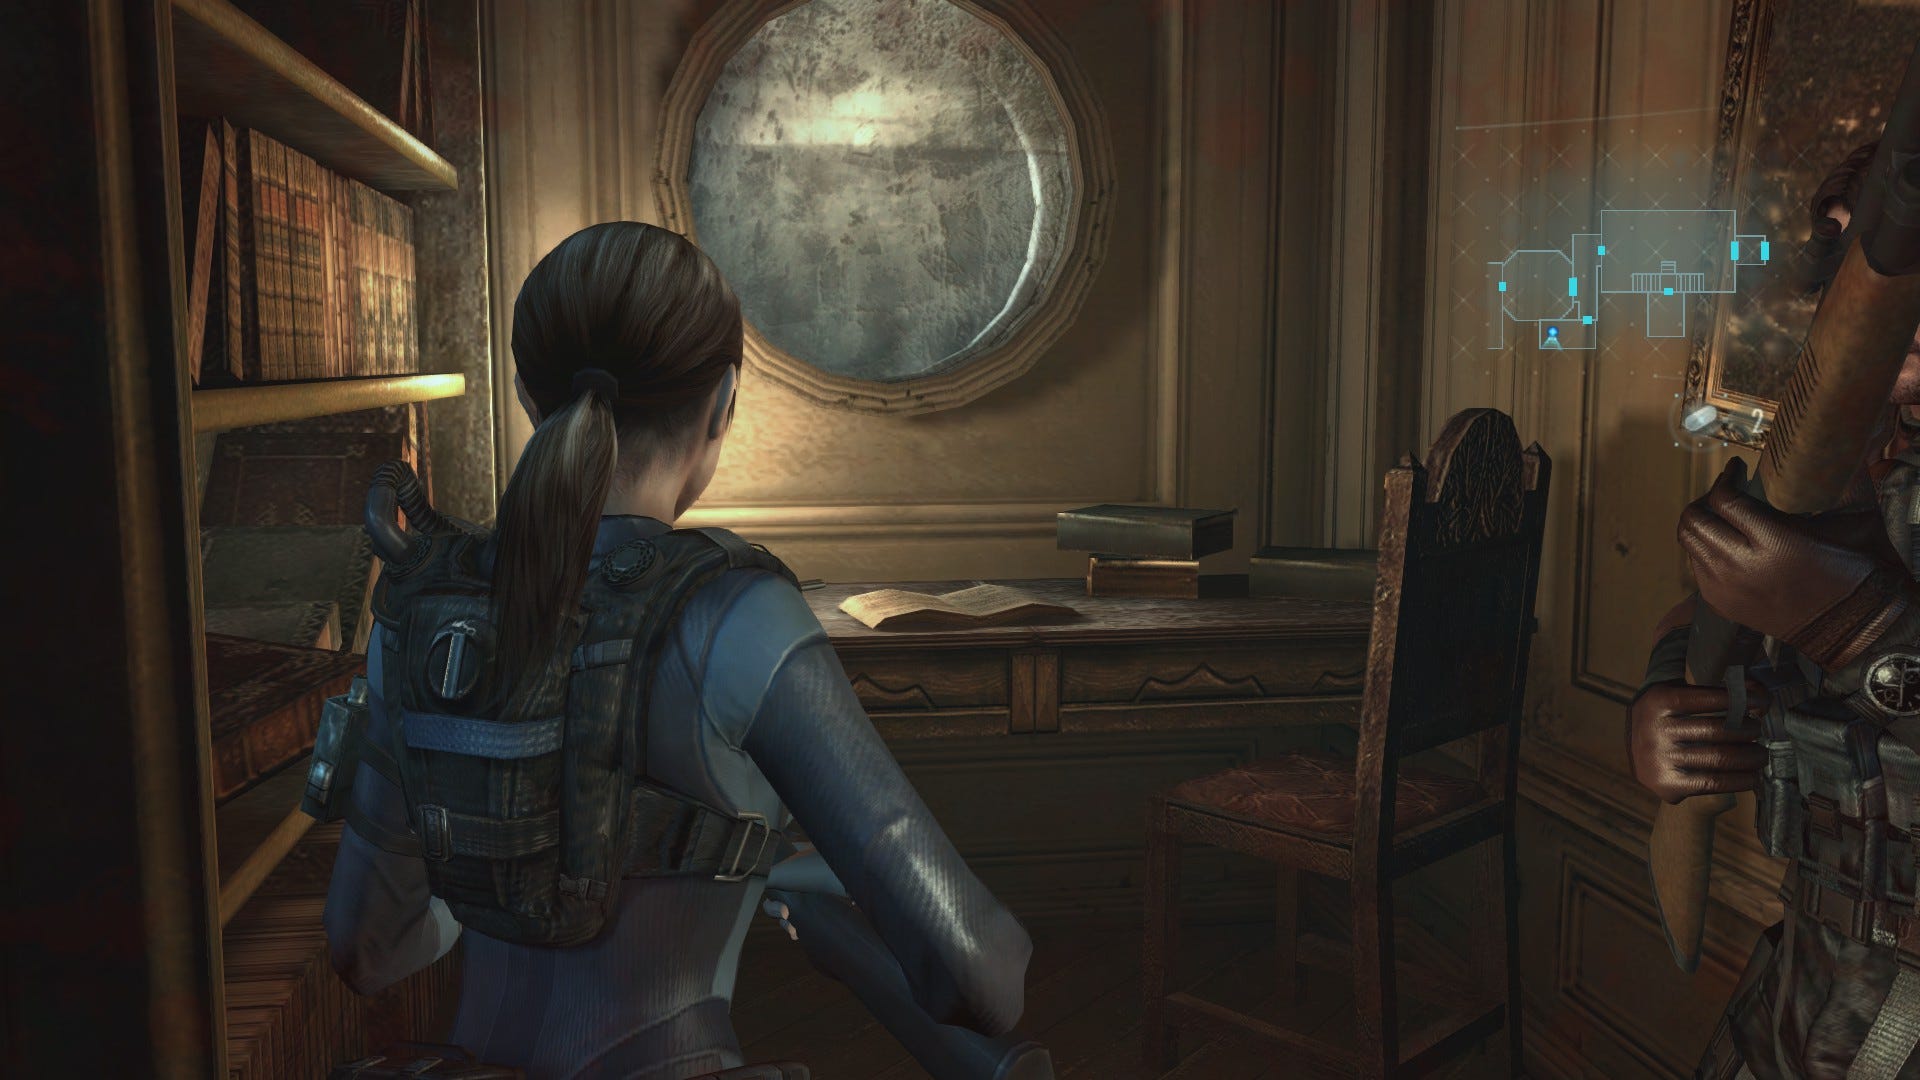
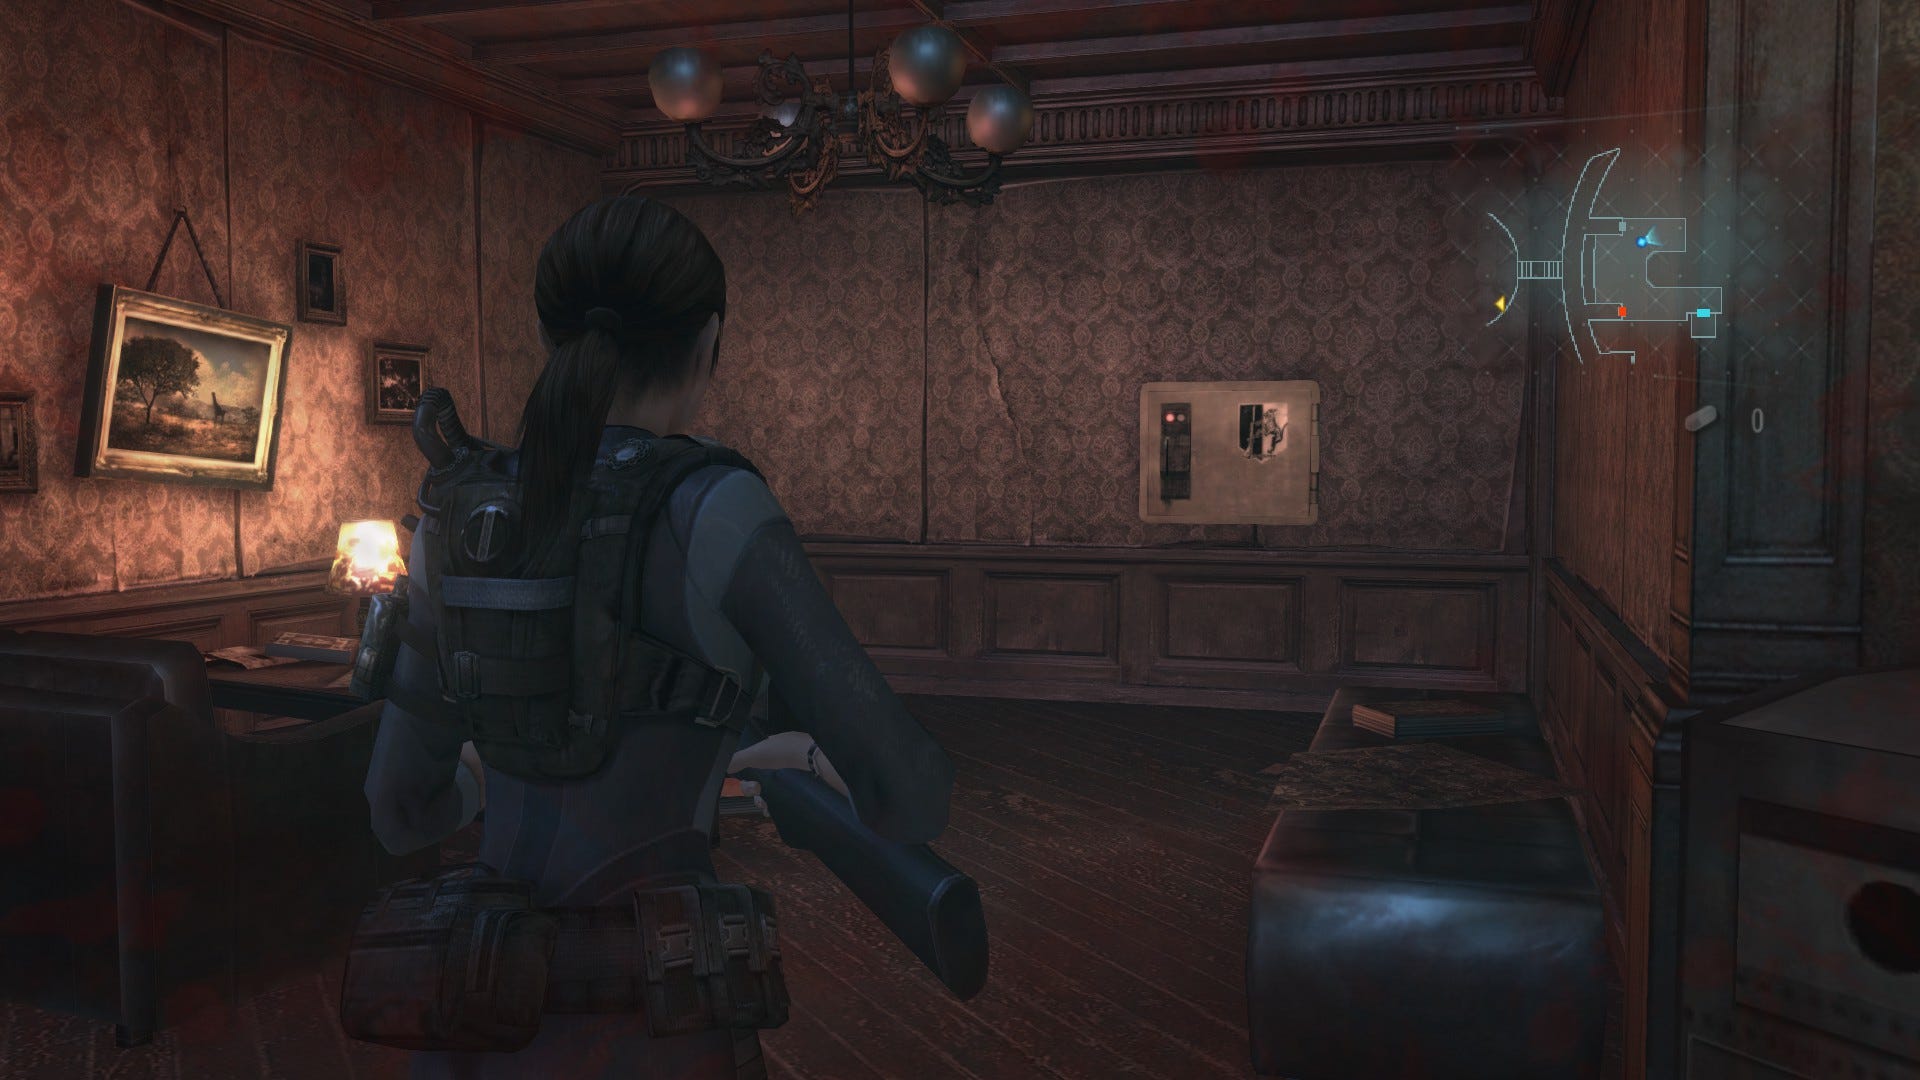
Go through and wind your way between the bookshelves. Take the MAGNUN PYTHON from the desk, juggling your weapon load-out to suit your taste. Next, head back out into the corridor (another mutant will drop from the ceiling as you leave the room) and return to the Cafeteria.
Head up the steps to reach the upper landing then move along the passage to the north. Duck into the room on the left then pass through the door on the opposite side.
Out in the corridor, you'll stumble across the apparently-still-not-dead Rachael from earlier in the game. Surprise! You're more than welcome to duck around her and avoid a confrontation, but you'll get some Illegal Custom Parts if you defeat her a second time.
If you choose to take her on, your best tactic is to fire off a few rounds as she approaches, then dodge under her as she makes a dashing lunge, running to the opposite end of the corridor.
About-face, then rinse and repeat until death. Hers preferably. Do watch out for other mutants in the area, however, and take them out fast, so they're not a nuisance during the Rachael fight.
When you're ready to continue, head along the passage as it bends around to the west and slip through the door to the right the end. Take out any mutants in the next corridor and follow it to the left at the junction.
At the next junction, look left and eliminate the Tricorne Ooze, then turn right and approach the wall safe. It can opened now that you have the Veltro Key Card. Do so now to retrieve some more Illegal Custom Parts.
Next, turn around and leave the passage via the door to the south. Deal with any mutants in the area then exit via the door to the southwest. You'll recognise this next corridor as the one outside the room where Jill was imprisoned earlier in the game. Follow the passageway around to the right and use the door at the end.
The elevator you need to take is at the far end of the passage to the right, but it's surrounded by mutants. Toss a few grenades to clear them out then enter the lift. Use the control panel inside to make your way up to the Bridge.
Step out of the lift and proceed to the end of the corridor, heading through the door at the end. Follow the doors forward until you reach the Bridge and scan the Handprint on the window to the right of the main controls if you didn't do it earlier.
Next, take the stairs leading down below the Bridge, follow the passage around, and go through the door. Note the elevator directly ahead and take a right at the junction. Take another right at the next junction and head through the brown door at the end of the corridor.
In this room, you'll spot a wall safe directly ahead on the northern wall.
Use your recently acquired key card to open it and claim the Illegal Custom Parts inside. Next, return to the lift you noted a few moments earlier and push the button inside. Select 'Deck' and you'll finally be transported to your intended destination, after quite the thrilling detour.
Arriving at the Deck
Whichever route you took, you'll end up at this same spot. Head out into the room (which you should recognise from many moons ago) and start walking west. There's a handprint on the second table to the left, but if you've been following along you'll have scanned it already. Next, head around to the northeast corner of the room and use your Veltro Key Card on the wall safe. You'll find another batch of Illegal Custom Parts within.
With all that taken care of, make your way through northwestern-most door to the west of the room. Grab the green herb on the ground then proceed onto the main deck.
Kill the Hunters
You'll immediately be ambushed by Hunters, who'll literally drop down right on top of you. Quickly run all the way to the left to put as much space between you and your targets as possible, then unload ammo into them as they approach.
The rifle is a great choice here if your aim is good - it'll fell your opponents in just a few headshots. It is, however, slow to reload, so you'll need to work quickly to ensure that you don't get pinned in the corner. If that doesn't work for you, try another weapon. Eventually, the influx of Hunters will subside and you can proceed onto the helipad to the west. Deal with the remaining Hunters in the area to bring the battle to an end.
Open the UAV Container
Before you complete your main objective, have a quick dash around the helipad and gather up any ammo that you can find - there'll be a few breakable crates around too, which are worth investigating. Next, head as far west as you can possibly go, right to the ship's prow.
You'll find a small walkway sticking out over the water here. Break out your scanner and scan the end of the walkway to reveal Handprint 22.
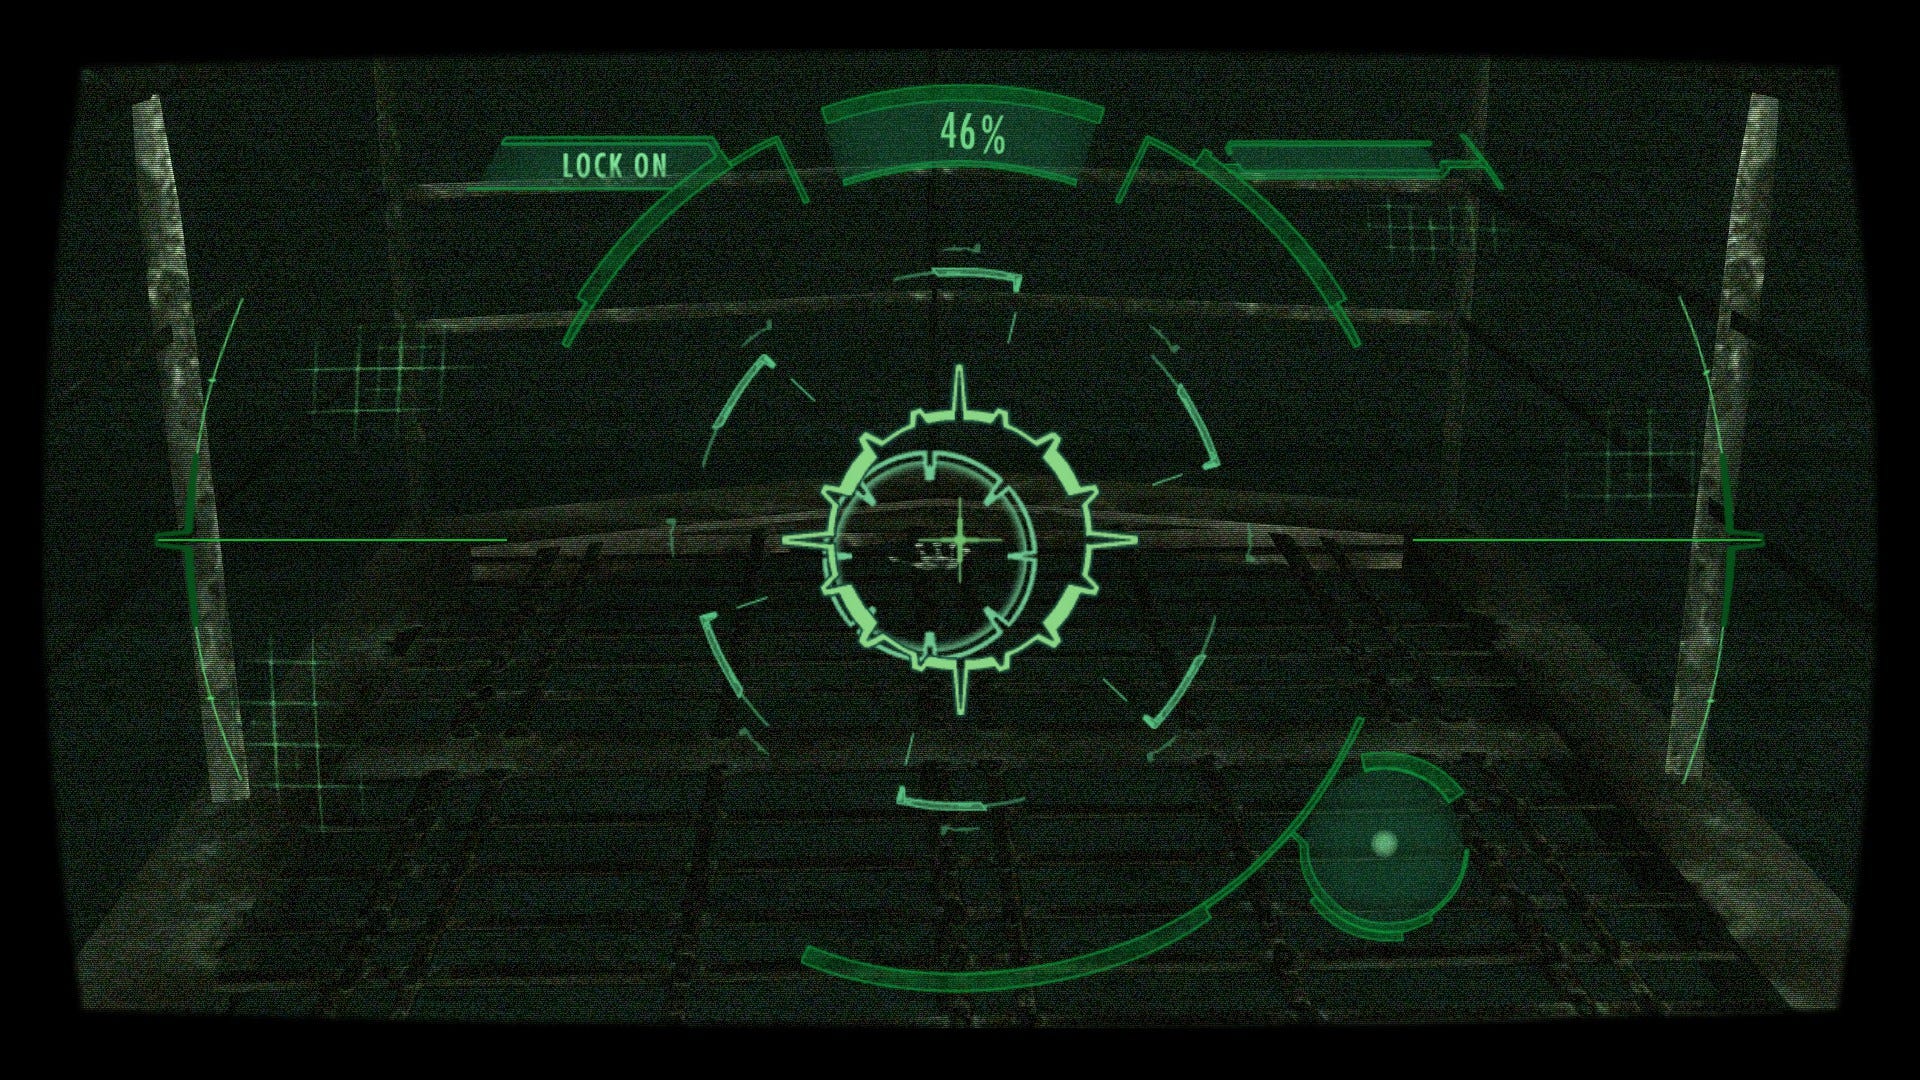
With that taken care of, approach the large UAV container plopped on the helipad and interact with the openable end to conclude the sequence. Time to head to the control room and beat the countdown clock. Good luck escaping under pressure!