Horizon Frozen Wilds - The Forge of Winter and Cauldron Epsilon
Part 5 of our Horizon: The Frozen Wilds walkthrough.

Horizon Zero Dawn: The Frozen Wilds' Forge of Winter quest into Cauldron Epsilon follows on from Firebreak, and has you delve into a new Cauldron to defeat the Daemon.
This is largely an extended, slightly confusing platforming section, and much of the environments blur into one. There's still some combat though, as with any Cauldron, so prepare well as always!
If you're after help for other parts of the expansion, check out all of the guides gathered together in our Horizon Zero Dawn Frozen Wilds guide and walkthrough hub, or for guides to the main game itself, our main Horizon Zero Dawn guide and walkthrough.
Frozen Wilds - The Forge of Winter and Cauldron Epsilon
Explore the Cauldron - Drop down the platforms and follow the waypoint, through a short corridor and into the next open space with the Cauldrons' traditional floating crates passing overhead.
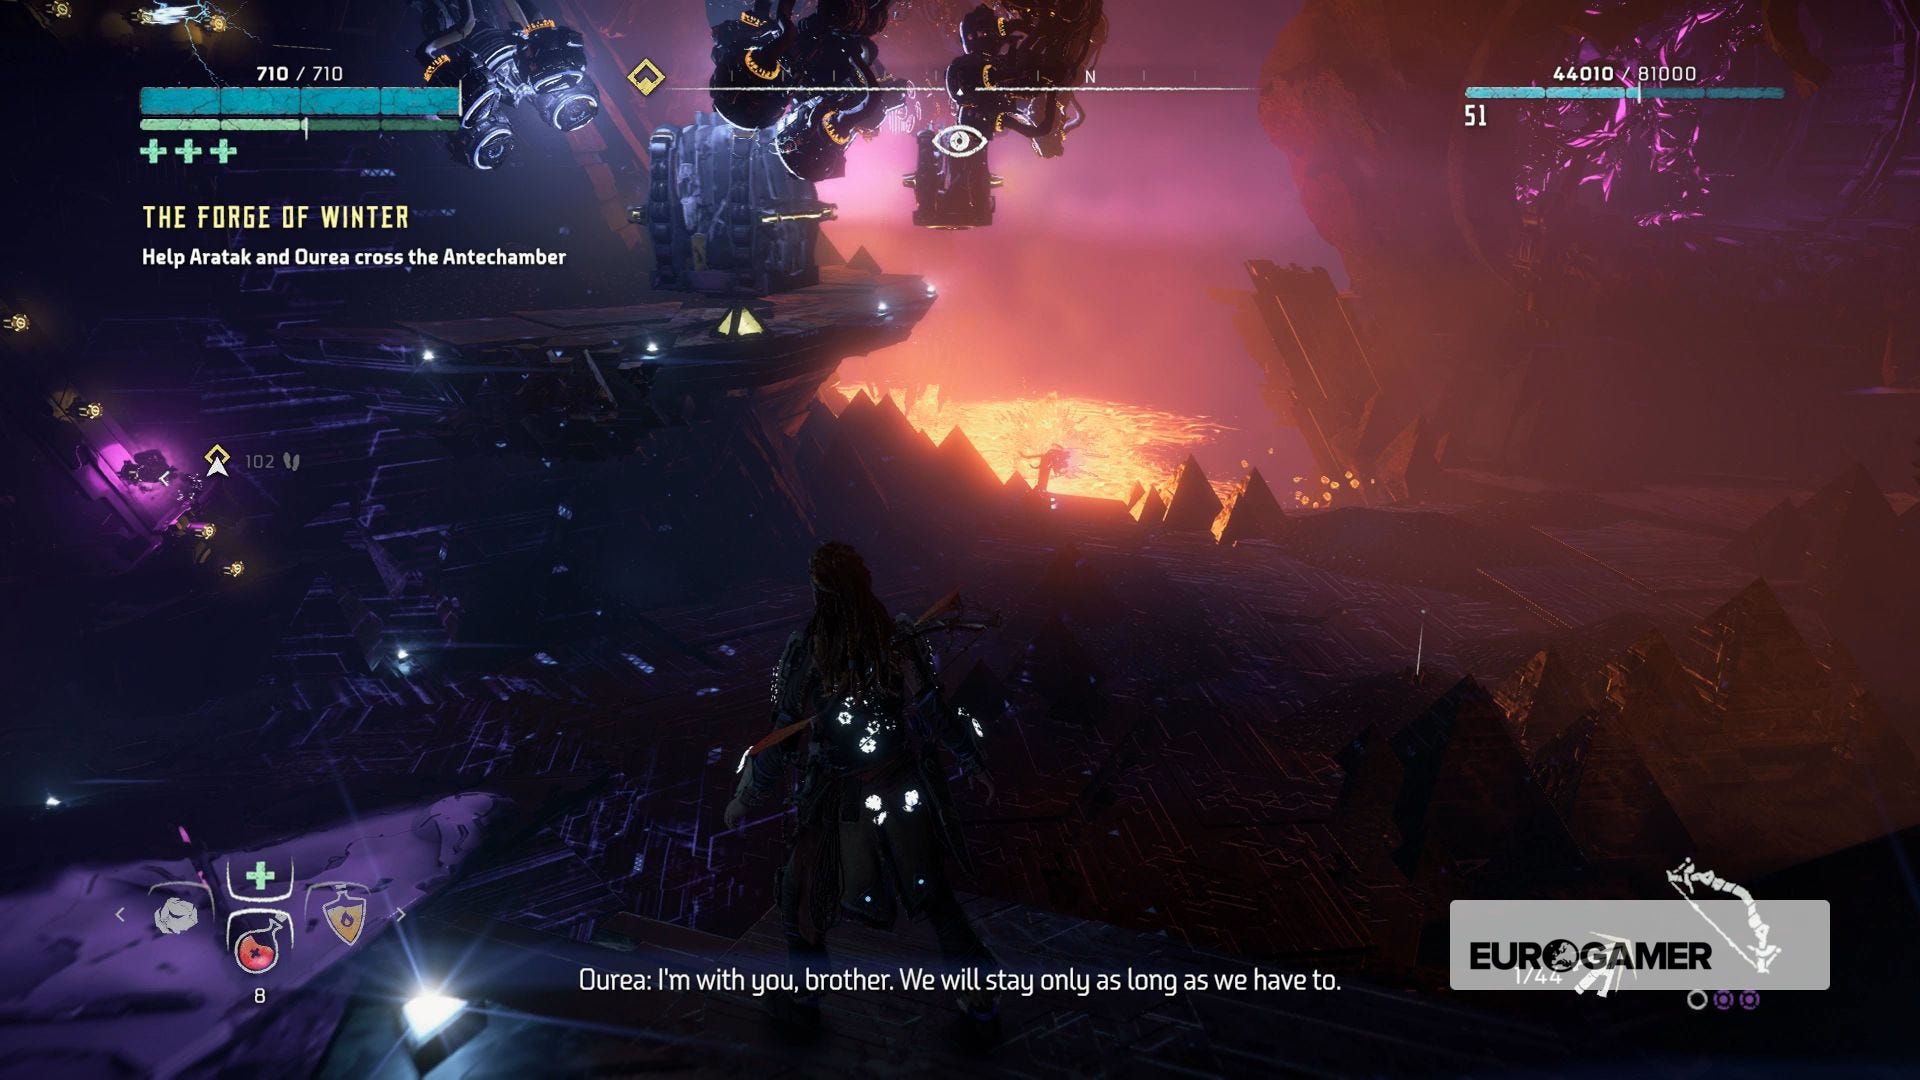
Help Aratak and Ourea cross the Antechamber - You'll need to do this a few times throughout the quest: platform over a chasm of some kind and override something on the other side to set up a bridge for your less-agile friends to cross.
First, drop down to the lower level, and head to the other side. You'll see climbable, glowing yellow studs in the wall ahead, with one pink one distorted by the Daemon. Shoot the pink one with an arrow, then climb up the studs to the level above.
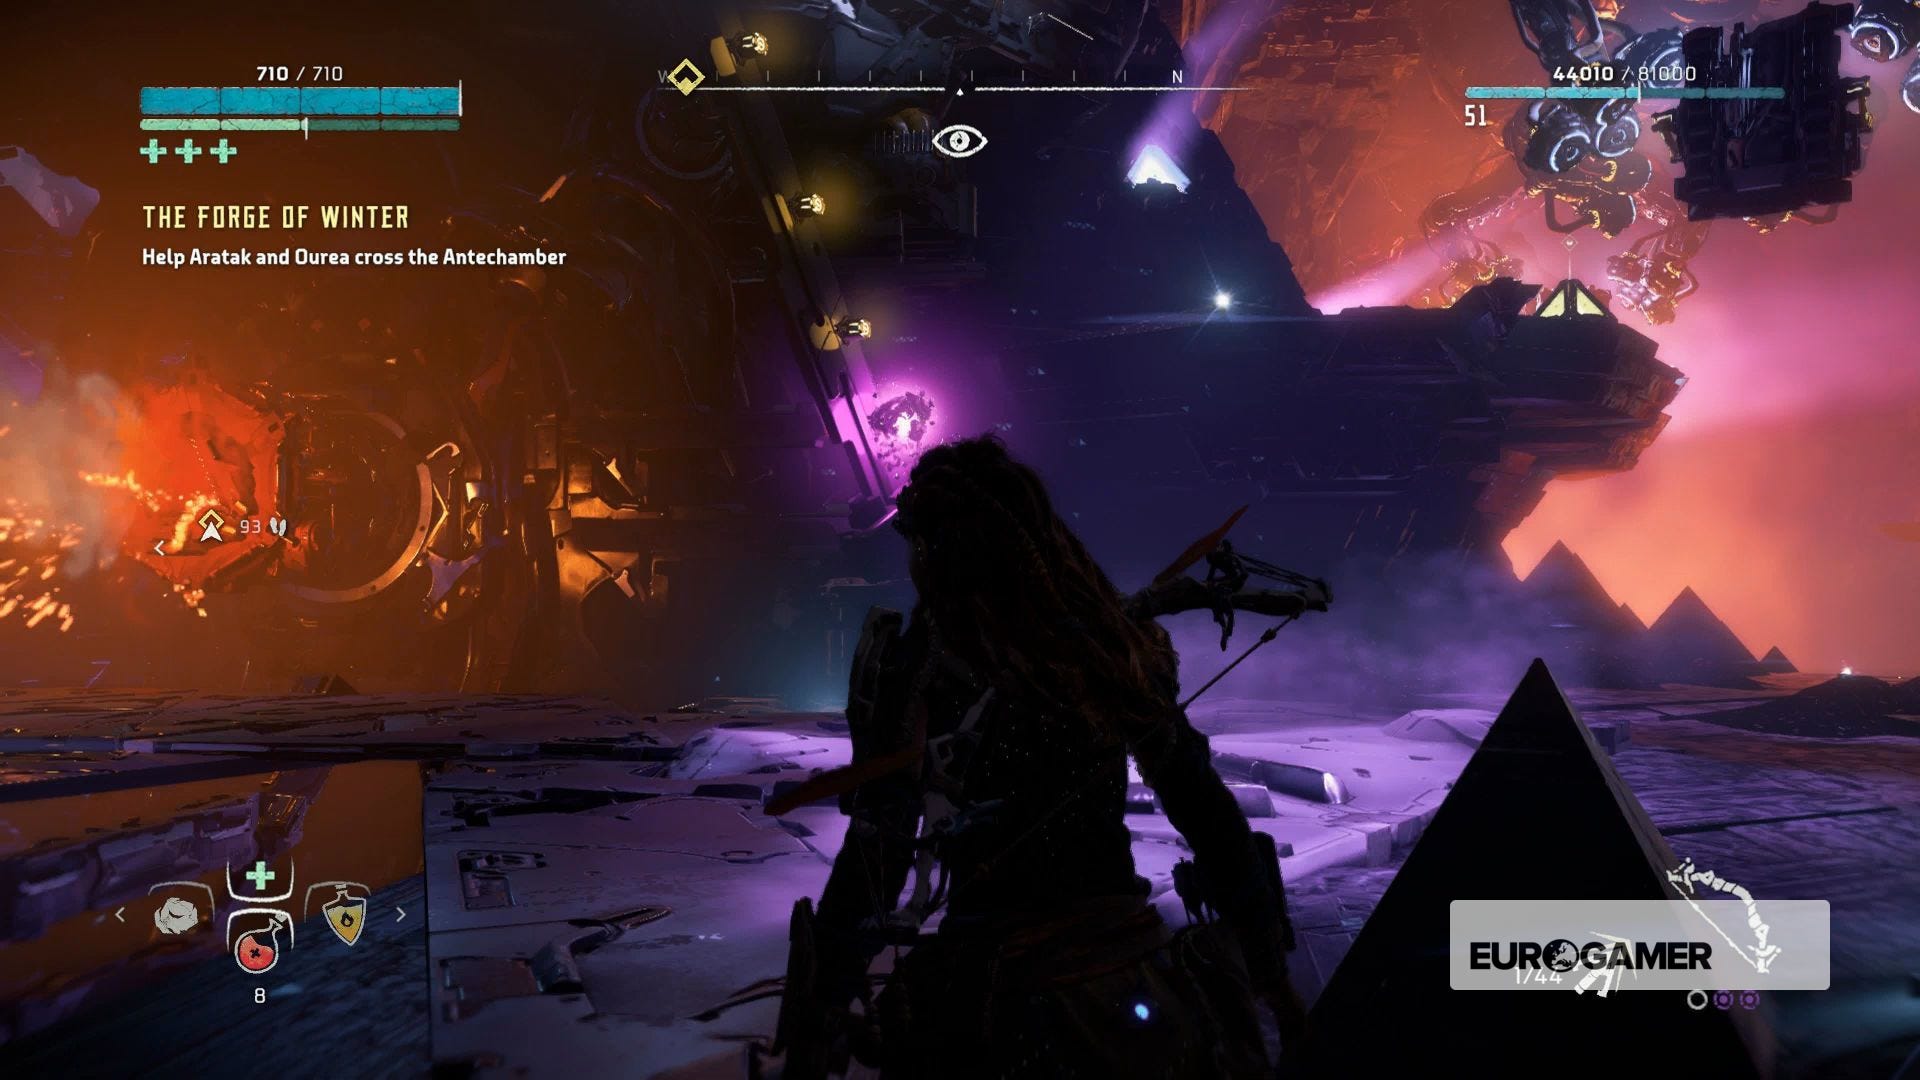
From there you can hop onto one of the floating crates, and follow it until you're knocked off further down the line. You'll then see two raised platforms with a big disc, covered in yellow studs in a circle between them. Go up the disc to the right, then drop off the yellow markers to that right-hand platform.

Override the bridge to get Aratak and Ourea across the first gap.
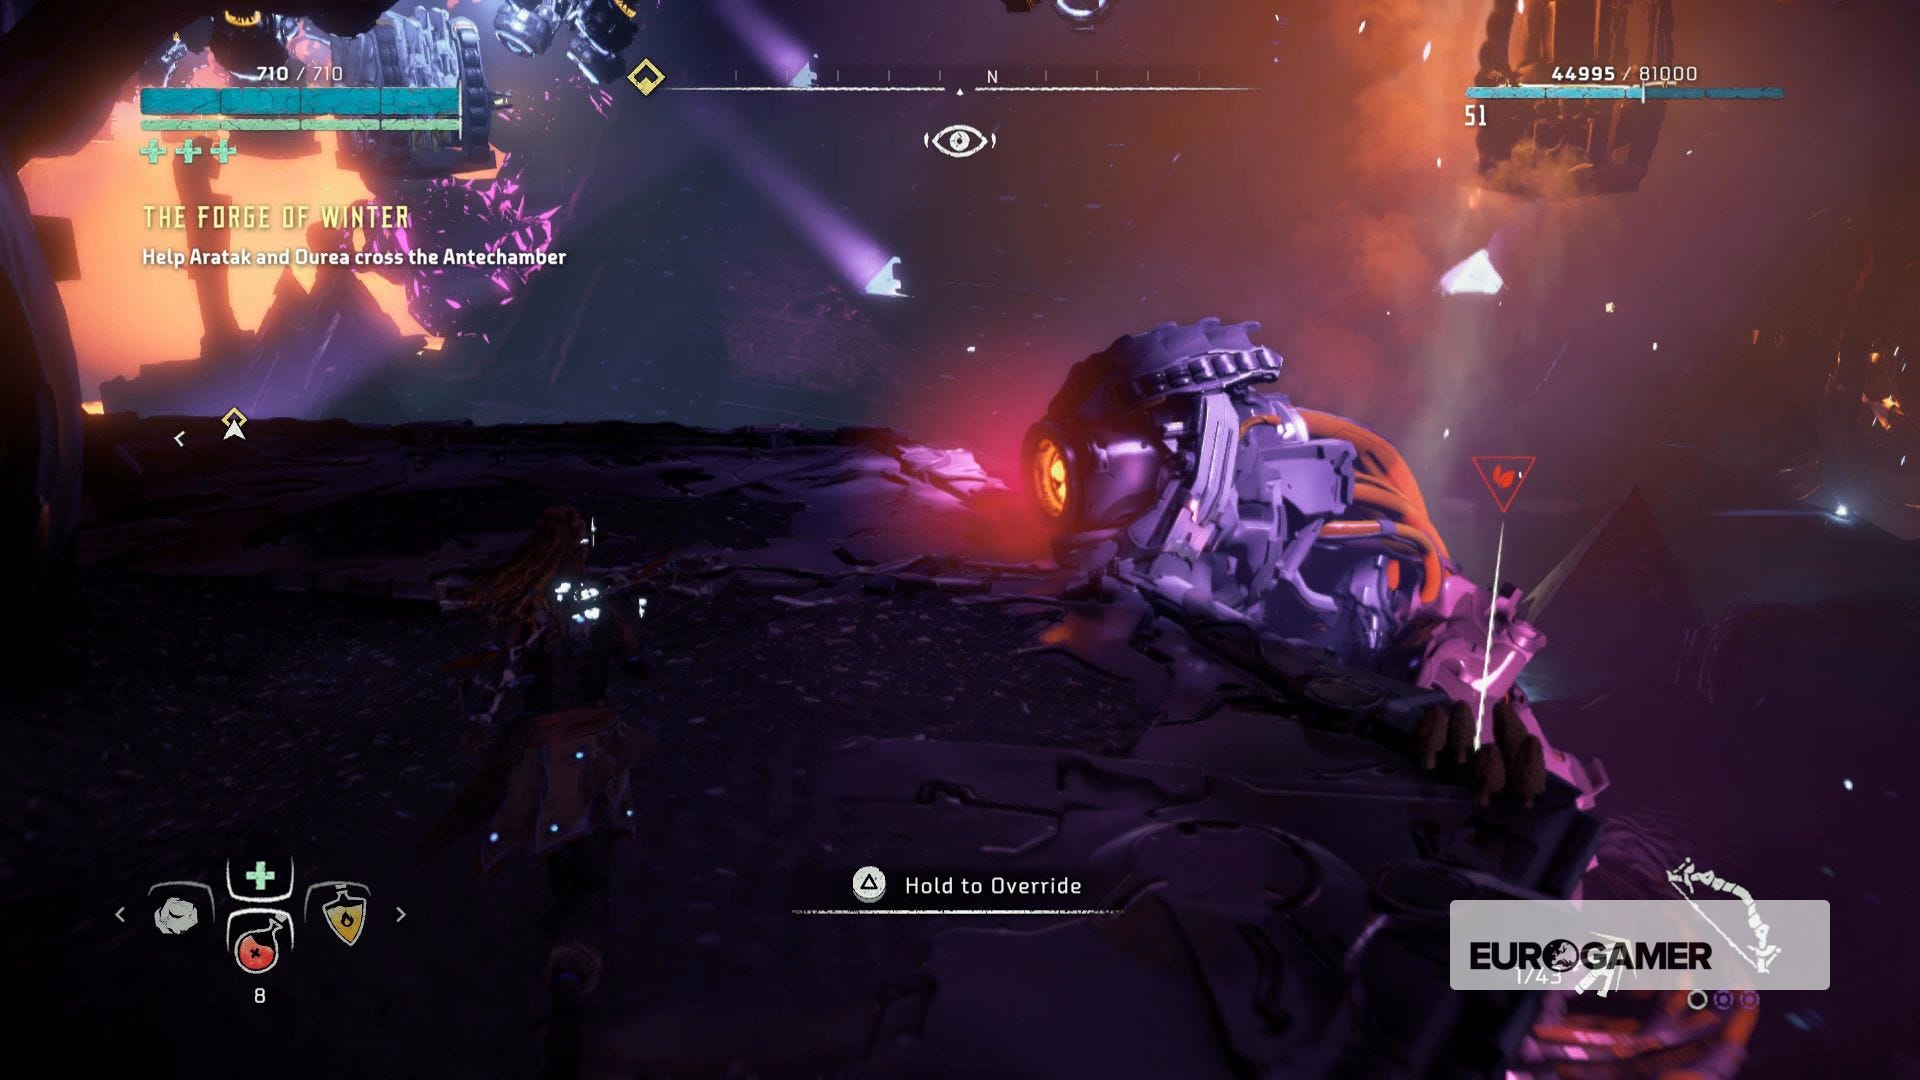
A Daemonic Shell-Walker, a new machine, will appear, so take that out quickly, then go back to the big disc covered in studs and instead go the left onto the left-hand platform, and jump back onto the floating crates until they take you to the other side of the next chasm.
Drop off, override the bridge console, and Aratak and Ourea will join you, and blow a hole in the corruptead suff covering the exit to the next chamber.

Activate the Console - Override the console in the next room, and press on.
Explore the Cauldron - Scan the datapoint, open the nearby supply crate, and go through the door to the next area, which you'll find to be filled with machines.
Help your Allies cross the Production Area - The easiest path is to the right. Hug the wall until you reach the far-right end of the room, and stealth-kill the Watcher, then override the nearby point to activate a small bridge.
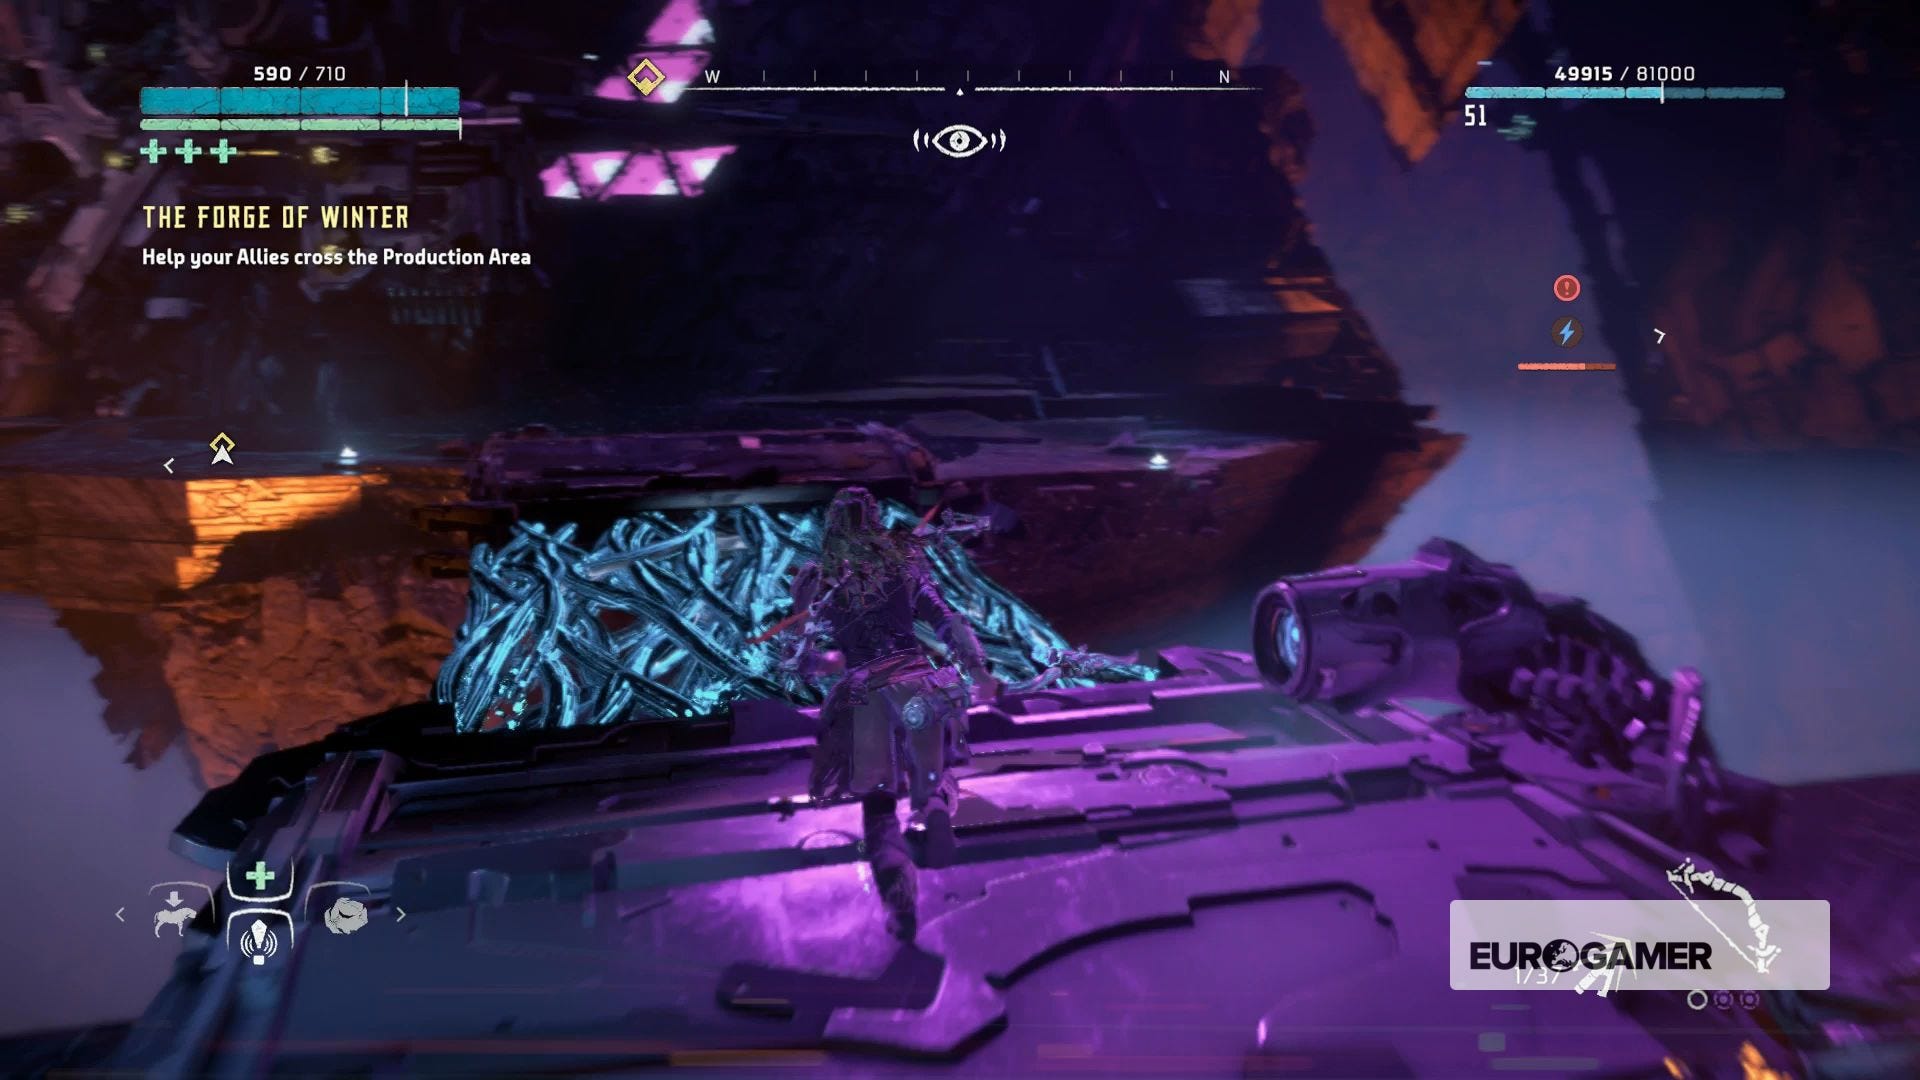
On the wall nearby will be some yellow studs. Platform up and across them, over another big disk, and down onto the other side near the exit.
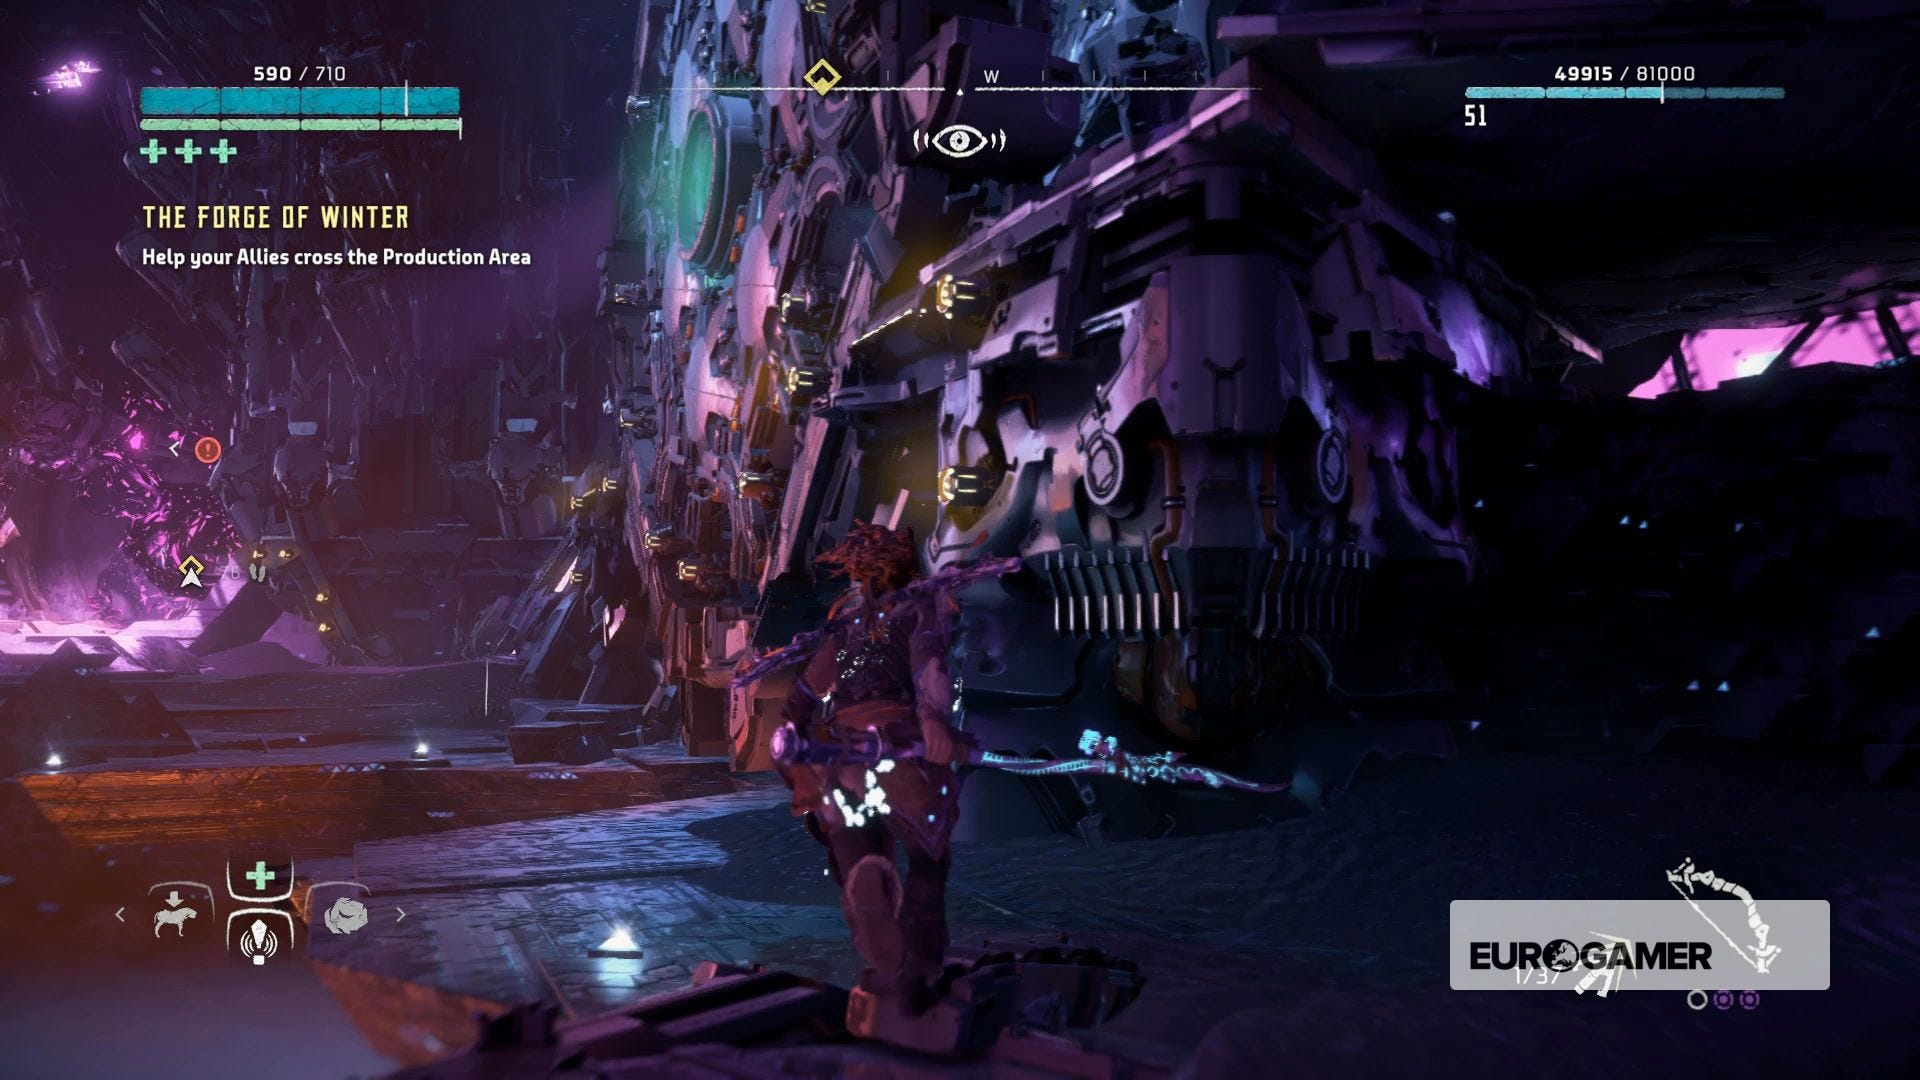
Turn back to face towards the entrance and you'll see a bridge you can activate from this side for your allies. Override the console there, and kill any machines that attack as your allies cross, then exit to the next area after they blast a hole in the corrupted gunk again.
Explore the Cauldron - Press on to the next area, scanning a Datapoint as you go.
Activate the Console - Drop down and follow the waypoint past some supply crates to the next console for you to activate. Listen to CYAN for some exposition, scan another nearby Datapoint, open another chest, and continue.
Explore the Cauldron - Follow the waypoint once more.
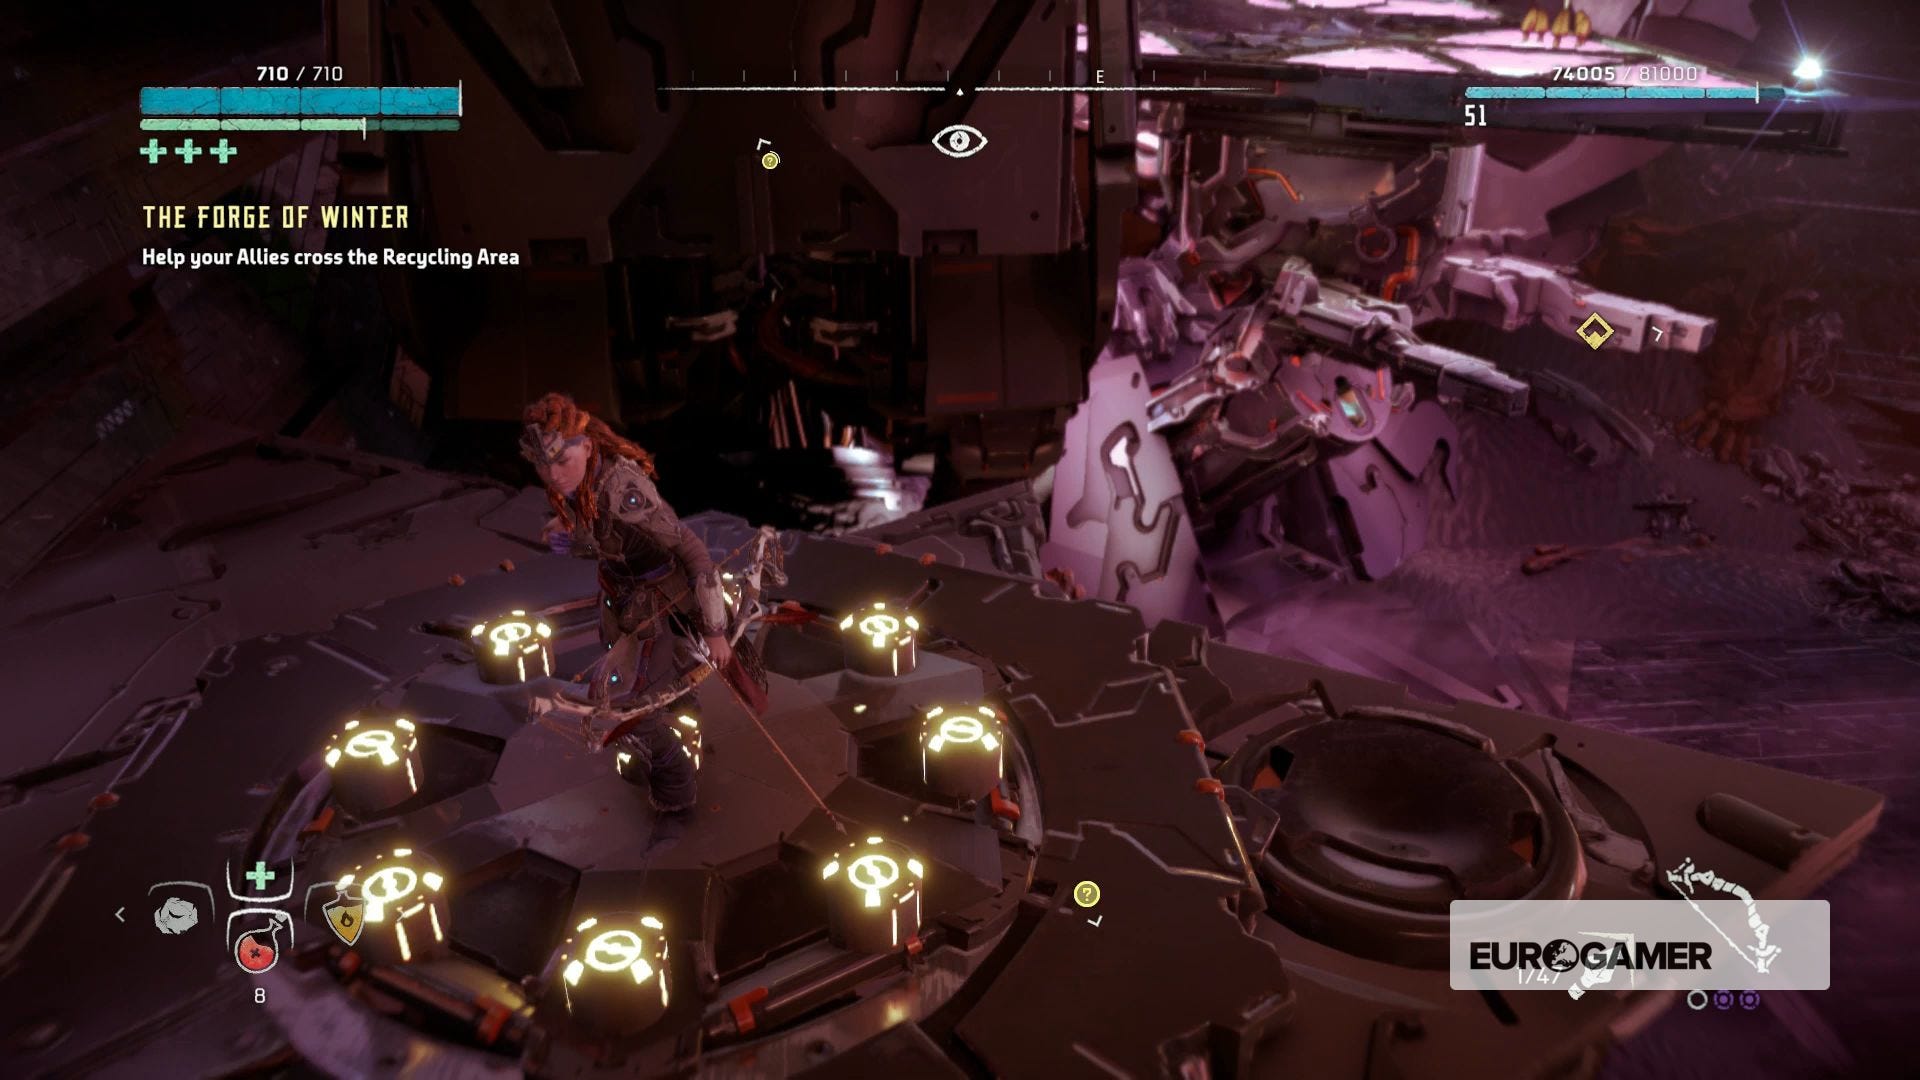
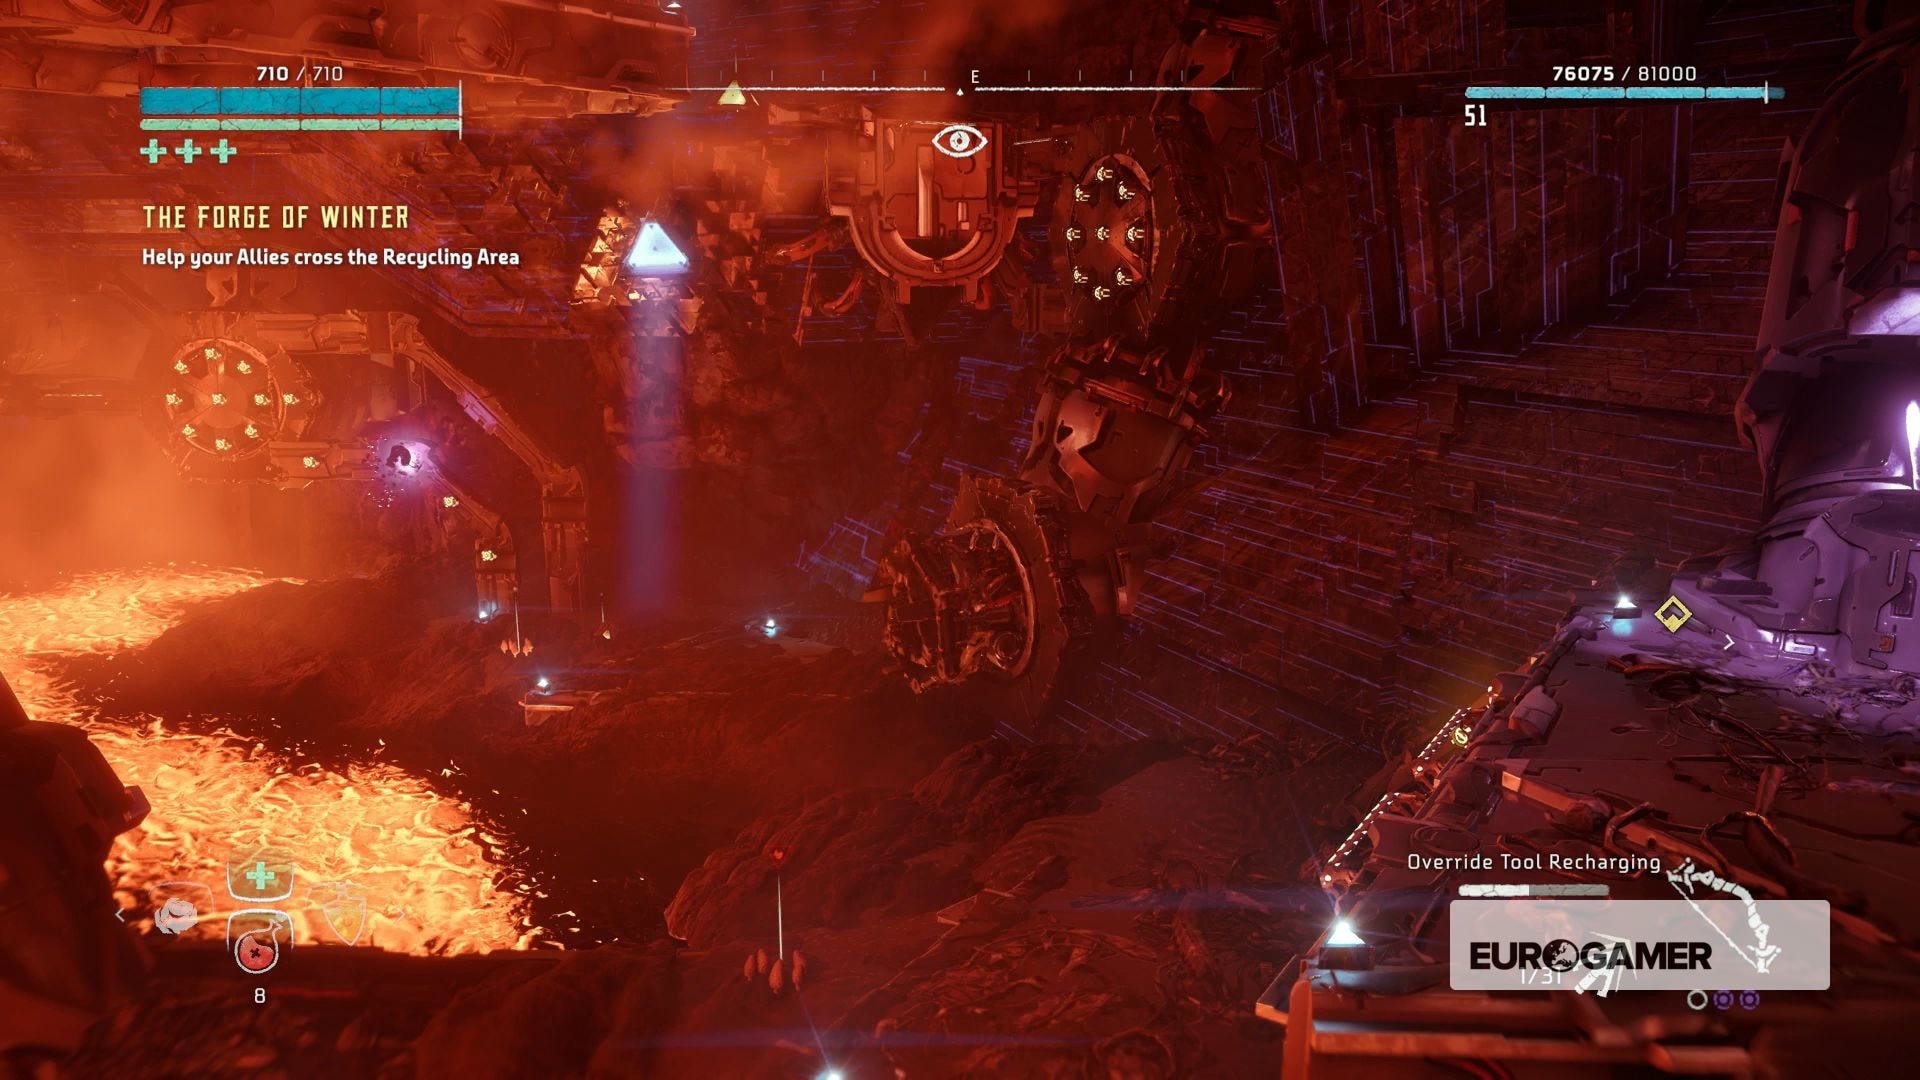
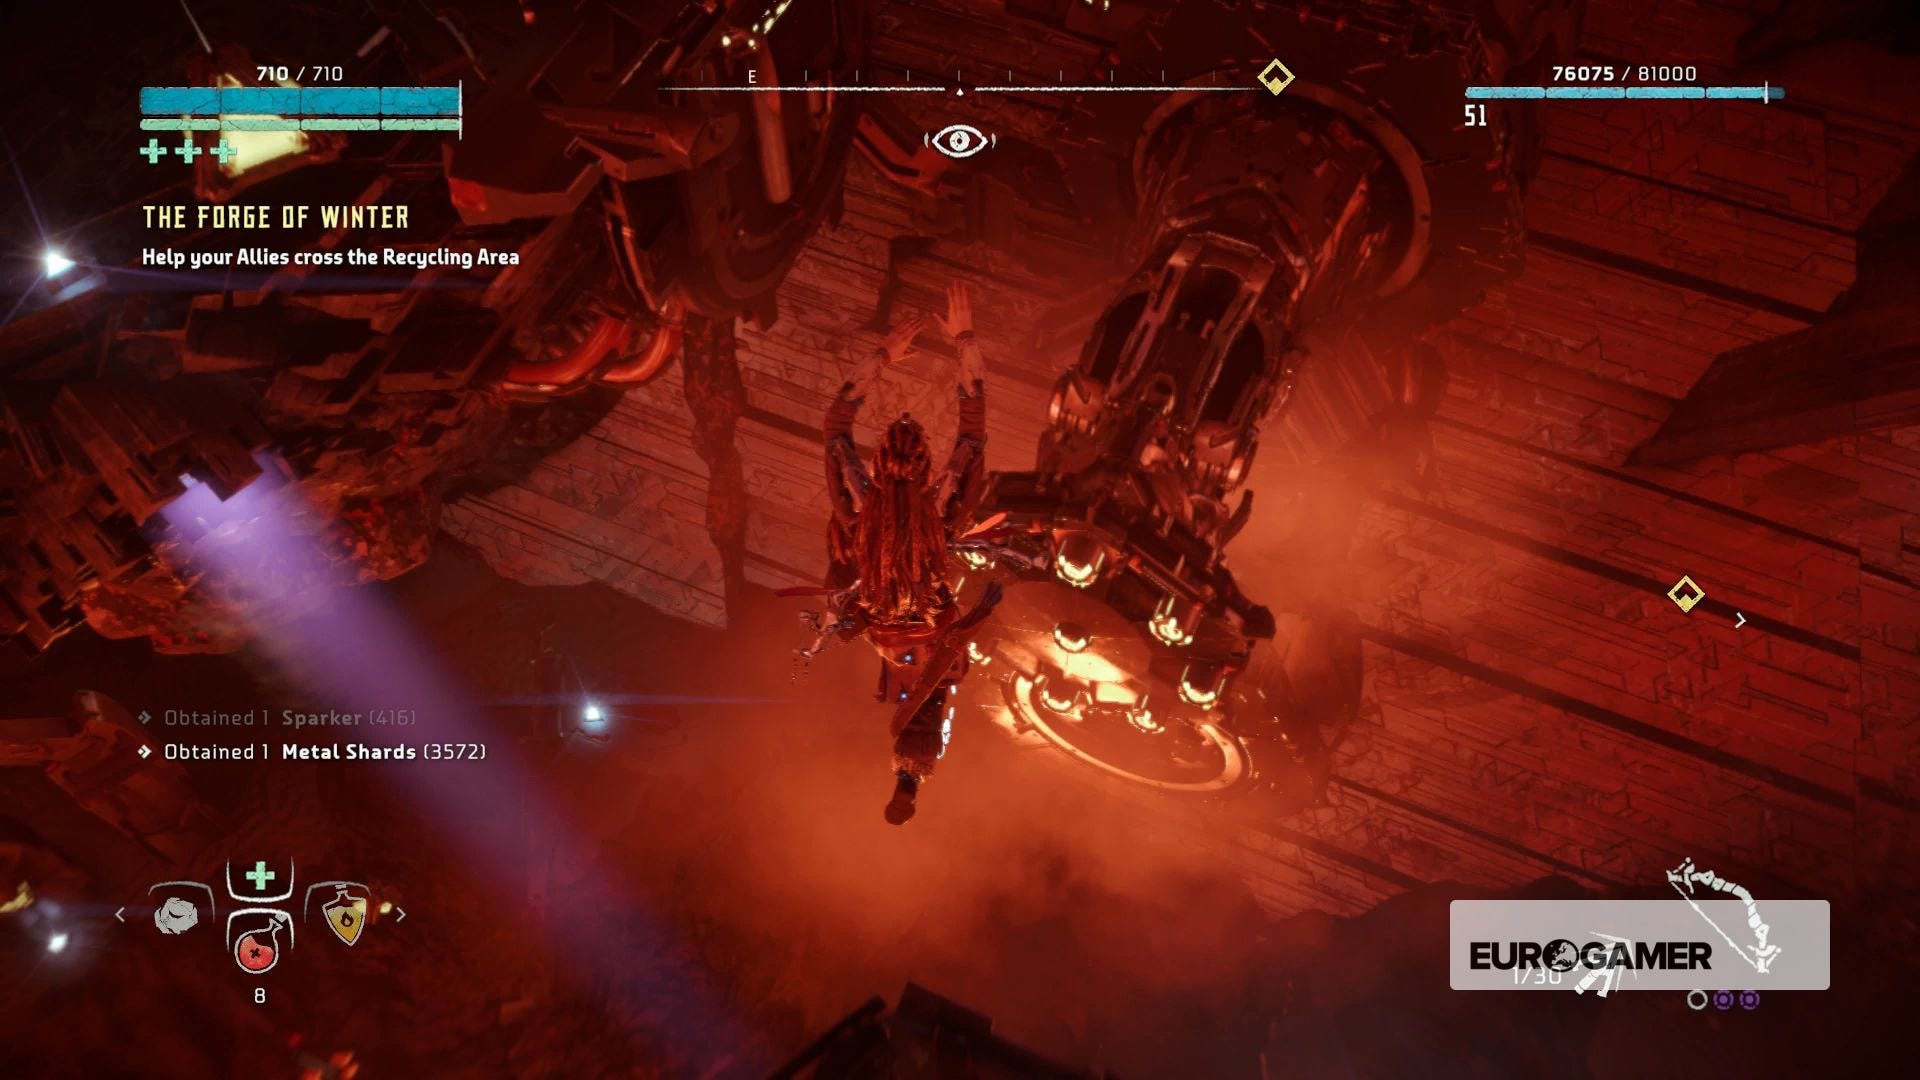
Help your Allies cross the Recycling Area - Guess what you'll be doing here! That's right, platforming around the room to activate a console for your mates. This one's particularly lengthy so bear with us.
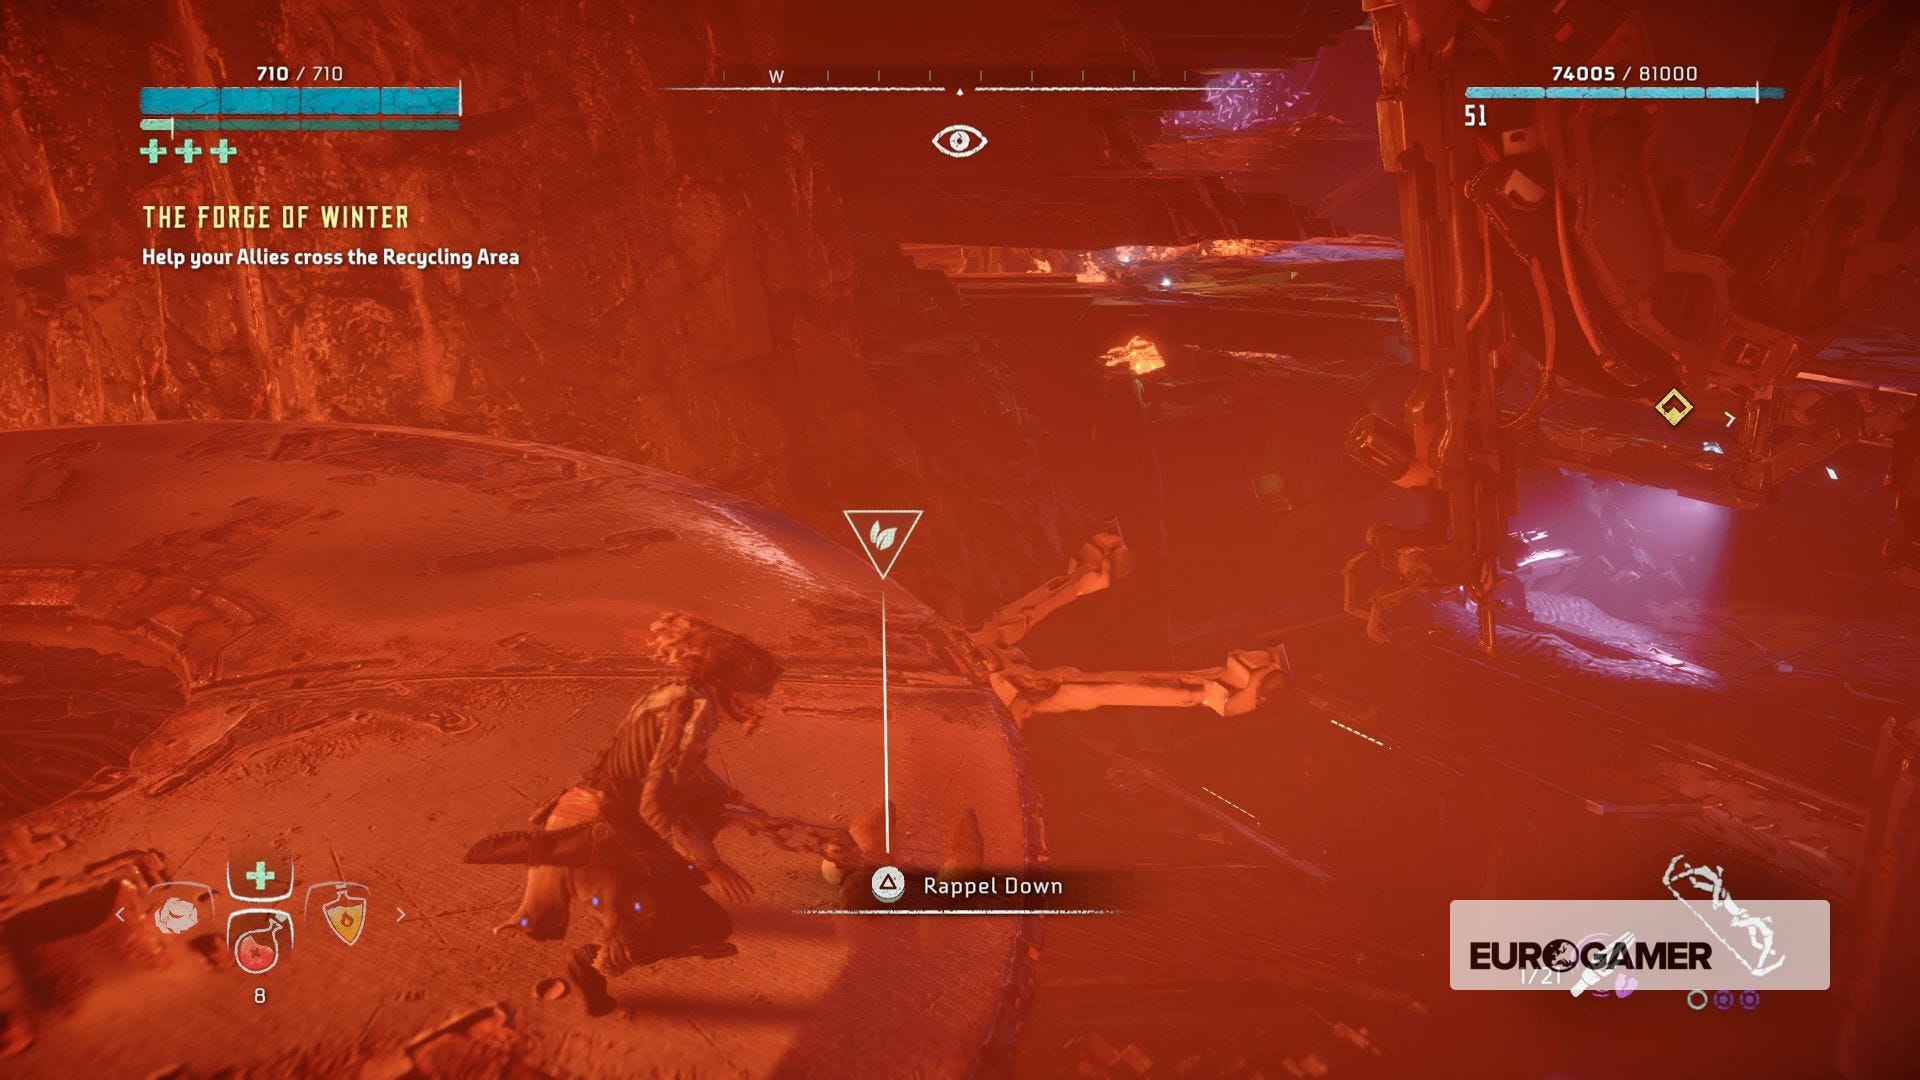
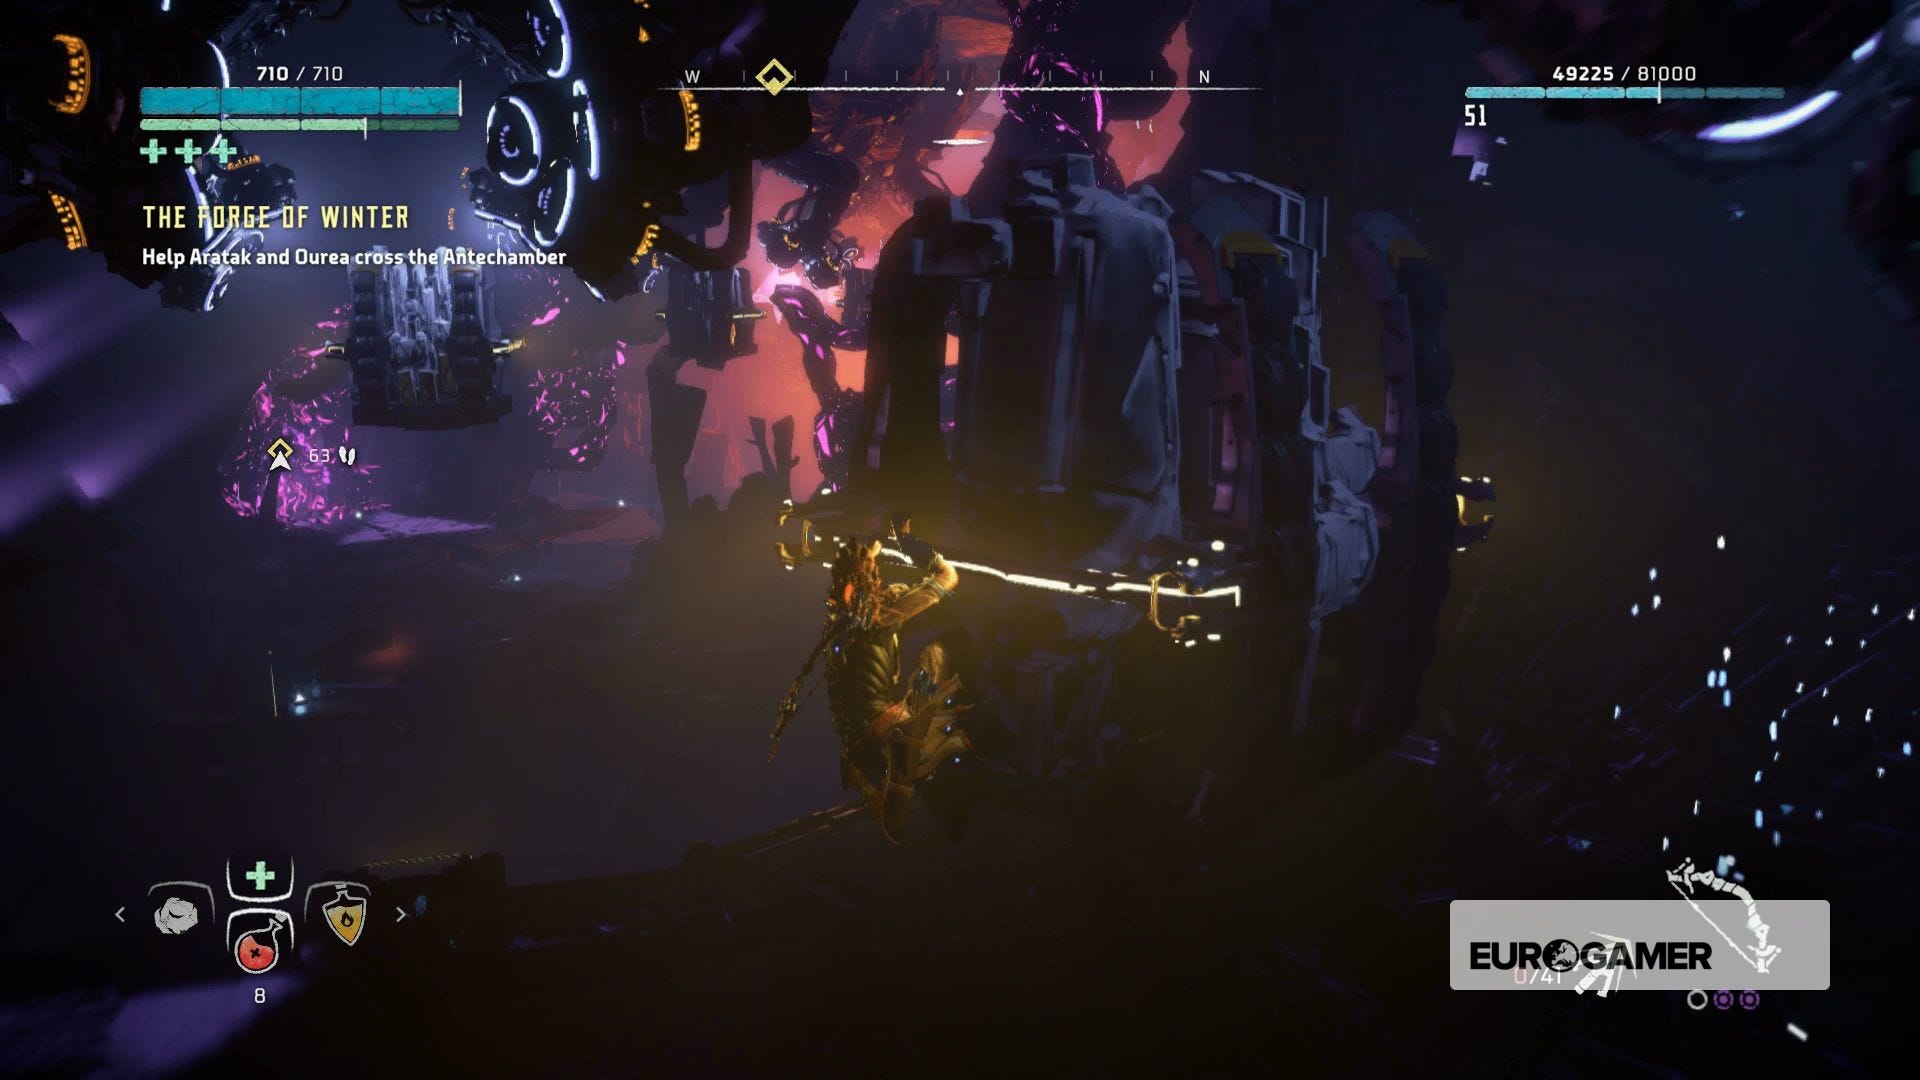
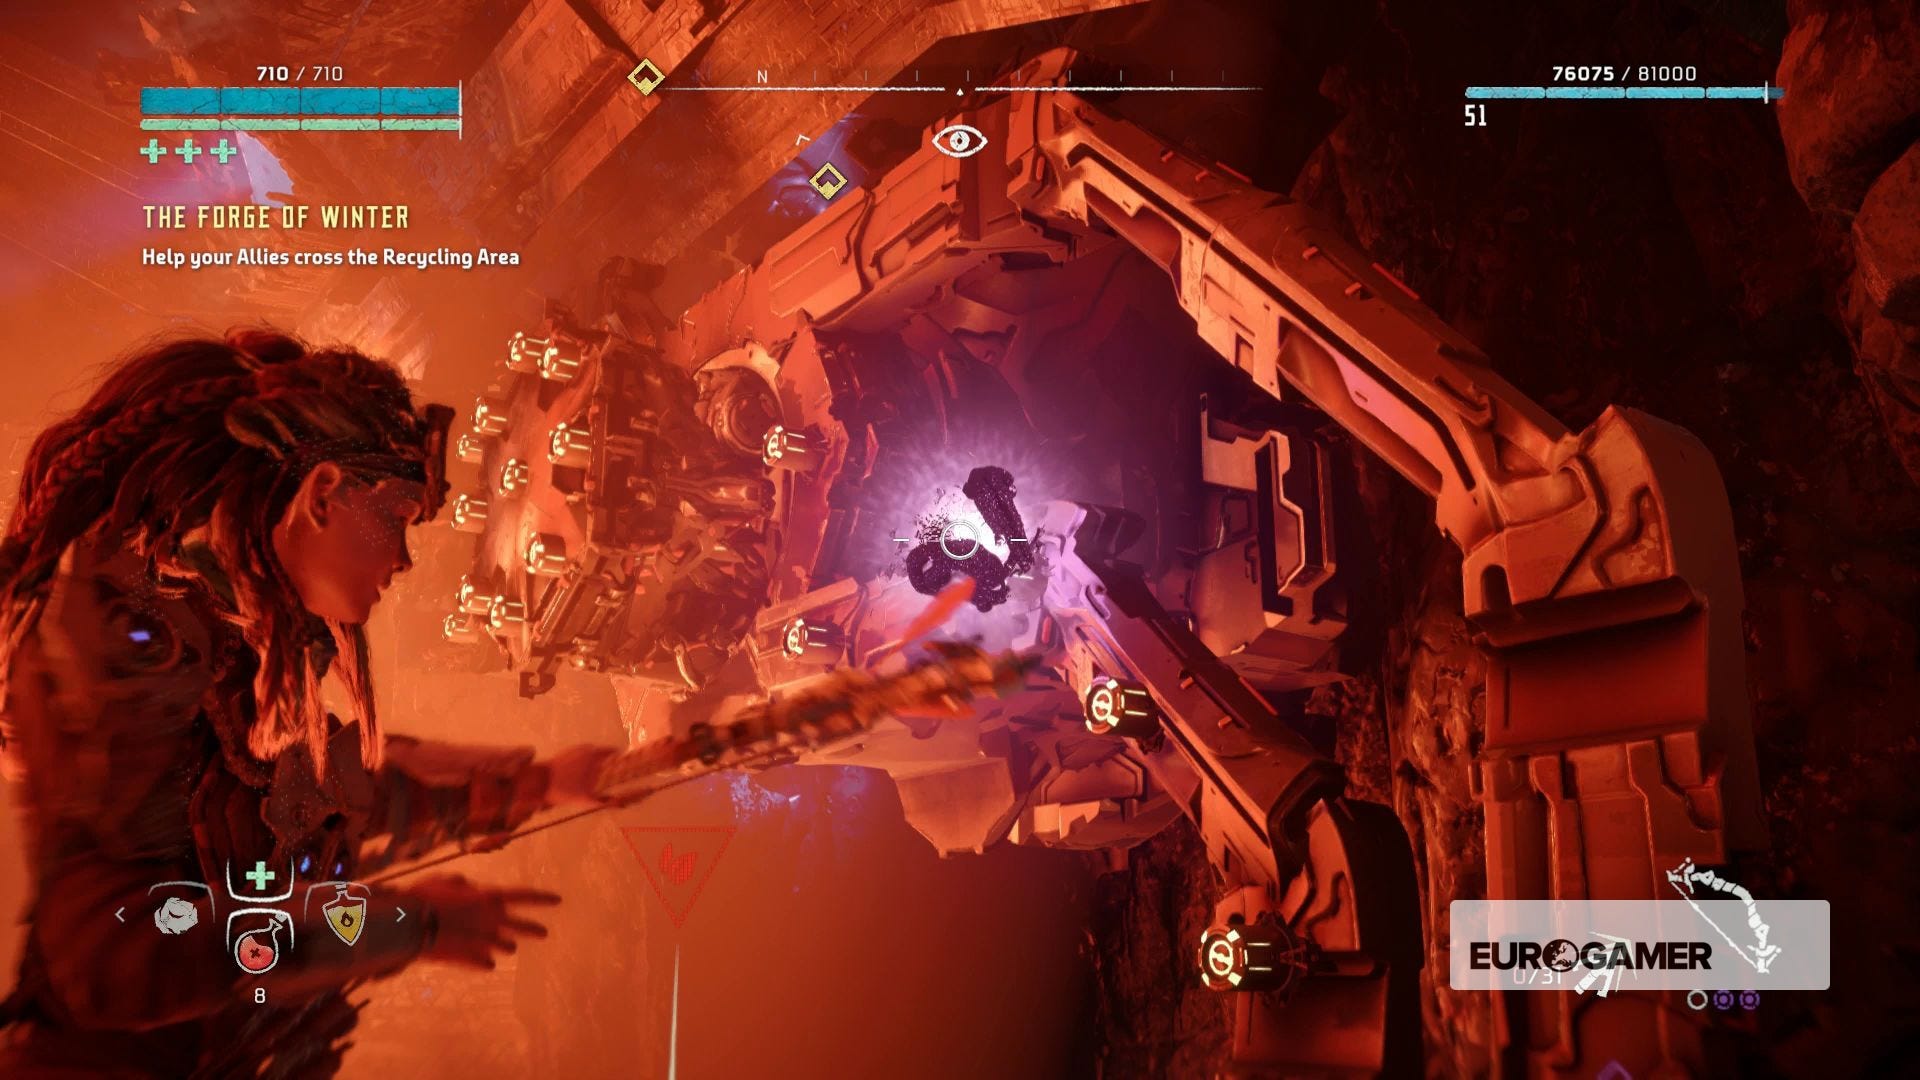
Hang left onto the disc-shaped head of a Tallneck and rappel down, then work your way round the base of the central pillar until you see a yellow stud to jump on - shoot the corruption off the pink one, then climb jump.
At the end of the path of yellow studs, drop down to the platform and look for a cylindrical pillar that keeps popping out of the ground nearby, with a circle of studs on the top. Hop on top of that when it drops down, then ride it up and at the top jump off to a nearby ledge.
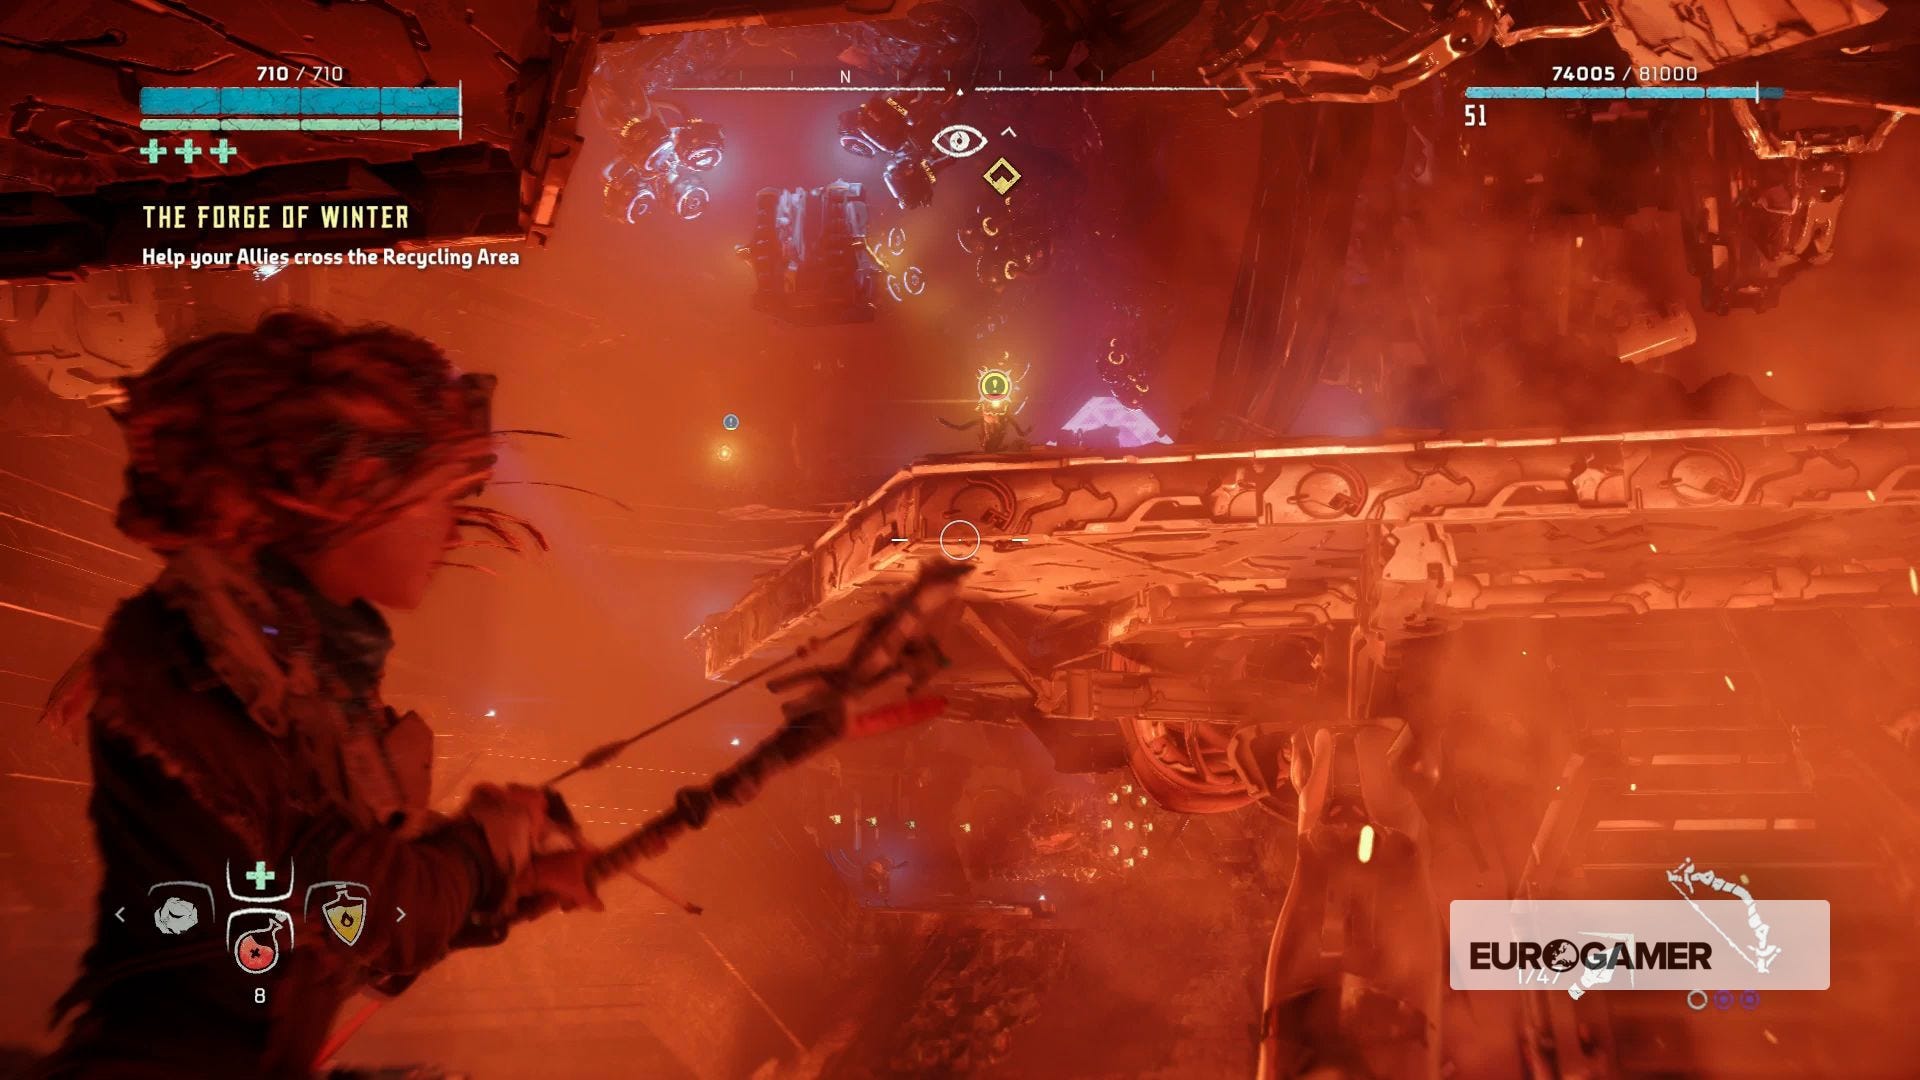
You'll see another cylinder like that nearby, so do the same again. Platform across a couple of ledges and then when you reach a more orange-tinged area, shoot the three Watchers from range to save yourself some future hassle.
Nearby is a horizontal cylinder, the same as those before but going sideways. Drop down onto it when its extended, then hop up the ledge at the end of it.
Hop across another ledge and look for a nearby set of studs in the wall. Don't climb them yet - at the foot of them is a point for you to Override. Do that, then hop on board.
You'll get a short cutscene of what that override does, so pay attention as it shows you the way: several horizontal studded cylinders have been activated.
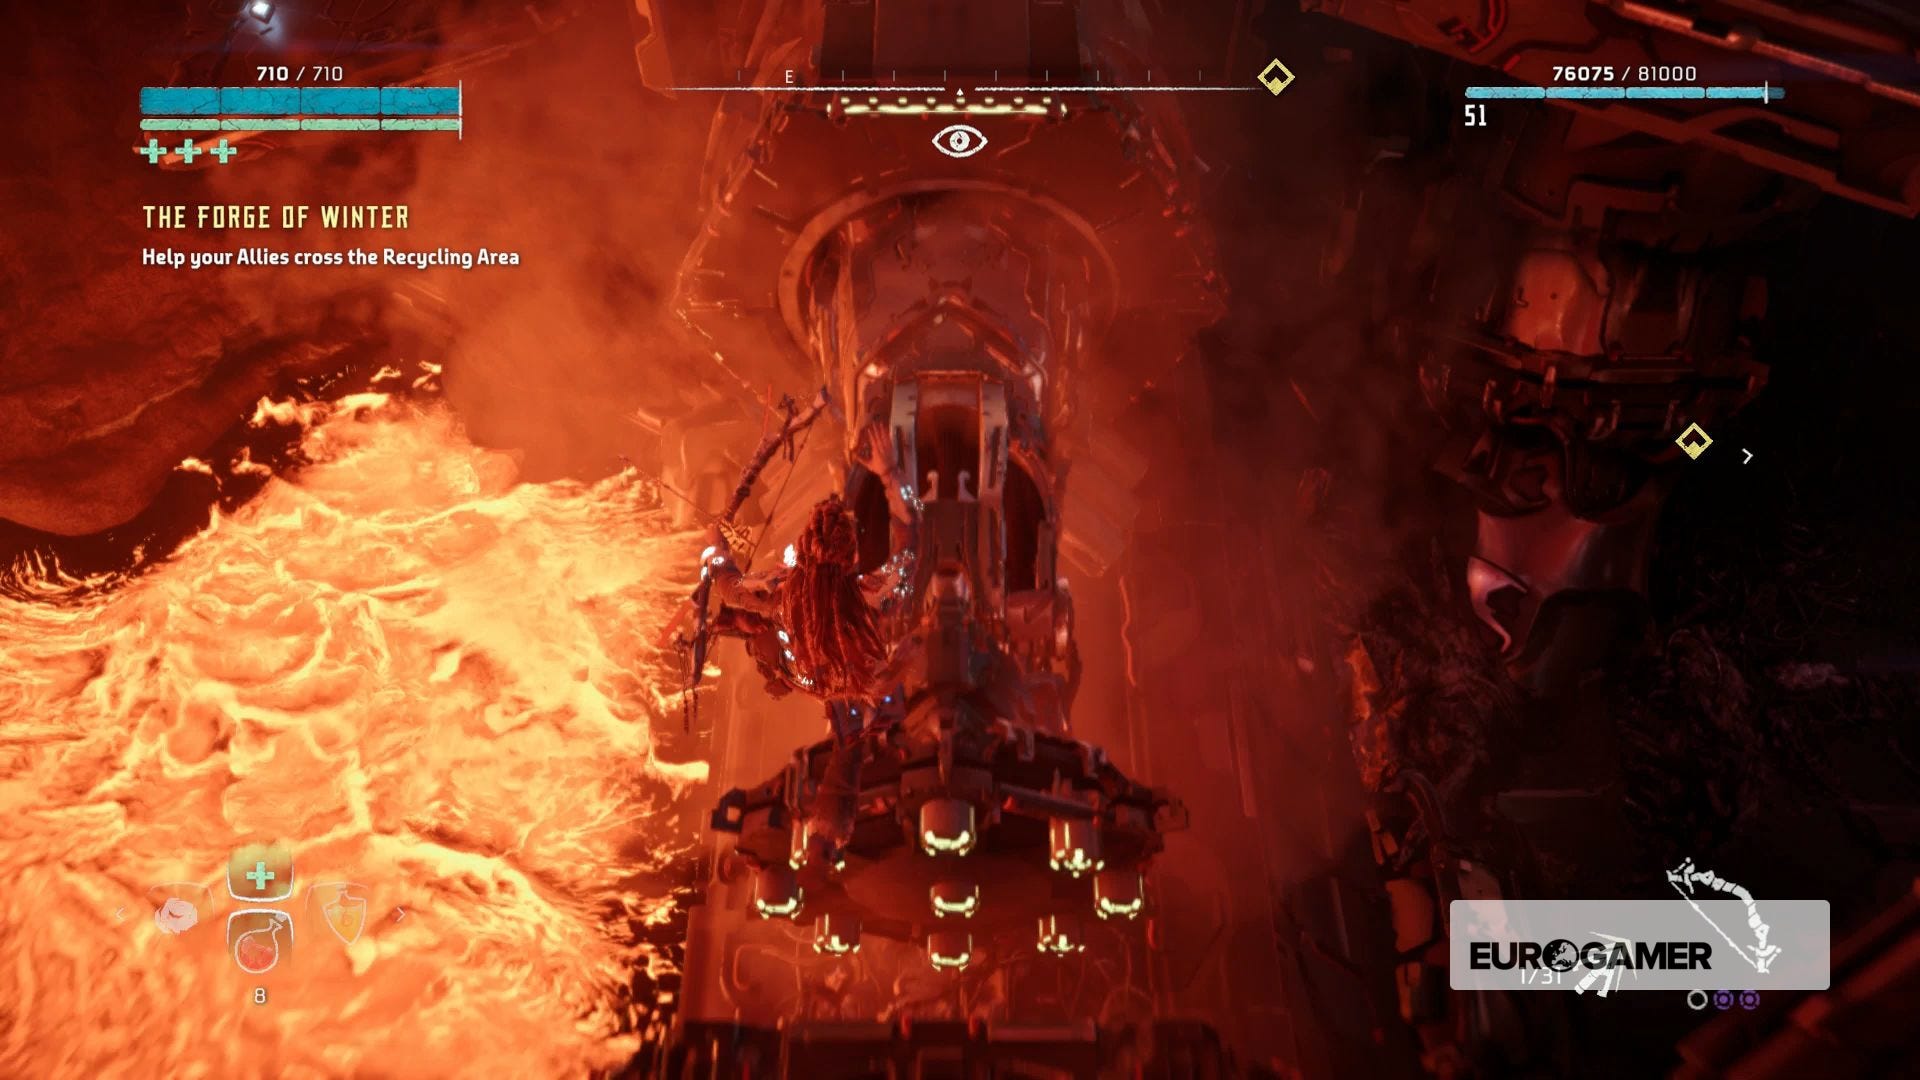
Climb up the nearby studs, over the big disc of them, down the other side, and you'll see what was just shown in the cutscene. Drop down to the lower level and, keeping the lava river on your left, look for some yellow studs going up from ground level in the wall on the right.
Shoot the pink one, and ascend.
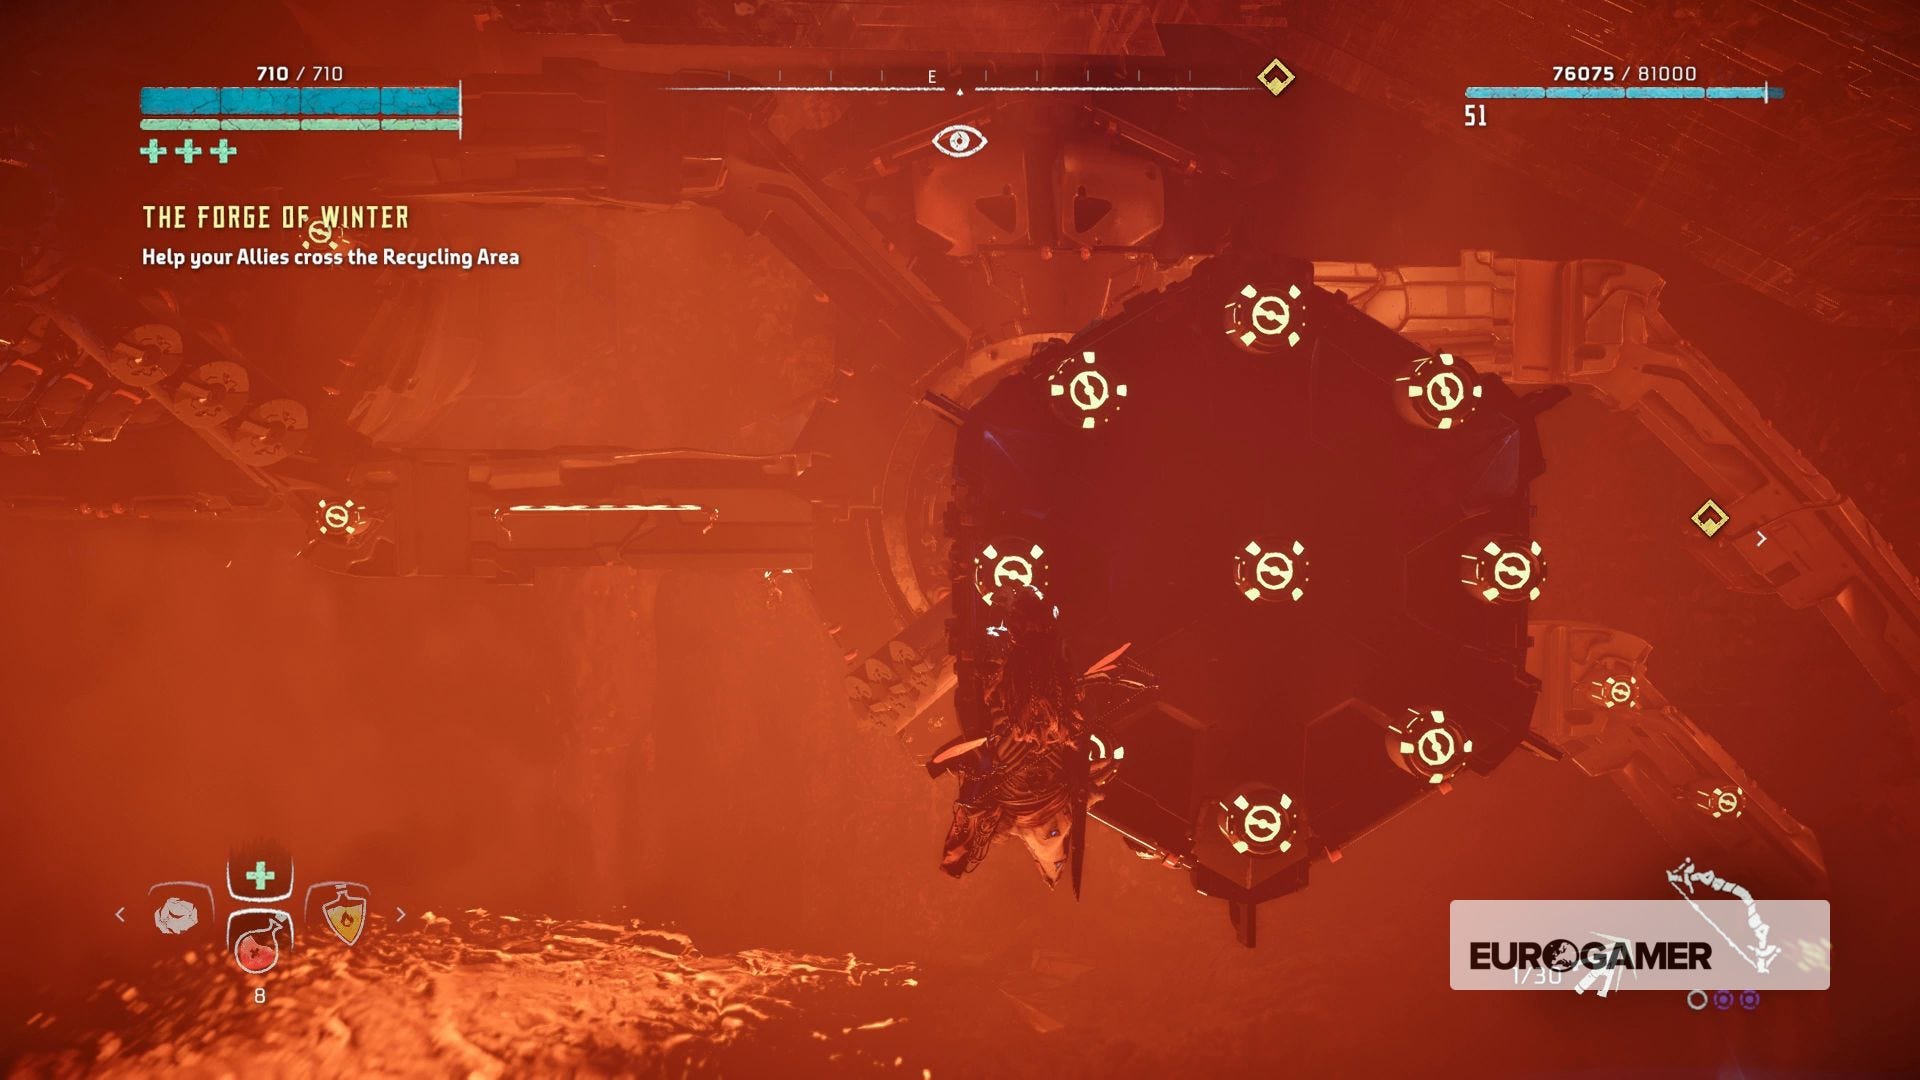
Platform across four of those horizontal studded columns as they extend and retract, then on the next platform you'll see one that extends horizontally towards you. Jump on it when it's extended to grab the studs, then jump off to the left when it retracts.
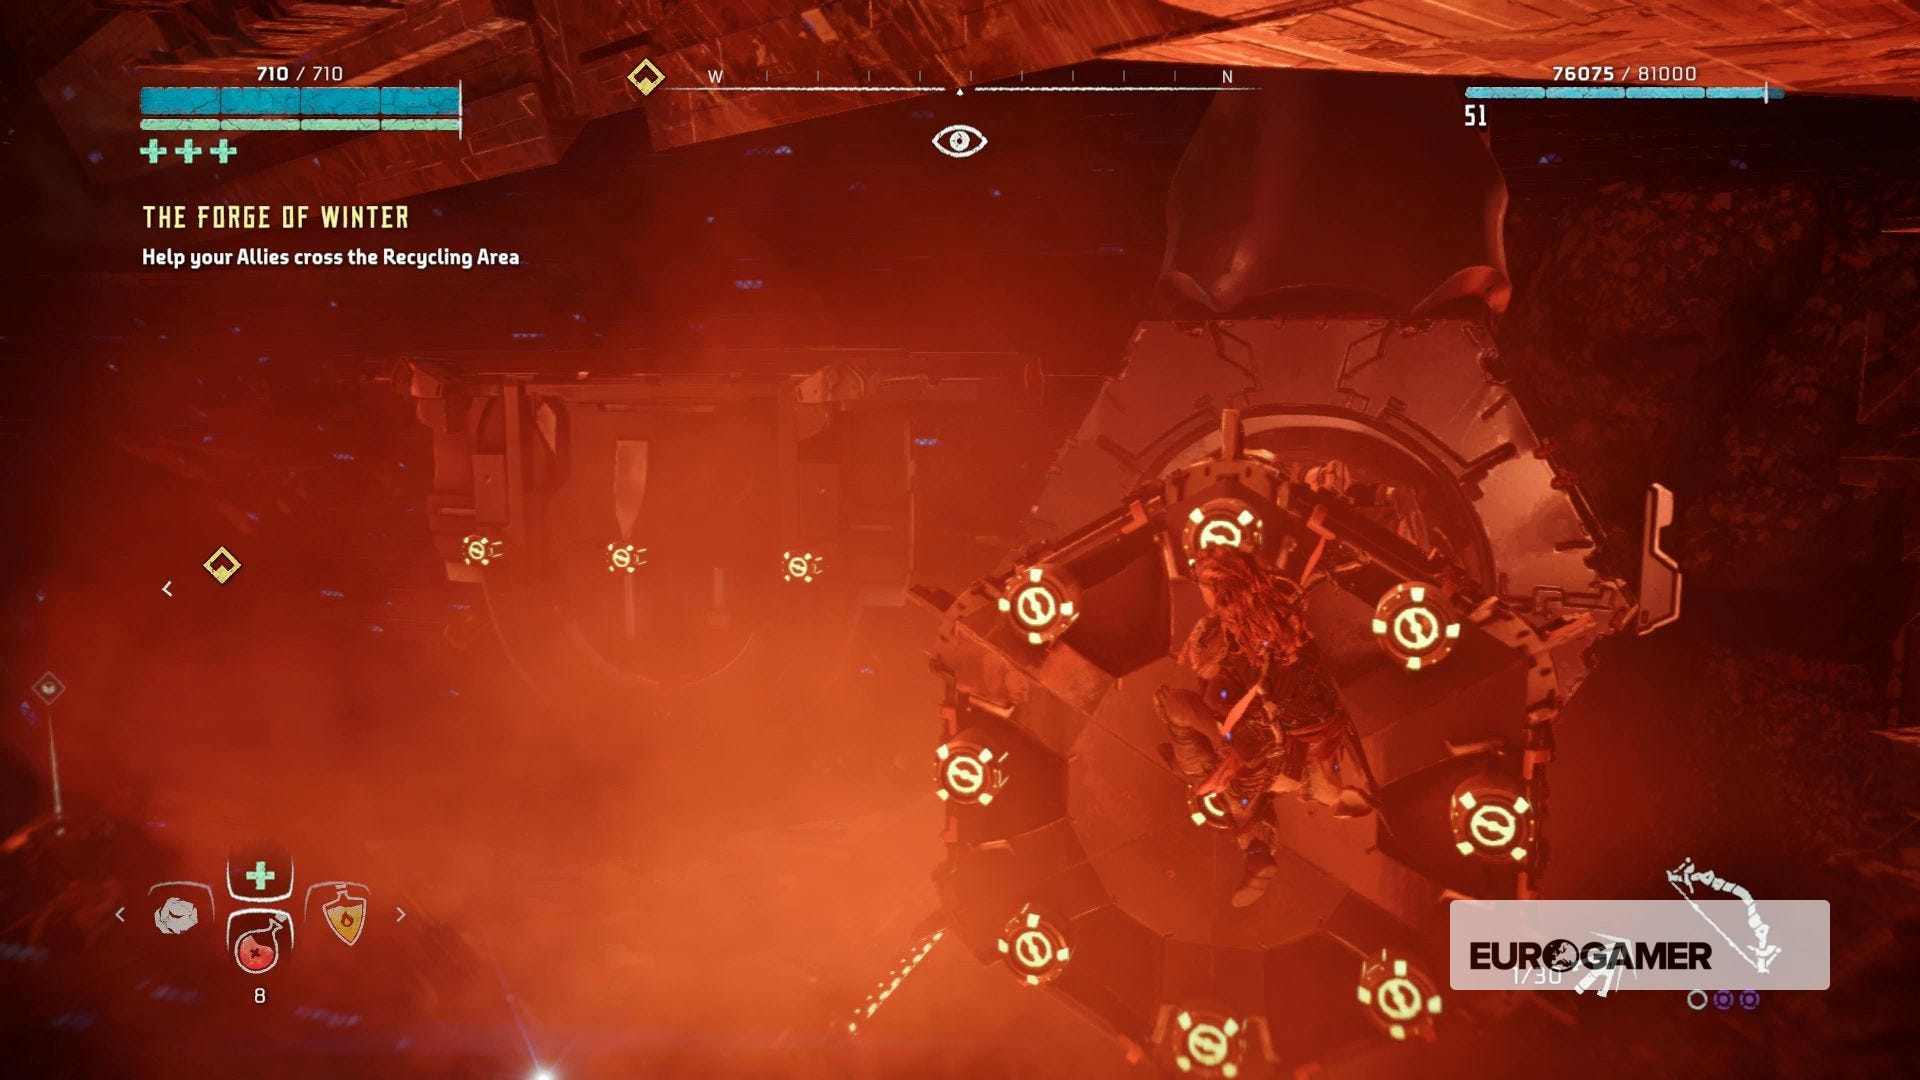
Follow the trail of loot on the next platform until you reach the end - look down over the edge and you'll see another column extending towards you, but slightly lower down. Drop down onto it (with the right timing!) then as it retracts jump up off the left of it again like you did with the previous one.
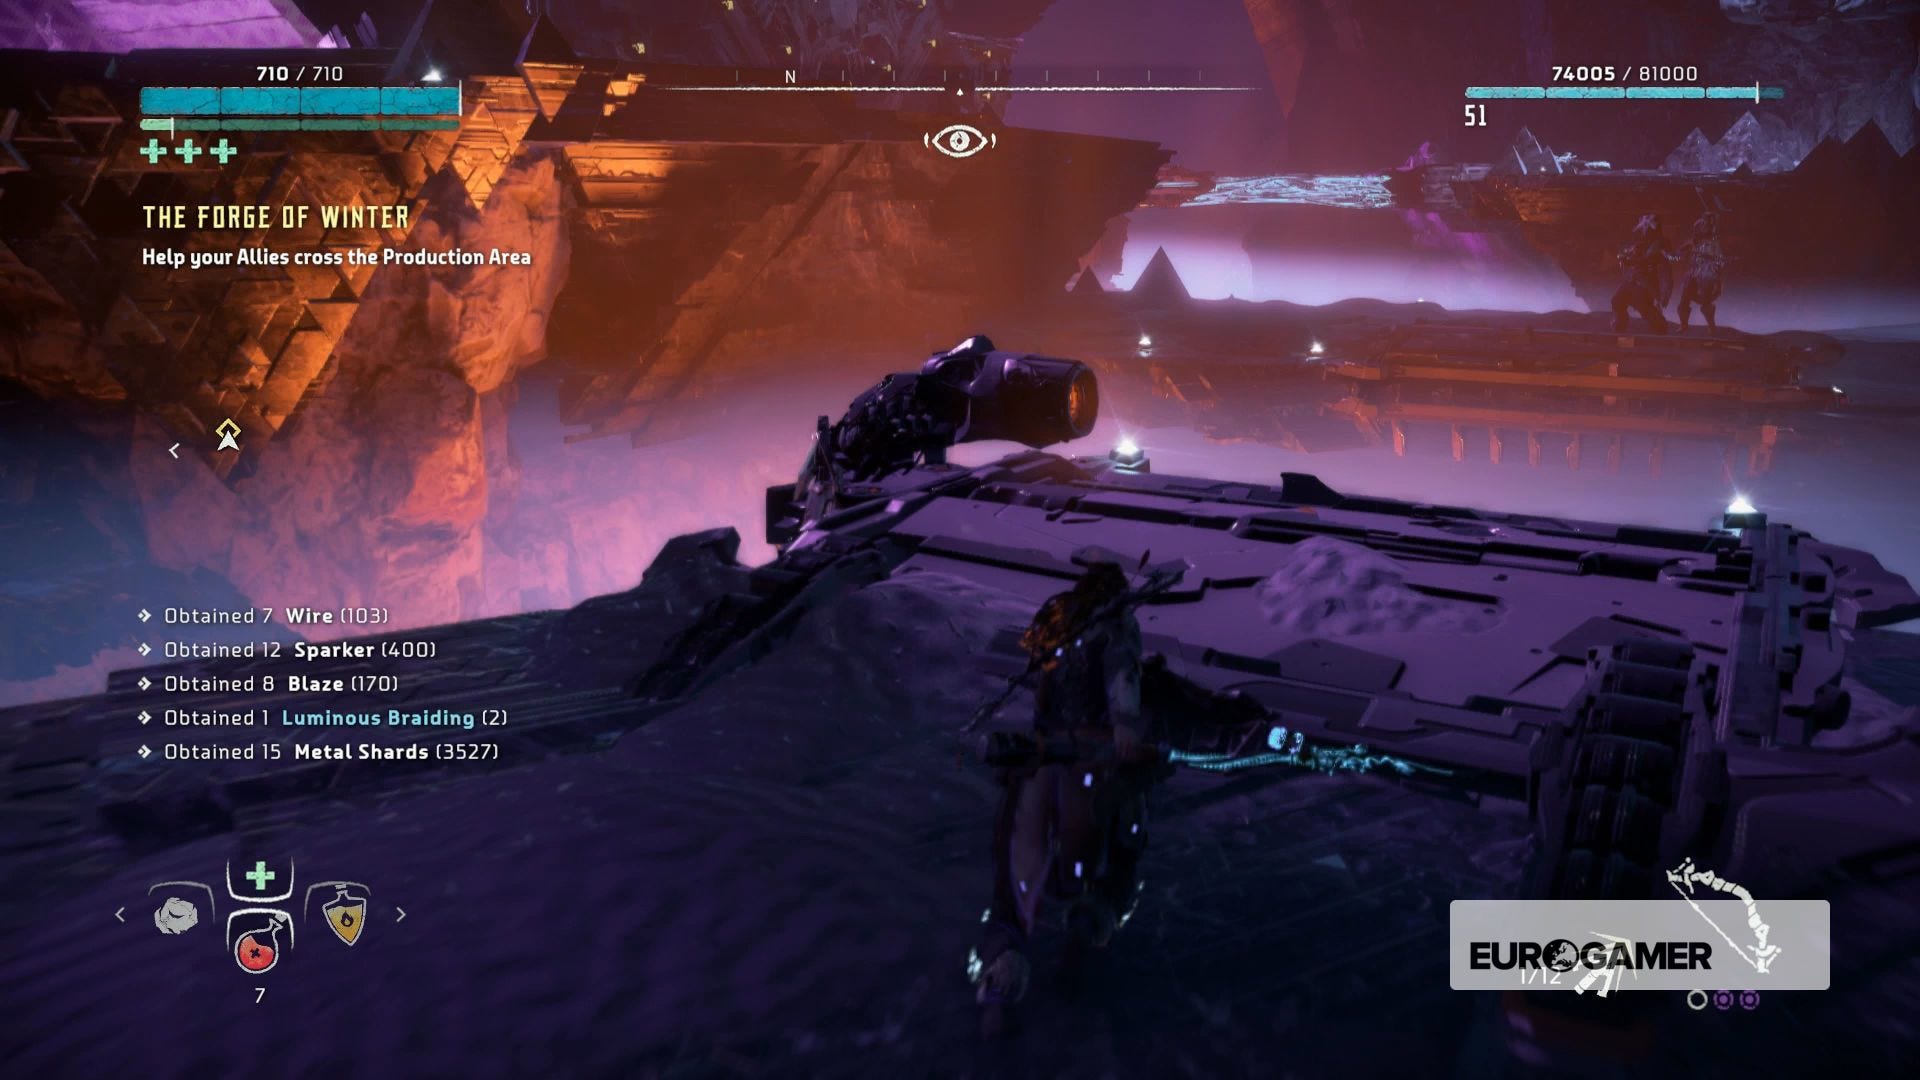
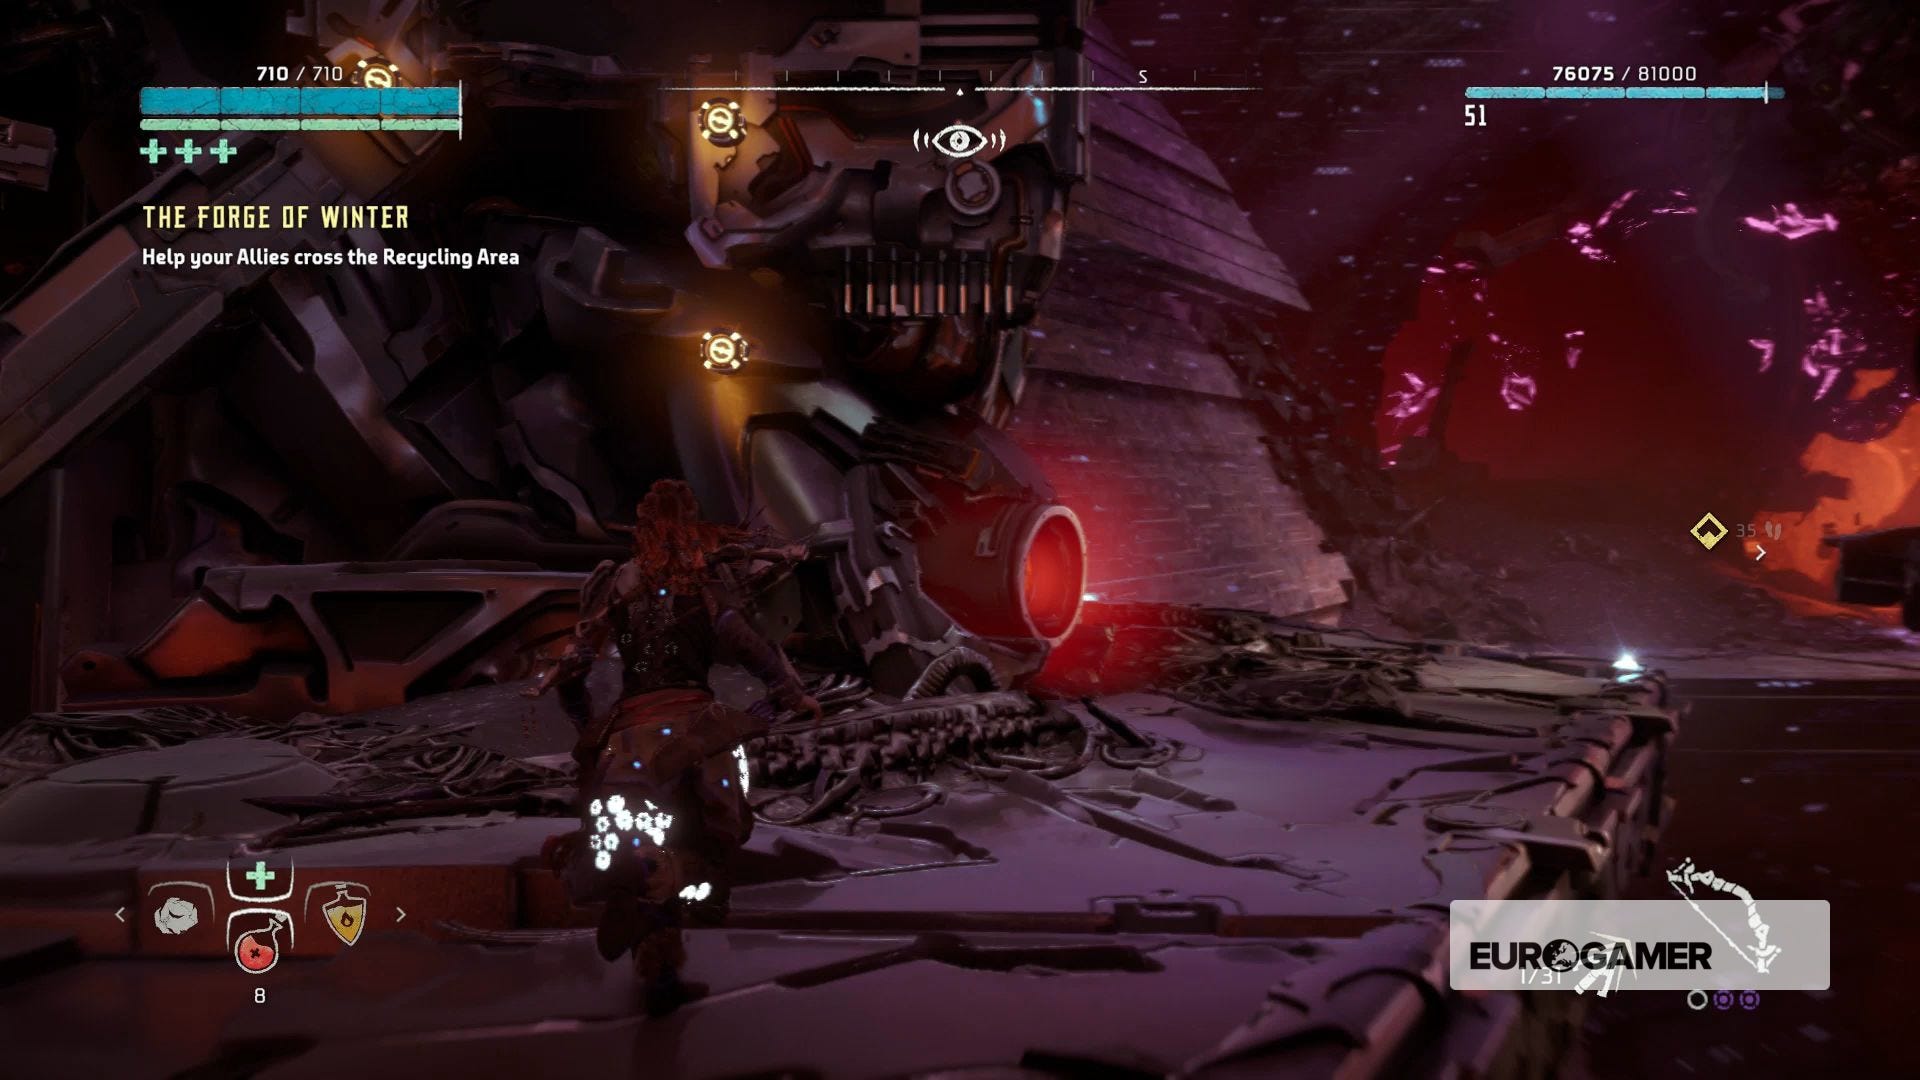
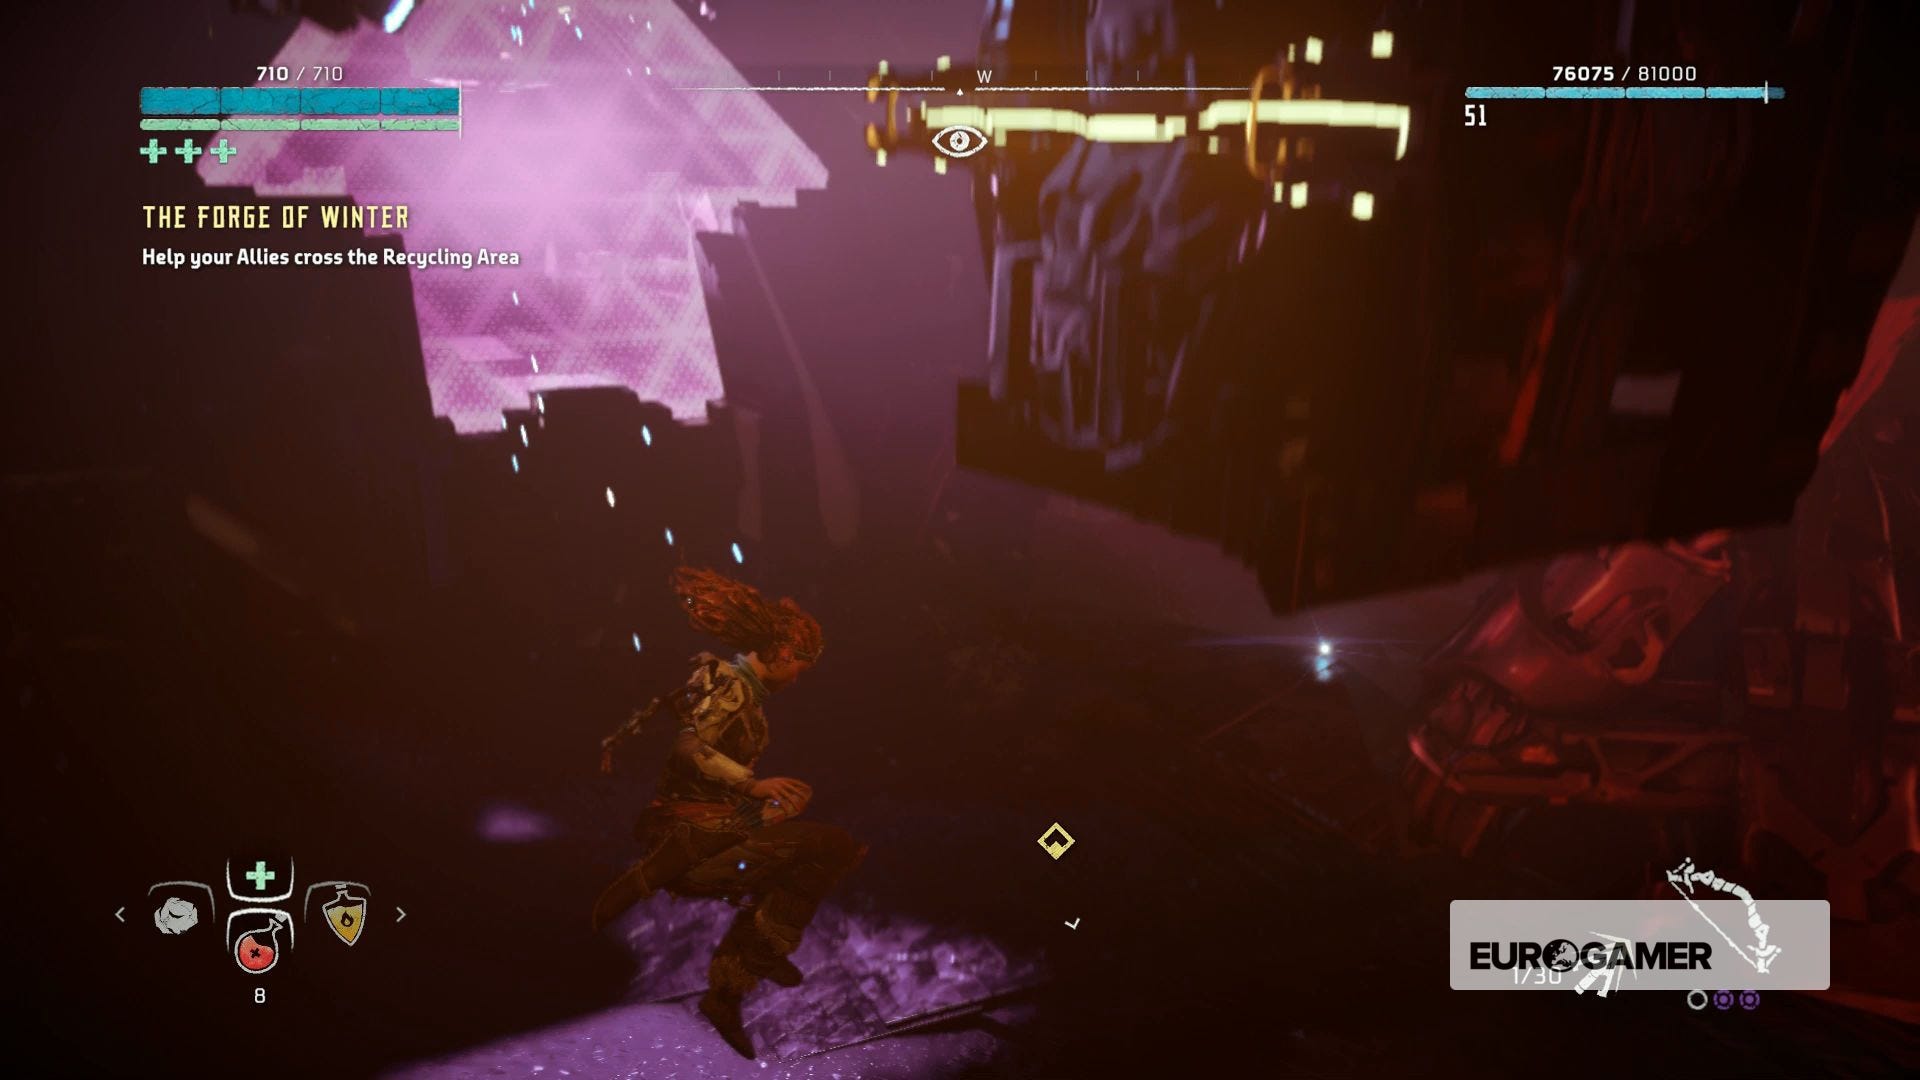
Open the nearby supple crate for some nice loot, and press on up the ramps until you reach a big pink triangular forcefield with floating crates coming out. Hop on!
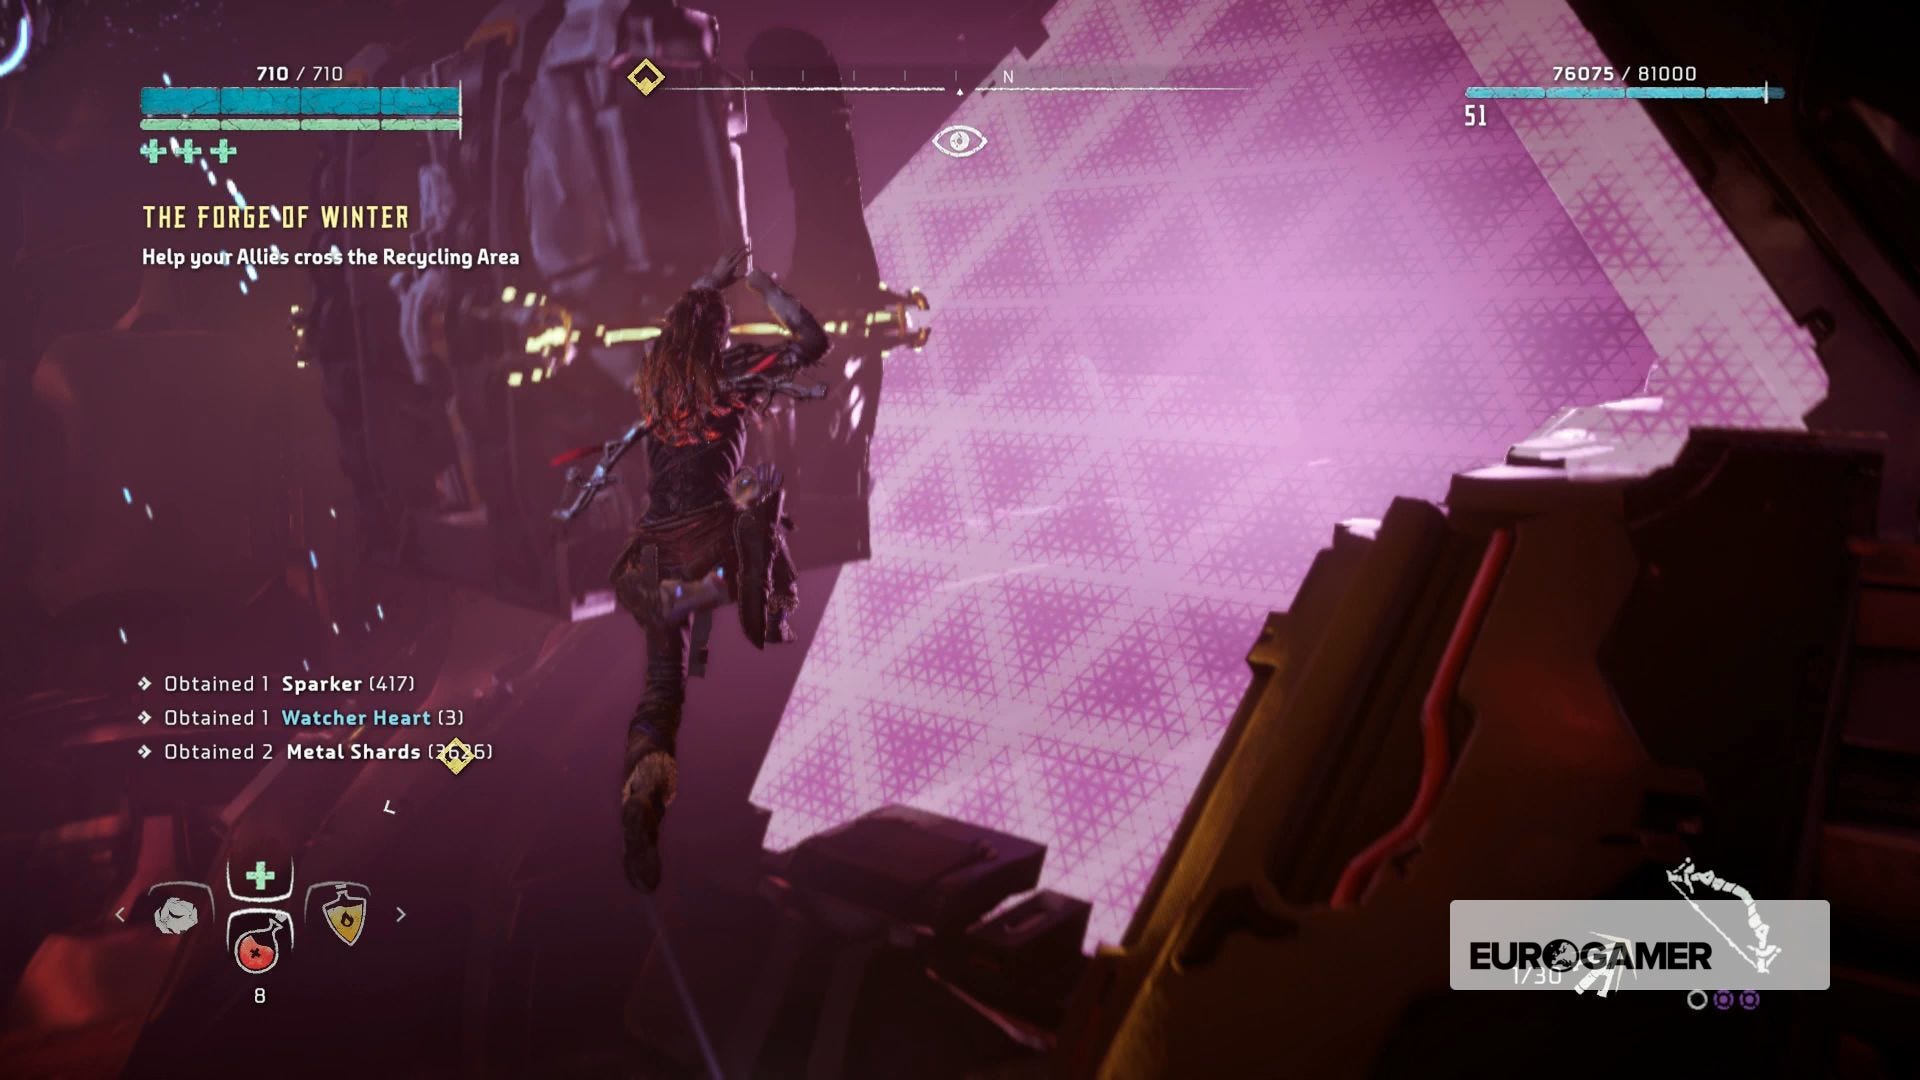
Follow it right the way to the end of its path, then drop off - careful not to fall right back to the starting point! - and work your way to the console on your side of the bridge, with Aratak and Ourea in sight.
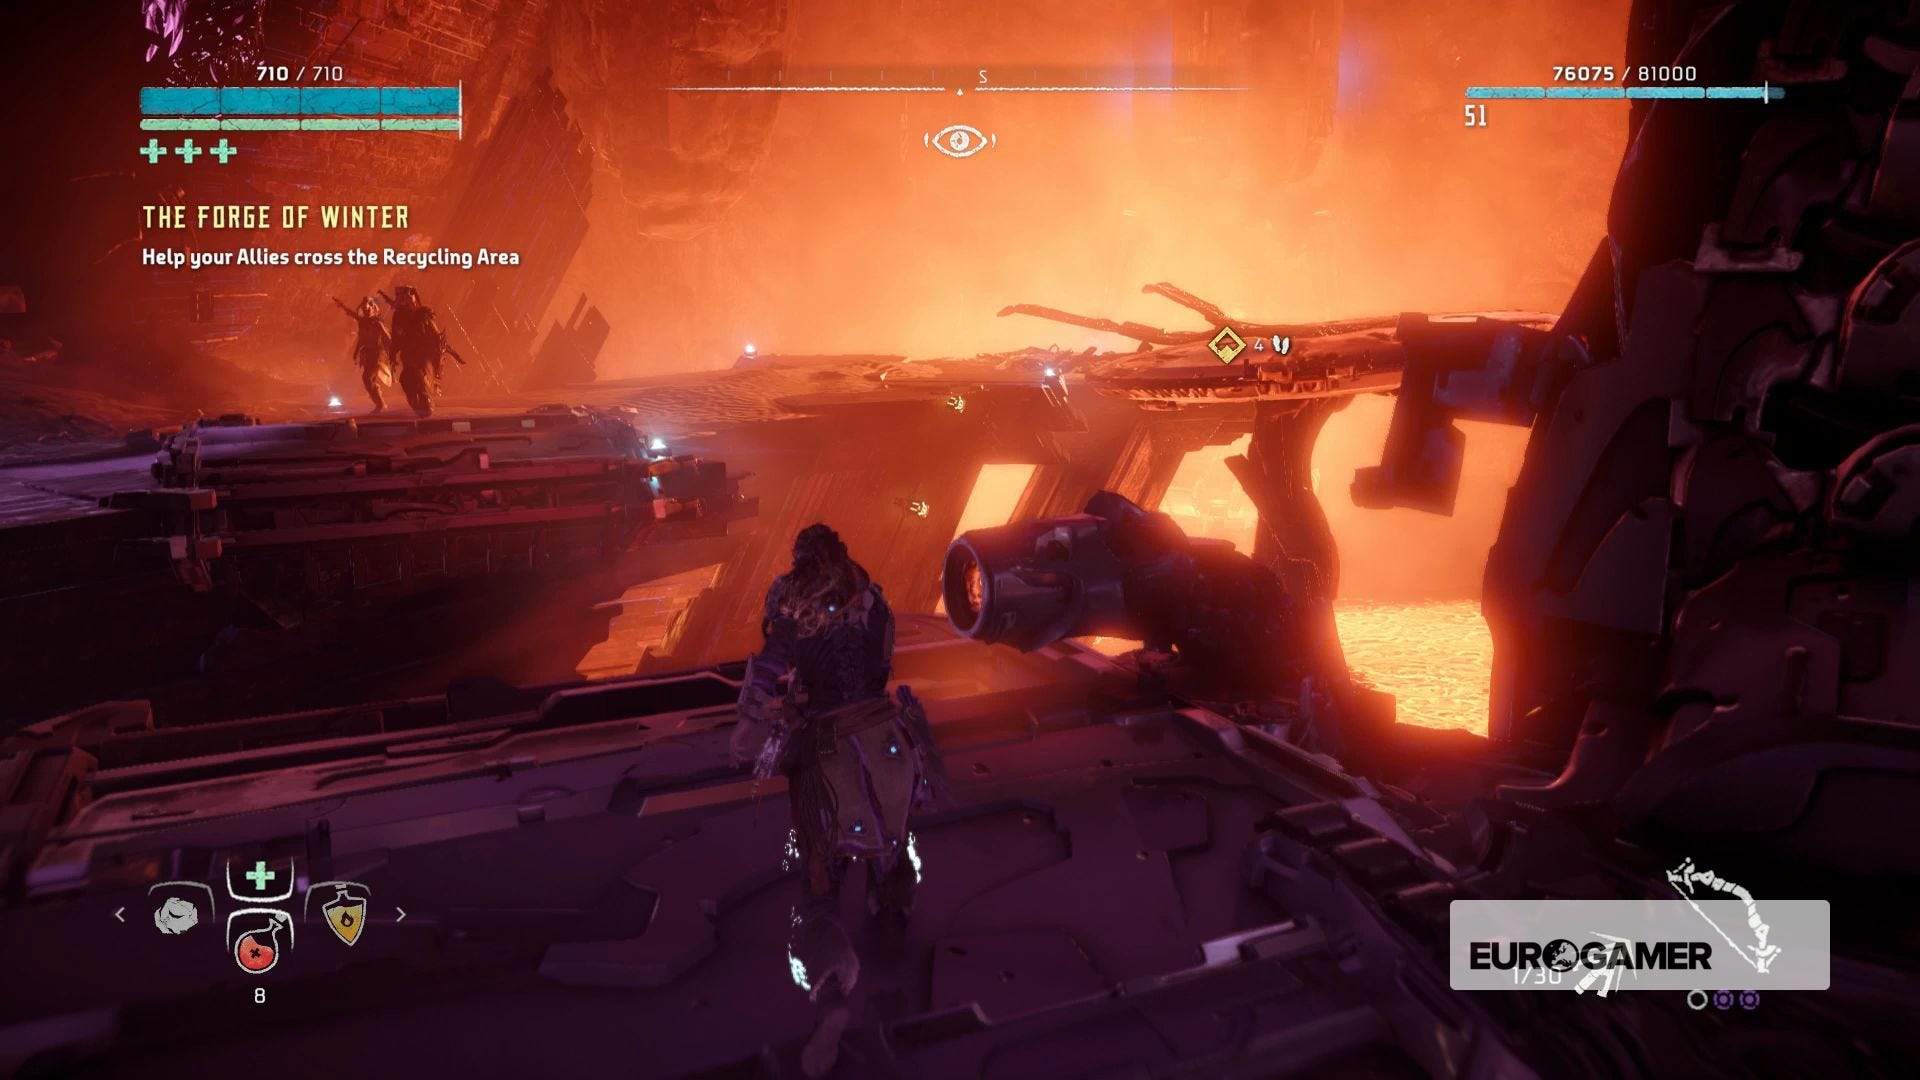
Override the console to extend the bridge, then proceed to the nearby exit for them to blast it once again.

Keep following the waypoint through a corridor and into the next room, and finally anothe room with a Source Node puzzle inside.
Activate the Source Node - Scan a Datapoint, open the nearby chests, and get cracking on the puzzle. Work the beams of light clockwise on an internal route, then when you reach the red node double the light back on itself anti-clockwise on an external route. It should be fairly simple!

Go to the Cauldron Core - After the cutscene, drop down to the lower level of rocks right alongside the lava river, and hop across to a small tunnel that's opened up ahead.
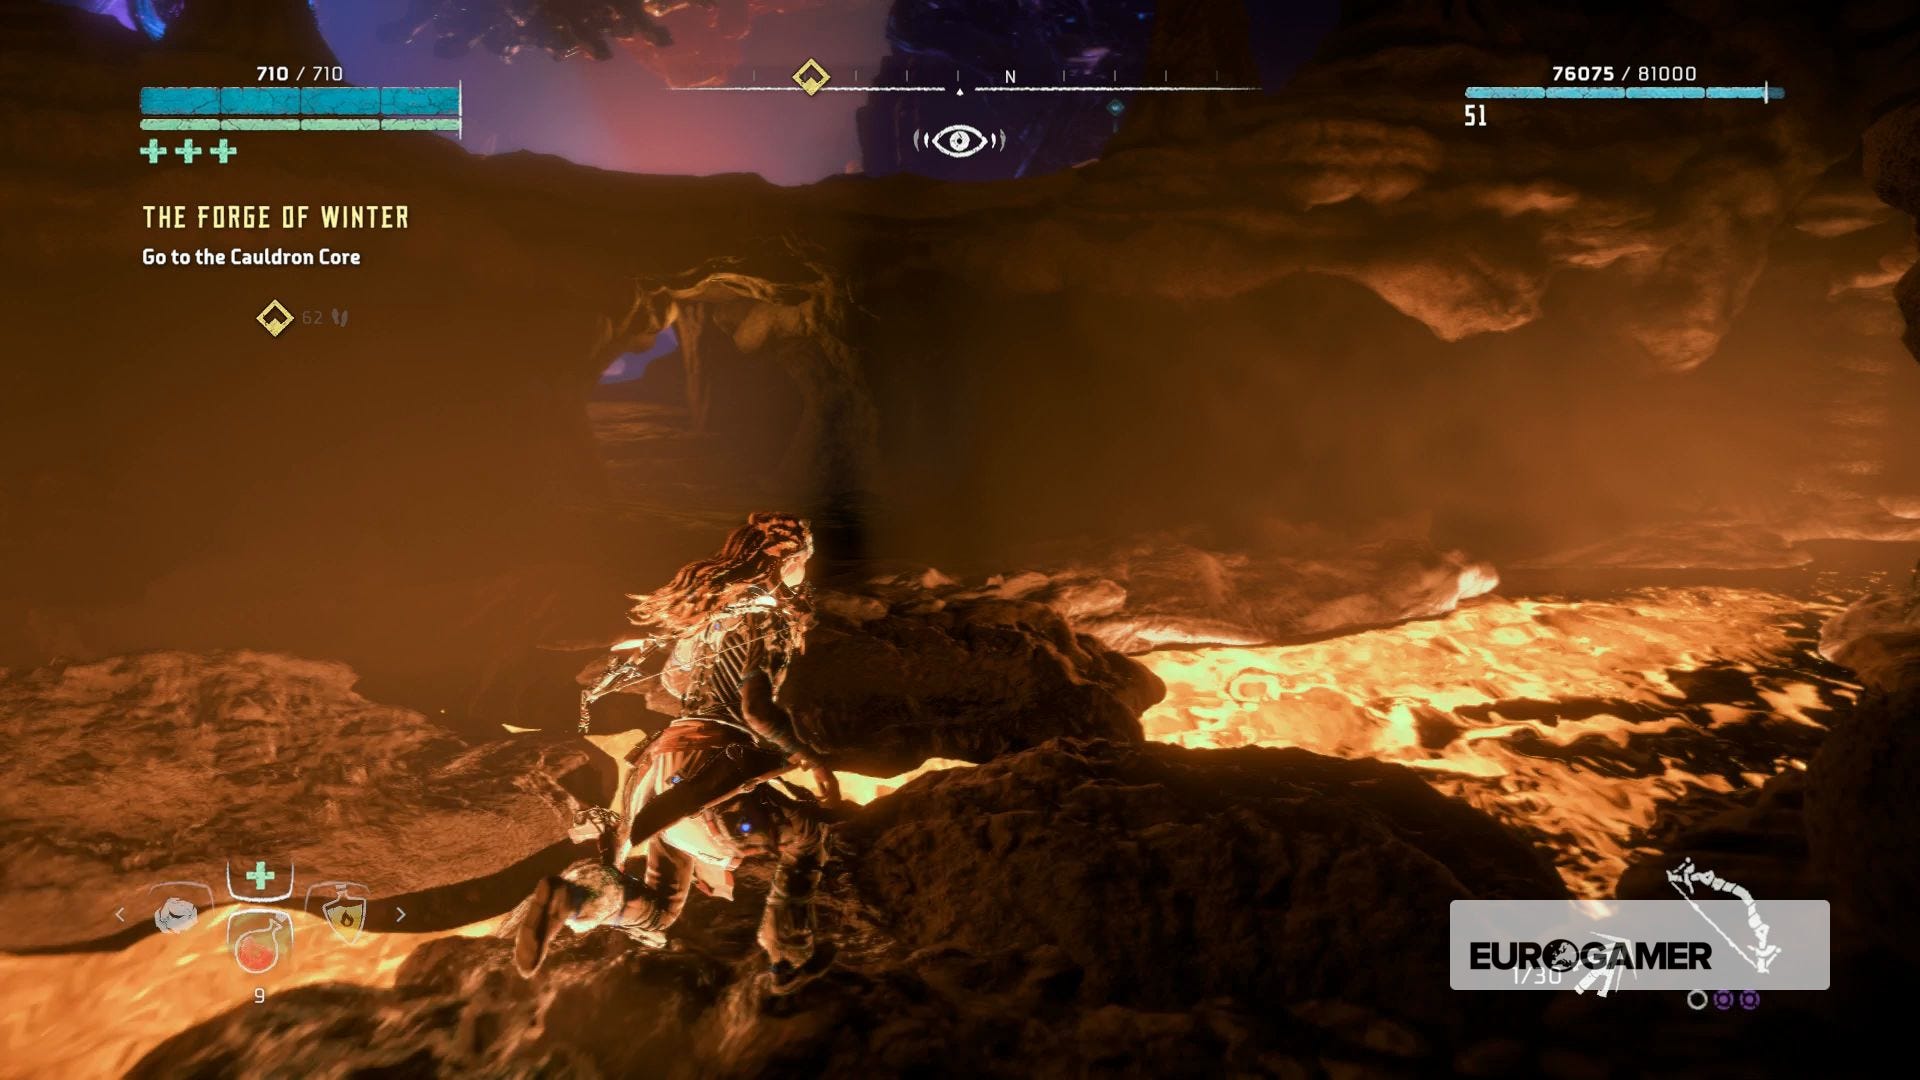
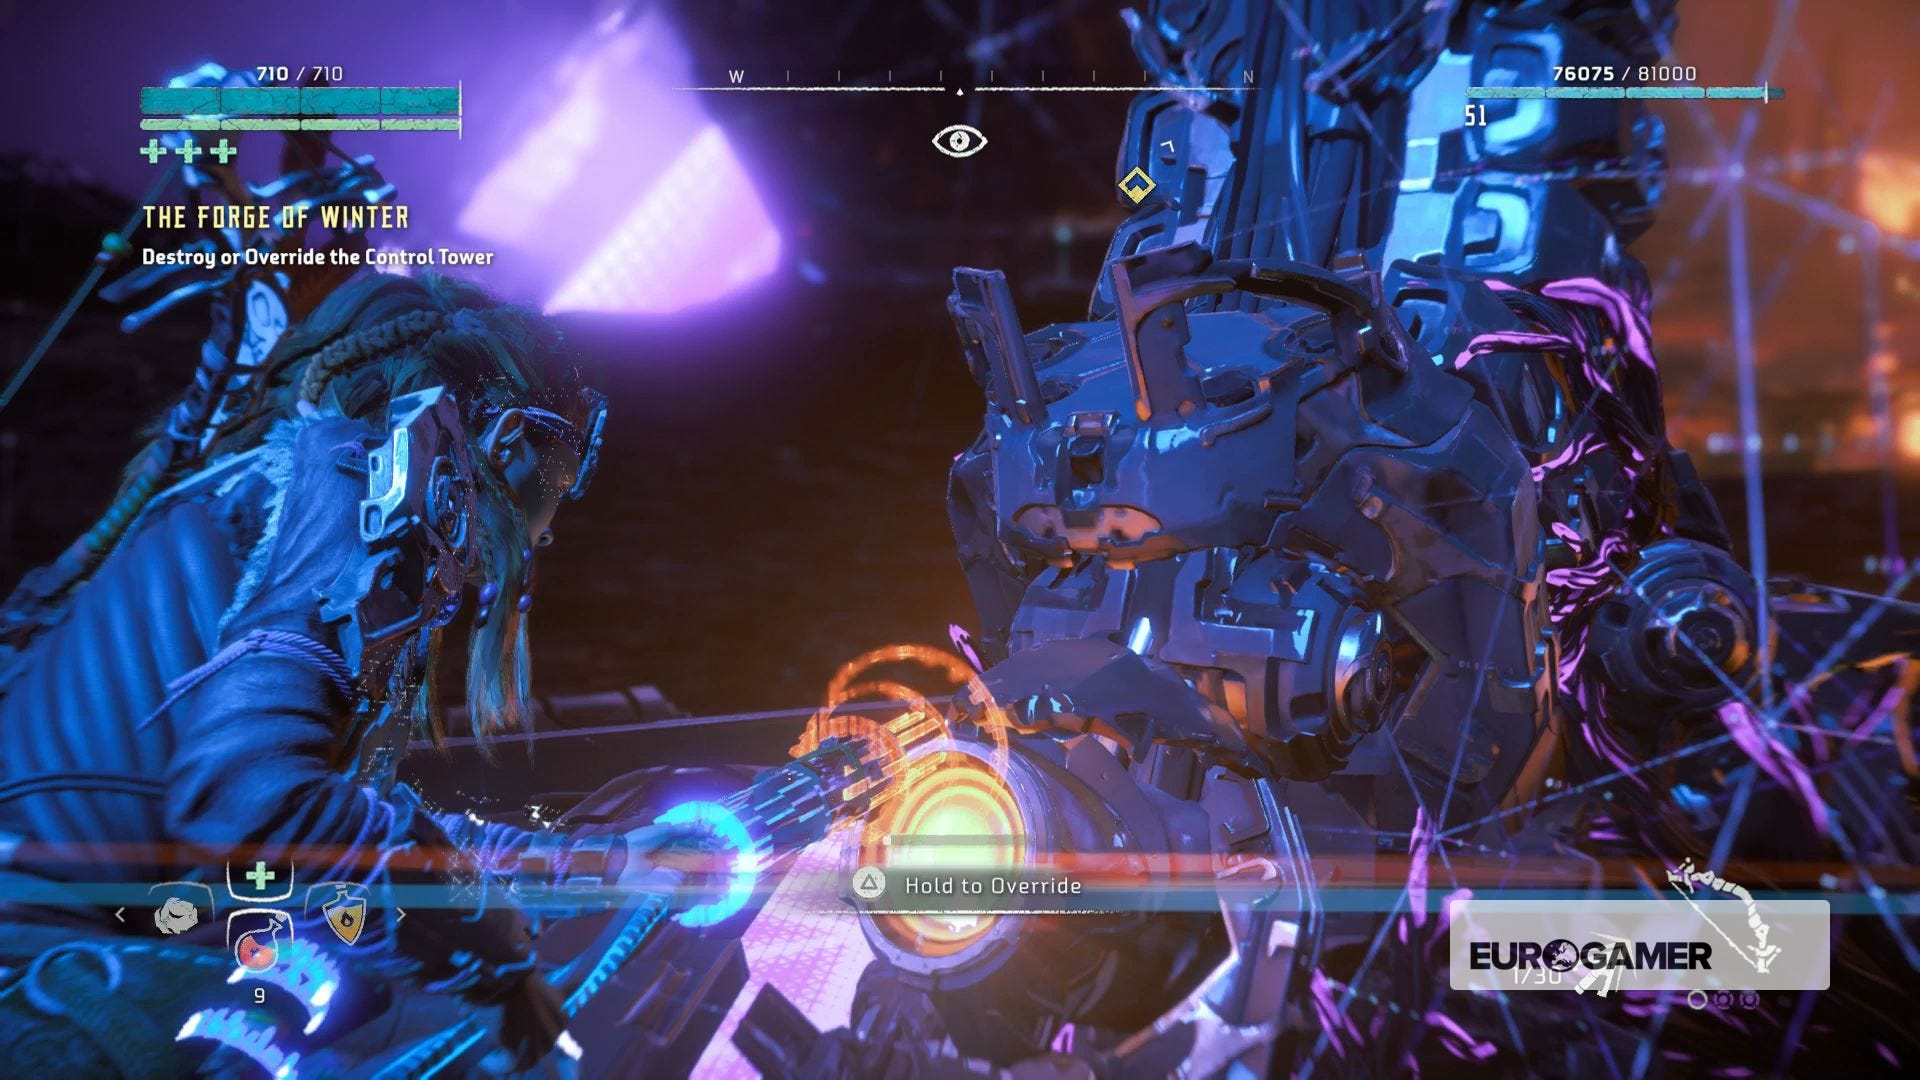
Destroy or Override the Control Tower - This one's easier to override, so run up to it and do so quickly.
For more Horizon guides, explainers and advice, take a look at our main Horizon Zero Dawn guide and walkthrough hub, which includes guides to things like Horizon Zero Dawn's override Cauldrons and how to override machines, sorting out the Golden Fast Travel Pack for unlimited Horizon Zero Dawn fast travel, unlocking the amazing Horizon Zero Dawn Shield Weave Armour and Power Cell locations, and on top of that, for DLC players there's our hub for theHorizon Zero Dawn Frozen Wilds walkthrough and guide, a page on how to earn Bluegleam quickly, and finally, a handy guide to A Secret Shared and how to upgrade your spear in Horizon Frozen Wilds.
Kill the Fireclaw - Here comes a new machine! A Fireclaw, which is just a Frostclaw but... fire. The principles are the same as for Frostclaws, but we found this one to take even more Ropecaster shots to tie down. Most effective was spamming it with Frost bombs and then picking off the exposed cannisters on its back while it was stunned. Be patient and it'll go down eventually!

Override the Cauldron Core - Poke it with your spear, and it's cutscene time.
Escape the Cauldron - With the Cauldron completed and crumbling, it's time to leave. Run out the nearby exit to bring most of the adventure to a close.
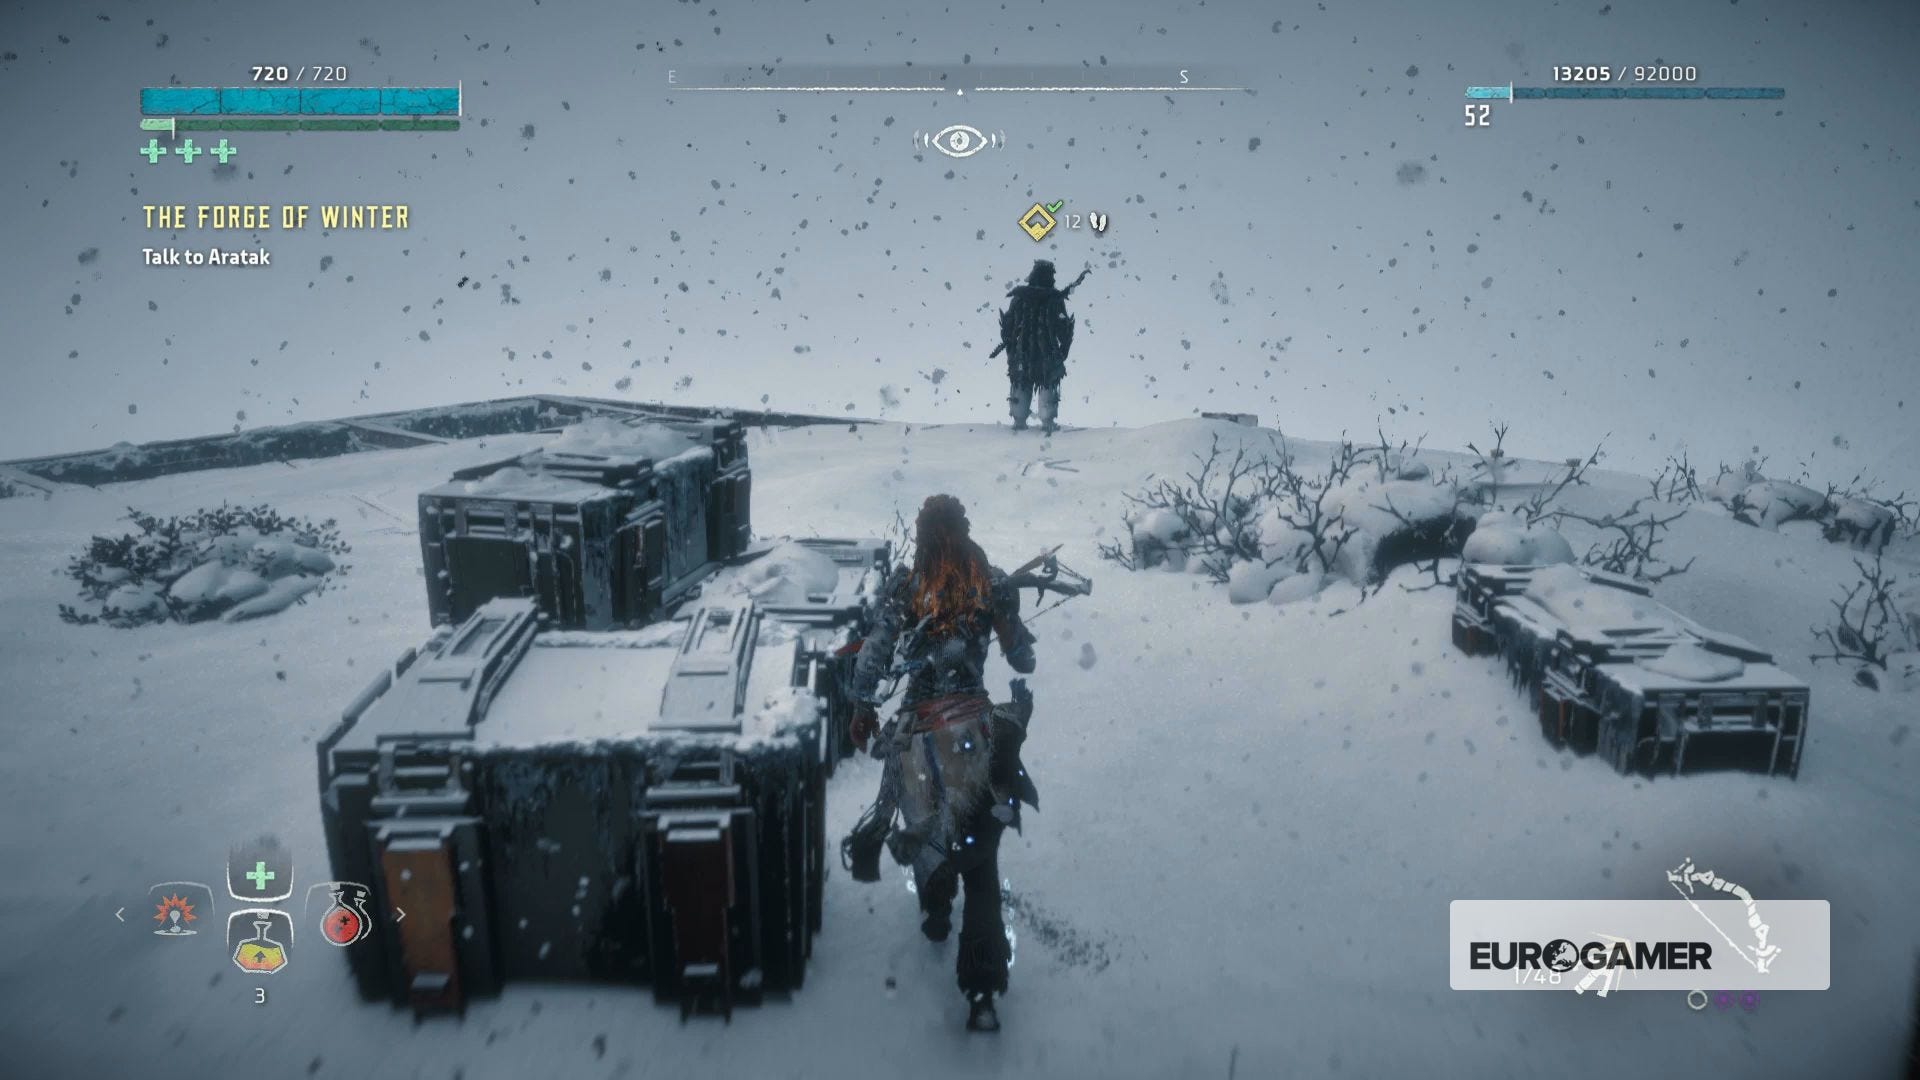
Travel to Ourea's Retreat - Fast travel to the campfire you unlocked on previously visitng, and follow the waypoint to Aratak inside.
Talk to CYAN and Aratak - Talk to the AI for a debrief and some closure, before heading outside to the pensive Aratak.
And with that, the main adventure of The Frozen Wilds is complete! There's still plenty more to do though, including the hunting down of escaped Fireclaws and any other sidquests or errands you might have picked up along the way.
