Horizon Frozen Wilds - A Secret Shared: How to upgrade your spear, find the Mounting Rail in the Horizon DLC
How to unlock spear upgrades for the first time in Horizon Zero Dawn's DLC.

A Secret Shared is one of the first sidequests you'll pick up in Horizon's Frozen Wilds DLC, but it's also one of the most significant.
Completing it will unlock spear upgrades, allowing you to finally modify the one piece of your kit that was feeling a little left out compared to the rest.
This page, then, will walk you through the mission and explain exactly how to upgrade your spear in Horizon Zero Dawn's Frozen Wilds DLC, but for much more on the game head back to our main Horizon Zero Dawn walkthrough and guide hub, or our dedicated Horizon Frozen Wilds DLC guide, instead.
Horizon Frozen Wilds: A Secret Shared - how to find the Rail Part
Soon after starting the DLC properly, by heading into the town of Song's Edge - if you're struggling to get there we have more on that in our main Horizon Frozen Wilds guide on how to start the DLC - you'll notice a little green exclamation mark on your map nearby.
The nearest one to Song's Edge is the start point for A Secret Shared, the mission which, when completed, unlocks your ability to upgrade your spear. Seeing as it's available right from the start of the DLC, we recommend you do it as soon as possible to make the most of its rewards.
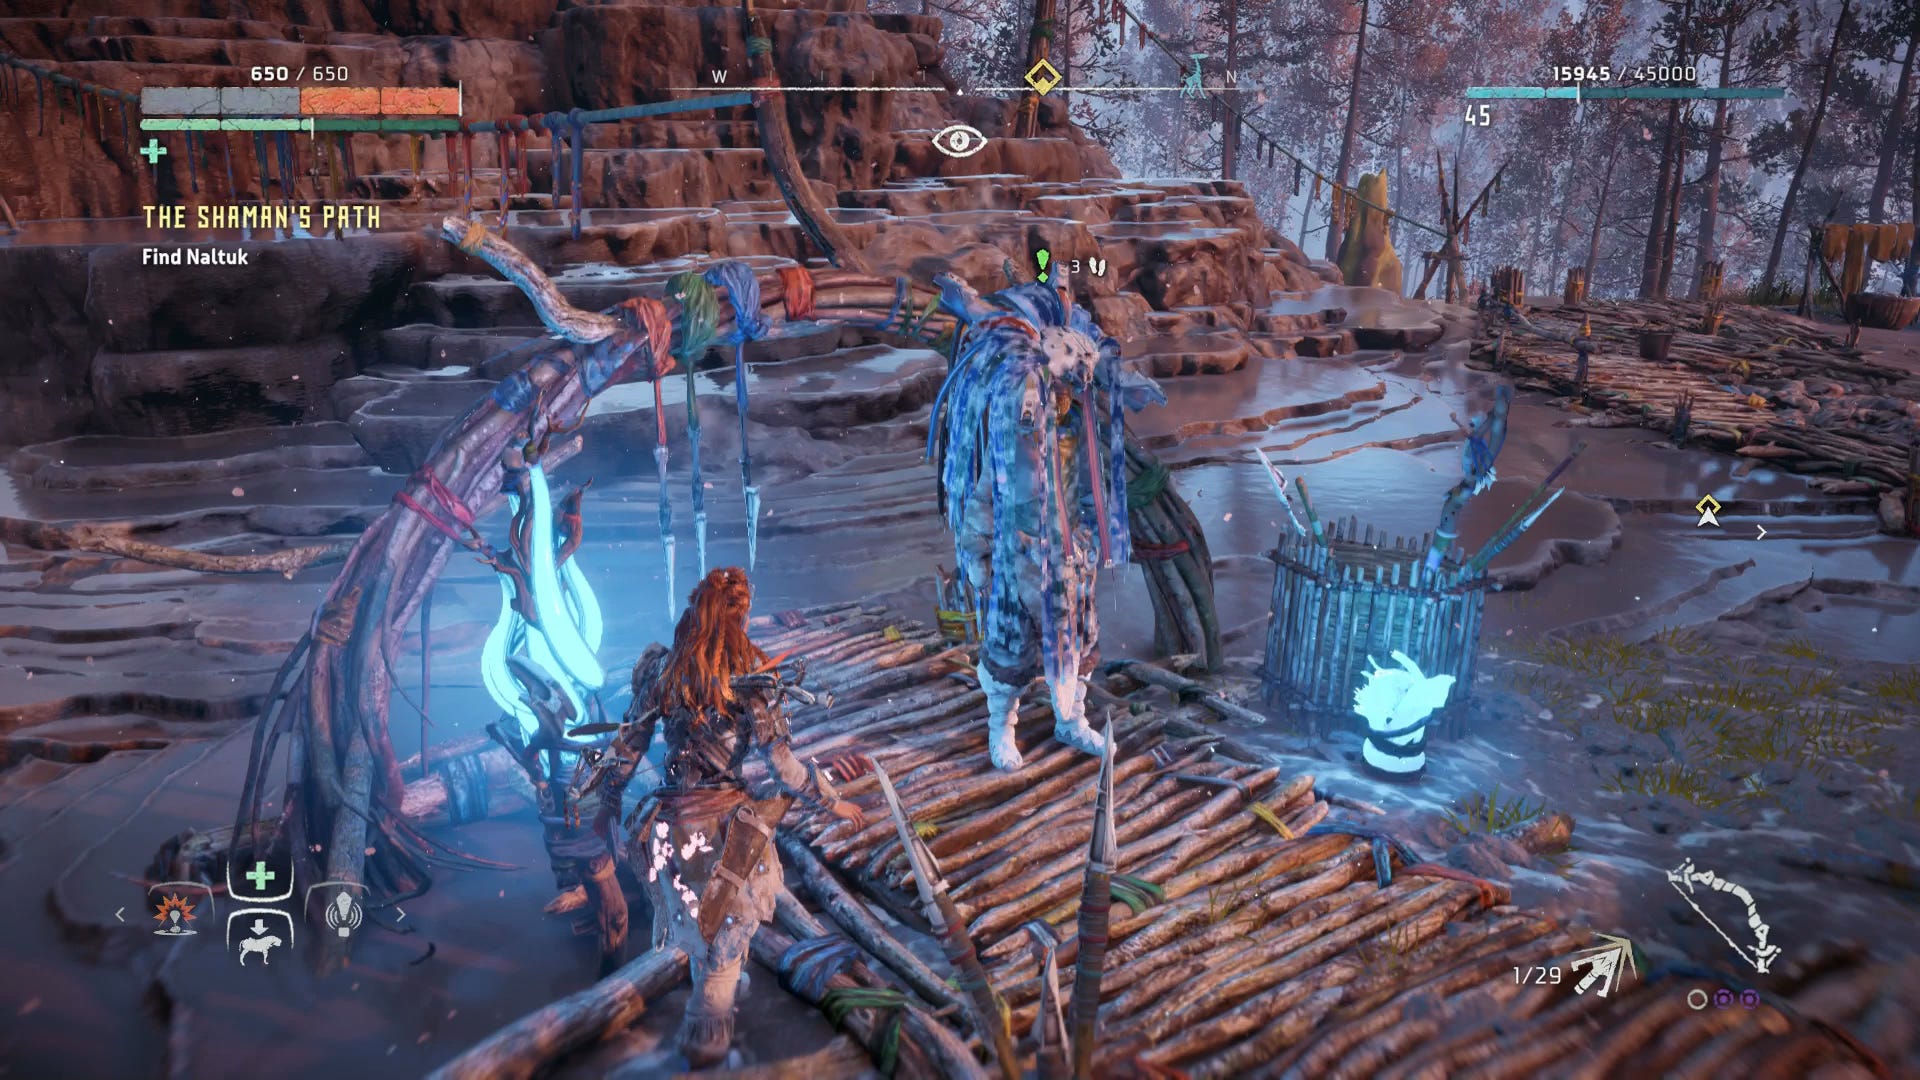
To start it all off then, first follow the marker to a Shaman called Kamut, just outisde of town.
Turns out he feels like sharing a bit of advice with you, and points you in the direction of a "nest of metal birds", right in the northernmost point of this already very northern area. Collecting a Rail Part from one of the untampered-with birds inside will enable you to upgrade your spear.
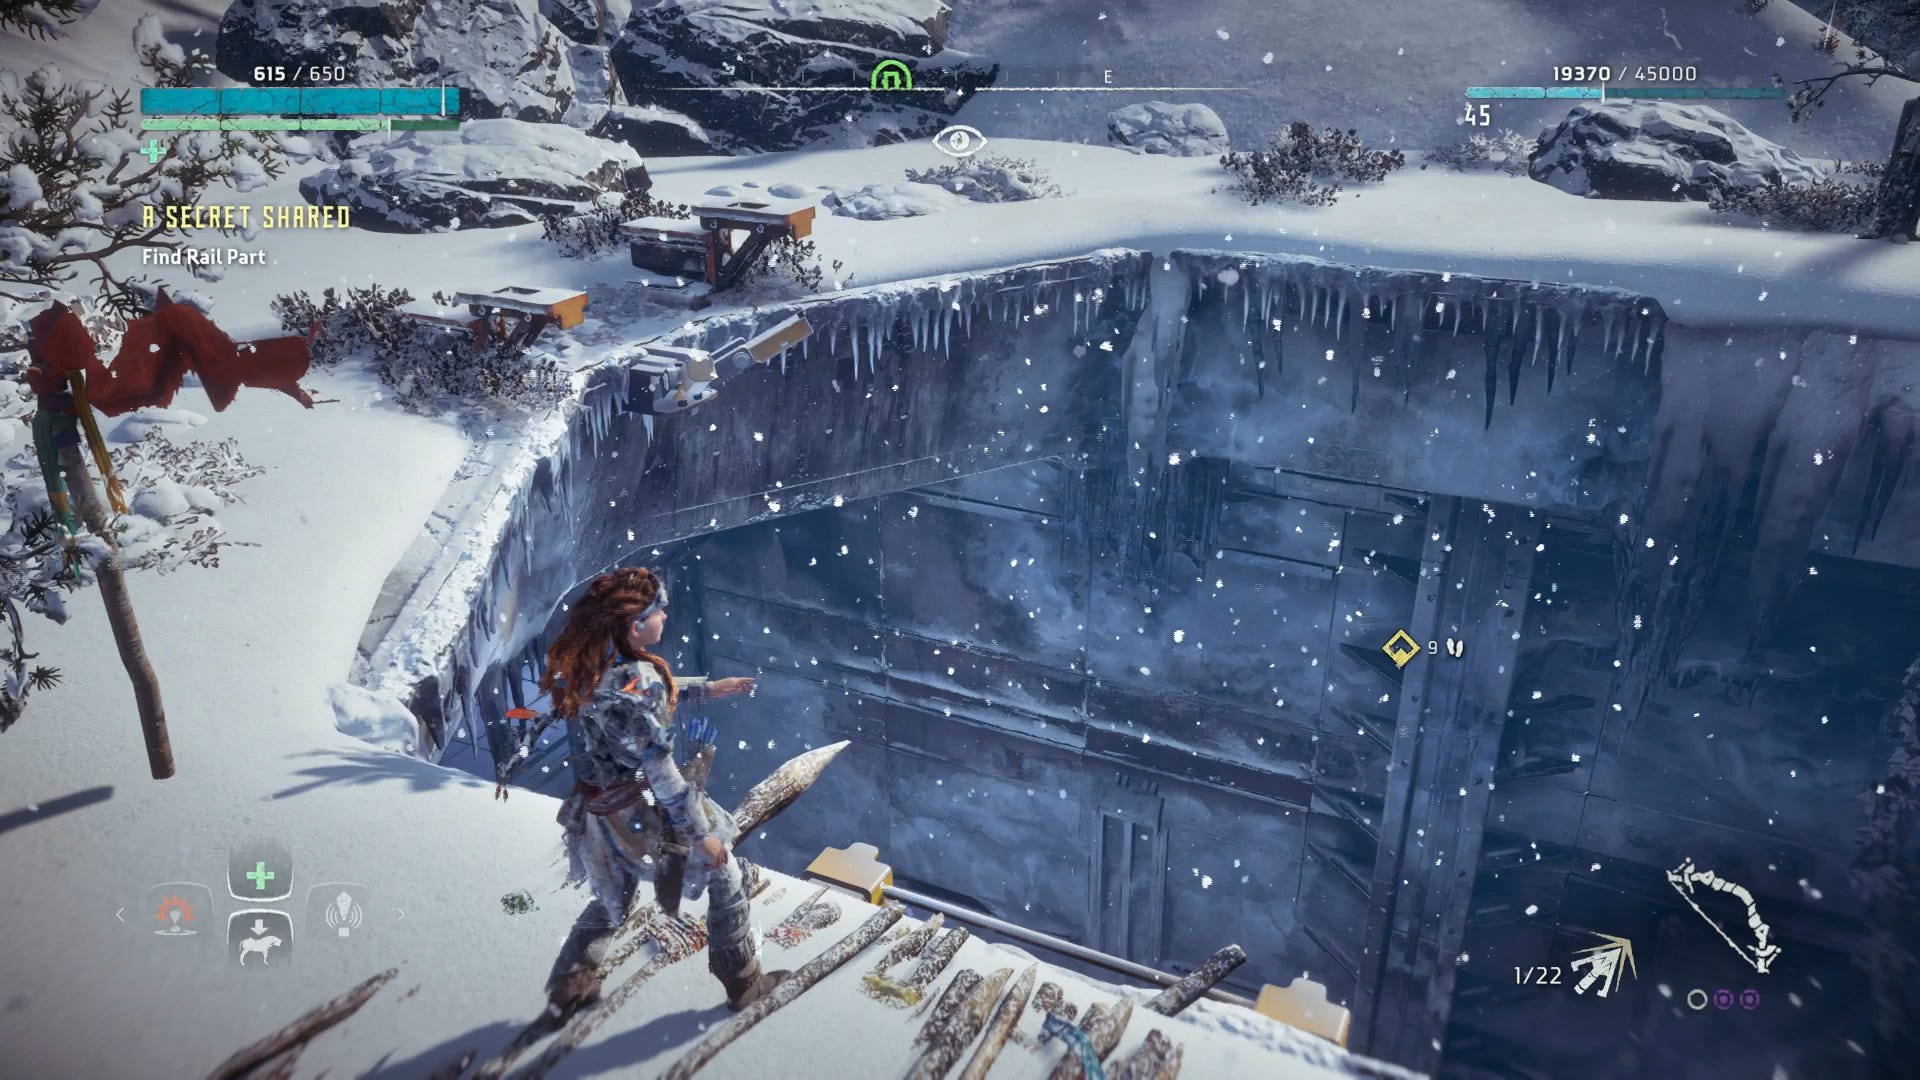
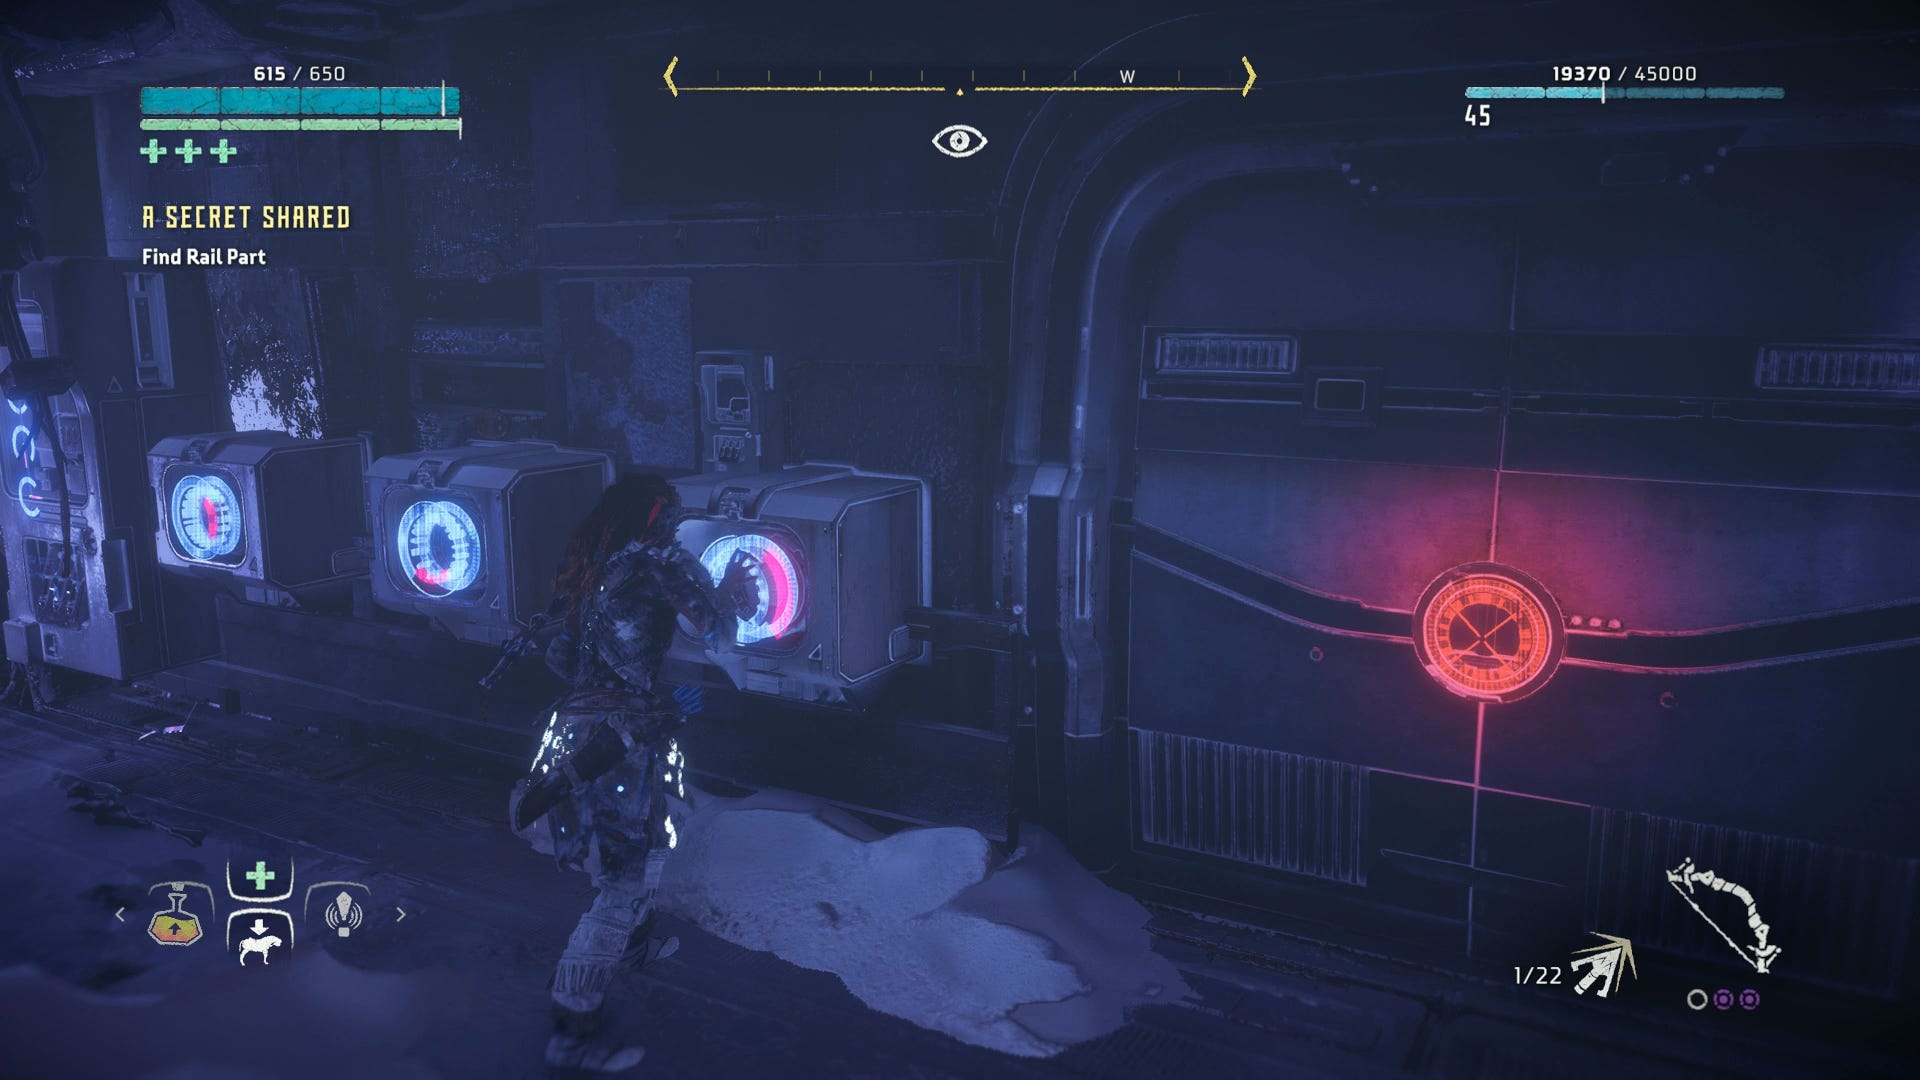
Follow the waypoint for about 2,000 metres, and you'll reach a bunker. Dropping down in side you'll realise that it's not a nest of metal birds... it's a drone hangar - in fact it's literally called Drone Hangar on the map.
How to find the Rail Part:
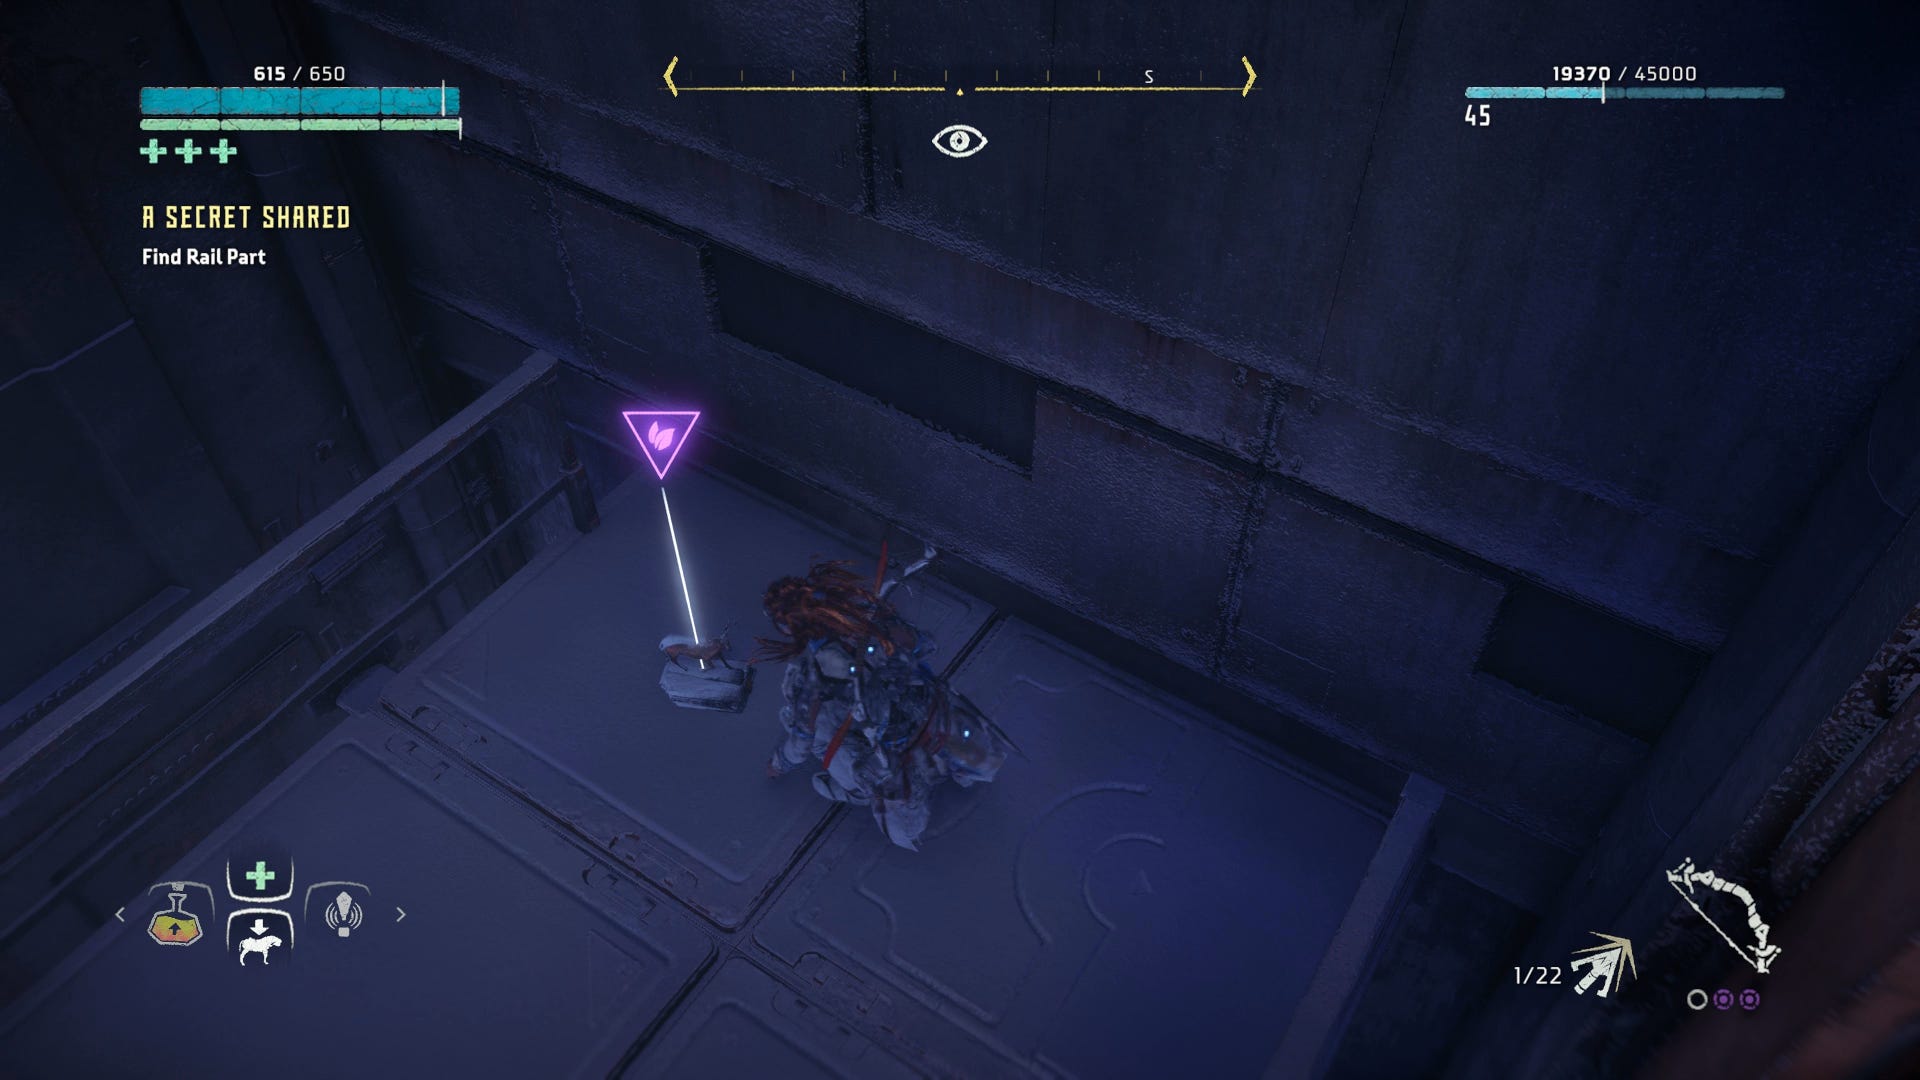
There's a minor platforming puzzle to get you going at the start, so here's a step-by-step process for working your way through the hangar:
- First, quickly grab a piece of Blue Gleam from the body of the fallen creature on the left of the drone.
- Then, head to the back right of the hangar, where there's half a ladder jutting down from a small platform. Jump up onto that, and there's Animal Figurine number 5 sitting at the top, one of the many Frozen Wilds collectibles available in the DLC.
- Jump back down and face the drone - you'll see the yellow handholds above it signifing their availability for climbing. Climb up the longer ladder to the right of the drone as you look at it, onto the platform. Then traverse your way across over the drone to the platform on the other side via the yellow handholds.
- On that platform is a console, which you can activate to move the drone.
- Once the drone's moved, hop across it to the back left corner, where you can climb up to the platform leading you to the next room.
- In the passage you'll find a simple puzzle - the solution is: Right, Down, Right.


Follow the linear passage, dropping down to scan Datapoints and open chests as you go for some minor loot, and continue until you reach the next room.
There, you'll find a drone that hasn't been previously messed with. Scan the Datapoint nearby, then walk up to the drone and collect the Rail Part from its front end (if its awkward to find what to interact with, don't forget you can use your Focus scanner by pressing R3).
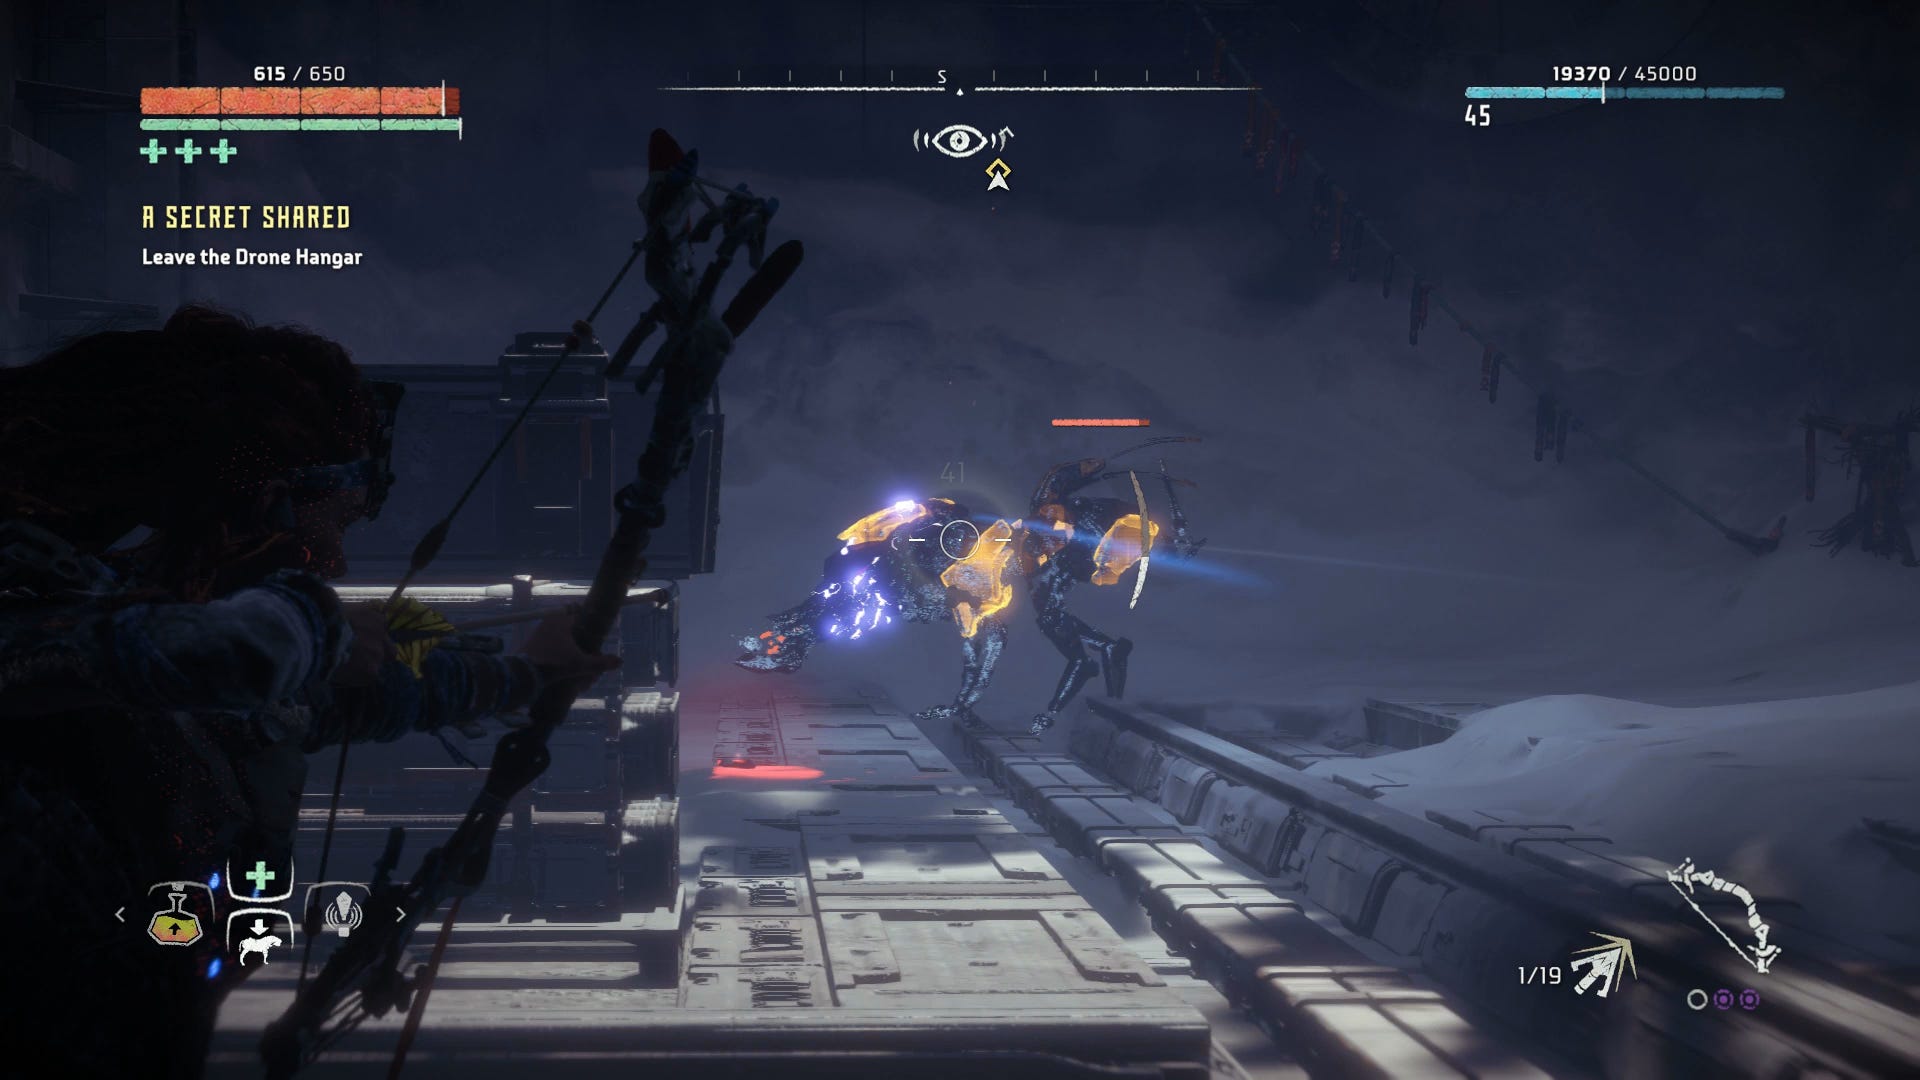
Hop over the nearby wall to get a shortcut to the exit - but before you leave it's time for a quick fight with a Stalker - a tricky enemy with ranged and melee abilities, as well as the capacity to use invisibility cloaking, too.
Its body is weak to Shock damage, whilst all of its destructible parts are vulnerable to Tear damage. It's up to you whether you want to brute force it or pick it apart, but we recommend shooting off all the little bits like a cheap kids' toy, to stop its stealth functionality make your life a little easier.
Return to Kamut - you can fast travel to a bonfire nearby, if you've unlocked unlimited fast travel in Horizon, otherwise it's a bit of a trek back again.
For more tips, explainers and advice on Horizon be sure to check out our main Horizon Zero Dawn guide and walkthrough hub, which includes advice for things like Horizon Zero Dawn's override Cauldrons and which machines they let you control, getting hold of the Golden Fast Travel Pack for unlimited fast travel, finding and unlocking the very powerful Horizon Zero Dawn Shield Weave Armour and Power Cell locations, and then for DLC players there's our main Horizon Zero Dawn Frozen Wilds walkthrough and guide, a page on how to earn Bluegleam quickly, and finally, a page on the handy A Secret Shared quest and how to upgrade your spear in Horizon Frozen Wilds.
How to upgrade your spear in Horizon Zero Dawn Frozen Wilds DLC
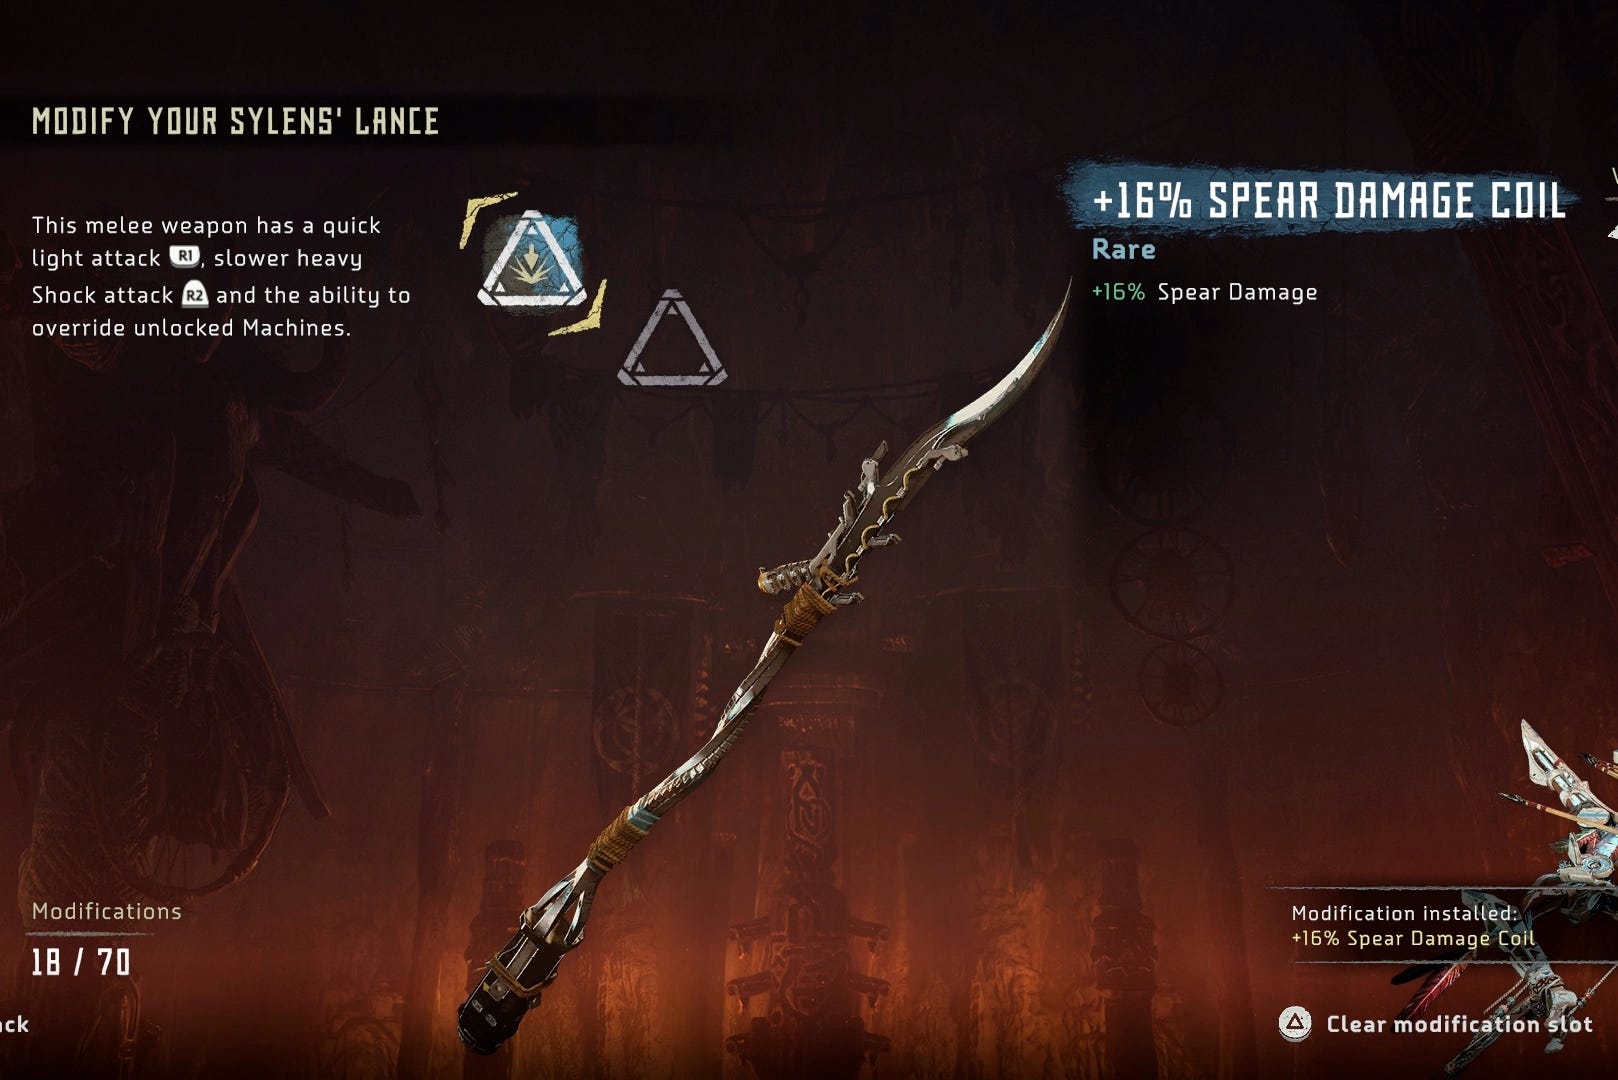
Talk to Kamut once you have the Rail Part, and the ability to upgrade your spear like any other weapon becomes available.
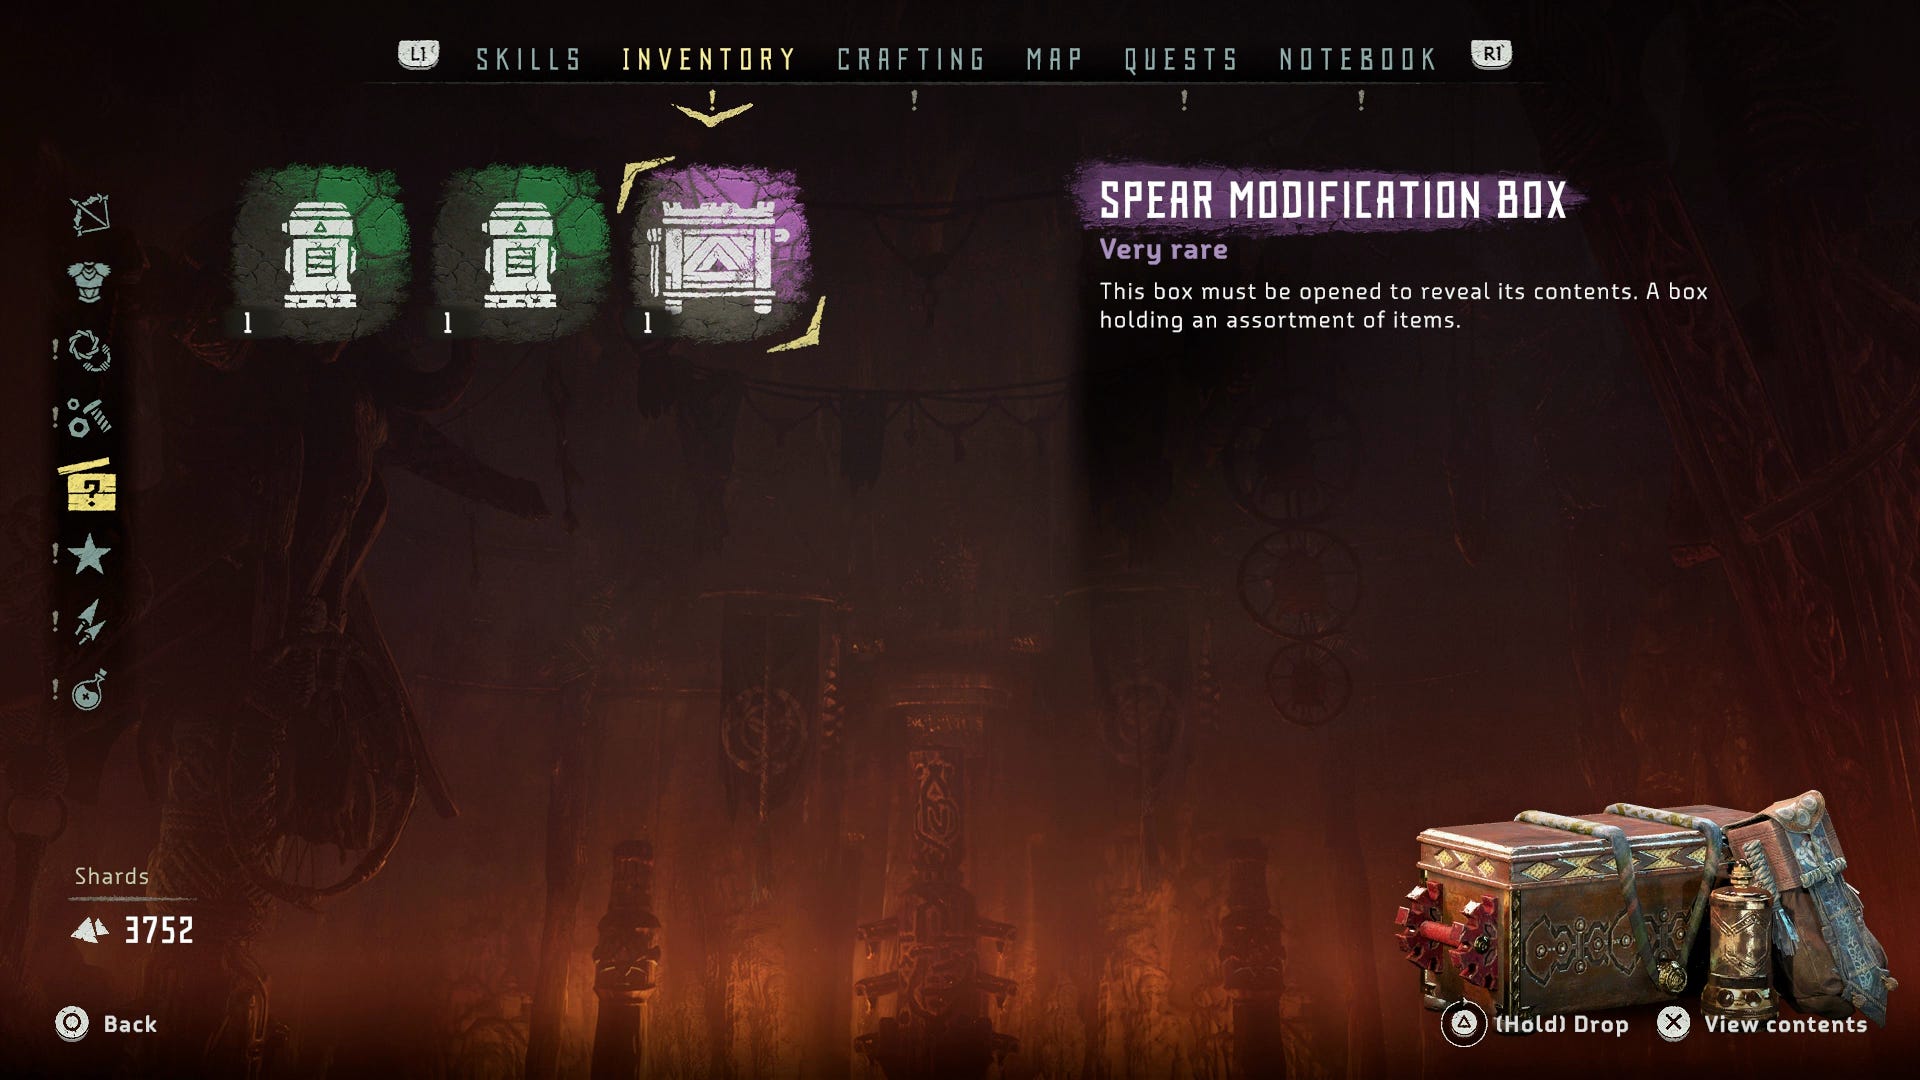
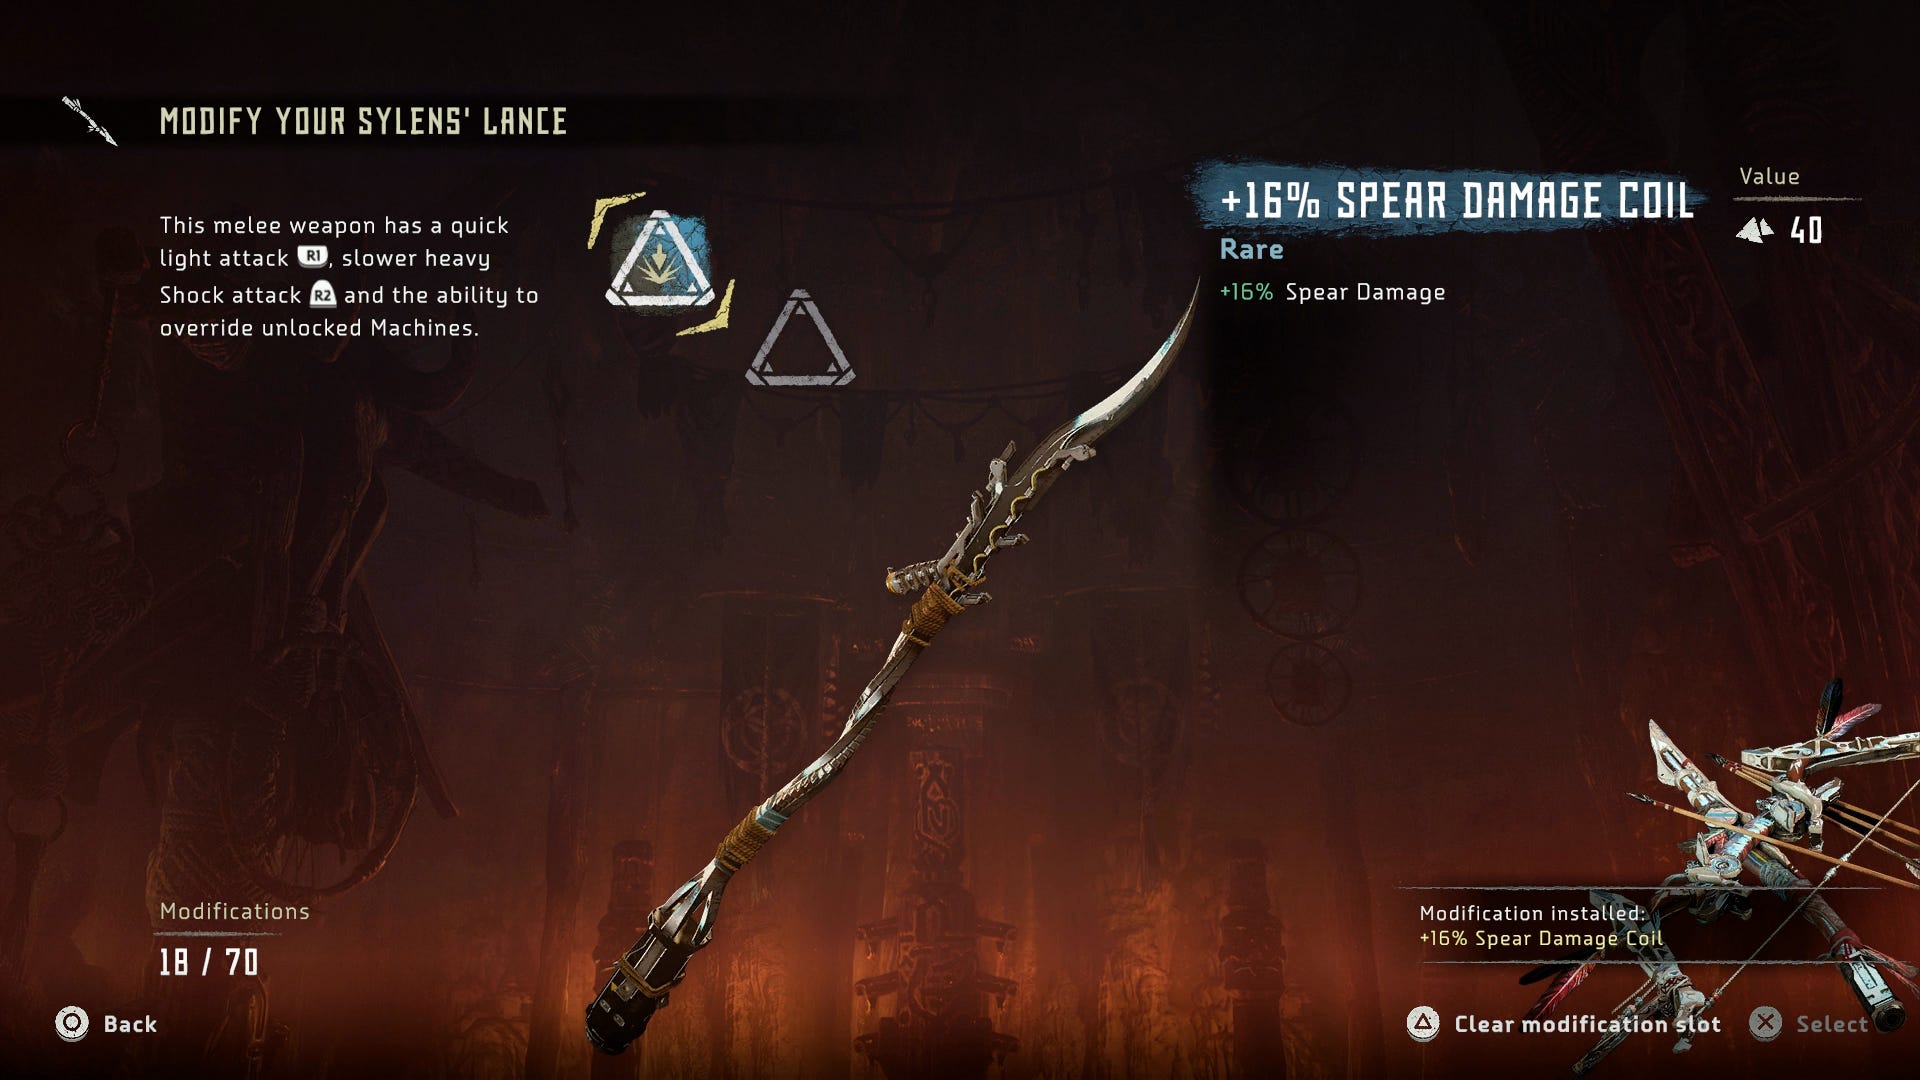
The functionality is basically the same - there are two slots for modificatins on your spear, which you can fill by heading to the Crafting tab of your menu.
You'll get spear modifications from Treasures Boxes, which can be found around the world and bought from vendors for standard shards. We've yet to find a particularly great way to farm spear modifications so far, so for the moment Treasure Boxes seem to be your best bet!
