Super Mario Odyssey Cascade Kingdom Power Moons - where to find Cascade Kingdom Moons
Where to find the main set of Cascade Kingdom Power Moons.
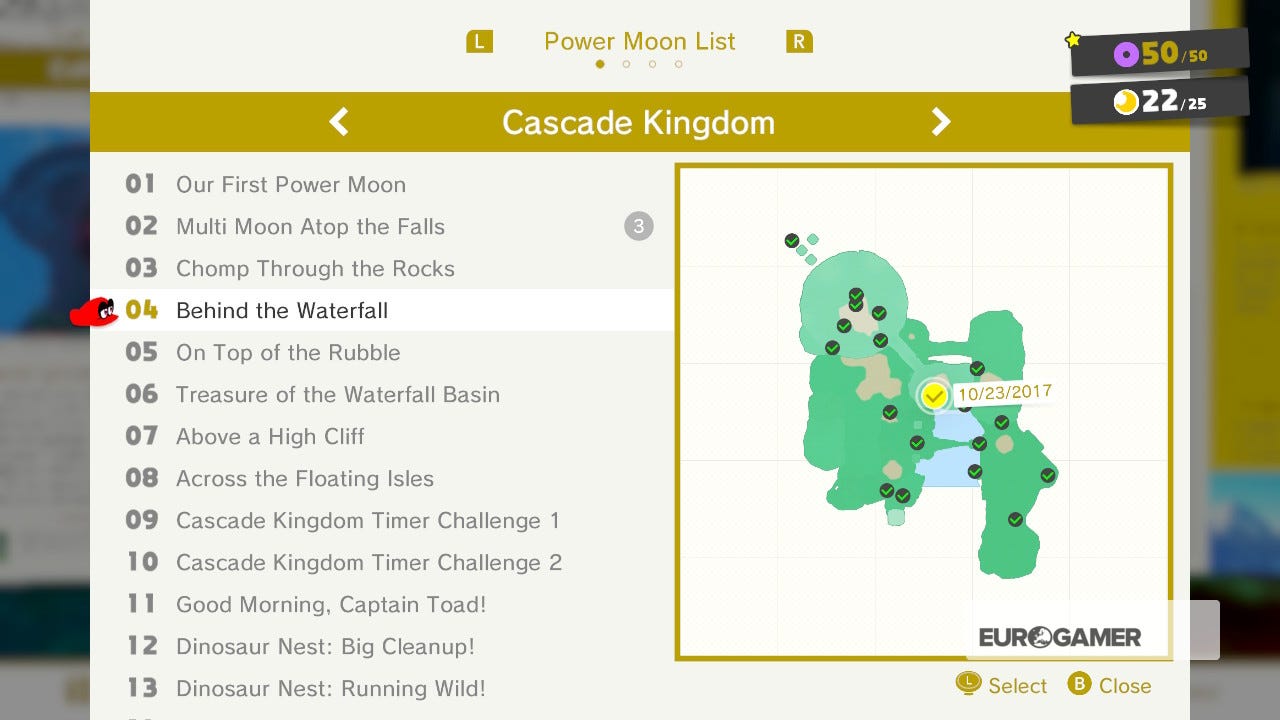
Cascade Kingdom Power Moons are what you'll find here, where we detail each Power Moon and its location in the region with accompanying screens for extra clarity.
This is where to find Cascade Kingdom Moons then, but for other regions you can cycle back to our Power Moon locations guide hub, or our main Super Mario Odyssey guide and walkthrough hub for much more.
On this page:
Super Mario Odyssey Cascade Kingdom Power Moons 1 to 10
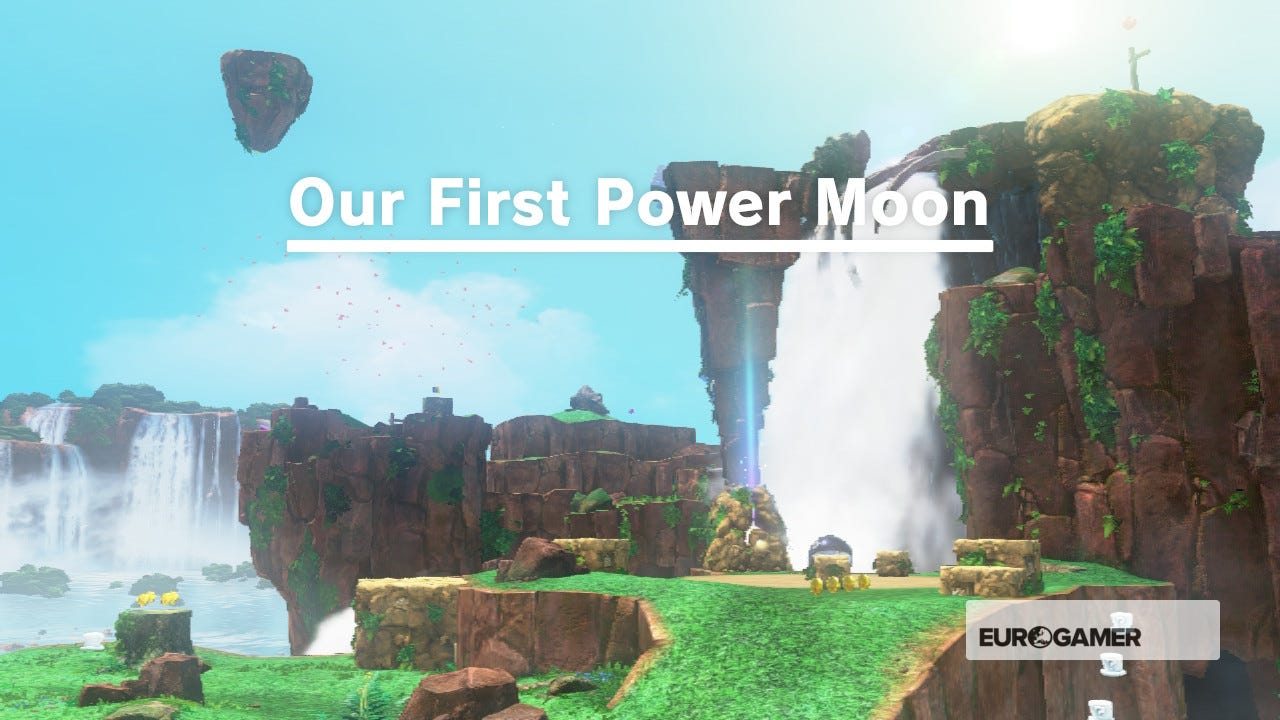
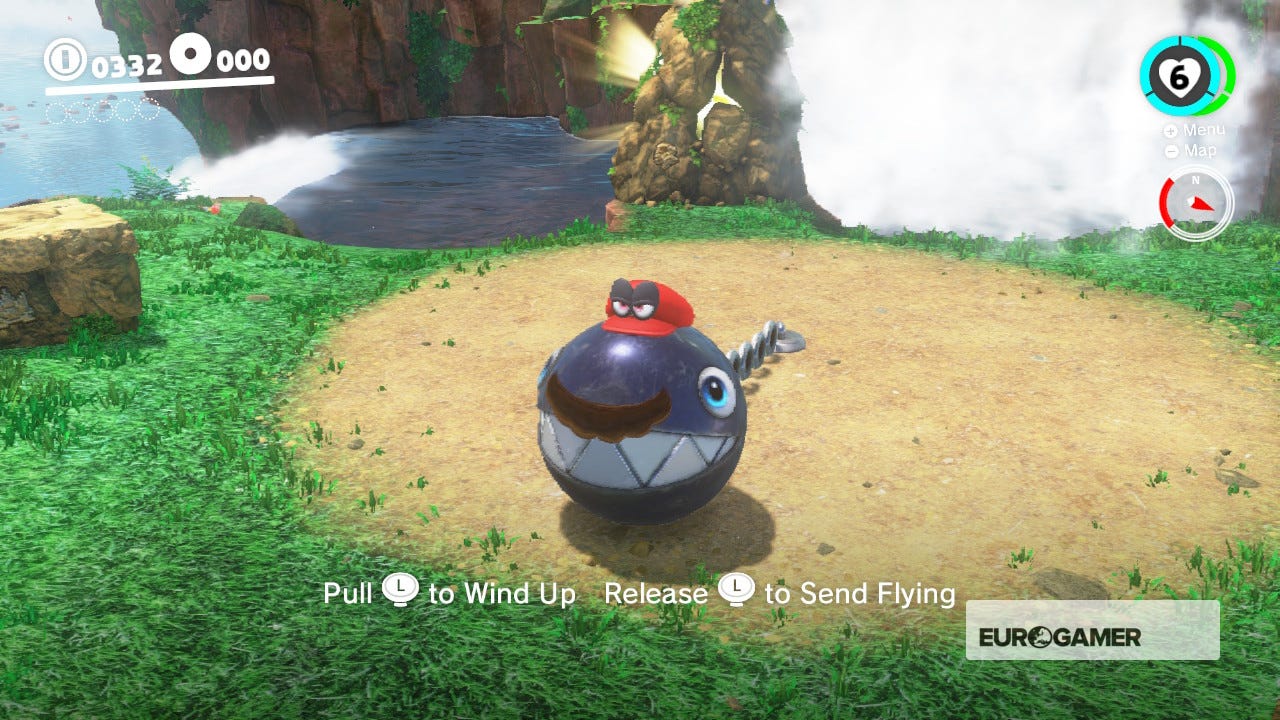
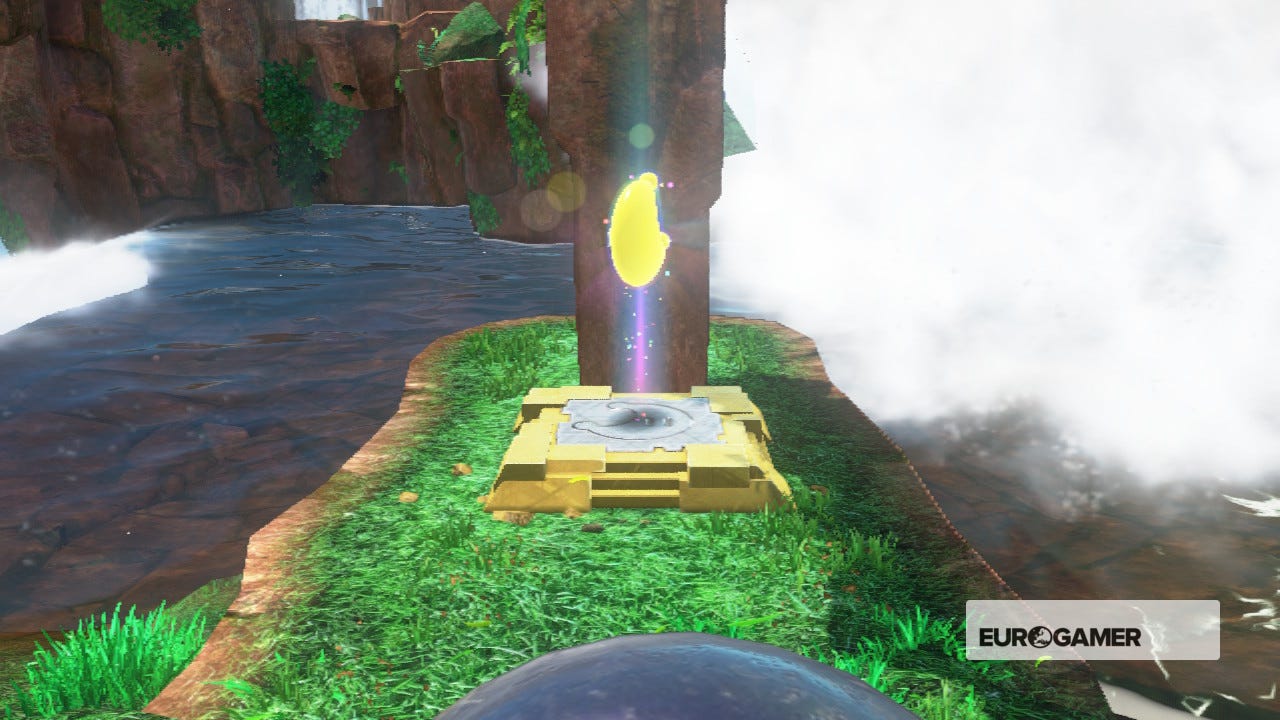
1. Our First Power Moon
To get the first Moon of the game, look out for a Chain Chomp in front of a glowing pillar of rock. Possess the Chain Chomp, pull back on the left analog stick and let it go when aligned with the pillar. It'll explode, revealing a Power Moon.
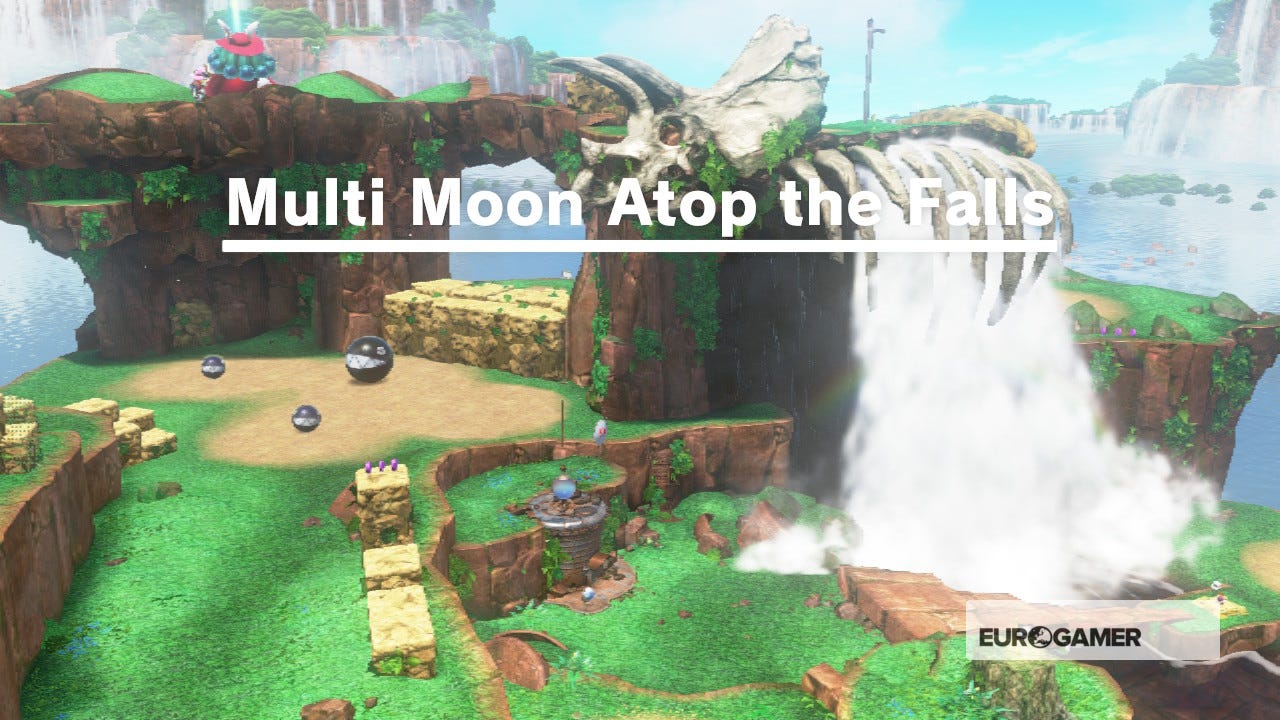
2. Multi Moon Atop the Falls
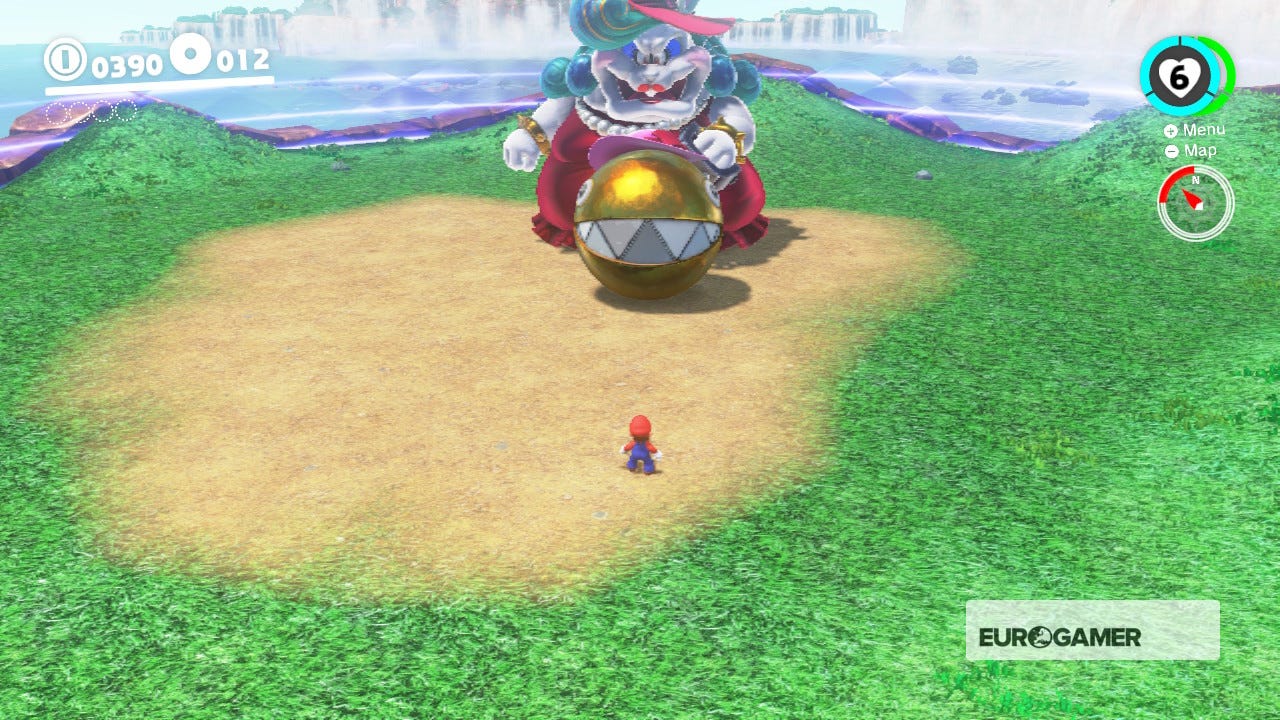
This Multi-Moon is guarded by the second Broodal boss. In order to defeat her, you'll need to possess her pet Chain Chomp and aim it at her. Jump on her head, then repeat the process twice more to defeat her and claim her prize.
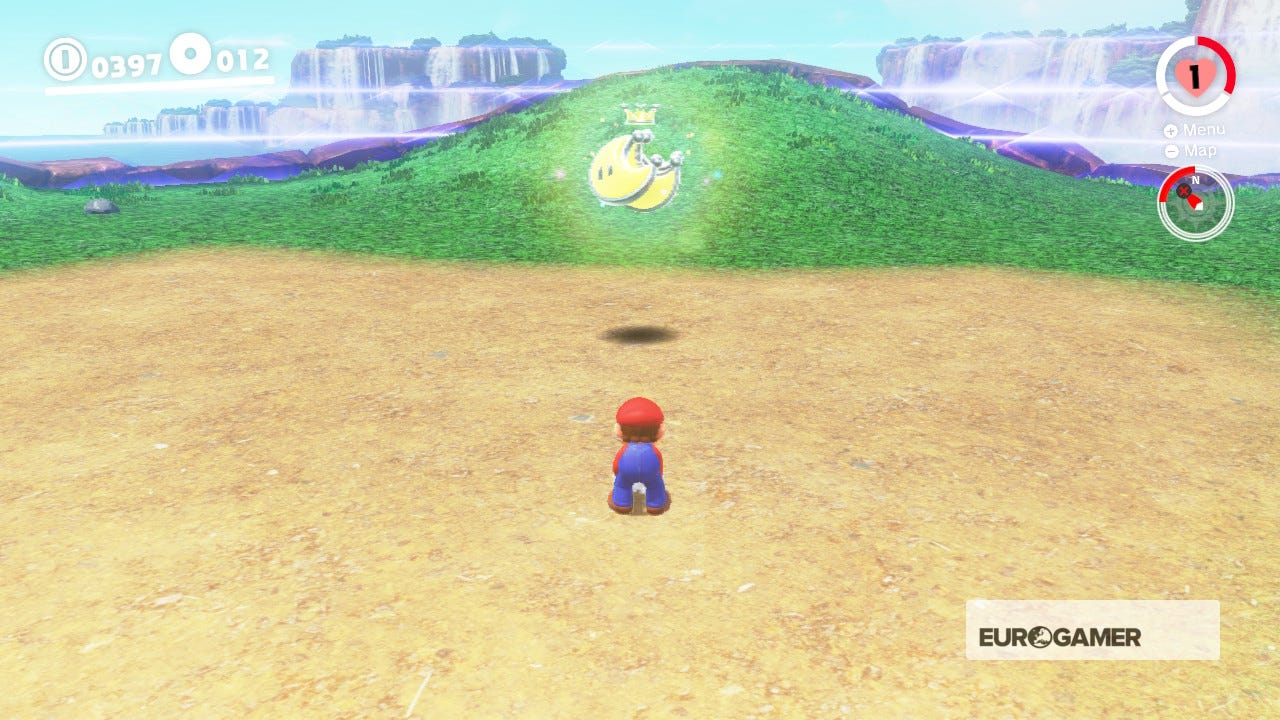
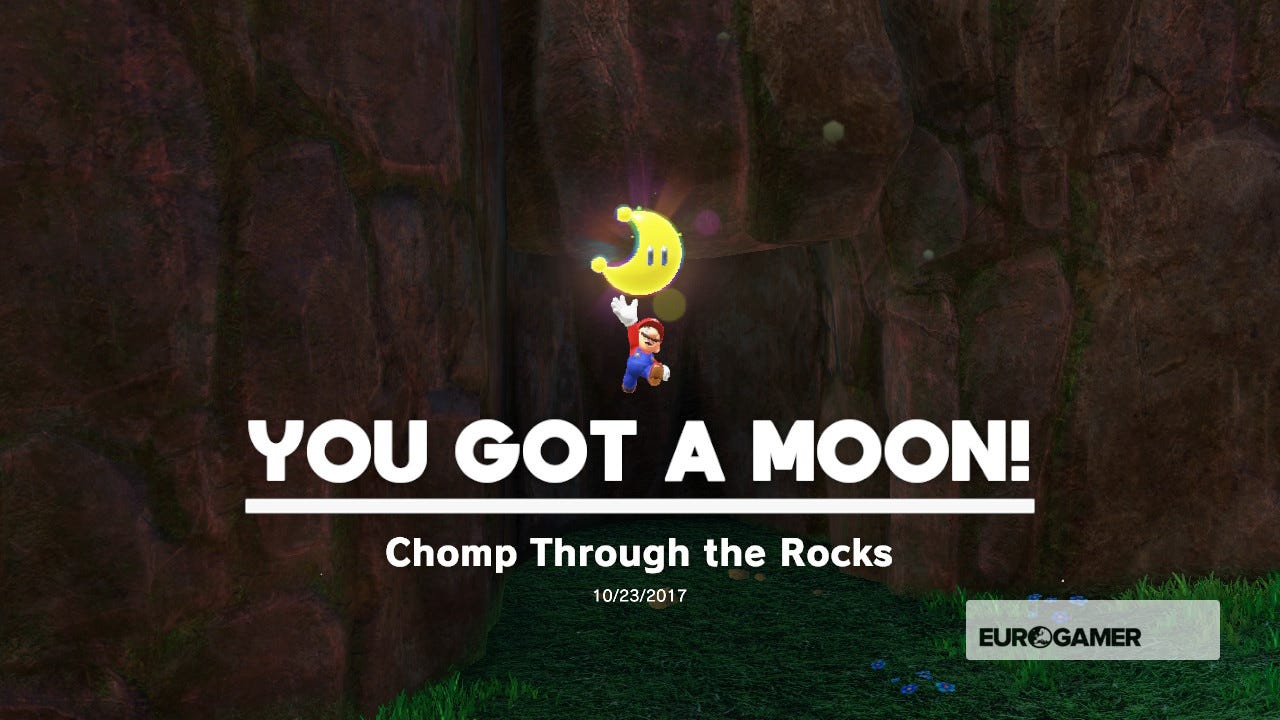
3. Chomp Through the Rocks
In the area with the four Chain Chomps, use the one on the left-hand side (with the dinosaur behind you) and hit the glowing brick wall in the cliff. Power Moon, assemble!

4. Behind the Waterfall
In the 8_bit section that leads up to the platform with the two Chain Chomps, reach the level with the 12 coins. To the left of it, defeat the Goomba, jump up against the grey pillar and reveal a secret block. Use it to jump over the pillar, then move left to find a Power Moon behind the waterfall.
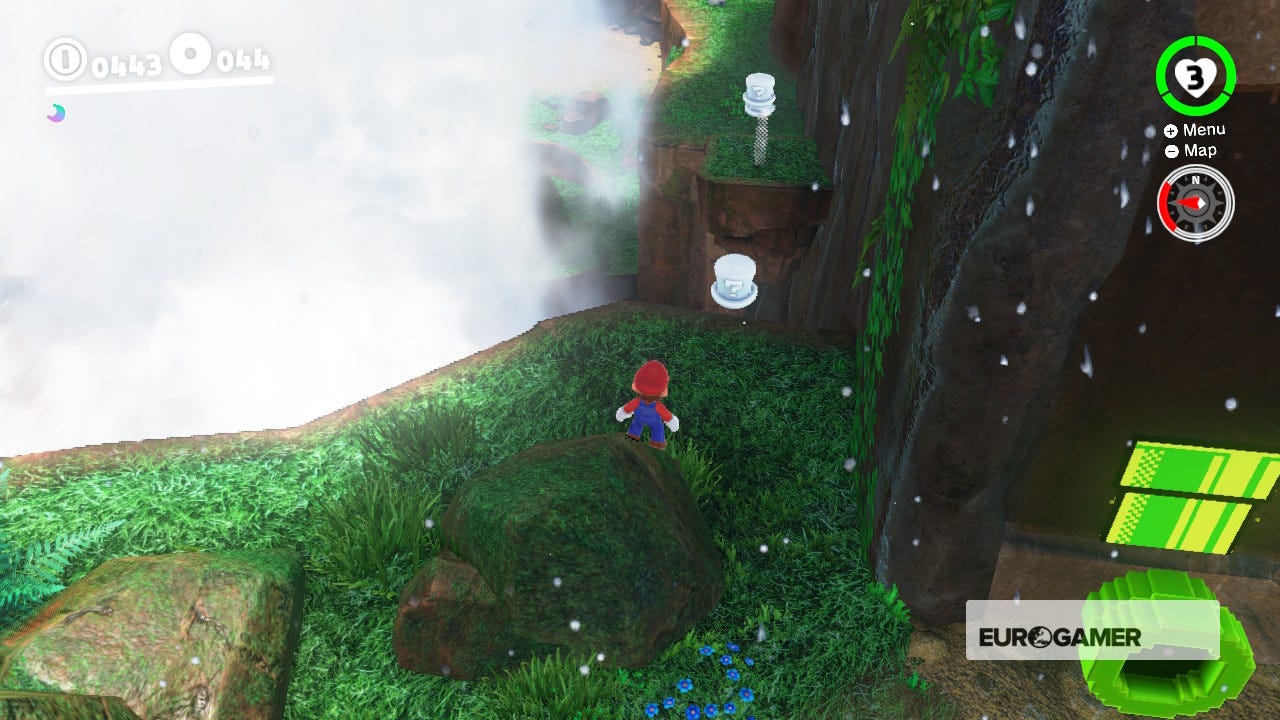
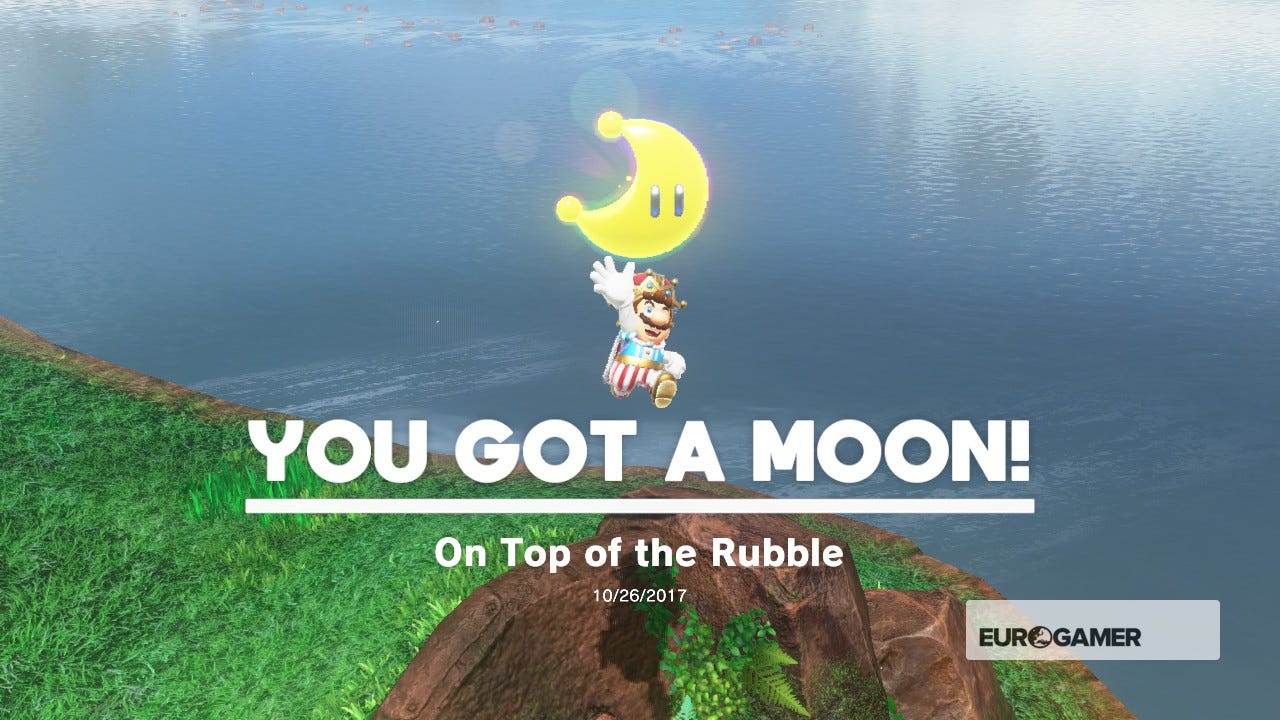
5. On Top of the Rubble
From the Odyssey, turn right and head towards the ramp where the colourful spiky enemies appear. The Moon is atop some rubble.

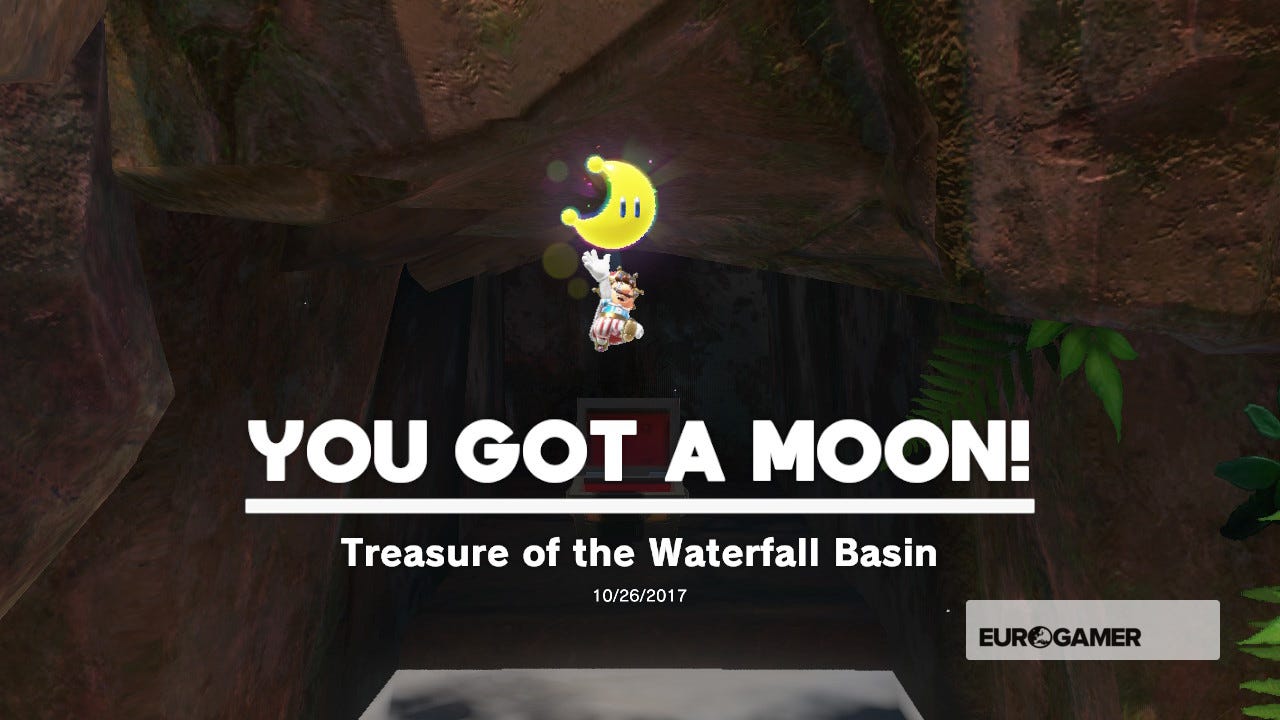
6. Treasure of the Waterfall Basin
In the first waterfall area - with the smallest part of the fallen bridge behind you - follow the edge of the ledge to your left. You'll find a hidden cave right next to the edge of the falling water. The Power Moon is inside a chest.

7. Above a High Cliff
This Moon is quite easy to find. From the Odyssey, turn left and posses the Chain Chomp. Aim for the dark tower of stone by the cliff and edge and destroy it. This will reveal a Warp Pipe. When you reach the top of the cliff, climb the platform to the left to activate the checkpoint, then turn right to grab the Moon.
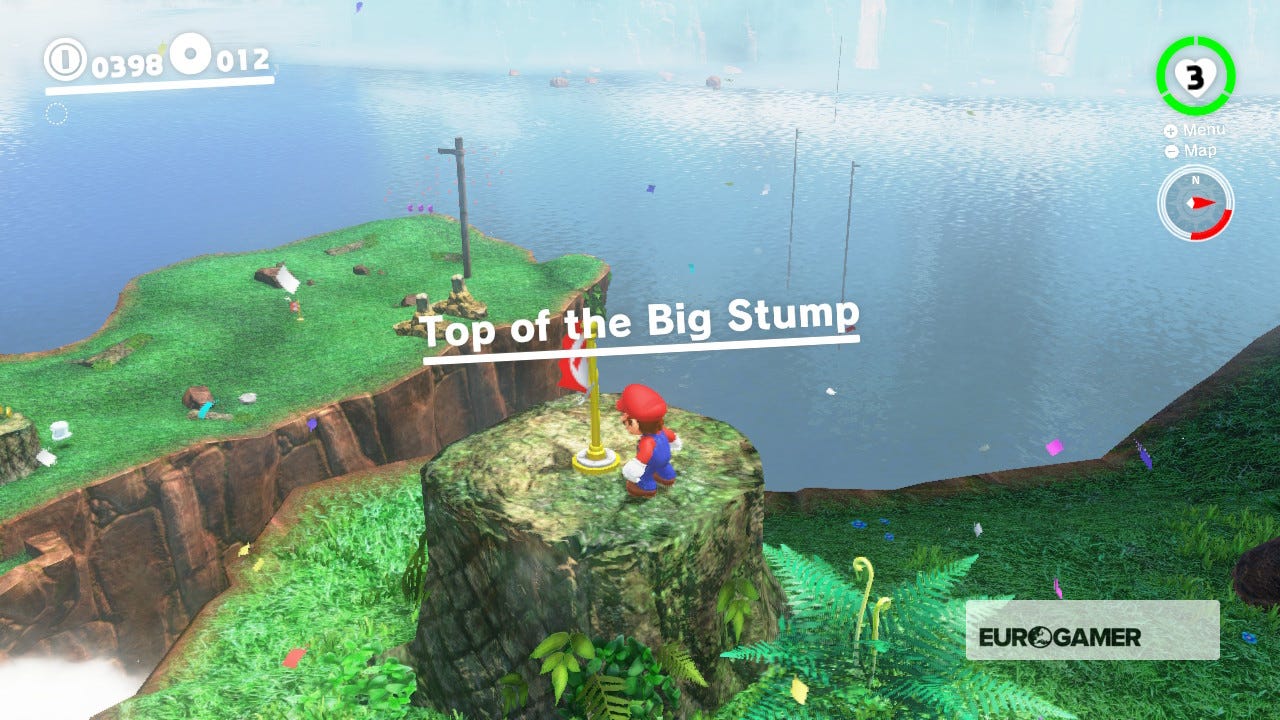
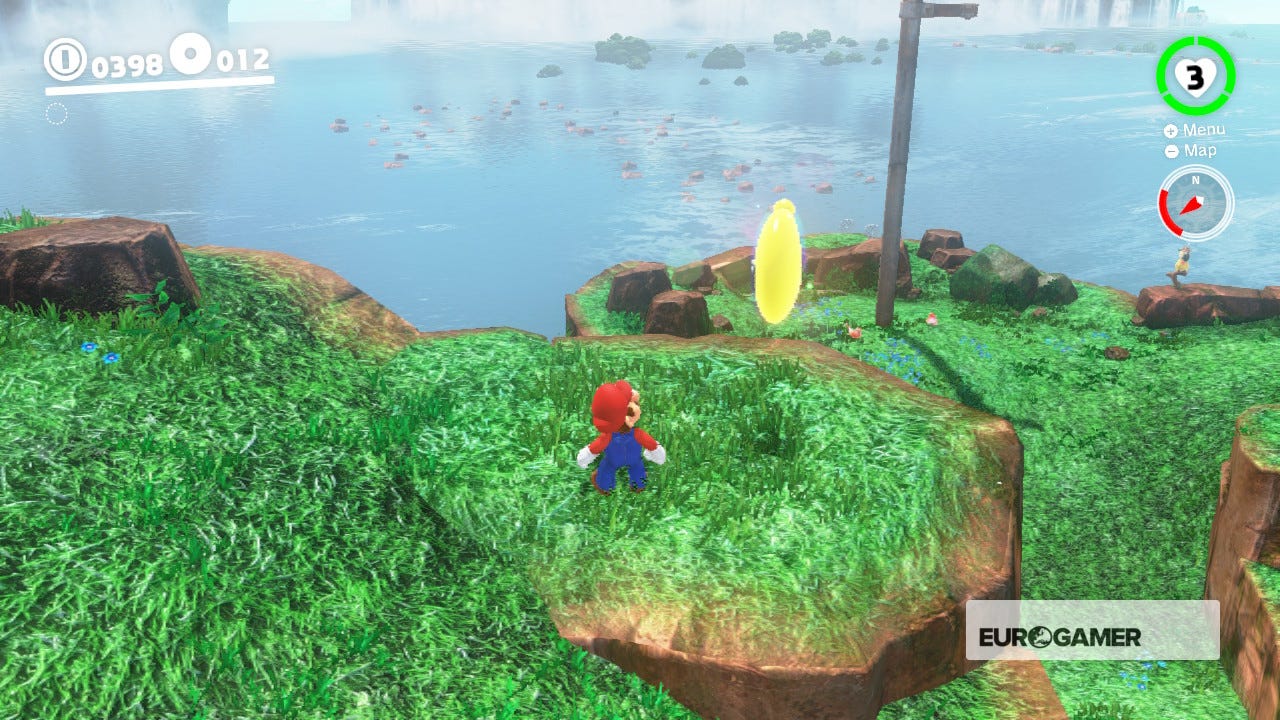
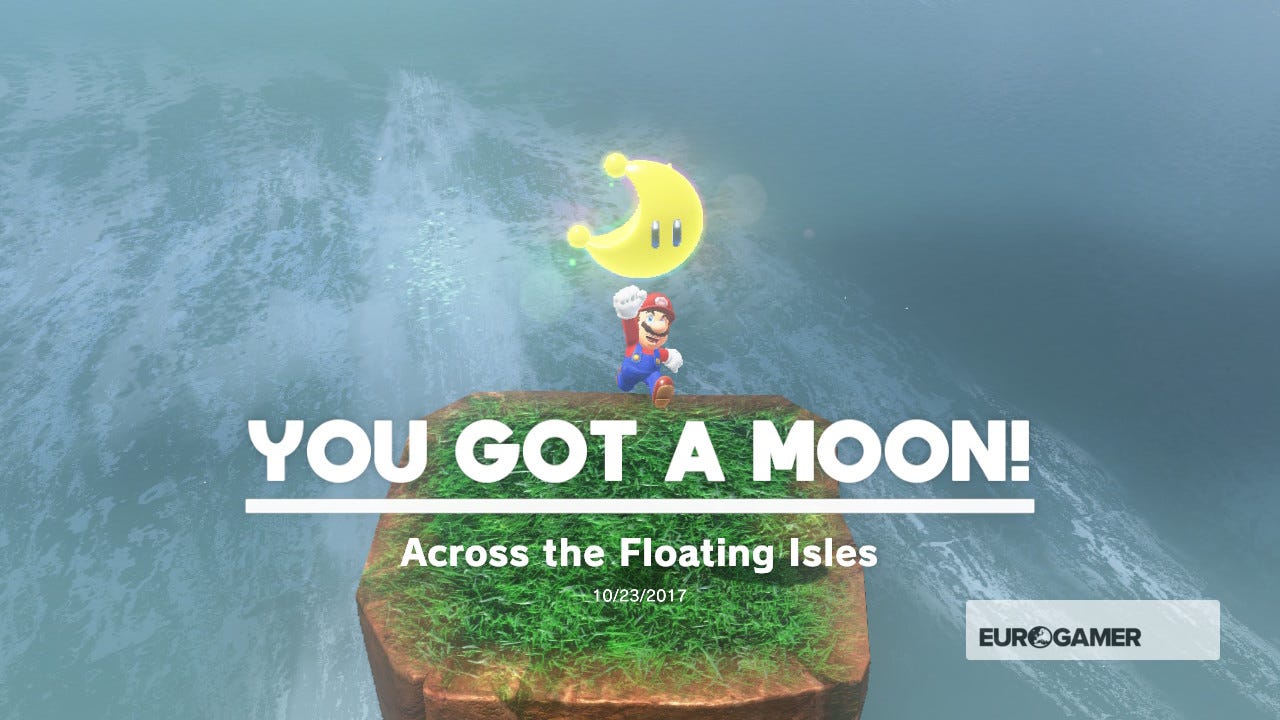
8. Across the Floating Isles
On the very top platform, where you previously fought a boss, look for a handful of floating platforms. Jump across them to reach the Power Moon yonder.

9. Cascade Kingdom Timer Challenge 1
To the left of the first waterfall, look for a scarecrow. Cross the three moving green platforms to bag the Moon at the far side.
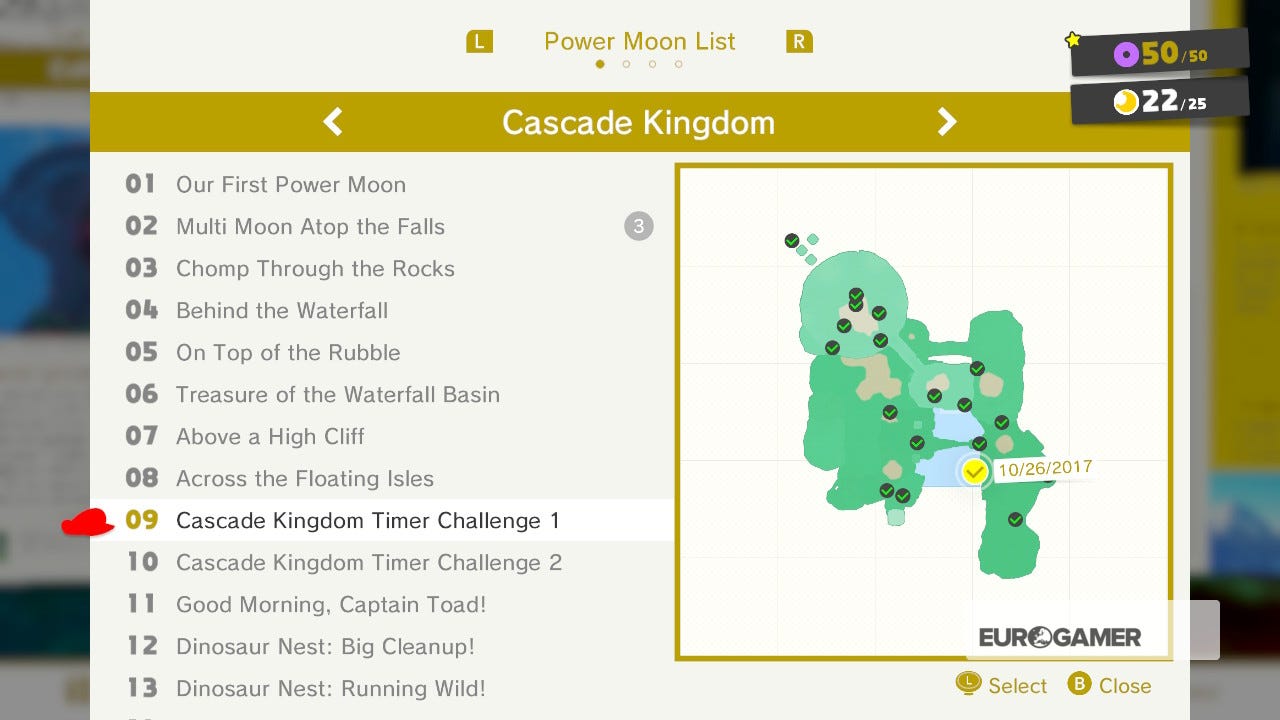
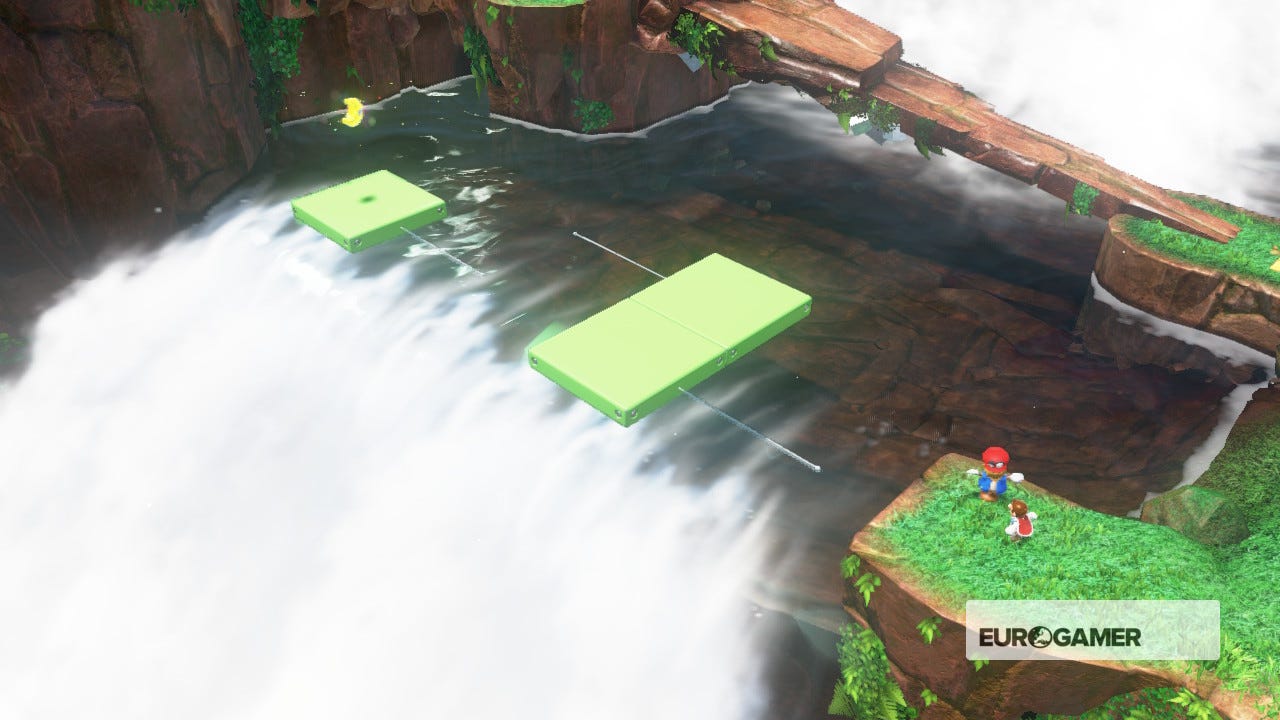
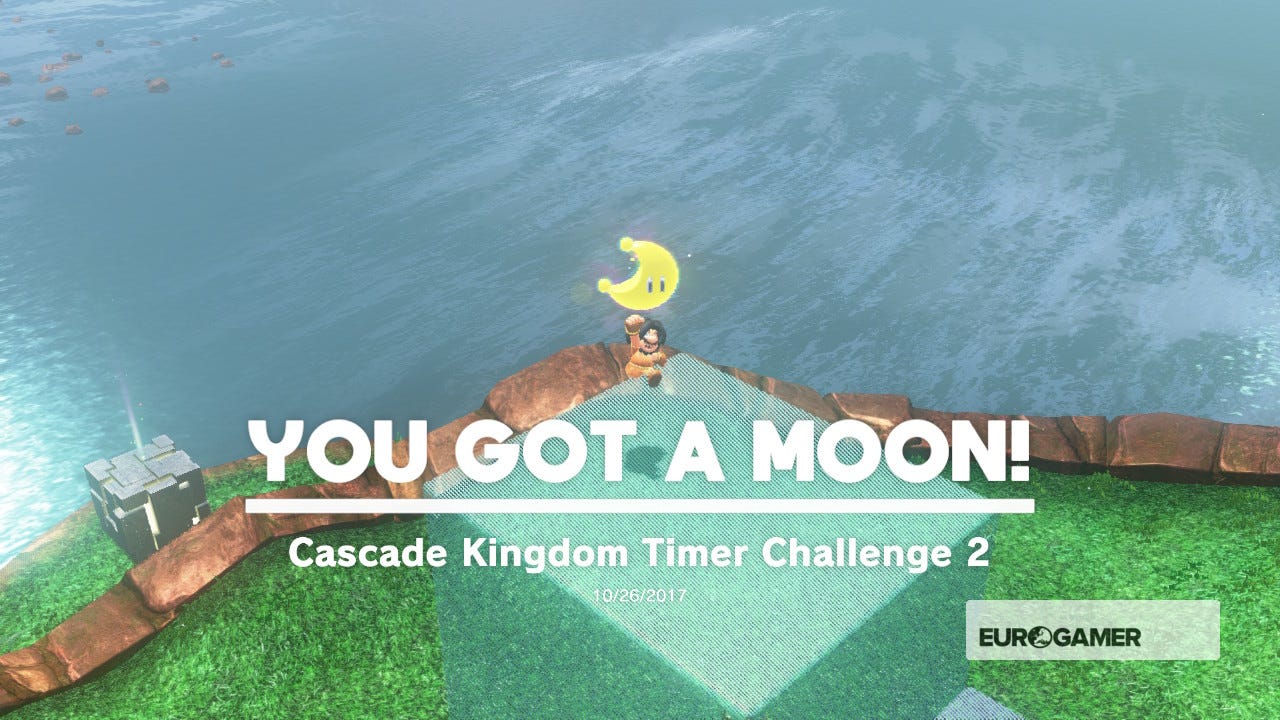
10. Cascade Kingdom Timer Challenge 2
On the very top platform, where you fought the boss, hit the scarecrow with your hat and ascend the structure. You'll need to backflip twice, so get yourself in position quick. Moon is at the top.

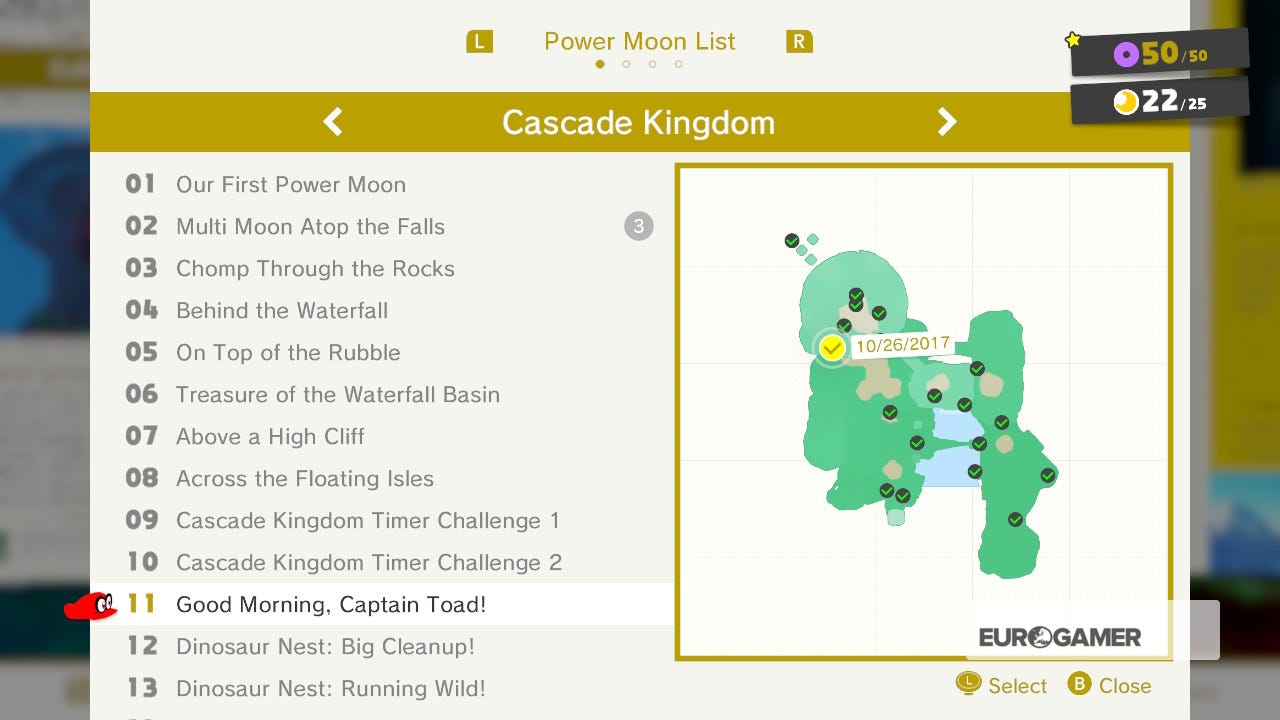
Super Mario Odyssey Cascade Kingdom Power Moons 11 to 20
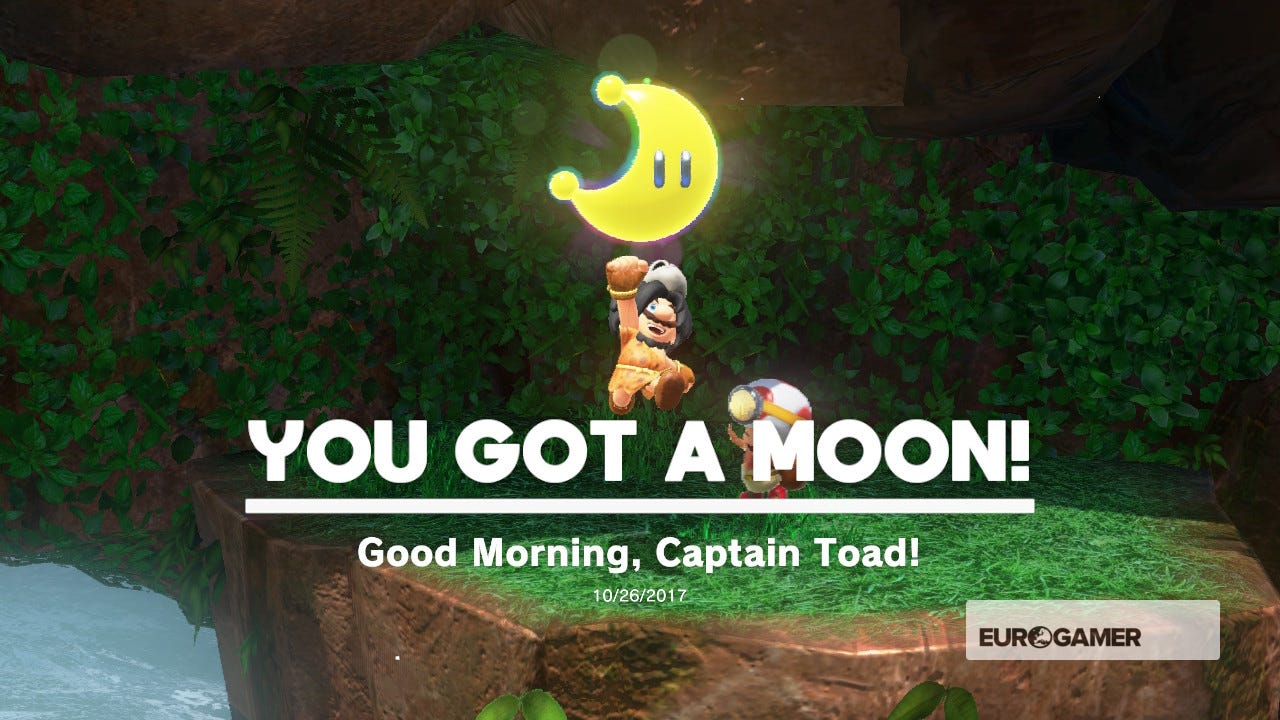
11. Good Morning, Captain Toad
Directly below the cliff edge with the Moon Rock on it, drop down another ledge to find Captain Toad enjoying the view. Speak, and a Power Moon shall appear.
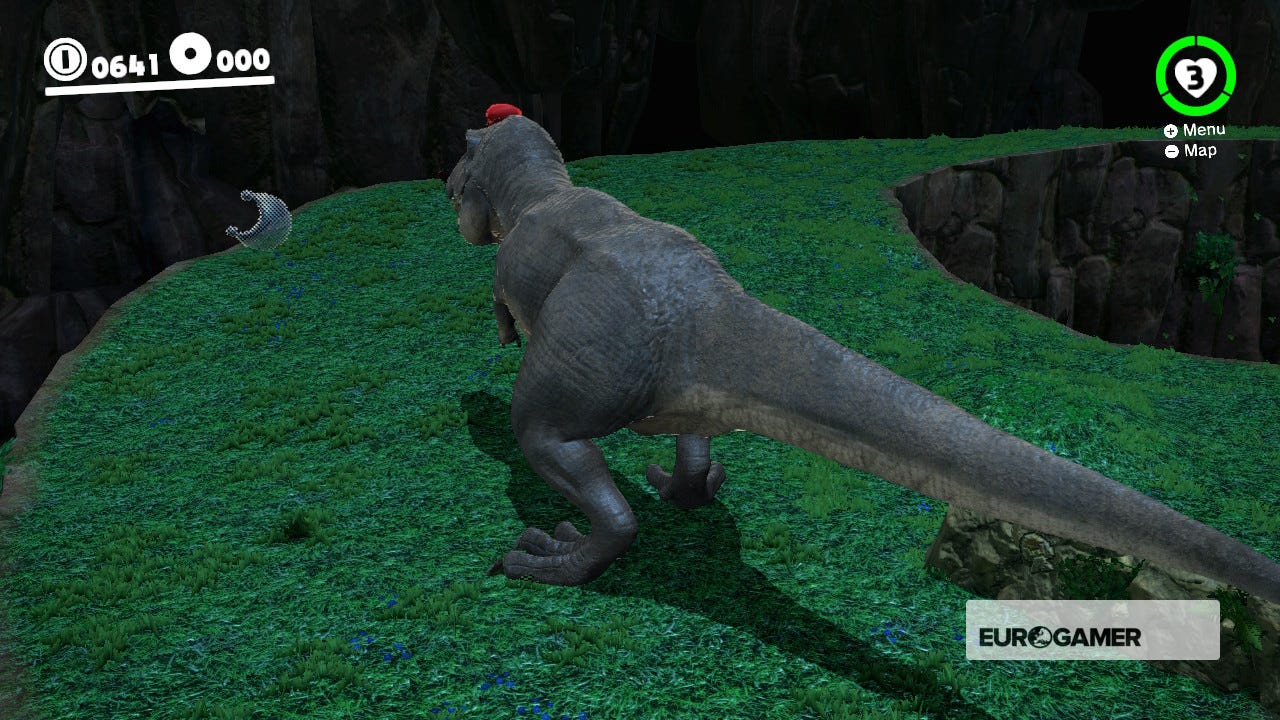
12. Dinosaur Nest: Big Cleanup!
From the Top of the Big Stump checkpoint, drop down to the ledge behind and enter the hat door. Inside, run across, possess the T-Rex and destroy every colourful enemy in sight. A Moon is yours.
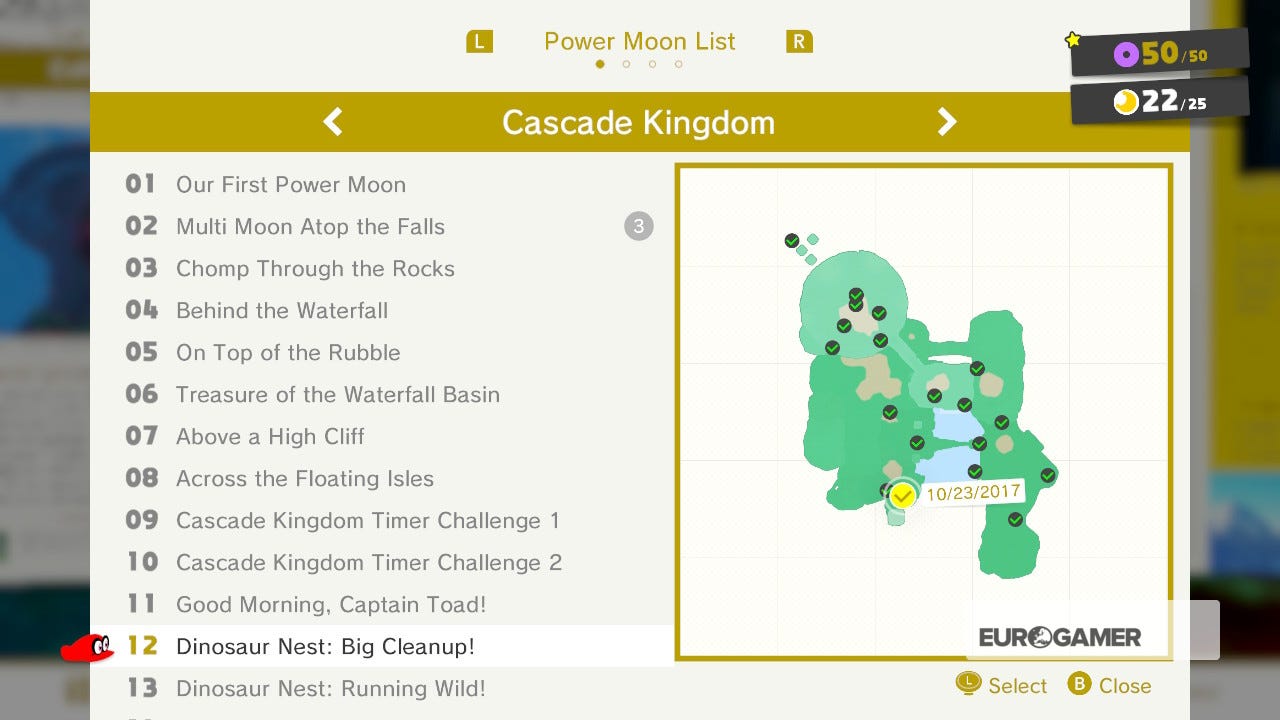
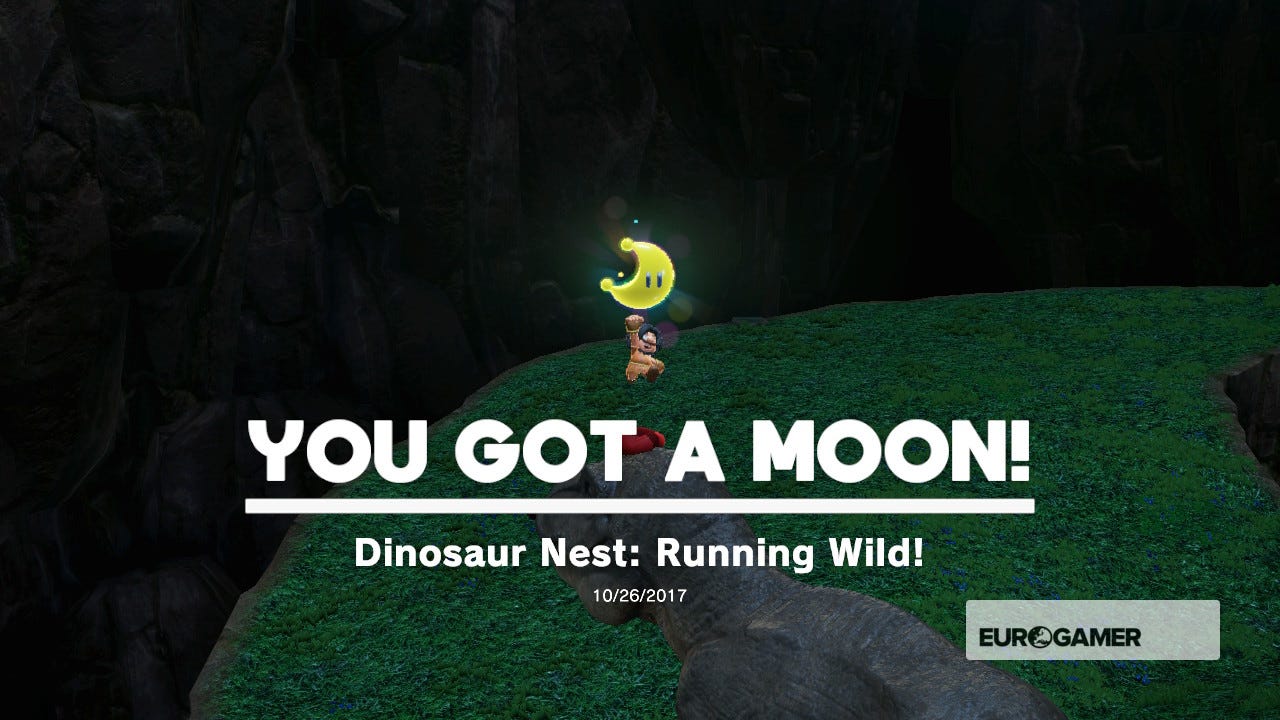
13. Dinosaur Nest: Running Wild!
From the Top of the Big Stump checkpoint, drop down to the ledge behind and enter the hat door. Inside, run across, possess the T-Rex, then head back towards where you started. To the right is a lower ledge. Drop down, destroy the pillars and a Power Moon will be thrown out. Use the trampoline to reach the top and claim your prize.

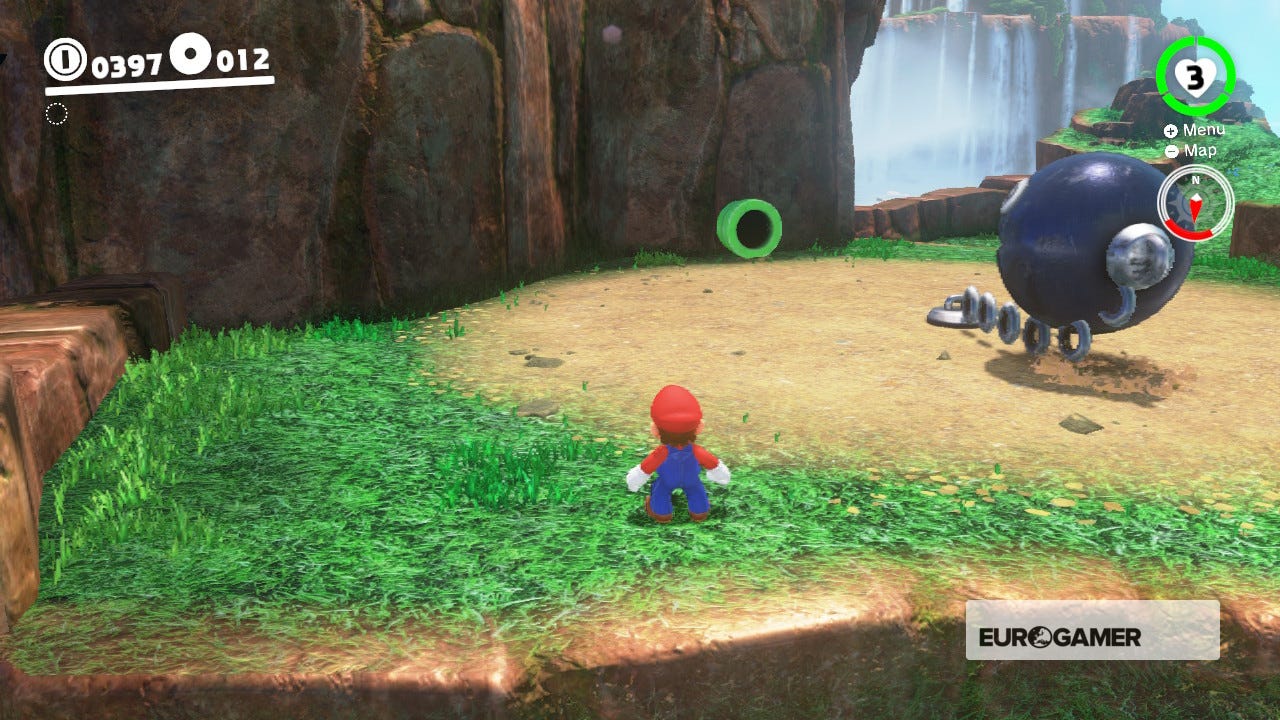
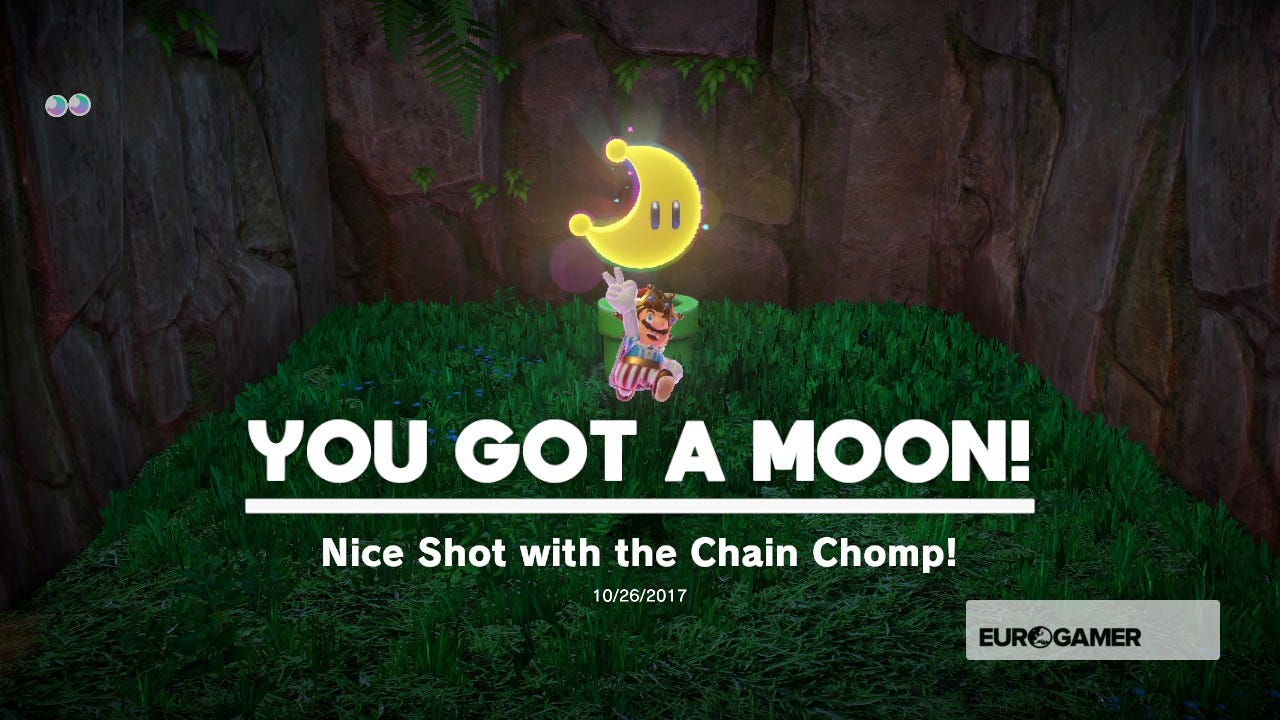
14. Nice Shot with the Chain Chomp!
From the sleeping T-Rex, head around the left-hand side of the cliff in front of you, then enter the Warp Pipe. Use the Chain Chomps to hit the targets and reveal the Power Moon at the end.

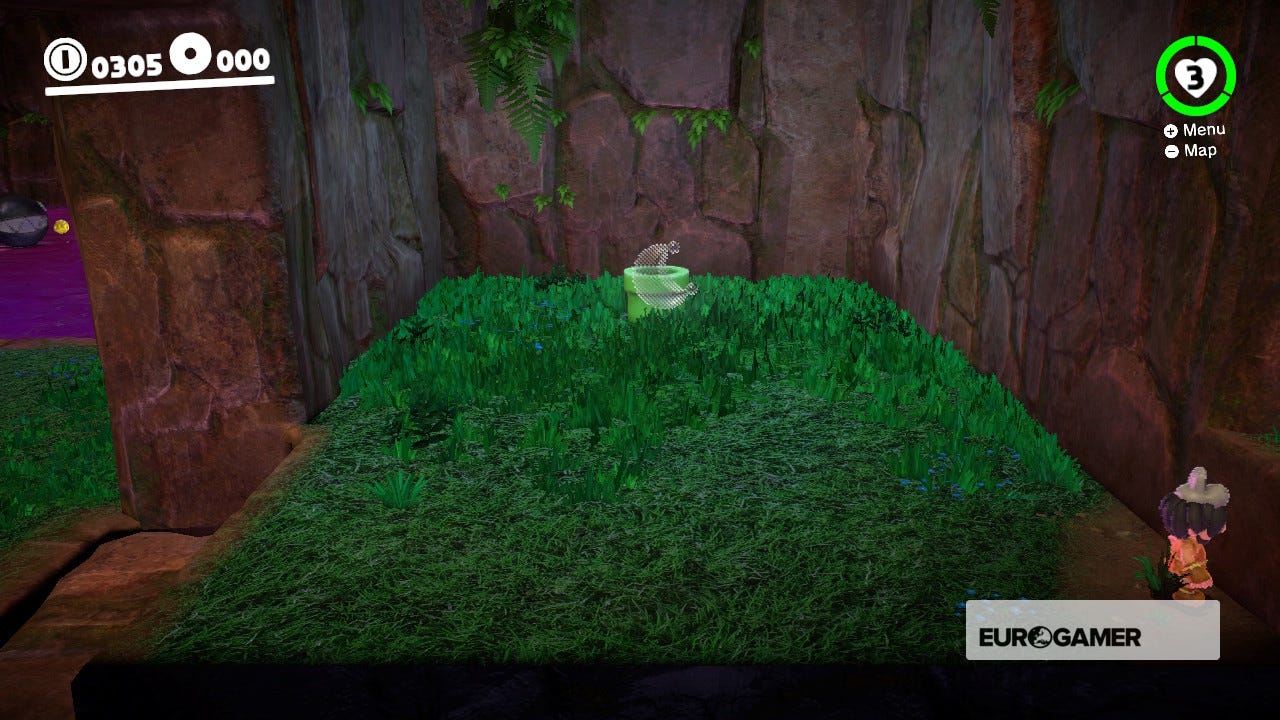
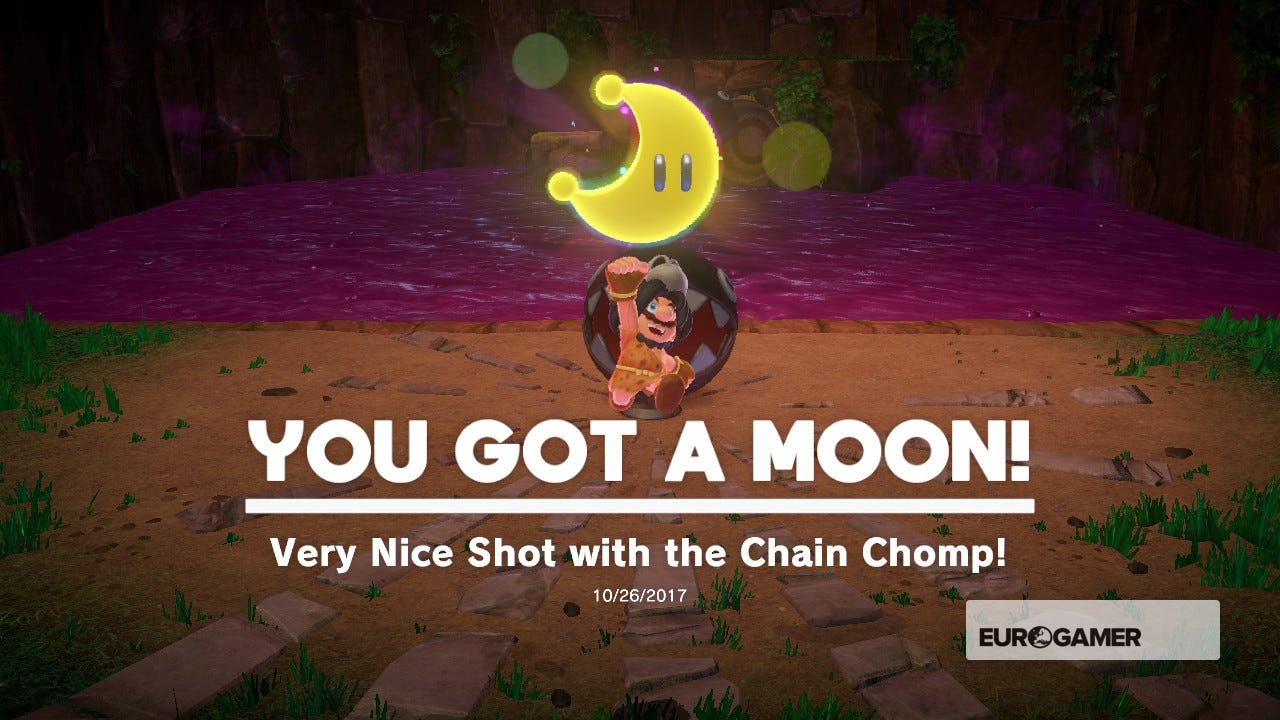
15. Very Nice Shot with the Chain Chomp!
This one is super sneaky. To find the fourth room with Chain Chomps (yup, there's a fourth one). Walk right to the far right-hand side of the room with the first Power Moon. Move towards the camera and you should see the corner of a ledge. Jump up and enter this room. You'll need to cause a chain reaction hitting all three Chomps to get your Moon.

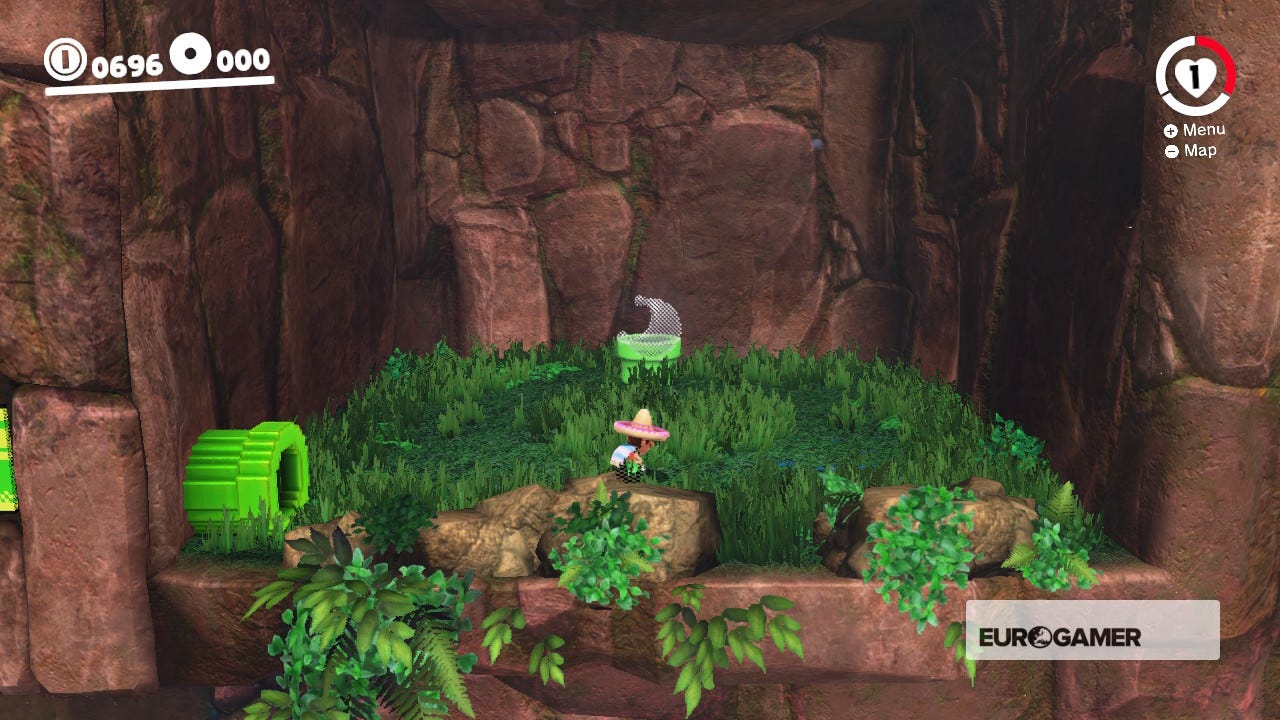
16. Past the Chasm Lifts
Beside the SS checkpoint you'll see a hat door against the cliff face. Inside, traverse the 3D and 2D sections - the be careful as there are plenty of Goombas in this sections - and reach the far right-hand side to grab the Moon.

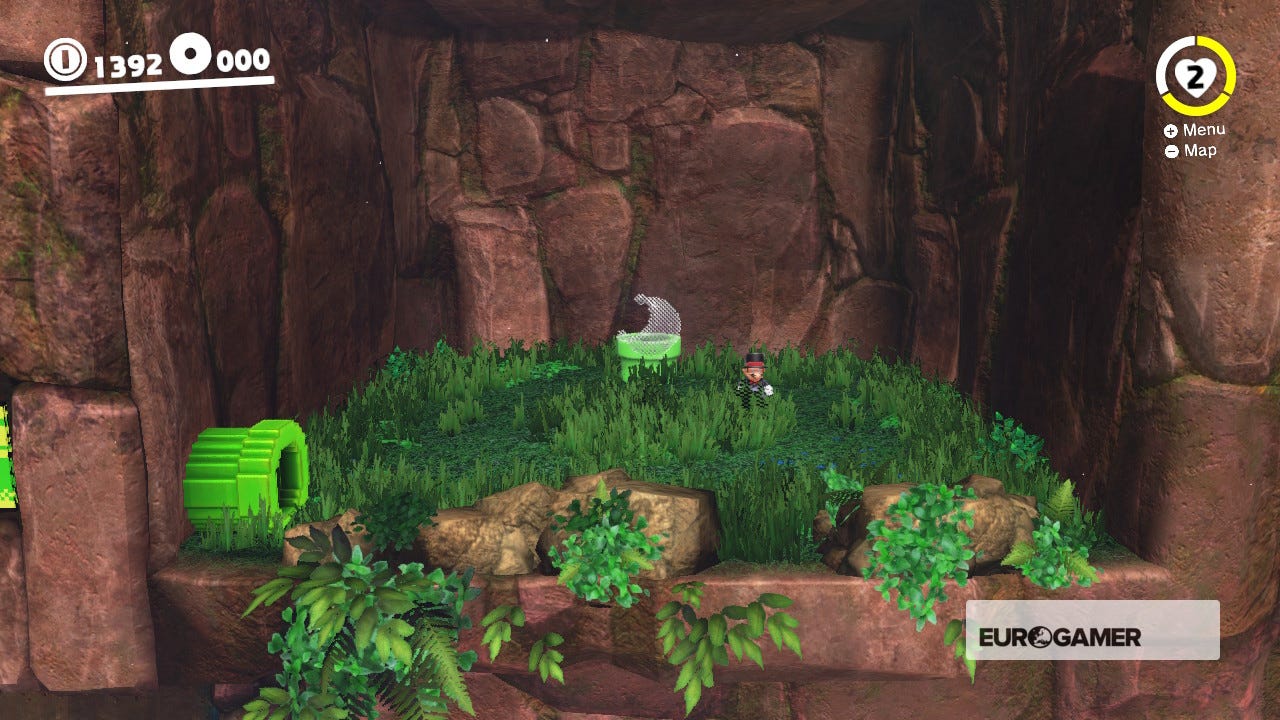
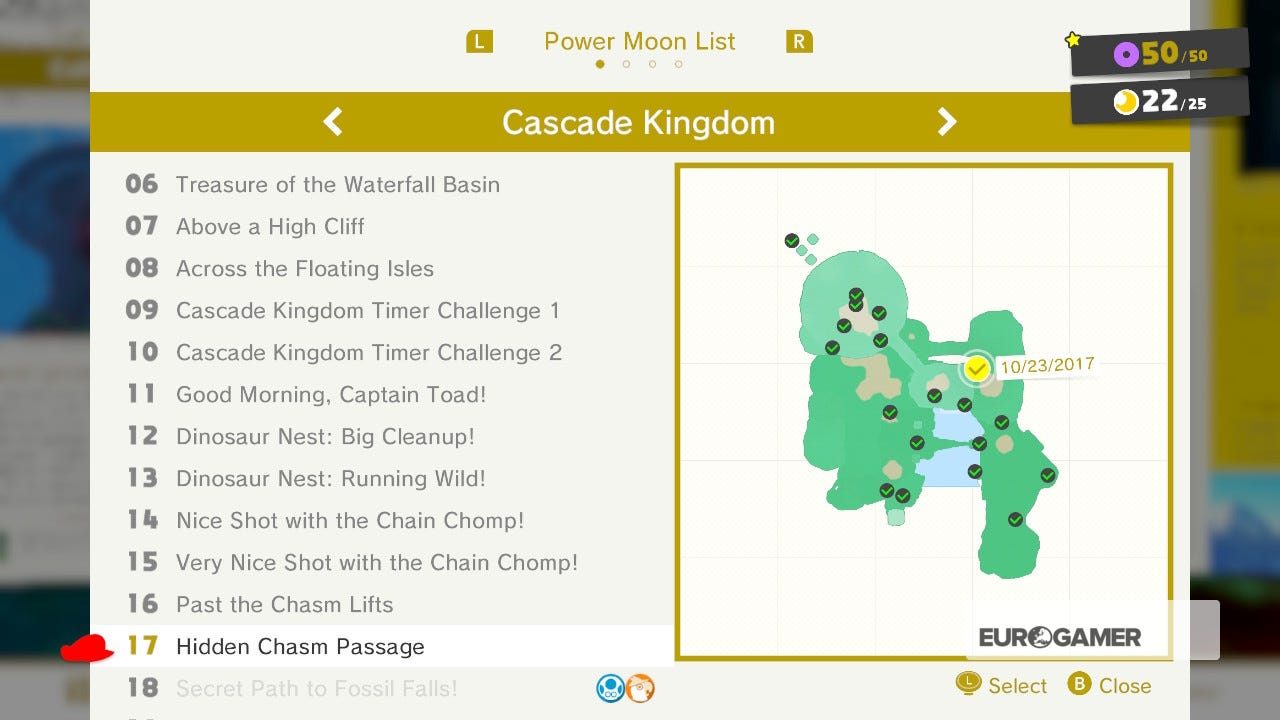
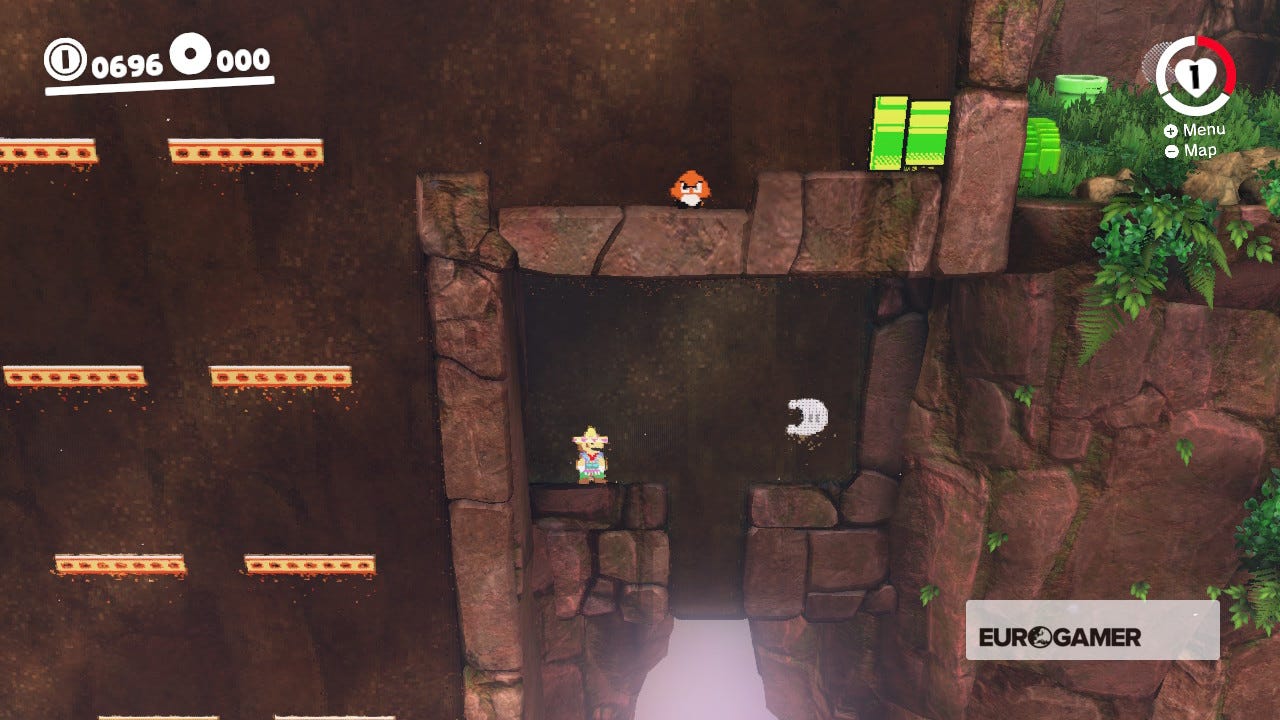
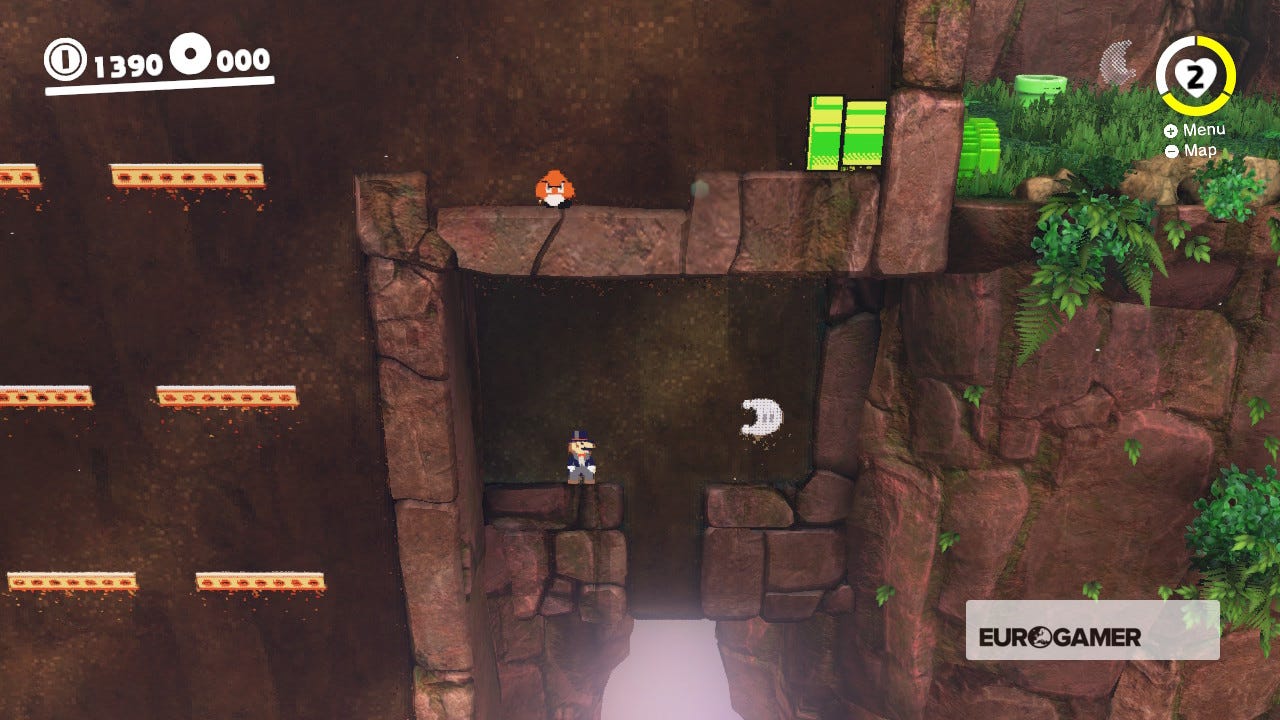
17. Hidden Chasm Passage
During the hat door section that flits between 2D and 3D, stop in the chamber with the green koopa that patrols on set of blocks in the shape of an 'L'. Hit it to send it spinning. It will destroy a single block on the right-hand side of the floor. Sneak through the hole and the next Moon is yours.
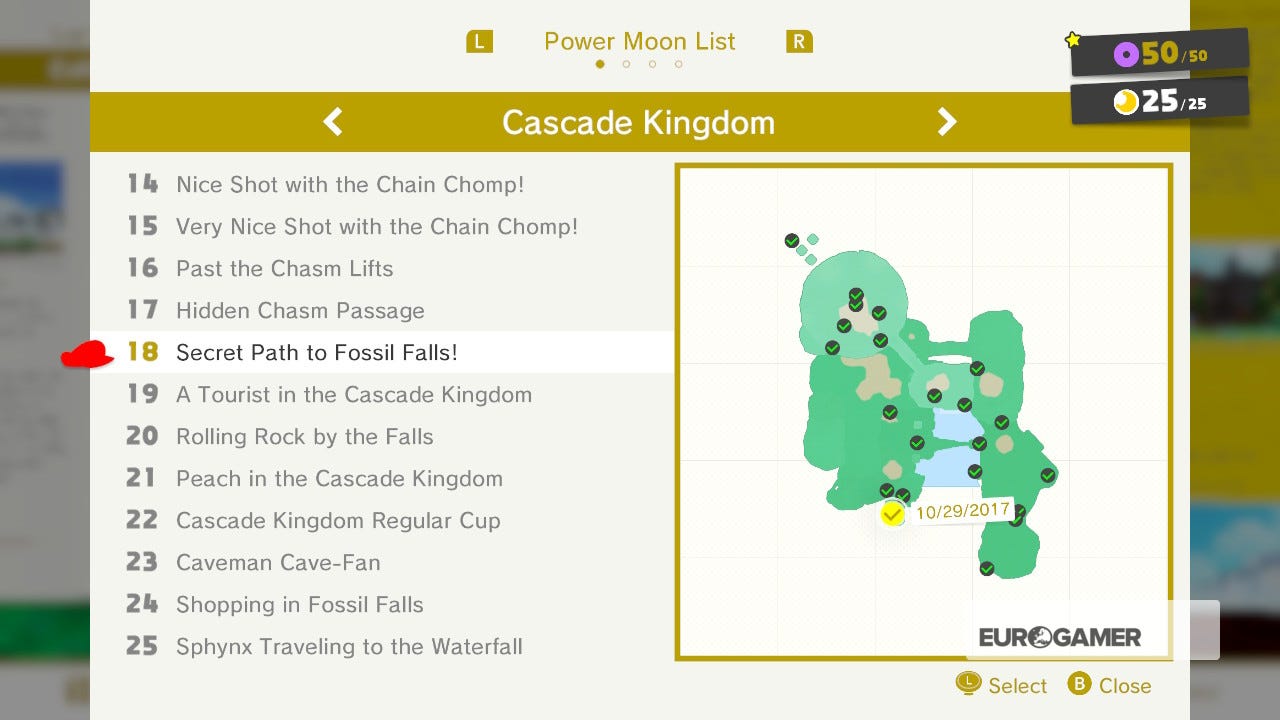
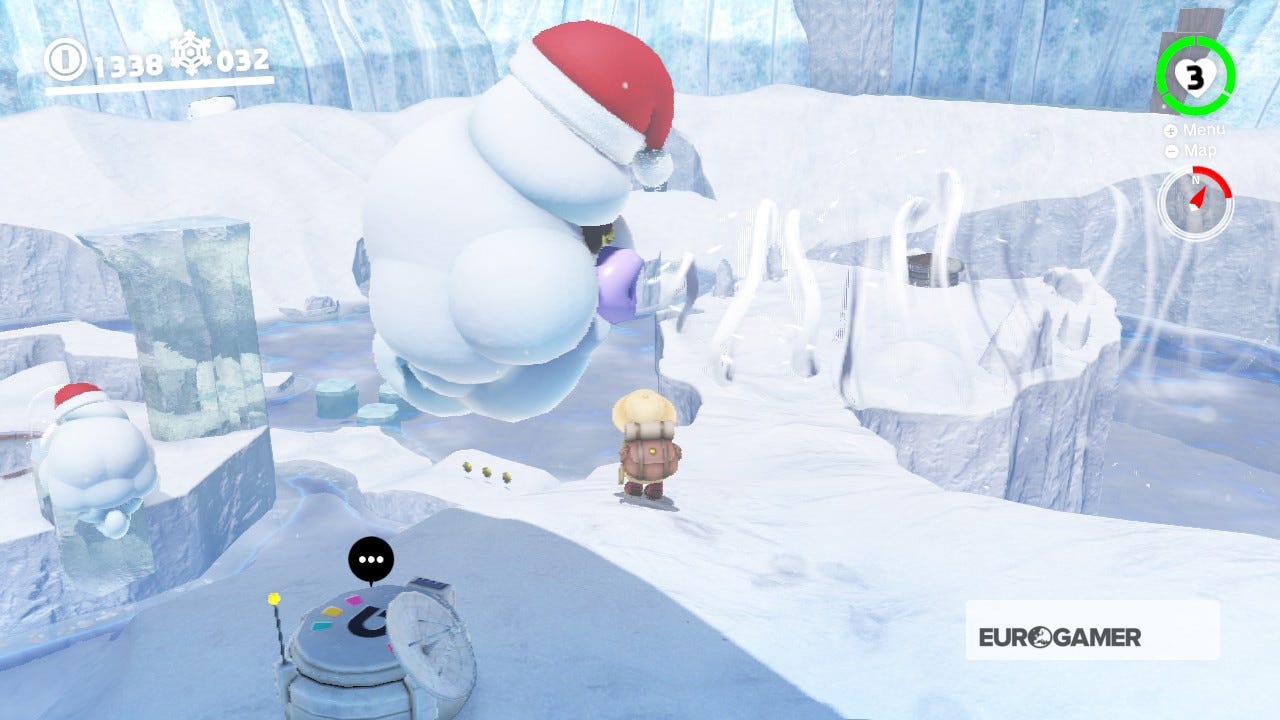
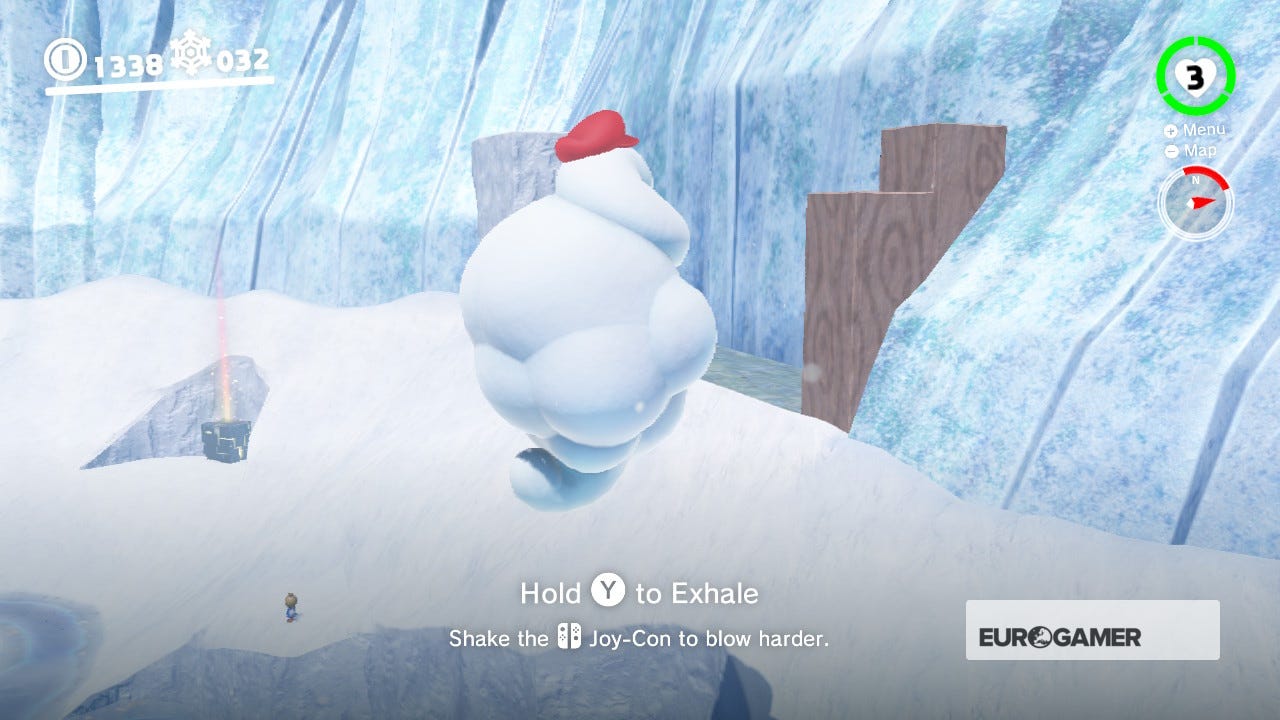
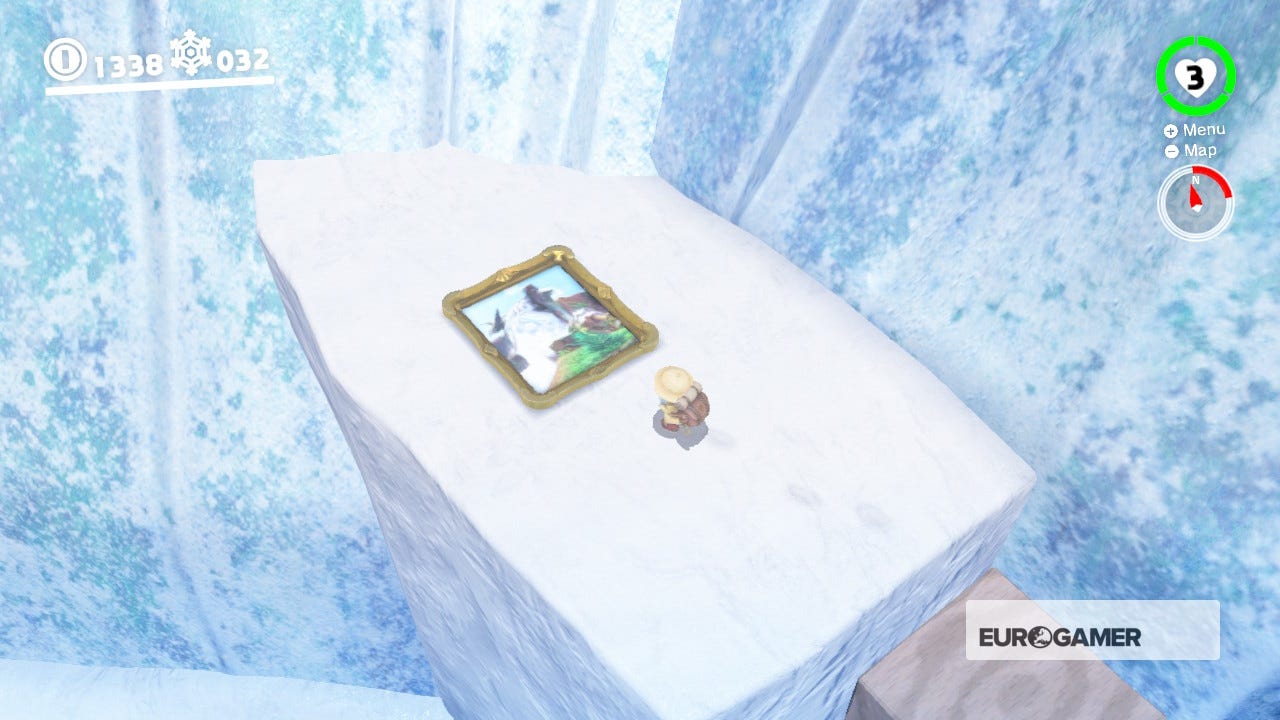
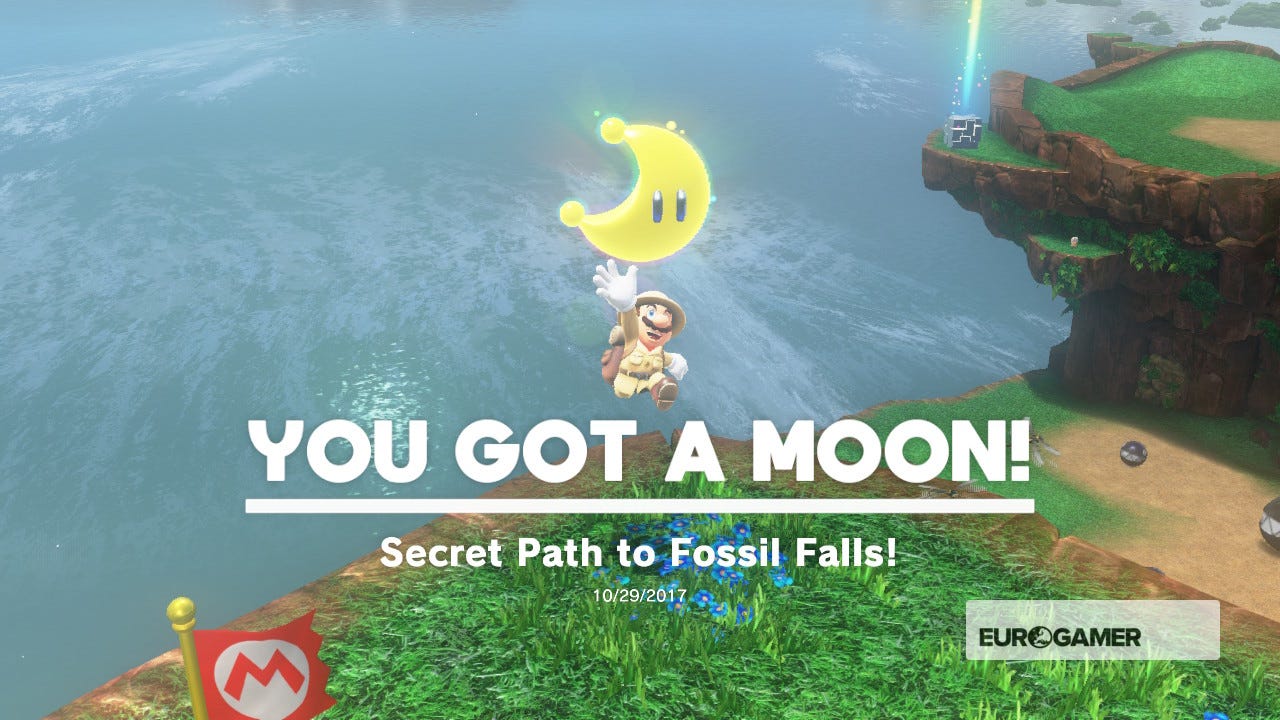
18. Secret Path to Fossil Falls!
To find this secret passage, you'll need to travel to the Snow Kingdom. Possess the nearest Ty-Foo, float over to the wooden step block at the far end of the gameworld, blow it towards the platform, de-possess and jump into the painting above. The Moon is on the other side.
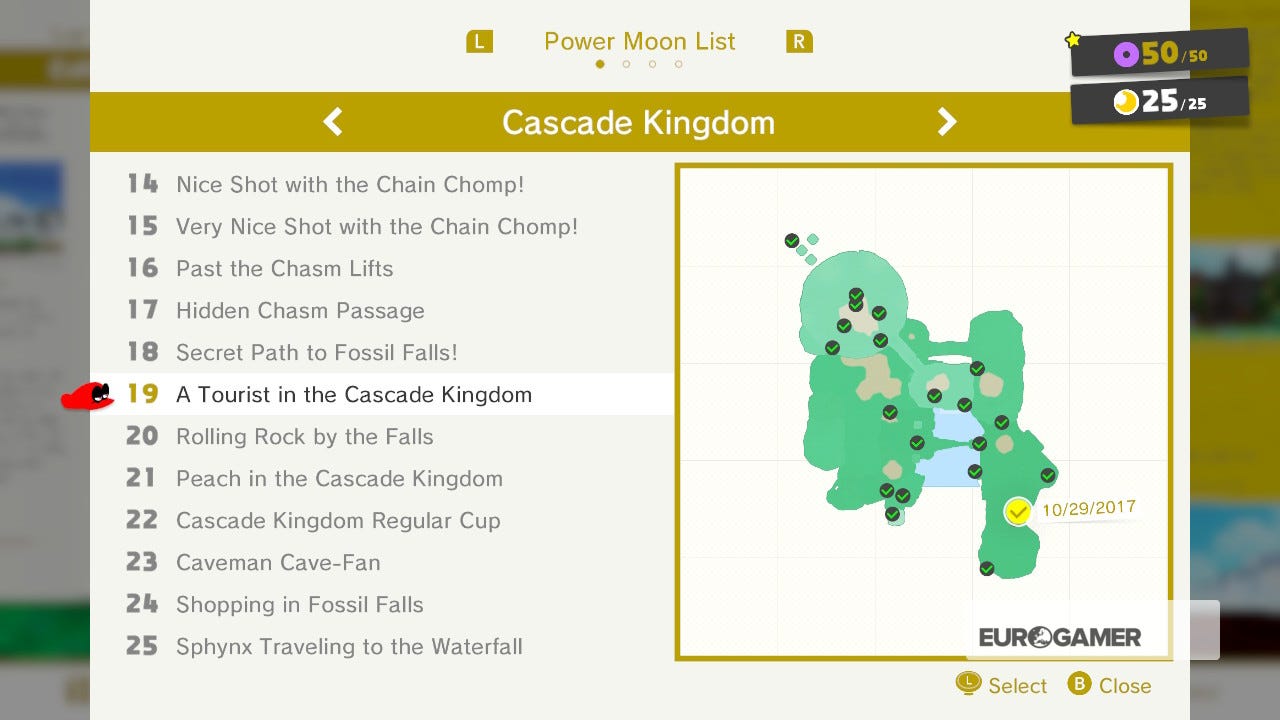
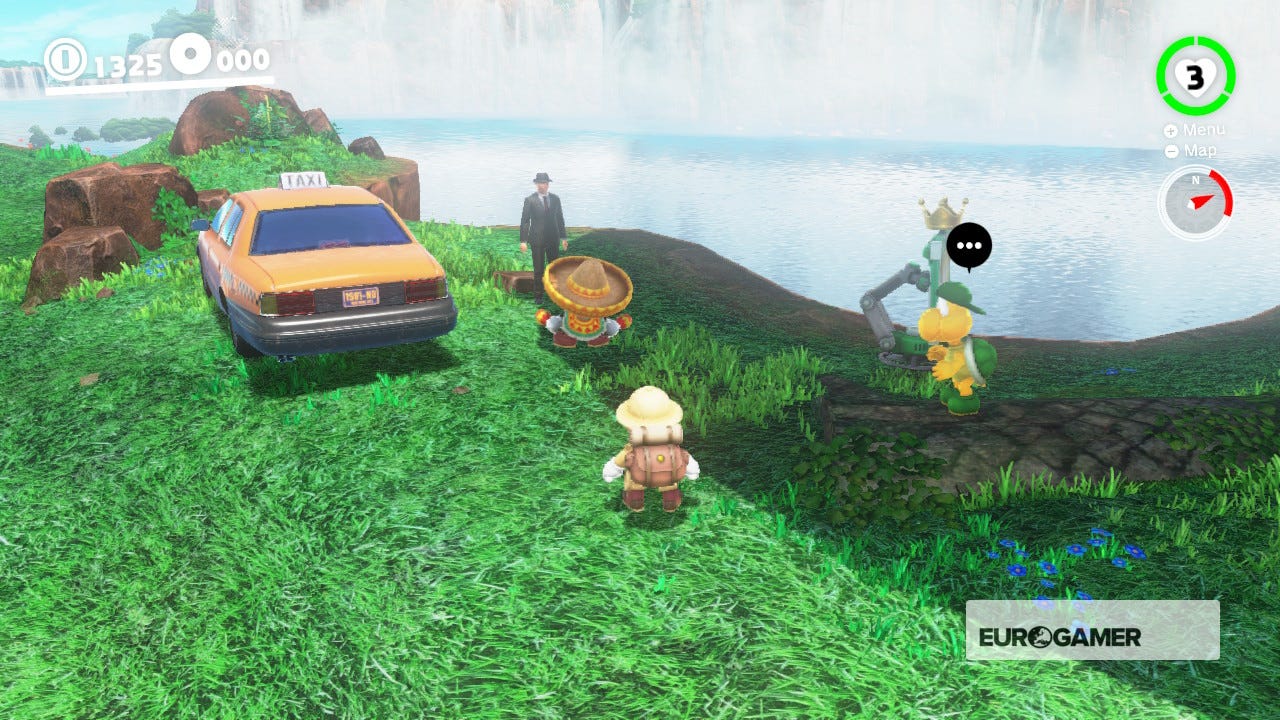
19. A Tourist in the Cascade Kingdom
This Moon is unlocked as part of a quest for Moon #68 ('Round-the-World Tourist') on the Sand Kingdom. Check out the section on this Moon to unlock the Moon for the Cascade Kingdom and every other location tied to this quest.

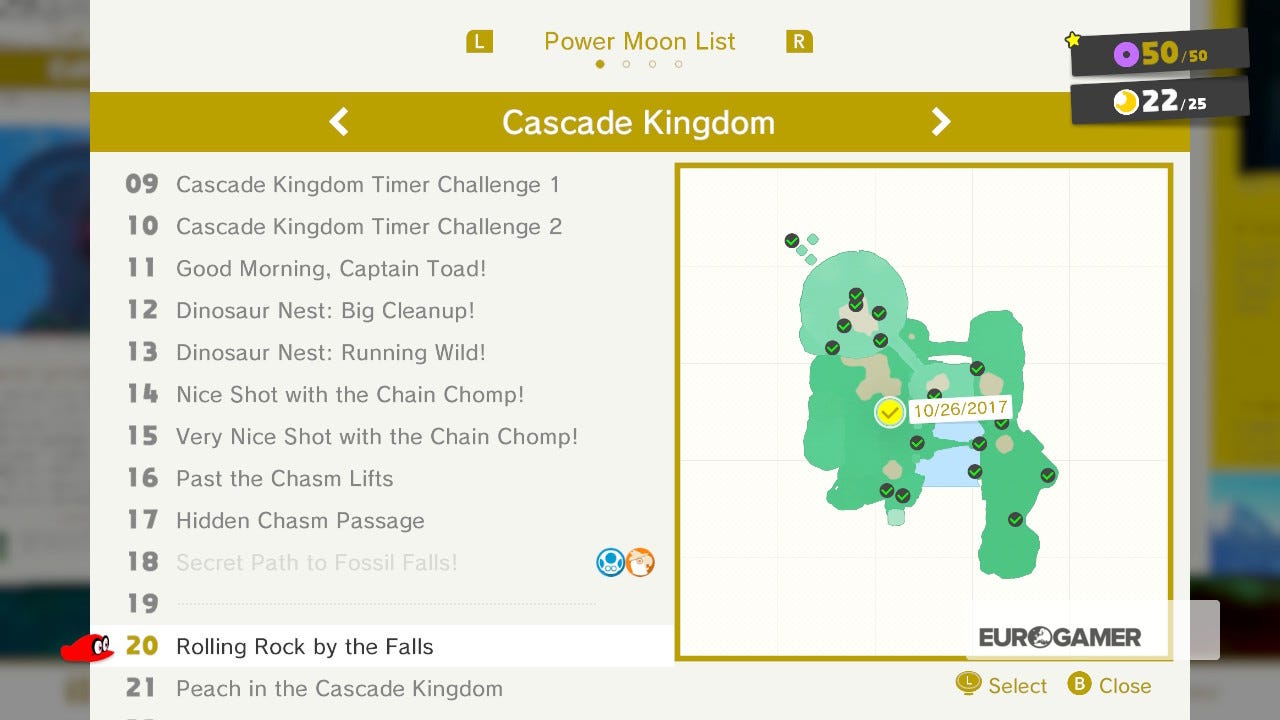
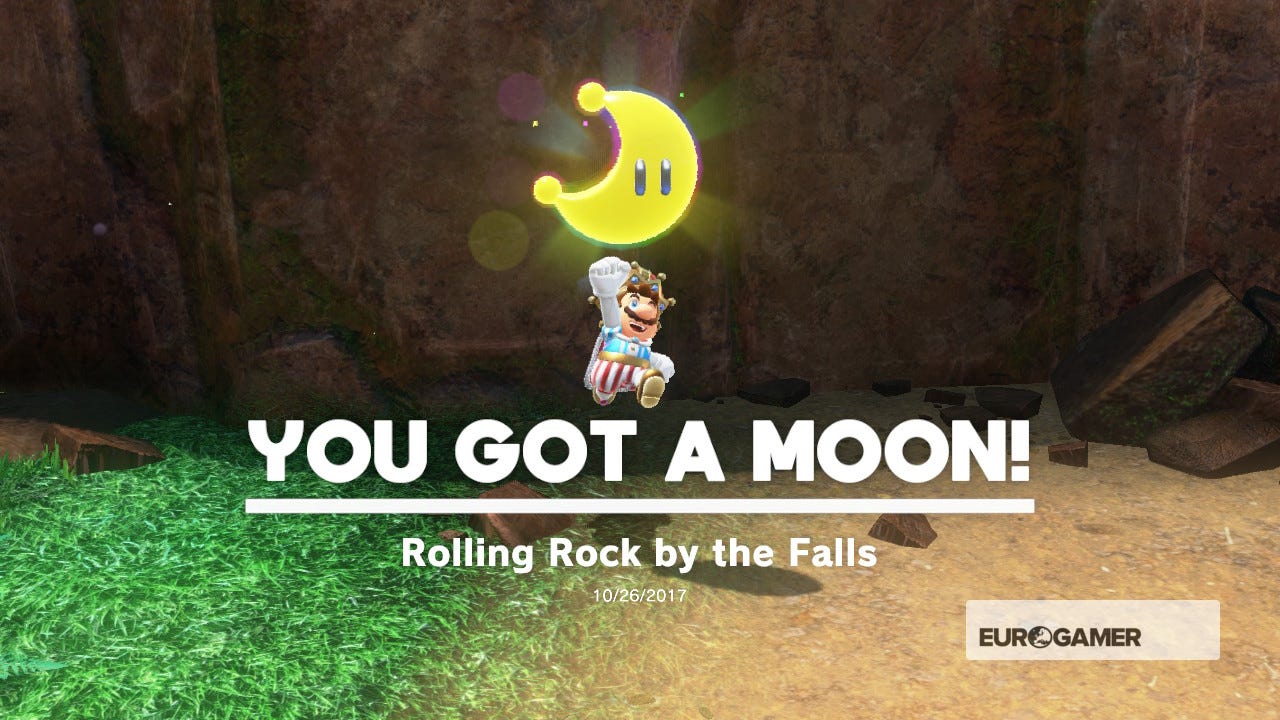
20. Rolling Rock by the Falls
Cross the first waterfall and look to your right. Next to a half-buried hat ship are some rocks. One is glowing, kick it around a few times to release the Moon inside.
Super Mario Odyssey Cascade Kingdom Power Moons 20 to 25
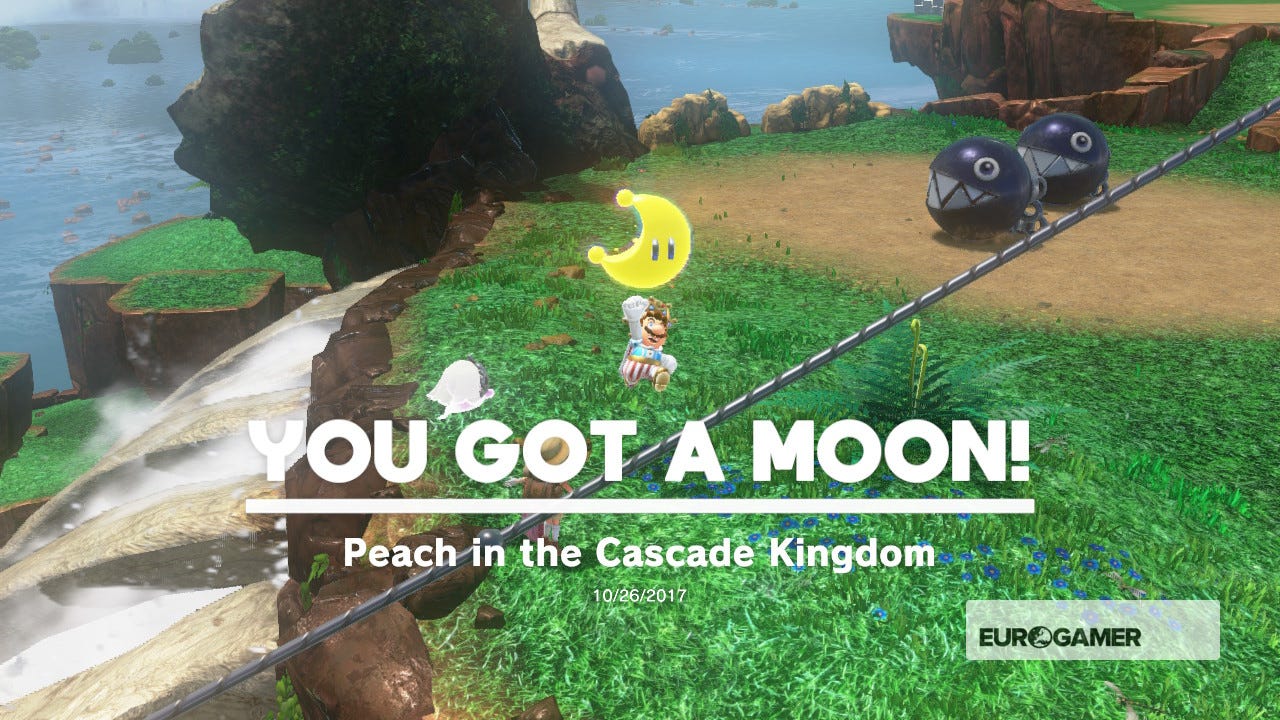
21. Peach in the Cascade Kingdom
After you finish the main story, you'll find Peach on the second highest platform, by the edge near the rib cage waterfall. Speak to her to get another Moon.

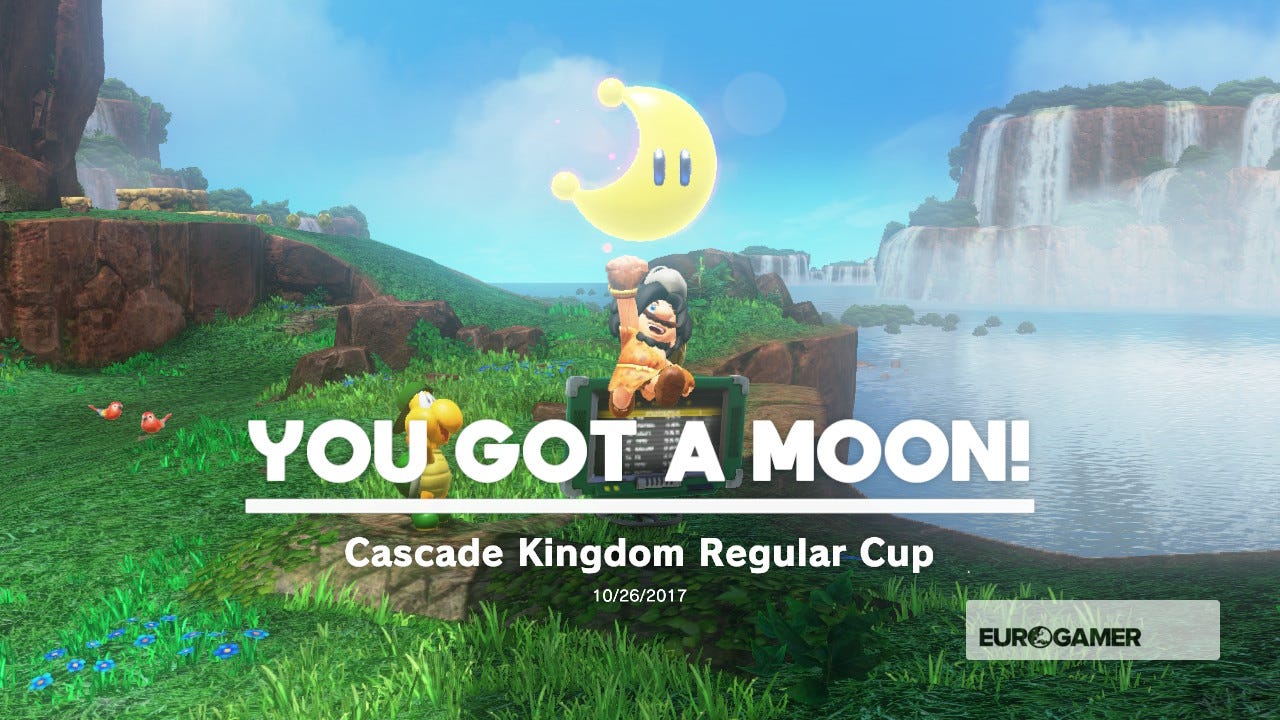
22. Cascade Kingdom Regular Cup
This one seems tough until you know two things: a) holding LZ while running then immediately pressing B will cause Mario to do huge leap forward (until also add a dash of speed afterwards) and b) the shortcut (which involves using the white cap platforms to the right of the Chain Chomps) will get you there in 1st place.

Need more help? Our Super Mario Odyssey guide and walkthrough goes through every objective in each Kingdom, while our Power Moon locations can help you track down the likes of Cascade Kingdom Power Moons, Sand Kingdom Power Moons, Metro Kingdom and New Donk City Power Moons and more collectables. We also have Purple Coin locations for each Kingdom, and if you want to know what to spend it on, we have a hats list, outfits list, stickers list, a souvenirs list as well as a music list to kit out the appearance of both Mario and the Odyssey. Once you've finished the game, check out the free Balloon World update, too.
23. Caveman Cave-Fan
There's a cap on the very top platform of the area. Buy the caveman headwear and outfit from the Crazy Cap shop near the Odyssey, dress in them then return to him to unlock another Moon.


24. Shopping in Fossil Falls
Enter the Crazy Cap shop near the Odyssey, and buy the Moon in here for only 100 gold coins. Bargain!


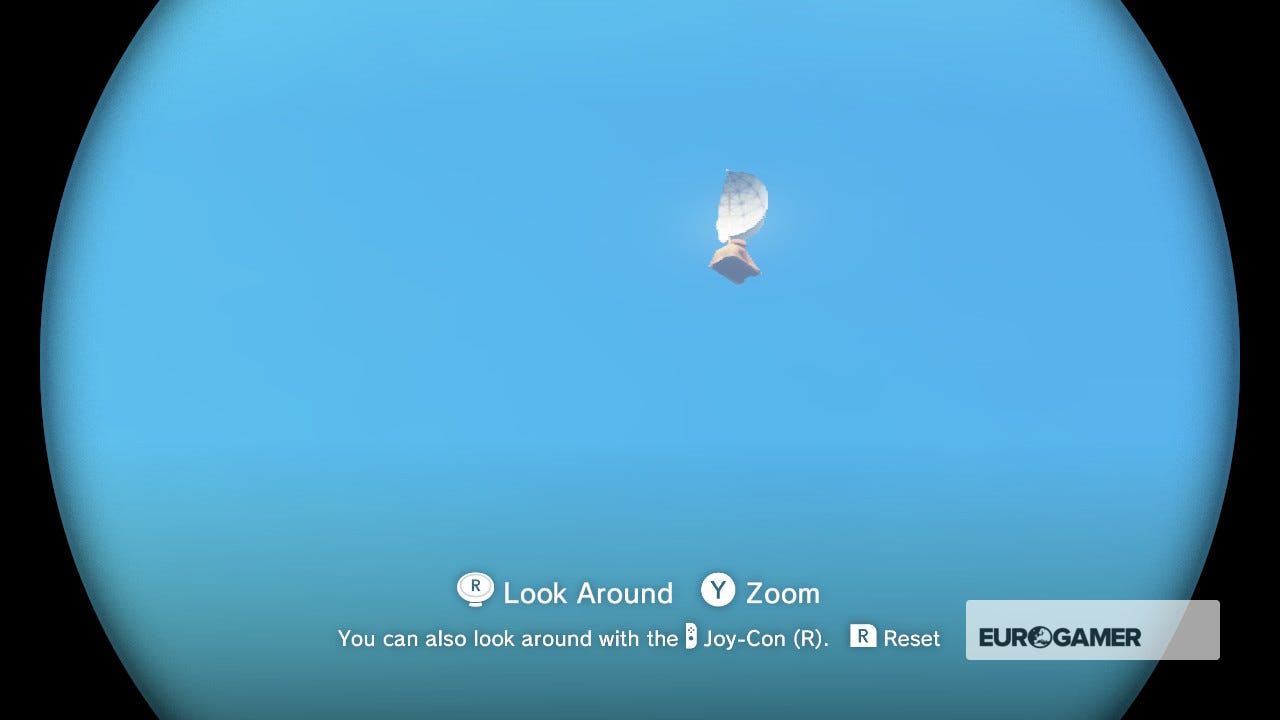
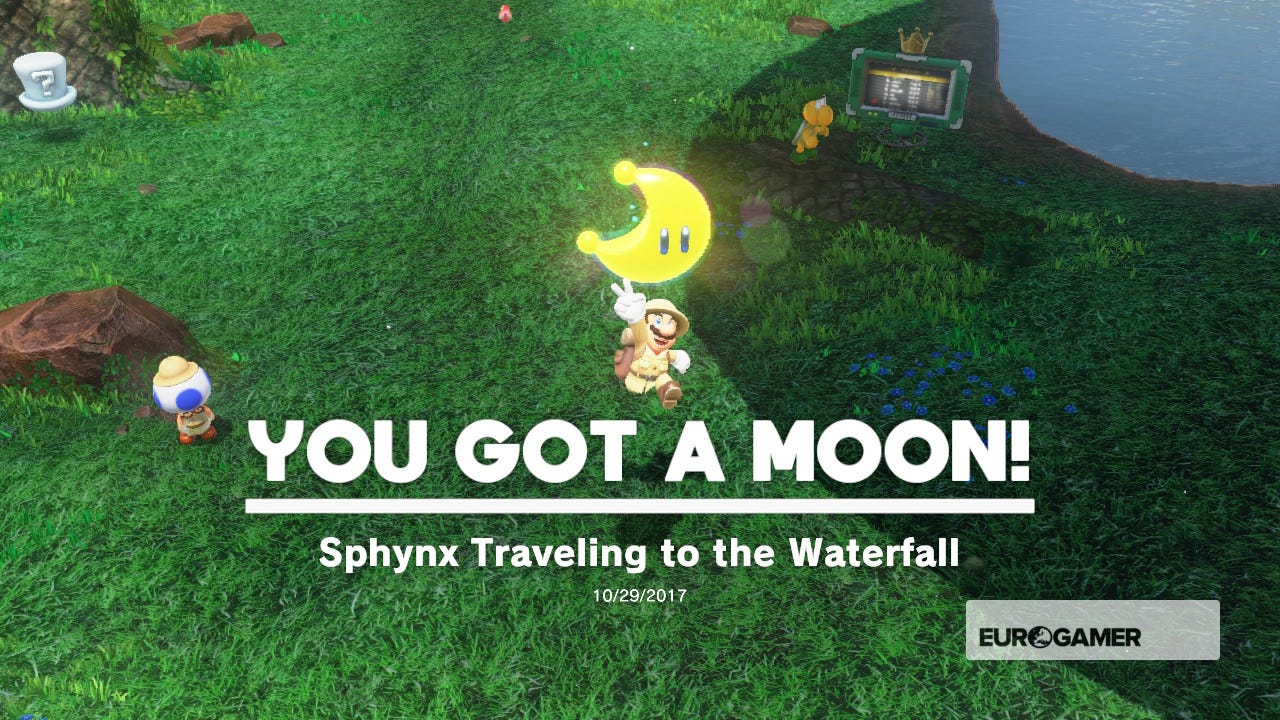
25. Sphynx Traveling to the Waterfall
Use the Binoculars behind the Odyssey to spy one of the Cap Kingdom ships in the sky that's carrying the Sphynx rather than a regular hat. The Moon will appear in front of you.

Other Cascade Kingdom Power Moons you can unlock
As well as the above Moons that appear when you clear a Kingdom for the first time, there is yet another set that you can collect later in the game. Be warned the following contains some light spoilers.
When exploring each Kingdom previously, you may have noticed a giant, grey block that seemingly has no purpose. It's this object you must find once you have completed the game that'll give you even more things to do.

The above video by Nintendo Life explains this in more detail, but in short - complete the game, find the block in any given Kingdom, and more Moons will be available for you to find.
We won't detail these extra Moons here, but the number of these extra challenges available in each Kingdom varies - just like the amount of Moons you could find to begin with. Good luck!