Assassin's Creed Origins - The Crocodile's Jaws
Everything you need to know about stealthing and stabbing your way along the Nile.

The Crocodile's Jaws is the twelfth quest you'll encounter in Assassin's Creed Origins, which has you tackle a series of combat trials, and follows on from The Crocodile's Scales.
We'll cover everything you need to know about completing The Crocodile's Jaws below, while you can head back to our main Assassin's Creed Origins walkthrough and guide hub for all the other missions so far, and more.
The Crocodile's Jaws
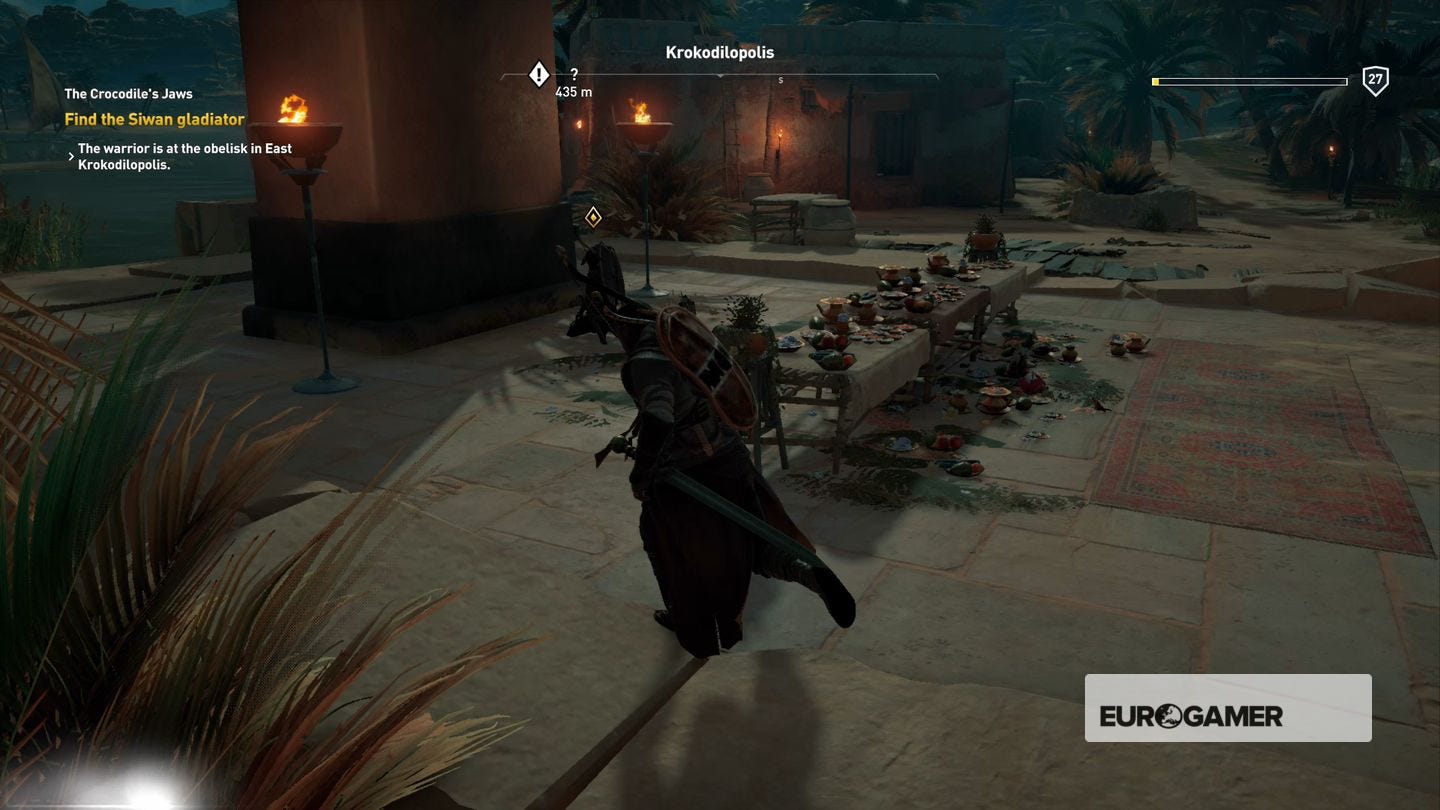
The Crocodile's JawsHead to the arena and talk to the man at the front desk, read the parchments in front of the two statues, and then speak to the old man standing near the doors. He's not convinced you're arena material, but he gives you a lead; head to the new location and talk to Kensa, then return to the arena.
Note: Once you're inside you're trapped in this quest until it's over, so make sure you're at an appropriate level!
Follow Felix while he gives you a tour, and then spar with Kensa - she's not a particularly tough opponent and should only take a few blows to subdue. After the cutscene it's time for round one; there are a couple of people to talk to for a bit of background, and when you're ready to fight talk to Felix.
The first fight consists of three waves of basic soldiers. As long as you don't accidentally walk into one of the spiked poles in the arena this shouldn't prove too difficult. Once it's over talk to Felix to start the next bout.
Round two is a little tougher; in addition to the basic troops you'll be facing off against a couple of larger enemies equipped with heavy maces. There's a lion in a cage in the centre of the arena, but he'll only pose a problem if the cage gets damaged so try and keep clear of it whilst you're fighting.
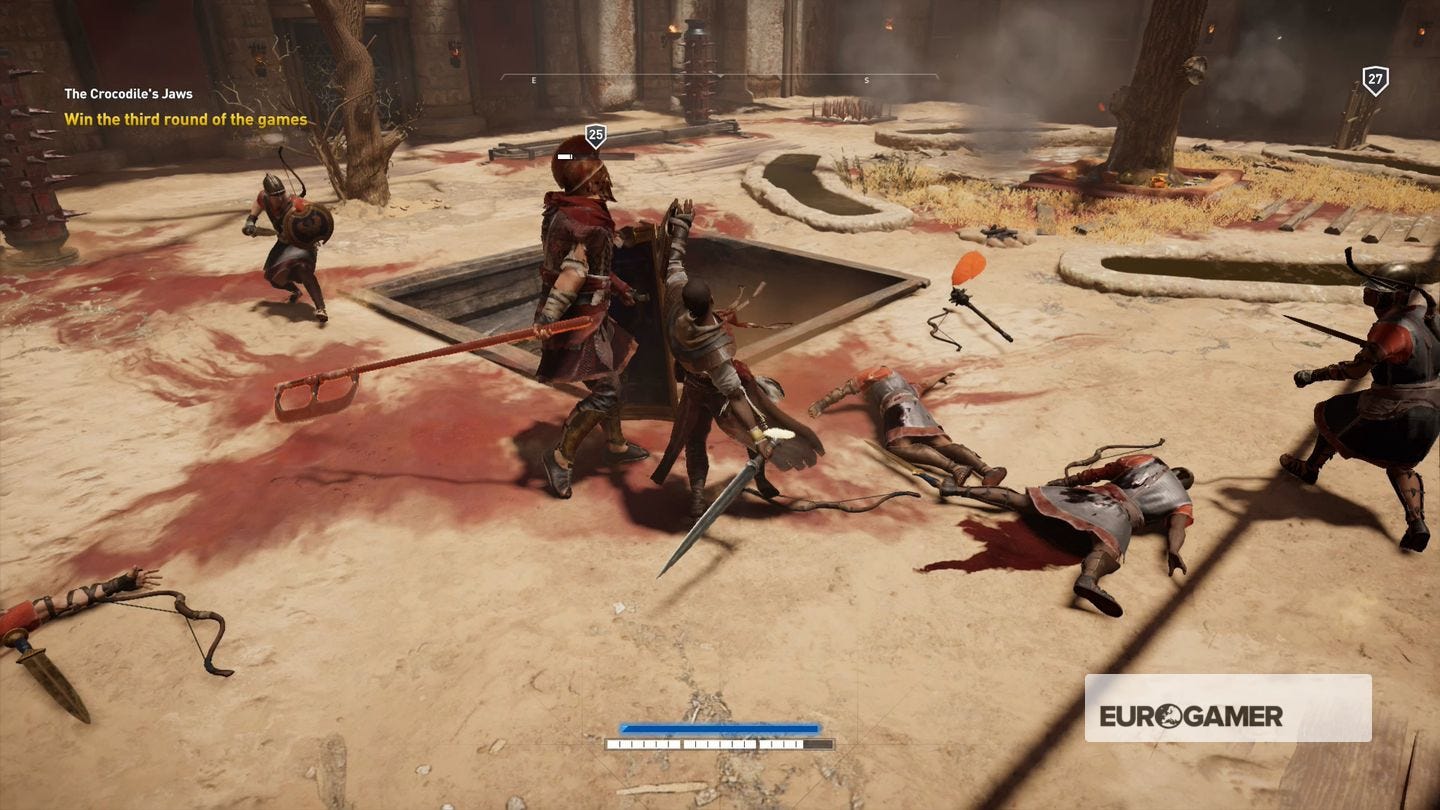
In round three you're on your own. The enemies now add some large shield bearers to the mix, and the arena hazards have been beefed up: the spiked poles now move along the sides of the arena, and there's a spike pit that spells instant death for anyone who falls into it so watch your step!
The fourth and final round is the big one - your opponents both have some tricks up their sleeves and take a lot more punishment than everyone that came before: Viridovix has a very long reach with his scythe, and Diovicos has a leaping attack that can knock you off your feet and stun you. We'd suggest dealing with Viridovix first; Kensa won't do Diovicos much damage on her own, but she'll keep him busy.

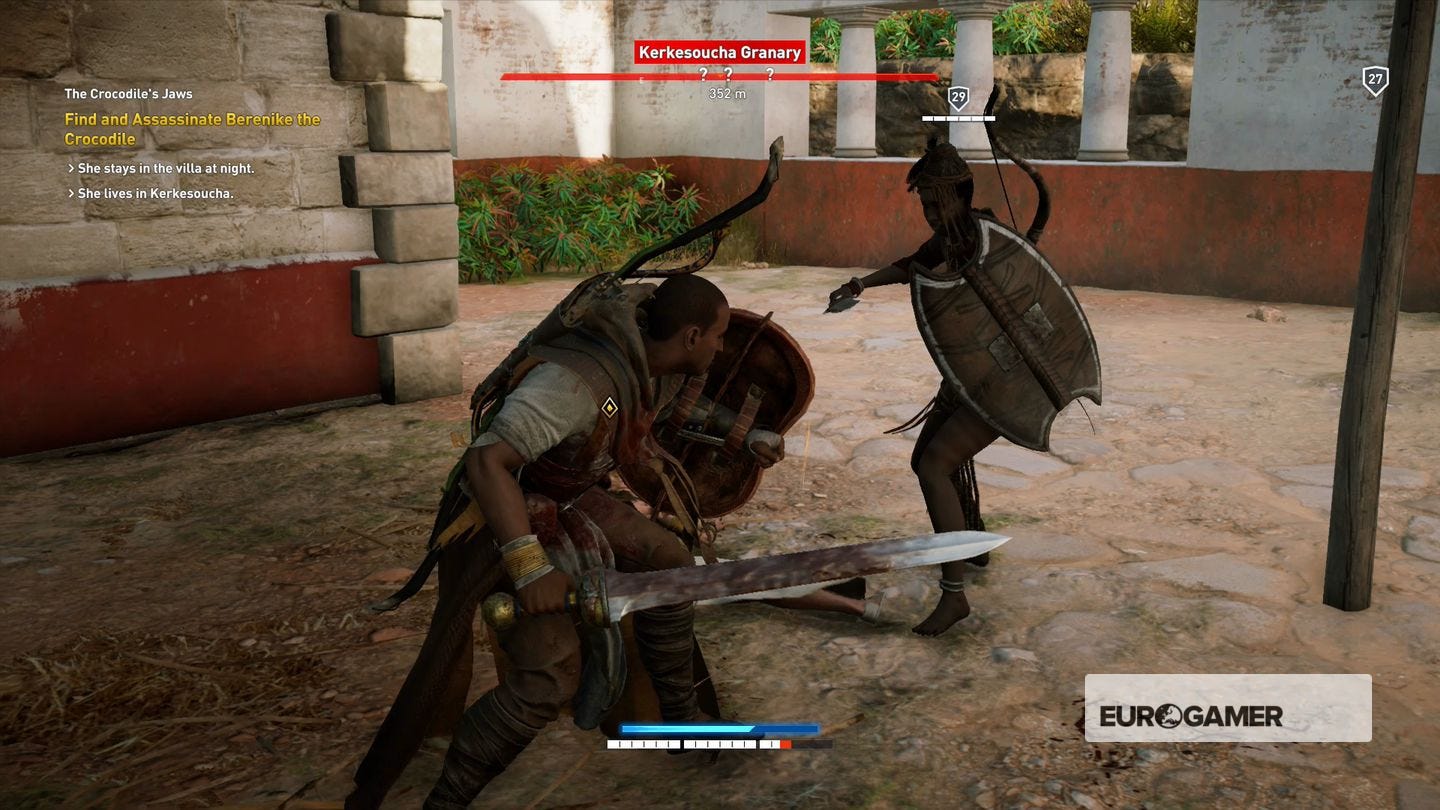
Once it's all over the identity of your target will be revealed; head to her location and use Senu to pick her out. This mission is easier to do during the day - at night she's in the centre of the compound meaning you'll have more guards to get past, whereas during the day your mark will be out in the open and only have a few guards with her. Unfortunately one of those guards will be Kensha, and she's a little tougher than she was when you first fought her.
Need more help? Our Assassin's Creed Origins walkthrough and guide will take you through every step of the main story and quests, whilst we also have guides on how to grind XP and level up, plus explainers on how Assassin's Creed Origins sidequests work, alongside how to get crafting materials and animal goods, and even complete solutions and walkthroughs to all Assassin's Creed Origins Tombs, Silica, and Anchient Mechanisms. We also have a list of all Papyrus Puzzle locations, Origins' cursed and legendary weapons and how they're acquired, and finally a detailed page Phylakes, Phylakes' Prey and how to get the Black Hood outfit.
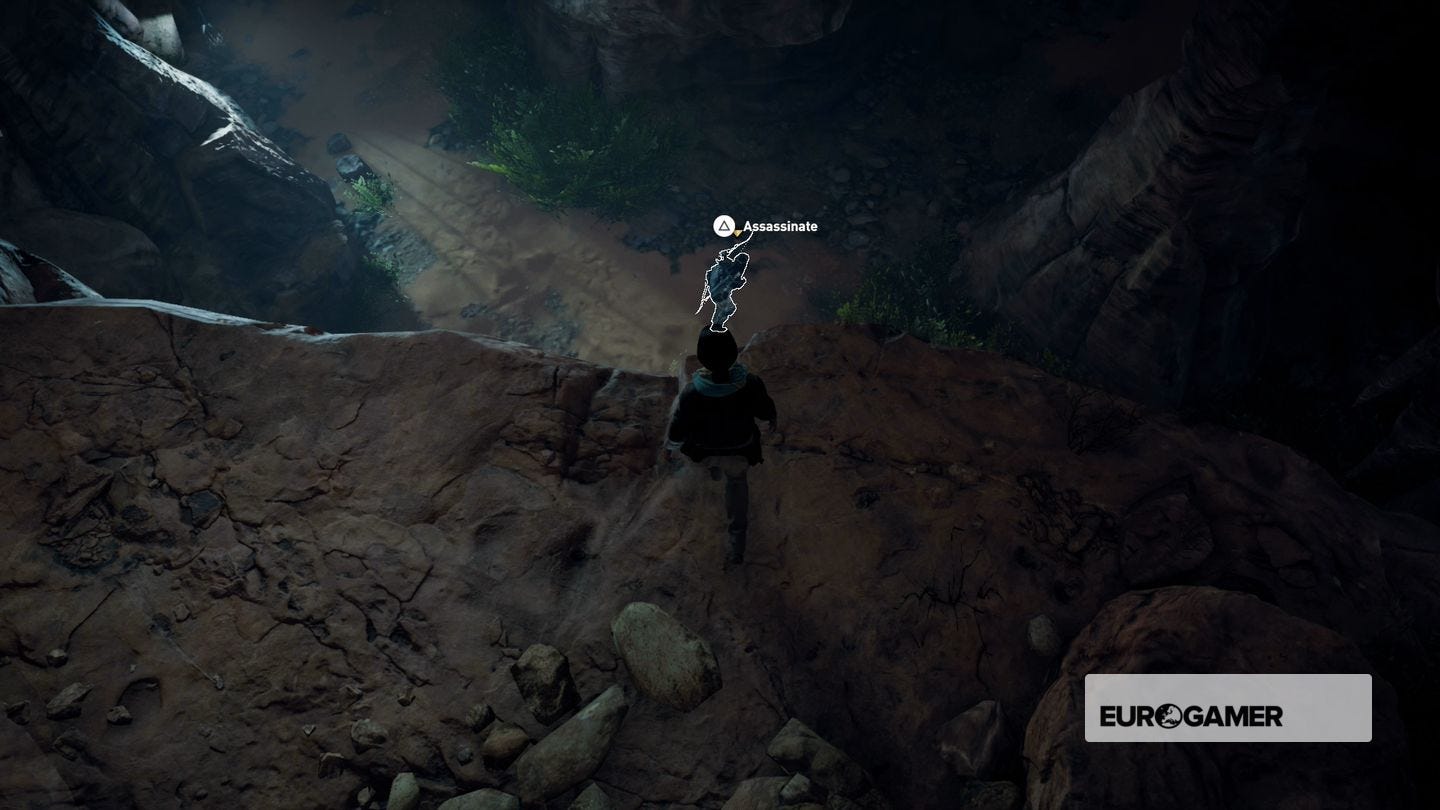
Back to the present again. After the cutscene you'll need to take out the four intruders, but you're not exactly combat hardened so can only elminate them by stealth - a single hit will kill you, so getting spotted is fatal.
Start by taking cover near the hole you jumped down when you found the mummy. A guard will enter and stare intently at the Animus, so while he's distracted sneak up and stab him, then drop down into the water. Follow the passage round as before, and you'll emerge above the second guard; wait for him to get close, and then take him down from above.
Head to the next closest guard and wait in the bushes nearby - he'll eventually wander past at which point you can leap out and take him down. The final guard is patrolling near the cave entrance; hide in the bushes just inside the opening and wait for him to turn his back on you.
Head back and climb into the Animus to continue.