Assassin's Creed Origins - Aya II and The Hyena
Everything you need to know about stealthing and stabbing your way along the Nile.

Aya II and The Hyena are the seventh and eight quests you'll encounter in Assassin's Creed Origins, which has you tackle a quick bit of exploration and a spot of pyramid action, and follows on from Gennadios the Phylakitai and End of the Snake.
We'll cover everything you need to know about completing Aya II and The Hyena below, while you can head back to our main Assassin's Creed Origins walkthrough and guide hub for all the other missions so far, and more.
Aya II
Meet up with Aya, and after a cutscene you'll be back in the modern world. Follow the ghostly apparition and make a leap of faith into the void. Examine the mummy, and then climb your way back out of the caves and back to the Animus device.
The Hyena
Talk to Mered, pay him his money, and then get on your horse and head to the bandit camp. His horse is at the far end, and you have a choice of fighting your way as you go or sneaking along the clifftop out of sight; we'd recommend taking the latter route, taking out the enemies near the horse, and then just making a run for it.

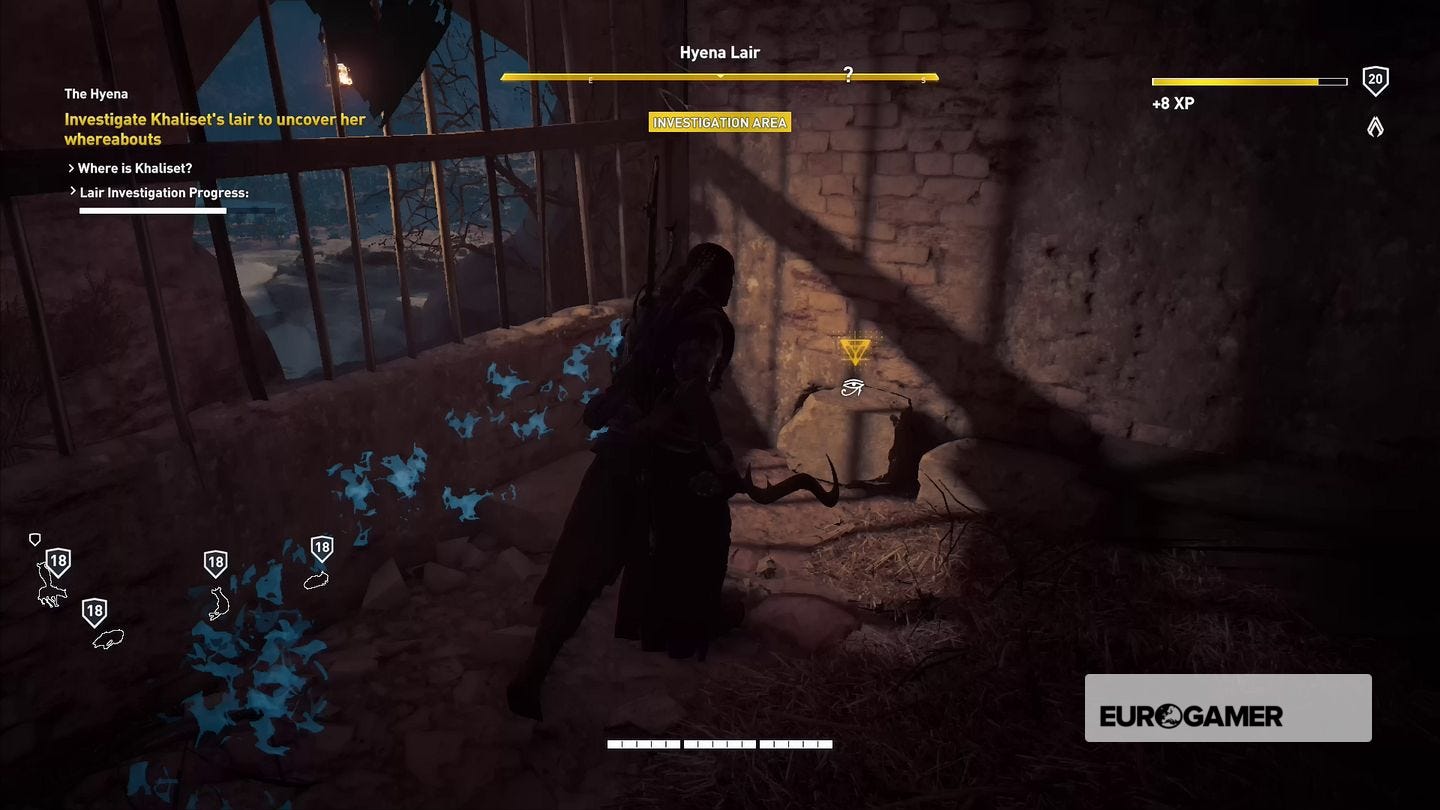
Once you've “returned” “his” horse Mered will give you the location of the Hyena's base. When you arrive she's not home, but it's guarded by several hyenas. Take them out, and then examine her bed and the letter on the floor, then release the prisoner. There's a hyena locked in the cage opposite his - let it out, kill it, and then examine the note hidden behind the rock in the corner.
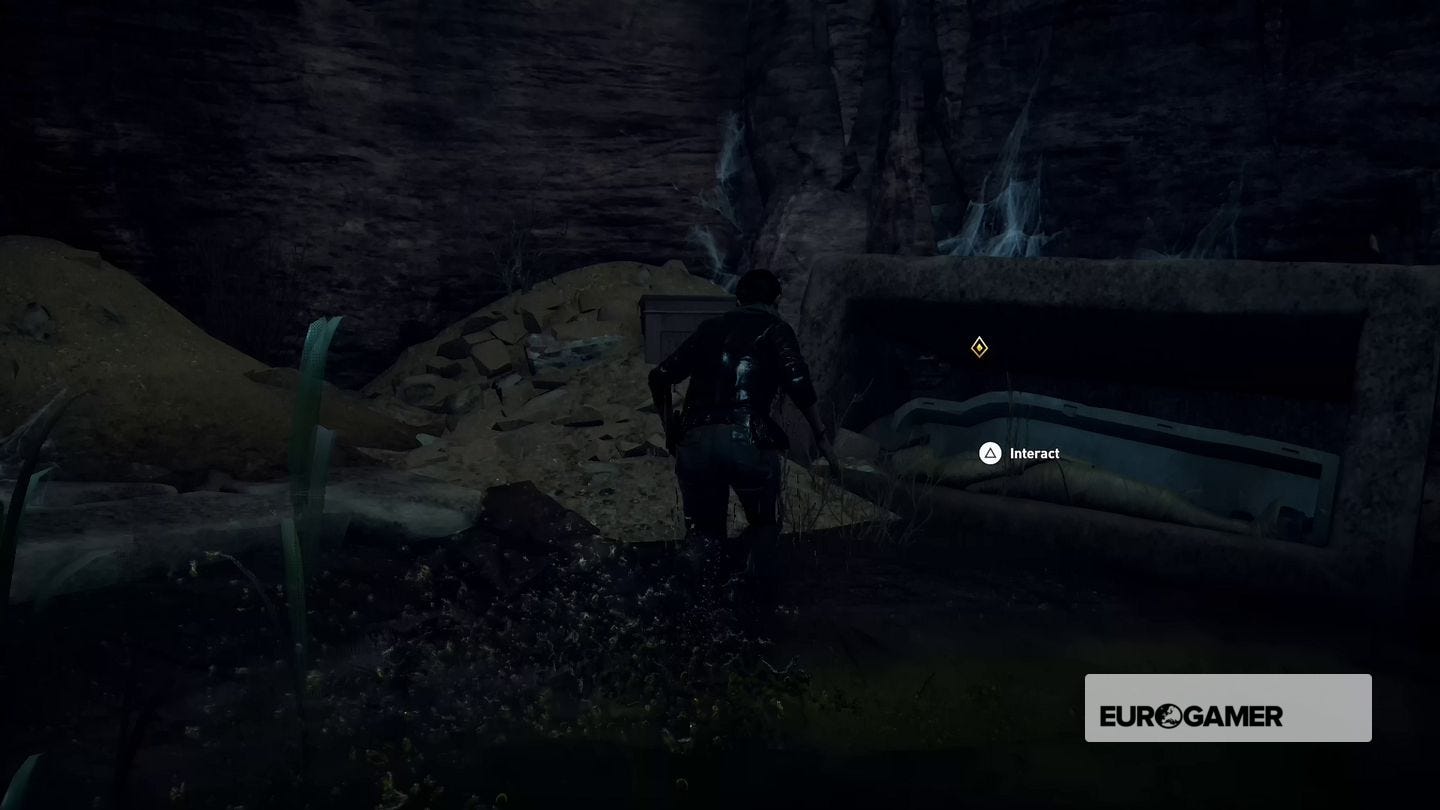
Finally, some pyramid action! Head to the marked location, deal with the hyenas, and enter through the small hole just above the base of the pyramid. Light a torch and head deeper inside; when the path forks squeeze through the gap in the rocks to the right and keep following the tunnels down until you reach a large open room.
Need more help? Our Assassin's Creed Origins walkthrough and guide will take you through every step of the main story and quests, whilst we also have guides on how to grind XP and level up, plus explainers on how Assassin's Creed Origins sidequests work, alongside how to get crafting materials and animal goods, and even complete solutions and walkthroughs to all Assassin's Creed Origins Tombs, Silica, and Anchient Mechanisms. We also have a list of all Papyrus Puzzle locations, Origins' cursed and legendary weapons and how they're acquired, and finally a detailed page Phylakes, Phylakes' Prey and how to get the Black Hood outfit.
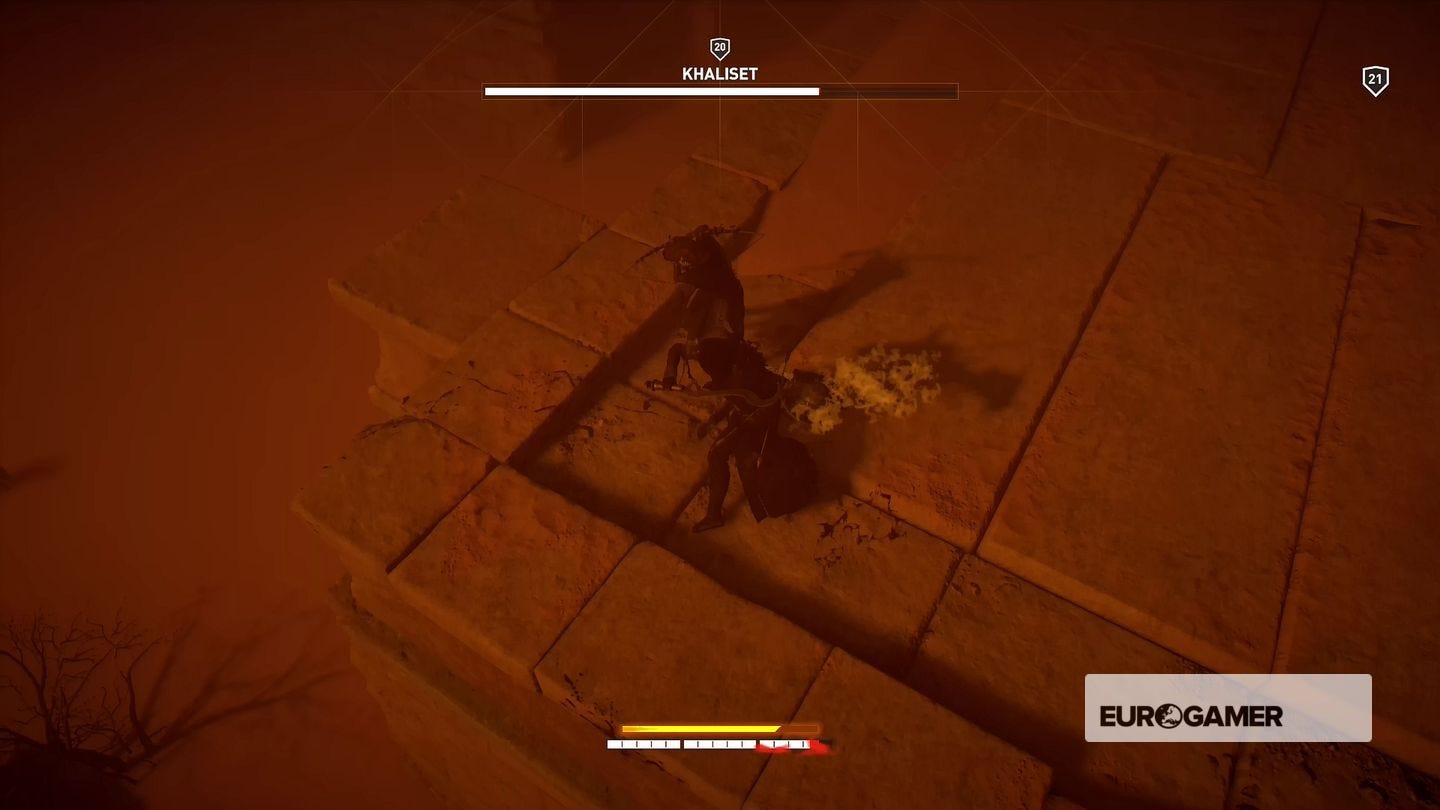
Examine the sarcophagus, the marks on the floor, the offerings to Osiris, and the dead body, and then open the sarcophagus. Khaliset will appear, fire an arrow at you, and then run off, so follow her into the passage ahead.
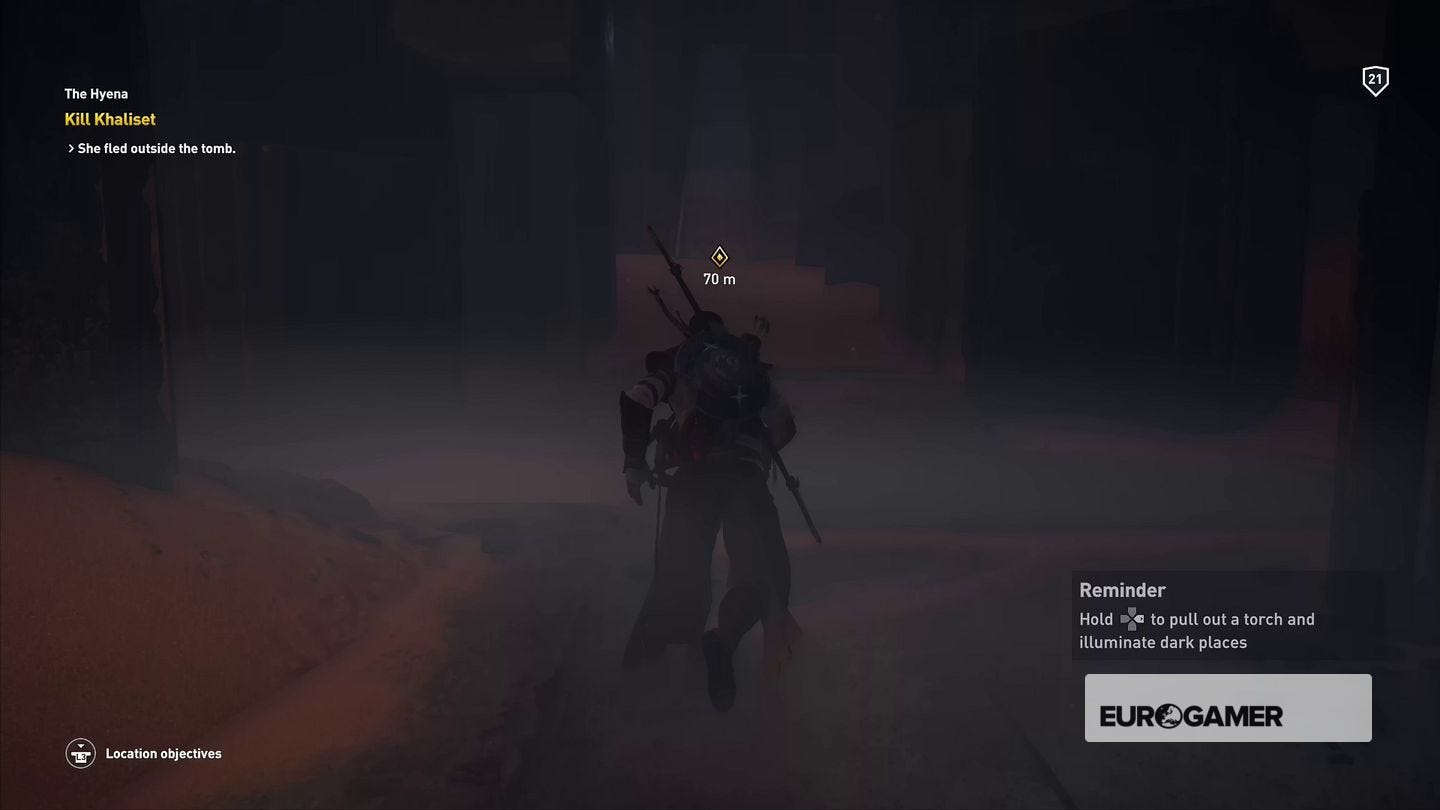
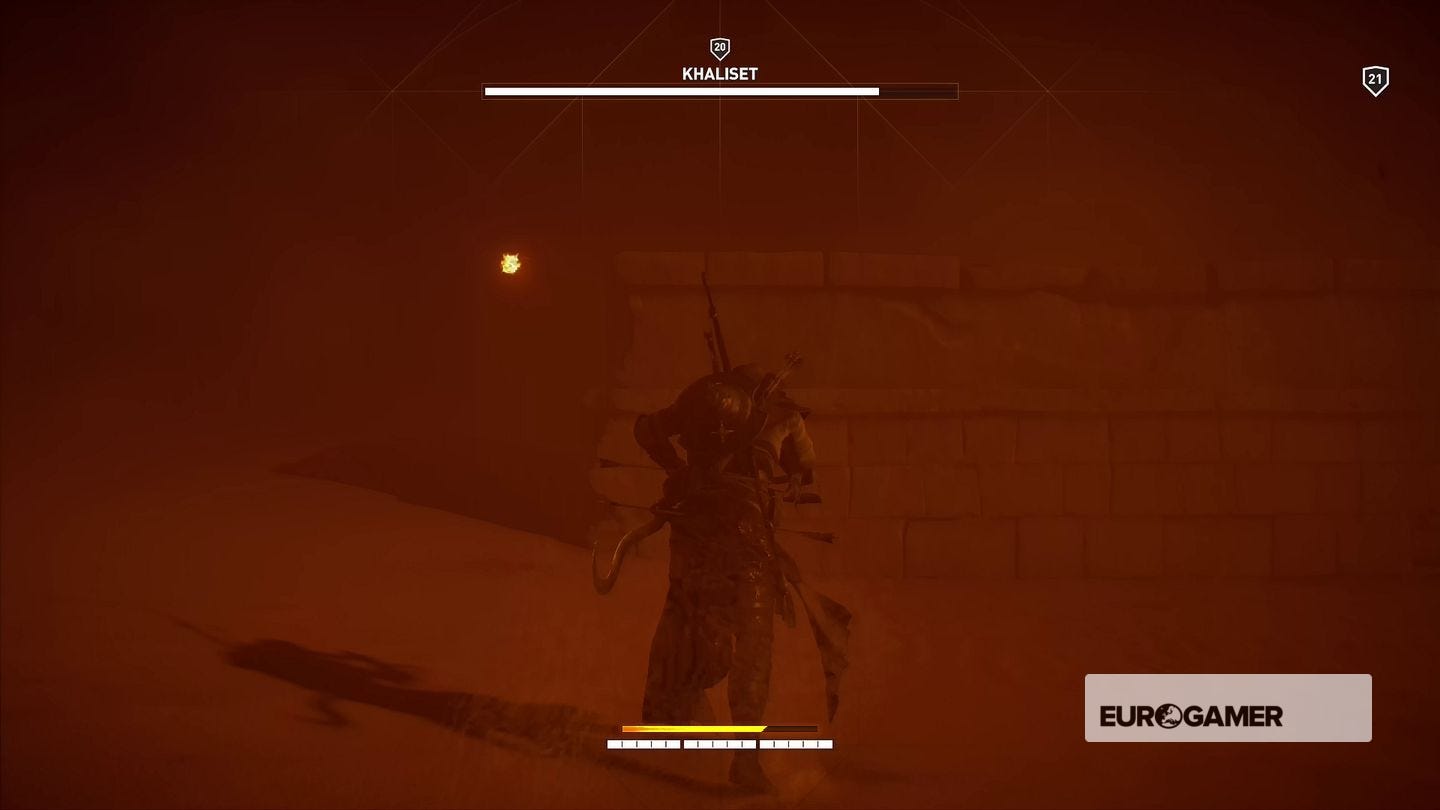
You'll eventually emerge outside again for a fight to the death, but a sandstorm will kick off bringing visibility down to almost nothing. Somehow Khaliset won't be bothered by it, and will start firing burning arrows at you from the haze; dodge them as they approach and use them to locate her and get a few blows in before she disappears in a cloud of smoke, and then repeat the process as many times as you need. Try and stay on the stone platforms as much as possible, though, as the sandy areas are patrolled by unkillable hyenas.
Next Up: The Lizard's Mask and The Lizard's Face
Once she's down examine her body to finish the mission.