Horizon Frozen Wilds - Firebreak, defeat the Daemonic Thunderjaw
Part 4 of our Horizon: The Frozen Wilds walkthrough.

Horizon Zero Dawn: The Frozen Wilds' Firebreak quest follows on from For the Werak, and has you climb the volcanic mountain Thunder's Drum.
As you're nearing the climax of The Frozen Wilds' story, things are of course going to start hotting up. Prepare well, and set aside a decent amount of time to dive into this mission and ideally the next, in one sitting.
If you're after help for other parts of the expansion, check out all of the guides gathered together in our Horizon Zero Dawn Frozen Wilds guide and walkthrough hub, or for guides to the main game itself, our main Horizon Zero Dawn guide and walkthrough.
Frozen Wilds - Firebreak, how to reach the Cauldron Door and defeat the Thunderjaw
Go to Longnotch - Simple enough, follow the waypoint until you reach the small settlement.
Talk to Aratak and Ourea - Aratak's optional. Have a quick chat with him then head to Ourea, who gets you started on the mission proper.
Reach the Cauldron Door - After a bit of huffing and puffing, you gain entry to the mountain. Turns out, this is a massive ancient facility, containing a new Cauldron at it's heart. You've a long way to go to get there, mind.
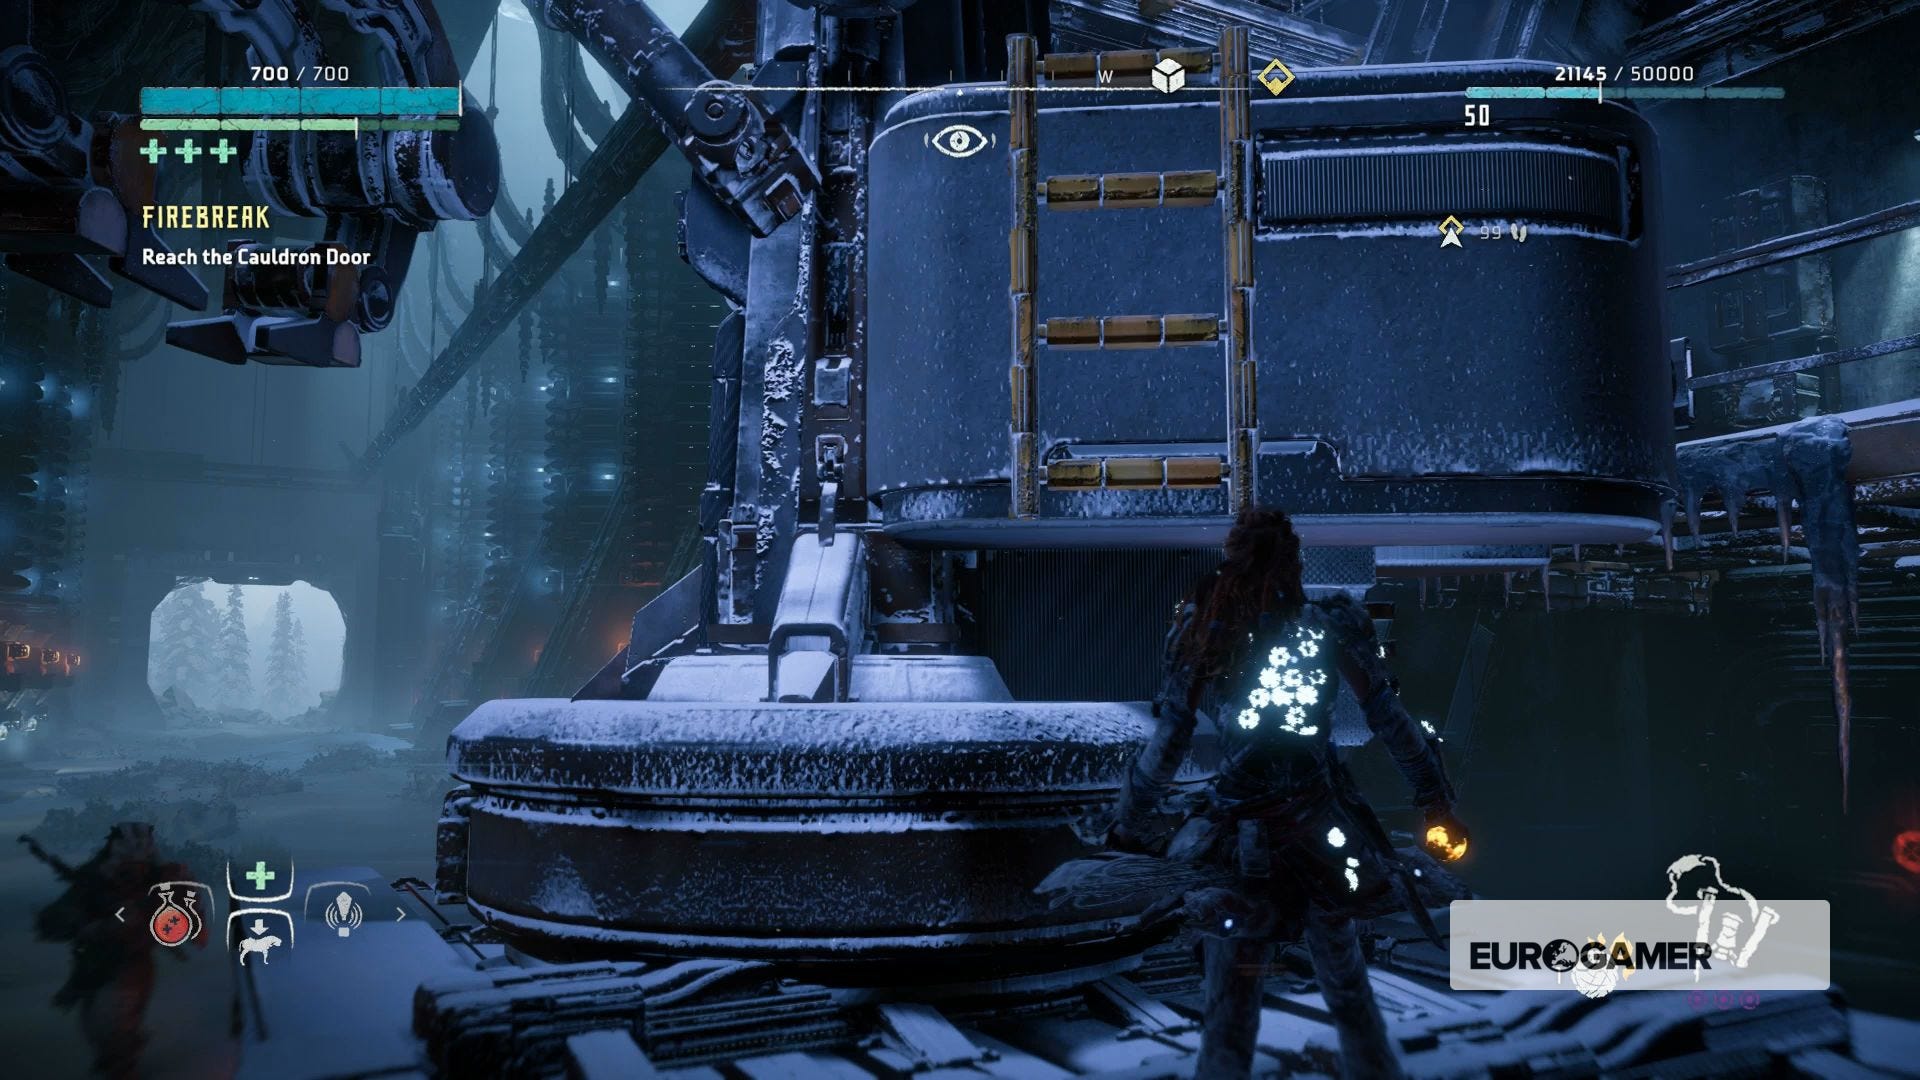
Head to the far end of the first room, scanning Datapoints as you go, and on the back of a crane mechanism you'll find a short ladder. Hop up, follow the yellow markers and climb into the next room. There'll be a Watcher right beneath you - drop down for a stealth kill on it and avoid alerting the rest of the machines.

Pick the rest of them off how you like - fortunately Ourea and Aratak can handle themselves against the minor ones - then climb the ladder at the back of this room, follow the waypoint (emptying the odd supply crate on the way) and continue until you reach an exterior area filled with machines and snowy ground.

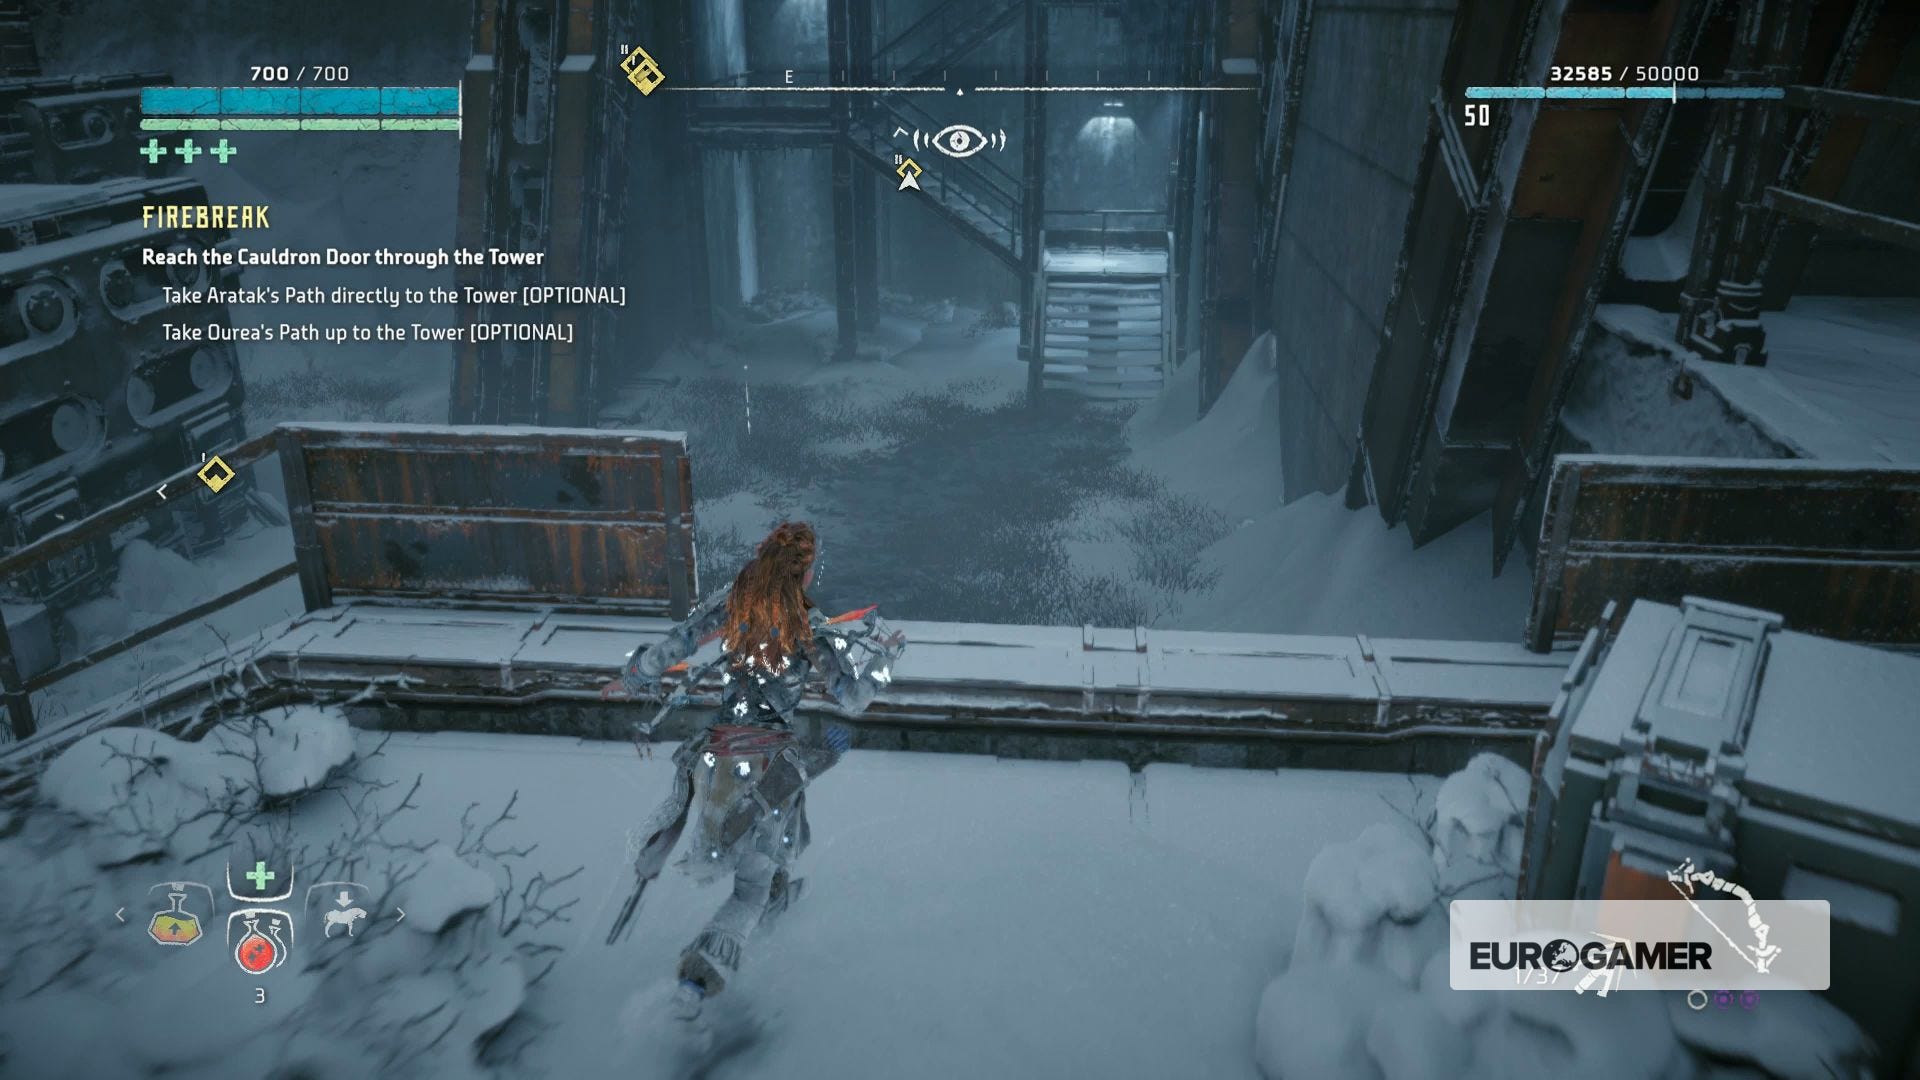
Reach the Cauldron Door through the Tower - Here, you have a choice - go direct for the door ahead with Aratak's plan, meaning some heavy, challenging combat, or take the stealthy route around with Ourea's plan. We chose the latter so will guide you through that specifically, but either is fine.
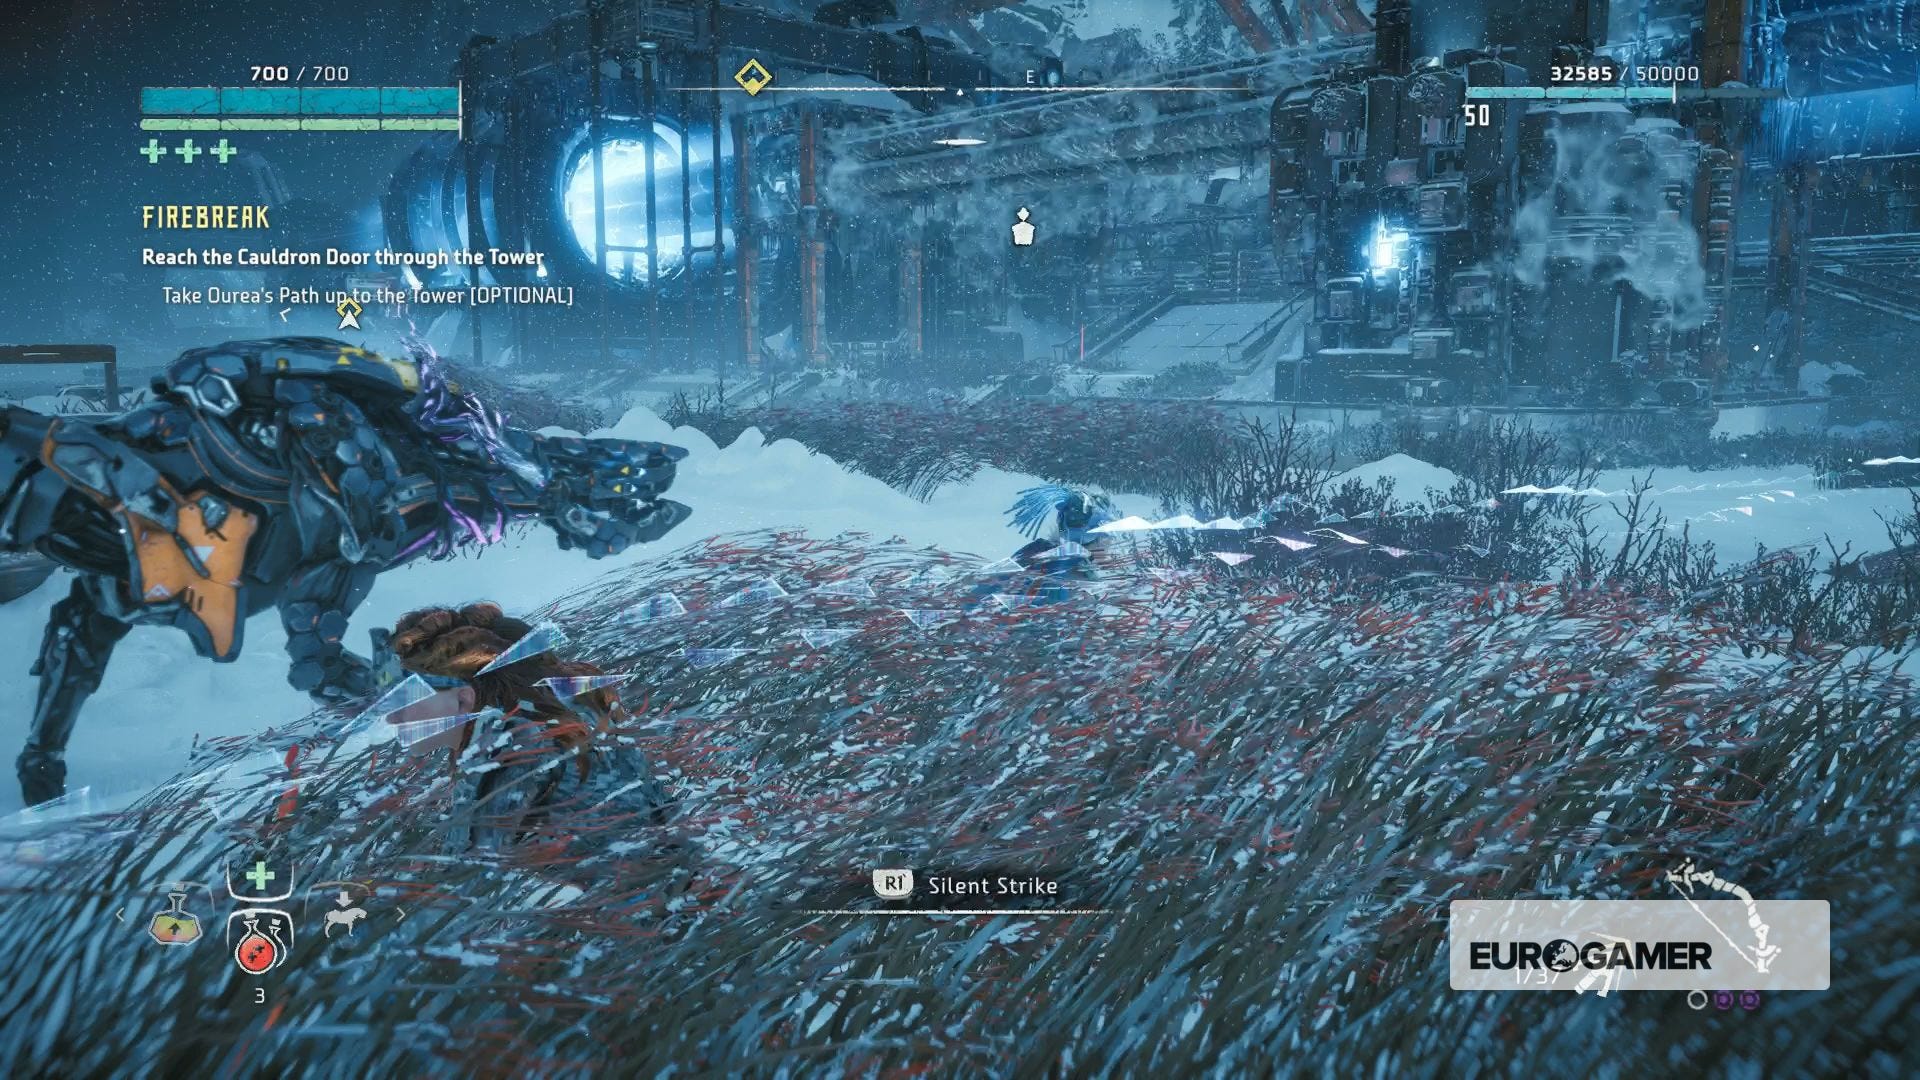
Take the zig-zagging steps to your right and you'll come out on a raised level riddled with Stalkers. You can dart from bush to bush here or, if you're impatient (and a little clumsy) like us, just kill them all like you would have with Aratak's plan anyway. Remember to use Tearblast arrows on them first to remove their added functionality, then they'll go down much easier to a few melee blows.
Press on, kill the Daemonic Longleg at the end of the area, and climb up the yellow-marked crates indicated by the waypoint. Keep following that, scanning a Datapoint, descending some steps back indoors (at the bottom check beneath the staircase for another supply crate), and then keep following doors, corridors and staircases until you reach a kind of command-centre meeting-room.
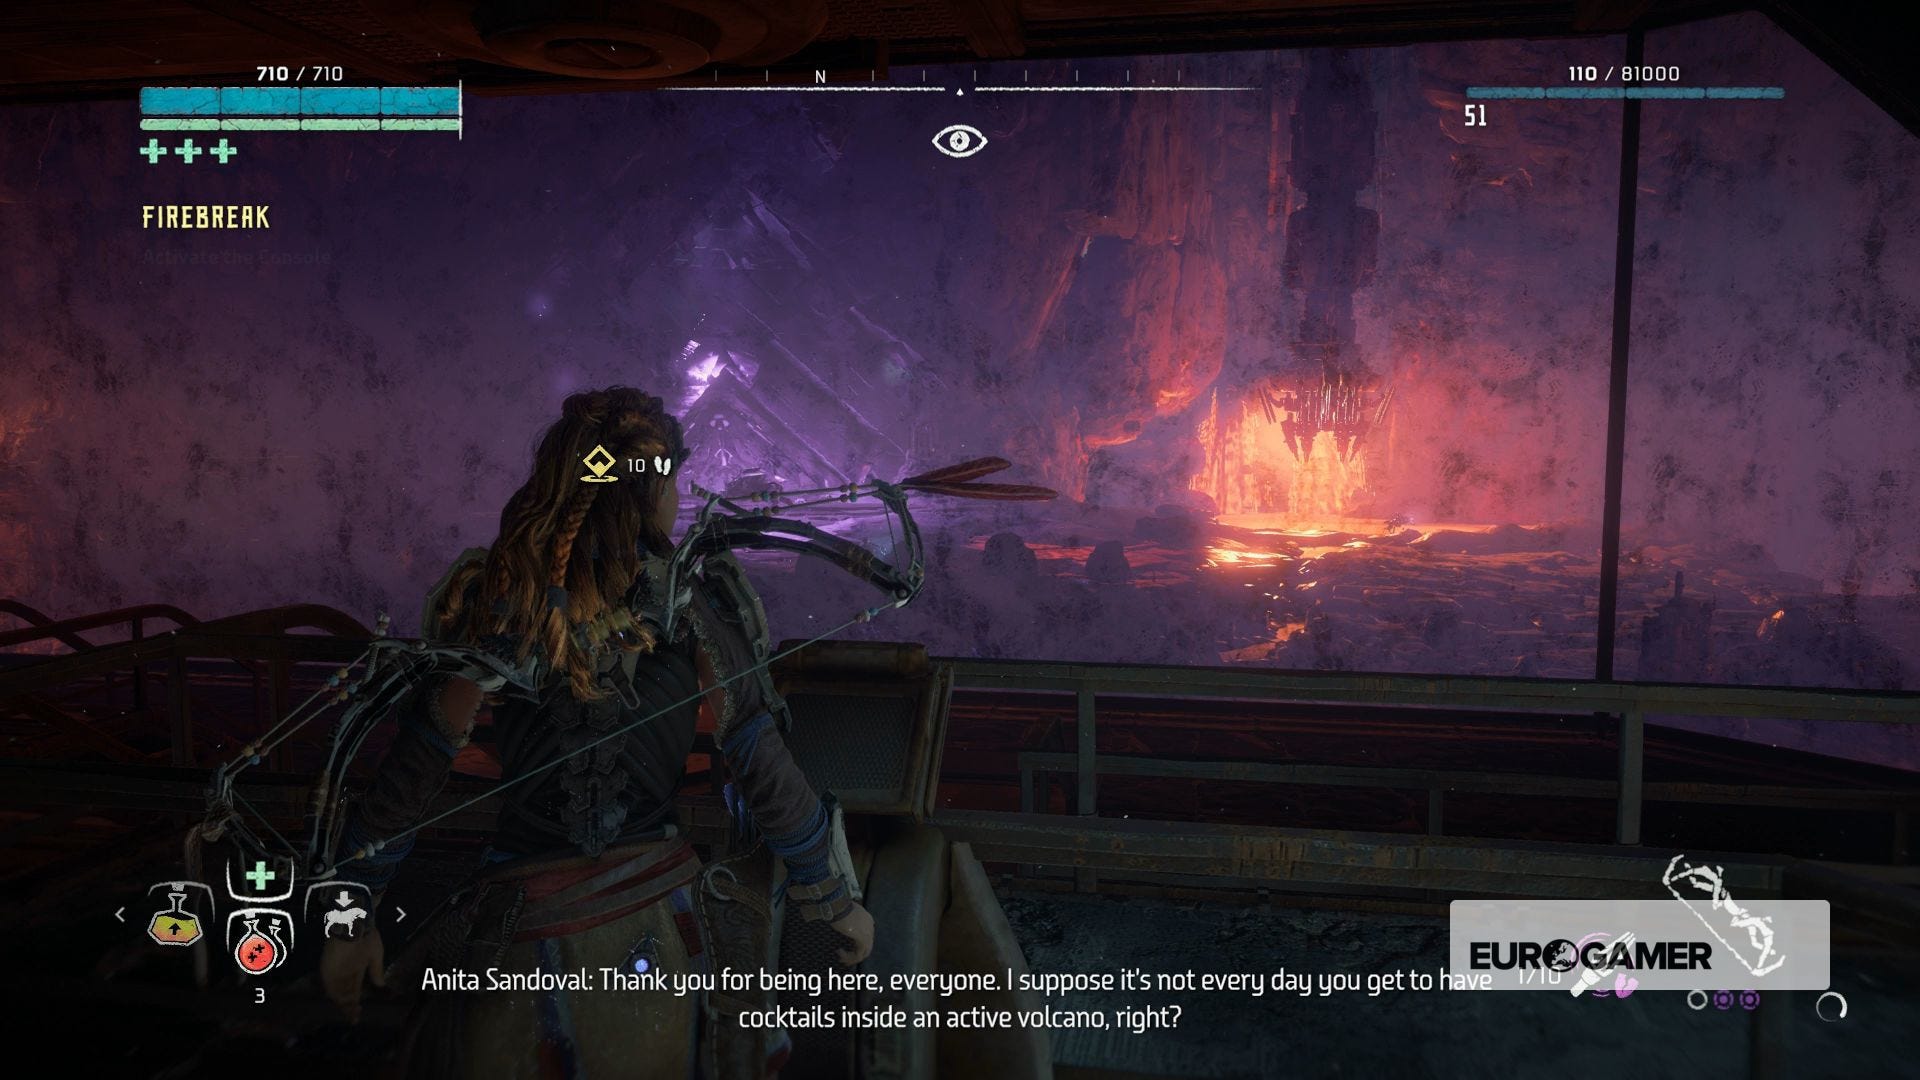
Activate the Console - Interact with the green pad and watch the hologram.
Reach the Cauldron Door - Turn right past the hologram and out the door, prepare for battle, and take the zipwire down to the volcanic, rocky area.
Kill Machines around the Cauldron Door - This is less challenging than it's made out - for now - and just involves killing a few Watchers and Scorchers.

Override the Cauldron Door - Just like you would in the other of Horizon's Cauldrons, jam your spear in the door and see what happens (what happens is it boots you out and summons up an empowered, Daemonic Thunderjaw to defend it. Great.
For more Horizon guides, explainers and advice, take a look at our main Horizon Zero Dawn guide and walkthrough hub, which includes guides to things like Horizon Zero Dawn's override Cauldrons and how to override machines, sorting out the Golden Fast Travel Pack for unlimited Horizon Zero Dawn fast travel, unlocking the amazing Horizon Zero Dawn Shield Weave Armour and Power Cell locations, and on top of that, for DLC players there's our hub for theHorizon Zero Dawn Frozen Wilds walkthrough and guide, a page on how to earn Bluegleam quickly, and finally, a handy guide to A Secret Shared and how to upgrade your spear in Horizon Frozen Wilds.
Kill the Daemonic Thunderjaw - Simple! Not really. This one's tougher than a regular Thunderjaw, so be prepared for a length battle. Start by taking out its disc launchers (the two large rectangles on either side of it) as quickly as you can, then the weapon on top of its back.
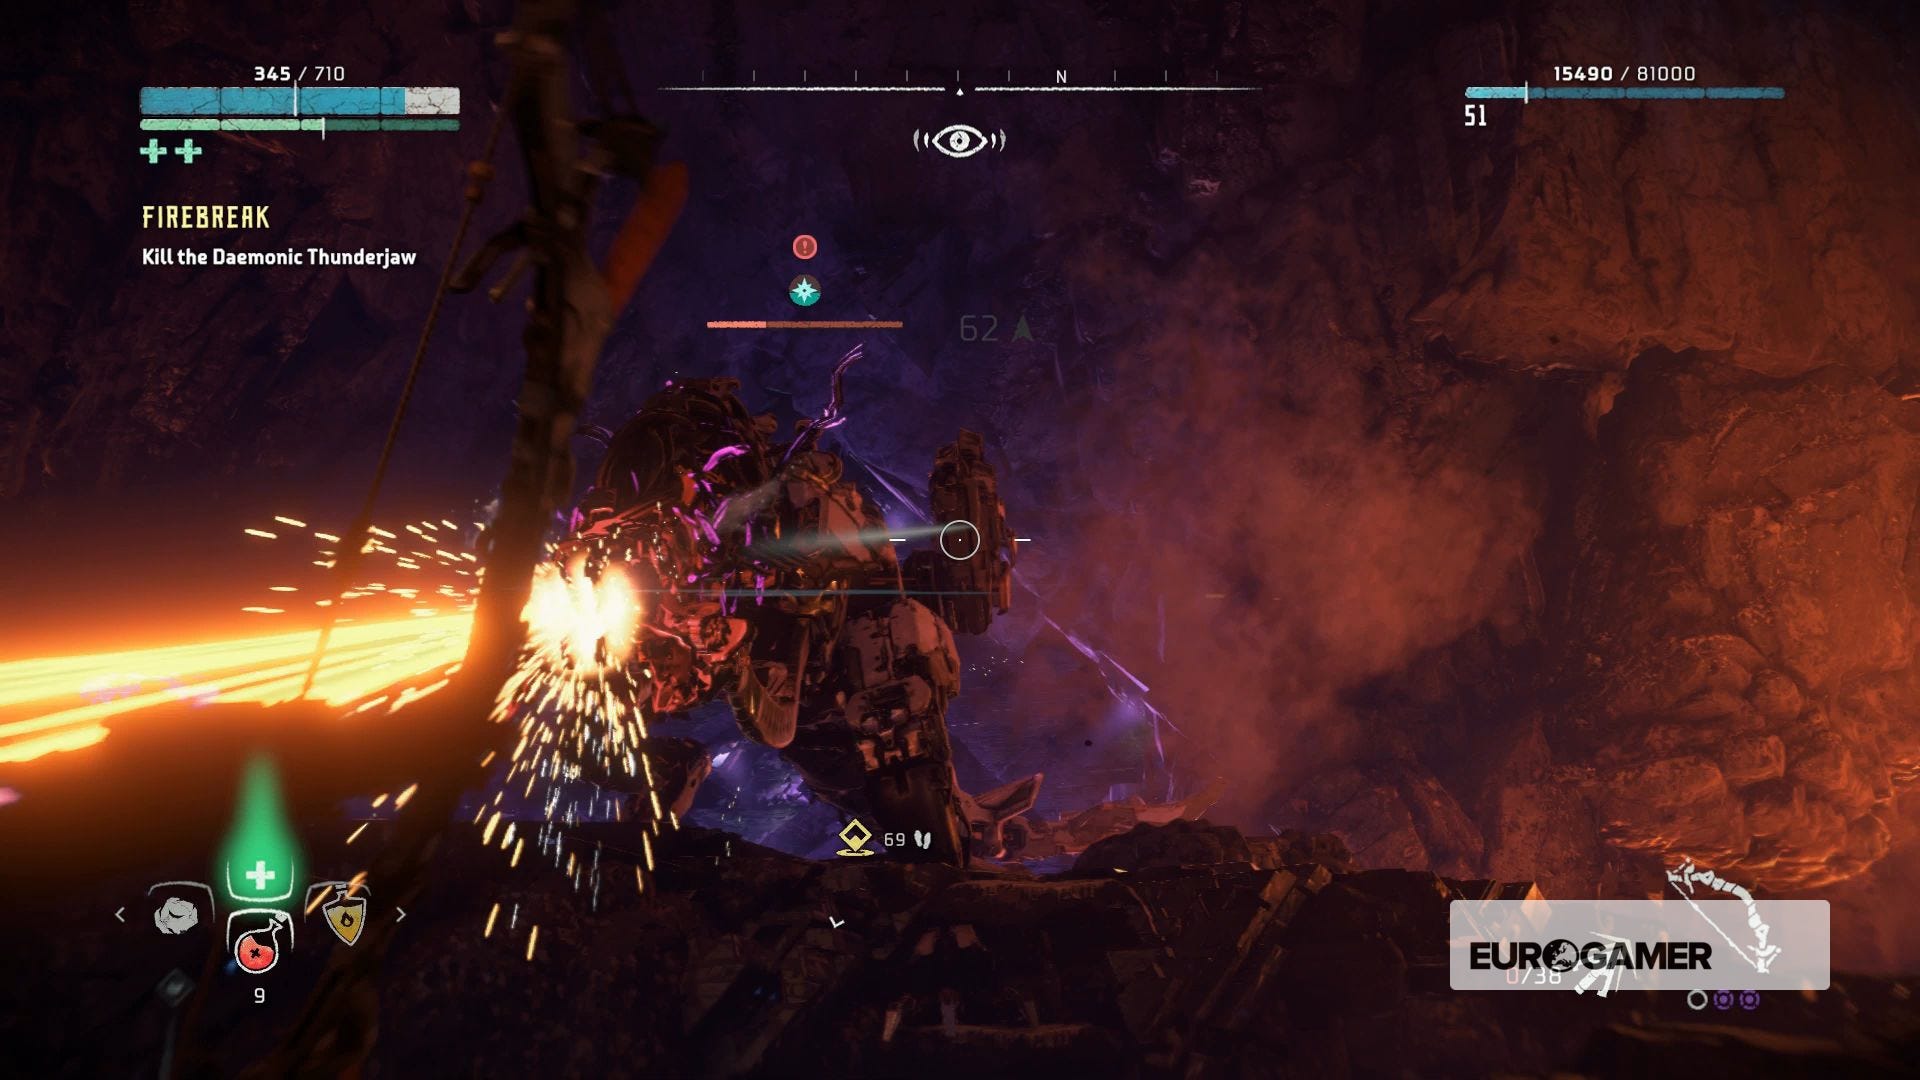
After that, anything goes. Use its own disc launchers against it, tie it down with the Ropecaster, or stun it with repeated Frost, Fire, or Shock attacks and pick off any particularly vulnerable-looking parts. Just try not to jump (or get thrown) into the areas of lava around the battlefield, as you'll have to start all over again.
Next up: Horizon Frozen Wilds - The Forge of Winter and Cauldron Epsilon
Override the Cauldron Door - Second time's the charm. Poke your spear back in the door again and this time it'll crack open, completing the mission with it.
