Horizon Frozen Wilds - The Shaman's Path and how to solve the Source Node light puzzles
Part 2 of our Horizon: The Frozen Wilds walkthrough.

Horizon Zero Dawn: The Frozen Wilds' The Shaman's Path quest follows on from Into the Frozen Wilds, and has you ascend into the mountains to find Ourea, a mysterious Shaman.
The Shaman's Path is a fairly typical main story-style quest, where you'll be doing a fair bit of climbing and traversing a largely linear path in and out of the mountains. There are a couple of new puzzles and a spot of combat along the way though, so it's still worth making sure you come prepared!
If you're after help for other parts of the expansion, check out all of the guides gathered together in our Horizon Zero Dawn Frozen Wilds guide and walkthrough hub, or for guides to the main game itself, our main Horizon Zero Dawn guide and walkthrough.
The Shaman's Path and how to activate the Source Node puzzles
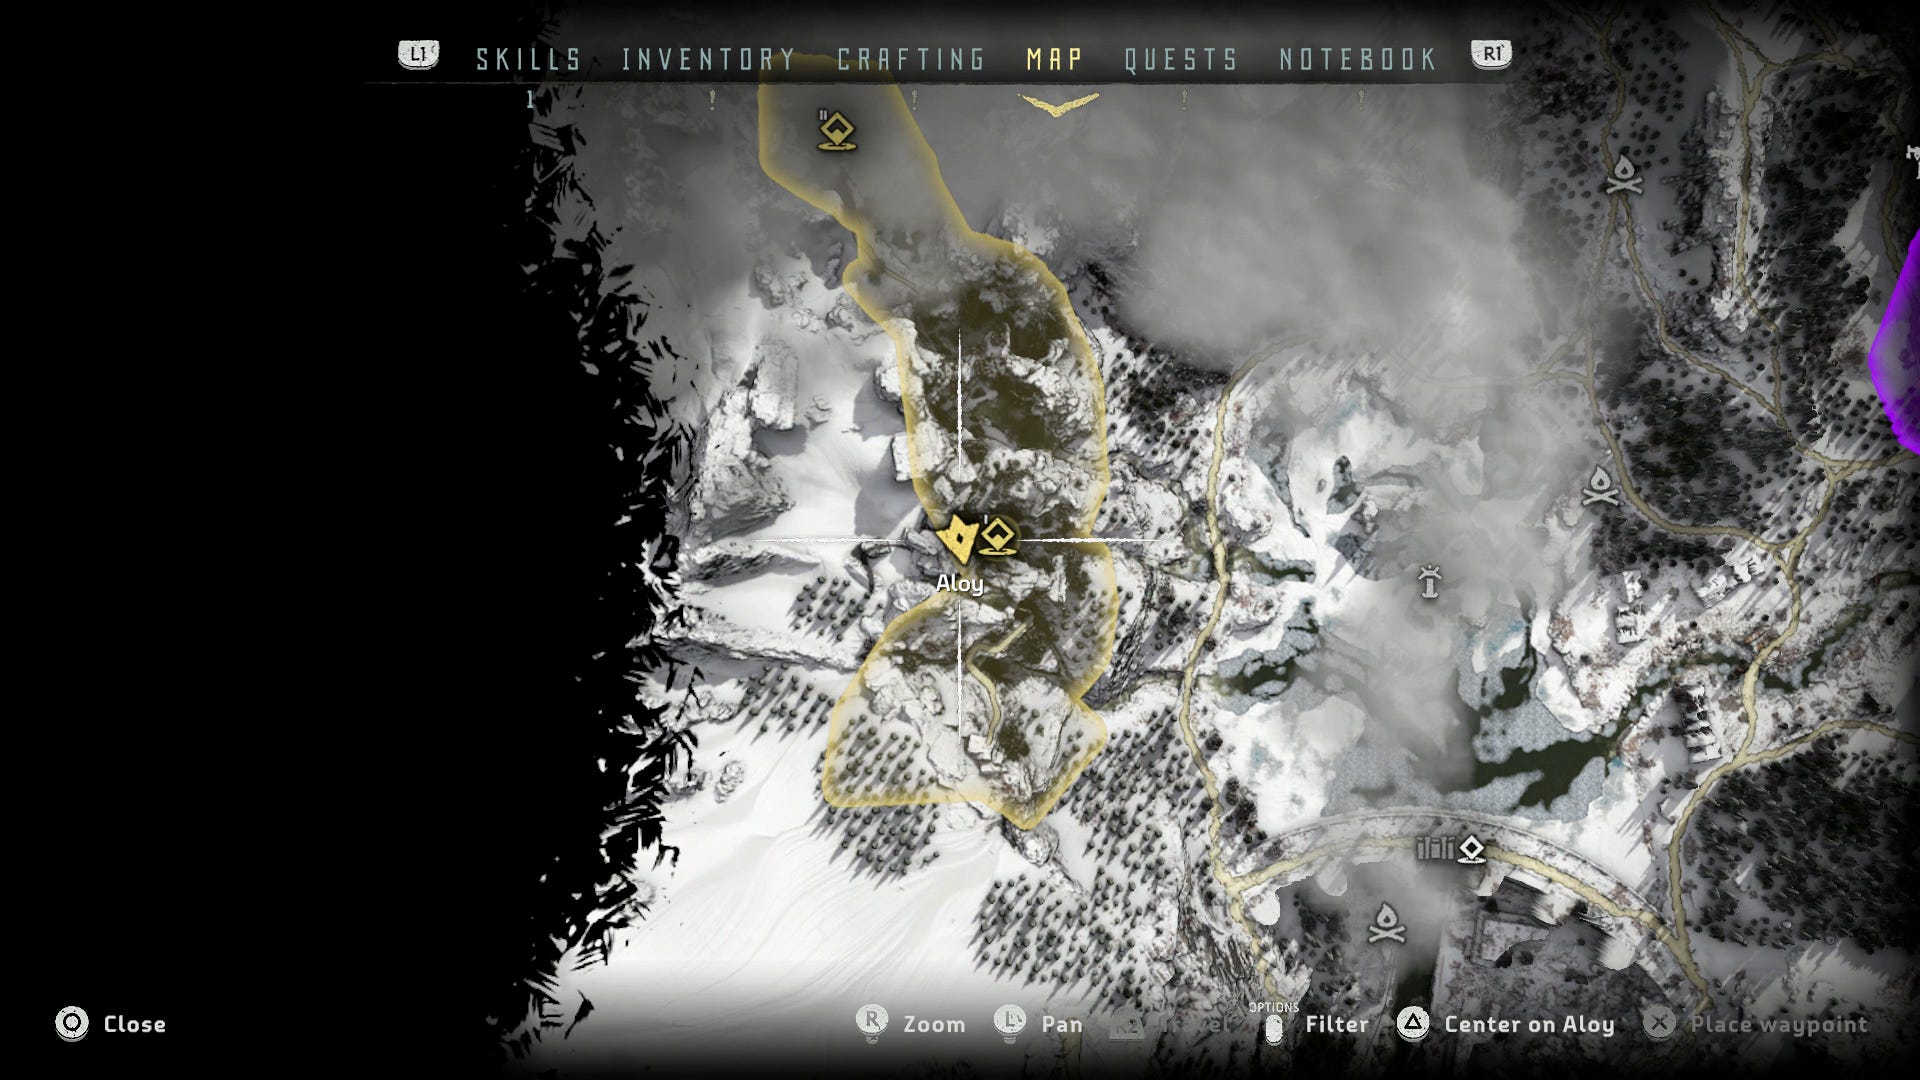
Find the Shaman's Path - This is simple enough. Follow the waypoint for a little while, until you reach a blue-tinged cave into the mountainside. Inside are some very simple 'puzzles', where you basically just have to activate a mechanism as you go that points you in the right direction with a beam of light.
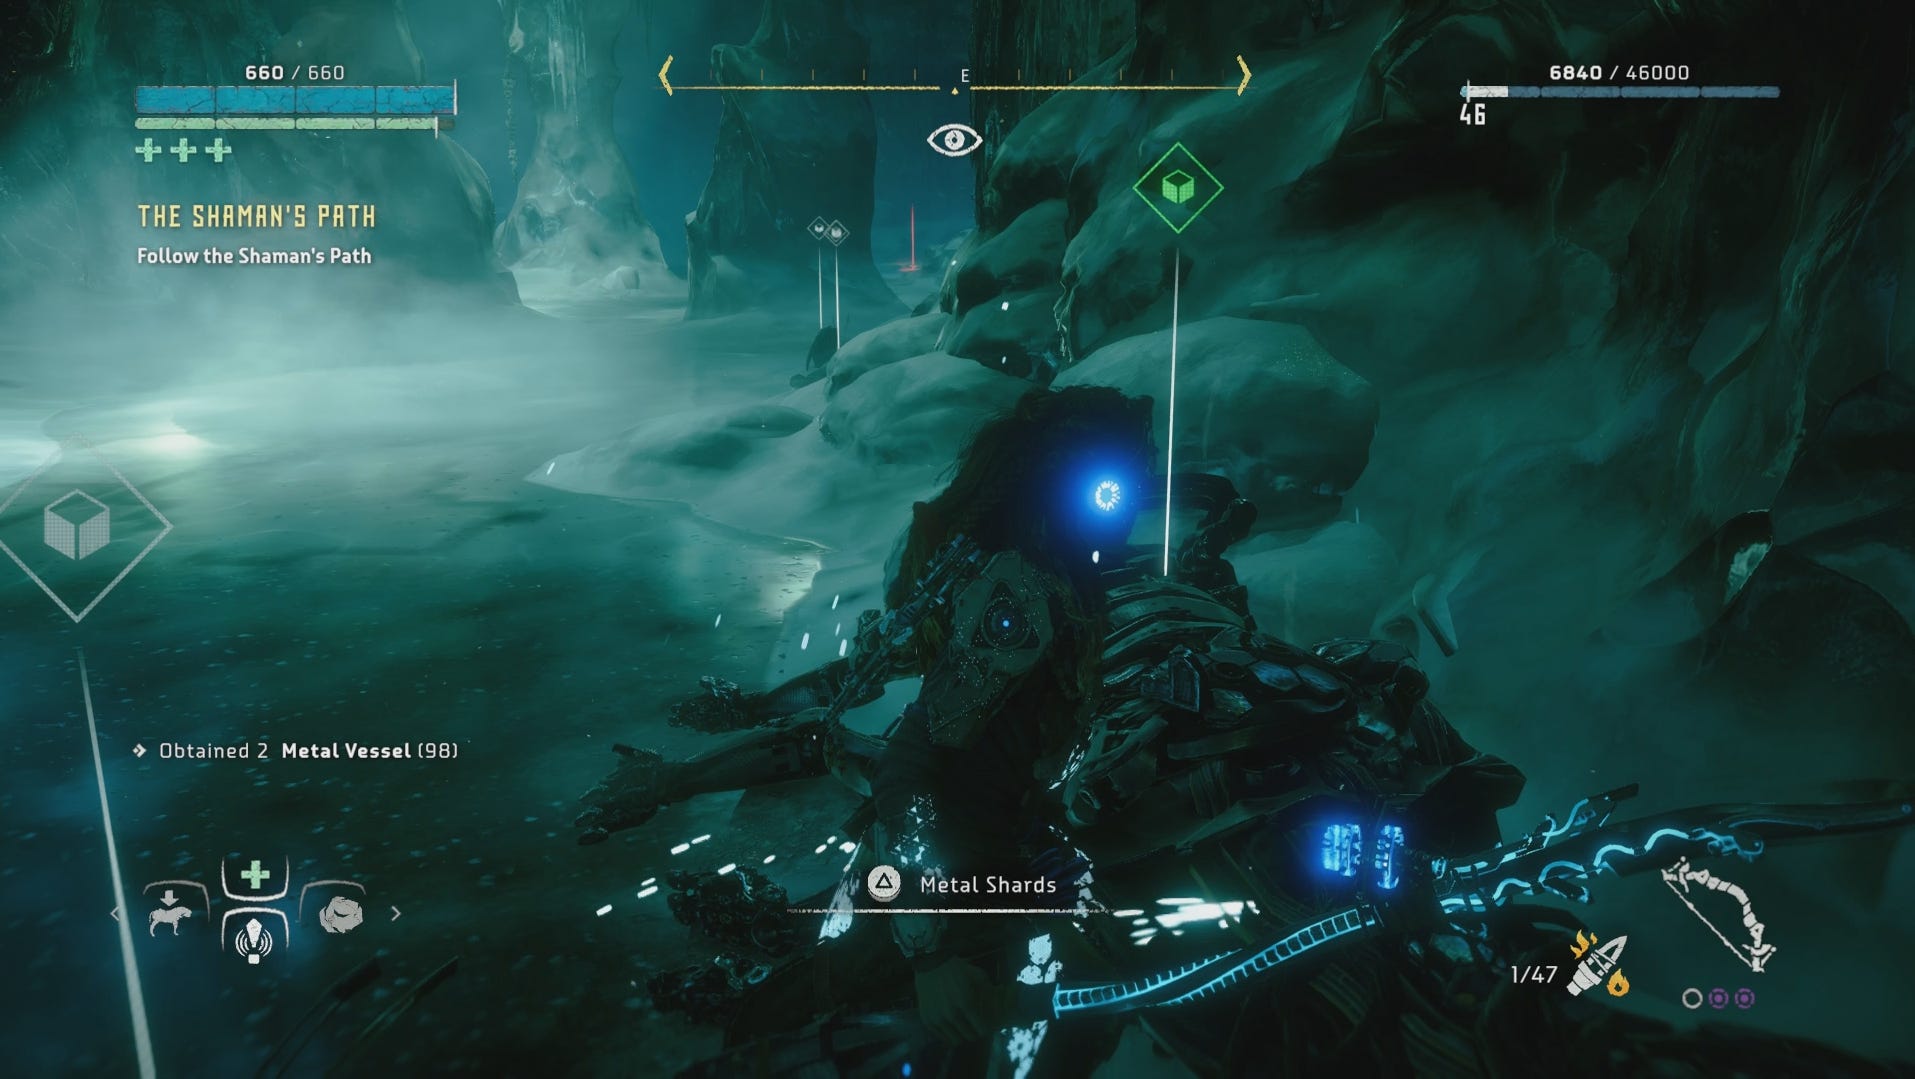
Follow the Shaman's Path - At first it seems like it could be easy to get lost in the winding caves, as they do branch, but in fact they only ever lead to a small pile of loot. Take the time to explore and collect as you go - it's dead easy to get back to the main path, as all you need to do is follow the beams of light you set up on your way.
Towards the end of the tunnels you'll find two Daemonic Stalkers, which can be tricky if approached too hastily. The best way to defeat them is to land a well-placed Tearblast Arrow on each, removing all of their components and stealth capabilities before they reach you. Then, tie them down with three shots from your Ropecaster and use Firebombs to wipe them out. Rinse and repeat - and avoid getting stuck in the awkward narrow tunnels nearby - until they're down!
You'll soon exit the cave to a pretty lovely view, and then it's on to a mini assault course that seems more like a purposeful reintroduction to Horizon's basic platforming elements than an actual path. There are seesaw bridges, tightropes and zipwires here, but nothing challenging.
The one point where you might get stuck is after the first bridge: kick the ladder down, climb down it and head to the left to grab a pigment, marked in purple, then turn back to face the ladder and you'll see another ladder back up.
Take that, activate the seesaw bridge, zipwire back to where you kicked the ladder down, and you can continue.
Destroy or Override the Tower and Kill the Frostclaw - When you reach a bonfire nearby, be sure to quicksave, as this is a challenge. First take down the Tower by shooting the gold cannister that pops out with standard arrows.
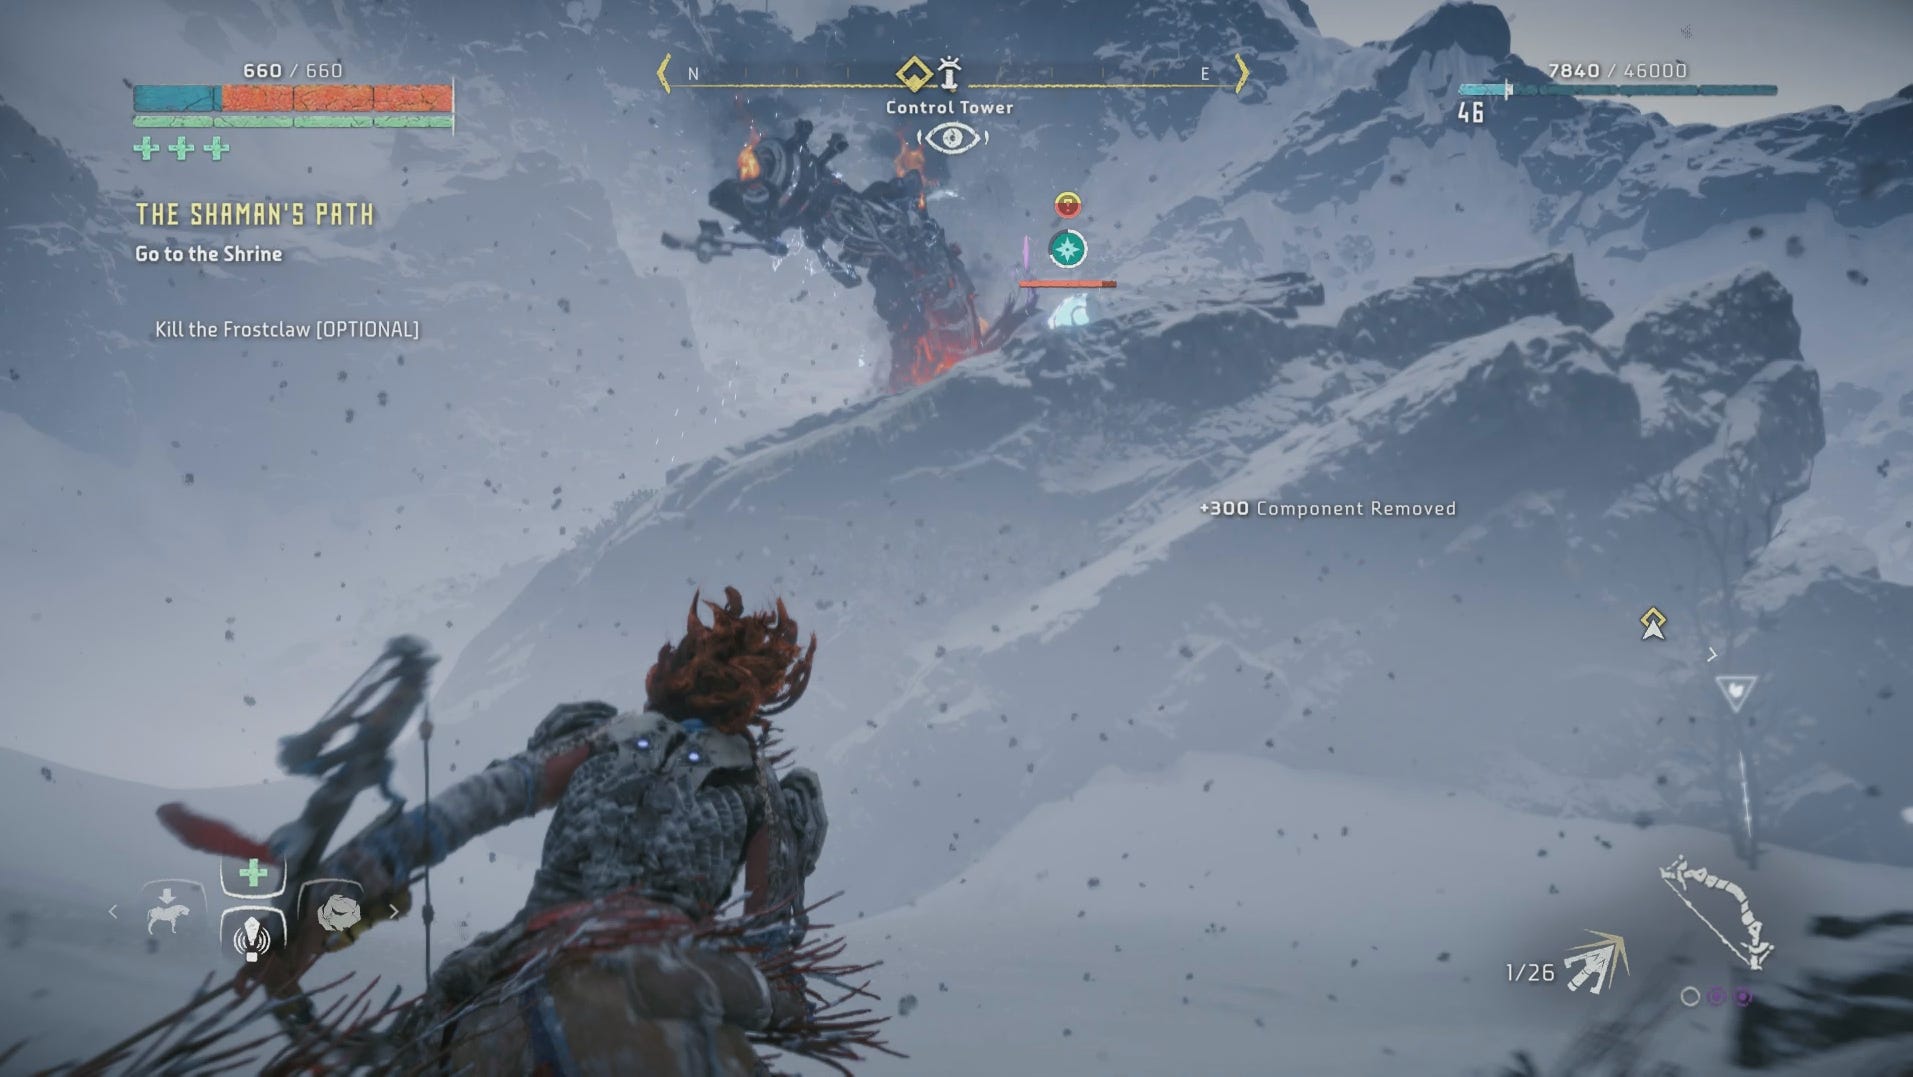
When that's down, it's time for the Frostclaw. This giant bear-like beast is a bit of a nightmare, with a variety of melee, ranged, and run-at-you-really-quickly attacks. We had the most luck by spamming the Ropecaster (it takes five shots to pull it down), then aiming at the small cannisters on its back, which heavily damage it when removed. Firebombs to the body should do the rest, but it may take some repeating.
Go to the Shrine - Follow the waypoint again, by climbing up the yellow-marked ledges on the cliff nearby. After running over the tightrope at the top, pause to collect a piece of Bluegleam from the pile of it on your right, then head up the steps.
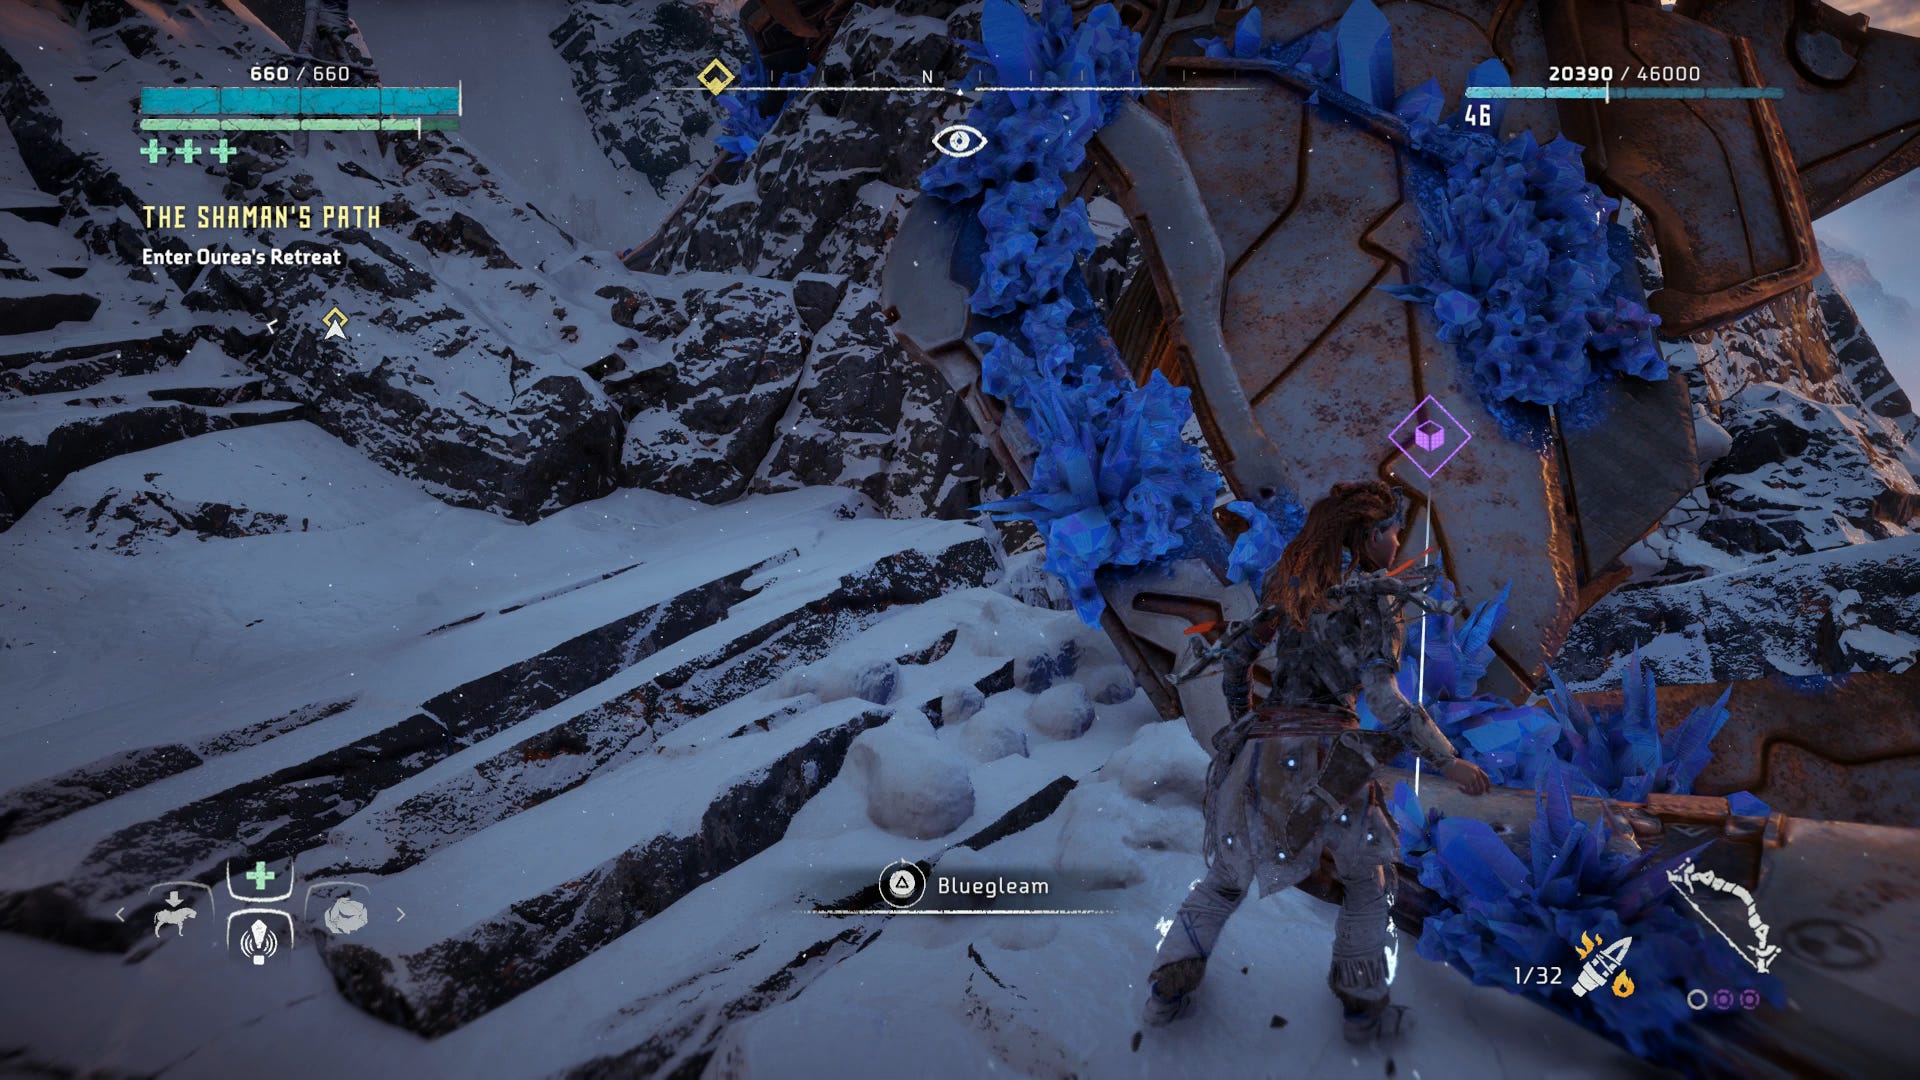
Enter Ourea's Retreat - Simple enough! Continue inside.
Explore Ourea's Retreat - Once inside, you'll find it's another of Horizon's abandoned labs. Press on, scanning the Datapoints as you go, until you reach a large, sealed blast door.
Restore Power to the Door - As you look at the door from distance, there's a room on your left. Head inside, and behind a pile of crates is an open vent that you can crouch into to explore. A couple more Datapoints await in the room on the other side, along with a new type of puzzle...
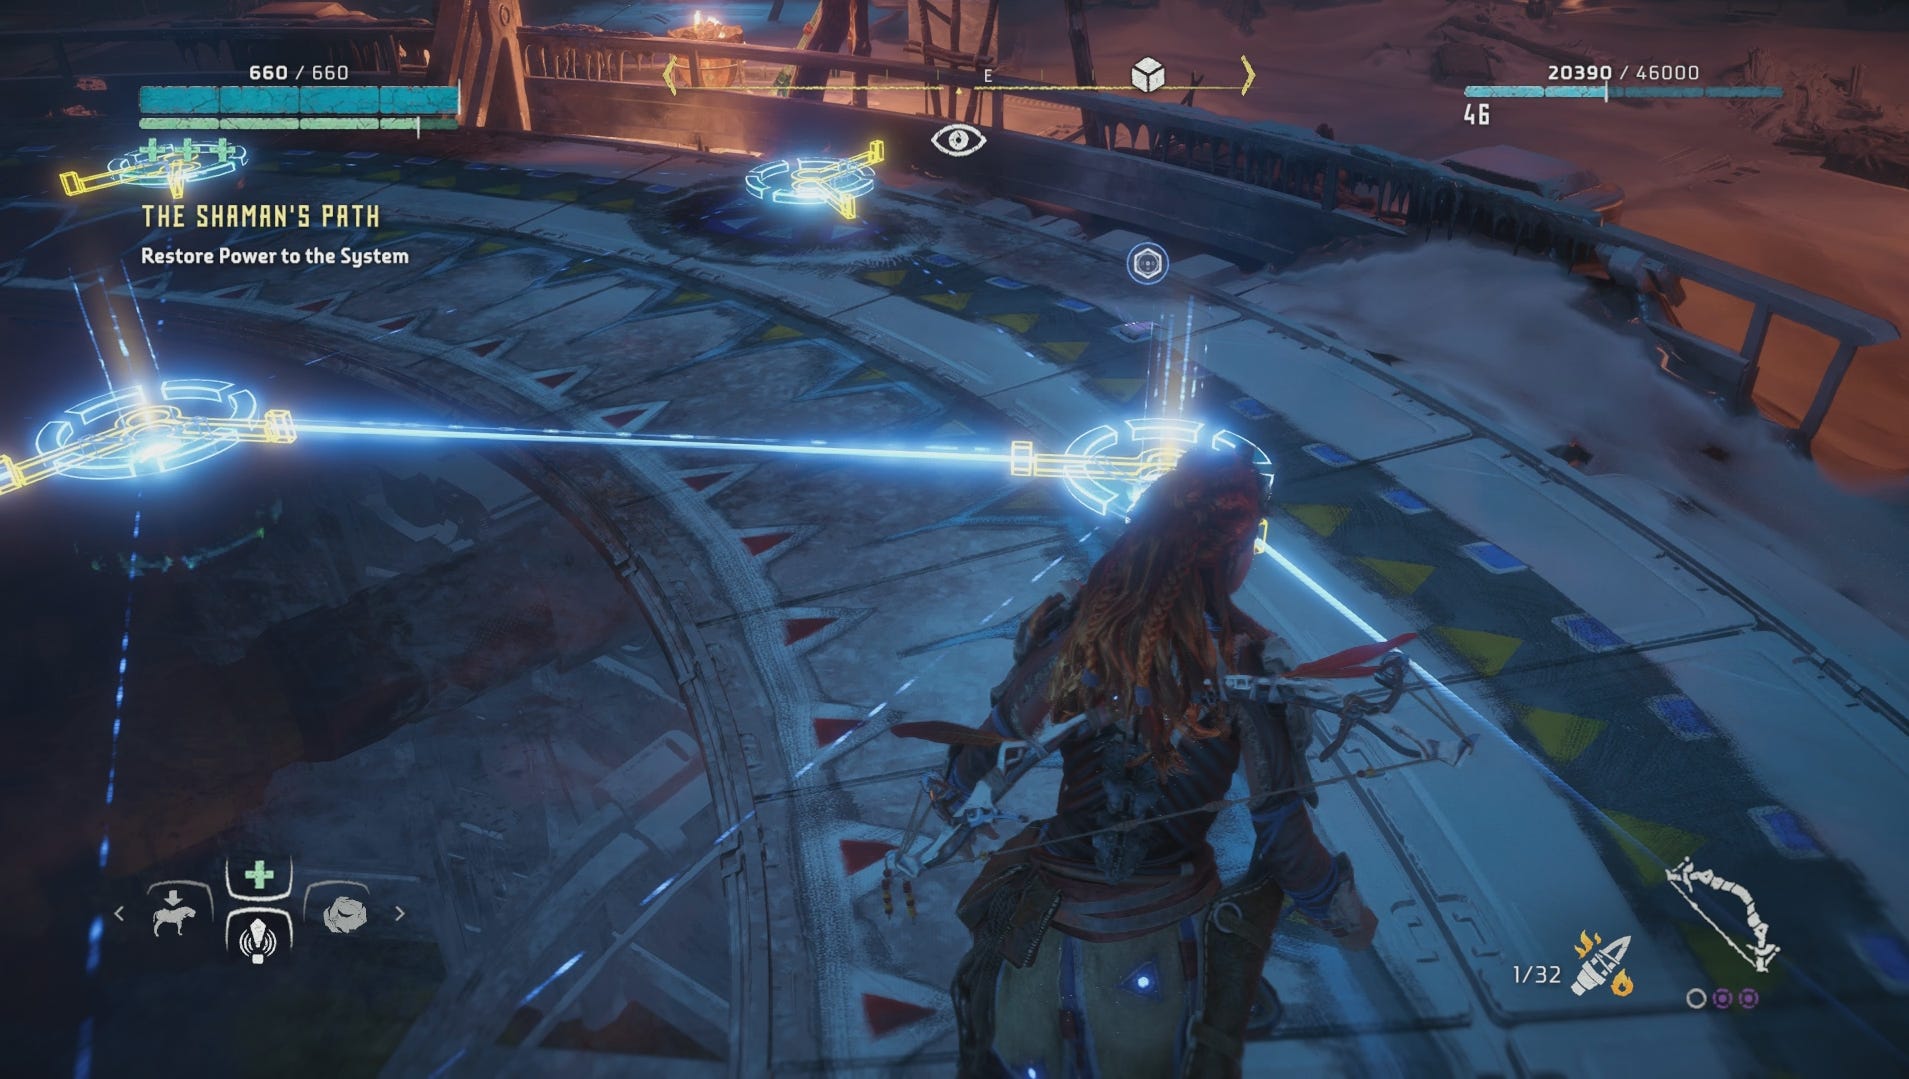
Activate the Source Node - So, first thing, jam your spear into the central point marked with your waypoint to start the puzzle. There'll then be a central point of light, and several nodes around it which you can turn in either direction. Light flows out of the middle one and into one of the nodes, so you just need to twist them to direct the light to the other point of entry in the central node. If you get stuck, look at where the light has to enter the central point, as it'll indicate which node you need to get the light to reach.
Explore Ourea's Retreat - Go back through the vent and through the door you've opened, and it's a classic vertical shaft for you to climb. When you come out the top, you'll be back outside.
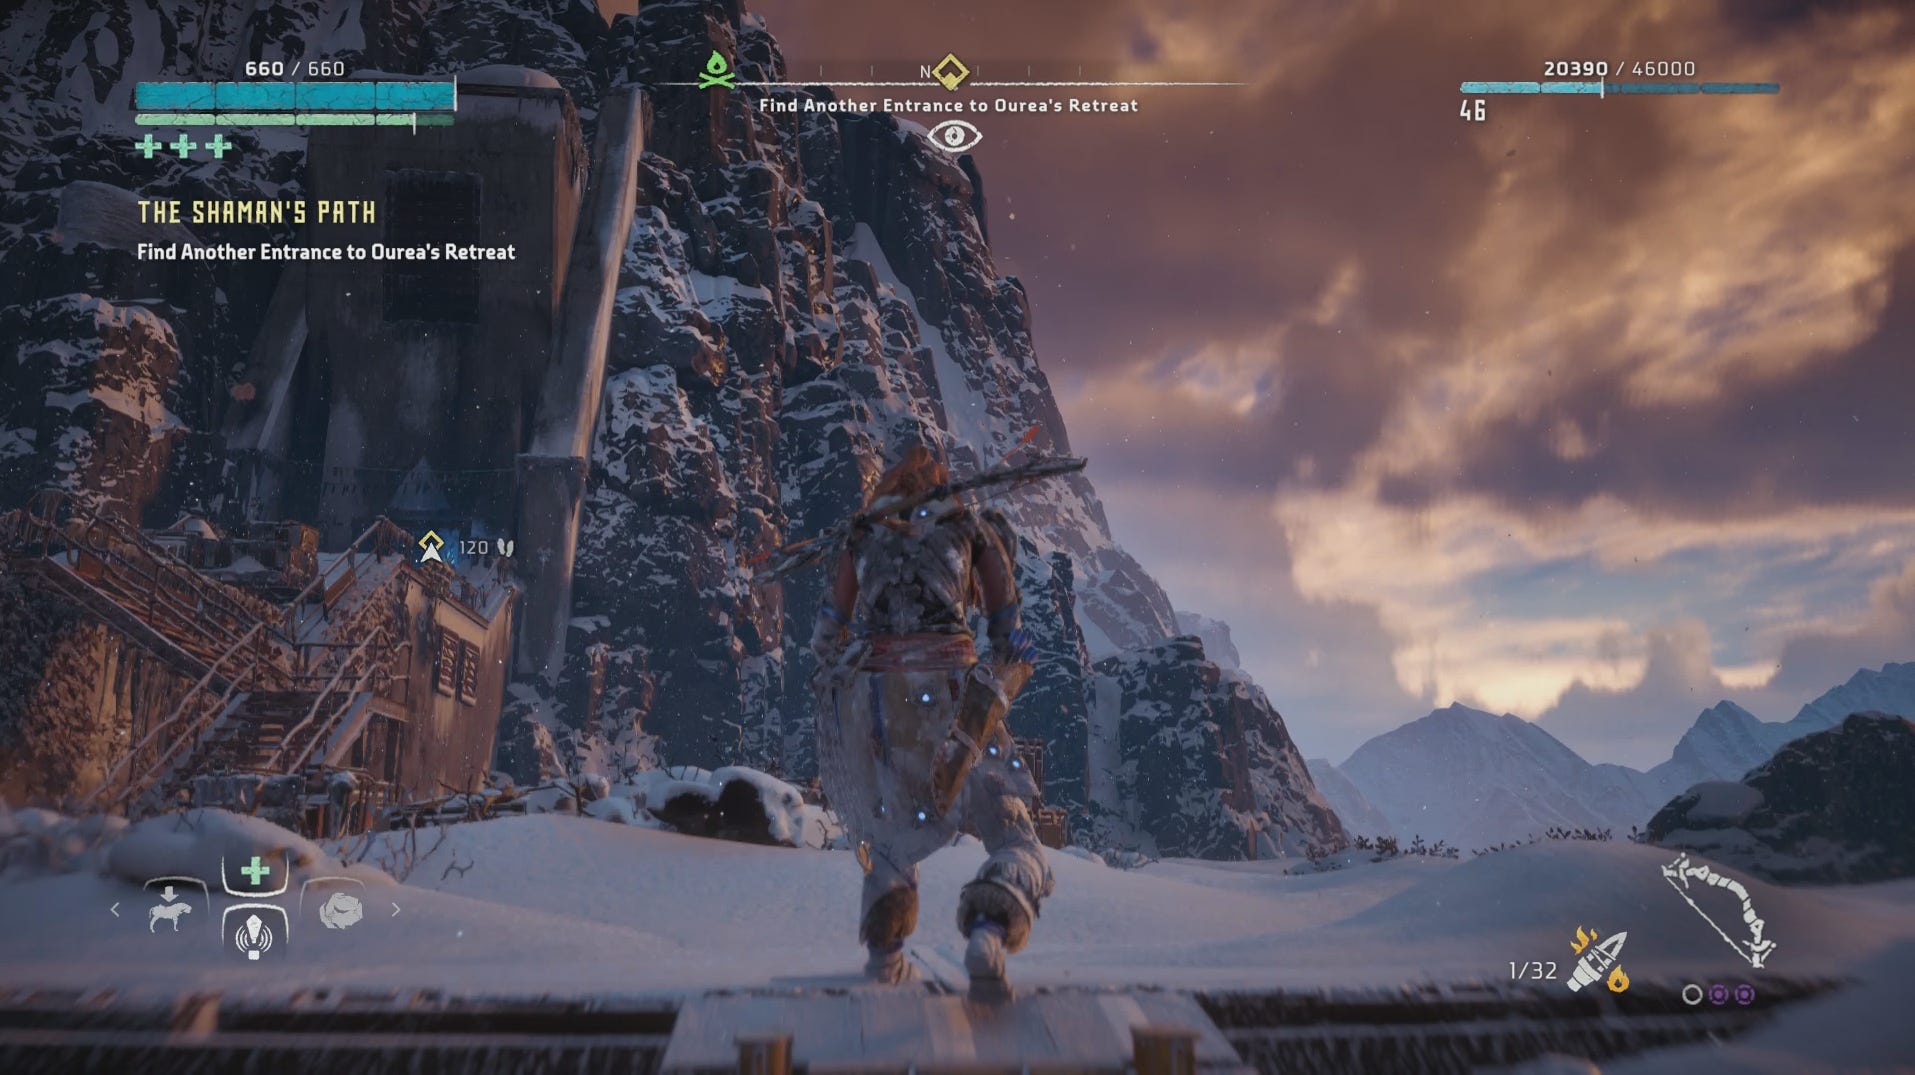
Find Another Entrance to Ourea's Retreat - Do a bit of platforming, save at the bonfire, and eventually you'll reach another door.
Explore Ourea's Retreat - More exploring, which is basically just scanning Datapoints.
Activate the Source Node - Cutscene time! After Ourea's finished her superstitious ranting, it's time for another Source Node light puzzle, but bigger. It's fairly simple: lead the light round to the left from the central point, clockwise, and it'll be fairly self-explanatory.
For more Horizon guides, explainers and advice, take a look at our main Horizon Zero Dawn guide and walkthrough hub, which includes guides to things like Horizon Zero Dawn's override Cauldrons and how to override machines, sorting out the Golden Fast Travel Pack for unlimited Horizon Zero Dawn fast travel, unlocking the amazing Horizon Zero Dawn Shield Weave Armour and Power Cell locations, and on top of that, for DLC players there's our hub for theHorizon Zero Dawn Frozen Wilds walkthrough and guide, a page on how to earn Bluegleam quickly, and finally, a handy guide to A Secret Shared and how to upgrade your spear in Horizon Frozen Wilds.
Collect a wooden figure from the table nearby, marked with a purple indicator, while you're there.

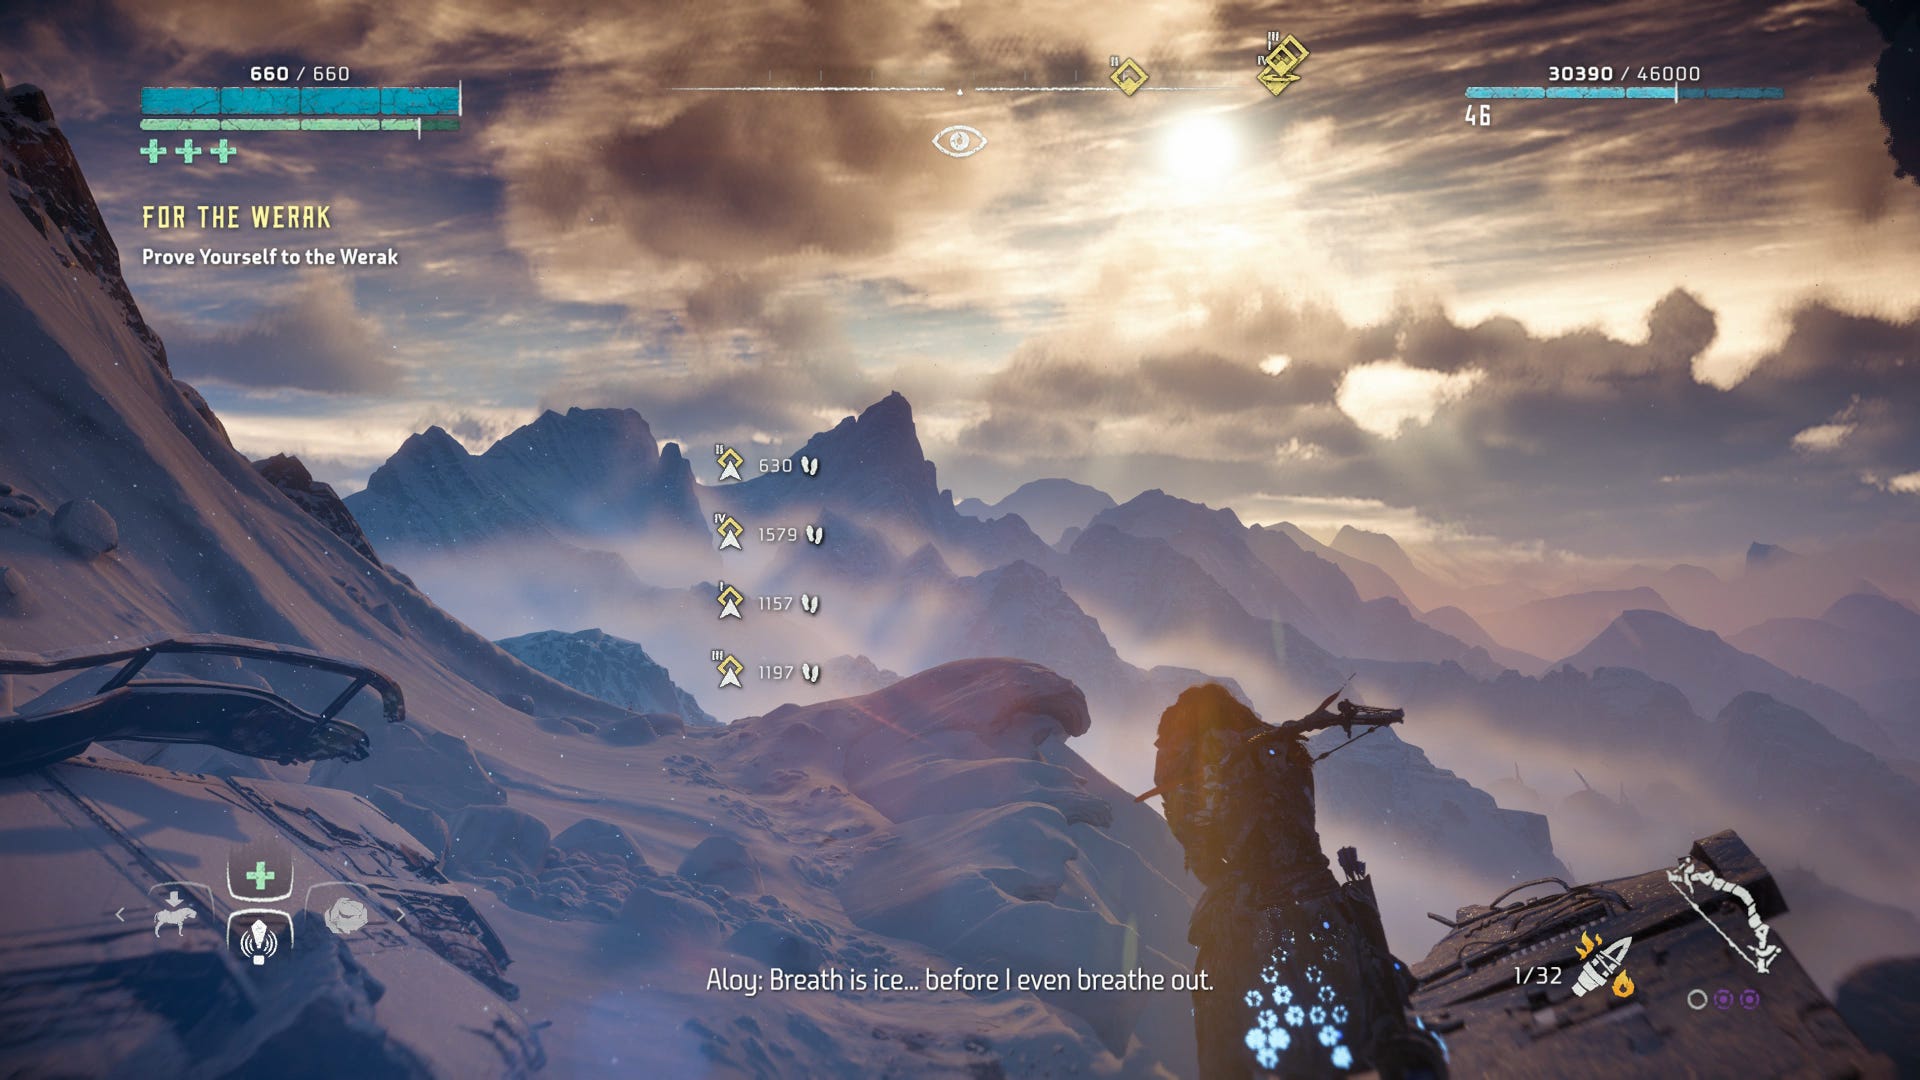
Next up: Horizon Frozen Wilds - For the Werak
Take the Stormslinger - After a lengthy chat with Ourea, collect your reward: a new type of weapon in a box on the table, called a Stormslinger. Exit via the door nearby, and you're done!
