Super Mario Odyssey - Darker Side, Culmina Crater and how to complete Long Journey's End
How to reach and get the most out of the second Secret Kingdom.
Darker Side, Culmina Crater and Long Journey's End in Super Mario Odyssey is the final challenge in what is a game already stacked full of stages and things to do.
Once you've powered up the Odyssey with a total of 500 Power Moons - check out our full Power Moons guide to find over 550 of these collectibles throughout the main 14 kingdoms - you'll be able to unlock the second secret world - Darker Side.
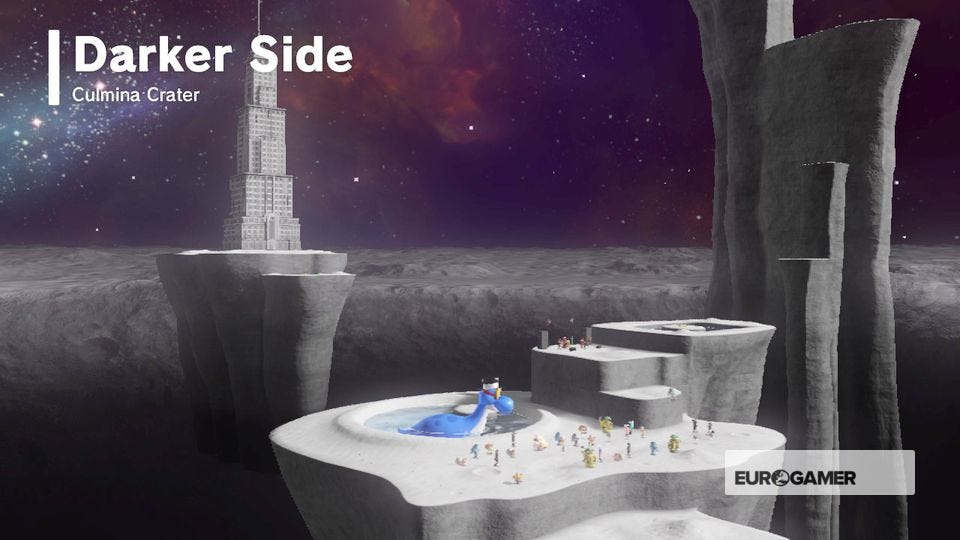
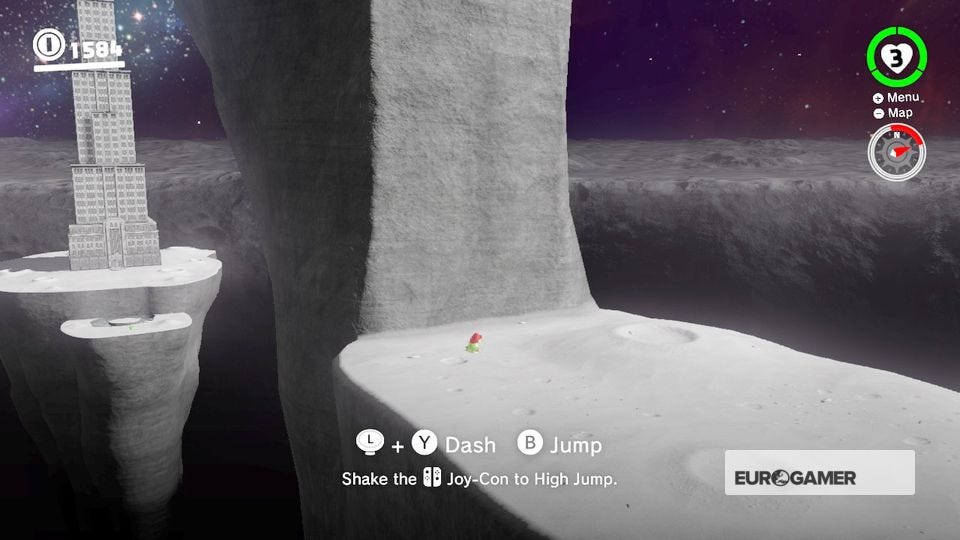
As the name suggests, this is another location on the Moon and is located after Dark Side on the Odyssey world map.
Darker Side, Culmina Crater and Long Journey's End
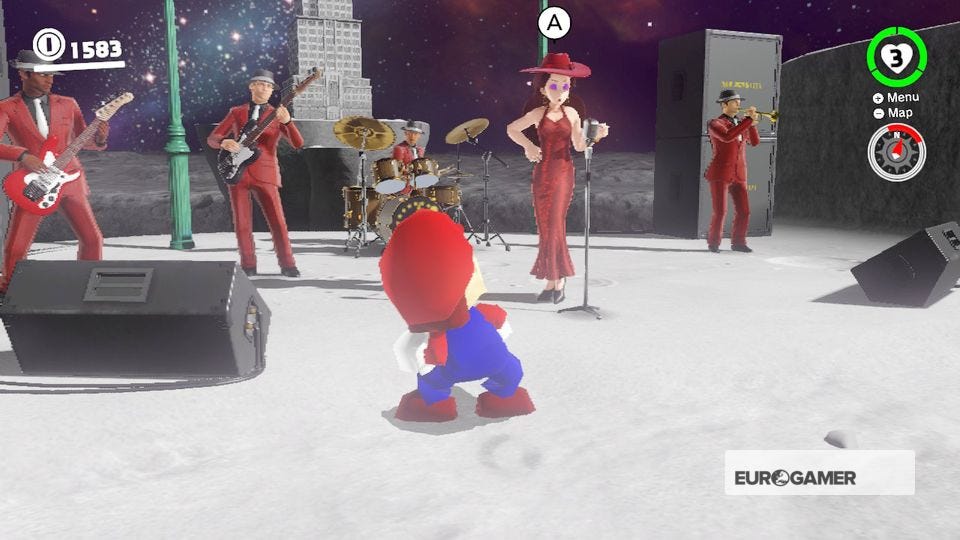
When you land with the Odyssey, you'll notice the same low gravity you encountered in the Moon Kingdom and Dark Side is in effect here. Jump up to the next platform and follow the celebratory committee that's come to greet you.
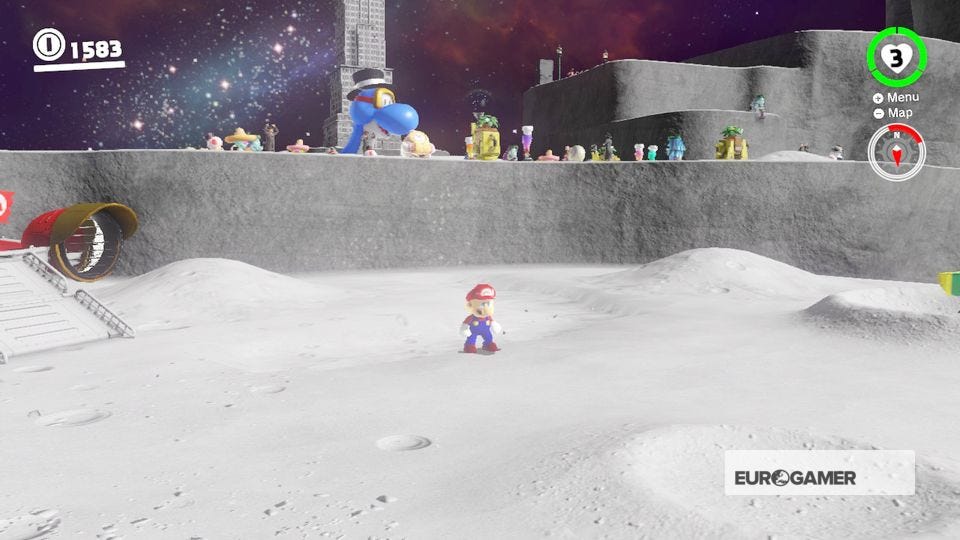

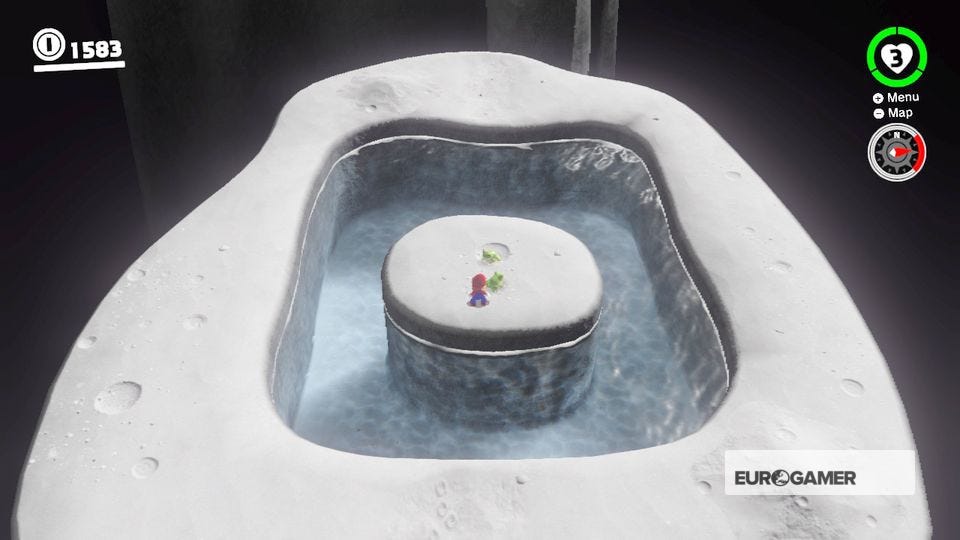
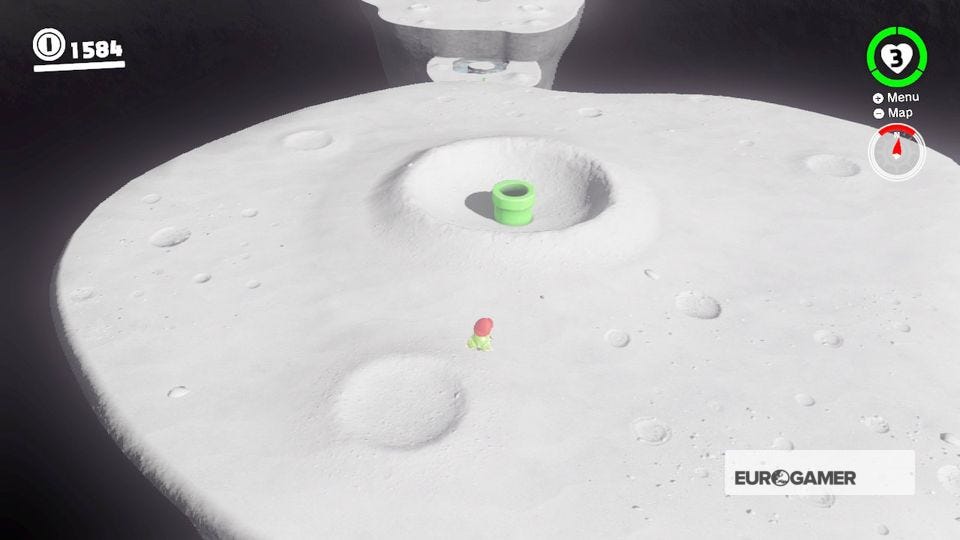
To find out, jump up past Mayor Pauline and jump into one of the two frogs in the middle of the square moat. Use one of these frogs to make the leap to the two-tier platform that's moving across the chasm.
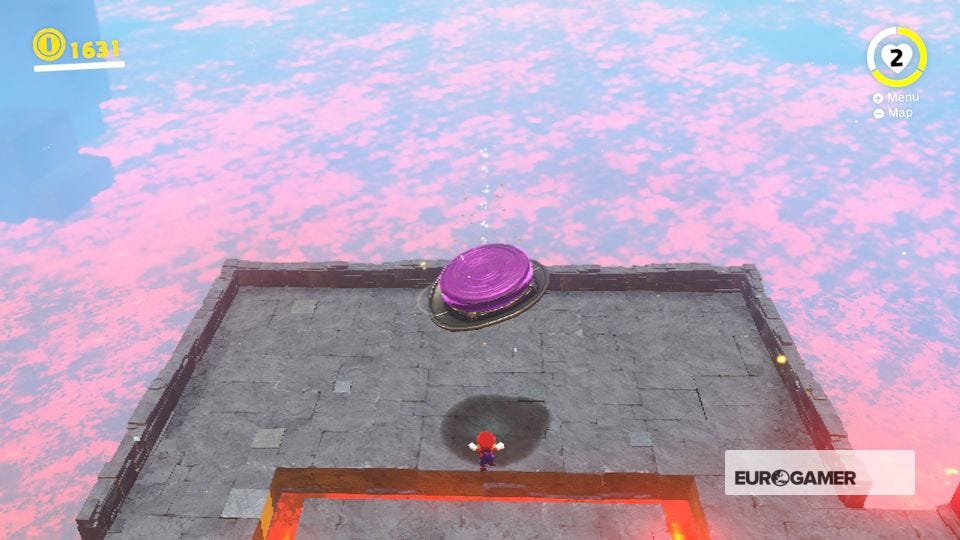
It's not moving that fast, and you can correct your landing in the air, so you should make this crossing with ease. Now leap up to the next higher platform. Leap up again, and press 'LZ' to enter the Warp Pipe in the middle of this summit.
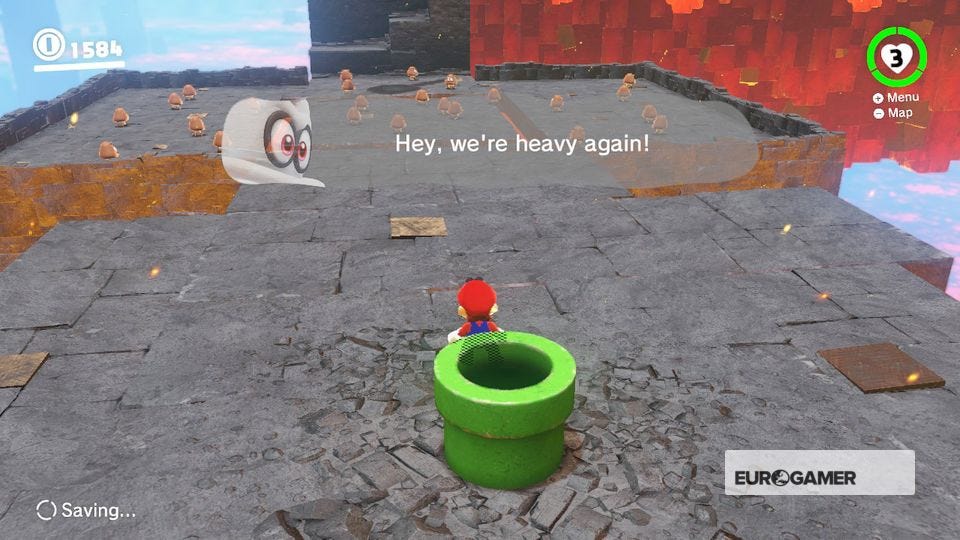
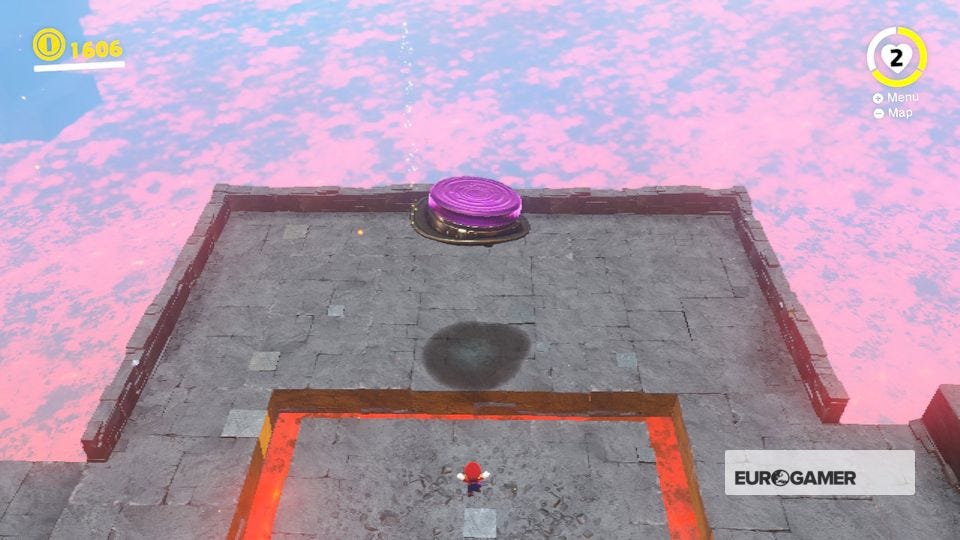
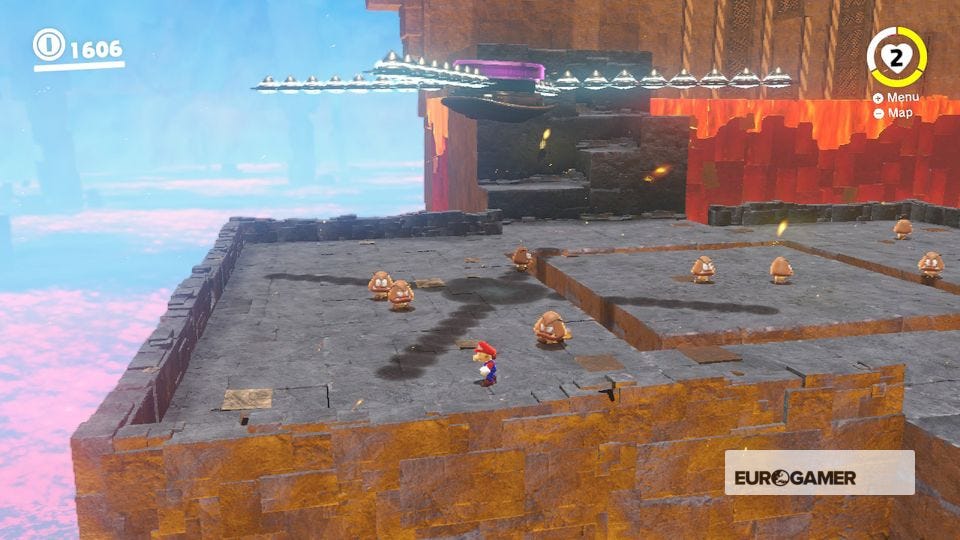
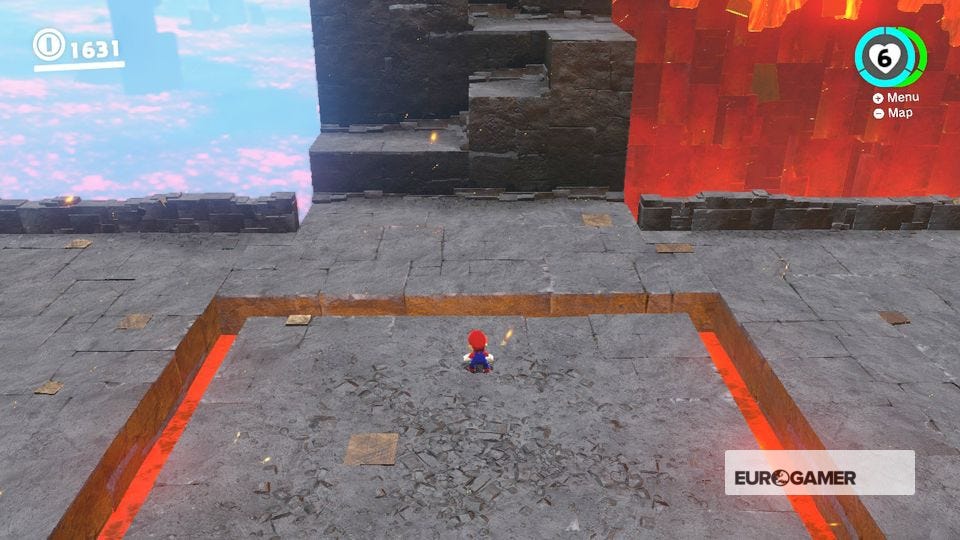
When you land, you'll notice your lack of gravity has disappeared. Physics have returned to normal, and just in time for a fight with a brand new enemy - the Yoo-foe. It's basically a giant purple hat with two razors on either side.
And it drops bombs. Approach it and the horde of Goombas to start this battle. Create a stack of Goombas high enough to jump on its head.
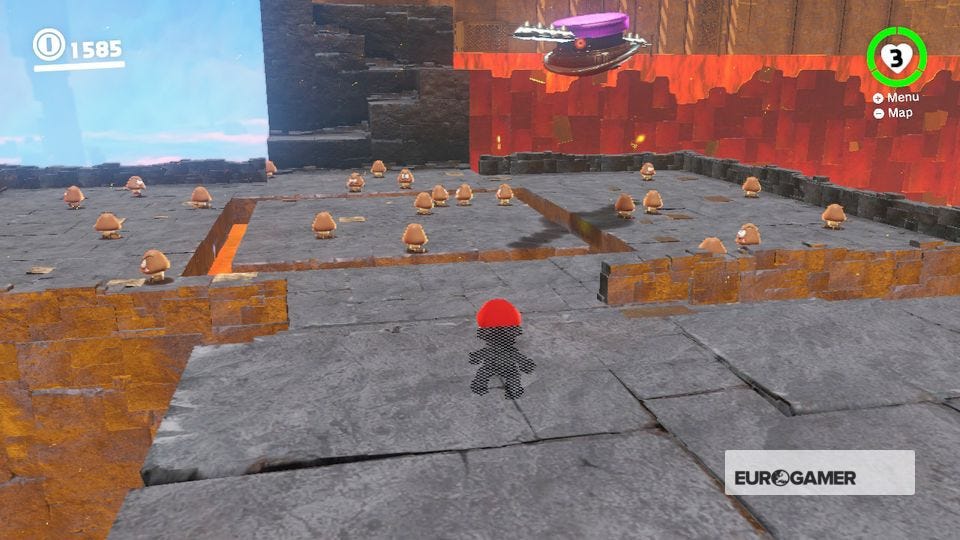
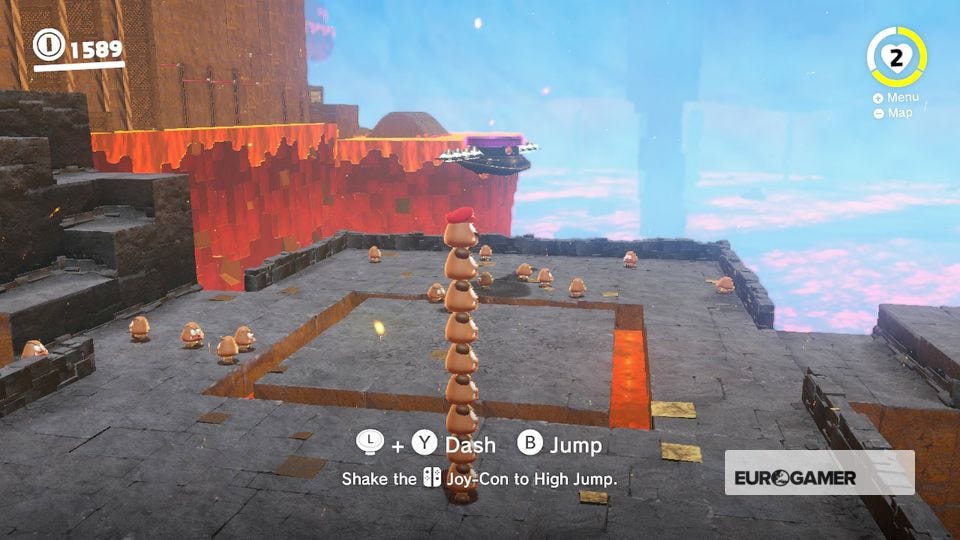
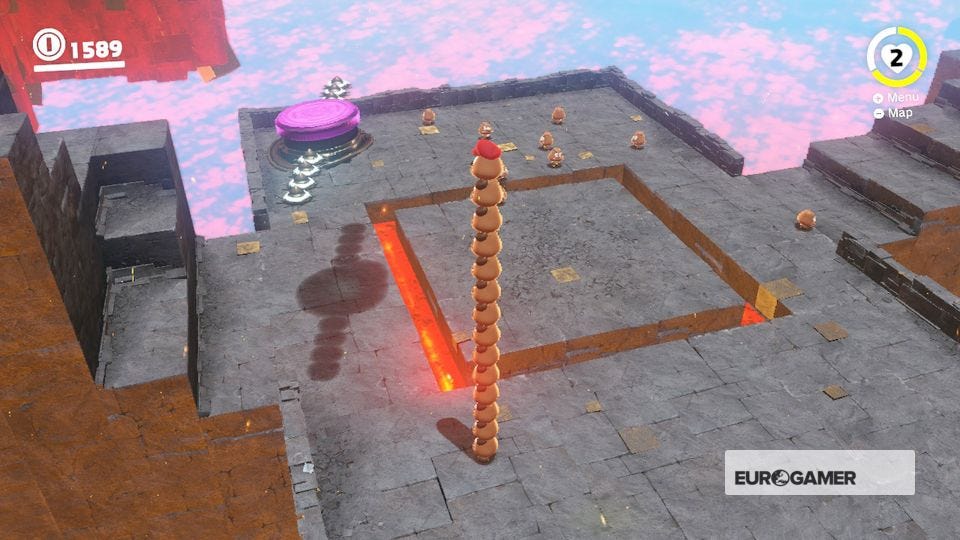
For its second phase, the Yoo-foe will drop more Goombas, extend the length of its razors and add a third arm of razors for good measure. Repeat the same process, and try to approach small groups of Goombas a once so you don't get caught out while jumping on another Goomba.
Hit the Yoo-foe a second time to defeat it. Interestingly, you can actually bypass this first Yoo-foe entirely, but defeating it will drop a Life-Up Heart (adding three more health chunks) so it's worth engaging in for the reward.
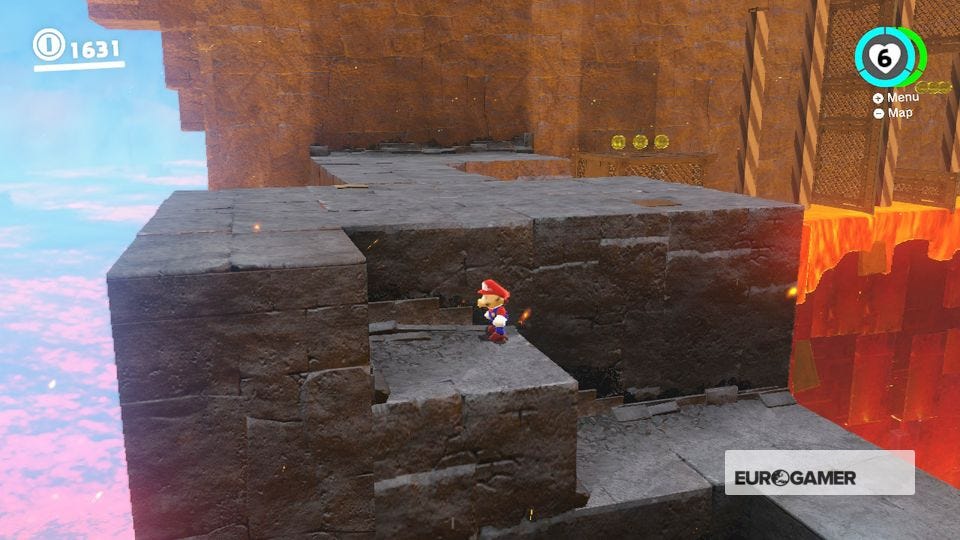
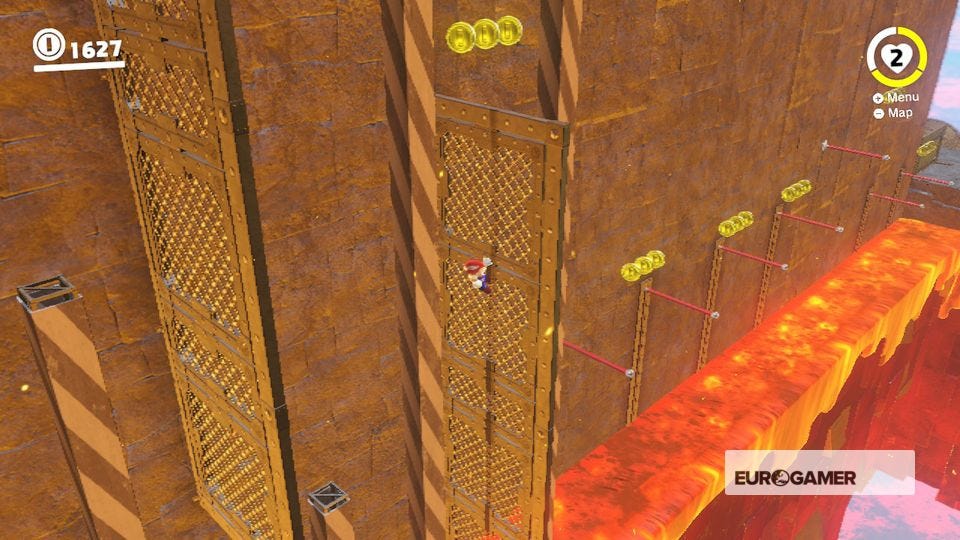
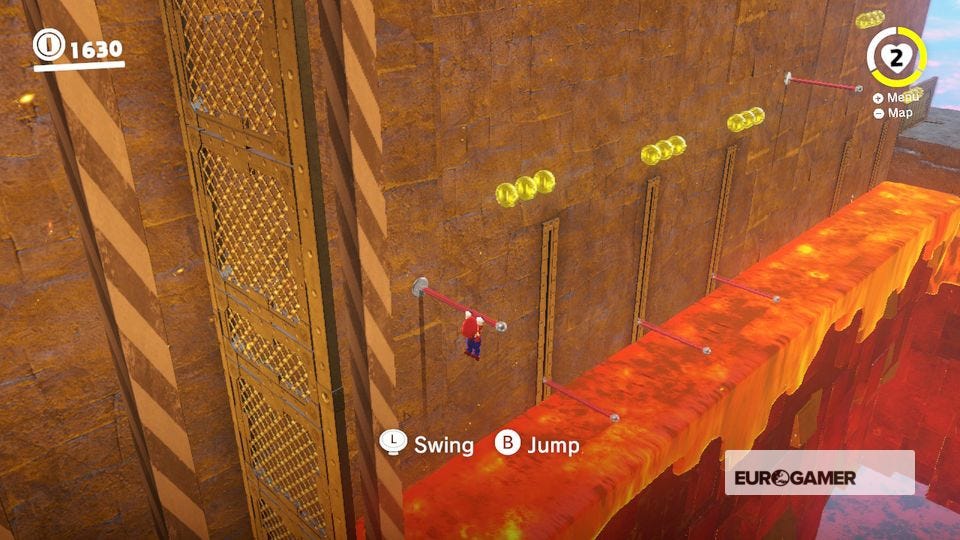
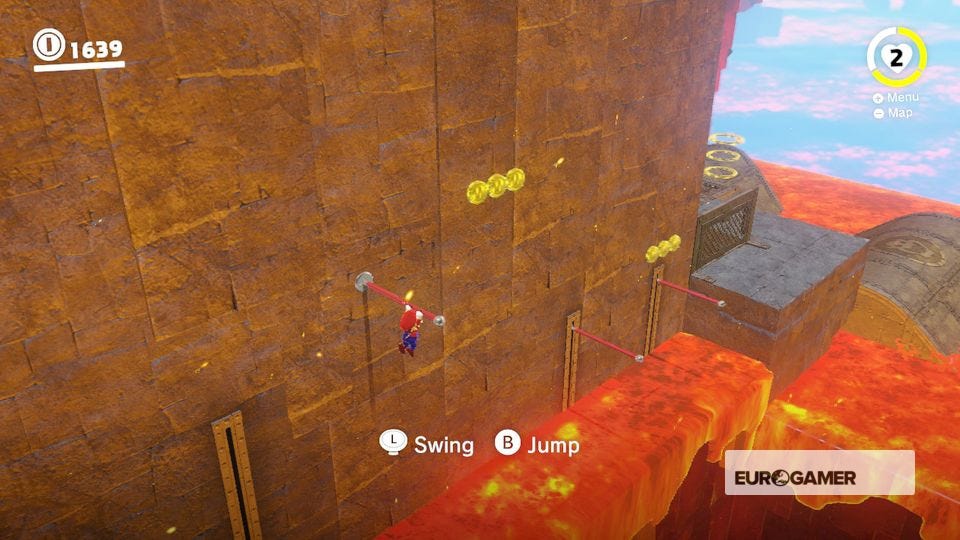
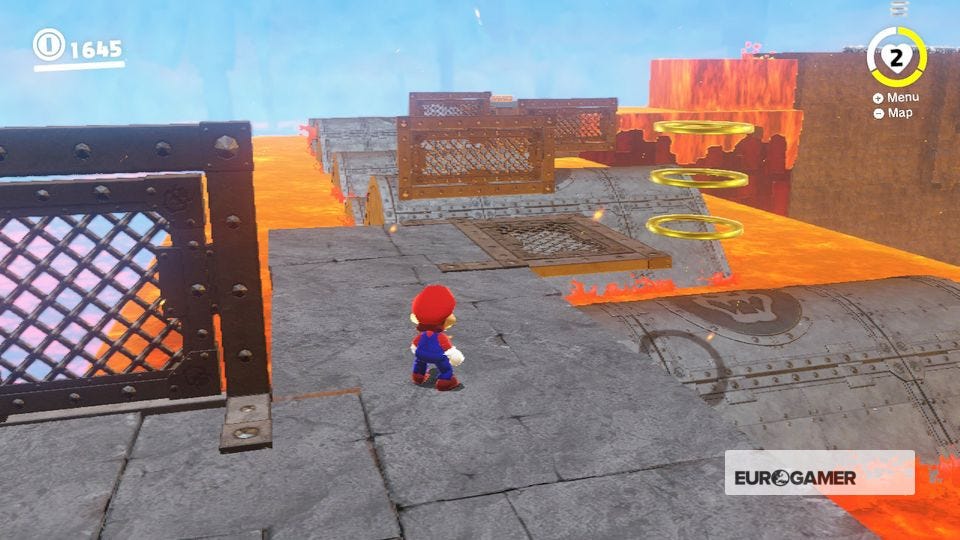
Next is the pole-based lava section. This section isn't as hard as it looks, but it can be tricky until you understand the rhythm required. Each pole here will sink into the lava the moment the jump onto it, so don't waste time climbing - you'll just die.
Instead, simply spin around to the right side so you can jump to the next. Some will require you to wall jump between a wall and the nearest pole. Again, don't think too much, just jump on instinct. Two of these bits require you to leap through a hole in a wall. Ride the pole down and jump.
When you reach the red horizontal poles, a similar pattern is in order. Jump onto the static one first, and wait for the three moving ones to reach the top of their movement cycle. Jump onto each one without pause - again, if you hesitate, you'll die. Repeat on the next pole section until you reach the next platform.
Need more help? Our Super Mario Odyssey guide and walkthrough goes through every objective in each Kingdom, while our Power Moon locations can help you track down the likes of Cascade Kingdom Power Moons, Sand Kingdom Power Moons, Metro Kingdom and New Donk City Power Moons and more collectables. We also have Purple Coin locations for each Kingdom, and if you want to know what to spend it on, we have a hats list, outfits list, stickers list, a souvenirs list as well as a music list to kit out the appearance of both Mario and the Odyssey. Once you've finished the game, check out the free Balloon World update, too.
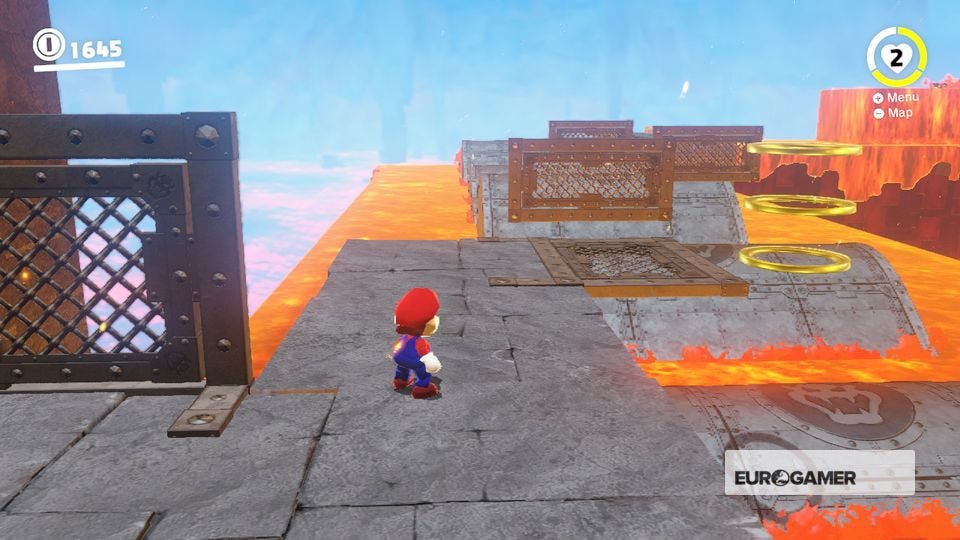
This next section requires you to jump across a rolling convoy of barrels. They move fast and can't be properly crossed with simple jumps. Try doing long jumps and holding crouch ('LZ') to perform a roll when you land. This should, if timed correctly, be enough to help you reach the far side. This is by far one of the toughest challenges of this area.
The following sections will pretty much cover all the mechanics and challenges you've encountered throughout the game, including dodging Moonsnakes while leaping into pools of magma as Lava Bubble; traversing mazes with an Uproot; avoiding Fuzzies in a series of conveyor belts; dodging shockwaves while riding a leaf road and answering more riddles from the Sphynx.
When you reach the end you'll complete a new take on the Bowser-based escape from the end of the game before reaching Culmina Town Hall and a Multi-Moon reward. Good luck!