Assassin's Creed Origins tombs solutions - Silica, Ancient Mechanisms, Tomb of Menkaure, Tomb of Khufu and all tombs explained
All Assassin's Creed Origins tombs and their puzzles solved and explained.

Tombs in Assassin's Creed Origins serve as a series of mini-dungeons for you to optionally explore, but given what they house - Ancient Tablets, Ancient Mechanisms, and some stuff we won't spoil, we'd say they're well worth checking out!
Here on this page, as well as explaining how tombs in general work, we'll also briefly explain the purpose of the related material Silica, and info on the noteworthy Tomb of Menkaure and Tomb of Khufu, as well as all the others too!
Assassin's Creed Origins tombs, Ancient Tablets, Silica, and Ancient Mechanisms explained
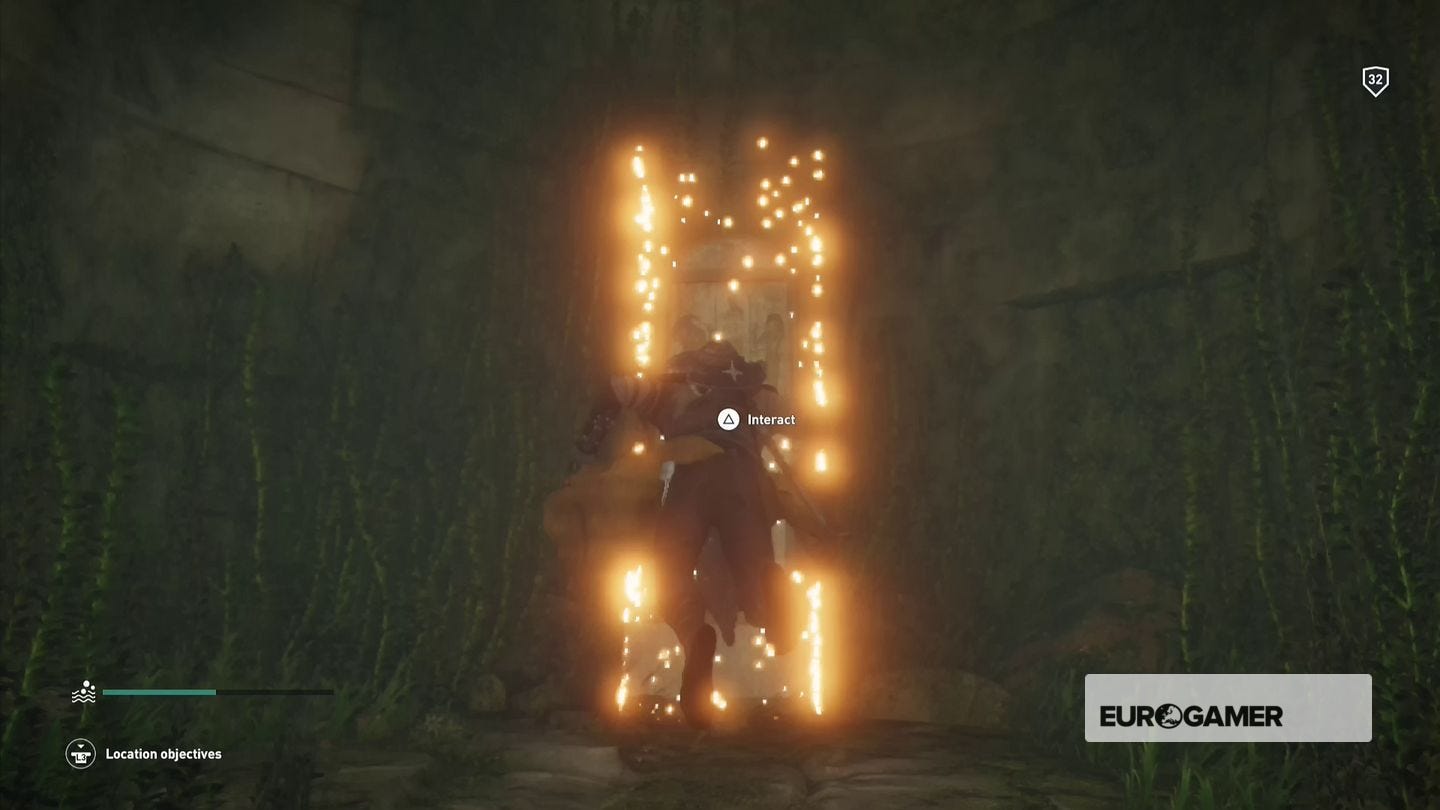
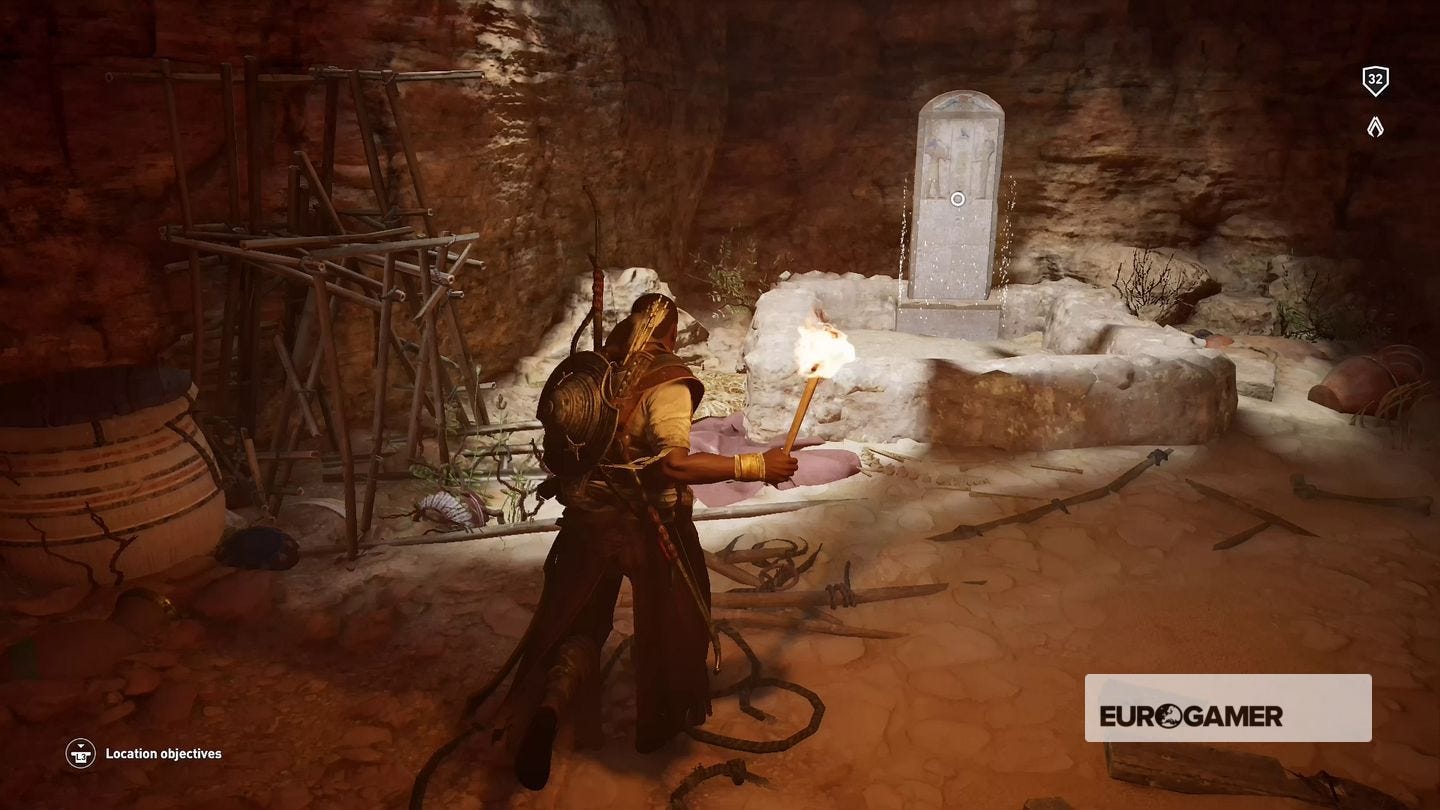
Tombs are scattered around Egypt, and each contains an Ancient Tablet that will give you an Ability Point once found. In addition some of the tombs have a mysterious mechanism to activate - we won't spoil things by telling you what they are or what they do, but activating them all earns you a rather fetching outfit for your collection.
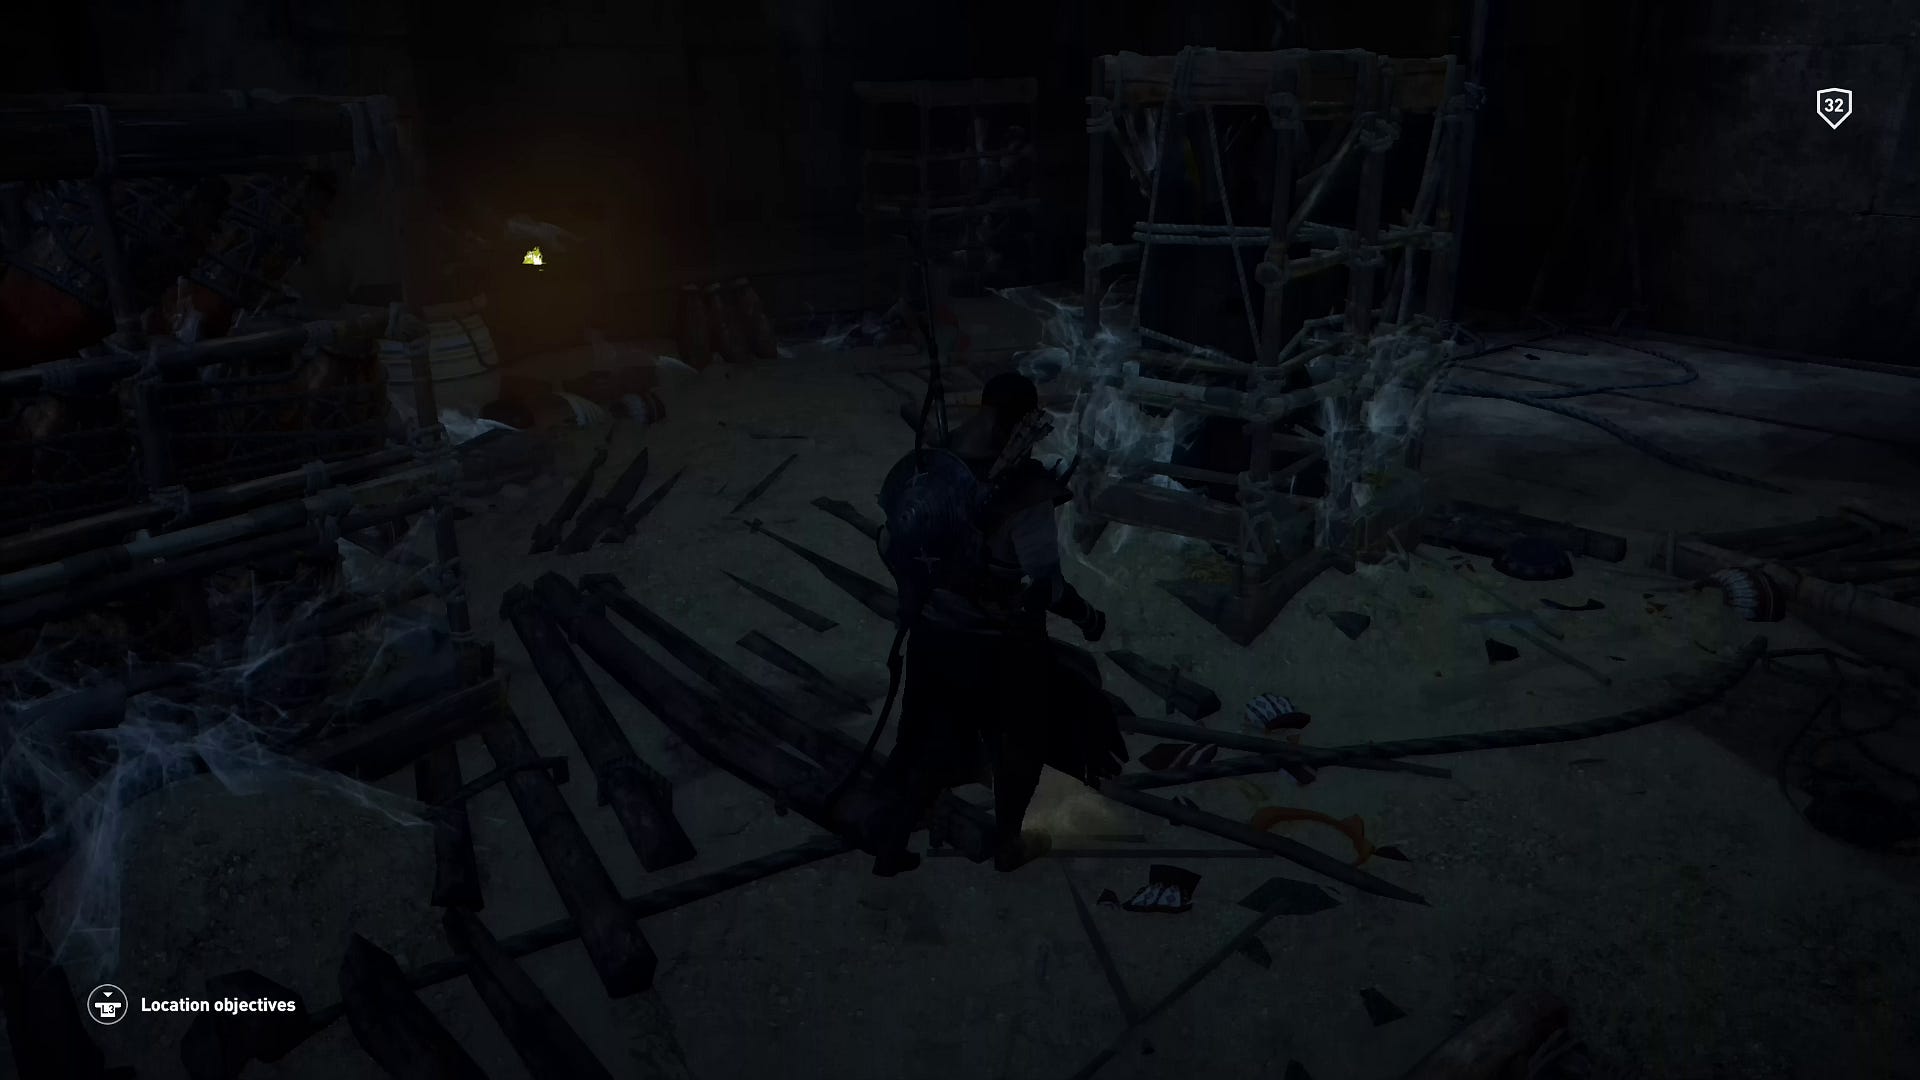
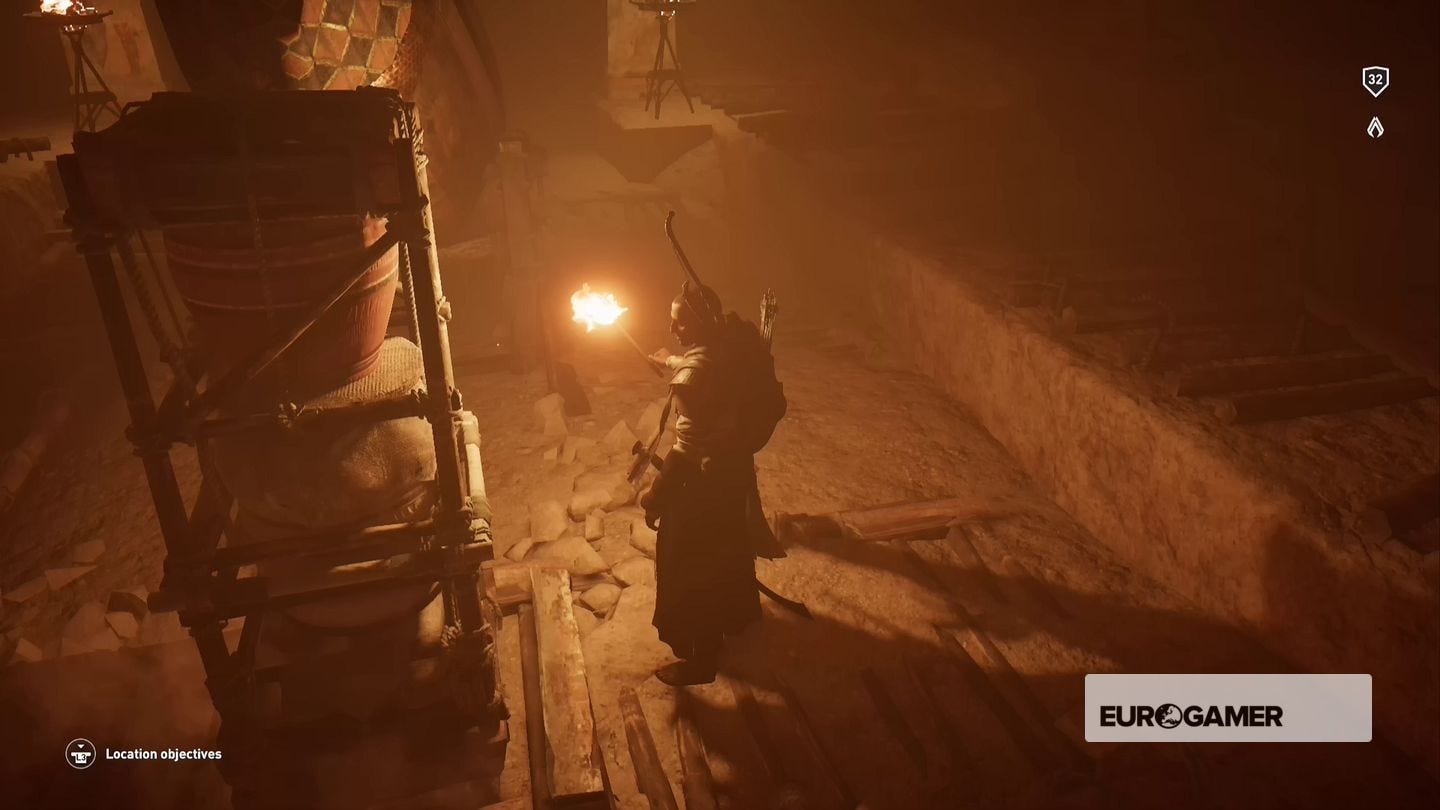
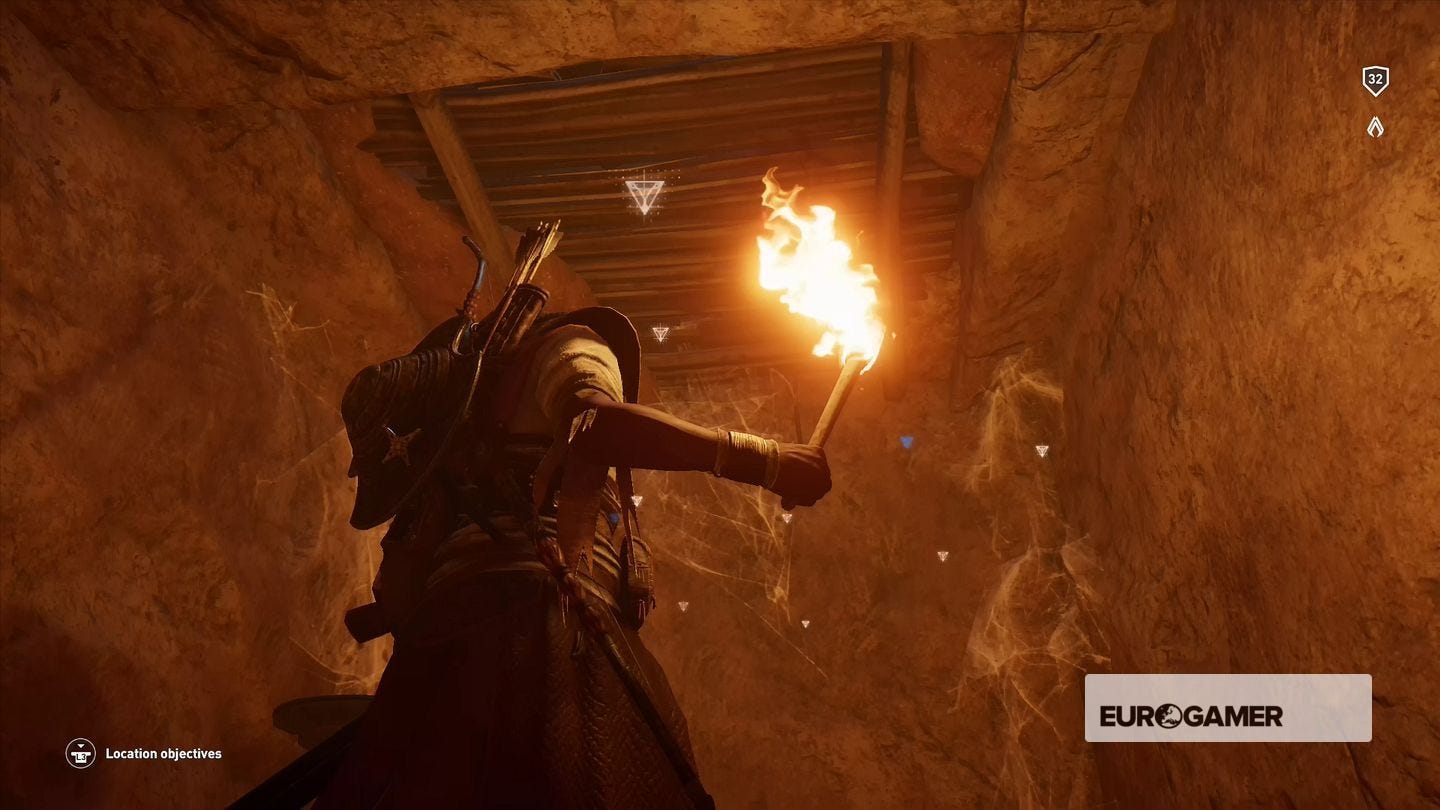
Each mechanism requires a certain amount of Silica to activate - the "regular" ones take five Silica, and the final one will need 50 - so collect every bit that you see; it glows very brightly even in complete darkness and the areas containing the Mechanisms usually have it in abundance, but you'll also find a few loose pieces in the tomb passage so don't forget to loot as you go.
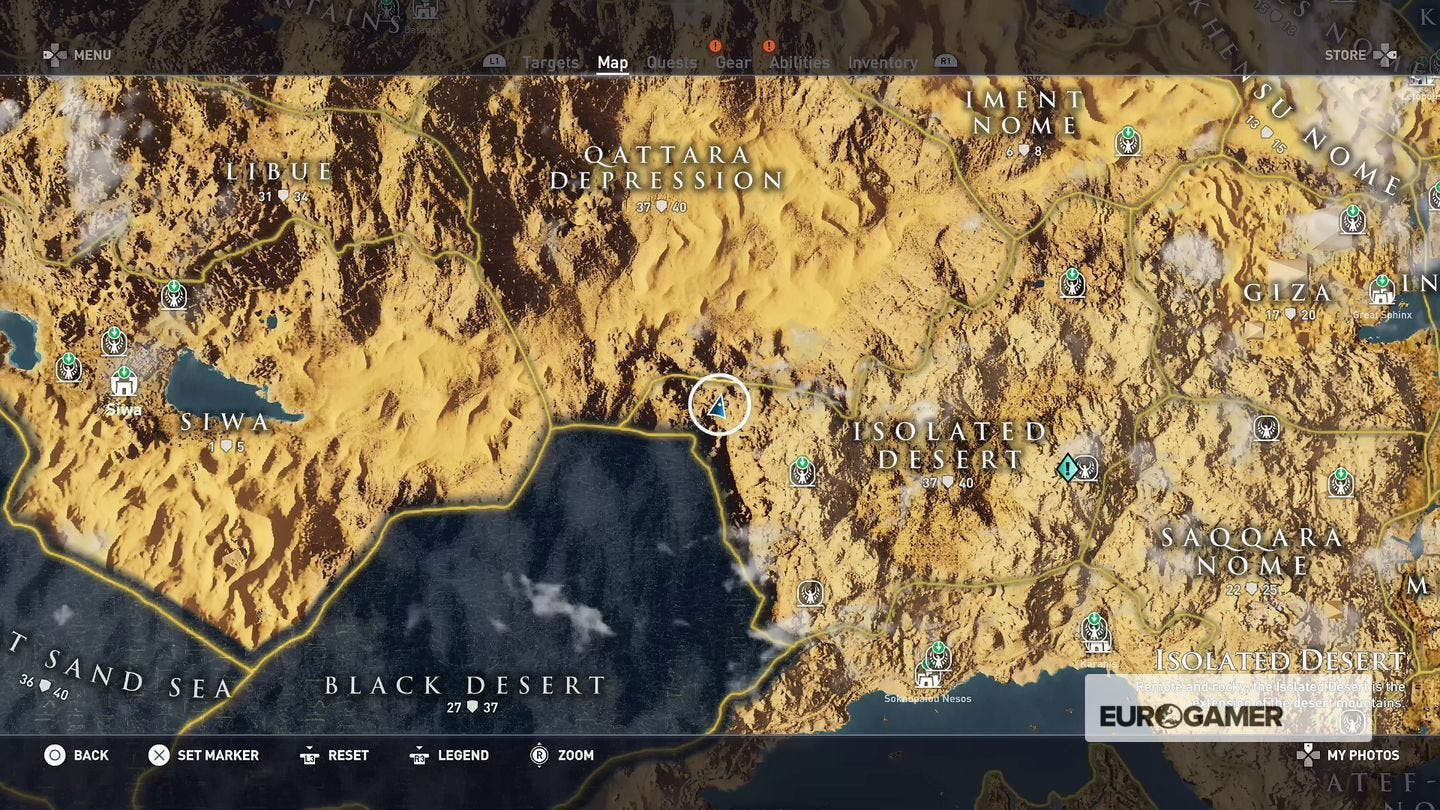
Assassin's Creed Origins tomb locations and tomb solutions - Menkaure, Khufu and more
The Adorer of Thoth Tomb
This tomb is located in the north western corner of Giza at the foot of the mountains.
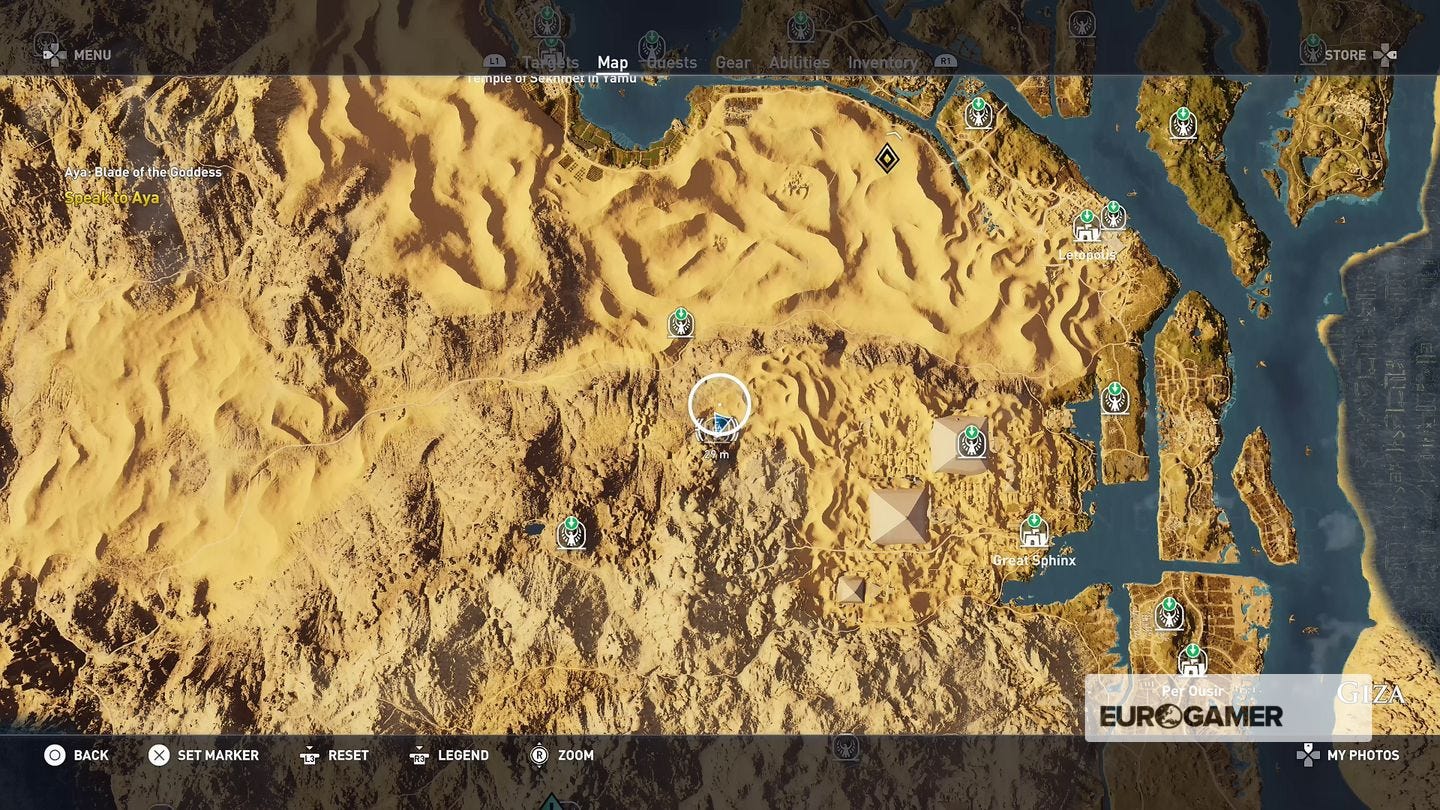
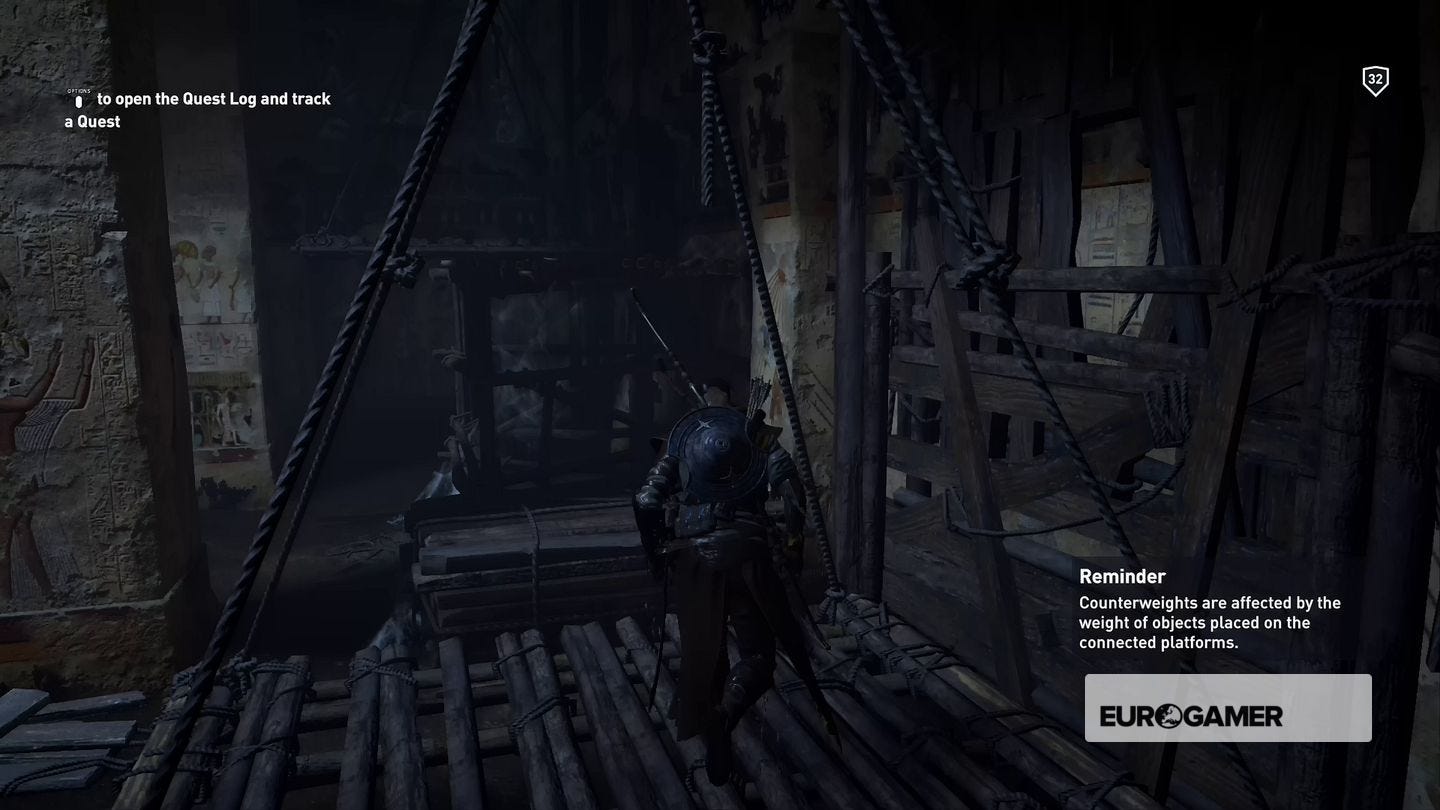
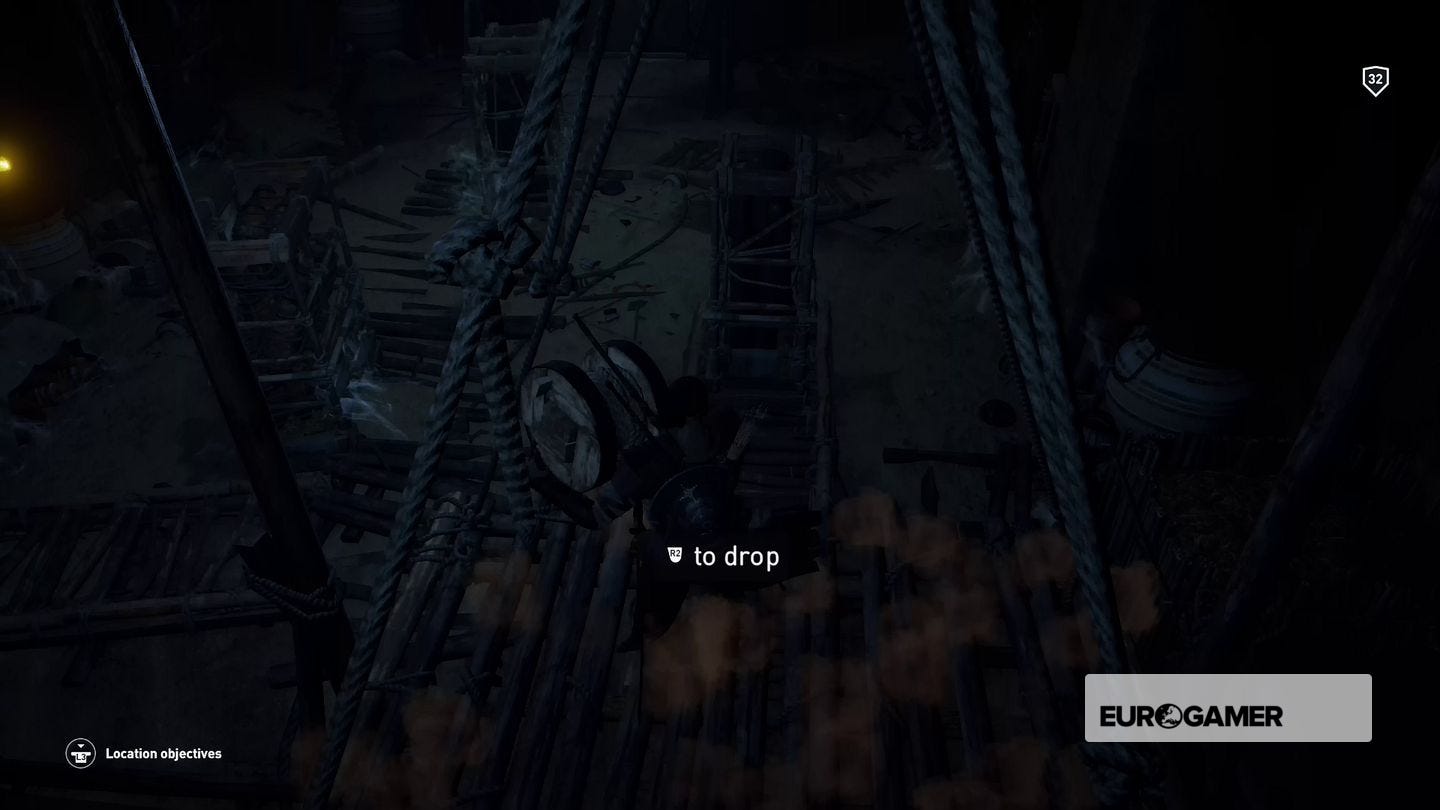
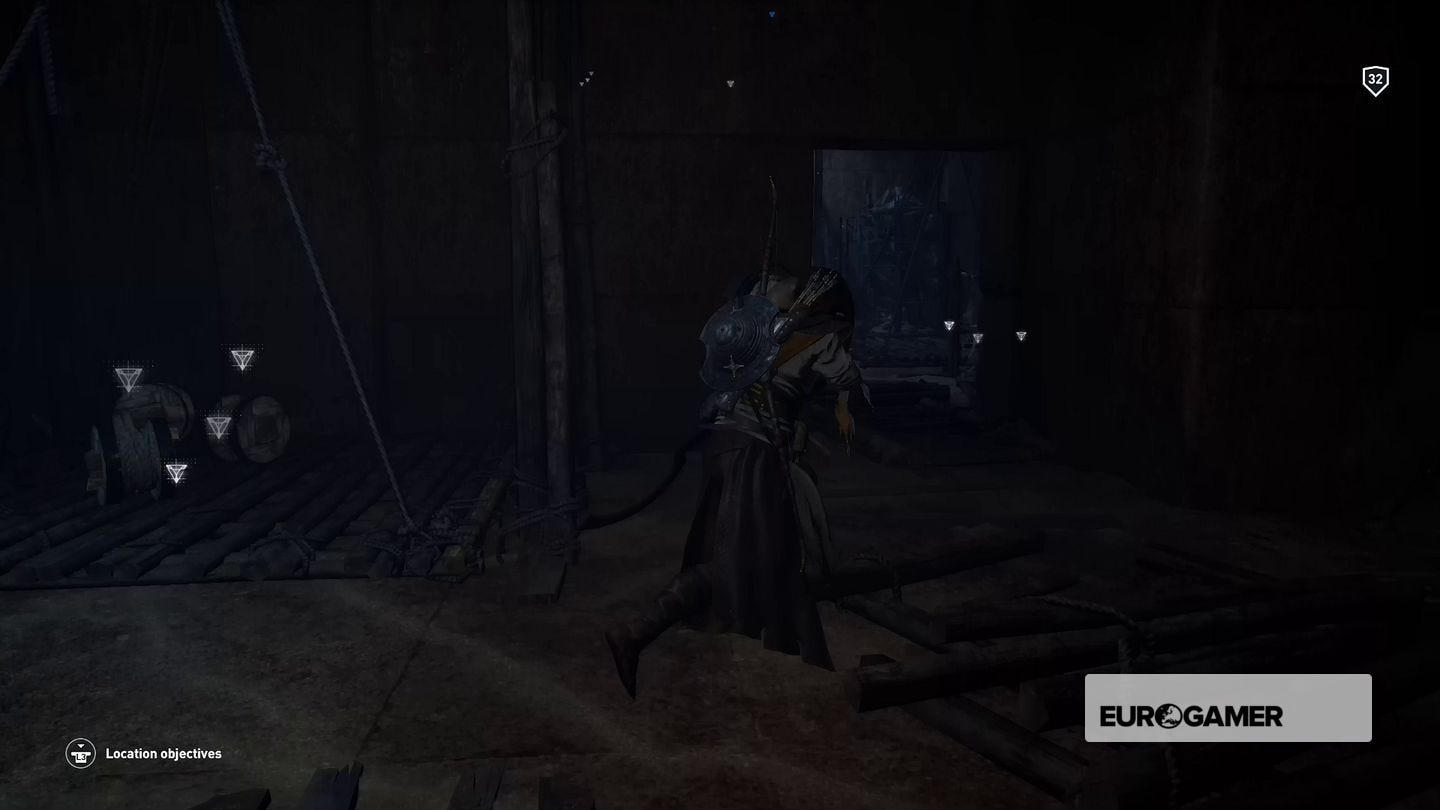
As you pass through the opening areas you'll come across some minor bandit resistance. Avoid or eliminate them and keep following the path until you reach a room containing a couple of wooden platforms suspended by ropes.
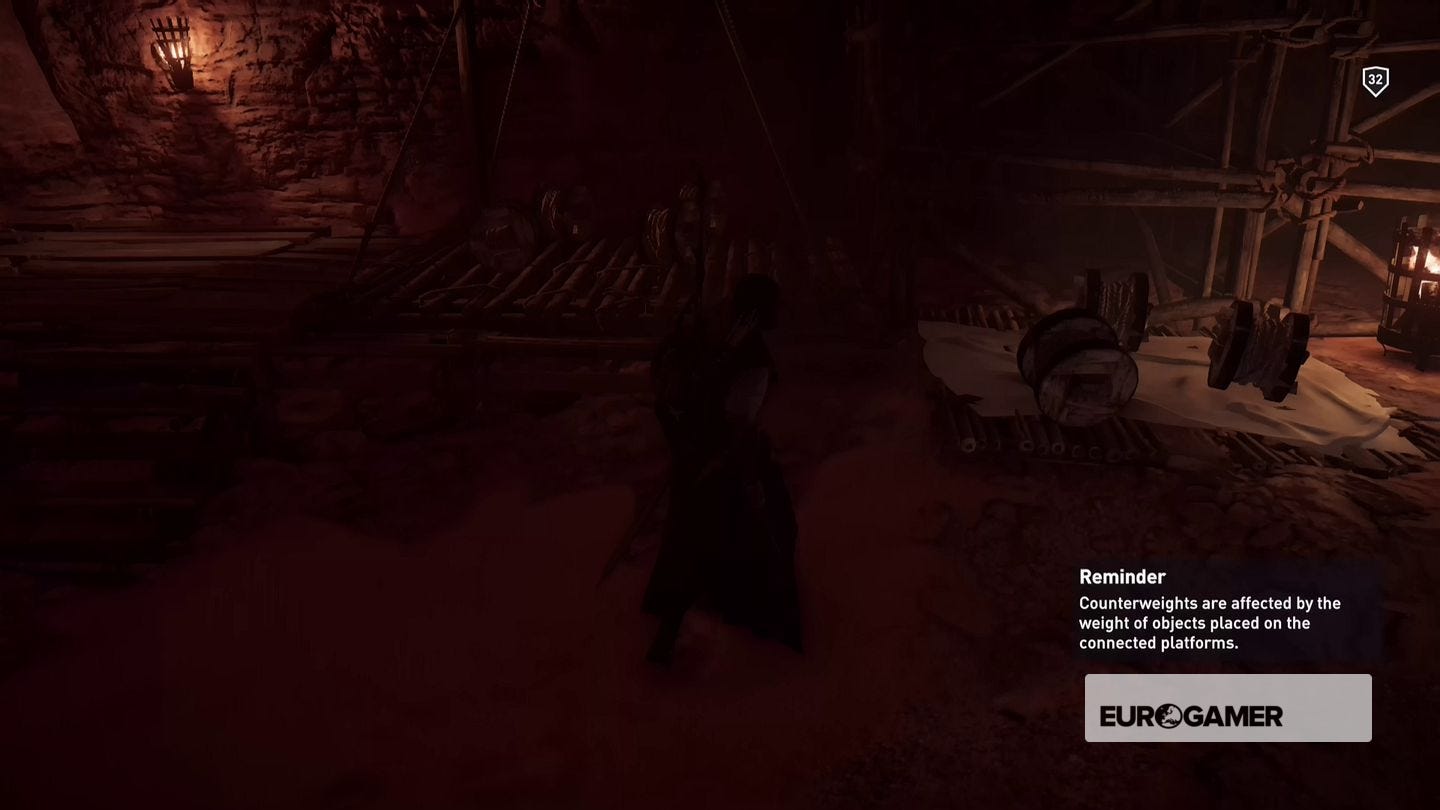
Your goal is to raise the lower platform into the air and weigh down the other one to keep it in place. Remove the reels of rope from the lower platform, then climb up the scaffolding and onto the higher platform. Once your weight has pulled it to the ground move the reels of rope onto it to weigh it down, then jump from the scaffolding to the higher platform.
The Ancient Tablet will be in the room ahead.
Golden Tomb
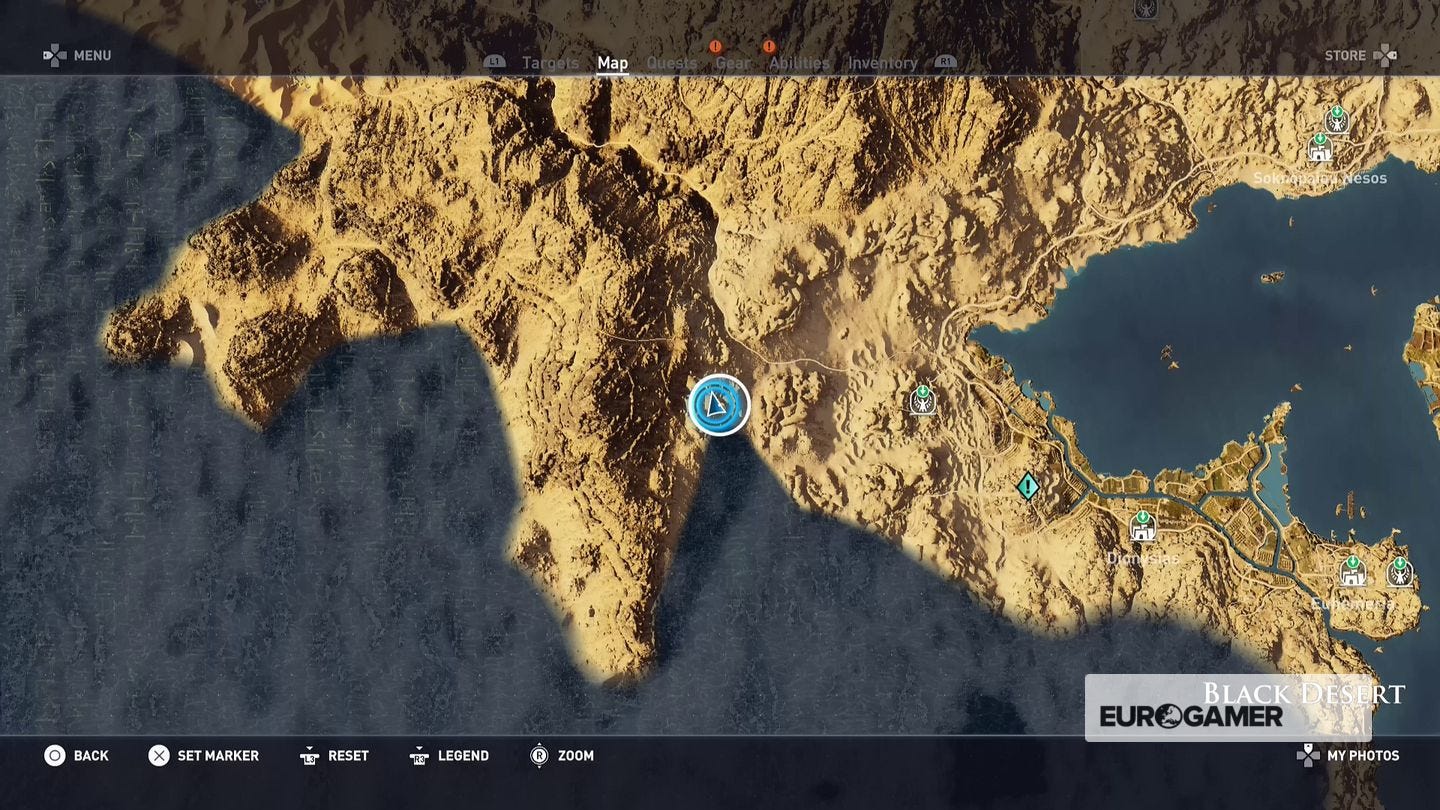
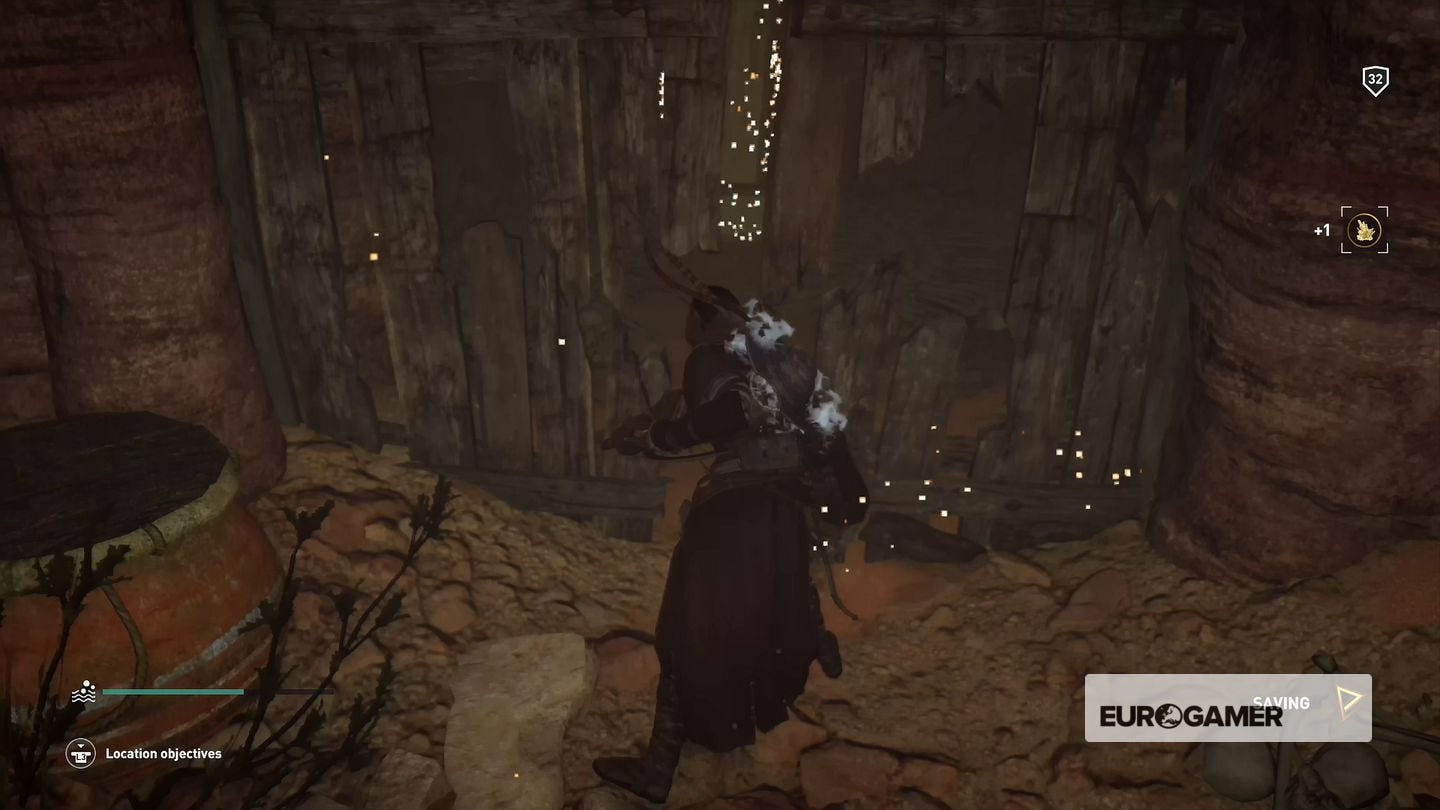
You'll find this tomb in the Isolated Desert; break the cracked wall to create an entrance.
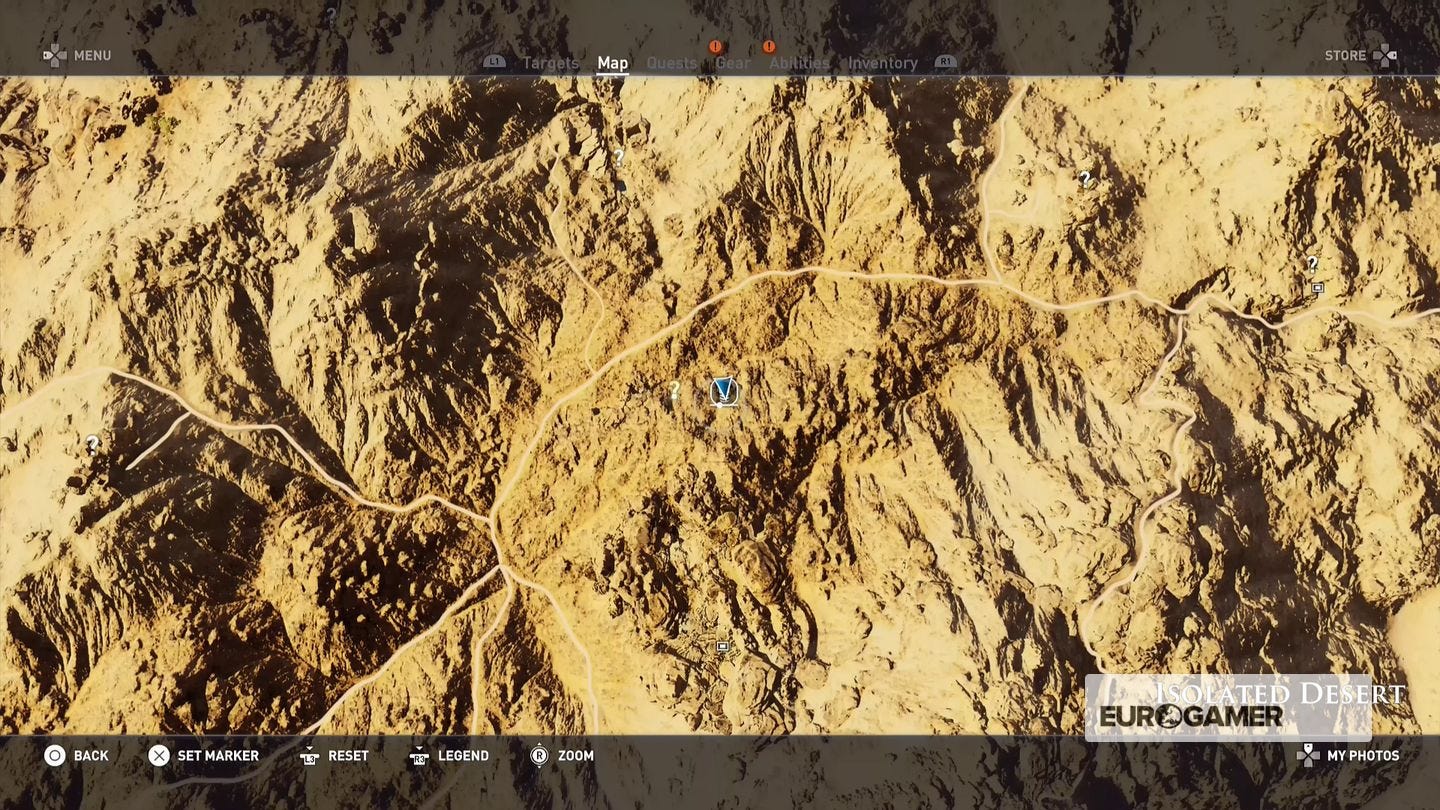
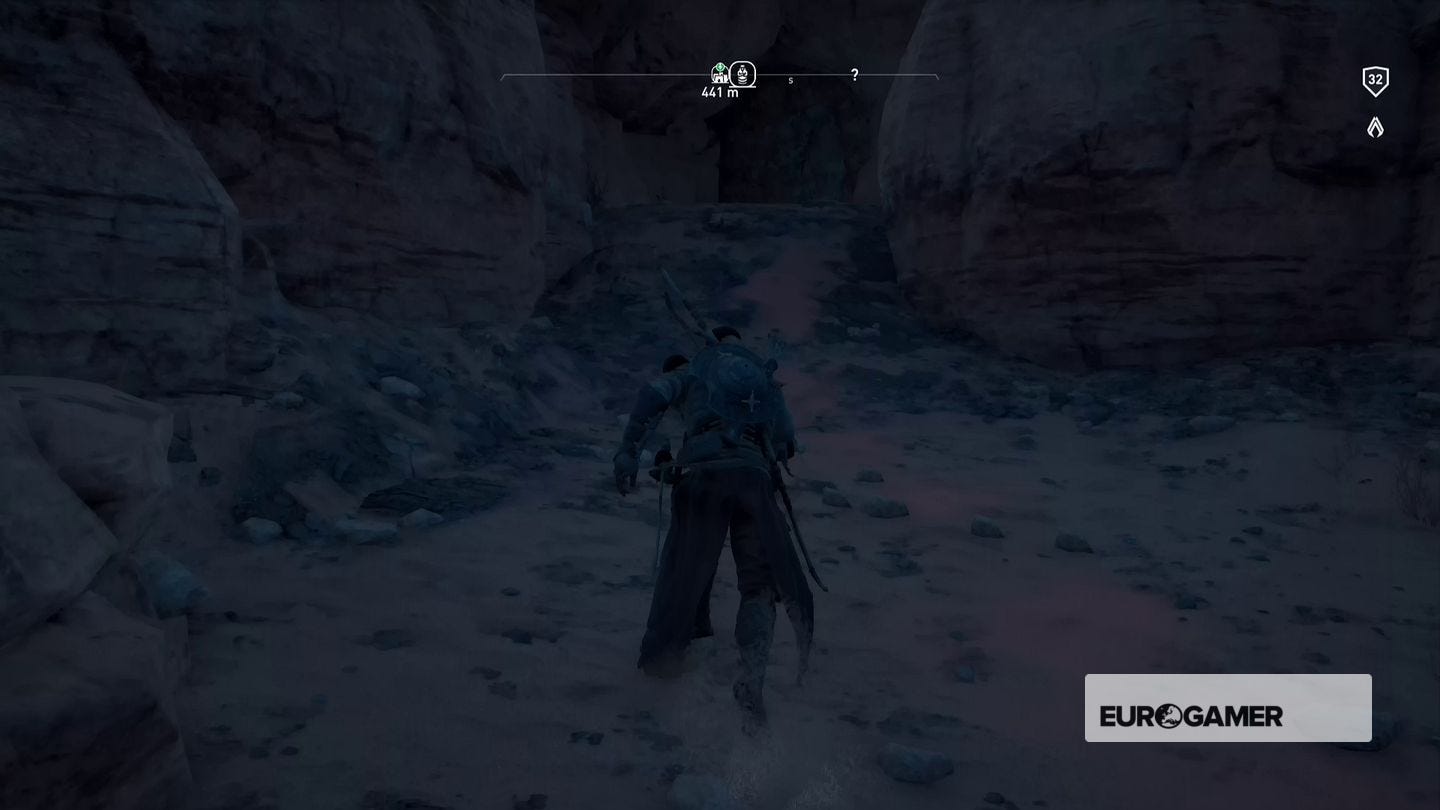
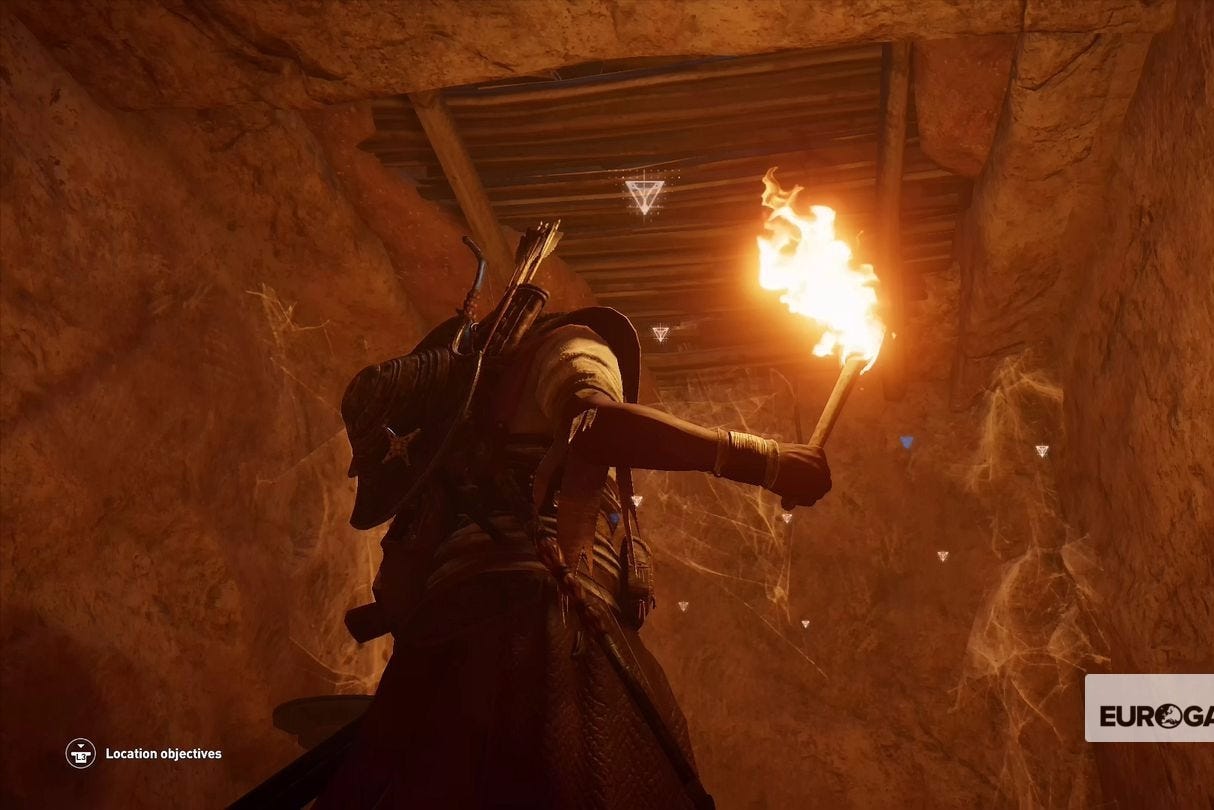
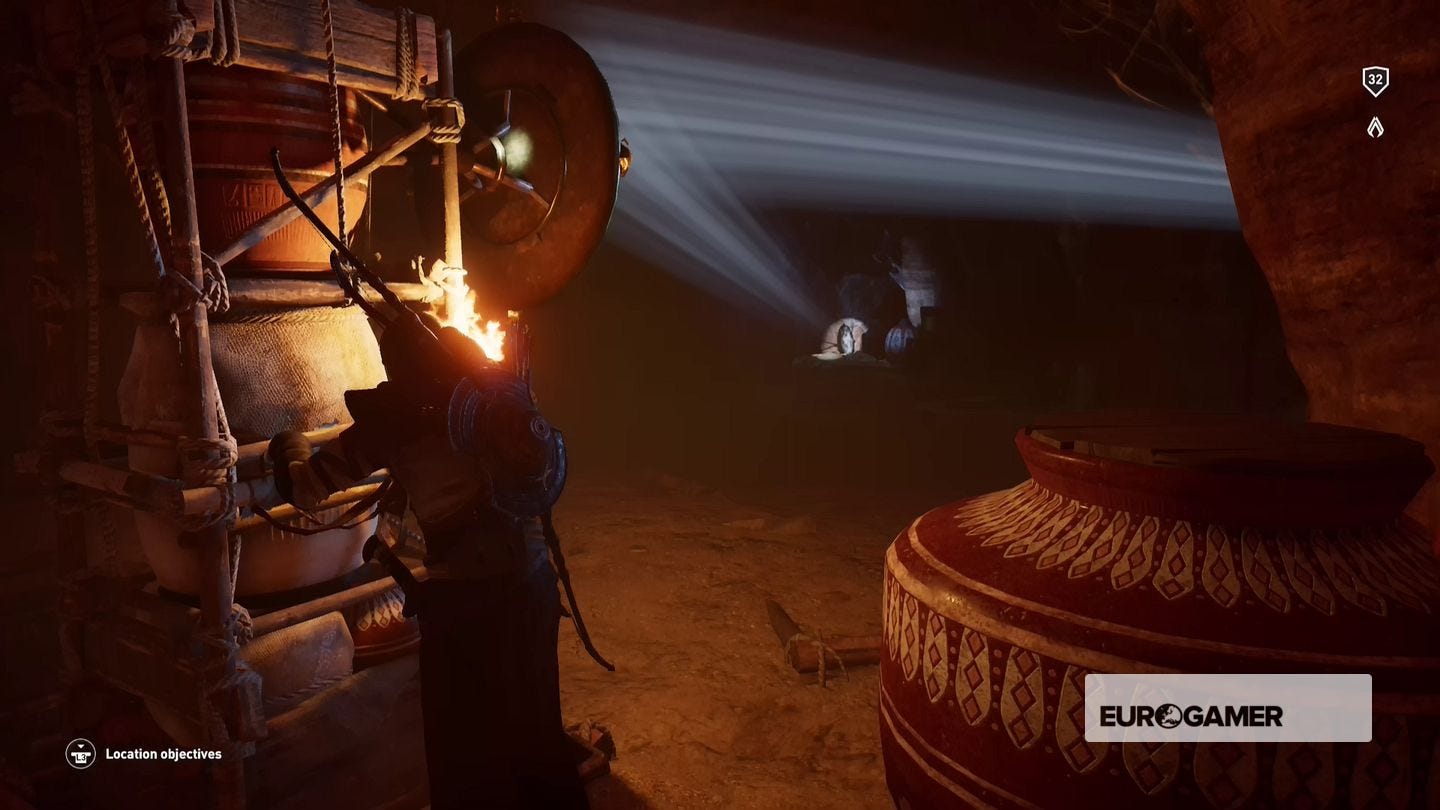
Make your way inside, following the beam of light that's bouncing off some bronze mirrors on the wall. At a couple of points you'll need to move a rack of jars to position the next mirror in place, and the final mirror is covered in cobwebs - wave your torch at them to clean it off.
After you've read the Ancient Tablet, head further into the caves. Turn left at the junction and follow the path to the end.
Nomarch's Tomb
The entrance is located in the Black Desert at the southern part of its boundary with Faiyam.
Make your way through the tomb until you come to a room containing a boat/see-saw contraption. Make sure the end near the two braziers is down, then push the rack of jars under the raised end to hold it in place and use it to reach the floor above to the left. (Wedge it the other way first if you want some additional loot.)
Break through the cracked walls to find your way to the Ancient Tablet.
Ancient Mechanism
From the tablet, smash the cracked wall to the right and follow the passage, and turn left at the junction ahead.
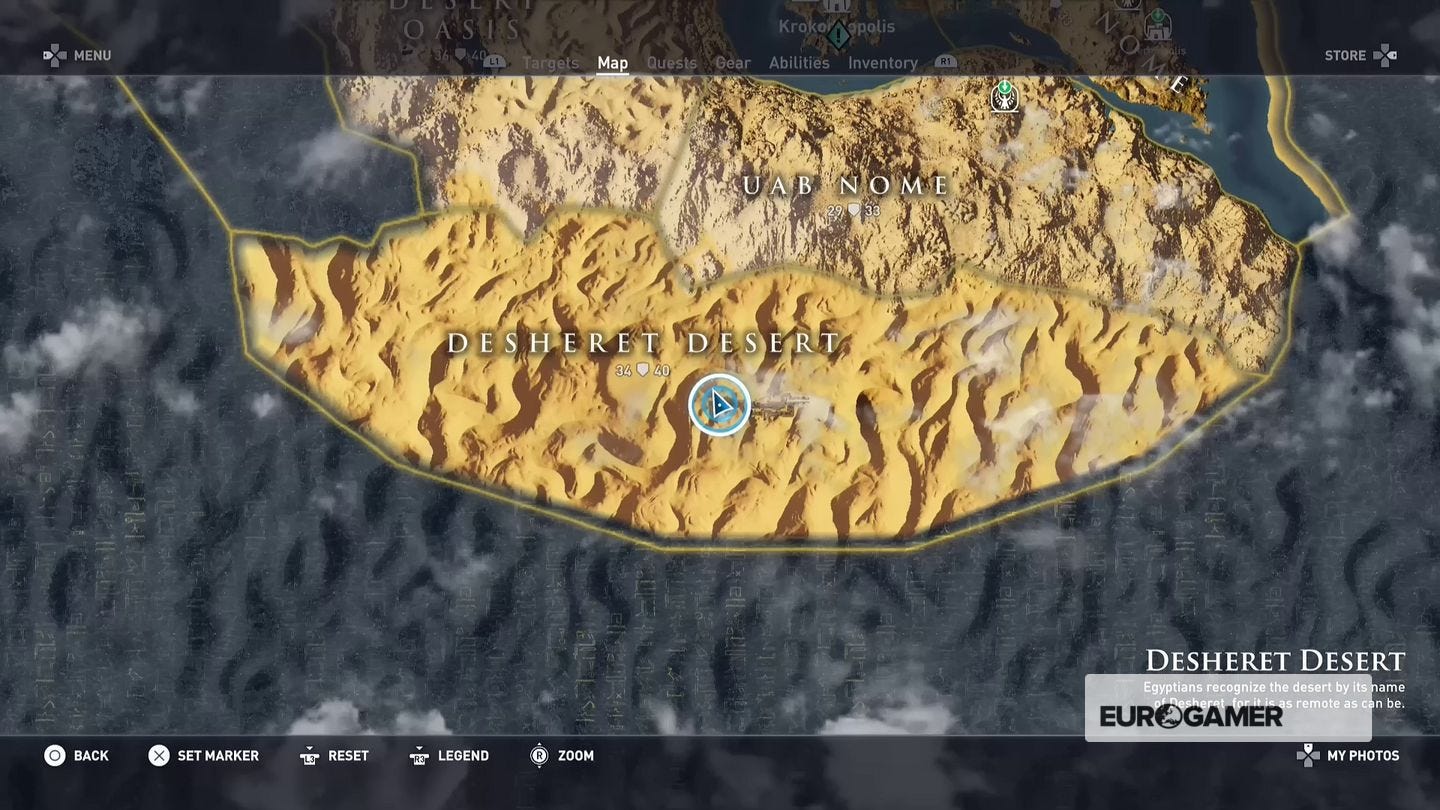
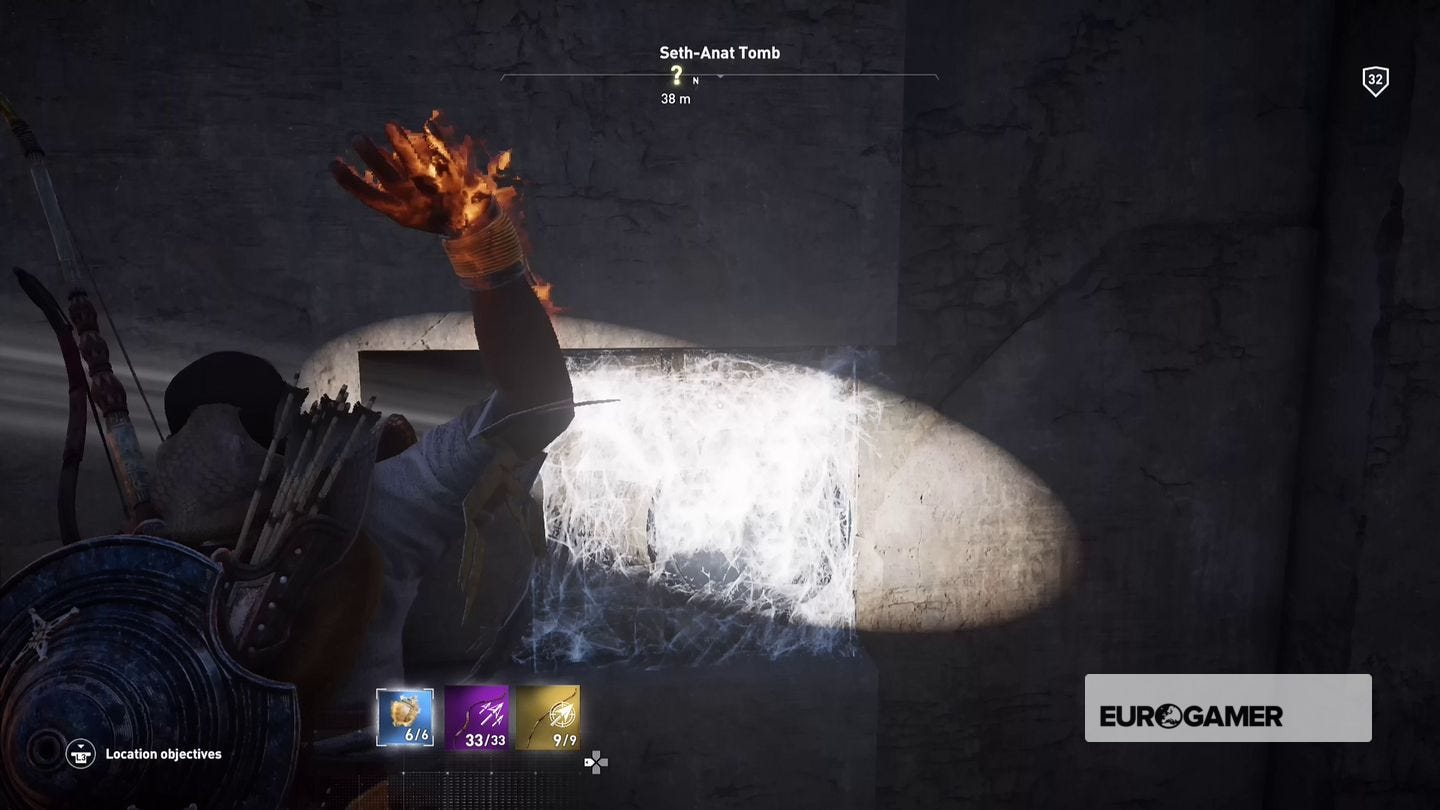
Seth-Anat Tomb
You'll need either a bow with the On Fire buff, or Fire Bombs for this one. Head to the middle of the Desheret Desert and you can't miss it.
Starting from the western end of the trench climb onto the upper platform on the left hand side, and when you reach the break in the beam grab the stone block in the alcove and drag it out. Keep following the beam and dragging blocks as needed until you reach a mirror covered in cobwebs.
Use your torch to clear it, then keep going. Another block to pull, and then another cobwebbed one, but this one is inaccessible so use a Fire Bomb or flaming arrow to clear it, and continue your progress until you reach the Ancient Tablet.
Ancient Mechanism
In the tablet room burn the cobwebs off the mirror high on the wall, then follow the beam to locate the mechanism.
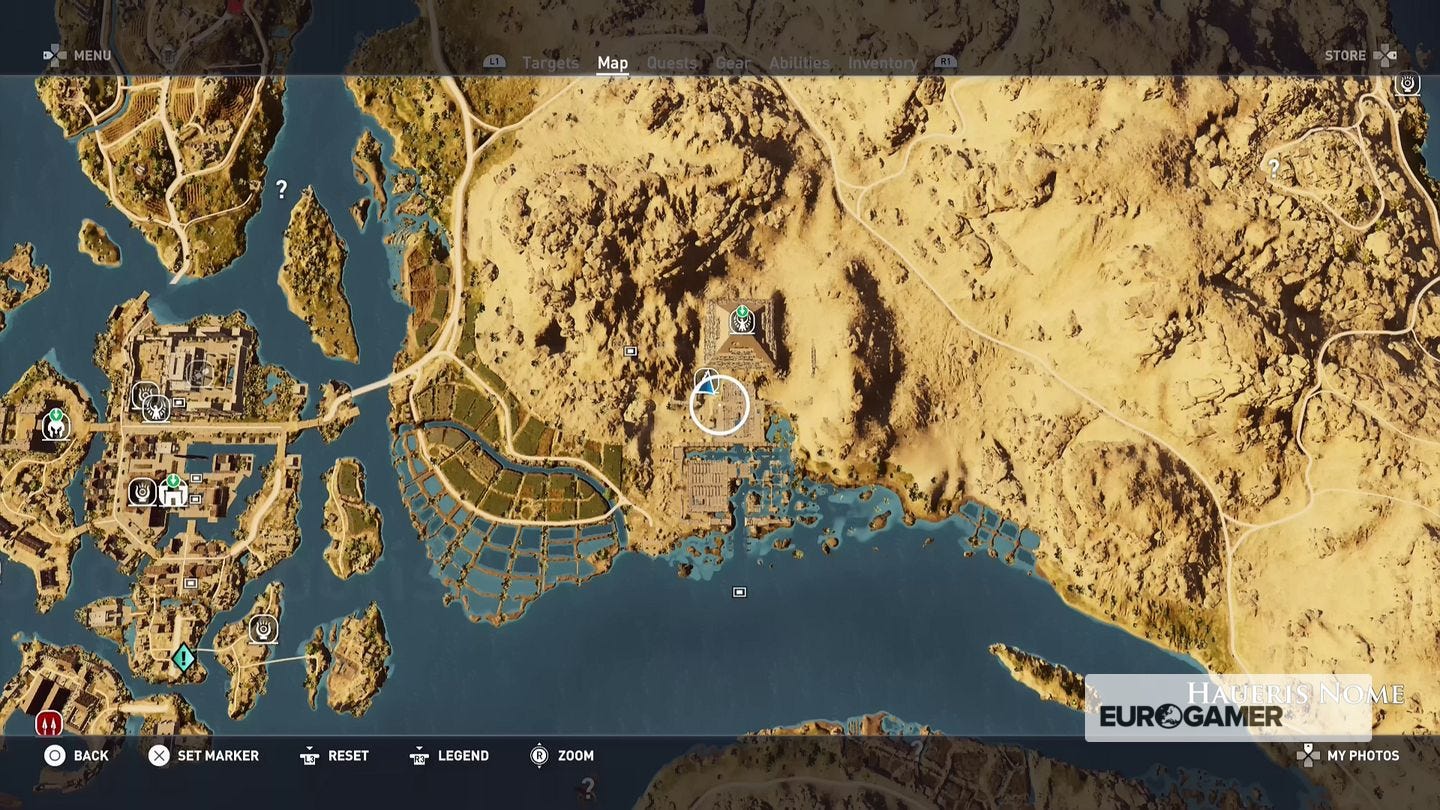
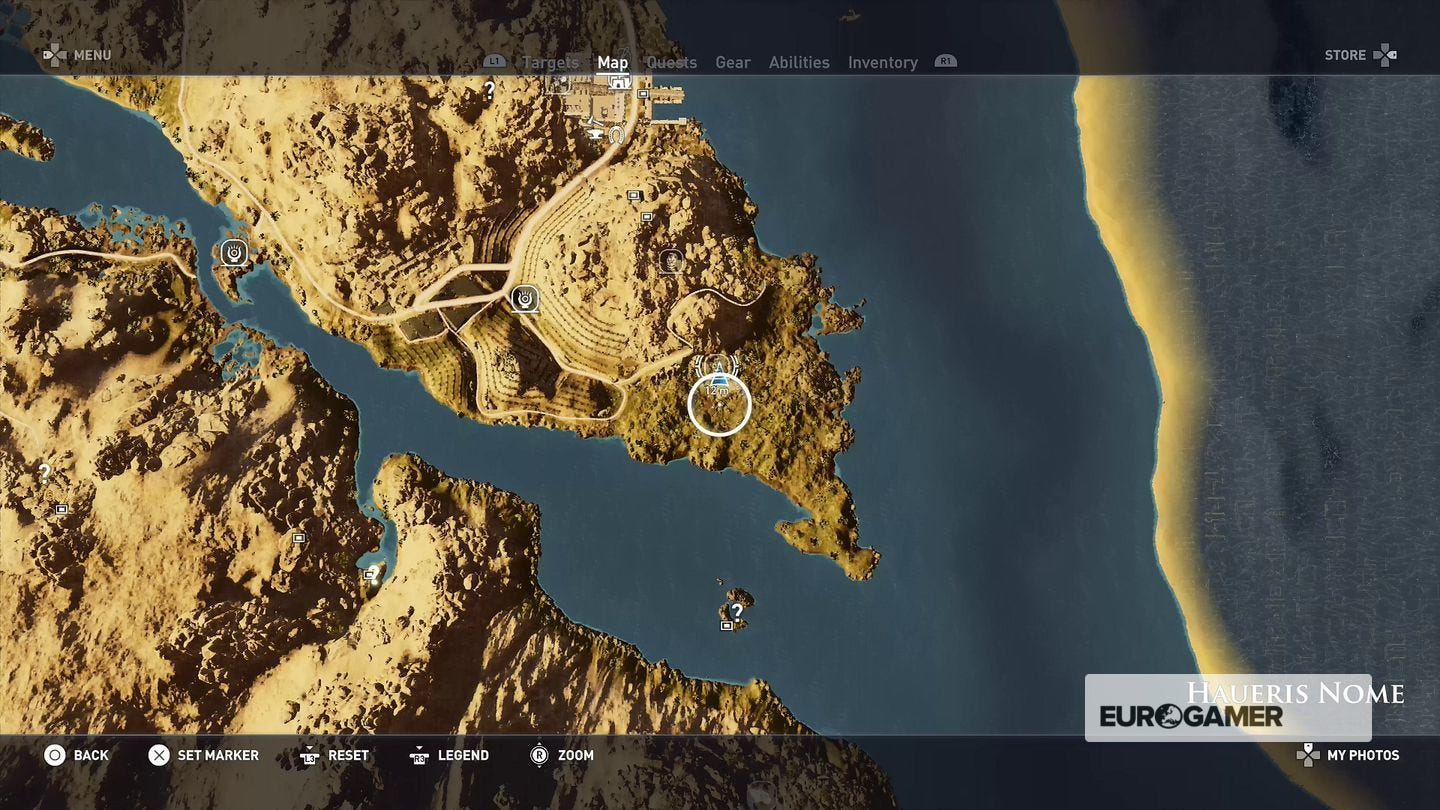
Tomb of Amenemhat III
This tomb is in the south west corner of the pyramid in Haueris Nome.
Follow the passage until you come to a large room with a couple of bamboo panels in the floor. Drop your torch on them to set them ablaze, and then drop down inside and smash the stone seal at the end of each hole.

Climb back up and head through the now open door, and you'll come to a brightly lit area with a pond. It's crocodile infested, of course, so deal with the opposition before going for a swim.
Dive below the surface to find a submerged tunnel. Swim along it, and the tablet is under the water at the end. Don't worry if you're running low on air by this point as interacting with the tablet will refill your lungs.
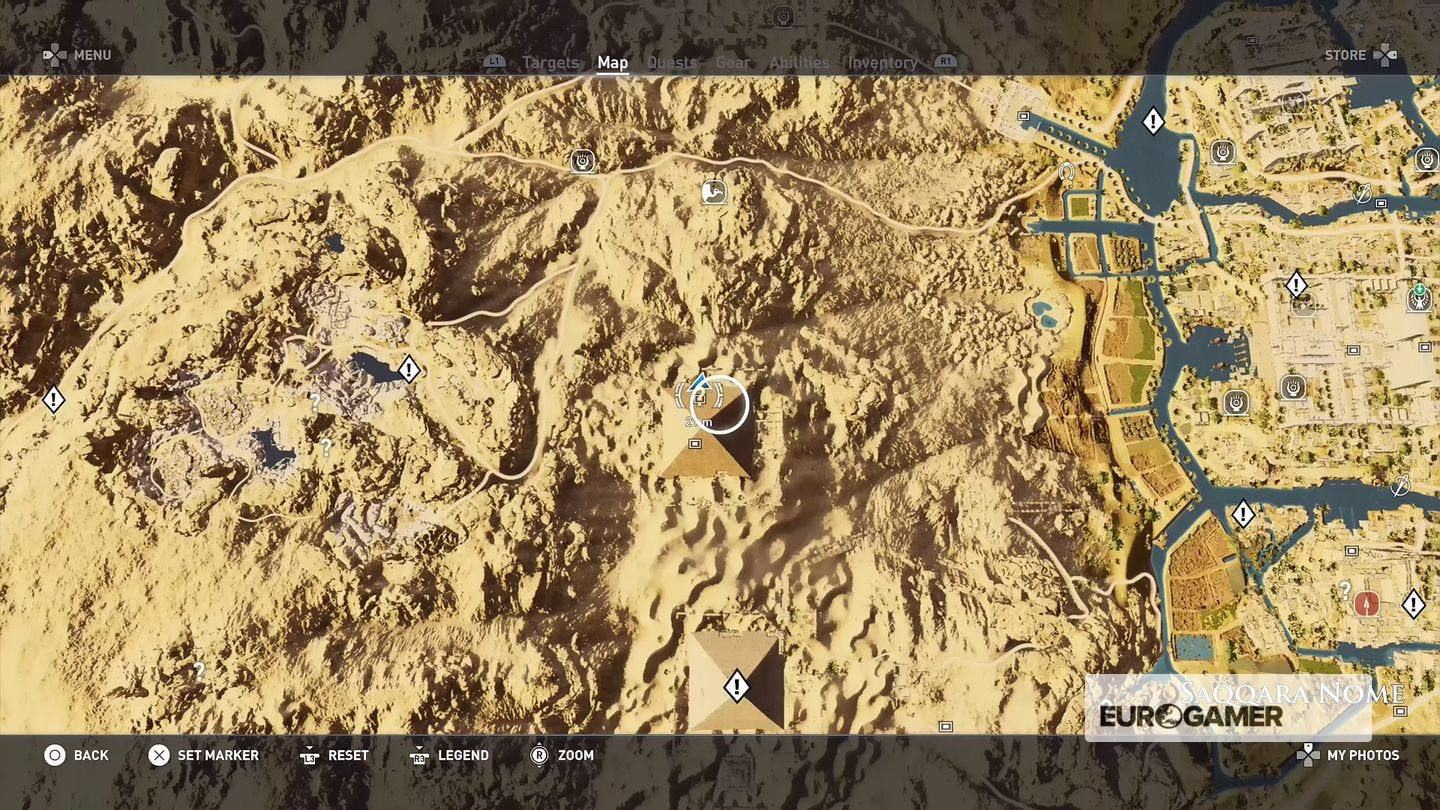
Tomb of Djoser
Djoser's tomb is located on the northern side of the stepped pyramid in Saqqara Nome.
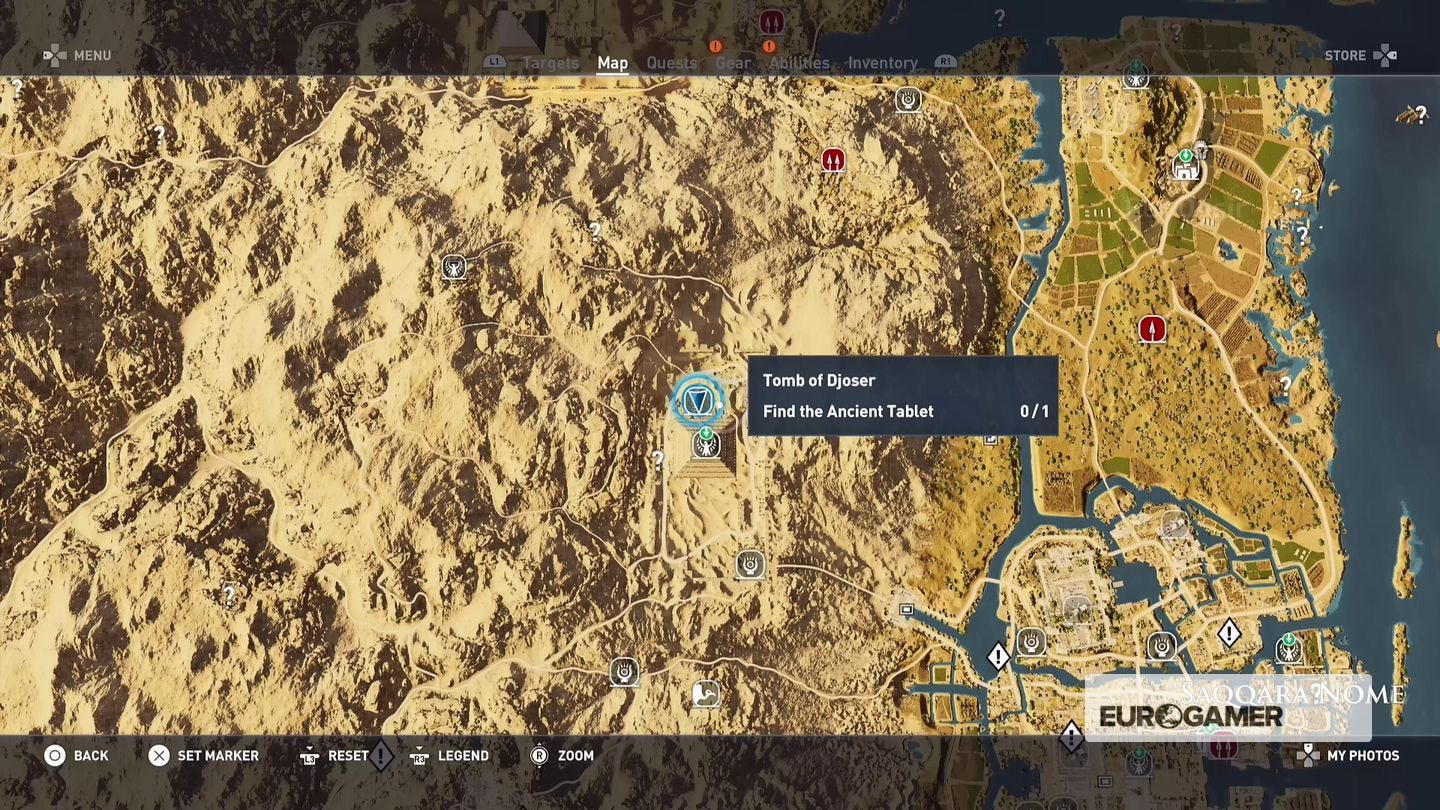
The path is pretty straightforward; keep heading down the tunnel until you reach the room full of sacks. In the far right there's a rack of jars that can be moved to reveal an exit. Follow the passage down and around until you reach a junction; the route to the right is a dead end that contains some loot behind another jar of racks, and the route to the table continues to the left.
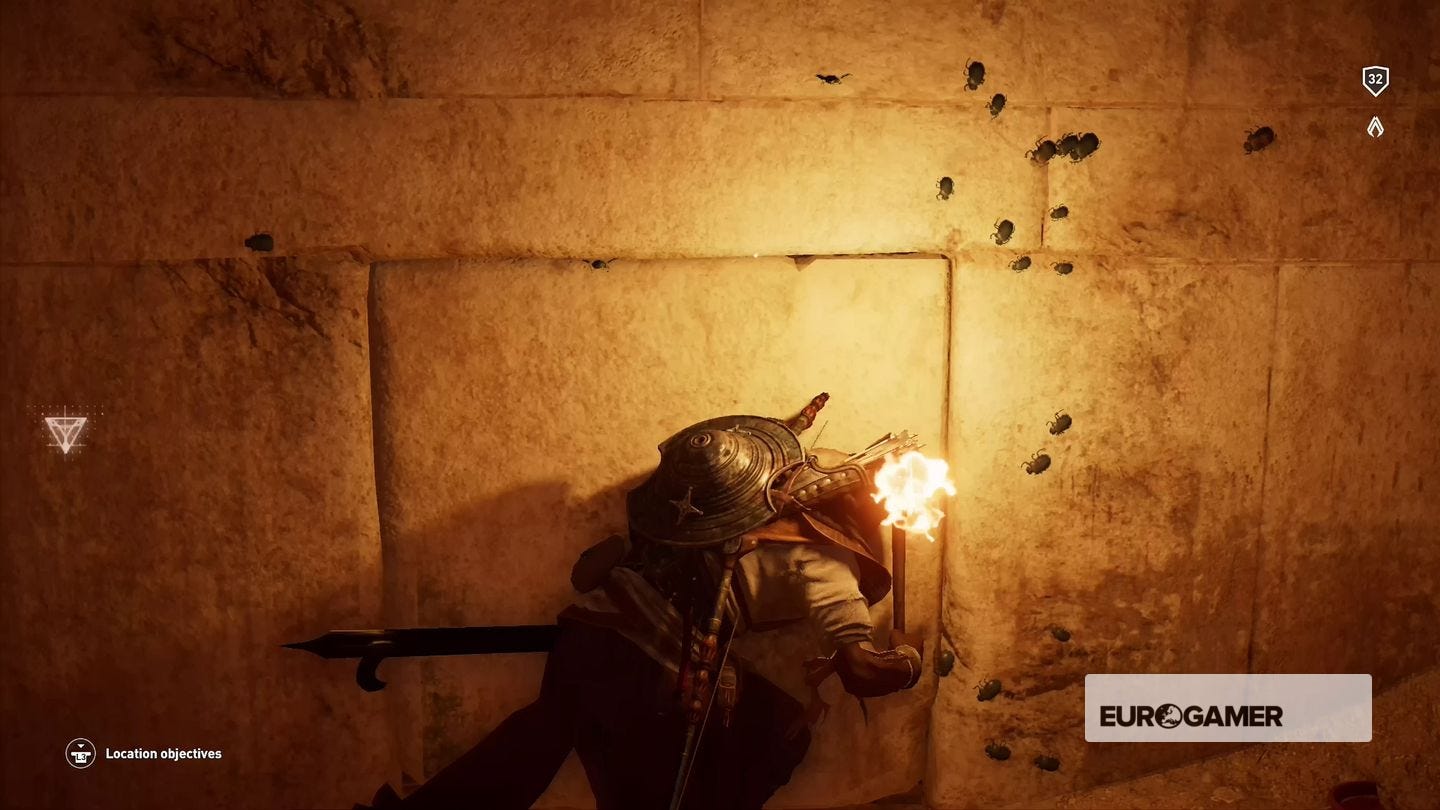
When you reach the large dark room grab the Silica and other assorted loot, then use an Animus Pulse to locate the weakened wall section. Smash through it with your sword and you'll emerge in a tiled passage. Follow it round until you find more weakened walls on your left; the tablet is behind the first one, and the others contain some loot.
Tomb of Khafre
The entrance is on the northern face of the middle pyramid in Giza.
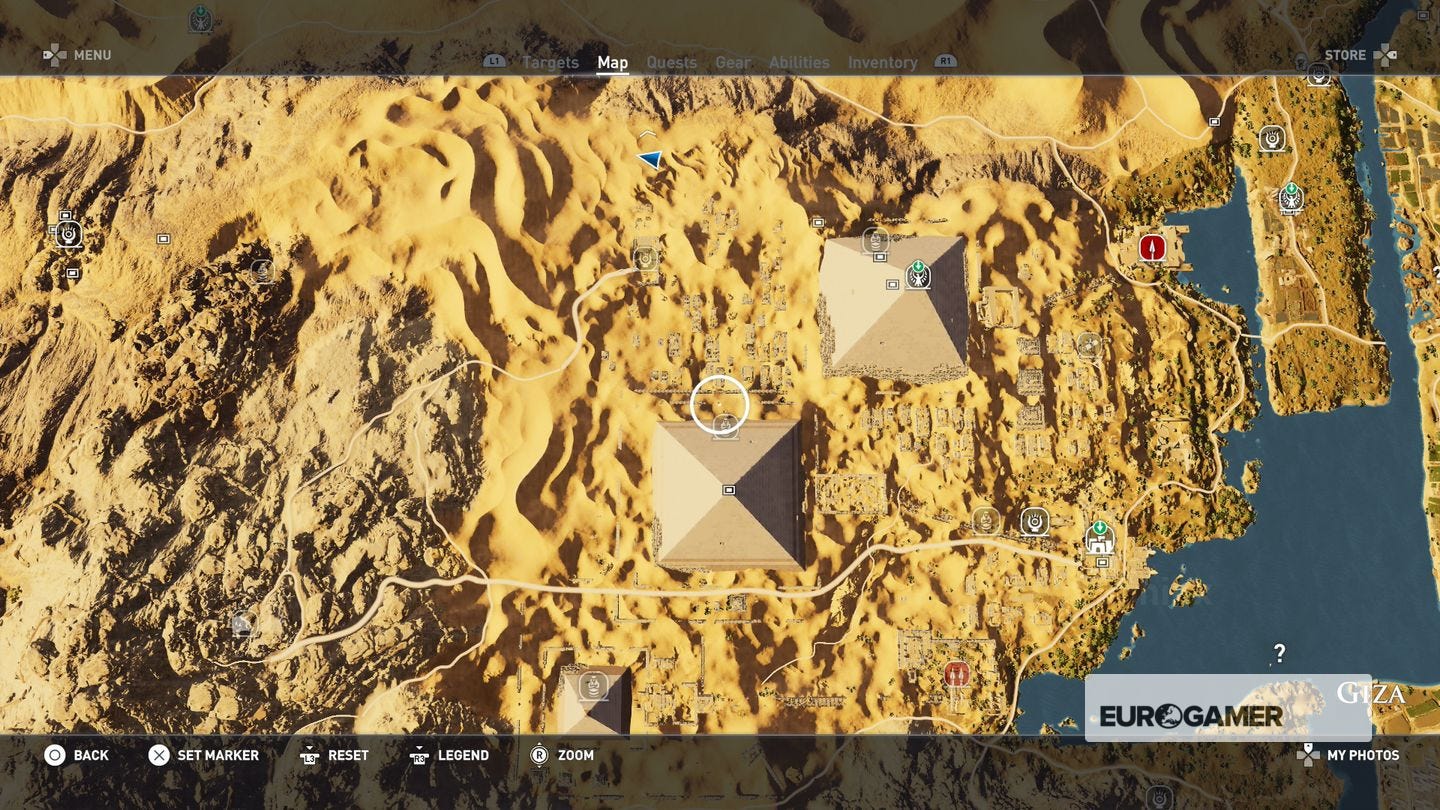
Keep following the path until you reach a small room that appears to be a dead end, then open the hidden passageway in the corner. Keep following the path down and around, and you'll eventually come to a room containing a boat/see-saw mechanism.
Move the rack of jars under the raised end of the boat to keep it in place, then use it to reach the platform above.
The tablet is in the small room in the centre of the larger room straight ahead, and tha larger room cotains plenty of loot.
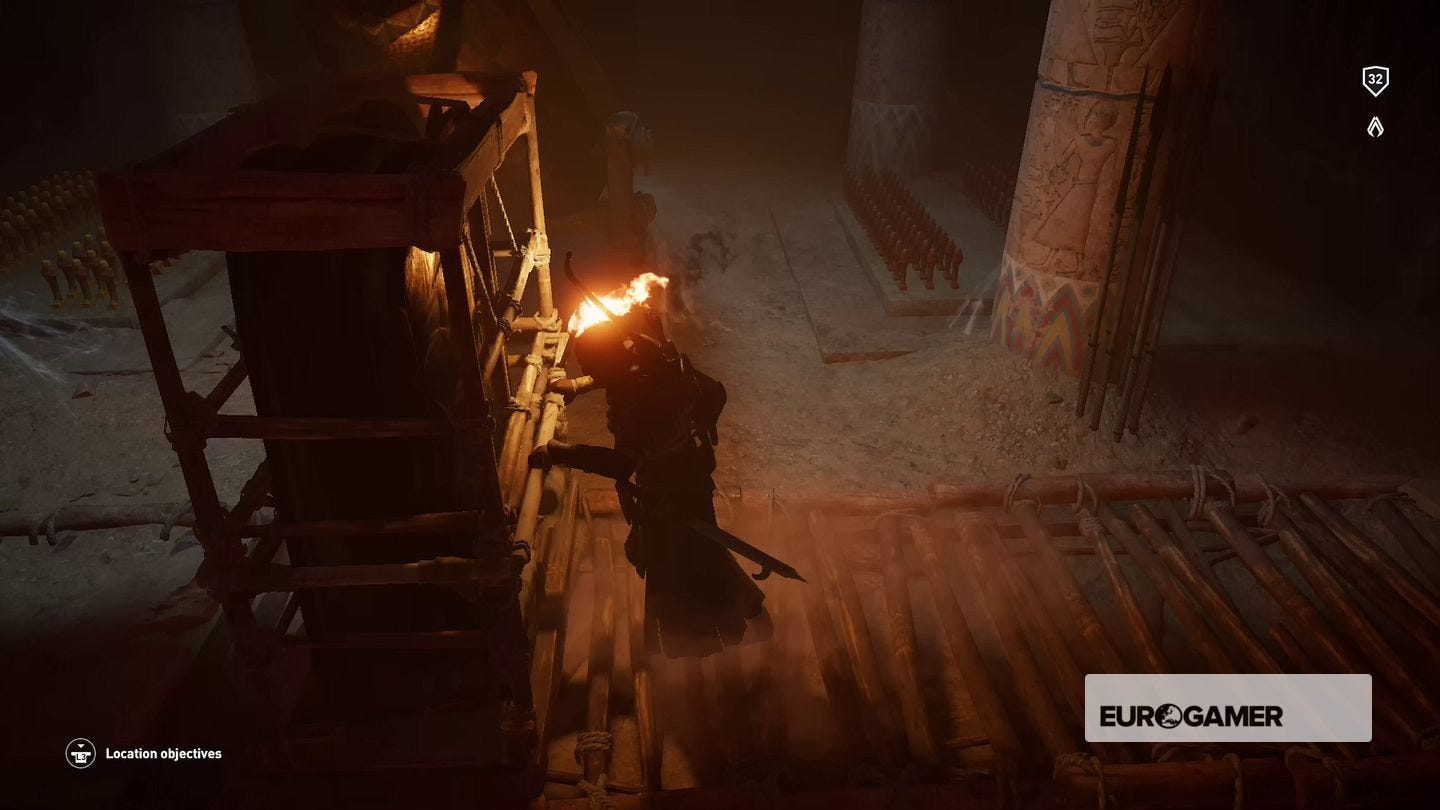
Tomb of Khufu
The entrance is in the northern side of the northernmost pyramid in Giza. You'll need to visit twice to get the tablet and mechanism here:
Tablet: When the path splits, take the left passage and follow it until you reach a large ramp heading upwards. There's some loot to be had from crawling through the hole in the middle of the ramp, and the path to the tablet is through the hole at the top.
When you reach the dead end in the room piled high with treasure, smash the two stone seals at the far end to open a secret door. Head through, and the tablet will be just ahead of you.
Ancient Mechanism
If you've completed the Hyena story mission you've already been this way. Head through the narrow gap to the right when the path splits, follow it and drop down the hole, then keep going until you reach a large chamber containing the mechanism. (The mummy and other assorted items in the room are story related, so you can't do anything with them at this point.)
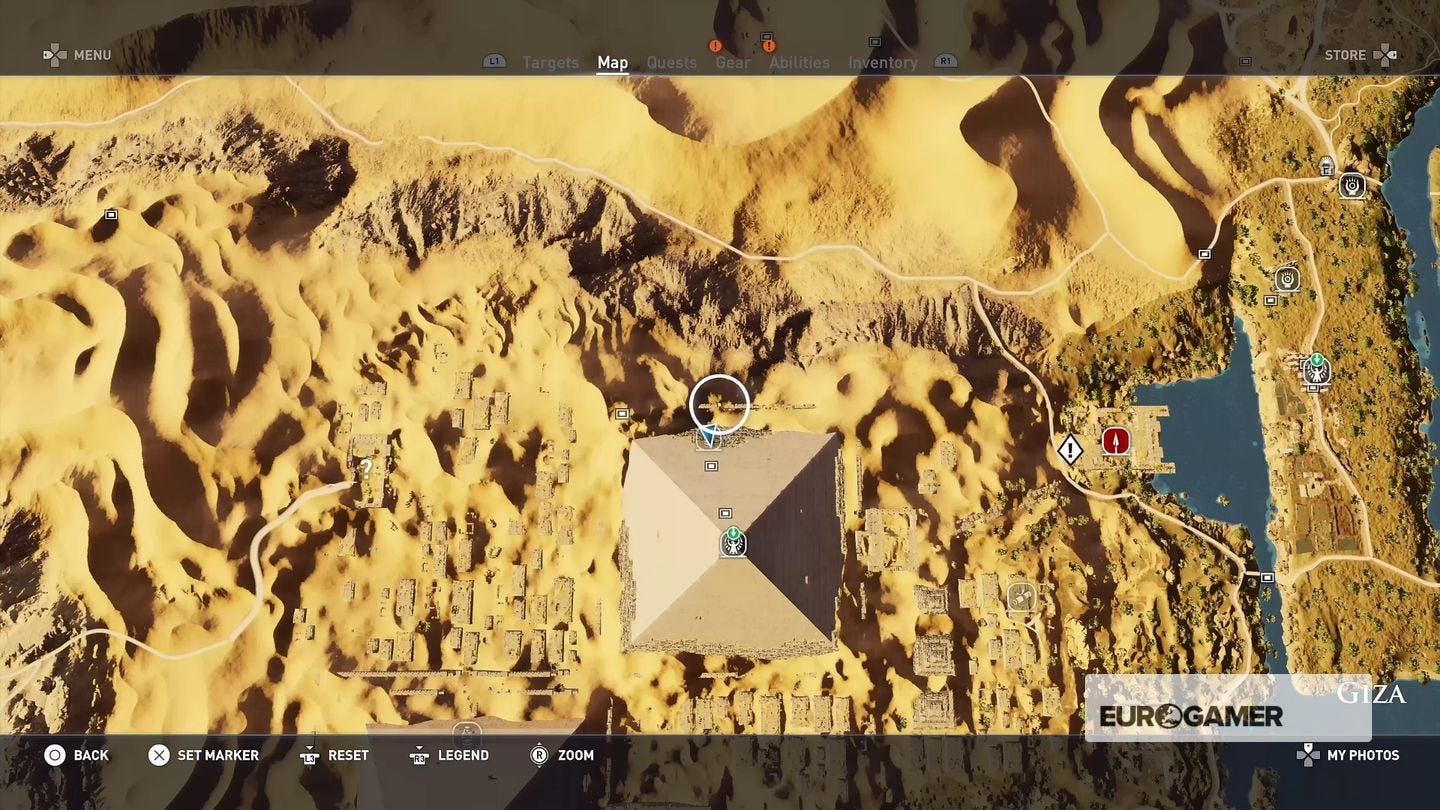
Tomb of Menkaure
The entrance to this one is in the northern side of the smallest pyramid in Giza, and you'll need either Fire Bombs or a bow with On Fire.
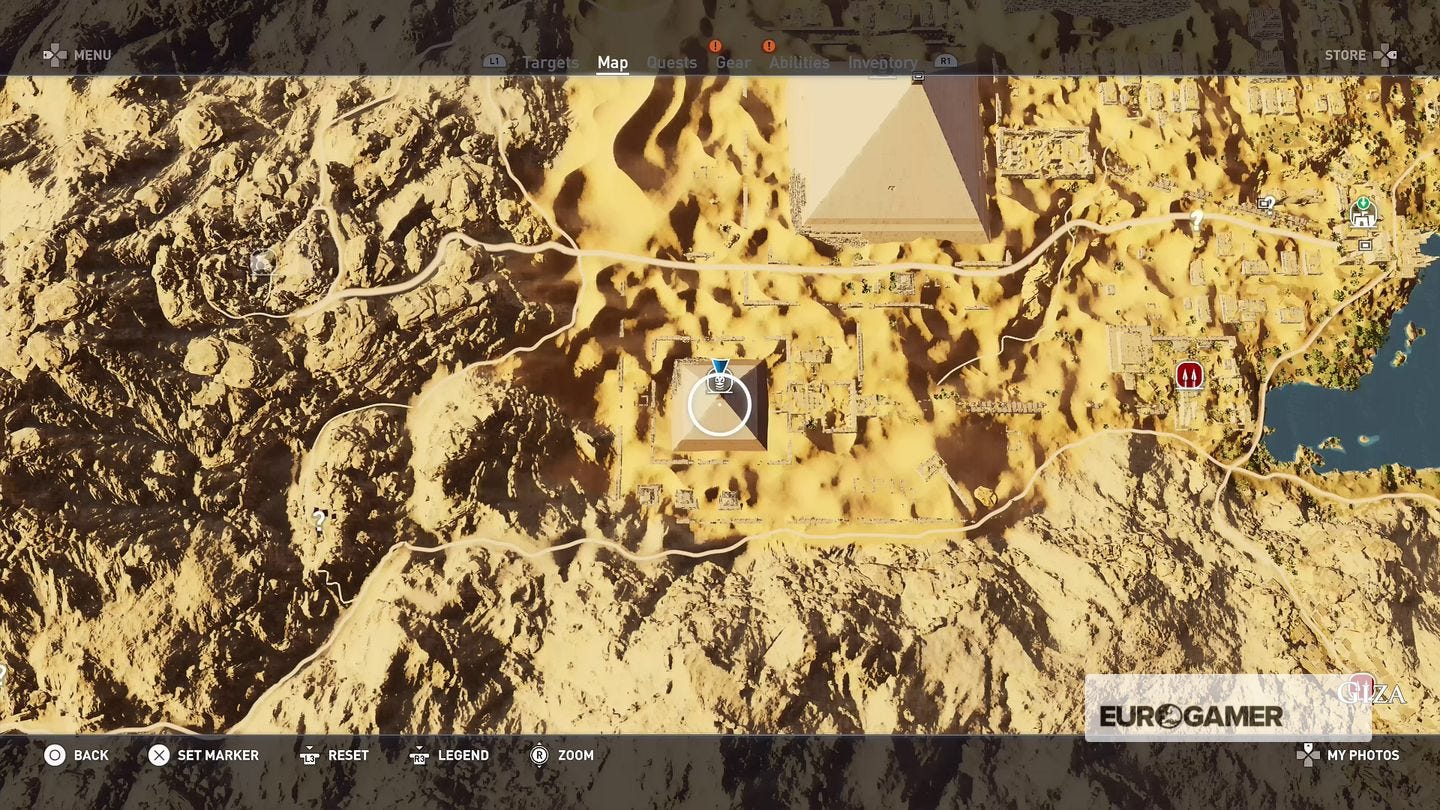
Follow the path until you reach a small room full of treasure with a set of stairs in the middle. There's more loot in the room below, and above the door you entered through is another opening.

At the end of this passage there's a bamboo hatch above you that you'll need to burn. Climb through the hole and the tablet will be directly ahead.
Tomb of Smenkhkare
Head to the southern tip of Haueris Nome, and the entrance is in the area full of pillars.
Follow the passage until you reach a pool of water. Dive down and swim through the tunnel ahead and you'll emerge in a room with several hanging platforms. Your goal is to reach the upper level ahead and to your right, but it's too high to reach unassisted. Go to the far left corner of the room instead, and climb onto the hanging platform. Once it's hit the ground run quickly towards the platform that you just raised before it hits the ground, and use it to reach the upper level.
Repeat the process on the next set of platforms to reach the upper level, then head through to find the tablet; there will be a couple of bandits lying in wait for you.
Ancient Mechanism
Behind the tablet is a tall narrow opening. Squeeze through it, follow the passage, and jump into the water beyond. Swim to the far side and climb the ramp to locate the mechanism.
Tomb of Sneferu
The entrance is on the northern side of the smooth pyramid in the south of Saqqara Nome.
Follow the passageway, crawl through the small hole, and keep going. You'll reach a shaft you can climb for some loot above you, or you can use the hidden door on your right to head towards the tablet. Jump over the water, climb up, and head through the small hole to emerge in a room with some hanging platforms and movable jar racks.
Grab one of the rope reels from the stone platform where you entered the room, and drop onto the hanging platform to the right. When it hits the floor drop the reel on the floor to keep it temporarily in place, then drag the jar rack onto it and climb onto the higher hanging platform to reach the next room.
Smash the jars that are blocking your path - there's a cobra in there so keep swinging your weapon after breaking the jars!
In the next room climb onto the hanging platform to your right and smash the large jar it contains, then step off to allow the other platform to fall. Grab the rope reels from it and carry them into the next room and use them to weigh down the lower platform - four should be enough.
Climb onto the upper hanging platform to find the tablet.
Need more help? Our Assassin's Creed Origins walkthrough and guide will take you through every step of the main story and quests, whilst we also have guides on how to grind XP and level up, plus explainers on how Assassin's Creed Origins sidequests work, alongside how to get crafting materials and animal goods, and even complete solutions and walkthroughs to all Assassin's Creed Origins Tombs, Silica, and Anchient Mechanisms. We also have a list of all Papyrus Puzzle locations, Origins' cursed and legendary weapons and how they're acquired, and finally a detailed page Phylakes, Phylakes' Prey and how to get the Black Hood outfit.
Tomb of the Nomads
The tomb entrance is located in the western spur of the Isolated Desert, between the Qattara Depression and the Black Desert.
This is perhaps the shortest and easiest of all the tombs. Once inside take the path to the right. Ignore all the warnings about impending doom and follow the path up to a tranquil pool; the tablet is submerged behind the rotten wooden panel at the far side of the pool.
Tomb of the Cynic
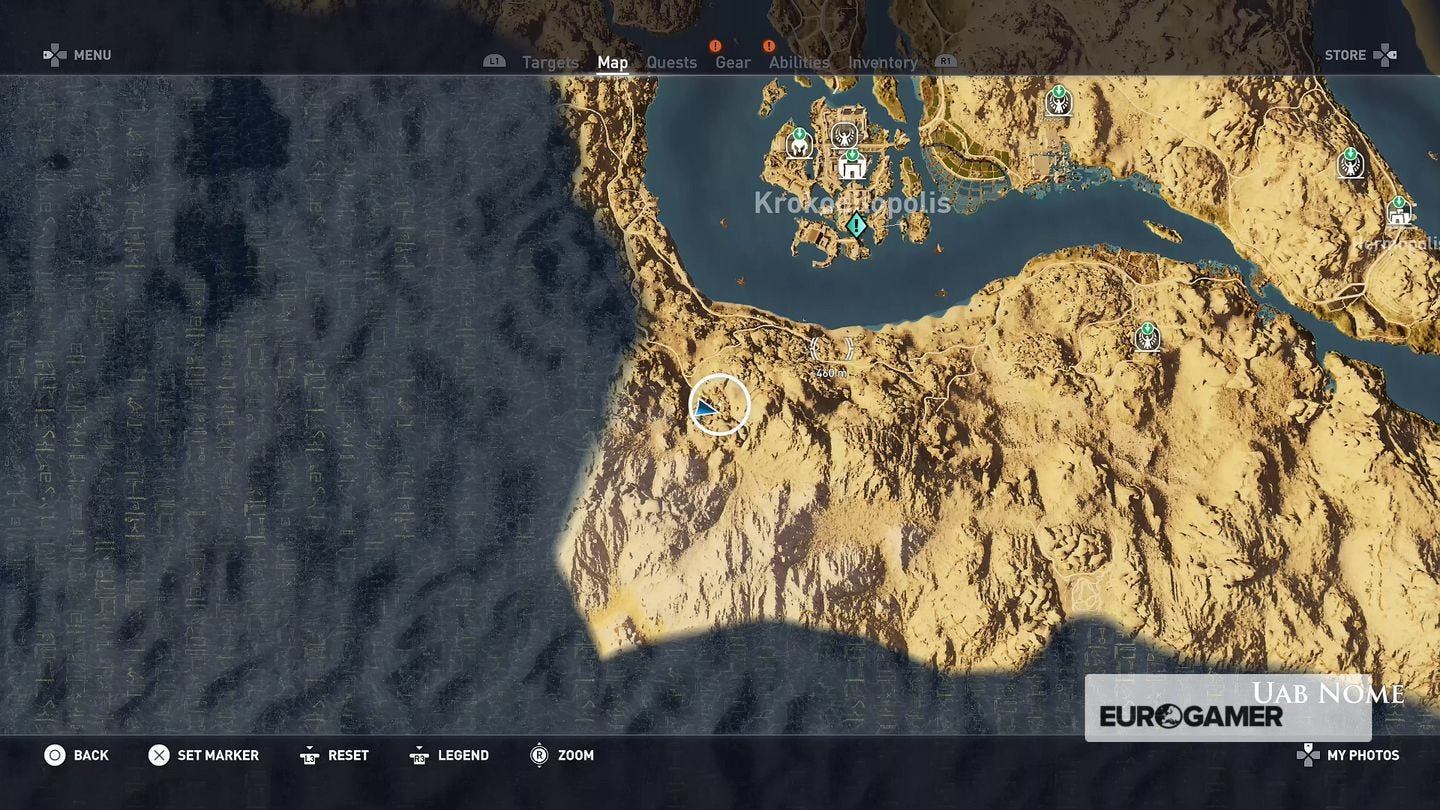
This tomb is in the north west of Uab Nome. Look out for lions prowling around the entrance and further inside.
There are no puzzles to solve in this one - it's just a straight, albeit lion infested, run to the tablet. The first area contains a couple of lionesses, so either kill them or make a run for it into the tunnel to the left, then head further inside. The dimly lit cave ahead contains a lion, and the tablet is at the end of the passage off to your left.
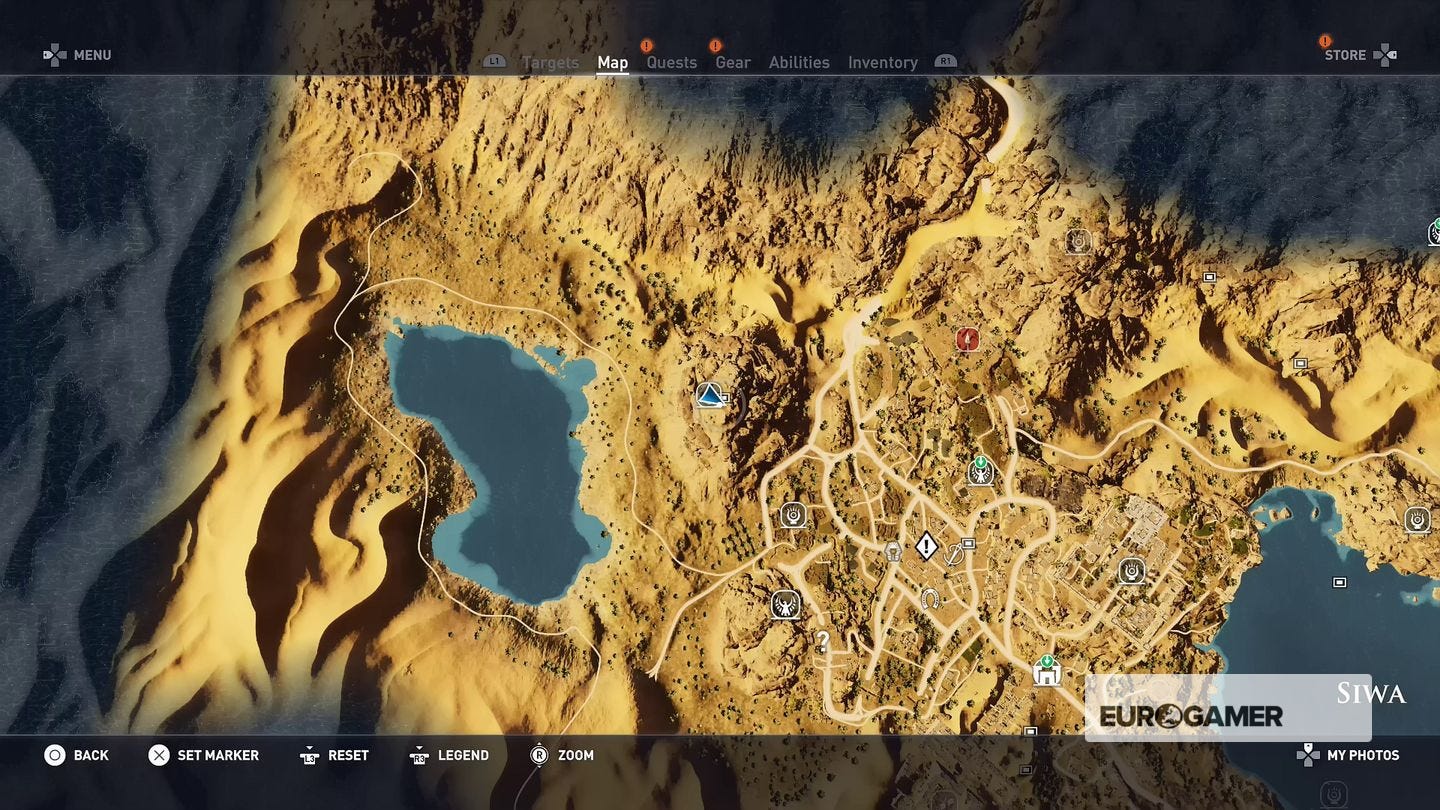
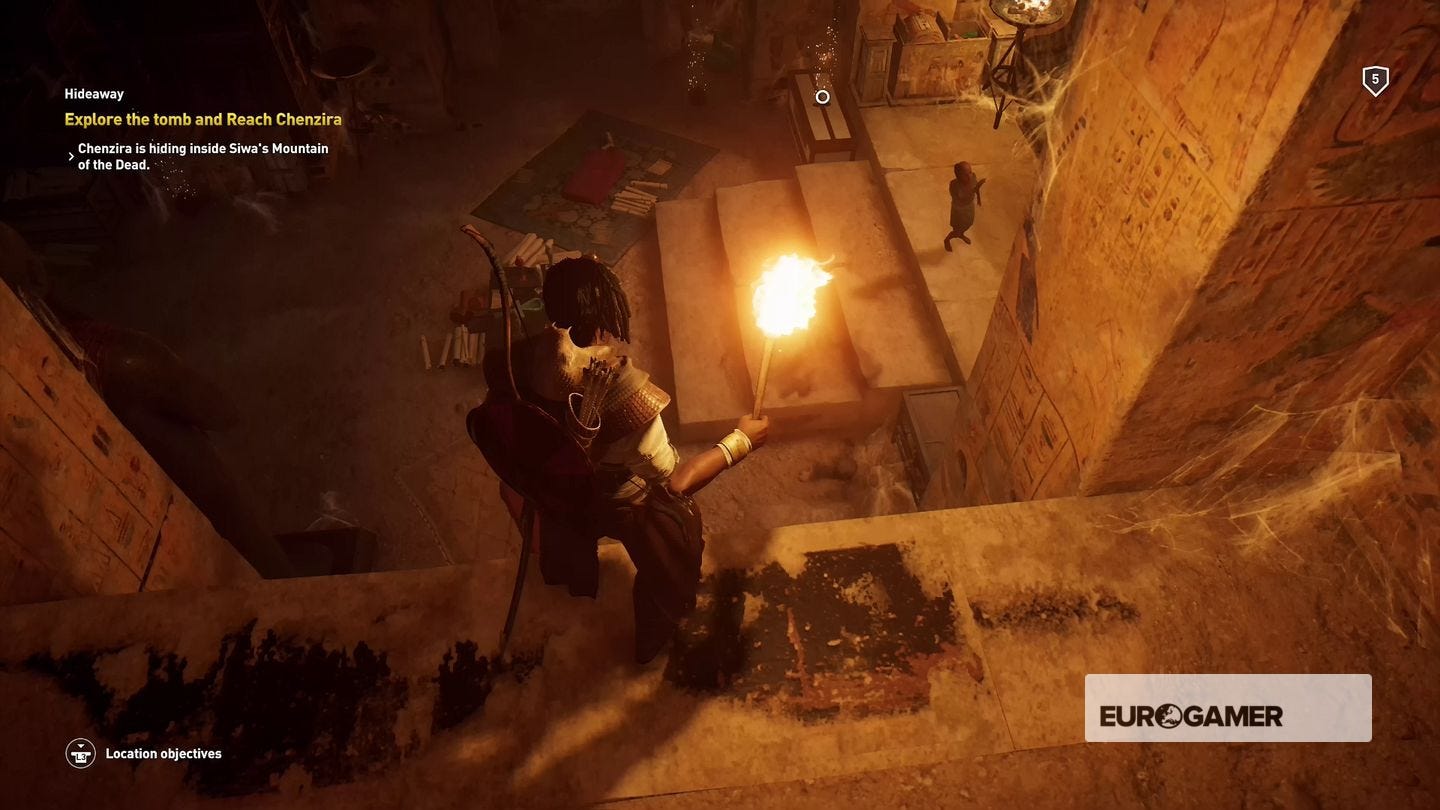
Mountain of the Dead
This tomb is located in Siwa, and is part of the sidequest Hideaway.
As you approach the quest marker a cutscene will automatically play. When it's finished enter the tomb, and when you reach the dead end smash through the cracked wall to your left and head through into the next room. Smash the jars in the corner, and move the jar rack to gain access to the room below.
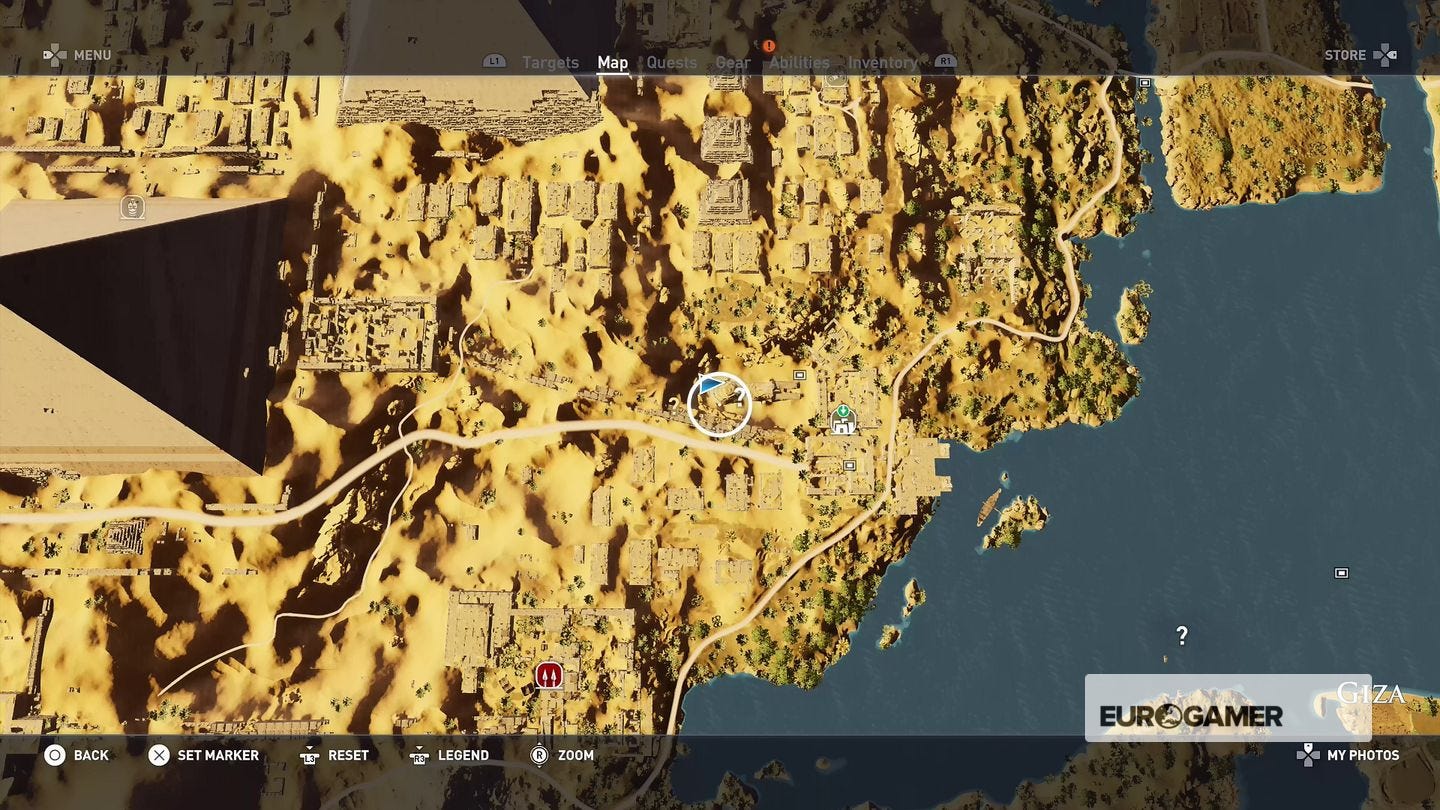
Great Sphinx
The entrance to the final tomb is in the Sphinx's, er, left buttock, but is only available after activating all the other mechanisms and locating all 12 Stone Circles for the Bayek's Promise sidequest.
Head inside until Bayek mumbles about it being a dead end, then crawl through the hole in the alcove in the corner.
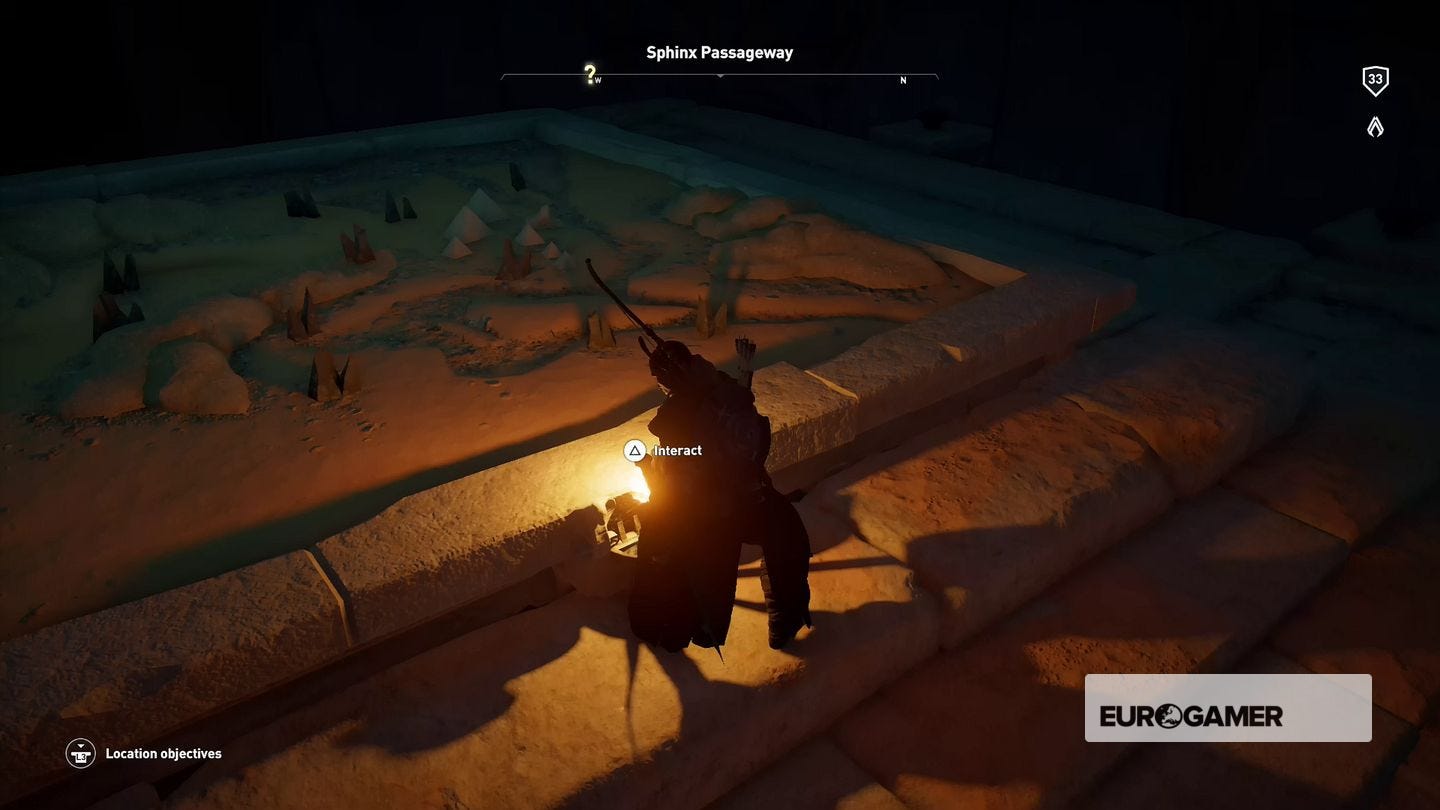
When you emerge from the tunnel it's now really dark, and you'll only be able to see a few feet in front of you even with a torch. Turn right and walk to the wall, and then turn right and follow it until you reach a doorway. Head through, and interact with the map inside.
The map will rise to reveal a door; head through and activate the final mechanism to earn the Isu Armor legendary outfit.