XCOM 2 Avenger Defence mission - How to survive the last ditch mission in War of the Chosen
How to survive the expansion's possibly game-ending attempt on the Avenger base.
The Avenger Defence mission will trigger in XCOM 2: War of the Chosen if any of the Chosen fill their knowledge track, as a result of passive, unavoidable activities and interrogating/capturing your soldiers during missions.
This make or break mission to defend the Avenger must be completed successfully, otherwise your game is over. With that in mind, here's what you need to know about this perilous do or die mission and how to successfully complete it.
If you need more help, our XCOM 2 War of the Chosen guide provides a breakdown on how else you can tackle the huge expansion.
XCOM 2 Avenger Defence mission and how to survive it
To reflect the dire consequence for failure, you are permitted to pull out all of the stops to repel the attack.
While this mission shares similarities with the base XCOM 2 game's Avenger Defence mission as well as fights against The Chosen Assassin, Warlock and Hunter, there are some very important differences in War of the Chosen:
- The objective of this mission is to venture out from the grounded Avenger and destroy the enormous artillery cannon located at the far end of field.
- This is achieved by destroying the power generator it is attached to.
- You'll also need to take out the static turrets located in the area before the Avenger can take off.
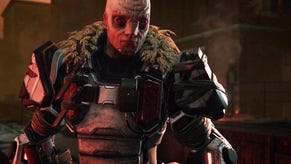
- The Chosen member who located the Avenger is very likely to feature in the mission.
- Each turn the turrets will fire at the Avenger, reducing its hull integrity by around two to four points per turn from a starting total of 400. The artillery cannon takes around three turns to charge up and then deals a far scarier 80 points of damage.
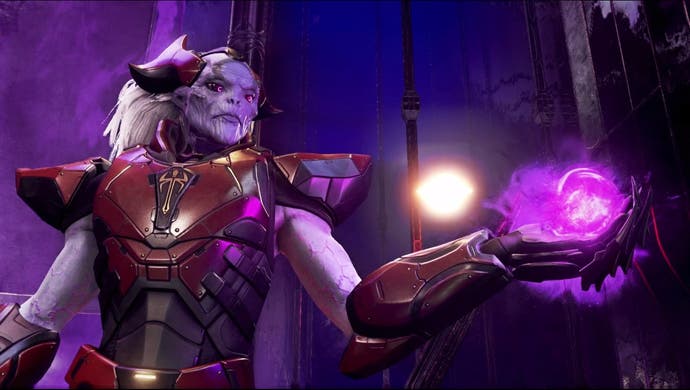
- To counter this threat, you'll be able to take two squads of soldiers out into the field, which can include currently injured soldiers. This ensures you'll have your best troops available, with both squads beginning in the same place, just outside the Avenger.
- Scouting ahead with a Reaper, before moving down one side of the map towards the cannon is a sound tactic. Take out the turrets and enemy forces you encounter as you go.
- Don't charge too far ahead. With around 25-30 enemies on the field, you'll want to engage with just one group at a time, but by moving down one side of the map you should be able to reach the cannon, destroy it and then proceed down the other side to mop up any remaining enemies.
If you need more help with XCOM 2's expansion, our XCOM 2: War of the Chosen guide and tips can explain everything you need to know, from how to beat The Chosen Assassin, Warlock and Hunter and the new The Lost, Spectre and Advent units. Combat them by learning about each new faction with our Reaper abilities and skill tree, Skirmisher abilities and skill tree and Templar abilities and skill tree pages, as well as learning about the new Challenge Mode, Resistance Ring, Ability Points, Fatigue and Bonds systems. Good luck, Commander!
- The artillery cannon itself has around 50 health, so expect it to take two to three turns to destroy depending on how engaged your soldiers are with enemy troops. Keep a sniper or two slightly further back to provide regular damage to the cannon.
- Once the cannon is destroyed the Avenger's hull integrity will likely be down to around 120-130, which gives you plenty of time to take out the remaining turrets and all of the other enemies in the area.
- Depending on your progress in tracking down the Chosen, and countering their knowledge gathering, it's possible you might not have to this mission at all, or even do it more than once during your playthrough. Keep an eye on the knowledge track of each Chosen, and if you do have to mount your defence of the Avenger use the same method each time.


