Destiny 2 Pleasure Gardens explained - strategy for how to beat the Royal War Beast dogs with Prism Weapons and the Spores buff
Everything you need to progress from past the Beasts in the Pleasure Gardens.

Destiny 2's Pleasure Gardens are the third encounter in the Leviathan Raid, after you've already reached and completed the Bathing Pools.
This not unlike the Gorgons from Destiny's first and original Vault of Glass raid, thanks to its stealth nature of avoiding Royal War Beasts - though this time you have to defeat the sentries in order to finish.
If you want to read more about the Raid, our Destiny 2 Leviathan guide and walkthrough can be help with every main encounter, including the Castellum, Royal Pools, Pleasure Gardens, Gauntlet and final boss, as well as how to access and explore the Labyrinth underbelly.
Note if you are playing on Prestige difficulty, there are additional mechanics to consider, which our Prestige changes and differences page explains.
Pleasure Gardens explained - Royal War Beasts, Spores, Prism Weapons and Empowering Spores buff explained
Here is a summary of the steps required to beat the Pleasure Gardens:
- Clear the forest area of enemies
- Go up the slope under the gold statue, and two players pick up Prism weapons, opening the room below
- Remaining players drop down and pick up Royal Spores
- Prism players direct Spore holders to plants in the forest while killing non-Beast enemies
- Spore holders avoid the prowling Royal Beasts
- When reaching a glowing Flower, Prism holders shoot the Flower to give the team an Empowering Spores buff
- When the buff is high enough, everyone attacs and damage the Royal Beasts. Repeat until all six Beasts are dead
Detailed breakdown of the Pleasure Gardens encounter:
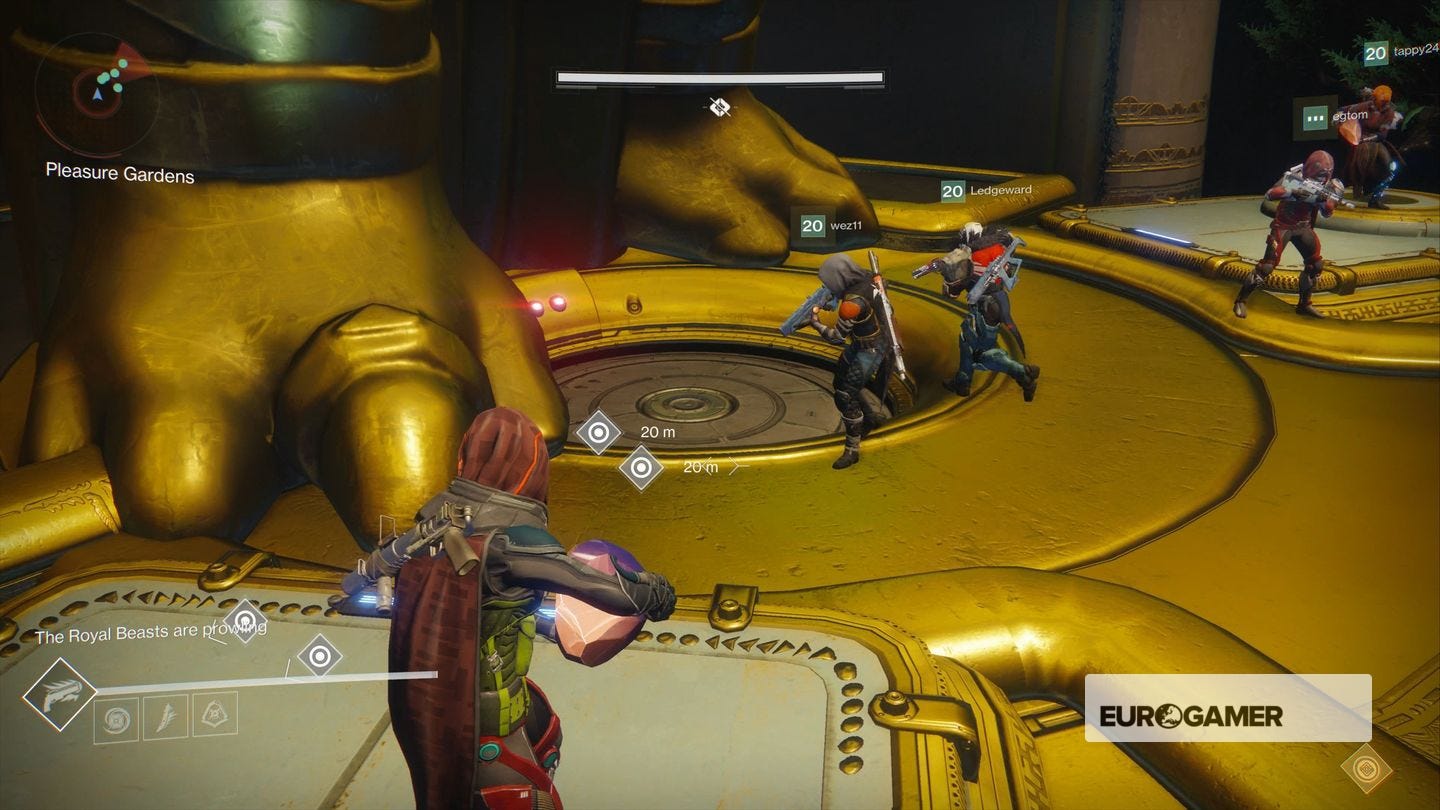
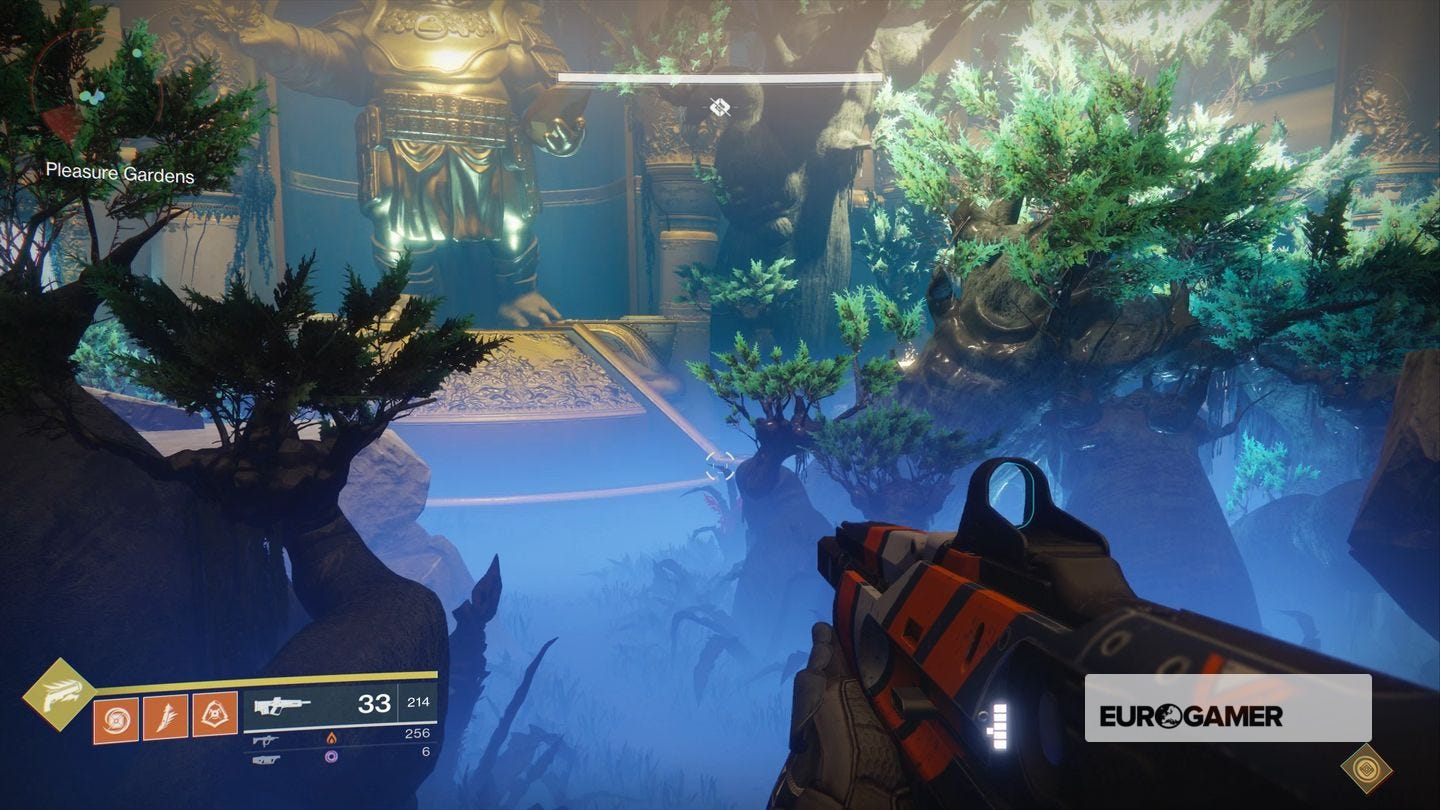
First, clear the forest of the standard enemies. They are dotted around but there are only a handful, so it won't take long. When they're all defeated, you'll notice a pair of on-screen markers appear at the foot of the big gold statue, on top of a gold dome. These are Prism weapons that two members of your team have to pick up. When they do, a trapdoor below will open to a room.
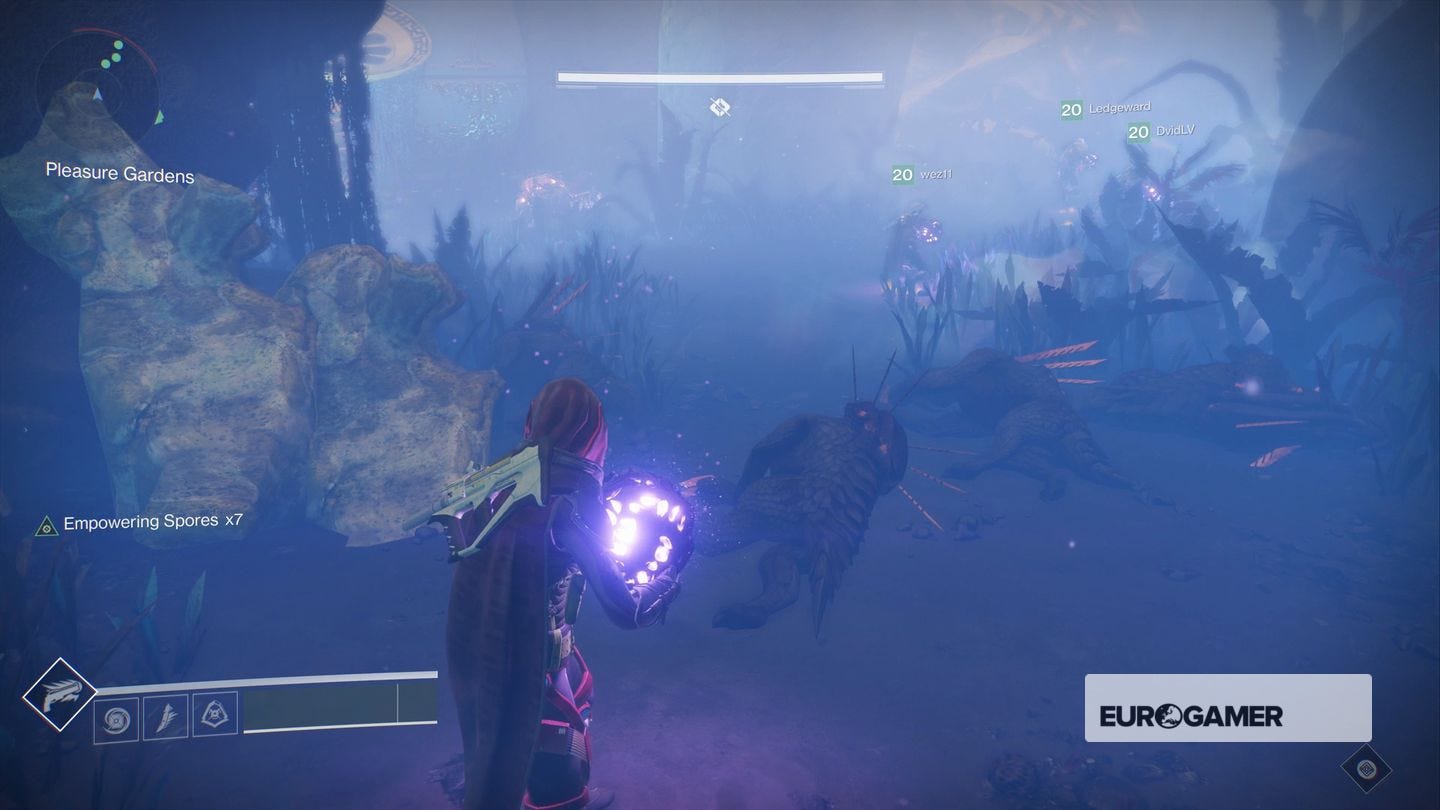
The remaining players must drop down and collect the Royal Spores on the inside - four spores for four players - then await instructions from those with the Prisms before heading out into the forest. At this point, the area will be populated by Royal Beasts, which when spotted, will howl and attempt to close the room. You must avoid them.
The aim of the game here is to simply kill all six Royal Beasts, but that's much harder than it sounds; the Beasts have extremely high health, and even if your entire team is over 300 Power, you won't be able to kill them through standard means. Instead, you need to pick up damage modifiers by gathering the four Spore-carriers around a glowing flower, and having a Prism holder shoot that flower from a glowing platform above. It's as ridiculous as it sounds.
So, using the Prism weapon holders as your guide from above, the Spore holders must avoid the gaze and attention of all Royal Beasts and make their way to periodically blooming (glowing pink) flowers dotted around the area. The flowers are in fixed positions, and the 'active' ones that you can use will light up in turn.
The first time you leave, two light up - either the near left and second on the right, or near right and second on the left (thanks to Redditor Dukaness for confirming it's always one of these two). After that, they appear to light up seemingly at random, so the Prism holders must help with which ones are available. Each time a buff is successfully granted by shooting a Flower, a handful of additional enemies will spawn on ledges around the side of the area - it's down to the Prism holders to take these out by using their Prism weapons.
When all four Spore holders are close to the lit up flower, a Prism holder must shoot the flower with their prism, giving the Spore holders an Empowering Spores buff. Note that Prism Weapons only work when the holder is standing in one of the beams of light on the rocks above, which act as an 'ammo source'.
The buff itself stacks with every flower successfully shot, up to a maximum of 60x, and the higher it is, the more damage you will do to the Royal Beasts. Generally, it's accepted that you'll need at least 48x to do significant damage, but there are different strategies to doing this, which we'll dive into below.
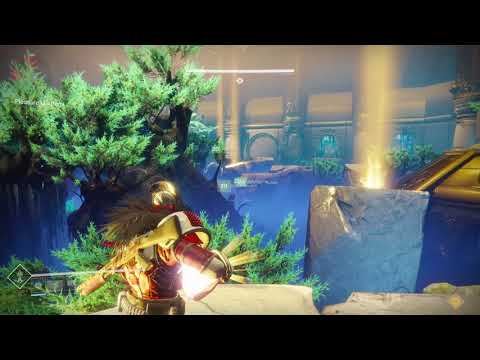
It's also worth noting the Prism weapon holders must also kill a couple of additional enemies that spawn when each buff is added, since the Spore holders will have their hands literally full. You can watch a full walkthrough from the perspective of a Prism weapon holder in this video by Esoterickk:
The Season of the Deep is here alongside the Into the Depths quest. You can know go fishing too! Don't forget to keep an eye on the Lost Sector and King's Fall challenge rotation schedule!
Continue to find new flowers and increase the buff for as long as you are undetected. When you are spotted - or when you have enough of a buff, and are ready to attack, approach the Royal Beasts and let rip with your weapons.
When you're detected by the Beasts - either by accident or when you choose to attack them - they will being to howl, giving you 30 or so seconds before the Safe Room (where you got the sports) closes up. Ensure all players - including Prism holders - enter the room otherwise they will die when the 30 seconds of howling ends.
You only have three uses of that safe room, so you can only be detected three times before the door is locked, the squad is wiped and you need to start again. So, after being detected once, the cycle repeats; two players get Prism weapons, the others grab Spores, and you gain the buffs and attack when ready. Keep going until the Royal Beasts have no health left.
Completing the Pleasure Gardens will grant you a loot chest.
Pleasure Gardens strategy - how to beat the Royal War beasts, the Pleasure Gardens dogs
Now that you know the general rules of how the Pleasure Gardens work, here's the strategy we've found to work the best so far, step by step.
Strategy for how to beat the Pleasure Gardens' Royal War Beasts:
- On entering, kill all the enemies - Simple enough, but be sure to avoid wasting anything useful like Supers, Grenades, and heavy weapon ammo. Pick them off with standard combat if you can.
- Head to the gold statue and assign roles - Two Fireteam members must take up the Prisms, from the on-screen markers, and guide their allies. Four must drop down into the safe room and pick up a Spore each. One Prism holder stays on the left side, and one stays on the right. We recommend chatty players good at platforming and capable of memorising the dogs' routes to be the Prism guides, and those best at combat, with the highest Power level, to be holding the Spores on the ground. Ideally someone who knows the layout fairly well would be on the ground team, too.
- Assign a Royal War Beast to each person - There are six of you and six dogs, and the best method so far is to each pick a dog to get as low as possible when a damage phase opens up. Choose one each (they have names, but if you don't know them then just do it by location), and whenever a damage phase starts, either accidentally or on purpose, you have 30 seconds to unload into your designated dog.
- Get the first two buffs safely - Now you're ready to start. The first two flowers will always light up in one of two ways. Either the first on the left and second on the right from the safe room, or first on the right and second on the left. You're bound to wipe a few times in practicing here, but try to learn the routes to these four Flowers while you do so. If it helps, agree on a number or name for each Flower location so they're easy to call out.
- Keep going until you have at least 4 buffs - Remember to pause after each one to let your Prism guides kill any additional enemies (a couple spawn after each flower). If you manage to get four, which is doable, you'll have a 48x damage buff against the dogs. Go for the fifth and sixth of course, but if you don't get them, either by running out of time (the beasts 'Grow Restless' after long enough, and will howl even without detecting you), or by being caught, then you must unload as much damage as possible into your designated dog. They don't attack back, but there may be some additional minor enemies to clear as well. We suggest you use Supers, damage-over-time Grenades, and rocket launchers, swords, or the Merciless exotic you could have got from Xur in his first week.
- Do not kill any dogs until you can kill all of them - Your task isn't to kill your designated dog right away, it's to get it as low as possible. With a 48x buff you should be able to get it down by at least one third of its health, and ideally to halfway or below. That means you just need one or two more decent rounds to beat the area.
- Head back to the safe room with enough time to spare - Dying from being outside the saferoom isn't the end of the world, but try to avoid it where you can. Learn the audio cues for when the dogs are reaching the end of their howling, and head back in enough time to avoid wasting your team's limited revives.
- Repeat as required - Remember that the damage buffs do drastically increased damage the more of them you have. Aim for four, get three as a bare minimum each round, and as long as you rush to your designated dog and absolutely unload into them each time you start a damage phase, you'll beat it!
Other things to note about the Pleasure Gardens:
- As with the Royal Pools before, each player can only revive another once, so make sure you stay alive to ensure you don't run out.
- You can damage without a buff, but the more you have, the more damage you will do.
- The strength of the buff can differ per flower visit, and we found bunching together around the flower - and having the Prism weapon holder shooting it faster - generates more buff than if it's just a couple of you (12 is usually the highest for a single flower). If all four of you are close to the Flower, you shout always get an additional 12x buff each.
- Once you approach a flower, it will open, indicating you can shoot it. However if you wait too long, it'll stop glowing, and cannot give the buff. Only approach it as a team whenever you are all present, and the Prism holder ready to shoot it!
- It appears killing a Beast or two will shorten the amount of time you have to get flowers and / or do damage in attacking phases as the rounds progress. As such, it's best to get each Beast's health down as much as possible, then killing them all at once. However, killing a few of them outright does make it easier to explore unnoticed - so that method does have some merits.
- Beasts have a fixed walking pattern. Learning where they go and when, and the timing windows to use each flower when they are away, will be key to making these key easier. They are too hard to describe easily on this page, but learning by doing as a team (with the guidance of Prism holders) is the way to go.
- The Prism holders can be spotted by the Beasts below. We're not sure how this happens some of the time, but it could be based on moving near them, or having the non-Beast additional enemies that spawn below disturb them when they are not cleared fast enough.
- The Royal Beasts will "grow restless" at time goes on, telling you your time is slowly running out. In some instances this appeared to remove the glow from the flowers, and if that is the case, use the time you have left to then prepare positions before an attack phase.