Resident Evil Revelations - Stop the Virus, authentication passcode location, laboratory map and Prototype Vaccine locations
Continuing episode nine in Resident Evil Revelations.

Back onboard the Queen Zenobia, it's time to stop the virus and find the Prototype Vaccine with Jill and Chris in the concluding part of Chapter 9.
If you need more help, our complete Resident Evil Revelations walkthrough can assist with other sections of the game, including all Handprint locations, Raid mode and unlockables.
Stop the virus
Your main goal here is to reach the control room, but you'll first need to deal with the invisible lasers that block your path along the walkway in either direction. The laser devices are easy enough to spot - they're the tall grey and red columns that sit either side of the path. Helpfully, you can reveal the hidden lasers in-between using your scanner.
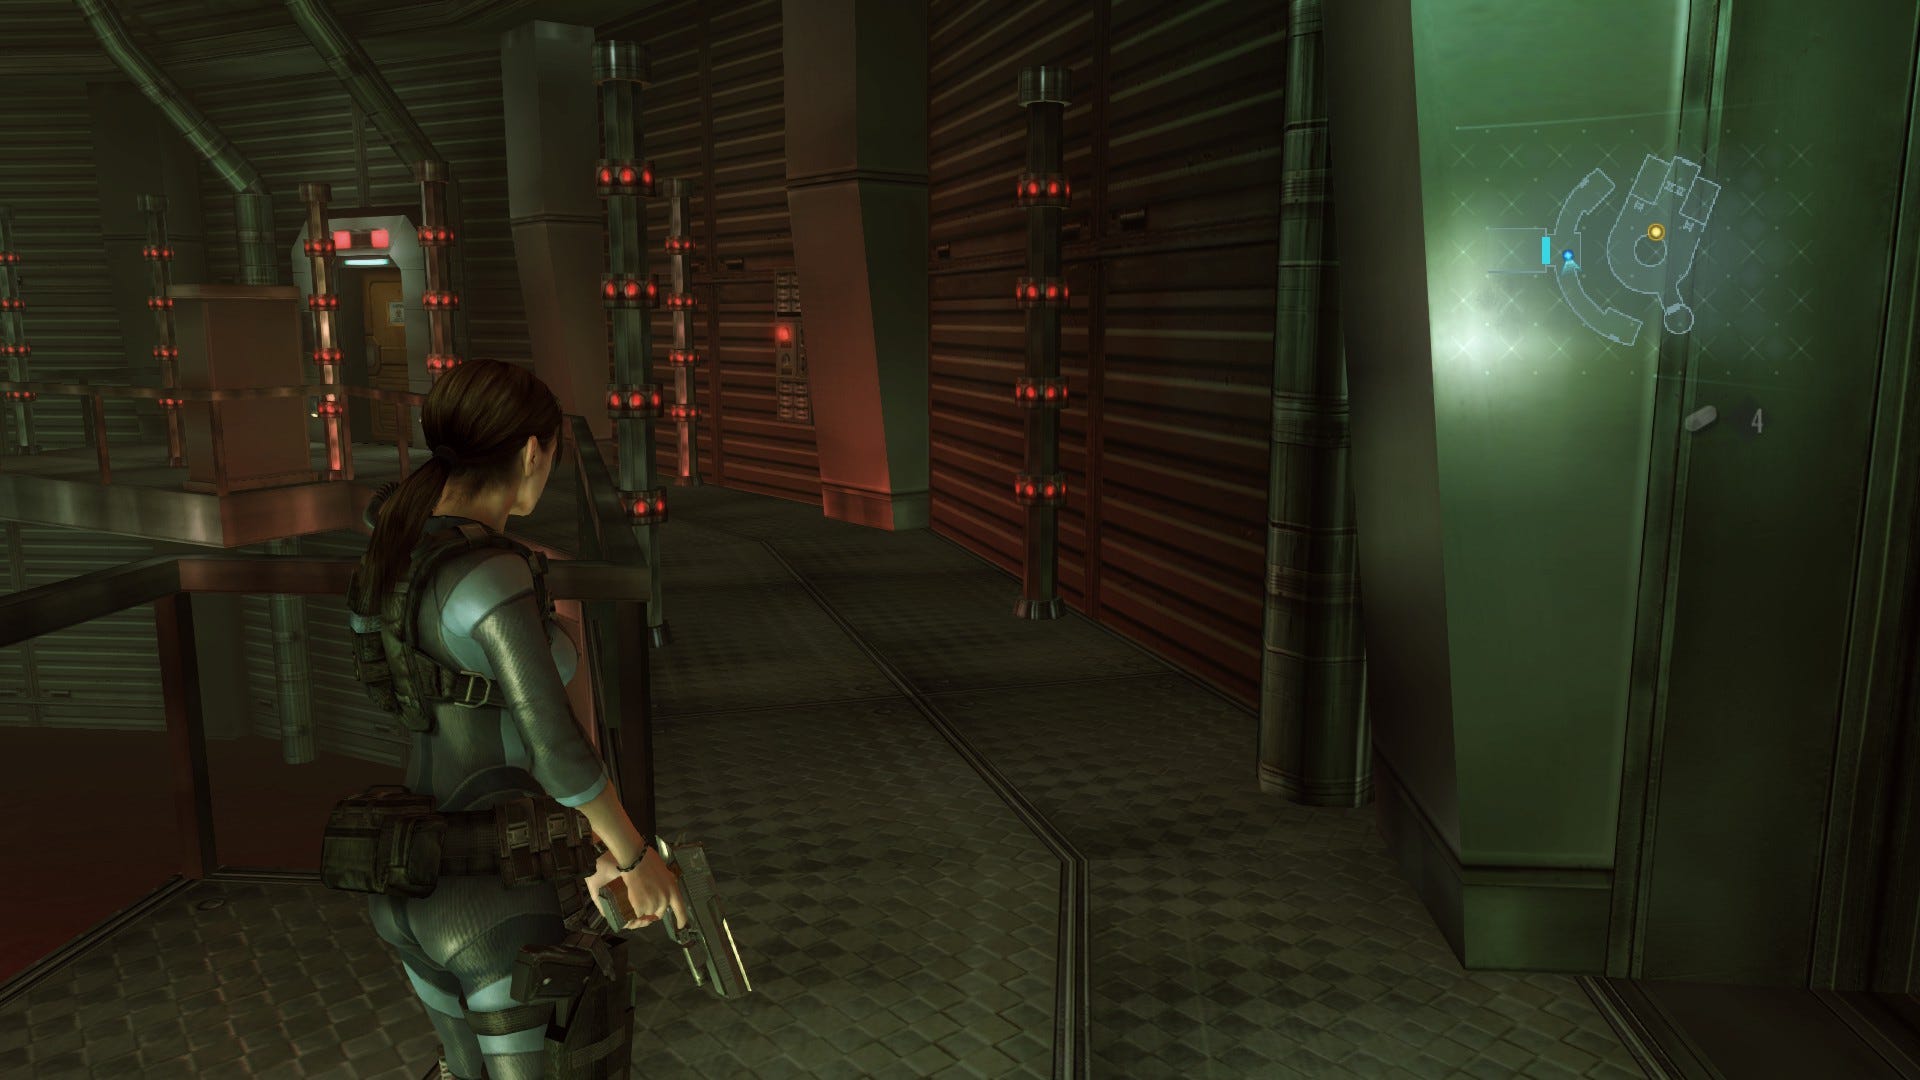
Immediately turn right and follow the walkway to the south. Whatever appearances might suggest, the first laster machine is off, so you can just walk on through. Look for the control panel on the wall immediately to the right and press the button. This will activate the lasers you just walked through but turn off the one to the south. Proceed to the very end of the walkway then turn left between the endmost pillars. Immediately turn left again and interact with the control panel directly ahead. This will disable all laser devices along the walkway.
Next, follow the path to the north, grab the green herb and face the door on the left at the very end. Interact with the fingerprint machine to the left then step through the now unlocked door.
In the next room, scour the area for ammo, the Machine Gun Ammo case, and another green herb. Read the Completion of New-Type Virus document on the desk then proceed through the orange door to the north. Continue along the passage and through the next orange door, then loot the room for ammo. You'll also find two more bits of reading material here - the Malacoda Development Materials document, and the Veltro Agent's Journal 2 document.
If you scan the wall above the computer in the alcove where you find the latter document, you'll reveal Handprint 27.
Note that you're able to open the illuminated storage containers lining the walls in this room. However, the only thing you'll find inside is a monster, so feel free to leave them be.
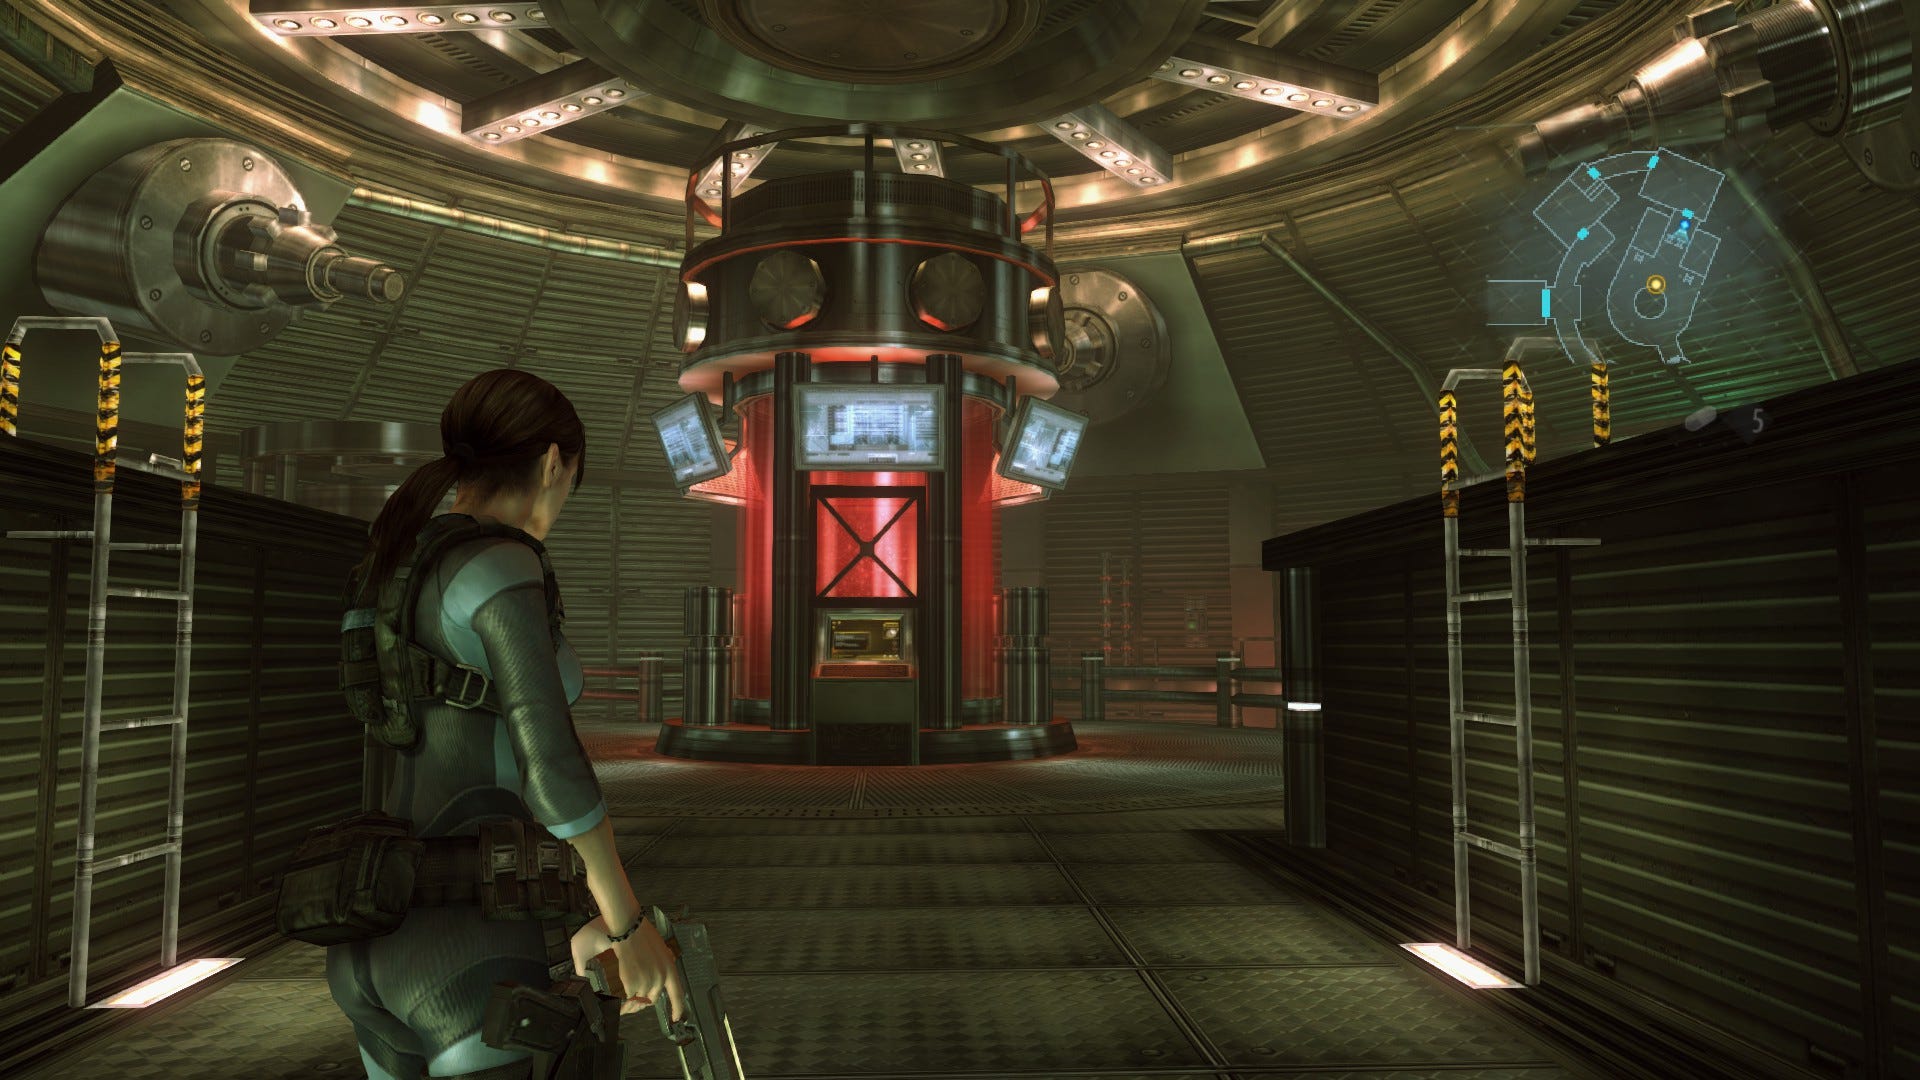
When you're ready to continue, head south through the orange door, and you'll see the virus vat directly ahead - you've made it to the control room! There's ammo on top of the containers either side of the walkway (just use the ladders to climb up) if you need a bit more.
Search for the authentication passcode
Approach Chris in the centre of the room and look left to locate the green weapon crate with a green herb next it. Take a moment to adjust your load-out (you'll now have the Narrow 1, and Long Magazine 4 custom parts if you've been following along) then approach the elevator doors at the end of the short walkway to the southeast. Interact with the lift to open the doors and step inside. Press the button to start your descent then exit out into the next room.
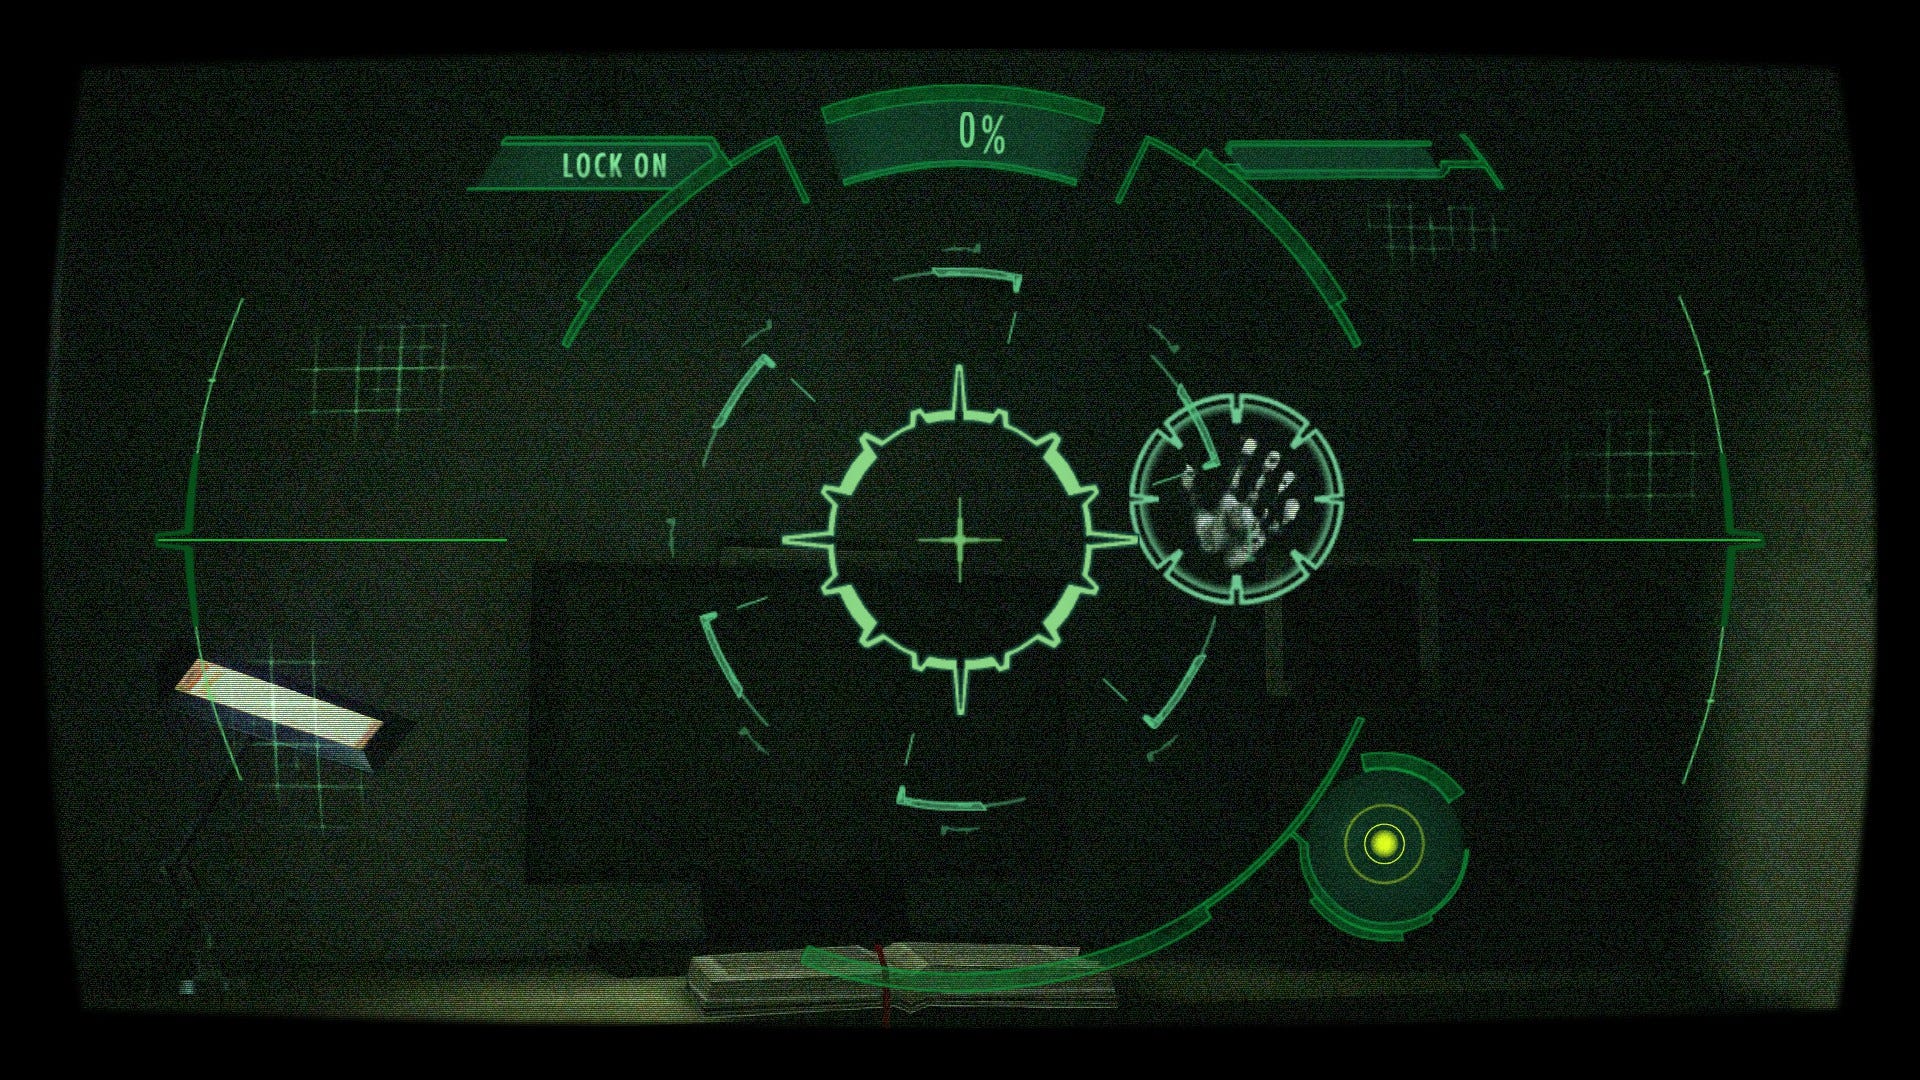
This area predominantly consists of a maze formed by invisible lasers. First, take the ammo on the cabinets to the left then break out your scanner and figure out the safe route through the pylons. Your ultimate goal is to reach the orange door to the northwest, but first you'll need to push the button on the wall near the corpse, a little further along the maze.
Pushing the button will reconfigure some of the lasers in the room and form a new path, so about-face and follow the new route around until you reach the ladder leading down to the lower level. Finally, make your through the orange door to the right, paying your respects to the gargantuan creature that casually wanders passed the window as you go.
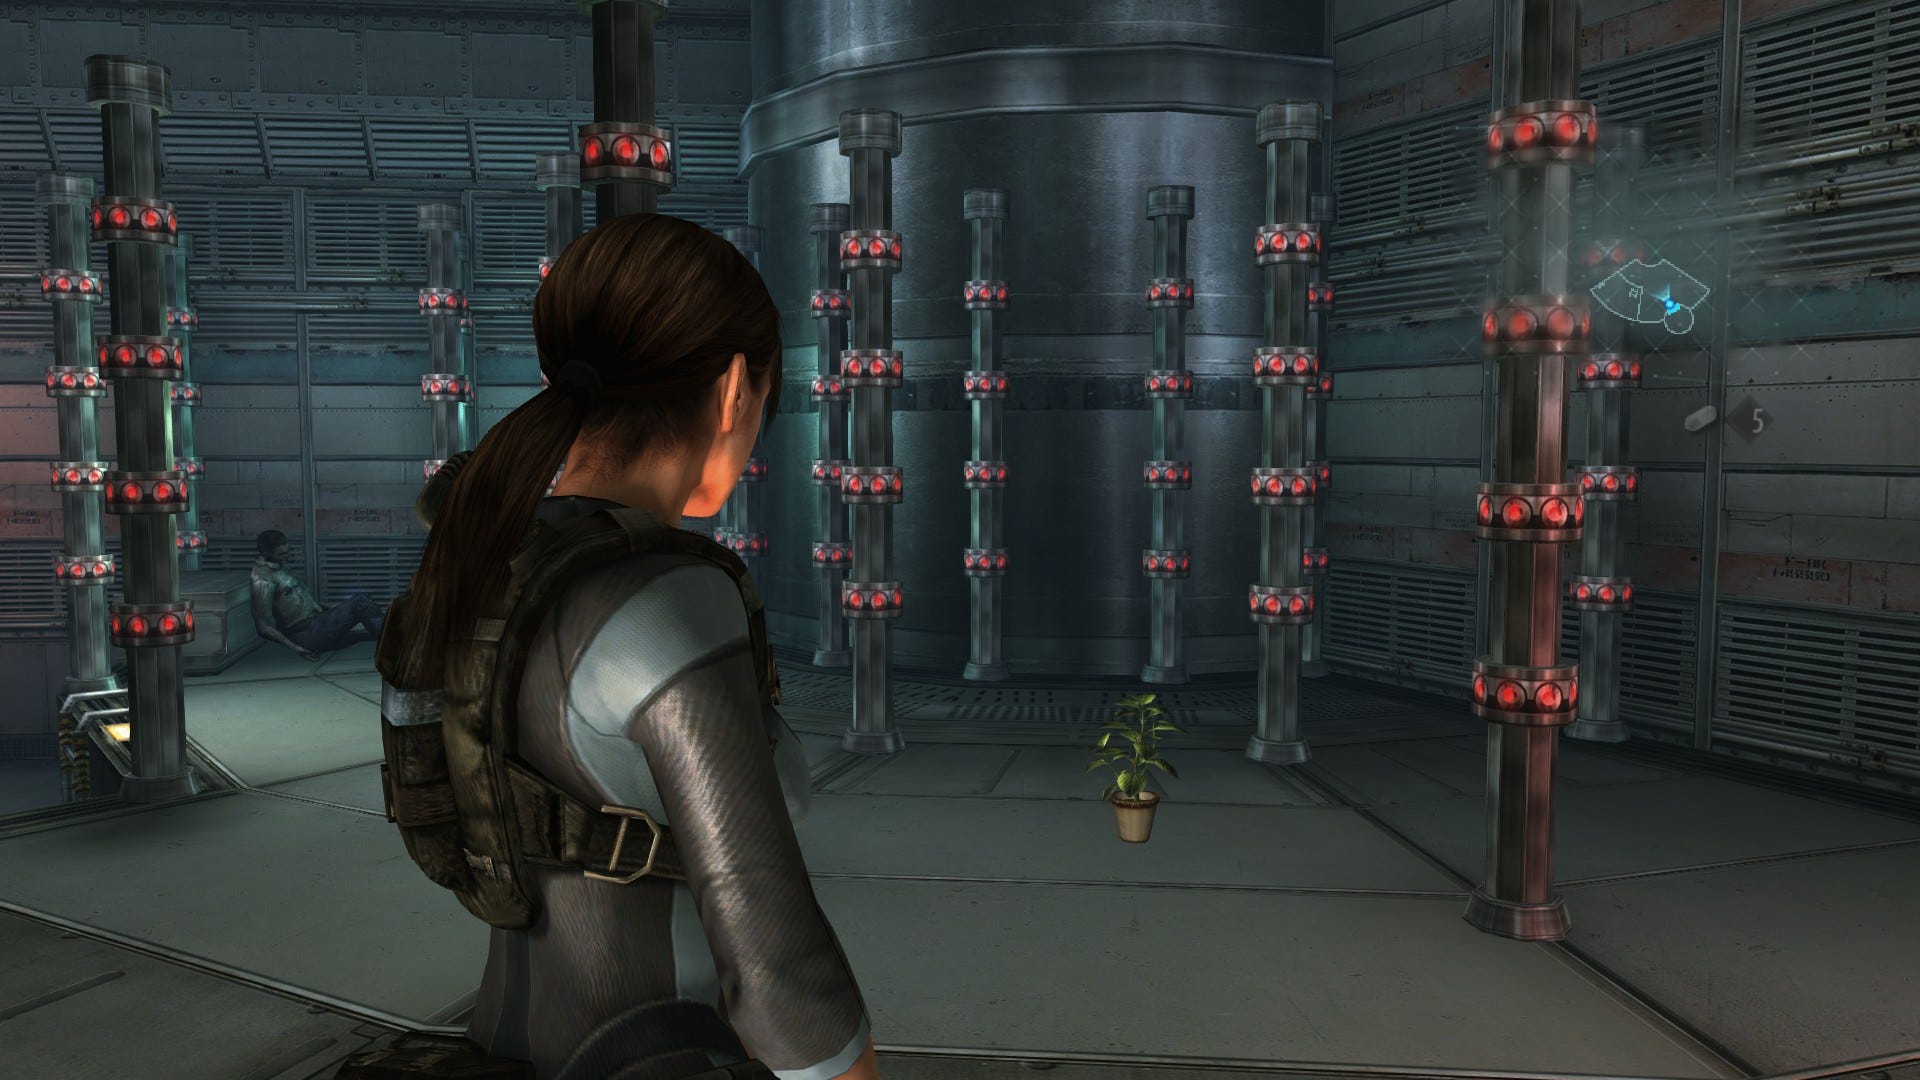
In the next room, push forward, taking care of the Tricorne Ooze and sword-and-shield Oozes that lie in wait. At the top of the first ladder, note of sealed bulkhead door ahead then turn right and climb the distant ladder. Gather the ammo, pulse grenade, and Illegal Custom Parts then drop back down a level. Interact with the fingerprint reader to the right of the bulkhead door you noted a moment ago then step on through.
Map and Prototype Vaccine locations
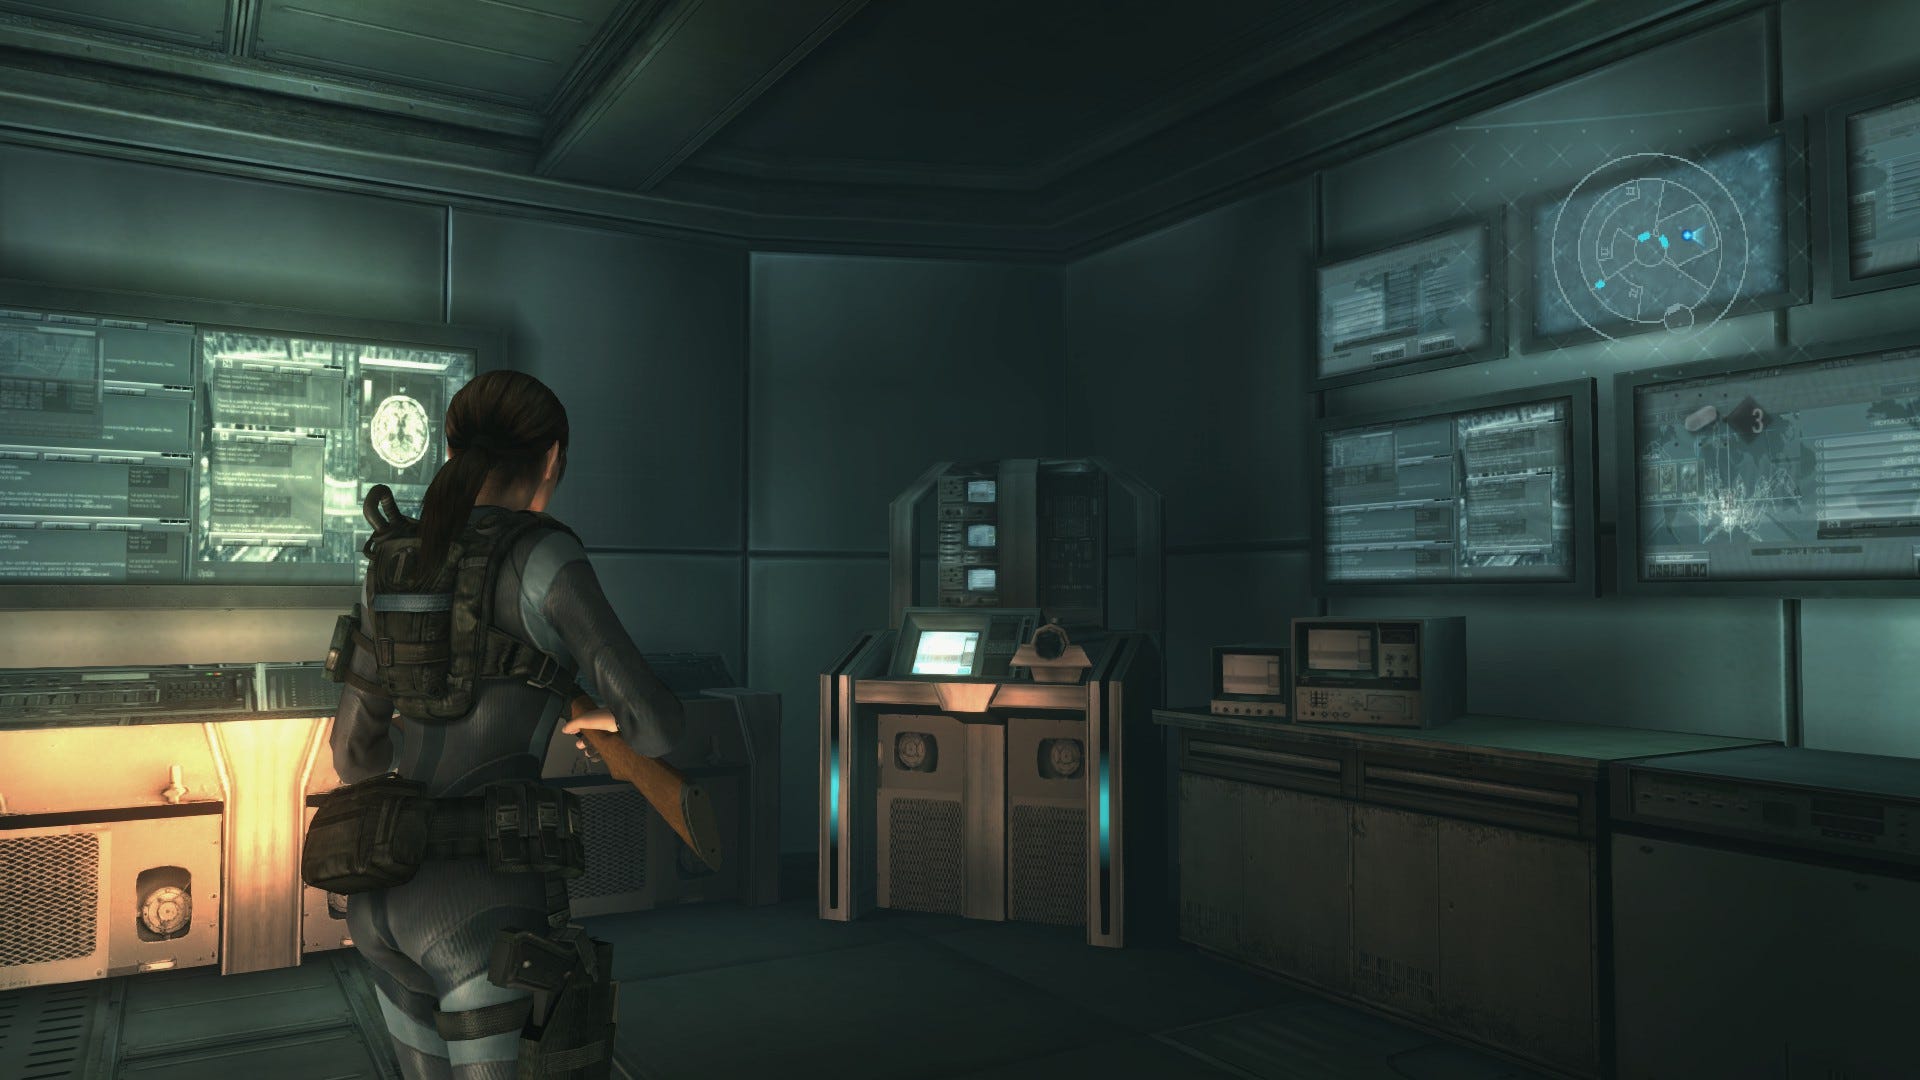
In the next small chamber, pass through the door immediately to the left and gather up the ammo. Take the LABORATORY MAP from the wall above the desk then turn to face the door you just came through. You'll see a machine with a glowing red button immediately to the right. Press it to change the configuration of the lasers in the maze room from a little earlier. Return to the maze room, ignoring the large creature through the window - it's just being a tease.
Back in the laser maze, climb the ladder and note the body to your left. This is your next destination - to reach it, once again use your scanner to safely navigate the labyrinth. Interact with the computer terminal in the northeast corner of the room then collect the PROTOTYPE VACCINE from the corpse. Next, return to the room where you're collected the Laboratory Map, and interact with the long, low control panel along the northeast wall to enter the Employee ID.
While you're waiting for the download to complete, interact with the larger machine to the right of the control panel. This will inject you with the Prototype Vaccine. It's easy to miss this step and accidentally skip it, but don't - if you fail to inject yourself, you'll die almost instantly once the next big sequence begins. When the computer announces that the download is complete, interact with the main control panel again to retrieve the AUTHENTICATION CODE.
Next, turn around and start making your way toward the door. Almost immediately, the room will flooded with the virus - hence the need to inject the vaccine a moment ago.
Go back to Chris
Swim through the door and follow the path back round to the laser maze. The invisible lasers are still active here. As you can't use the scanner underwater, swim high and over to avoid them. Next, make your way through the broken window in the southeastern corner of the room.
Quickly surface for air then dive all the way back down and swim left around the room to retrieve the Illegal Custom Parts. Head back up to the water's surface and locate the ladder leading onto the central platform - it's highlighted with a yellow dot on the mini-map if you get disorientated.
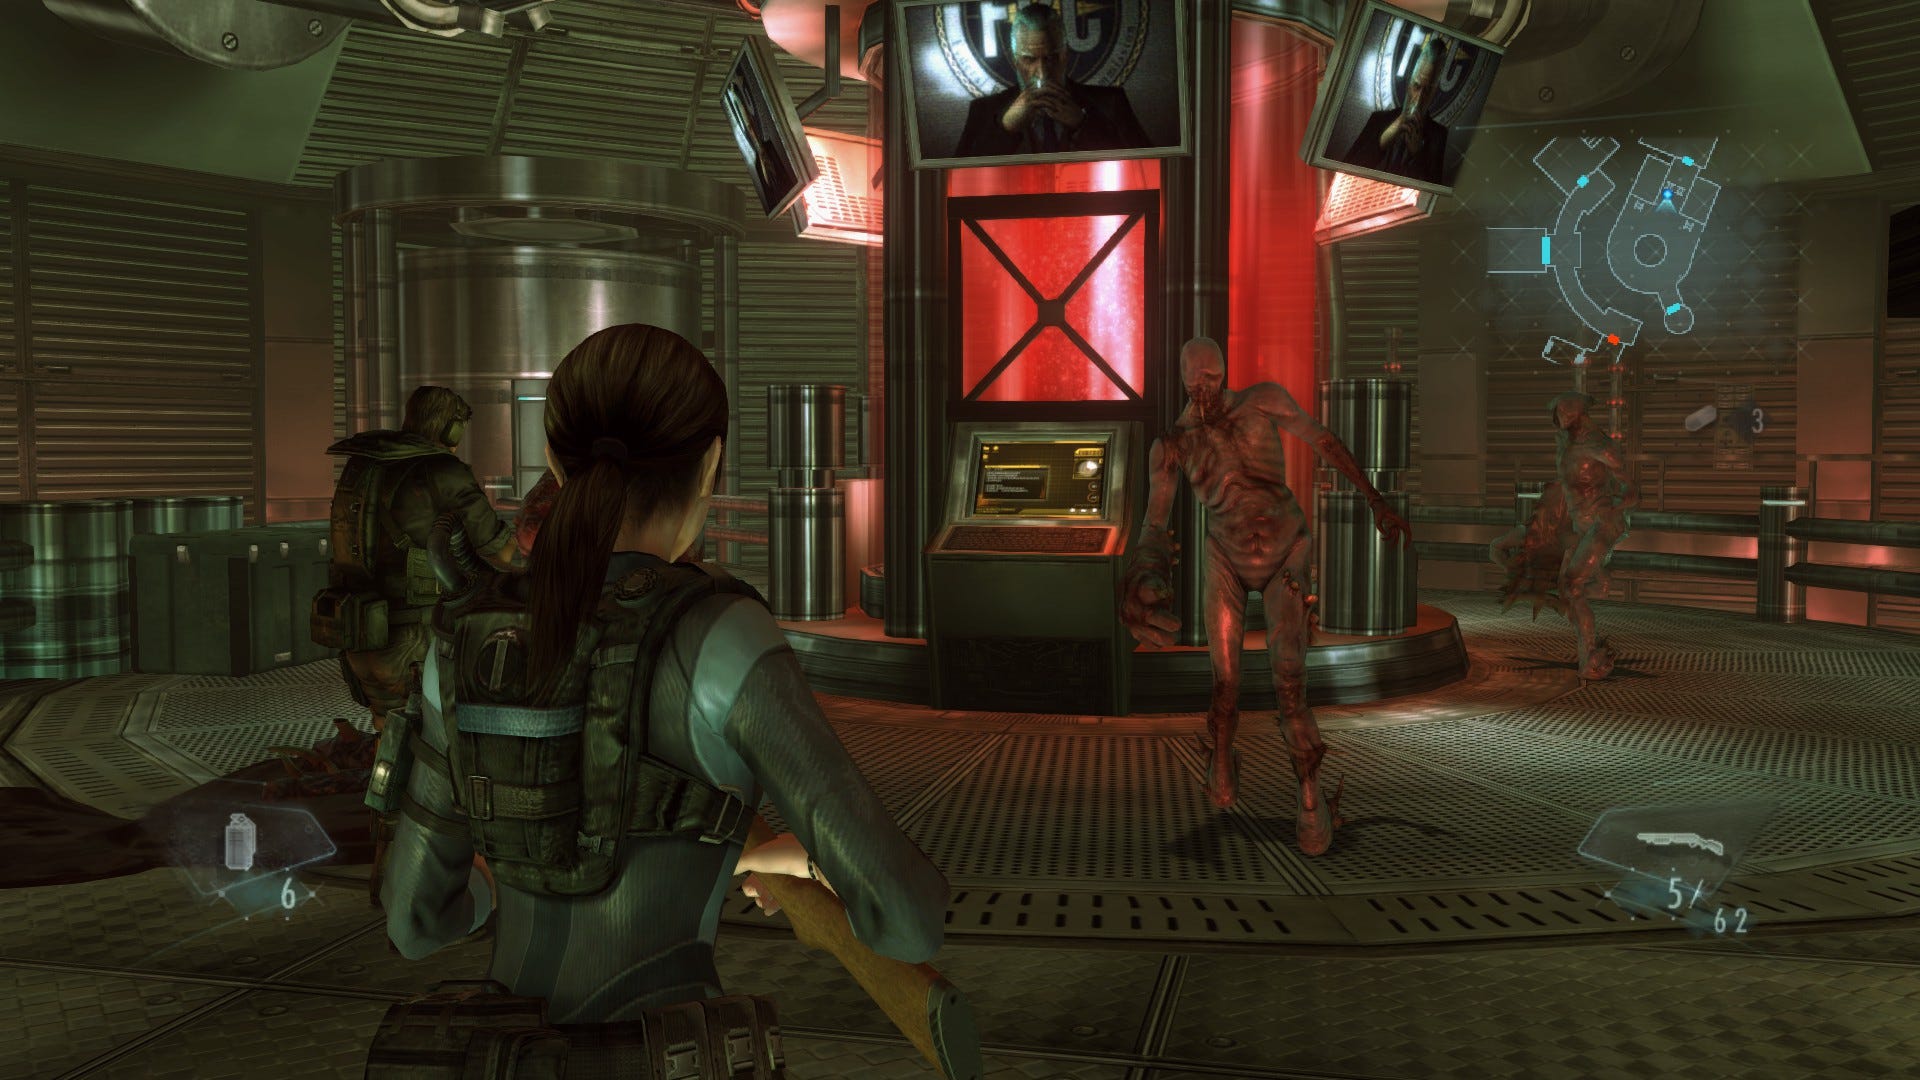
Before continuing, use the green weapon crate to adjust your load-out for the final battle. You'll find a rifle extremely useful here, so consider equipping one. You'll now also have access to the Damage 5, and Charge Shot 2 custom parts if you've been following along. Once you're ready to rock, activate the computer terminal in the middle of the room to trigger a cutscene.
Make the area safe
As soon as it's over, enemies will begin dropping into the area. Keep them at bay with whatever weapons you have to hand - and use your rifle to pick off the Tricorne Oozes that appear on the walkway around the room's perimeter whenever it's safe to do so.
Toward the end of the fight, several sword-and-shield-type mutants will join the fray, so a high-damage rifle will also come in handy here, quickly eliminating them with a well-aimed shot to the head-tip. Eventually, once all mutants are defeated, another cutscene will play, bringing the episode to a close.
Note that completing Episode 9 not only leads to Episode 10, but it will unlock Raid Mode Stages 13 to 17.