Resident Evil Revelations - Episode 8, All on the Line: Make it out of the flood, head for the Hall, board the Zenobia
How to complete the opening part of episode eight in Resident Evil Revelations.

Hope you enjoy water sections, as Episode 8: All on the Line has you make it out of the flood as you attempt to board the Zenobia.
If you need more help, our complete Resident Evil Revelations walkthrough can assist with other sections of the game, including all Handprint locations, Raid mode and unlockables.
Make it out of the flood
As we rejoin Rachael and Parker on the Queen Zenobia, all is not well. Following the escapades - and the averted countdown clock - of the last episode, pandemonium reigns. Sirens blare throughout the ship and there's a general sense of panic in the air.
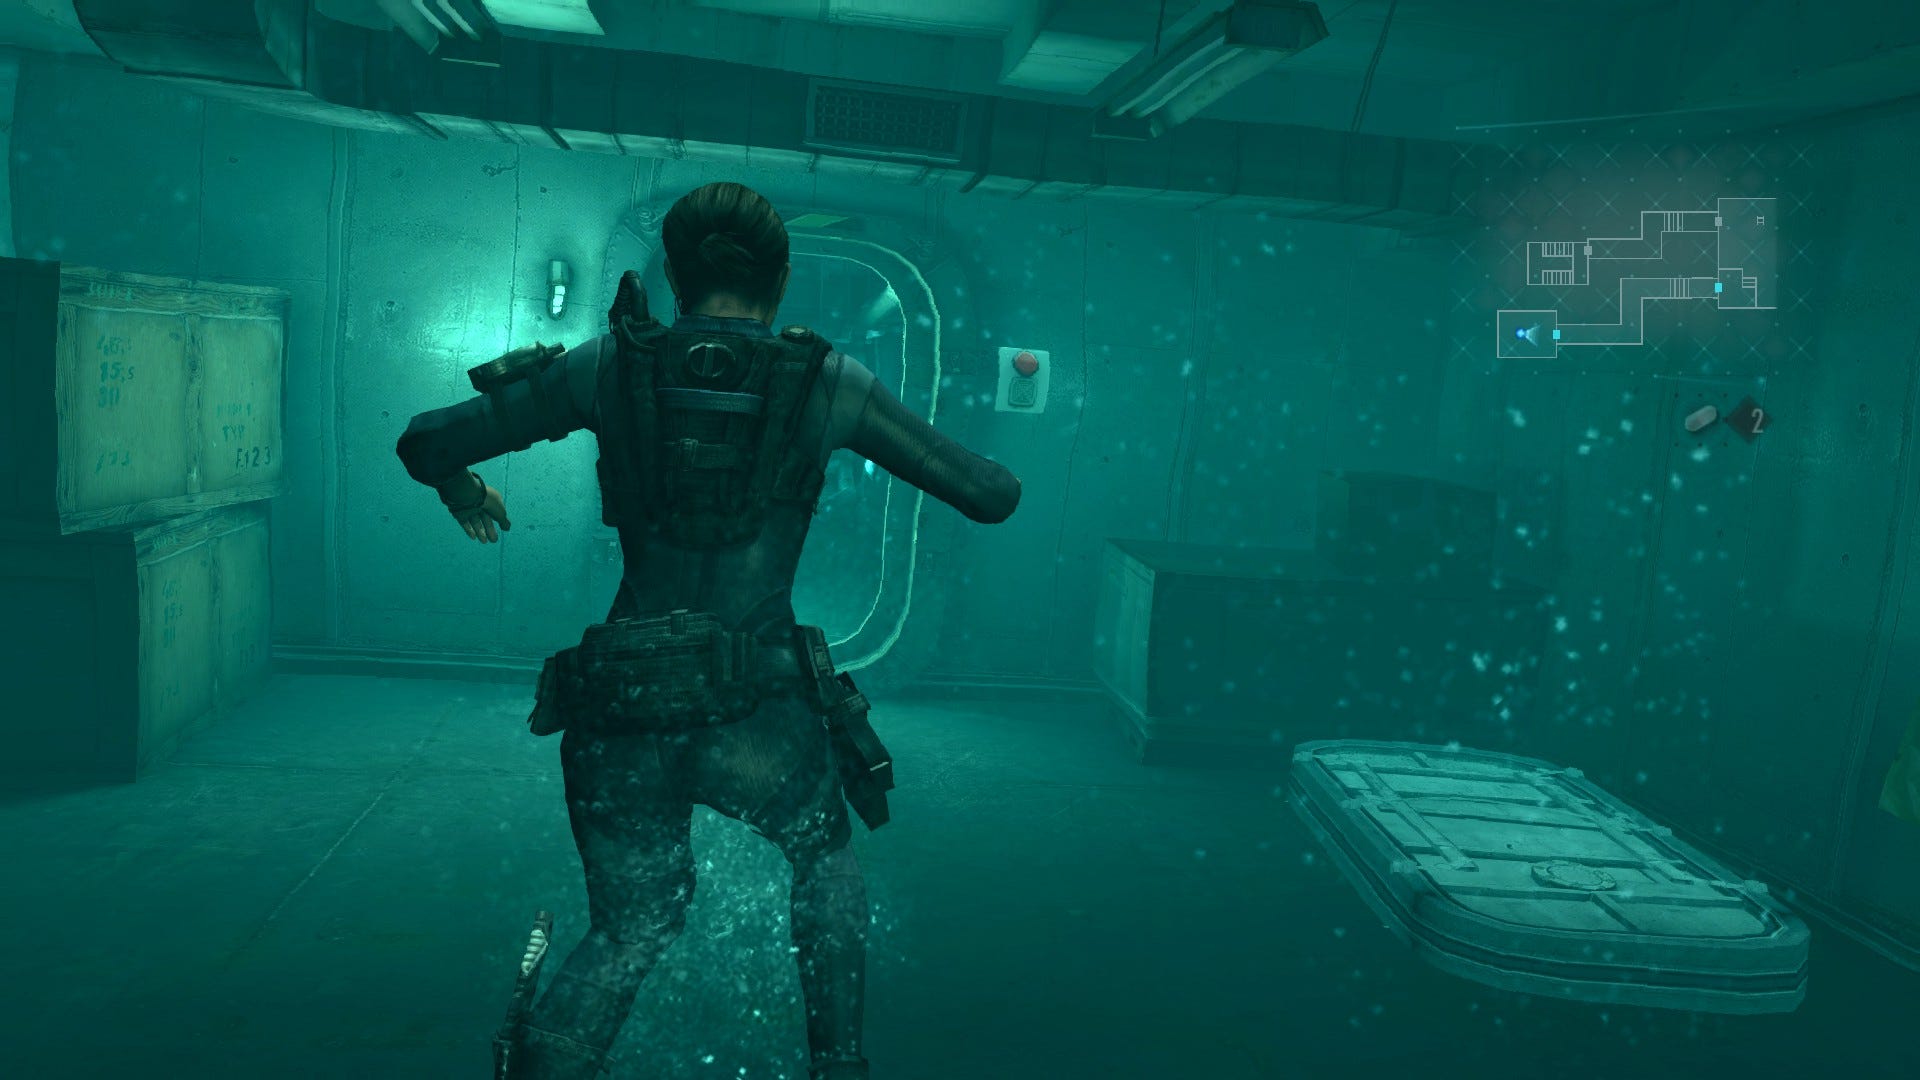
Approach the door ahead and the entire area will immediately flood with water, meaning that you've no choice but to swim your way to freedom. Unsurprisingly, you'll need to pop up intermittently to get some air, but this is only possible in certain places - don't dally around!
Swim through the doorway ahead and proceed along the passage. Make your way through the door at the end and immediately swim up to catch your breath. Dive back down and start toward the ladder in the northeast.
On the way there, look for the small staircase underwater at ground level to the southeast. Tucked in the corner between it and the wall, you'll find a Magnum Ammo Case. Grab it then make your way to the ladder, swimming underneath the debris to reach it.
Once you're out of the water, head left along the walkway and grab the Custom Parts lying on the ground. Continue forward and climb the nearby steps, passing through the door into the small control room. Swipe the ammo from the table then scan the glass window above the control panel for Handprint 23.
Leave the room via the door to the south, take a left, and continue forward until you reach the entranceway to your right. Head on through and use the green weapon crate if required. You should now have the Burst 4, Burst 2, Damage 4, Daze 2, Infighter 2, and Damage 3 custom parts - possibly more if you defeated both Rachael and the Comms Officer in the last episode.
Next, return to the main room and, this time, head to the ladder in the northwest corner. Climb down, dive underwater, and swim through the door to your right. Swim along the next passage and through the next door, then, once you reach the flooded stairwell at the end, swim straight up and climb out using the ladder.
Out on the walkway, scan the ground to the right for a few handy bits of ammo (you can't go through the door just yet), then drop back into the water. Dive to the very bottom of the stairwell, grab the ammo and swim through the door to the south. From here, there's only one route forward, so push onward and you'll shortly hear from your old pal Chris Redfield.
Continue forward, through the door and around the debris blocking the path ahead (you'll spot some ammo resting on top), and keep going to the end of the passage. The door is sealed, so swim upward and through the overhead grate to get some likely-much-needed oxygen.
Dive back down and, this time, swim along the passage leading west. Follow it around and the corridor will open out into a larger room. There's a Sea Creeper up ahead and you'll want to avoid it given your current lack of defences. Quickly swim upward and swipe the Illegal Custom Parts on the walkway above to your right, then proceed north avoiding the enemies.
Continue north to the end of the area then swim back down to ground level if you're not there already. Look for the passage to the right, head along it and pass through the door at the end. Immediately use the hole in the roof to get some oxygen then scour the tops of the tanks for ammo.
Next, swim back out into the main area, and take a left. Look for the walkway that runs across the centre of the room them swim up onto it, moving east.
You'll join a passage with a door at the end, albeit a little way beneath you. Swim through into the next room. Immediately locate the hole in the ceiling and swim up to catch your breath, grabbing the ammo as you go.
You can climb out of this particular hole, so pull yourself up into the tunnel and follow it along. Drop back into the water at the far end (watch out for the Sea Creepers) and make your way through the middle passage heading east, moving through the door at the end.
In the next room, turn left and head through the door, swiping the Custom Parts from the top of the tank. Quickly swim through the door in the northeast corner of the room, avoiding the Sea Creepers in the area.
You'll find yourself in yet another passage. Follow it around to the right, swiping the ammo as you go, then swim up and through the broken window directly ahead. Push forward and you'll soon come to another broken window on the left. This leads to the control room that you've visited numerous times now. There's another much-needed air pocket in the ceiling here so quickly refill your lungs before continuing.
When you're ready to proceed, dive back down and make your way through the door to the north. Follow the passage around, and through the door. When you reach the ladder, watch out for the Sea Creepers in the area and quickly swim upward.
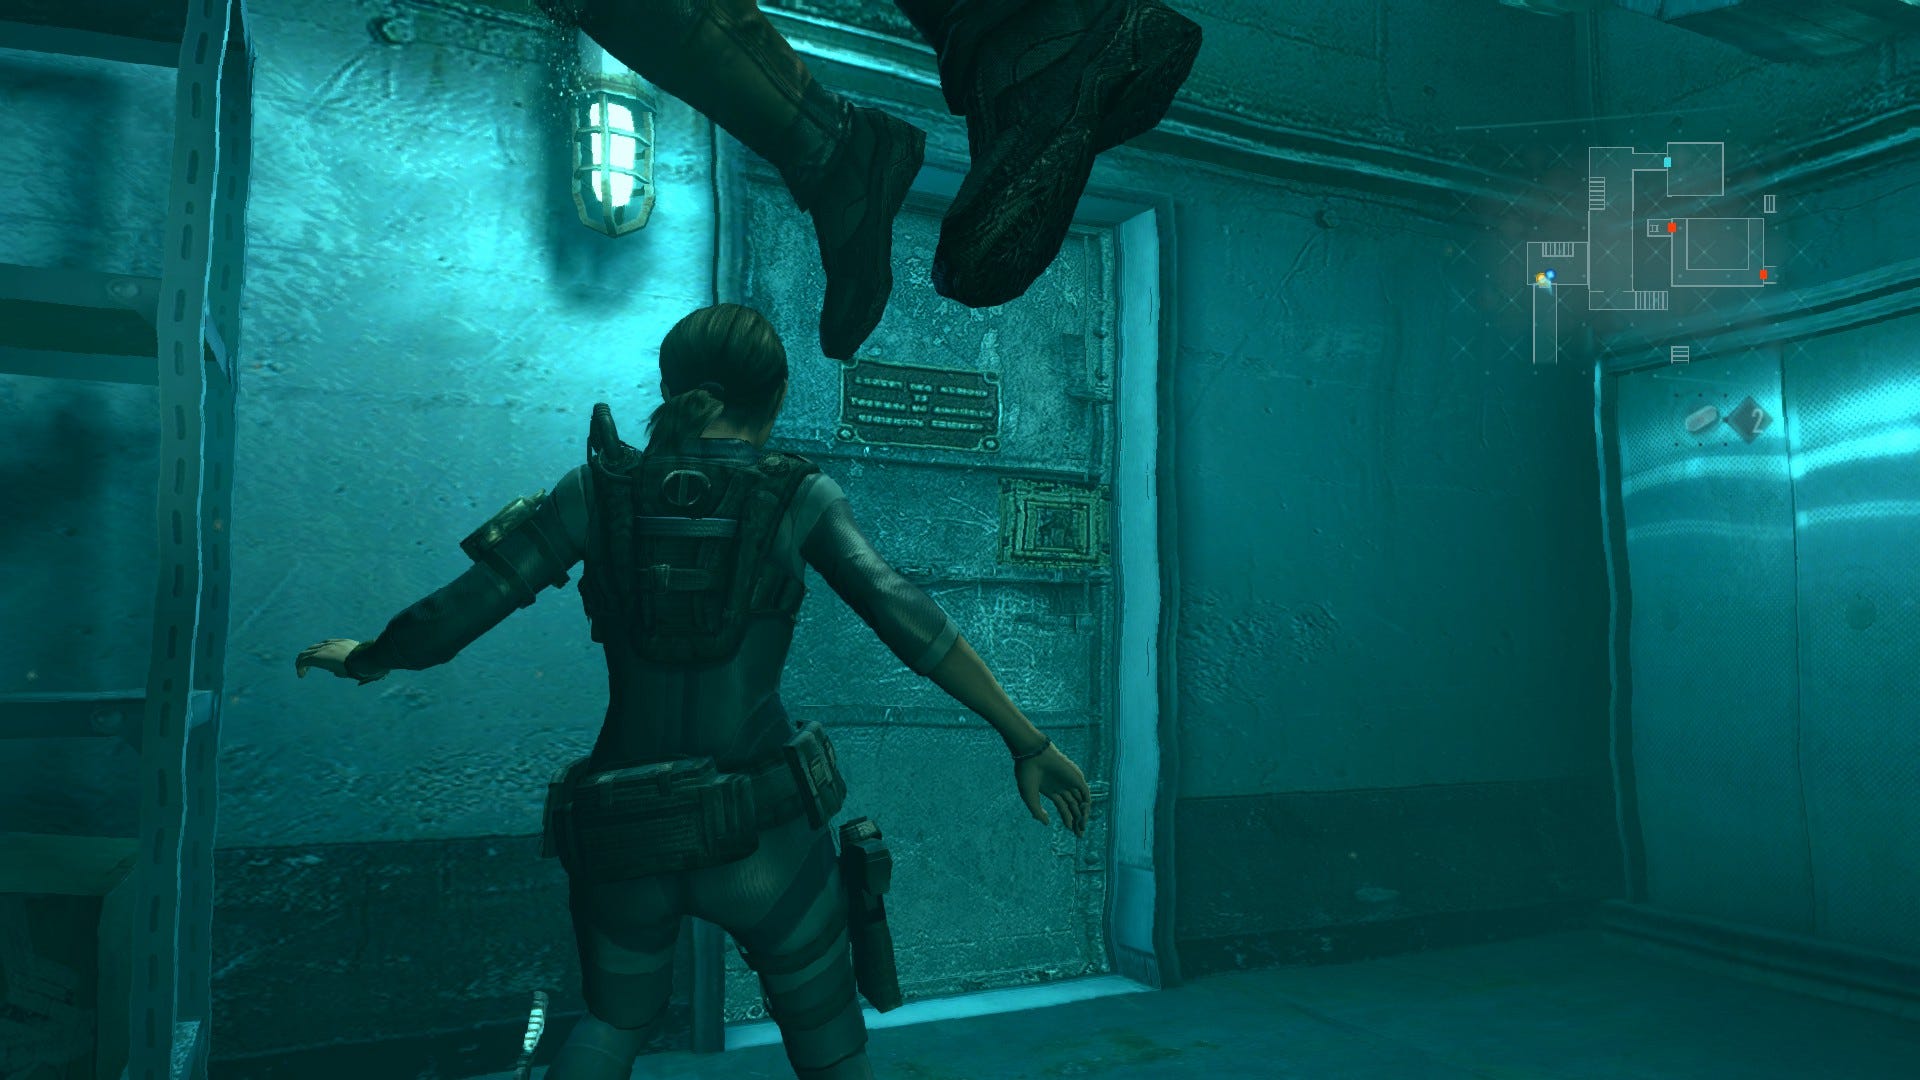
Proceed along the corridor and pass through the door at the end. In the next large room, immediately swim upwards, avoiding the mutants as you go. You'll eventually break the water's surface - when you do, locate the yellow ledge toward the western wall and pull yourself onto the walkway.
Once you're out of the water, Chris will contact you again.
Head for the Hall
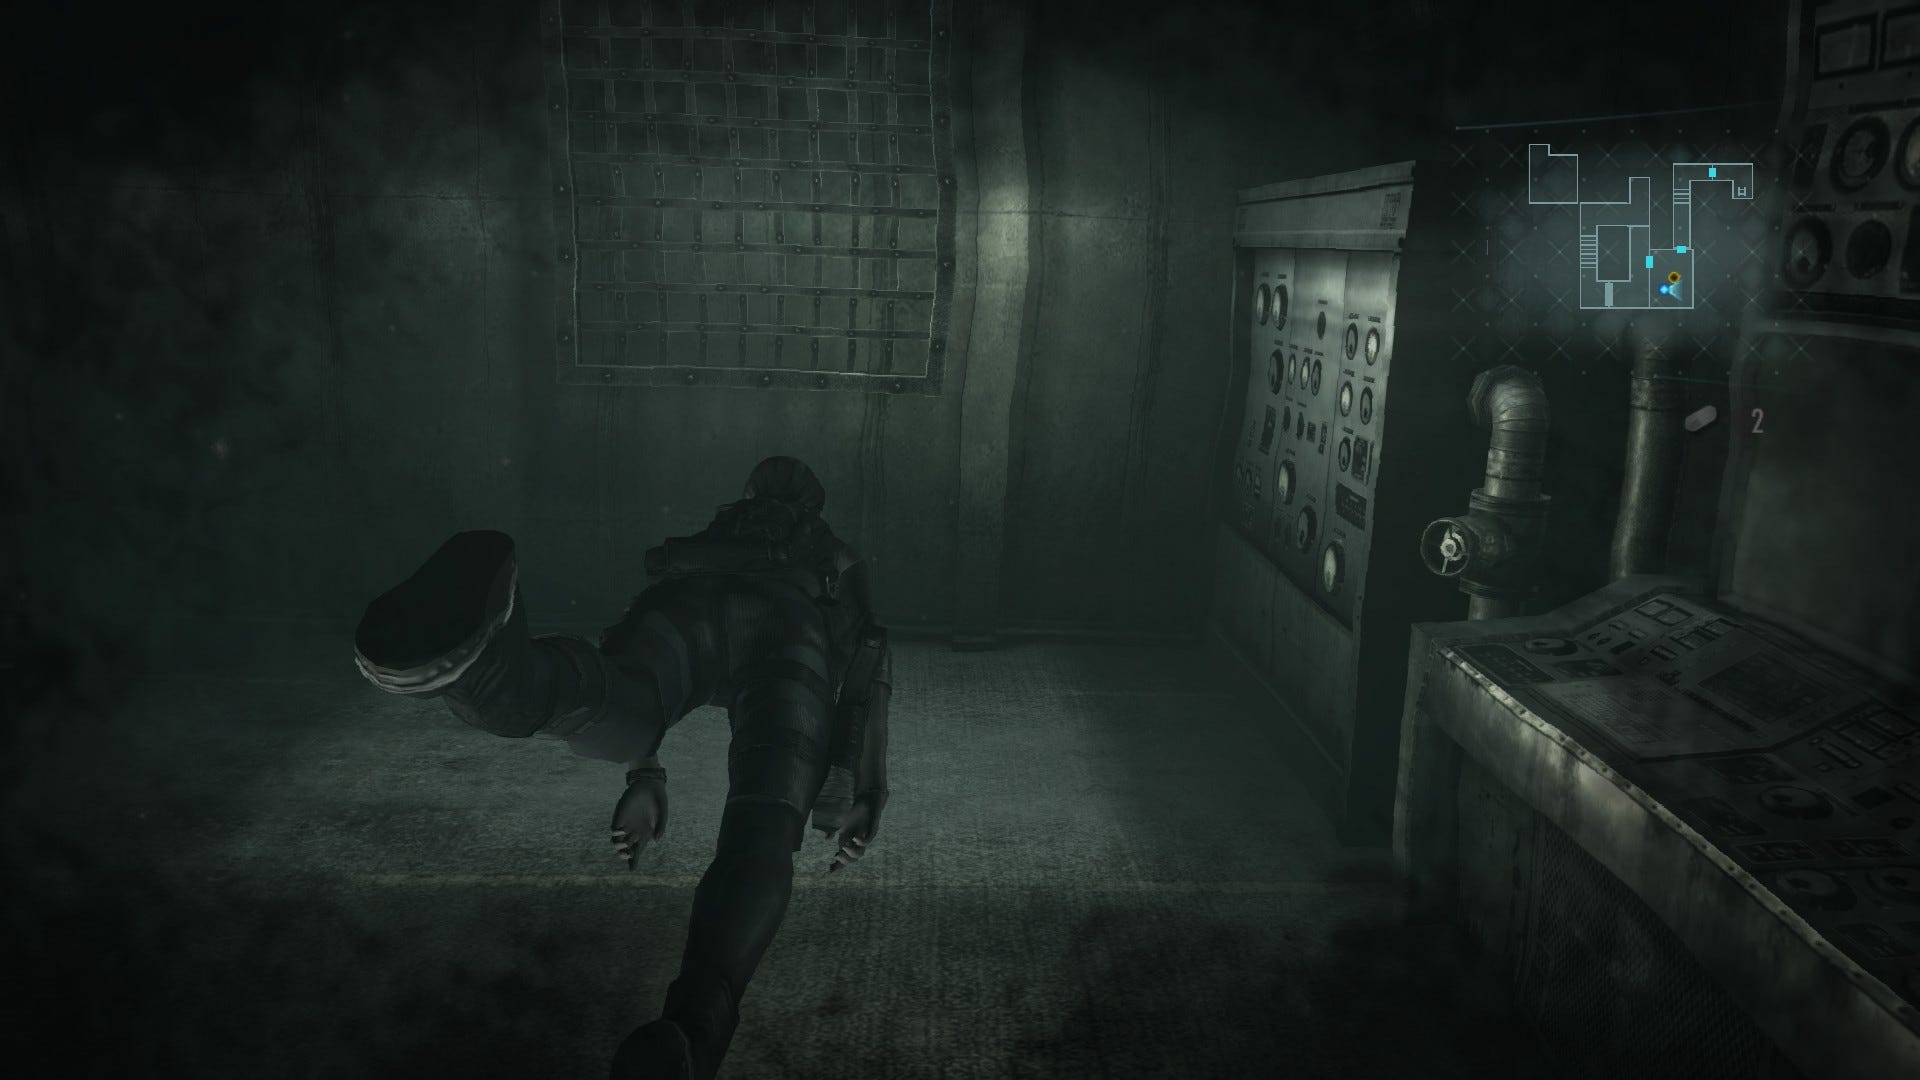
Turn right along the walkway, grabbing the green herb from the ground. Next, follow the walkway south and pass through the double doors. Move along the corridor, swipe the green herb, then return to the previous room. This time, head up the ladder to the northeast. Collect the ammo as you go then hope down the hole with the ladder to splash back into the water.
Dive all the way to the bottom of the shaft then swim straight ahead to the ladder at the other end of the tunnel, dodging passed the Sea Creepers. Swim up the shaft and use the ladder to climb out into the tunnel above. Finally, climb the next ladder directly ahead.
At the top, you'll once again find yourself in the Casino's VIP room. Use the green weapon crate if need be (you'll have the Damage 4 and Fire Rate 3 custom parts now) then leave the room via the nearby door. This will trigger a cutscene and bring the sequence to an end.
Board the Zenobia
While Jill and Parker continue their waterlogged adventure over on the Zenobia, it's time to see what Chris Redfield is up to. As it happens, he's well on the way to meeting up with Jill and friends - but there's the small matter of a giant mutant sea behemoth to deal with first.
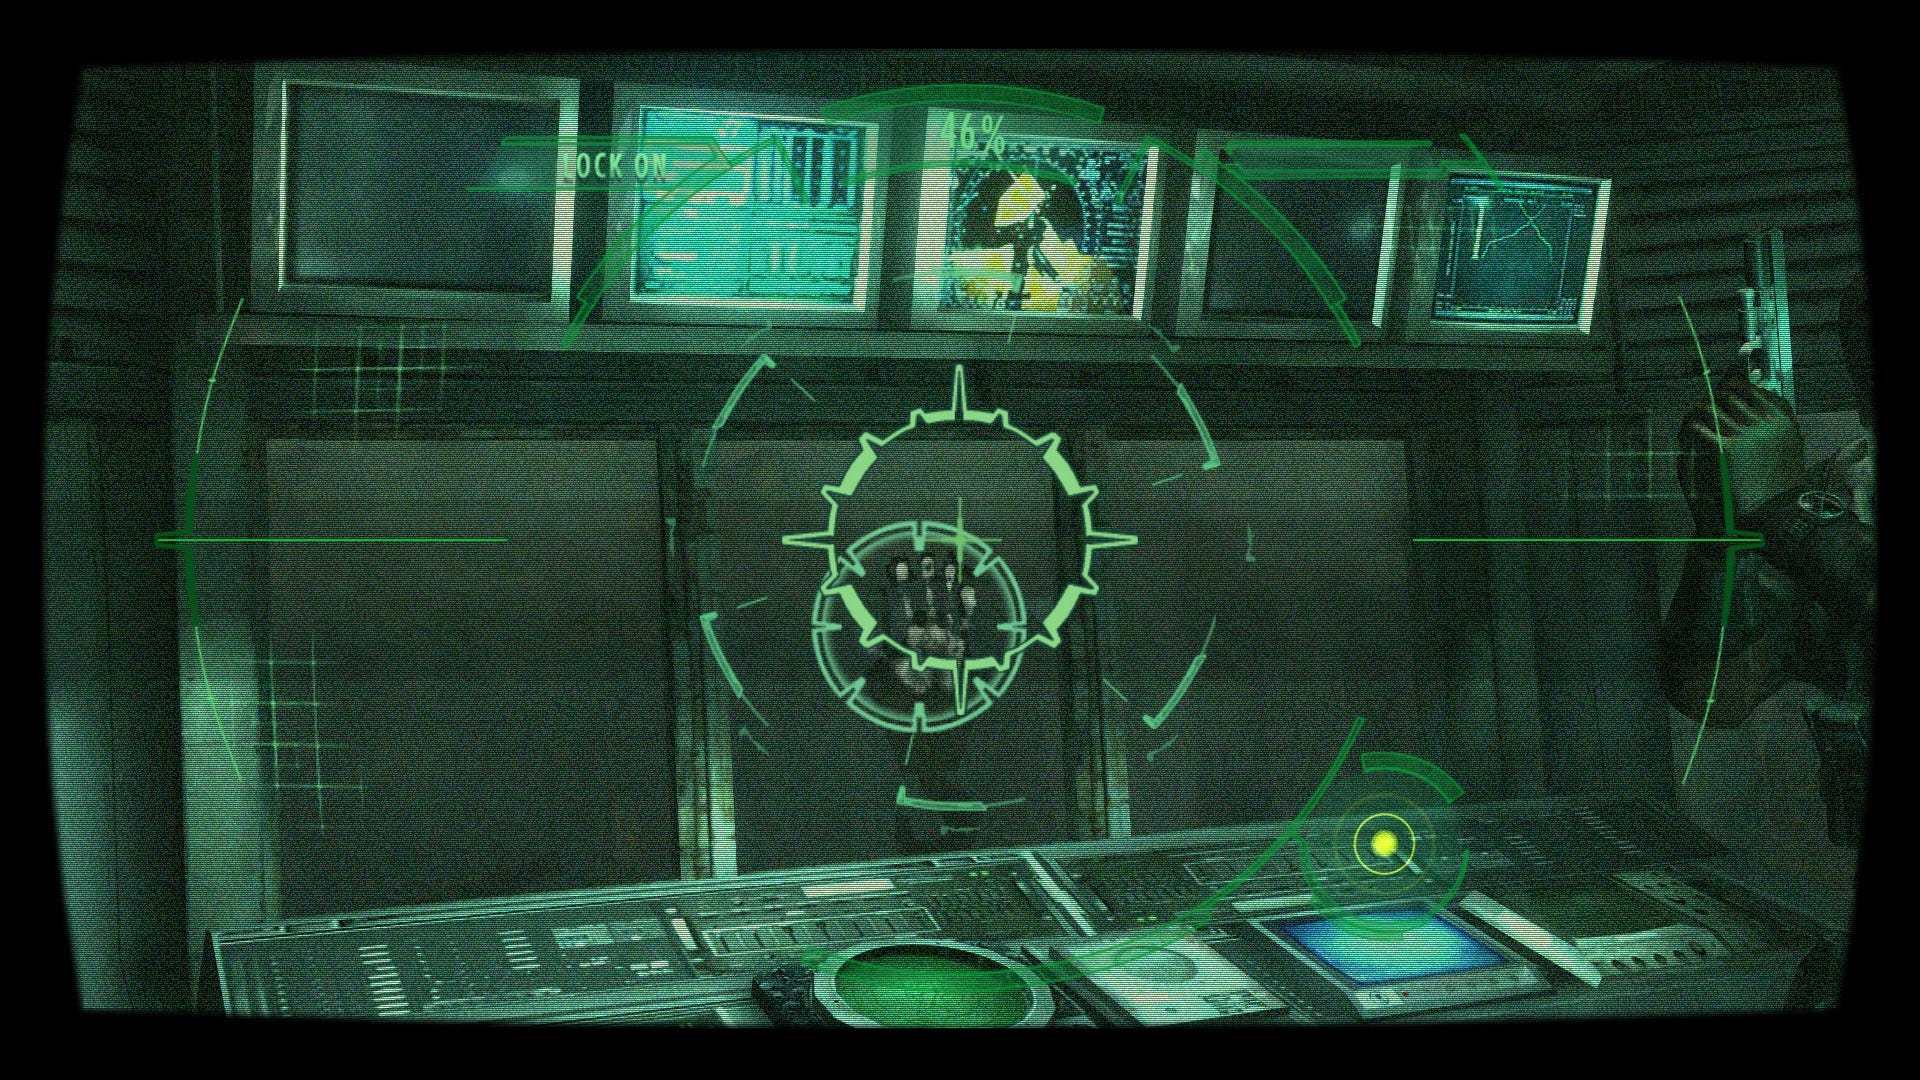
This sequence is essentially just a mini-boss-style palette cleanser, so there's not a lot to it at all. You'll be sat in a fixed in position for the duration of the fight - stationed behind the mounted turret gun of your vessel - and your goal is simply to keep the multi-tentacled beast at bay by unleashing round after round as you careen across the ocean toward the Zenobia.
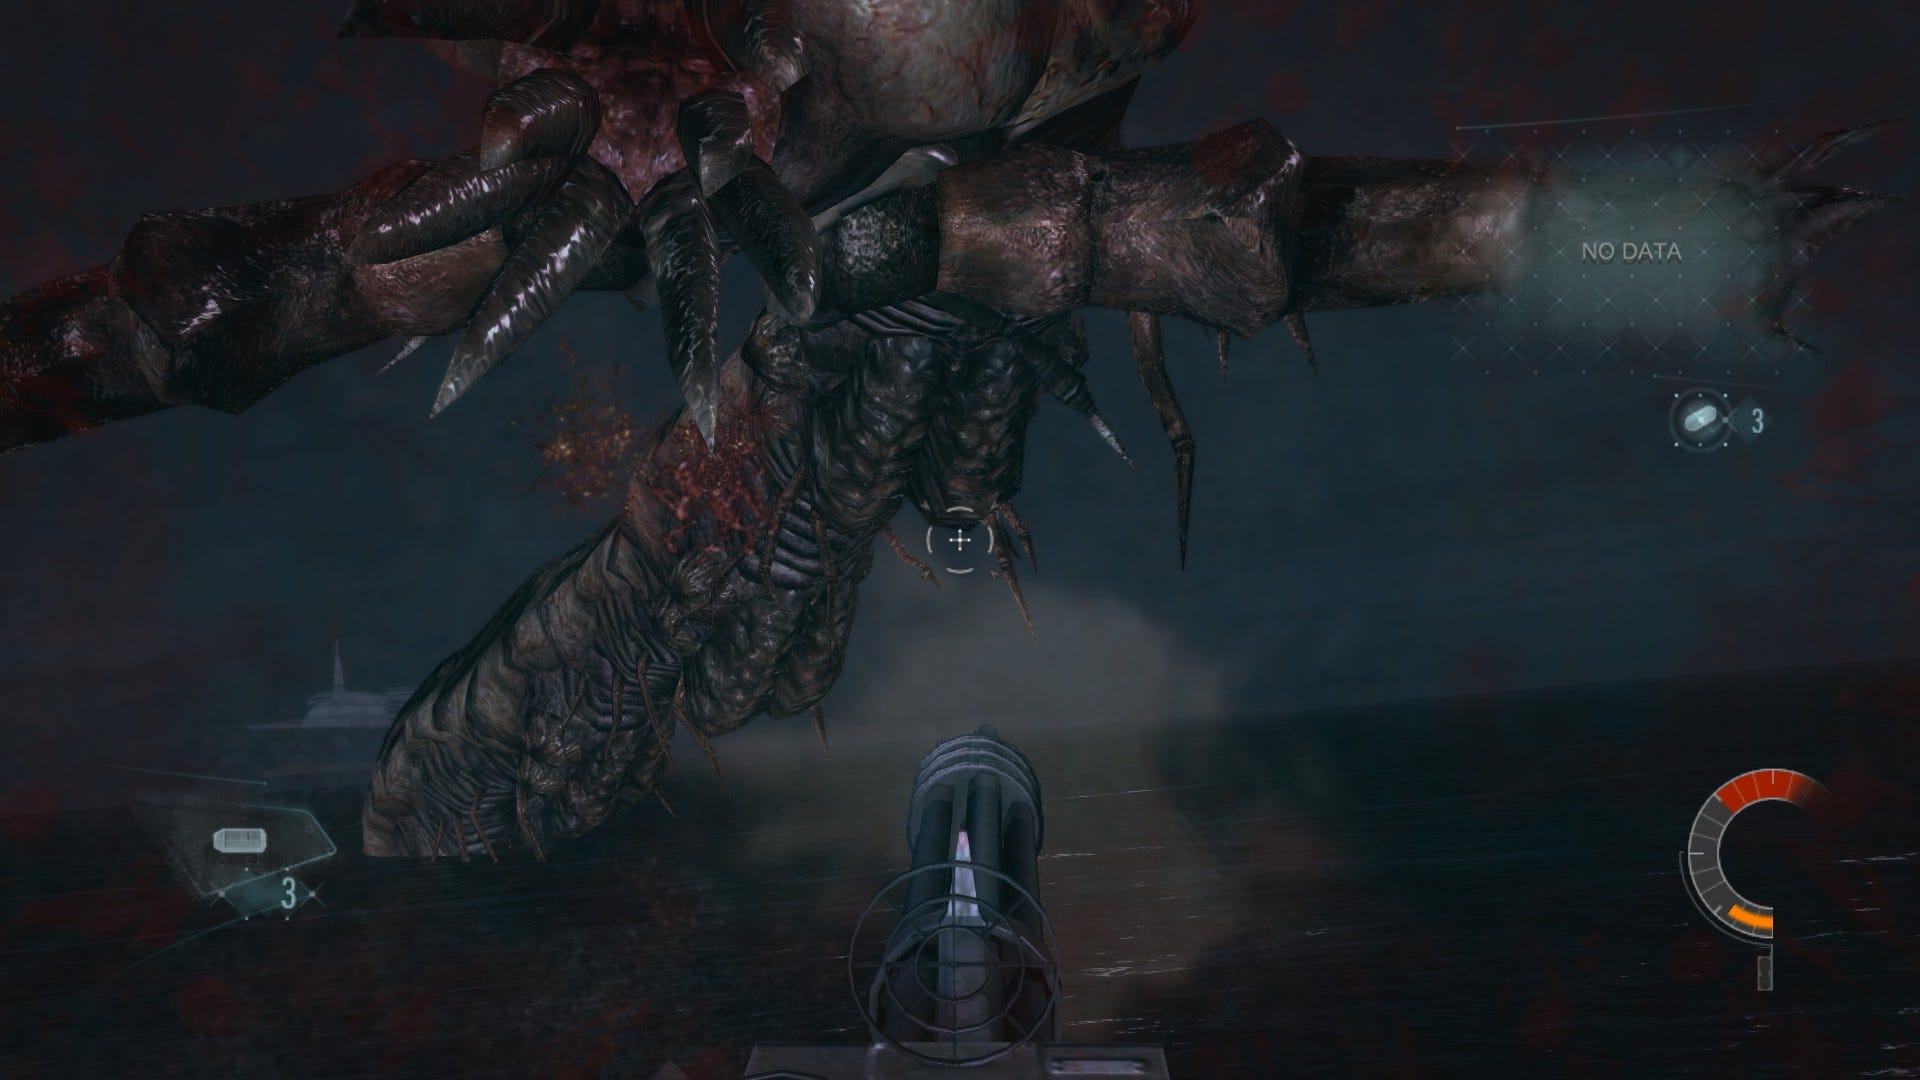
All you need do is fire at the various tentacles which will constantly thrash around in the water, occasionally changing course to rush toward you. The only wrinkle comes in the form of heat management: you'll need to ensure that you fire in relatively short bursts to stop your weapon from overheating. If they DO overheat, just hit the button as instructed to start their cool-down.
You'll be given a number of green herbs and missiles to assist in the fight, but the only thing you really need to worry about is driving back the tentacles with a few direct hits whenever they start to speed toward you. You'll also need to watch out for the creature's intermittent projectile attack - when three orbs appear in the air, quickly shoot them out of the sky to avoid taking damage.
Once you've successfully kept the creature at bay and reached the Zenobia unscathed, this very straightforward sequence will come to an end, and the gang will finally be reunited. The chapter now continues as you go to the laboratory and meet a new enemy type.