Resident Evil Revelations - Episode 4, A Nightmare Revisited: Iron Anchor Key location, Coins at the Casino, Machine Gun location
How to complete the opening part of episode four in Resident Evil Revelations.

Episode 4: A Nightmare Revisited introduces you to the Casino and its Coins, the Machine Gun and the Iron Anchor Key location - all after you've taken down the mutant Communication Officer boss.
If you need more help, our complete Resident Evil Revelations walkthrough can assist with other sections of the game, including all Handprint locations, Raid mode and unlockables.
Iron Anchor Key
Once the opening cutscene has concluded, Parker notices that the ship's main power source is offline. The communication system won't run on emergency power alone, so you'll need to visit the ship's engine room and restore the main power.

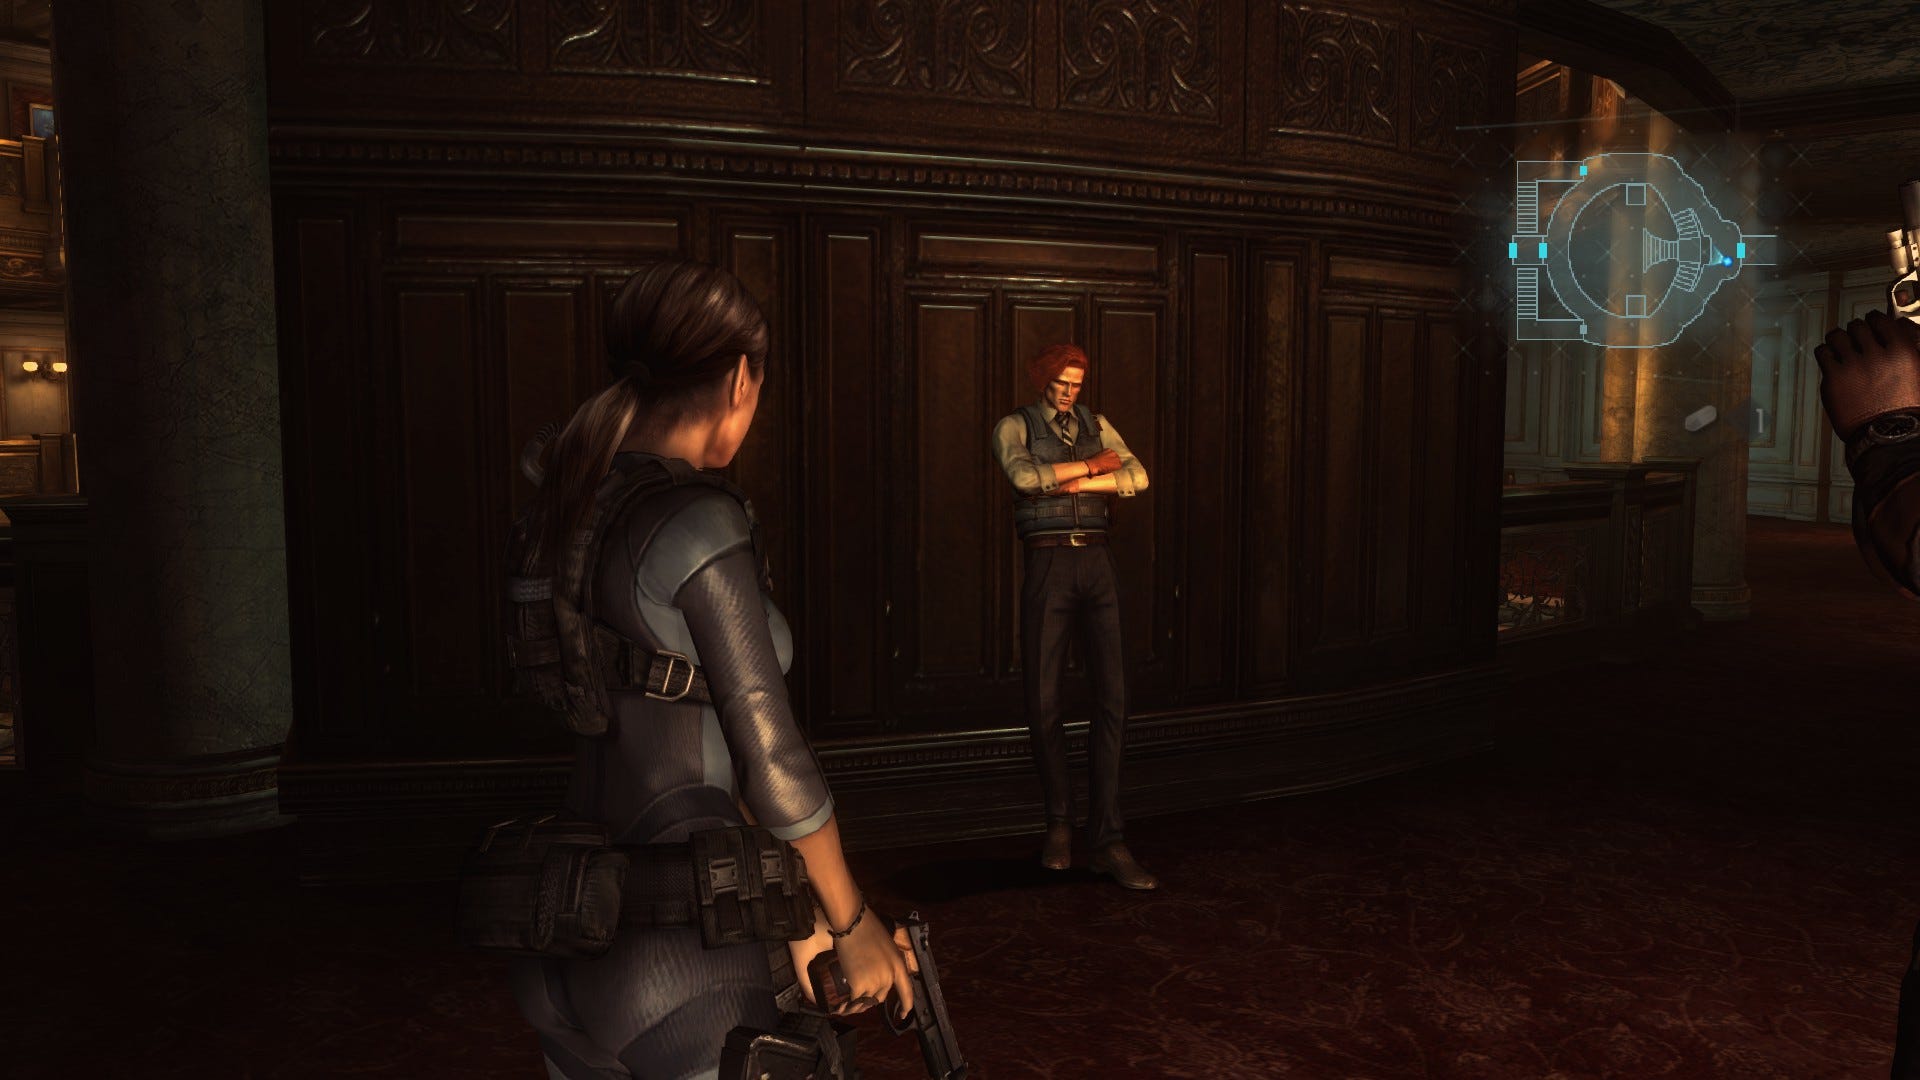
First, pocket the ammo and hand grenade in the room, and read the ship's Safety Procedures document if you like. When you're ready to continue, proceed through the double doors. Next, grab the IRON ANCHOR KEY from Raymond, who's waiting in the main hall. He'll mention that it opens the ship's Casino on the first floor, and the Bilge beyond.
Head for the Bilge
Before you start the long journey to the Bilge, take a moment to stock up on supplies, and see how your pool filtration efforts in the Solarium are going. Head around the landing and enter the door to the northwest. Retrace your earlier route to the upper level and make your way into the Solarium via the double set of double doors.
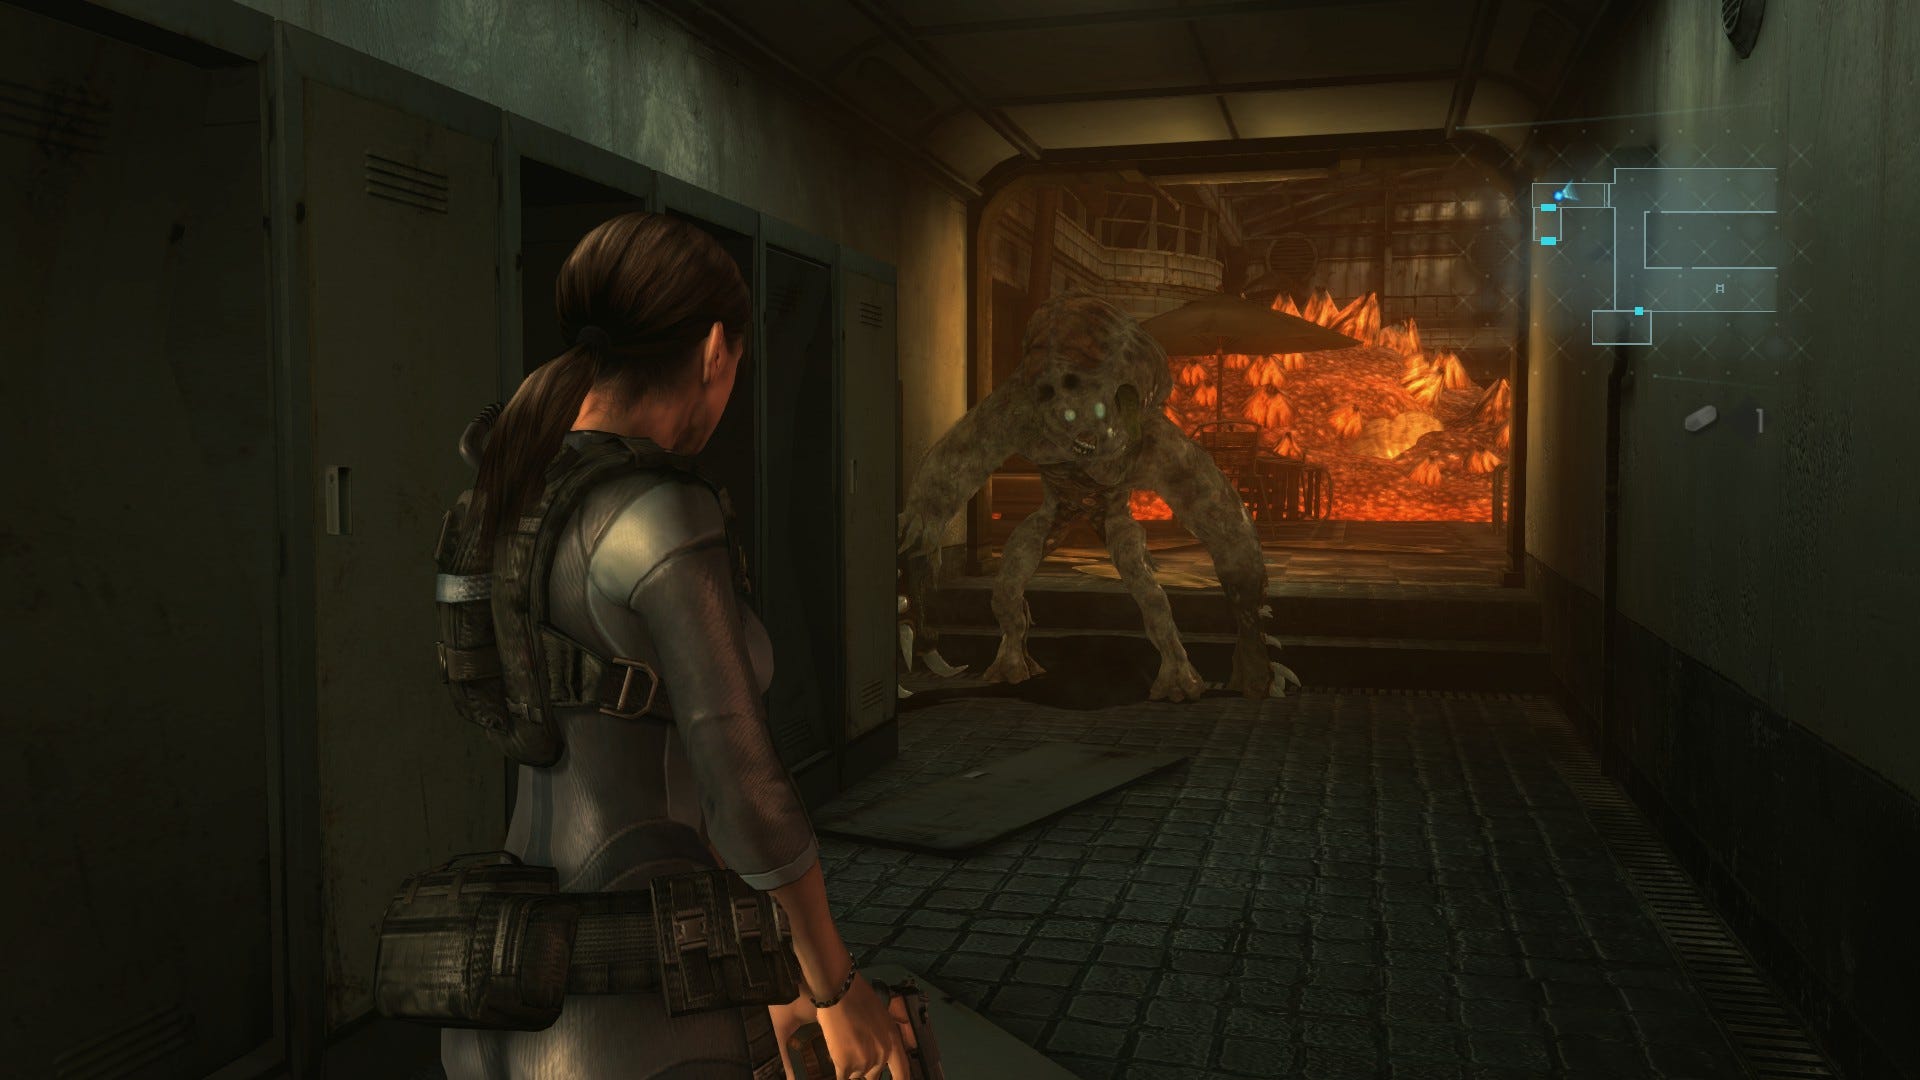
As you pass through the second set of doors and turn the corner to the right, you'll be ambushed by a new enemy, known as the Wall Blister. This hulking biomass blob is a bit of a nuisance, and it's absolutely crucial that you dodge its grab attack whenever it comes your way. If it successfully latches onto you, the resulting back-break attack will instantly kill you - which, annoyingly, due to a lack of checkpoints up to this point, will send you back to the start of the episode.
The good news is that the Wall Blister can be brought to its knees with a relatively small number of shotgun blasts to the face - so make sure you're appropriately armed and reloaded before the fight. One additional word of warning though: the creature will explode a few seconds after death, causing a decent amount of damage. Stay well clear until after it goes pop.
Next, enter the main Solarium area and drop down into the now reasonably pristine pool water. Dive beneath the surface and swim through the tunnel until you reach the junction. Three tunnels lead off from here - one to the left and two at another fork to the right. Turn right then, at the fork, take the tunnel on the left, leading northeast.
When the tunnel opens out into the pool again, climb the ladder to reach dry land then sweep the area for supplies. You'll find some Custom Parts on a sun lounger in the northeast corner, and some Illegal Custom Parts on the bar. There're some decoy and hand grenades nearby, plus a whole bunch of ammo secreted in sneaky corners.
Dive back into the water and, this time, make your way along the tunnel leading southwest, climbing up the ladder at the end. Here, you'll find a diving board: climb the ladder to retrieve a Machine Gun Ammo case and some more ammo. Next, scan the end of the board to reveal Handprint 16. With that taken care of, jump off the end of the board to drop into the tunnel again, then retrace your steps all the way back to Raymond in the main hall.
Next, descend the main staircase to reach the lower levels - don't forget to use the green weapon crate to the right of Raymond first if you want to adjust your load-out. You should now be able to equip the Charge Shot 1 and Long Magazine 2 custom parts if you've been following this guide.
Coins at the Casino
Once you reach the foot of the main staircase, take a right and head east, passing beneath the walkway and behind the clock. Approach the door marked 'Casino' and use the Iron Anchor Key to raise the bars. Finally, head through both sets of double doors to proceed.
You'll emerge at the top of an escalator, with the entire Casino shrouded in gloom. Descend the steps and take a hard left, heading east. There's a handy green herb tucked in corner by the base of the escalator. Pocket it then make your way to the southwest corner of the room - you'll spy five slot machines on the west wall. Scan the lefthand side of the second machine from the right to reveal Handprint 17.
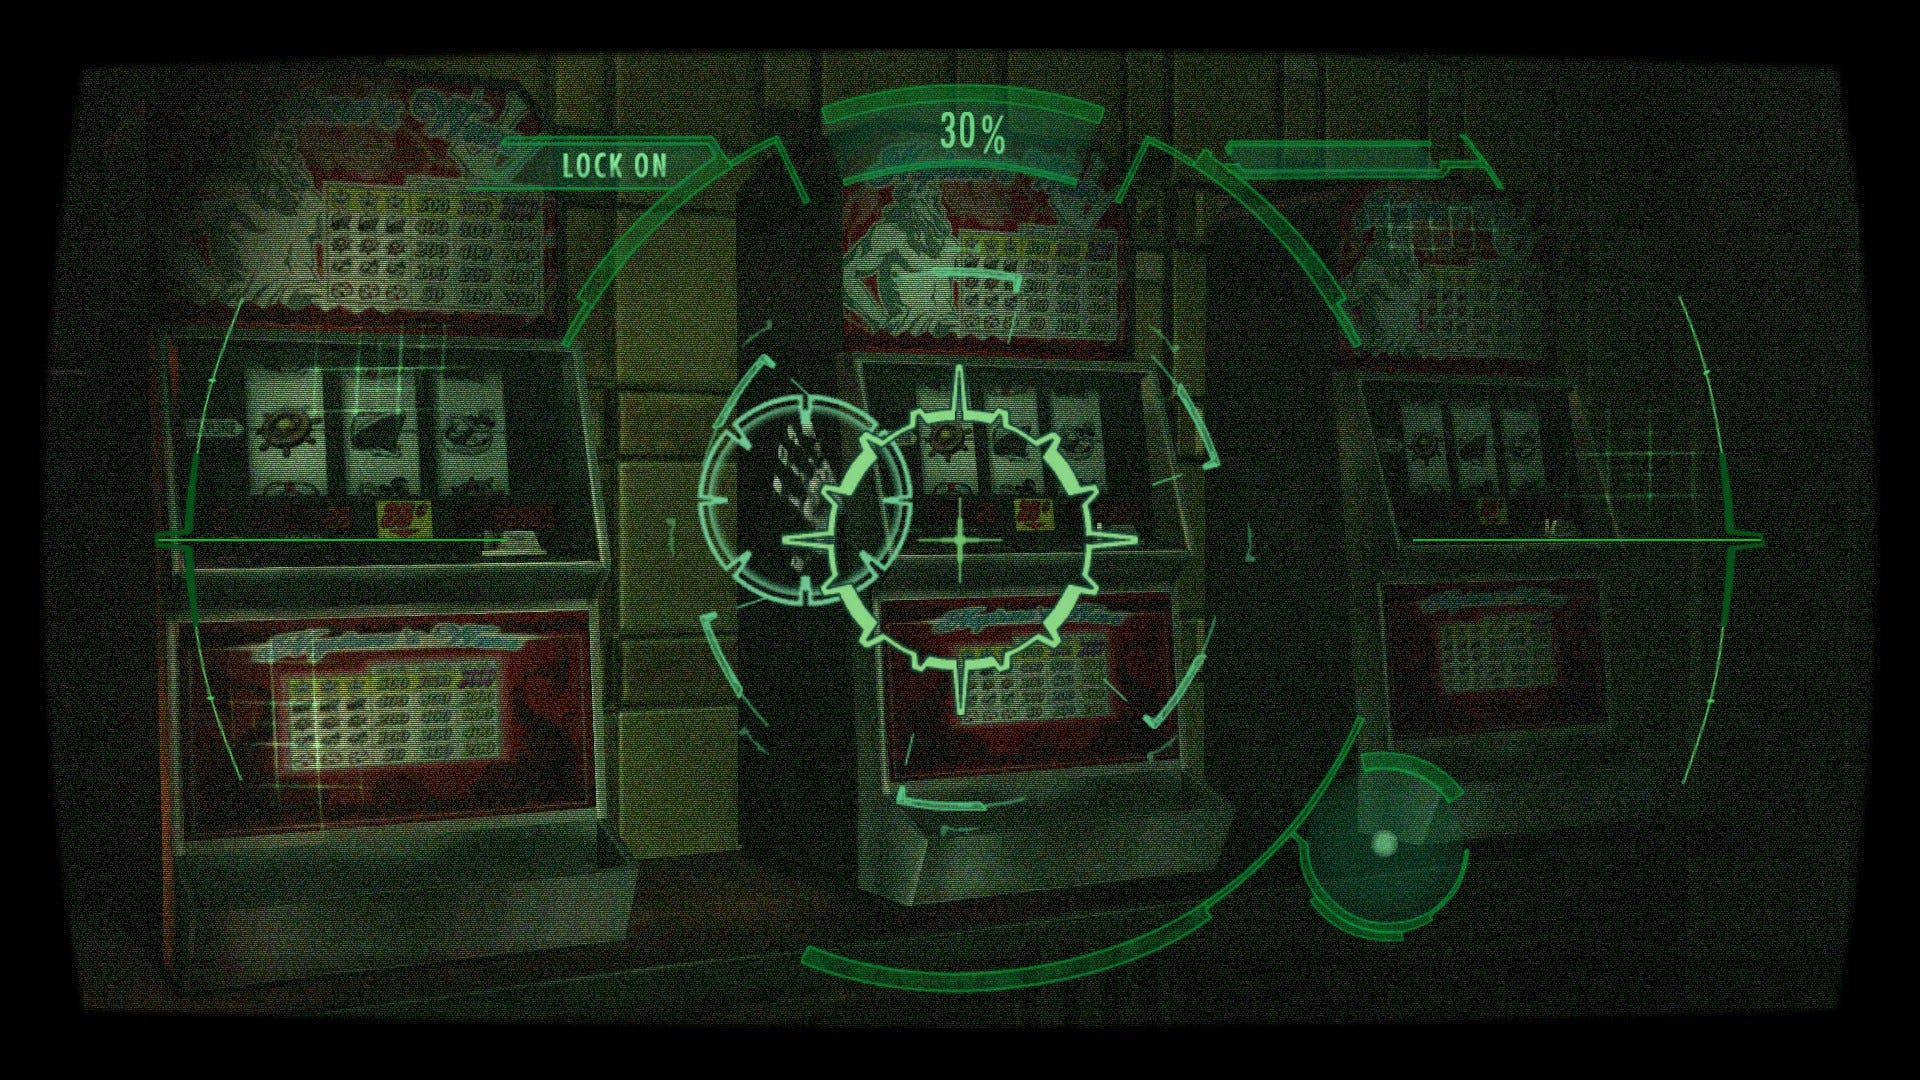
Approach the locked door on the southern wall and grab the Handgun Ammo Case on the cashier's booth to the right. Next, locate the staircase to the northeast and make your way up. Yank the lever on the right at the top of the stairs then head to the fountain in the centre of the room. Read the Casino Staff's Report document perched on the side, then examine the button on the plinth. Confirm that you want to hit the button and the fish will suddenly mutate, leaping out onto the floor. Kill them with a few shots (they're very weak and their useless floundering makes them an easy target) than take the COIN that appears where the last body fell.
Proceed to any of the illuminated slot machines around the Casino. Use the Coin repeatedly on one until you manage to align three matching symbols and win the BUNDLE OF COINS. Next, head back up the steps in the northeast and interact with the hostess cutout. As per the Casino Staff's Report, you'll need to place exactly 107g of coins in the tray to unlock the nearby door. That equate to four bronze, five silver, and two gold coins, assuming no randomisation.
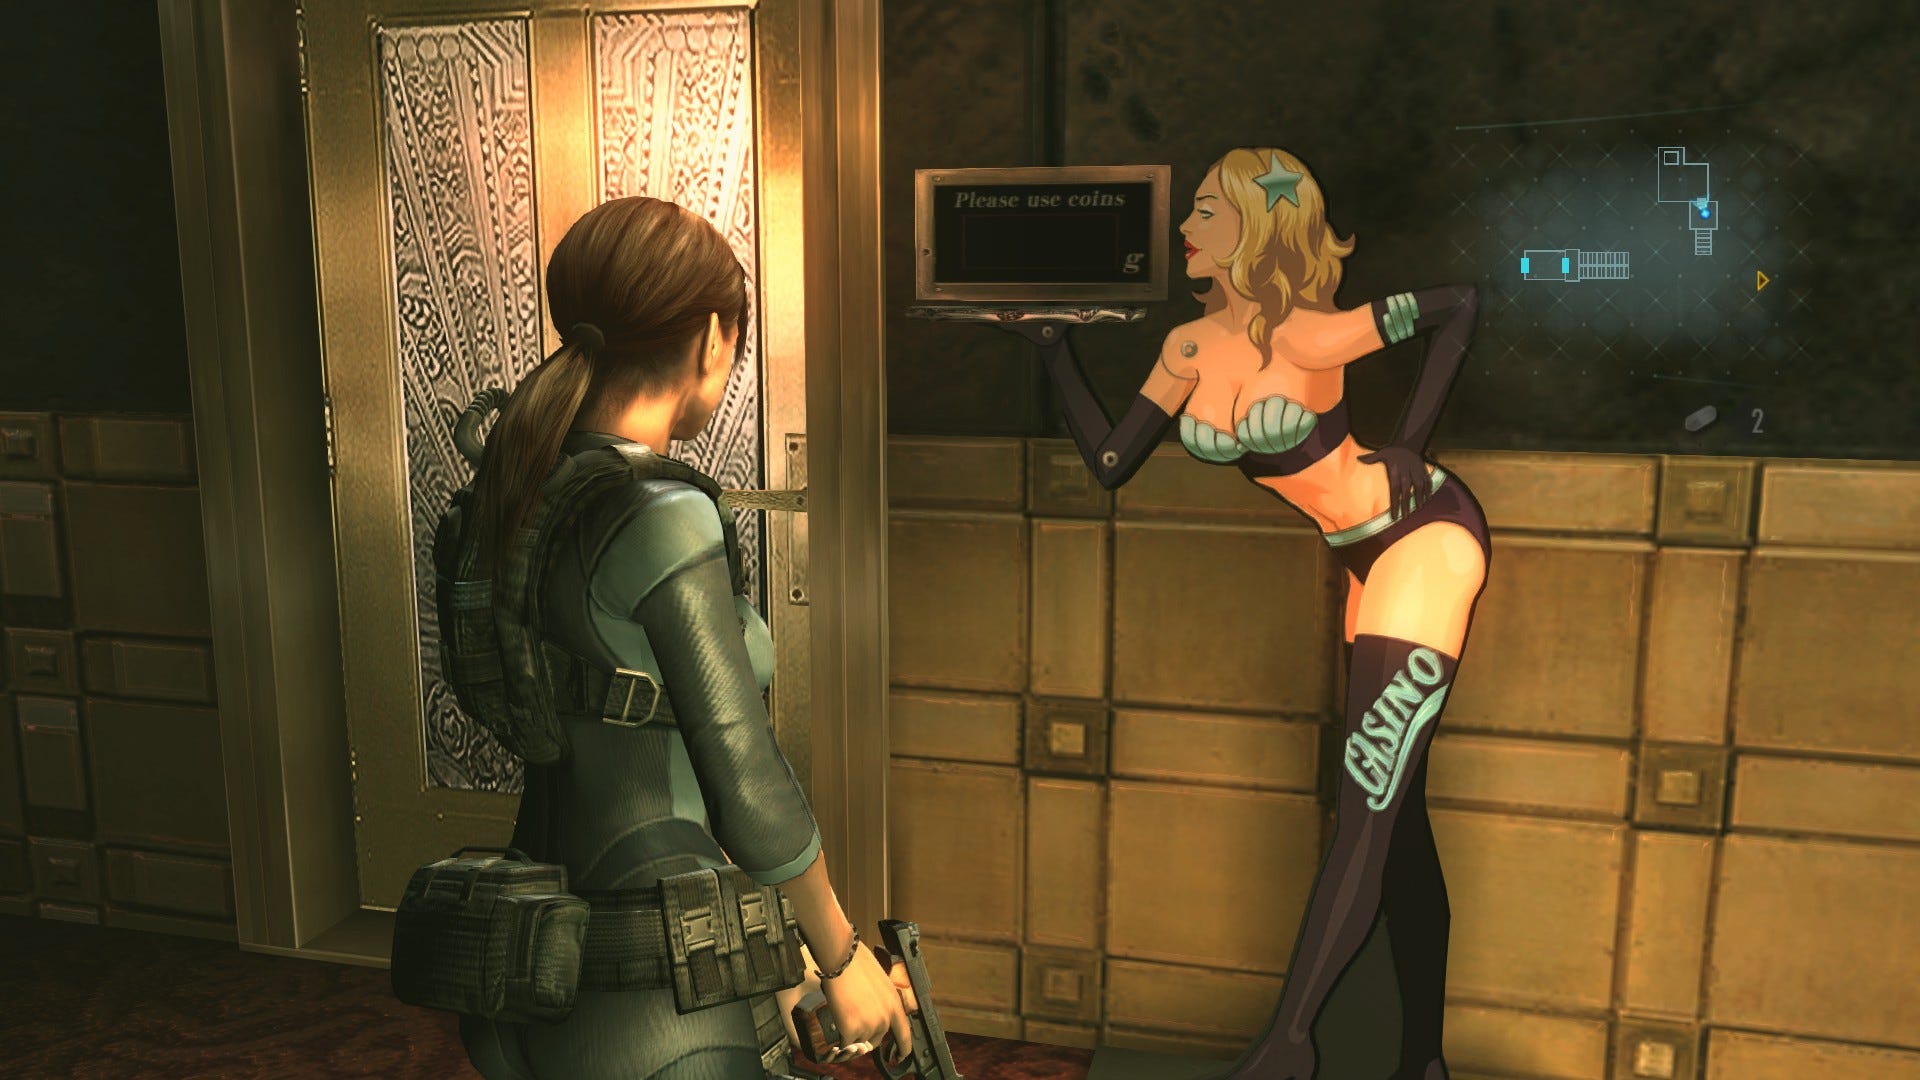
Enter the VIP room through the newly unlocked door, and scour it for ammo. There's a green weapon crate against the lefthand wall if you want to make some adjustments to your load-out. You can also scan the cabinet to the right of the crate to locate some hidden Custom Parts beneath the lampshade - these are Critical 1 custom parts, should you wish to equip them. Finally, descend the ladder through the trapdoor in the northwest corner of the room.
There's a second ladder inside the pipe so climb down to the next tunnel and proceed east. Up ahead, there's yet another ladder - climb up and make your way along the eastern tunnel. At the end, drop down into the room and grab the Custom Parts in the southwest corner. Next, make your way through the double doors to the south and follow the room around to the left.
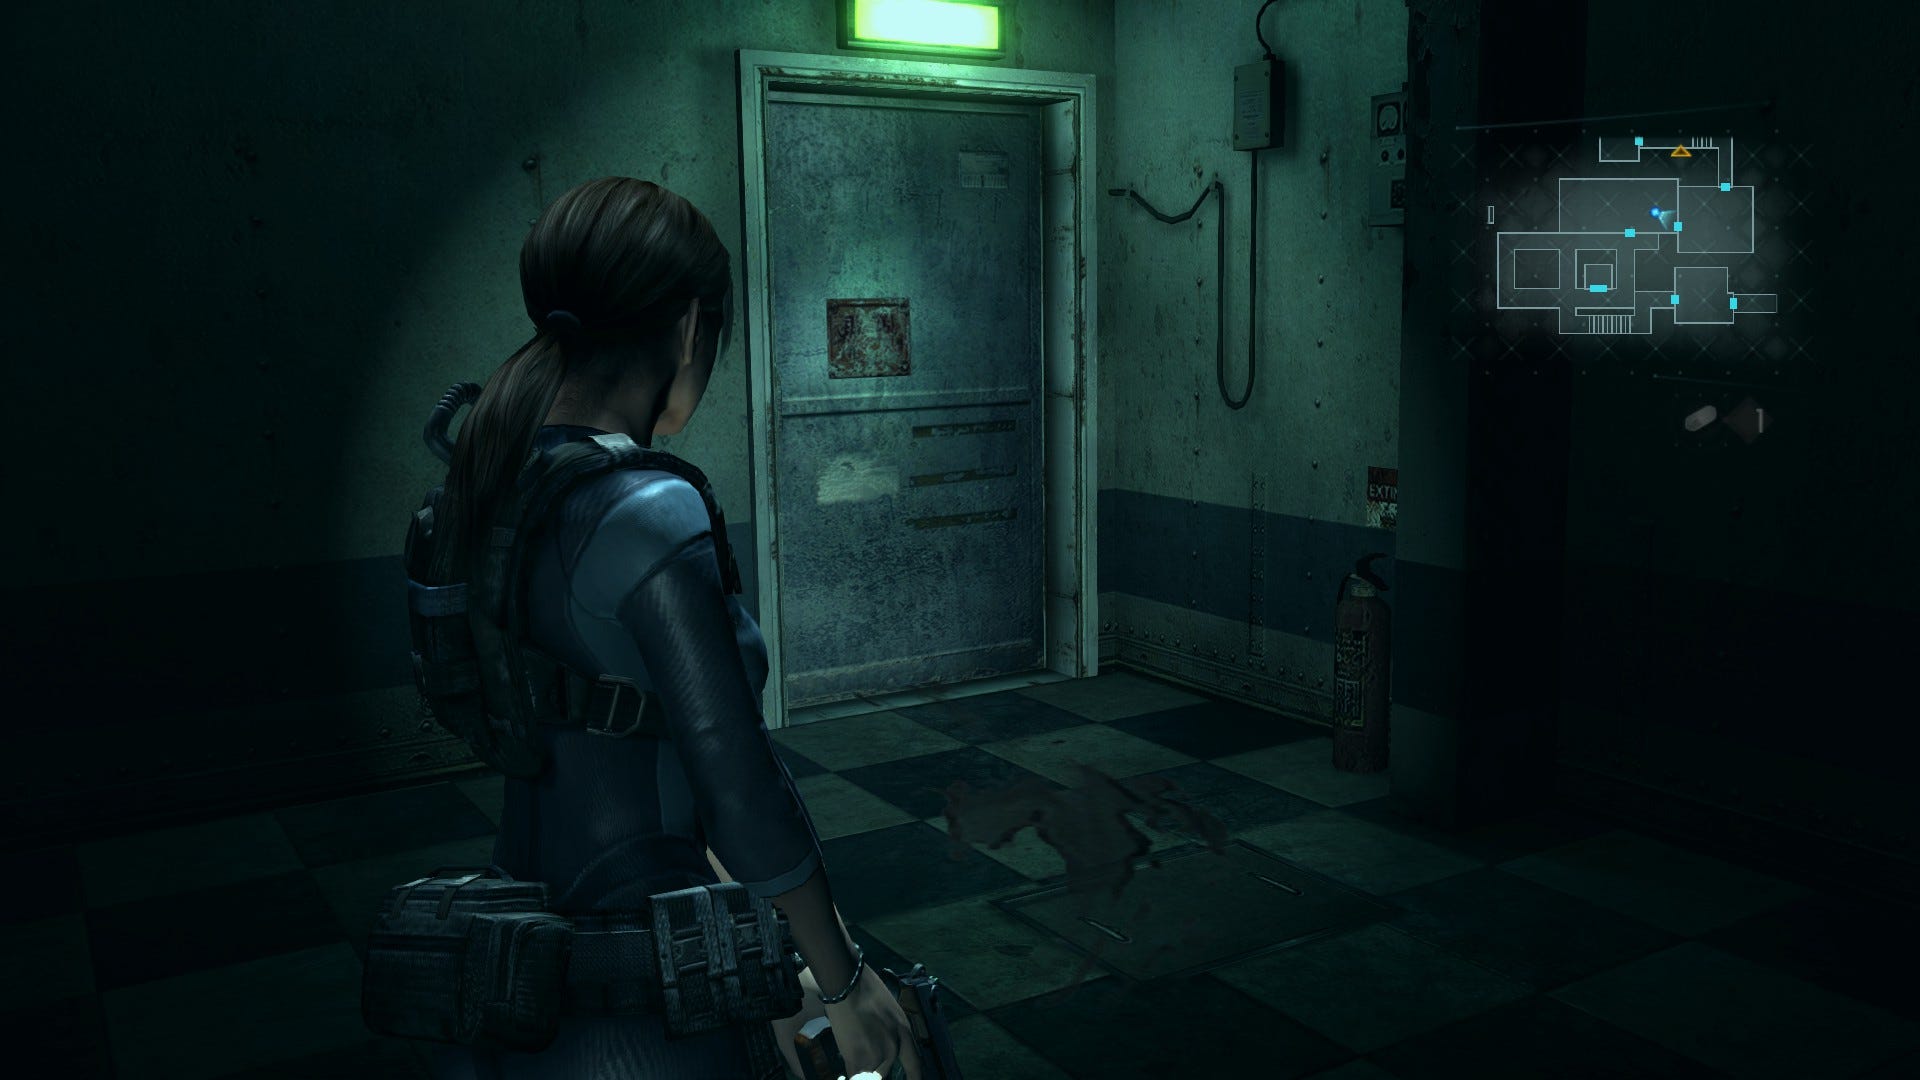
Search for the key to the lift
As you proceed, Parker will inform you that the elevator platform key is missing - and you'll need to find that next. First though, head to the end of the passage and prise open the panel to the right of the elevator doors. As usual, uncross the wires and place the nodes on the blinking dots to solve the puzzle. Enter the lift and interact with the button to ascend to the upper floor.
Once you step out, you'll find yourself back in the area from the very beginning of the game. You'll need to return to the Crew Quarters, so head west along the passage and follow it all the way round. Deal with the double-clawed Pincer Ooze that slithers into your path along the way, then slip through the door to the left to reenter the cafeteria.
Note that the sway of the boat becomes more pronounced on this floor. The bob of the camera also affects the bob of your reticule, so you'll have a tougher time aiming accurately during this segment. Fire cautiously to avoid wasting bullets.
From the cafeteria, follow the linear path forward, passing the vending machines and moving through the kitchen until you reach the room where you found the dummy of Chris Redfield earlier. You'll encounter a couple of surprise enemy ambushes along the way, so take care of them with the usual extreme force - and remember to scan your surroundings if you're getting low on ammo, which is a distinct possibility at this point.
Examine the yellow door to Chris' room and you'll find a monster inside. Interact with the door again to head on through. Deal with the creature then scour the room for the Custom Parts and the Mysterious Instructions document. Finally, scan the Veltro flag on the south wall to reveal Handprint 18.
Machine Gun location
Leave the room and take the passage left at the junction. Head through the blue door, go up the stairwell and follow the linear route forward. Expect another surprise encounter in the hallway immediately after the stairwell, and a visit from a Pincer as you pass through the shower room. Once you leave the crew cabins and find yourself back in the main corridor, head west, up the small flight of steps. Use the Iron Anchor Key on the steel door to the left.
Inside, locate the ammo, a hand grenade, and a green herb on the bunkbeds. Make your way through the door to the south and you'll find yourself in a small room containing another green weapon crate, plus an MP5 MACHINE GUN discarded on a table. Take the machine gun, rearrange your load-out as required (you'll have acquired the Bind 1 and Fire Rate 2 custom parts on your travels if you've been following along), then proceed back out onto the main corridor.
Take a left then follow the path forward until you reach the room where you saw the woman fall victim to several mutants at the start of the game. Approach the bloodstain where her body previously lay and collect the note from the ground. Once you've finished reading it, Rachael will appear on the other side of the window - you're only moments away from the Rachael boss fight that concludes the chapter.