Resident Evil Revelations - How to defeat the mutant Communication Officer boss
Continuing episode three in Resident Evil Revelations.

The mutant Communication Officer boss fight follows on from a Jill section where you find the Helm Key and Communication Room key in Resident Evil Revelations.
If you need more help, our complete Resident Evil Revelations walkthrough can assist with other sections of the game, including all Handprint locations, Raid mode and unlockables.
Kill the mutant Communication Officer boss
When you're ready, follow the walkway north again, heading toward the room with the padlocked door.

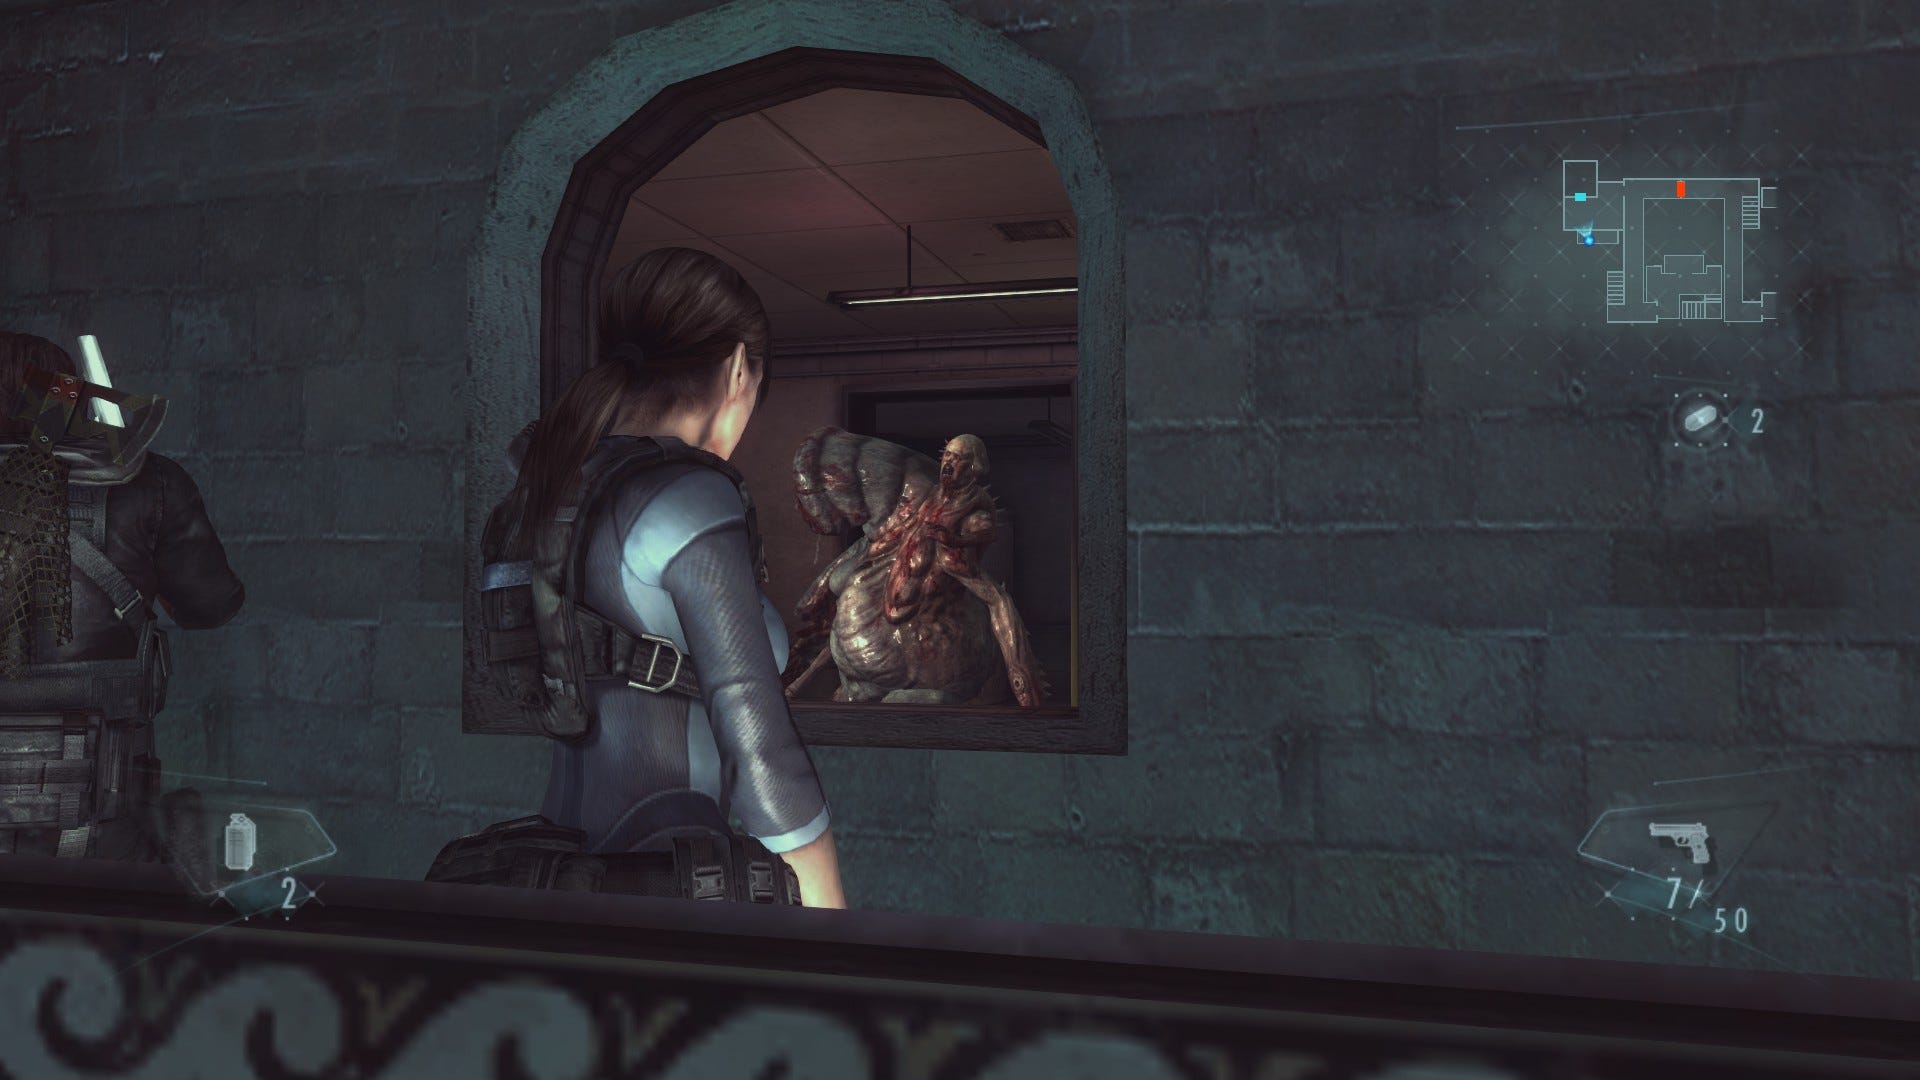
Instead of going into the room, however, take a left just before the gas cylinder and follow the balcony to the end. Turn right and look through the open window, and you'll see you have a clear shot of the padlock. Shooting the padlock from here, rather from inside the room, will give you some protection (and distance) from the giant mutant Communication Officer that charges out. Once you're ready to begin the boss battle, raise your handgun and shoot off the lock.
When the fight begins, several things will happen. The mutant Communication Officer will escape, and various types of Oozes will begin to slither through the open air ducts around the area, homing in on your position.
It's best to ignore these as much as possible, simply dodging around them rather than trying to attack - you'll want to conserve your ammo for your main target. When there's a decent number of Oozes nearby, however, fire off a decoy grenade to thin their ranks.
There are two main strategies for dealing with the Communication Officer, but whichever approach you choose, always aim for its weak spot - the pink humanoid head.
The first strategy, unsurprisingly, is to lure your target around the loop you explored earlier, moving up and down the stairs as necessary. The idea is to unload a shot into an explosive canister as the boss nears, doing major damage and stunning it. This will give you a few moments to empty ammo rounds or charged melee attacks into it unhindered.
Once the creature recovers, continue looping around and luring it toward more canisters. If you run out of canisters, you'll have to take your shots while it's moving, keeping your distance as much as possible.
Do NOT attempt to use your melee attack when the boss is not stunned, or even get too close - this can trigger an attack that will kill you instantly. You might find it easier to run well ahead and use your rifle sniper scope from a convenient vantage position - you can drop off the central walkway to create more space if needed.
The other, potentially easier, method to this fight is basically to create a much smaller loop for battle. Shoot the Communication Officer once it emerges from its prison, and stay on the balcony outside the window.
The creature will slowly traipse out of the room to reach your current position. Wait for it to appear at the end of the balcony then blast the explosive canister, and shoot the boss while its stunned. Next, hop through the window to lure it back inside, and hop out again to resume your attack once it's in the room again. Just keep repeating this process until it's dead.
The advantage here is that the boss can't hit you when you're on the other side of the window, meaning that you constantly have a clear, safe shot to attack. It also means that Oozes are funnelled toward your position rather than able to attack from all sides. The only wrinkle is that Oozes can and will climb through the nearby windows to reach you - so it can get a little busy in your corner.
Use your rifle to eliminate the Tricorne mutants that attack from a distance, and (to conserve ammo) use melee slashes to deal with the others where possible, deploying decoy grenades when things start to get overly crowded.
You're going to need a tonne of ammo to finish off the boss, so do hop down to ground level and sweep up any ammo you left behind earlier if things get desperate. Also note that if you end up getting killed, you'll be transported back a fair way, to the other side of the shutter from prior to the fight. That means you'll need to recollect your ammo from the area below before attempting the boss again - but the handprint is now safely scanned forever.
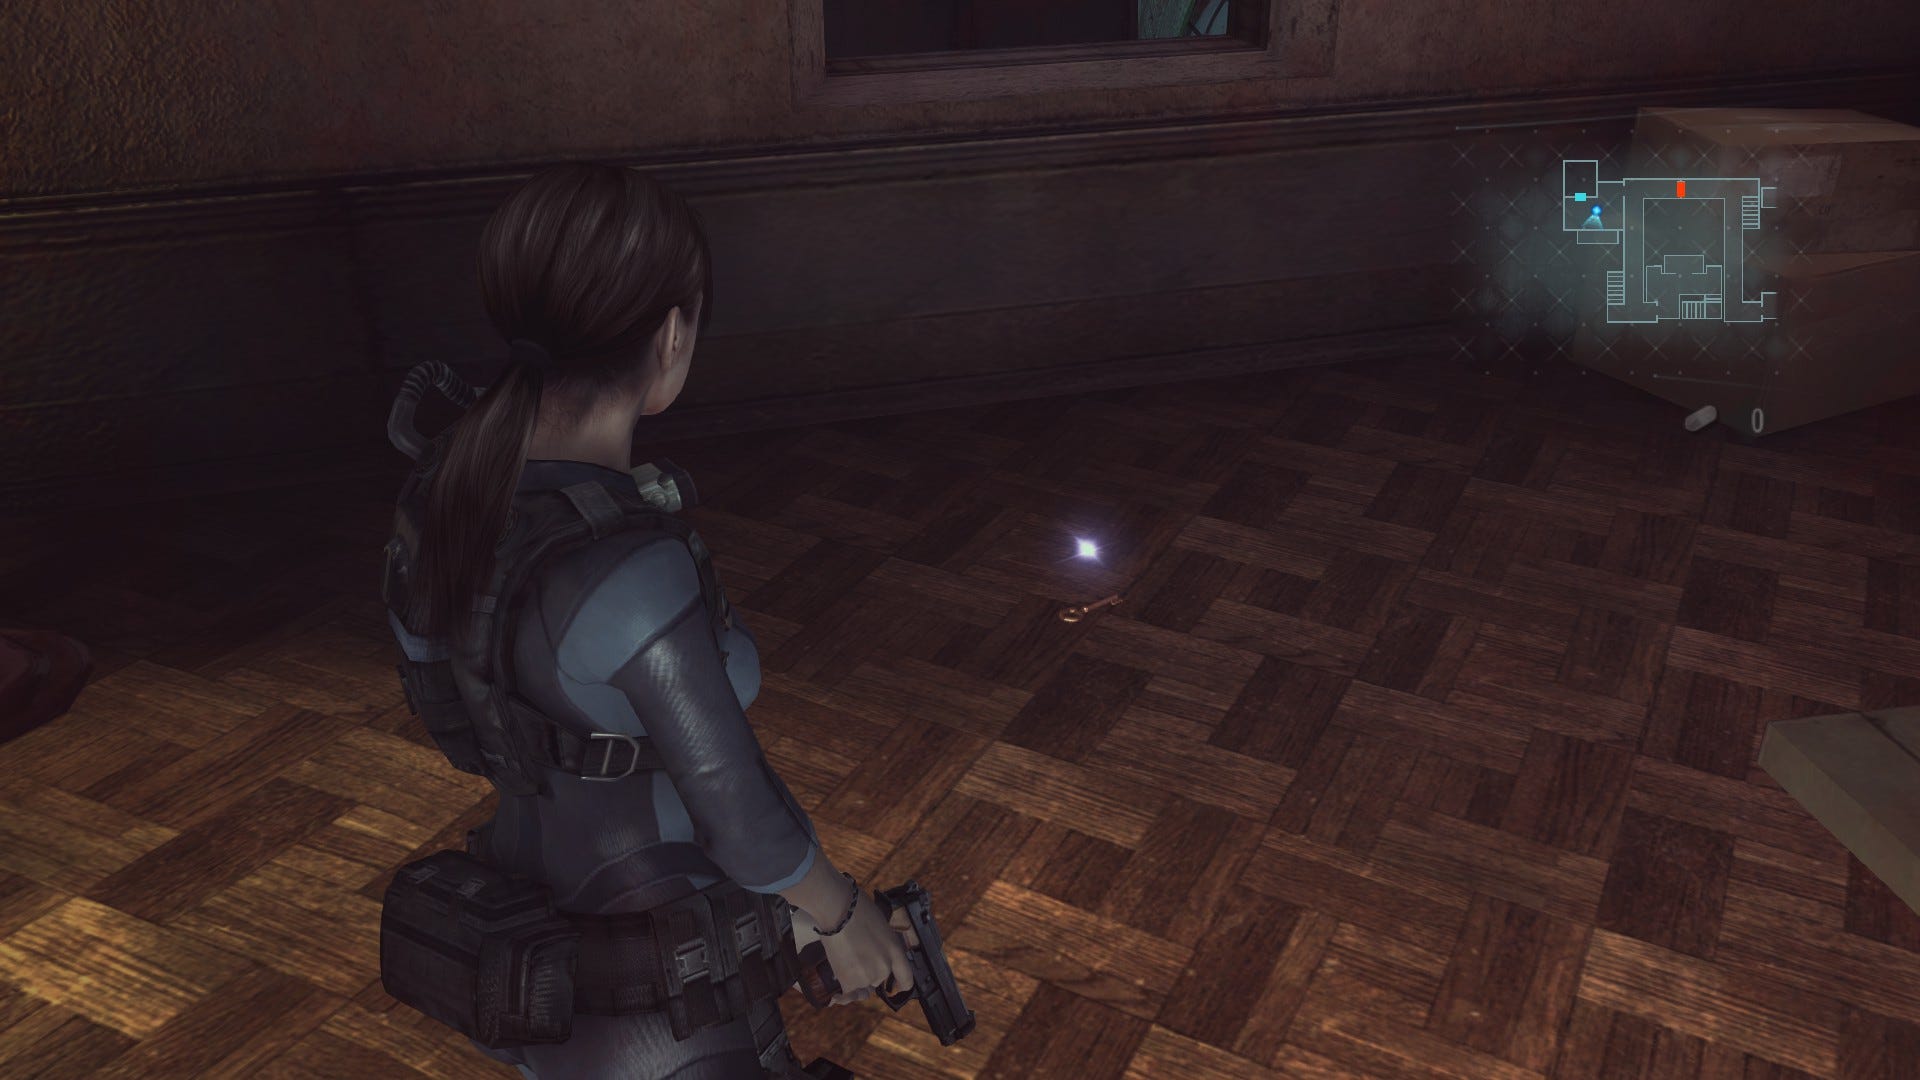
Once the battle is finally over, retrieve the flashing LIFEBUOY KEY from the ground to continue.
Go to the Communication Room
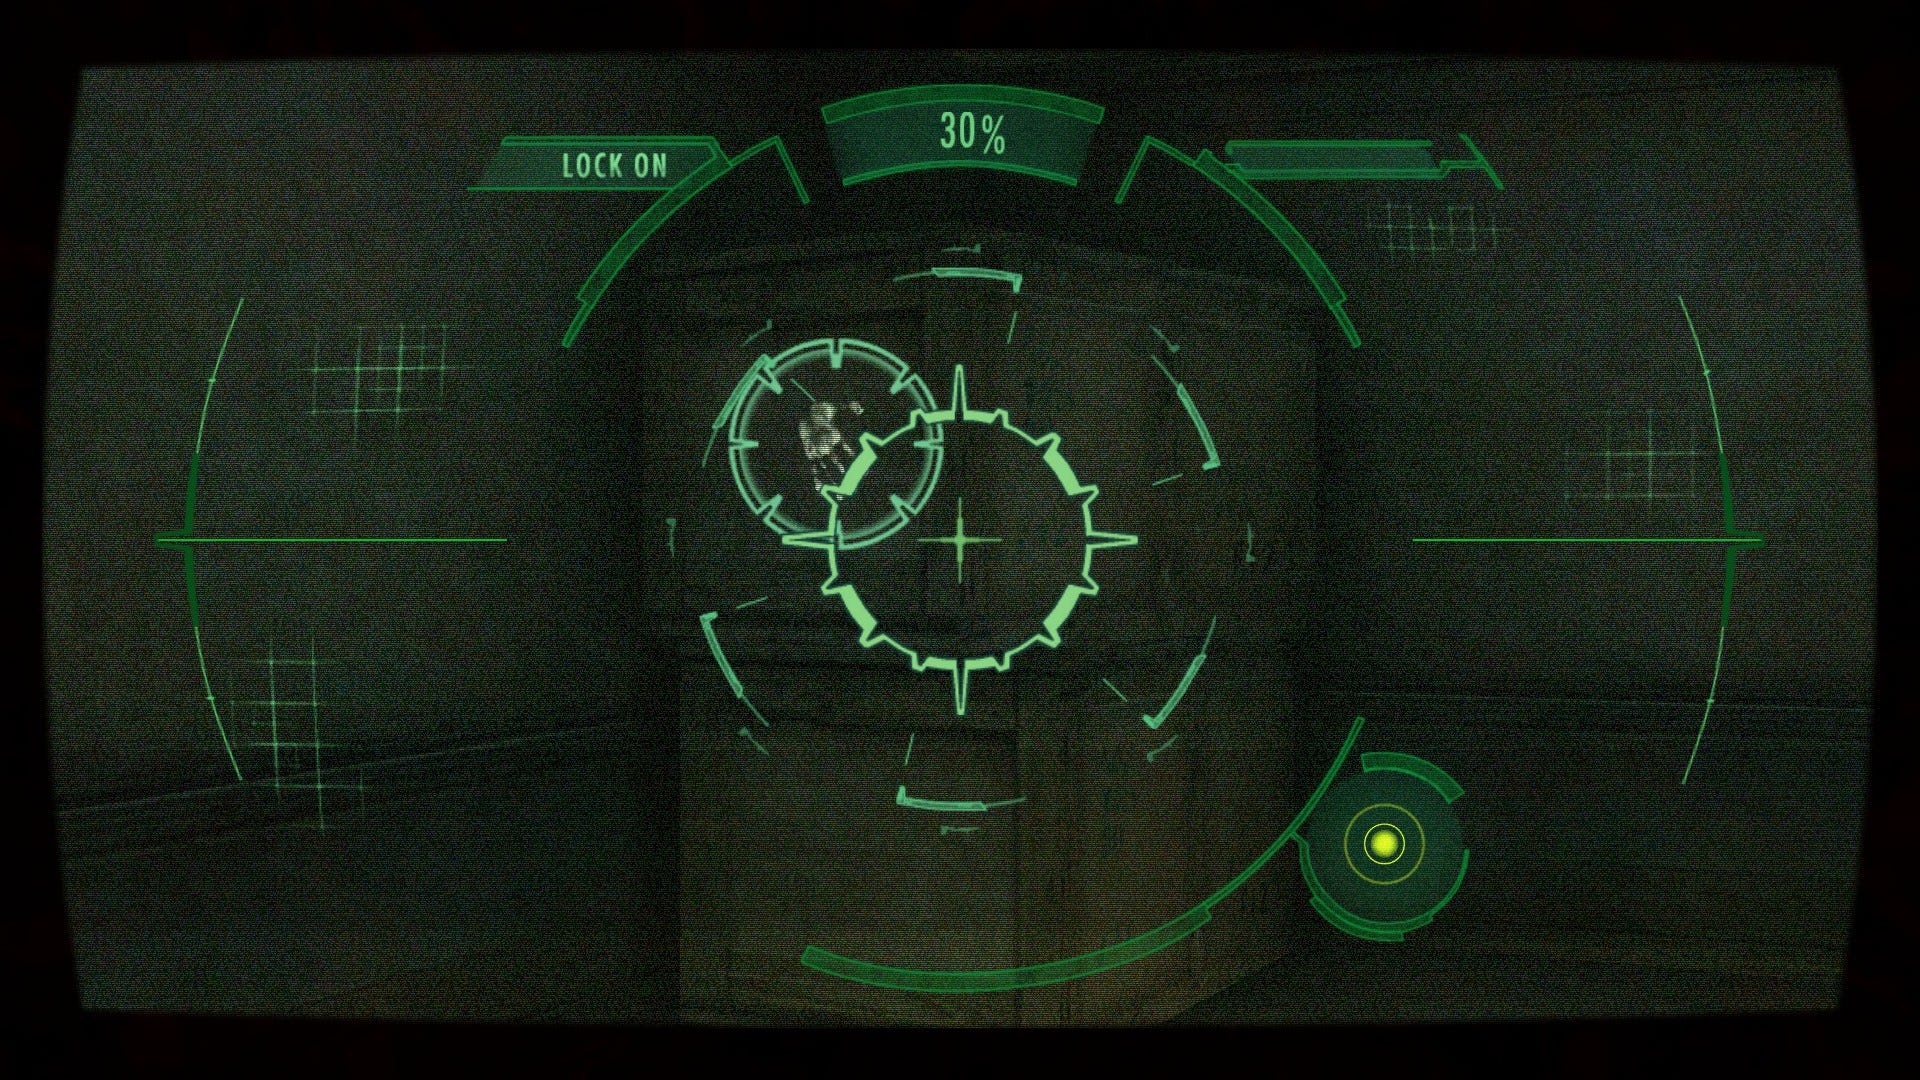
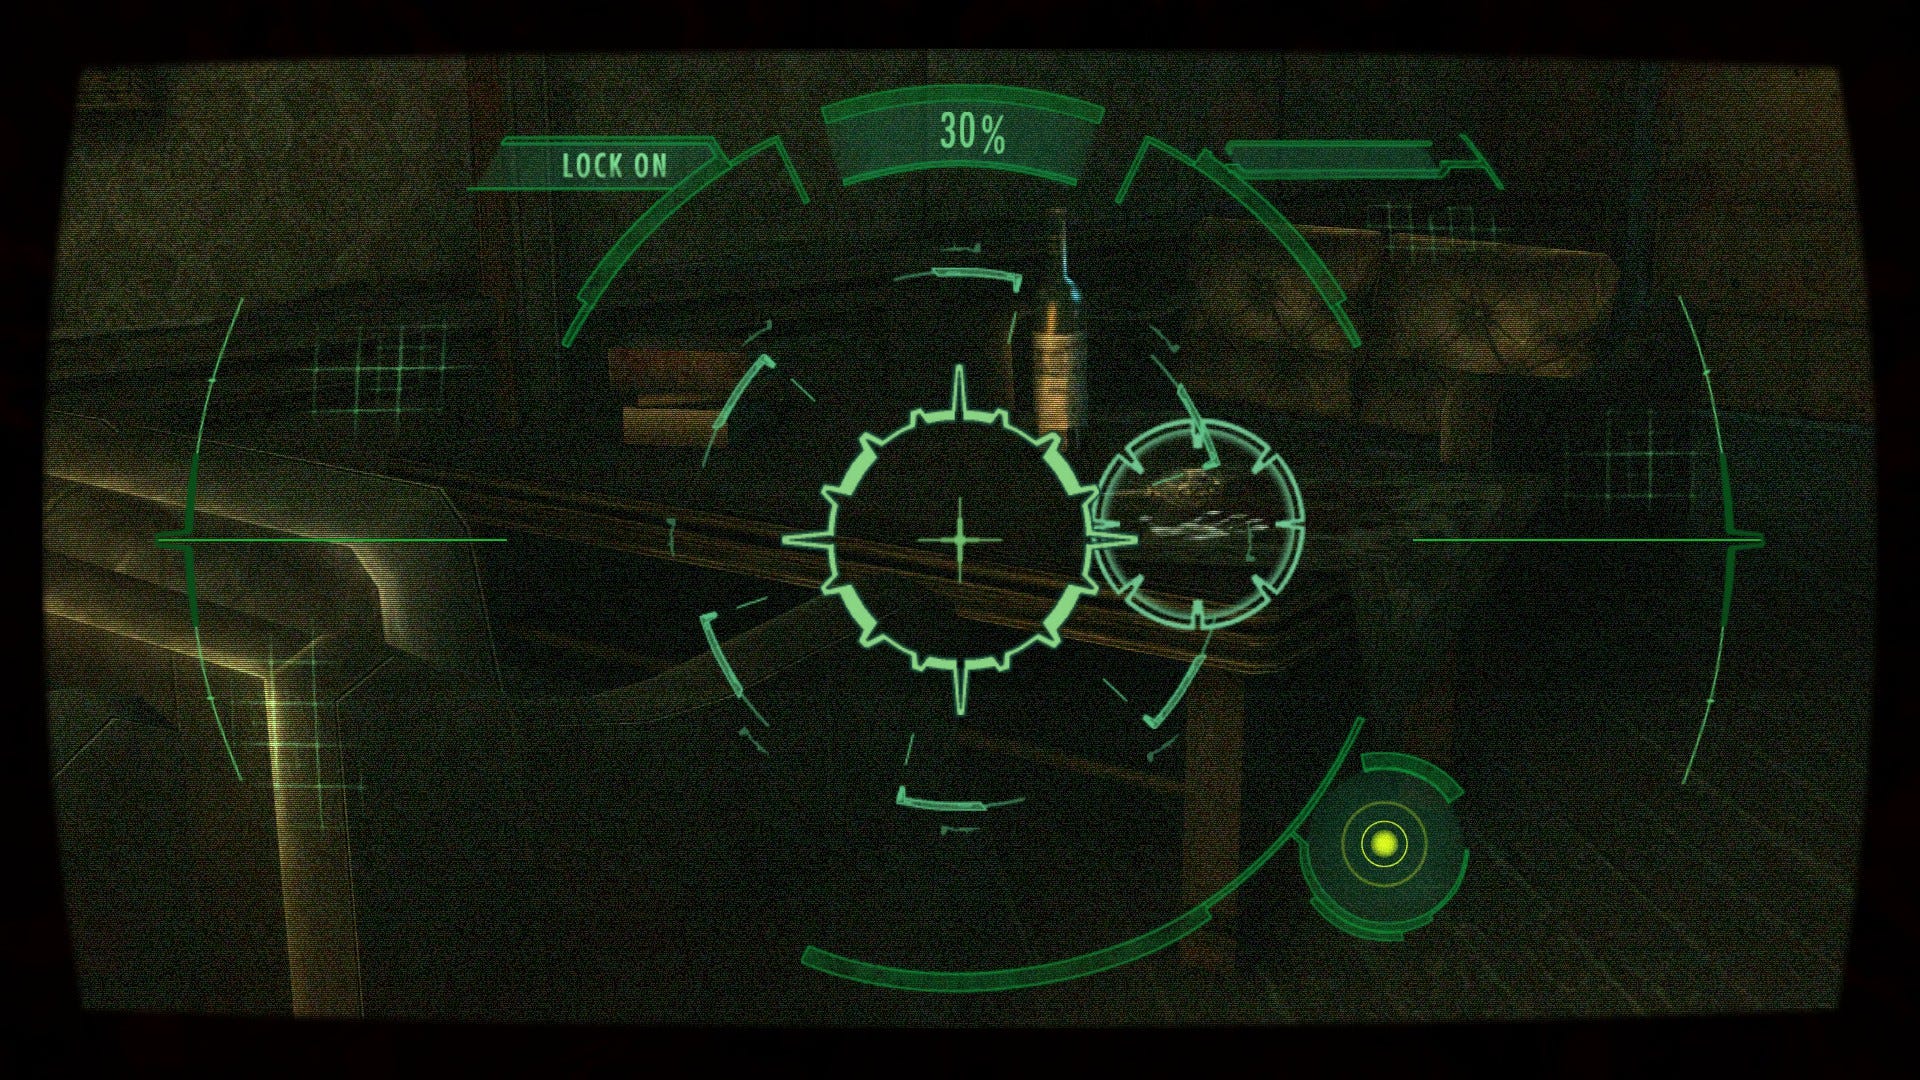
Before progressing with the main objective, enter the room that the boss was originally trapped inside. You'll find the Communication Officer's Journal document on the shelf, along with more likely-much-needed ammo. Next, break out your scanner and scan the large wooden crate in the corner to reveal Handprint 14.
When you're ready to continue, jump down to ground level and head east. Use your newly acquired Lifebuoy Key to open the silver door to the southeast, unlocking a shortcut to the area on the other side. Next, head back west along the ground floor of the Promenade, and unlock the double Lifebuoy doors at the end.
Follow the path around until you reach the elevator doors, look right, and interact with the sealed panel on the wall. Once again, you'll need to solve the small puzzle - uncrossing the wires and lighting the nodes to proceed. With that done, enter the elevator and press the button on the wall, this time selecting the Deck as your destination.
Step out into the room and take a left. There're actually a fair few goodies in this small dining area: first, scan the second table to your left to reveal Handprint 15.
Next, scour the area for ammo, hand grenades, and a green herb. Sadly, the wall safe and two doors leading out onto deck are locked with a card reader so, for now, return to the lift and select the Promenade once more. Step out of the elevator and retrace your path through both the double and single Lifebuoy doors, up the steps, and all the way back to the large main hall.
Head up the grand central staircase, and follow the walkway that leads behind the large clock on the first floor. Use the Lifebuoy Key to raise the bars and step through the two sets of ornate doors beyond. Once you reach the Communication Room, the episode will end. Next up is Episode 4.
Note that completing Episodes 1-3 will unlock Raid Mode Stages 4-7. Good work!