Undertale - Hotlands explored: Vent puzzle solutions and how to beat Muffet
Take the heat and make your way through the Hotlands in Undertale.

Hotlands is the fourth major area of Undertale, following on from the Undyne battle and Waterfall area.
The following is designed to be played as part of a complete Pacifist guide - in short, going through the entire game without killing anything to unlock a different ending.
Most other endings follow the exact same route and only differ in small ways, and our wider Undertale walkthrough delves into other areas of the game.

Before heading to the Hotlands
First, make sure you have completed the Undyne date. Next, take the ferry over to the Hotlands, go east, and enter the laboratory.
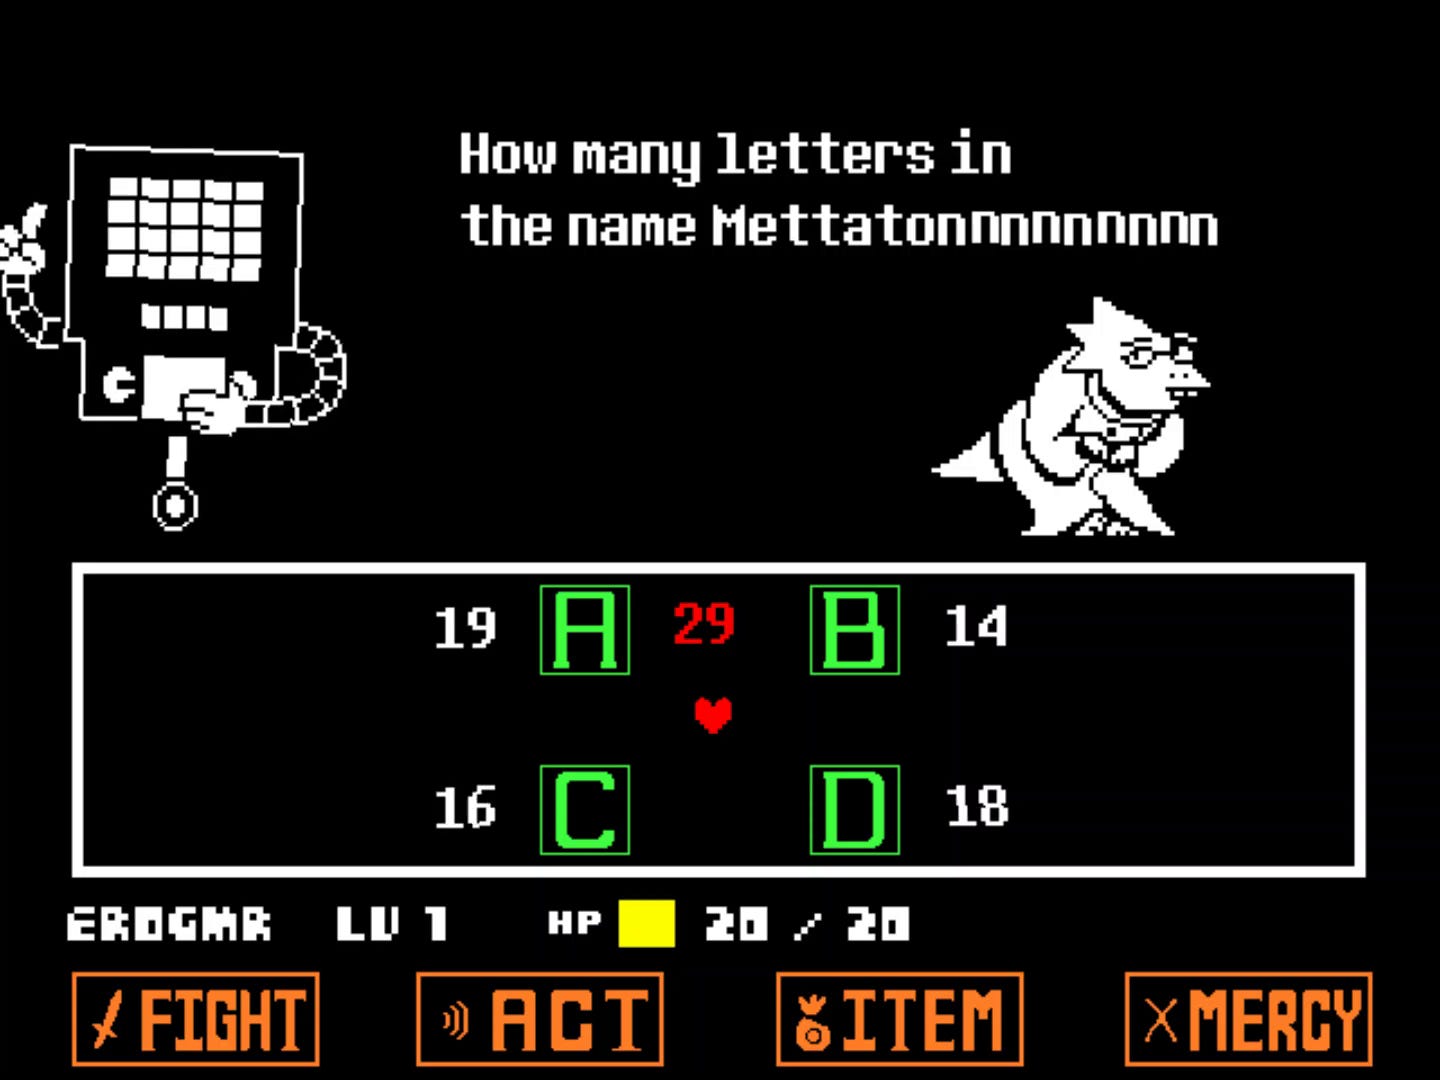
As you make your way inside you'll meet Dr. Alphys, and as she's talking to you you'll be interrupted by Mattaton who'll start asking you a bunch of questions.
Thankfully Alphys will signal the answers to you, but in case you miss them they're D, C, B, D, A, D, any answer, C. Alphys will interrupt, and Mettaton will ask one last question; the correct answer is A, but it doesn't actually matter which one you pick.
After the excitement is over head to the right and Alphys will upgrade your phone - you'll now have access to your Transdimensional Box anywhere, effectively increasing your inventory size. Look around the lab if you want, then exit to the east.
The Hotlands
Head north, then walk along the two conveyor belts that are moving northwards.
Use the save point, then use the steam vents to move right, up, and right again. Head south into a new area, go left and grab the Burnt Pan, then double back. Head north as far as you can, then west.
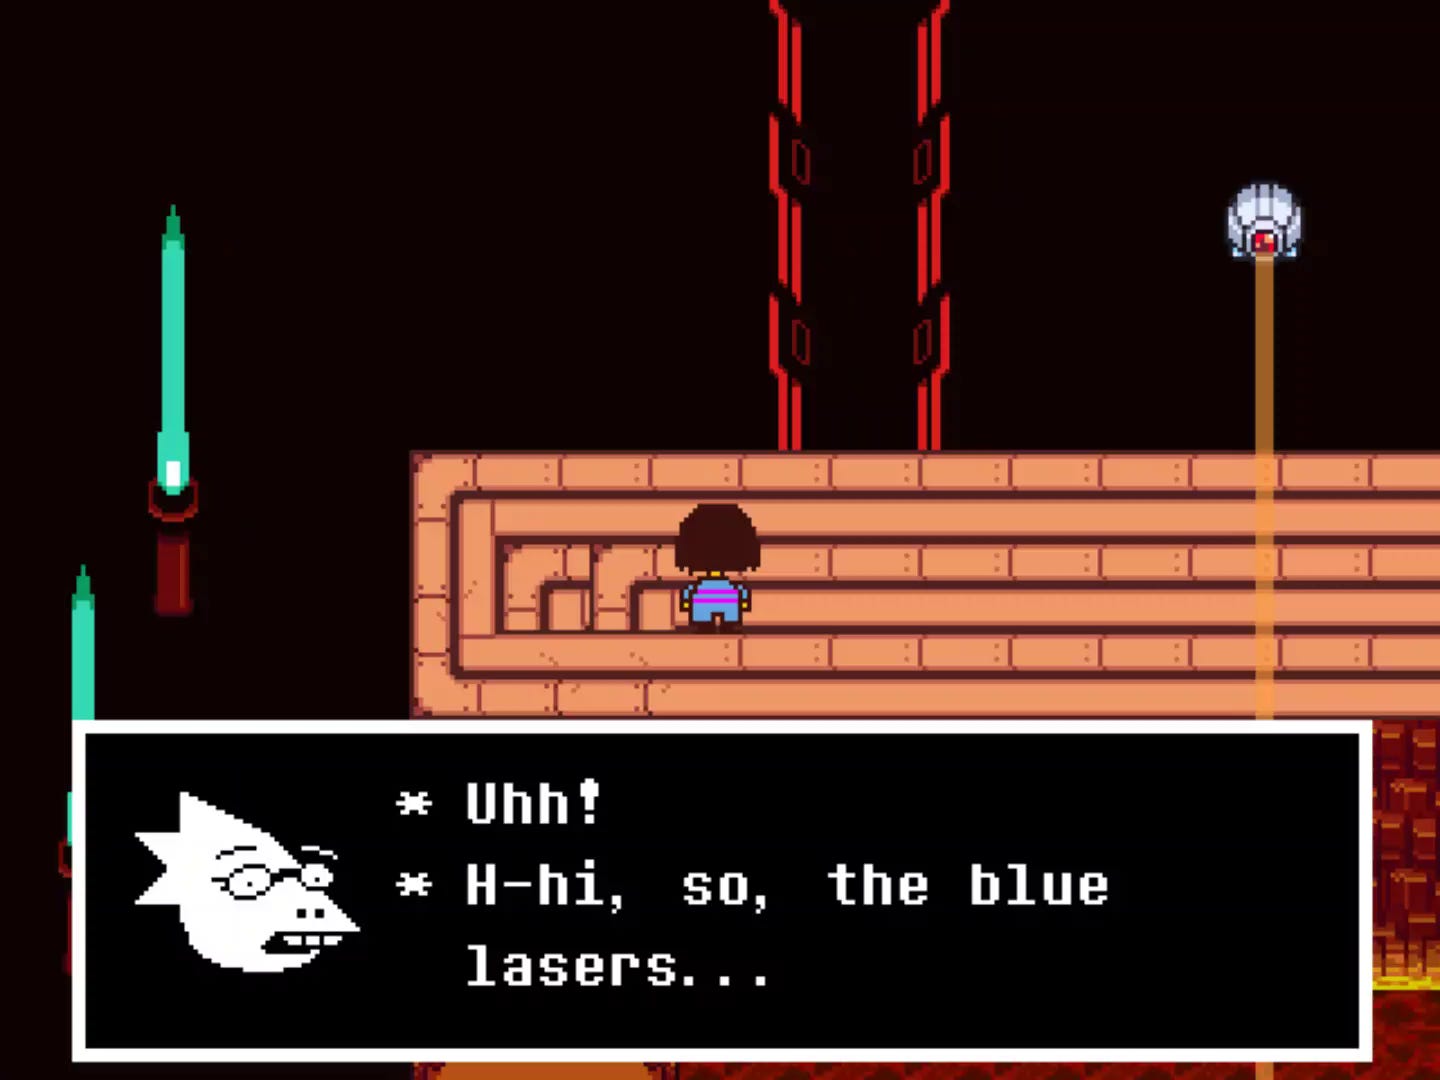
Alphys will call to explain how the lasers ahead of you work. Walk through the orange ones, then stand still to let the blue ones pass over you, and use the switch at the end to shut them off.
Alphys will call again to warn you of a couple of puzzles ahead - she suggests starting with the one on the right, so do as she says and head east into a small dark room.
You'll encounter four of these puzzles throughout your journey, and the goal is to clear a path through the blocks to shoot the ship opposite you. You have two shots available here, so slide the blocks up then left, then fire twice.
Leave the room and head west to the next puzzle - a blue laser will block your path, but Alphys will deactivate it and let you through. This puzzle can be solved by moving the blocks up, left, down, left, and firing twice.
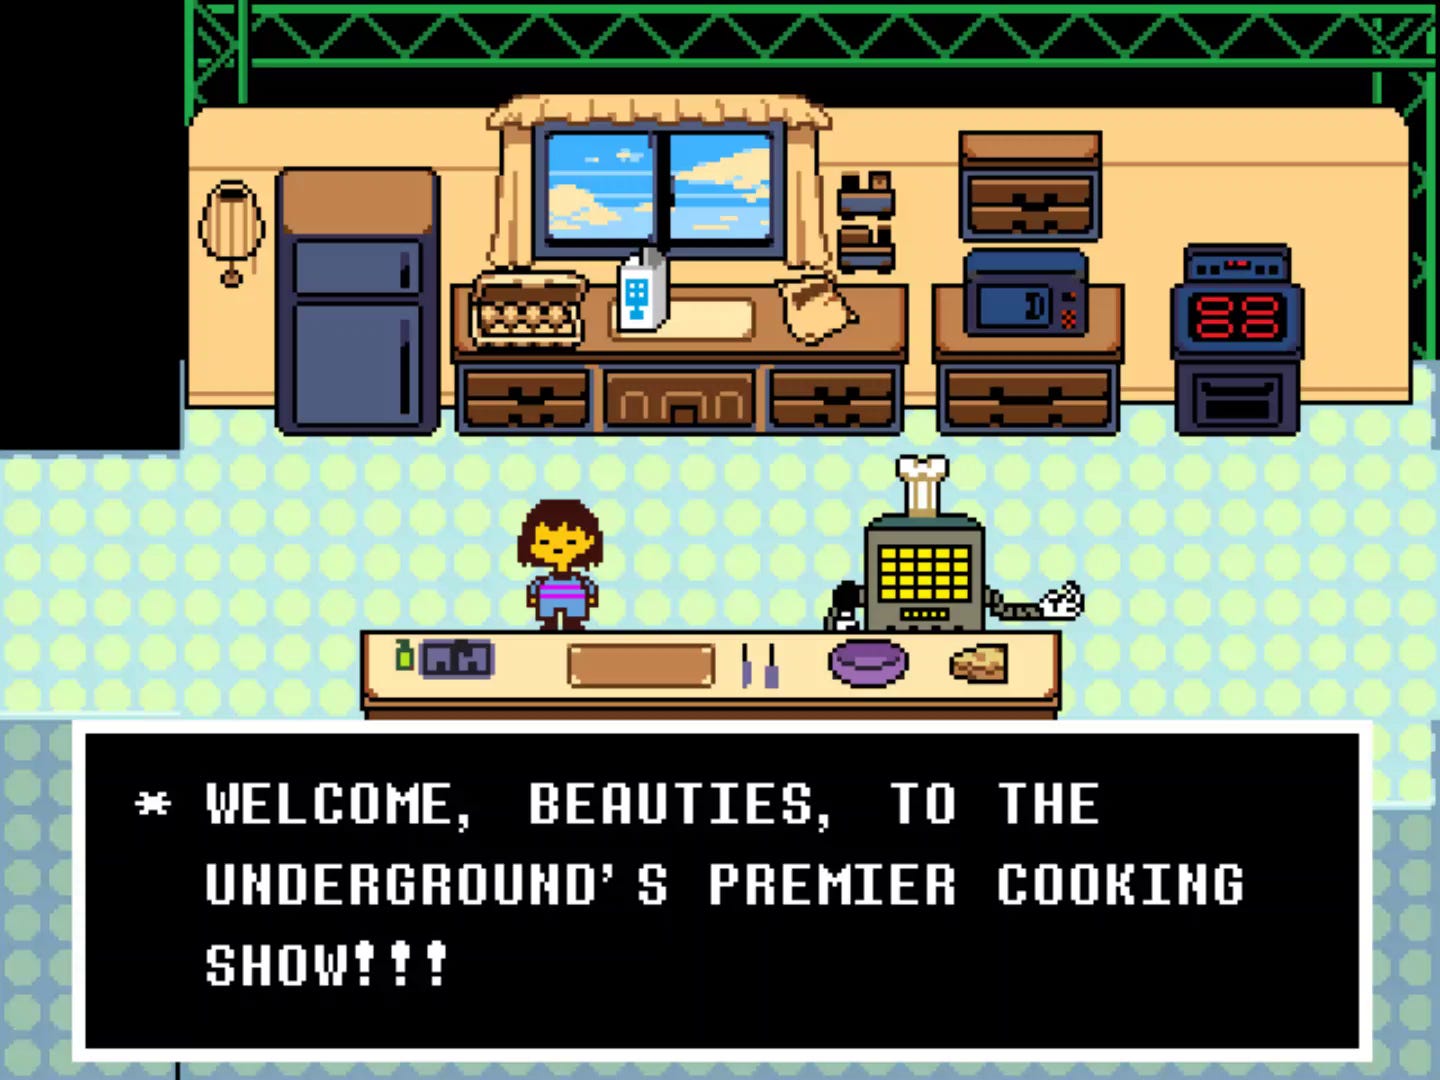
Head through the door to the north, then go east into the dark room. Mettaton will appear and rope you in to helping with his cooking show.
Grab the ingredients he asks for, and after a narrow escape with a chainsaw you'll be tasked with grabbing the Human Soul Substitute.
Unfortunately it'll shoot up in the air out of reach, but as luck would have it there's apparently a jetpack built into your phone - Alphys will activate it allowing you to fly upwards. Don't worry about the time limit here as you have to try very hard to fail this section.
Once Mettaton has left, head east. Use the save point then climb into the lift and travel to Right Floor 2. Head west and you'll bump into Sans again; you can buy some hotdogs from him if you want - if your inventory is full he will start to pile them onto your head so you can carry an awful lot of them if you feel the need.
Keep heading west, and when the path splits take a quick detour south to grab the Stained Apron before continuing west. Alphys will explain you need to hit the switches on the conveyor belt to disable the lasers, and then chooses a poor moment to call you once you're moving.
Vent puzzle solutions
The next puzzle involves jumping across more vents, but these have switches that change the vent directions when you make a jump. From your starting position go left, down, up, down, down, left, up, up, left to reach the far side. Use the save point, and keep heading west until you're accosted by the guards.
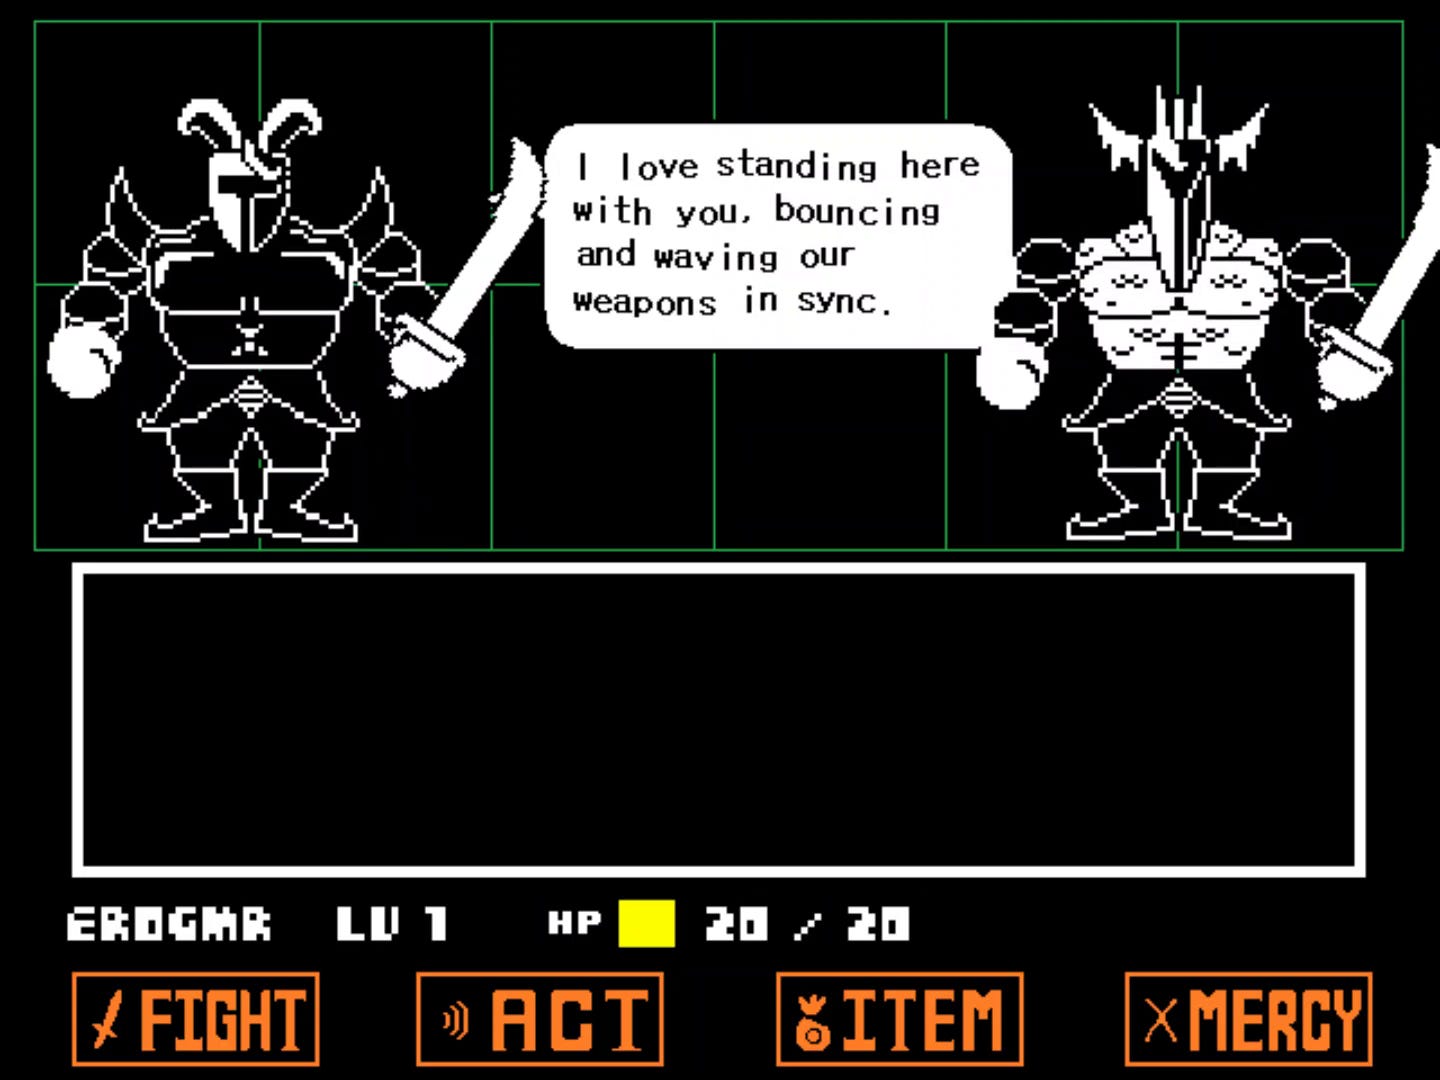
Royal Guards boss fight
Their attacks are slow and predictable so dodging them is easy. Clean R2's armour, hit the green projectile he fires in response until he takes his top off, then Whisper to R1.
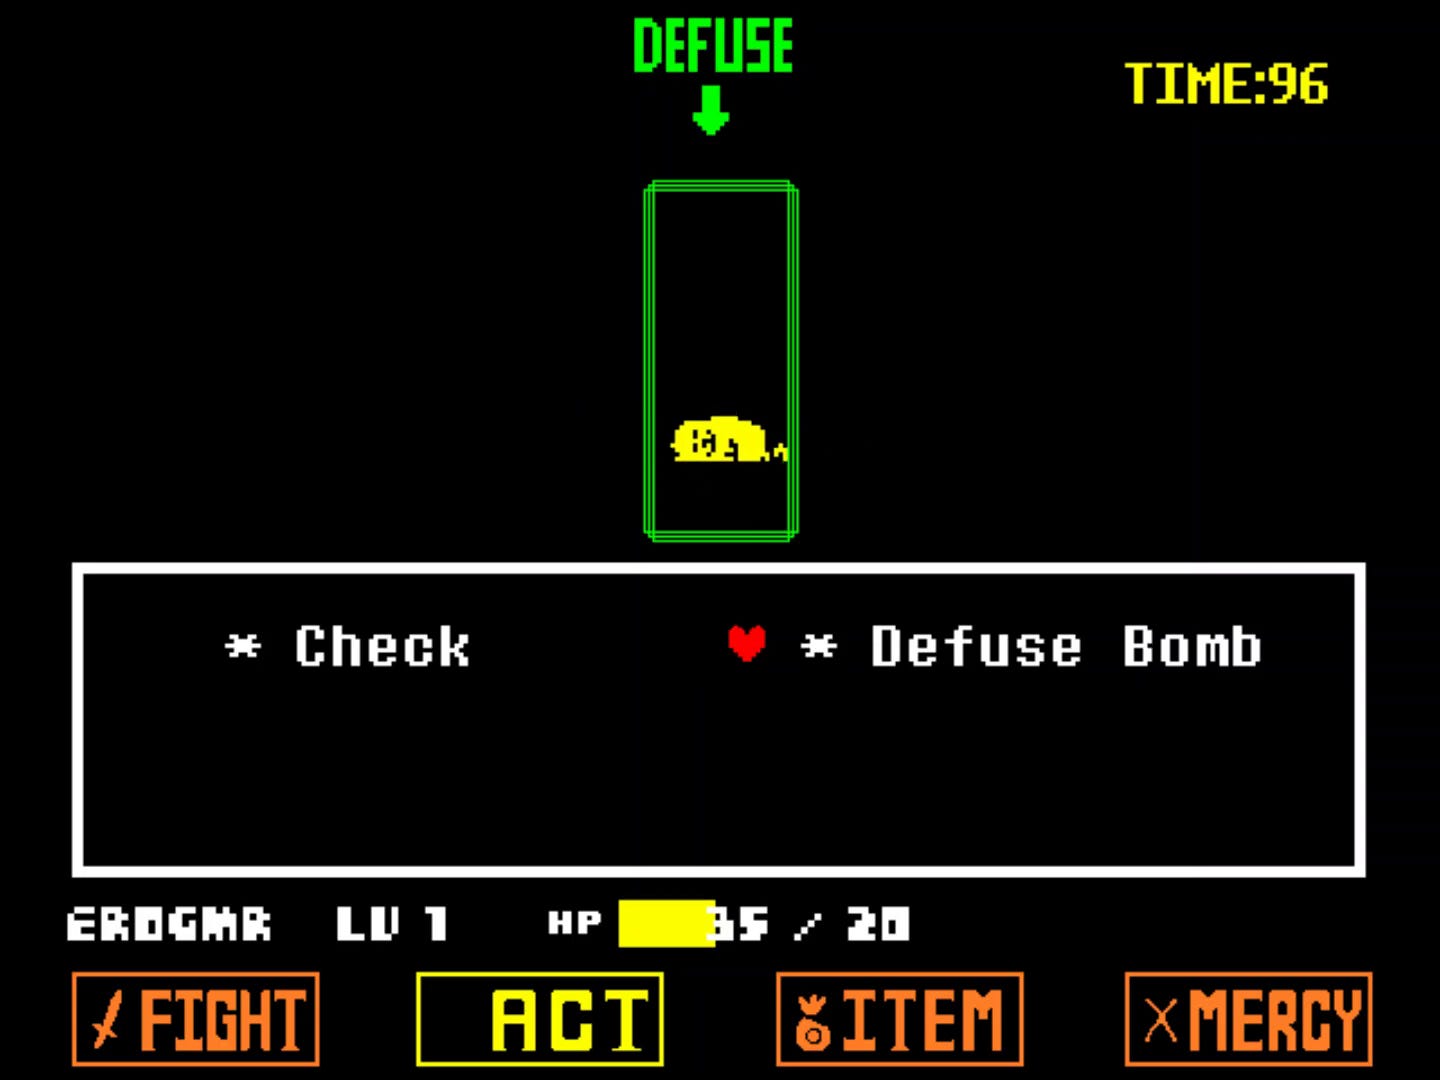
Follow the passageway round until you meet Mettaton again. He's scattered several objects around the room that need to be defused - walk into each one, and hit Defuse when it passes into the green area. Don't worry too much about timer as it will somehow never quite run out!
Once you've confounded Mettaton's plan head east and use the elevator to travel to L3. There's another spider bake sale going on here, but you've already got your Donut and the prices here are insane so ignore it and keep moving right.
There are two more block puzzle rooms here accessible by jumping across the vents:
- Jump right, up, right, down, down, right, up, up, up, right, up. Solve the puzzle by sliding the blocks left then right.
- Jump right, up, right, down, down, right, right, down, left, down. Avoid the laser beams on the conveyor belt, then solve the puzzle by sliding the blocks left, left, left, up, left, left, right.
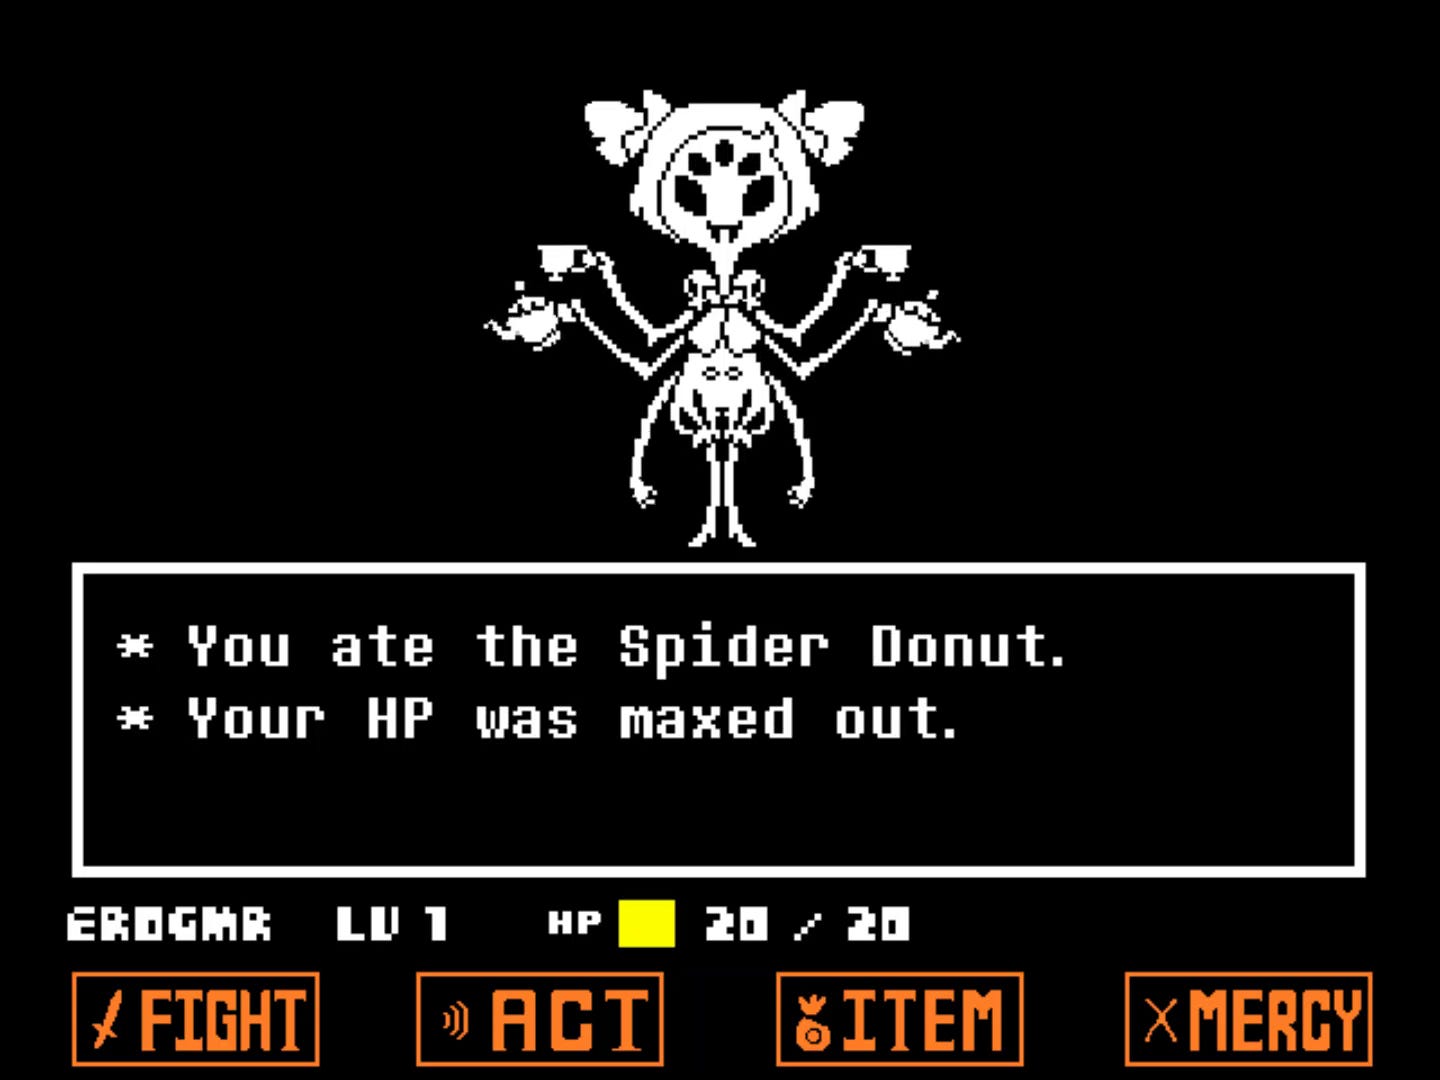
Once the puzzles are completed head east. When you reach the room with the cobwebs make sure you have the Donut in your inventory as we're going to need it now. As you carry on to the east you'll be accosted by Muffet.
Playing Undertale? Our complete Undertale walkthrough and Pacifist guide will explain how to finish the game while sparing everyone, covering all areas including the Ruins, Snowdin, Waterfall, Hotlands and The Core and more. You can also learn about how to unlock every Undertale ending and all Undertale Trophies, access hard mode and play the game in the most evil way possible with a Genocide run.
Muffet boss fight
If you've got the Donut on you, start the battle by eating it and the fight will be over. If you haven't got it you'll need to just be patient and avoid several rounds of attacks - she turns you purple which limits your vertical movement, but once you get into a rhythm it's fairly easy to stay out of trouble. After her third attempt to feed you to her pet she'll let you go.
Once the fight is over keep heading east, and once again Mettaton will put on an eccentric performance for you before dumping you into a dungeon. Head east and Mettaton will have laid on a puzzle for you - it follows the same rules as the one Papyrus tried earlier. It is solvable, but waiting it out is much easier as Alphys will intervene at the last second.
Mettaton I
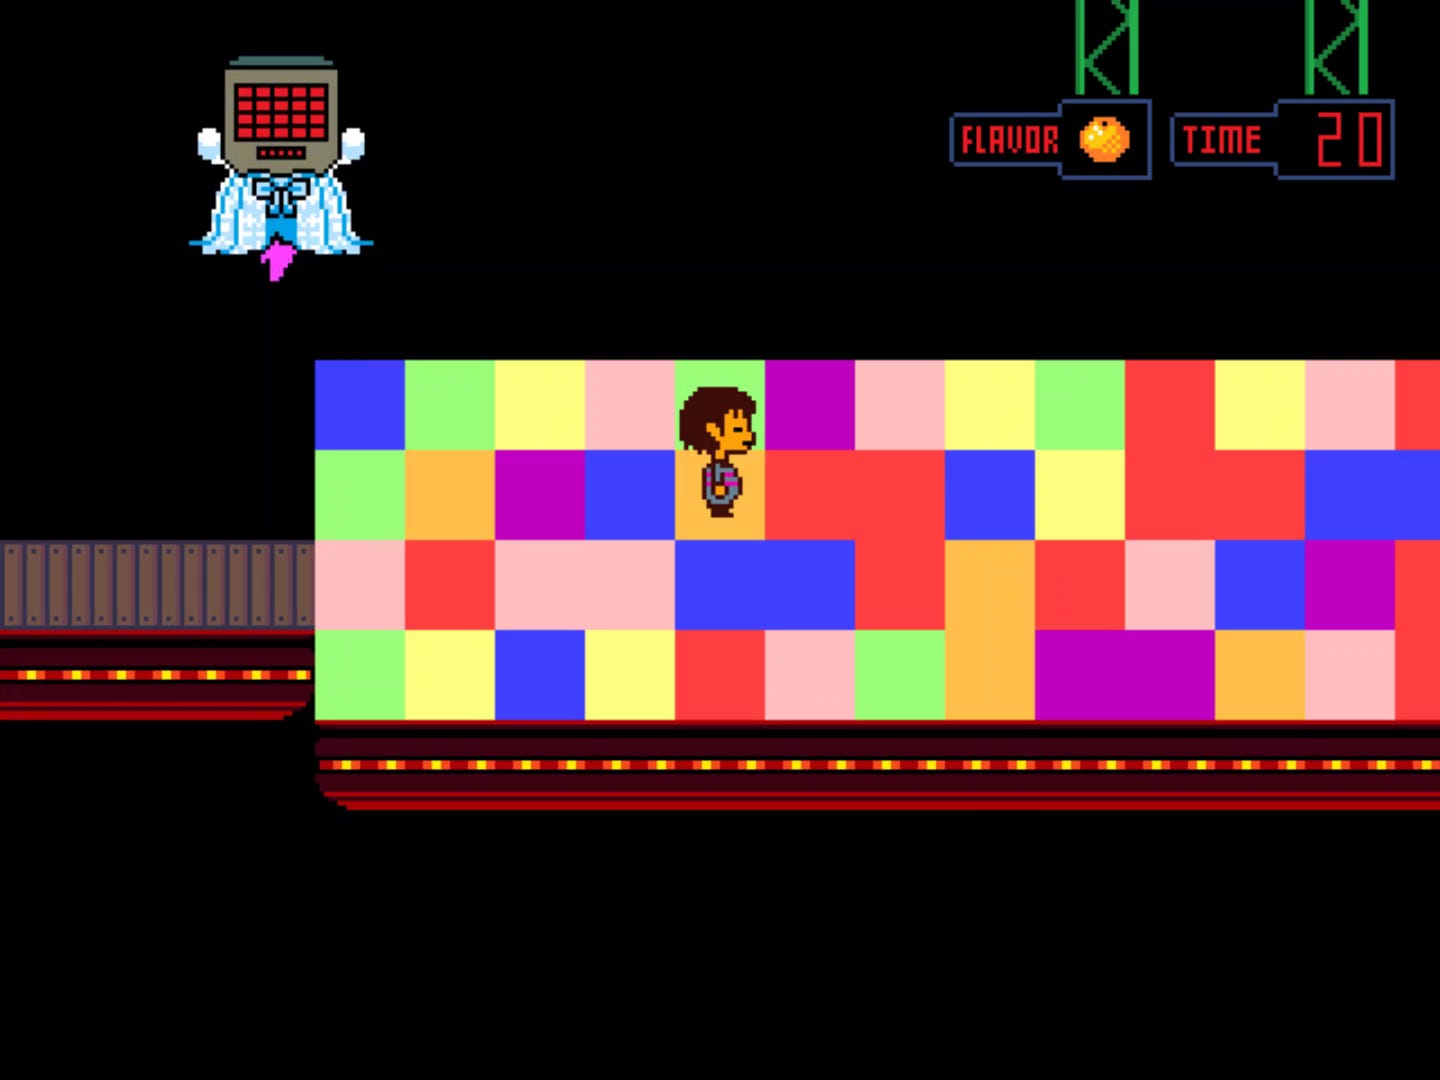
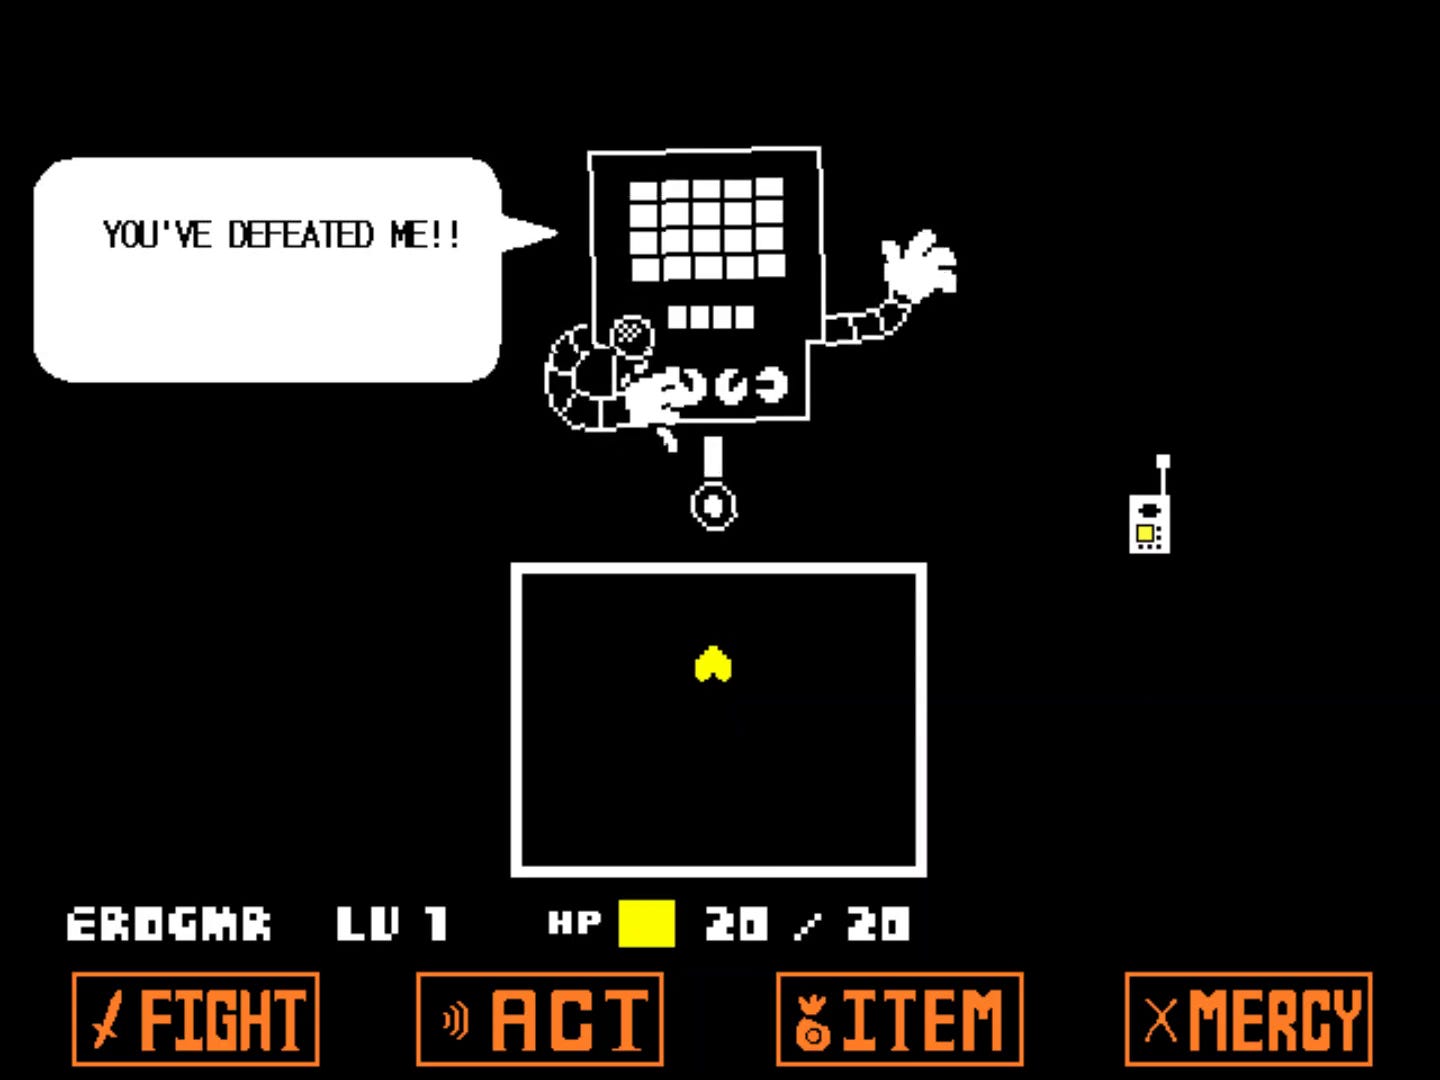
This isn't much of a fight. Alphys will turn you yellow giving you the power to fire back at Mettaton like you're playing Space Invaders. Shoot him a few times and he'll wander off.
Head east, and you'll come to an area with a Nice Cream man and an elevator. Head north to enter the MTT Resort.
MTT Resort
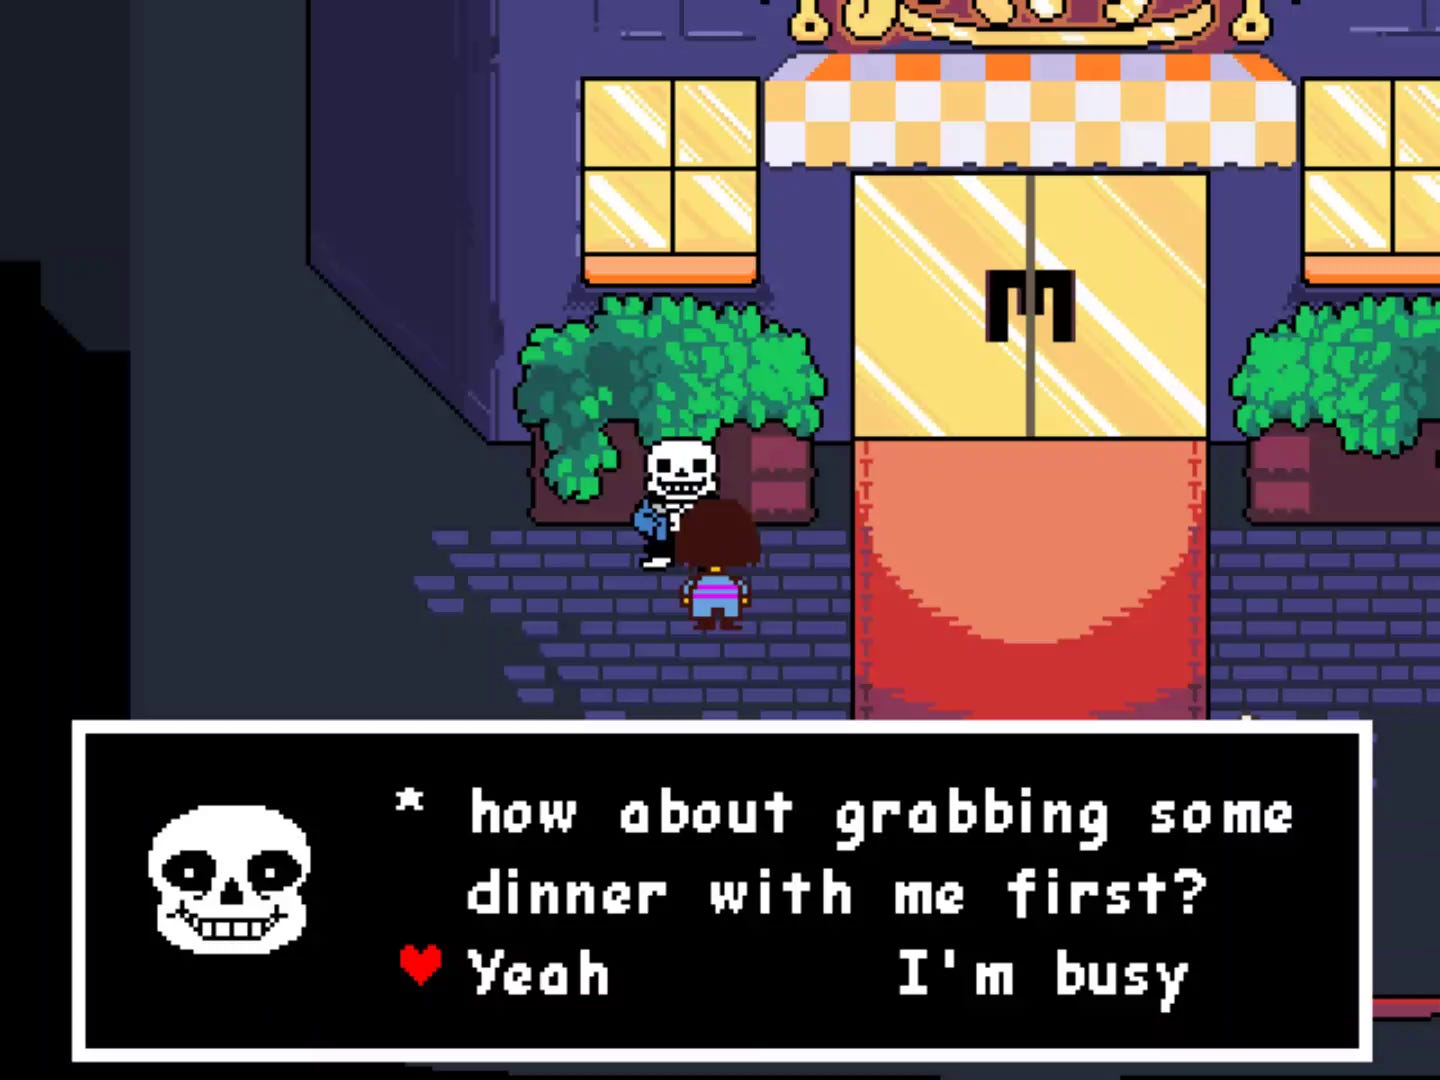
Start by talking to Sans and he'll invite you to dinner and pass on some intriguing information.
Once he's left explore the resort - in the alley to the east you can buy additional armour and weapons a mysterious key which gives you access to the house next to Napstablook where some more curious details about what's going on can be found, and several of the resort guests will send you on minor fetch quests if you want to earn some money.
When you're ready, leave the resort to the north to The Core, with some of the toughest encounters yet. Good luck!