Final Fantasy 12 - Tomb of Raithwall and Garuda, Belias, and Vossler boss fights
A full companion guide to the second half of Final Fantasy 12 The Zodiac Age's fourth act.

This section of our Final Fantasy 12 walkthrough follows straight on from part four, dealing with the second half of the game's fourth act, including the Tomb of Raithwall, and Garuda, Belias, and Vossler boss fights.
If you're looking for more guides and tips meanwhile, then head to our Final Fantasy 12 The Zodiac Age guide and walkthrough hub, where you'll also find this walkthrough's contents for all the other sections, too.
The Tomb of Raithwall and Garuda Boss Fight
Boss fight: Garuda
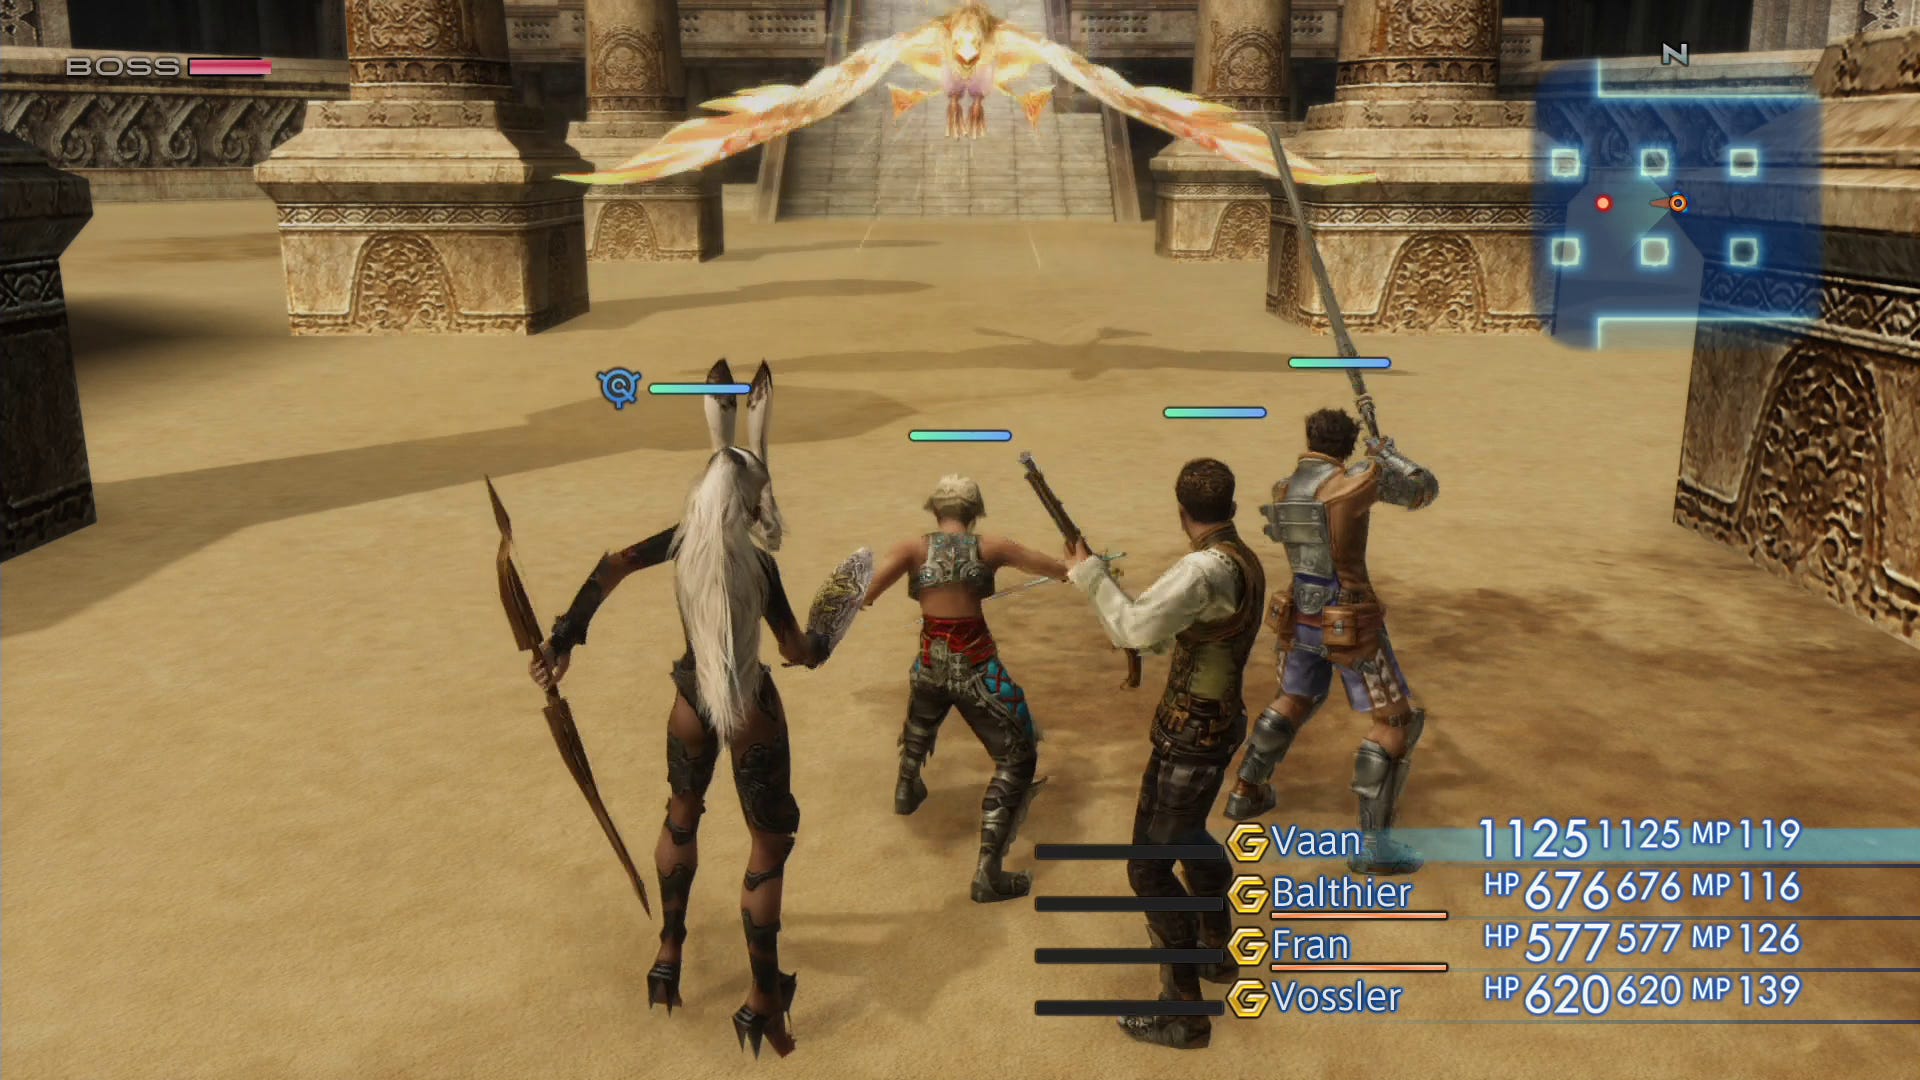
Assuming you picked up the Eskir Berries back in the previous area, now's the time to use them as they can knock a big chunk off Garuda's health and make the fight a lot simpler. He's weak to Dark but absorbs Light, so choose your attacks carefully. Melee attacks are no use, so ranged, magic, or Vossler's Telekinesis are your only options at this point, but casting Blind then throwing as much Dark at him as you can will end the fight swiftly.
After the fight speak to the merchant and stock up on supplies, then head up the steps. Use the save crystal then use the ancient device to teleport into the tomb.
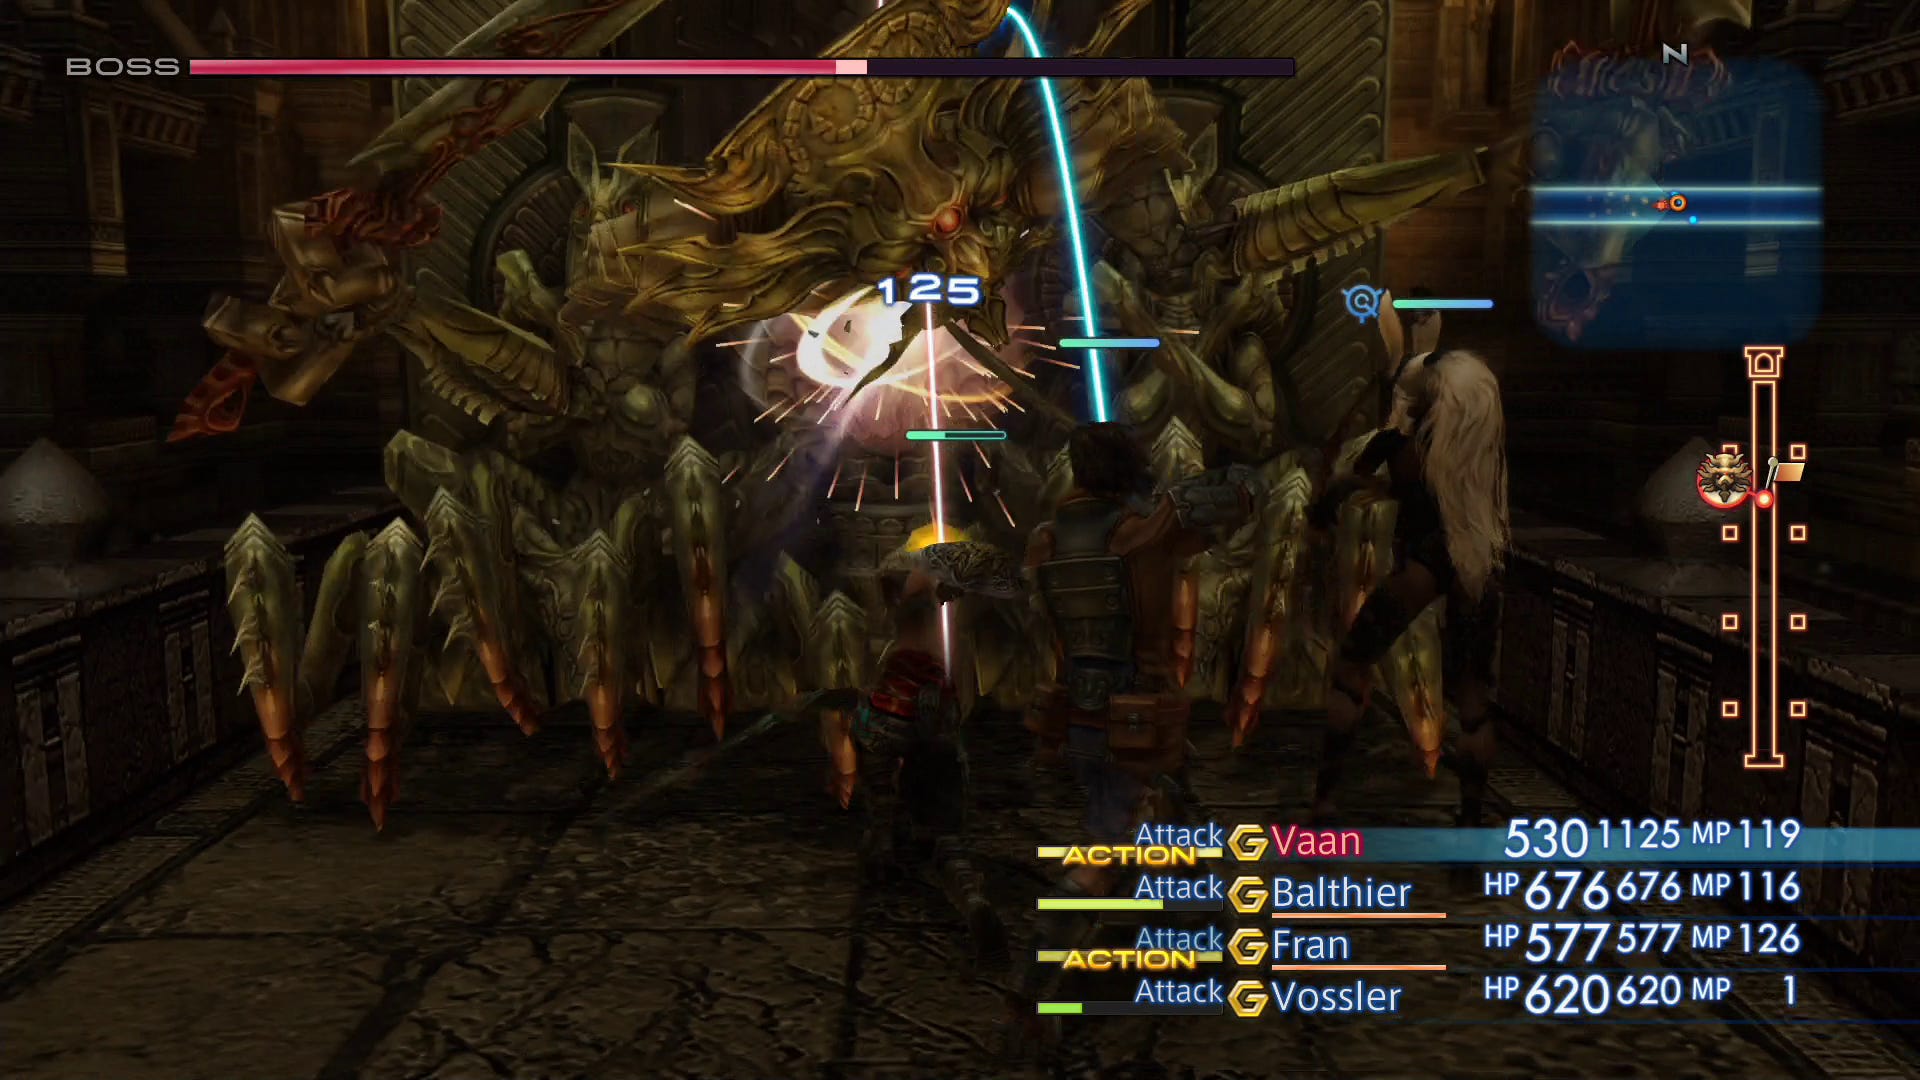
Hall of the Destroyer
Once inside make your way down the short flight of steps. The statue behind you will grind into life and start pushing its way down the passage - if you're powerful enough, and particularly if you can deal Holy damage, you may be able to take the monstrosity on, but if he's still going by the time he's reached the end of the passage it's a sticky end so you may prefer to just make a run for it and open the door. You can "cheat" by increasing battle speed in the game options which will speed up the fight without affecting the pace of his march which may help, and defeating him will allow you to use a switch located behind his starting point to open a hidden area once the second wall is defeated.)
Hall of the Sentinel
There's another wall on the other side, and this one is coming towards you so can't be avoided. Luckily it's a lot less difficult than the first, so sprint towards it and start doing damage. You can interact with the torches on either side of the walkway which may slow him down, but they may also speed him up - it seems to be random - so on balance it's not much help.
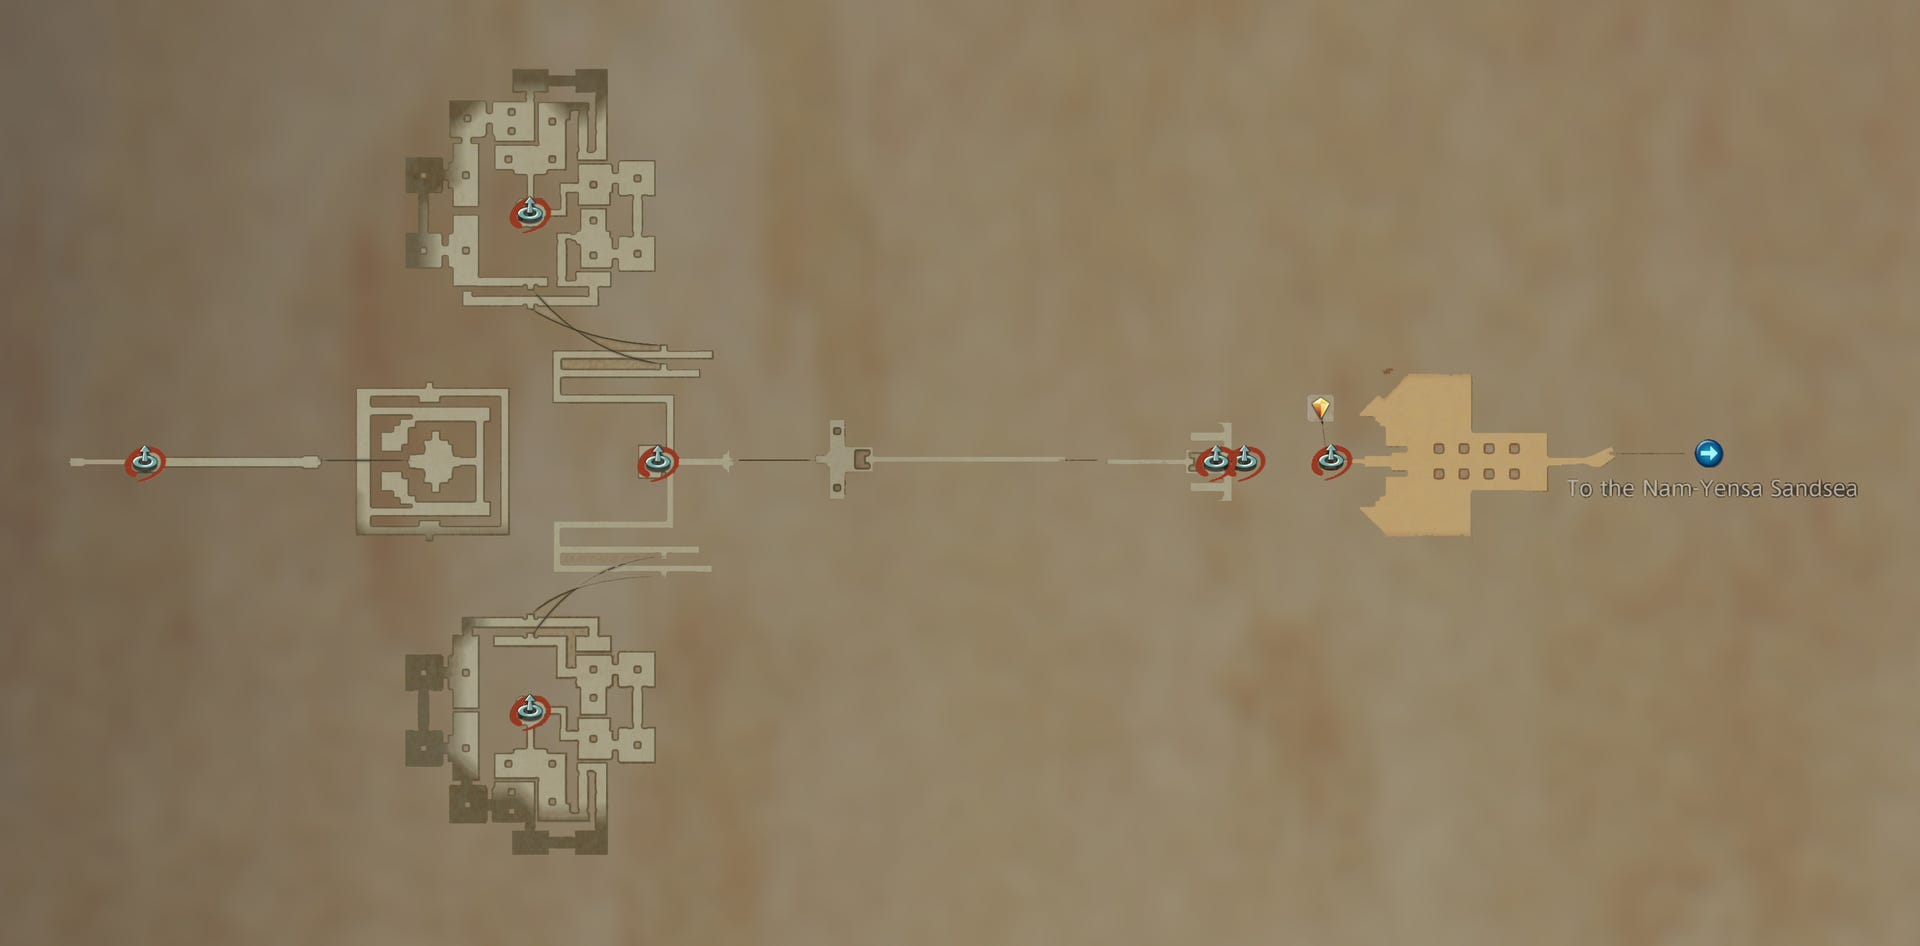
Royal Passage
In the next room grab the map from the urn and then teleport back to the entrance to save and heal up. Teleport back again, and if you defeated the first wall take a moment to investigate the secret area - there's a 50/50 chance that the chest contains the Demonsbane sword, but if you just get Gil reload your save and try again.
Returning to the task in hand, you need to clear the areas downstairs to the north and south - it doesn't matter which you do first, and one is the mirror image of the other. When you reach the bottom of the stairs there's a choice of door to move to the next area - they both take you to the same place, but the door closest to the centre is a slightly longer route but offers more loot.
Follow the passage until you reach the room in the centre of the area and activate the switch on the wall; the one in the south area is green, and the one in the north is red. Pressing the first switch will lower the large block half way and spawn three enemies - whether you choose to fight them or just beat a retreat is up to you.
Pressing the second switch will lower the block completely and reveal a set of stairs heading down into an area that's not marked on the map, but there's a boss fight coming up so you may want to teleport back to the exit and save again just to be safe.
For more help with? Final Fantasy 12? Our Final Fantasy 12 The Zodiac Age guide, walkthrough, Switch and Xbox differences gives an overview of the game to get you started. Elsewhere, there's our hidden Espers strategy and locations and Elite Hunts and Marks pages, how to get the best Zodiac Jobs for each character, advice on farming LP from Jellies and even how to get the Zodiac Spear.

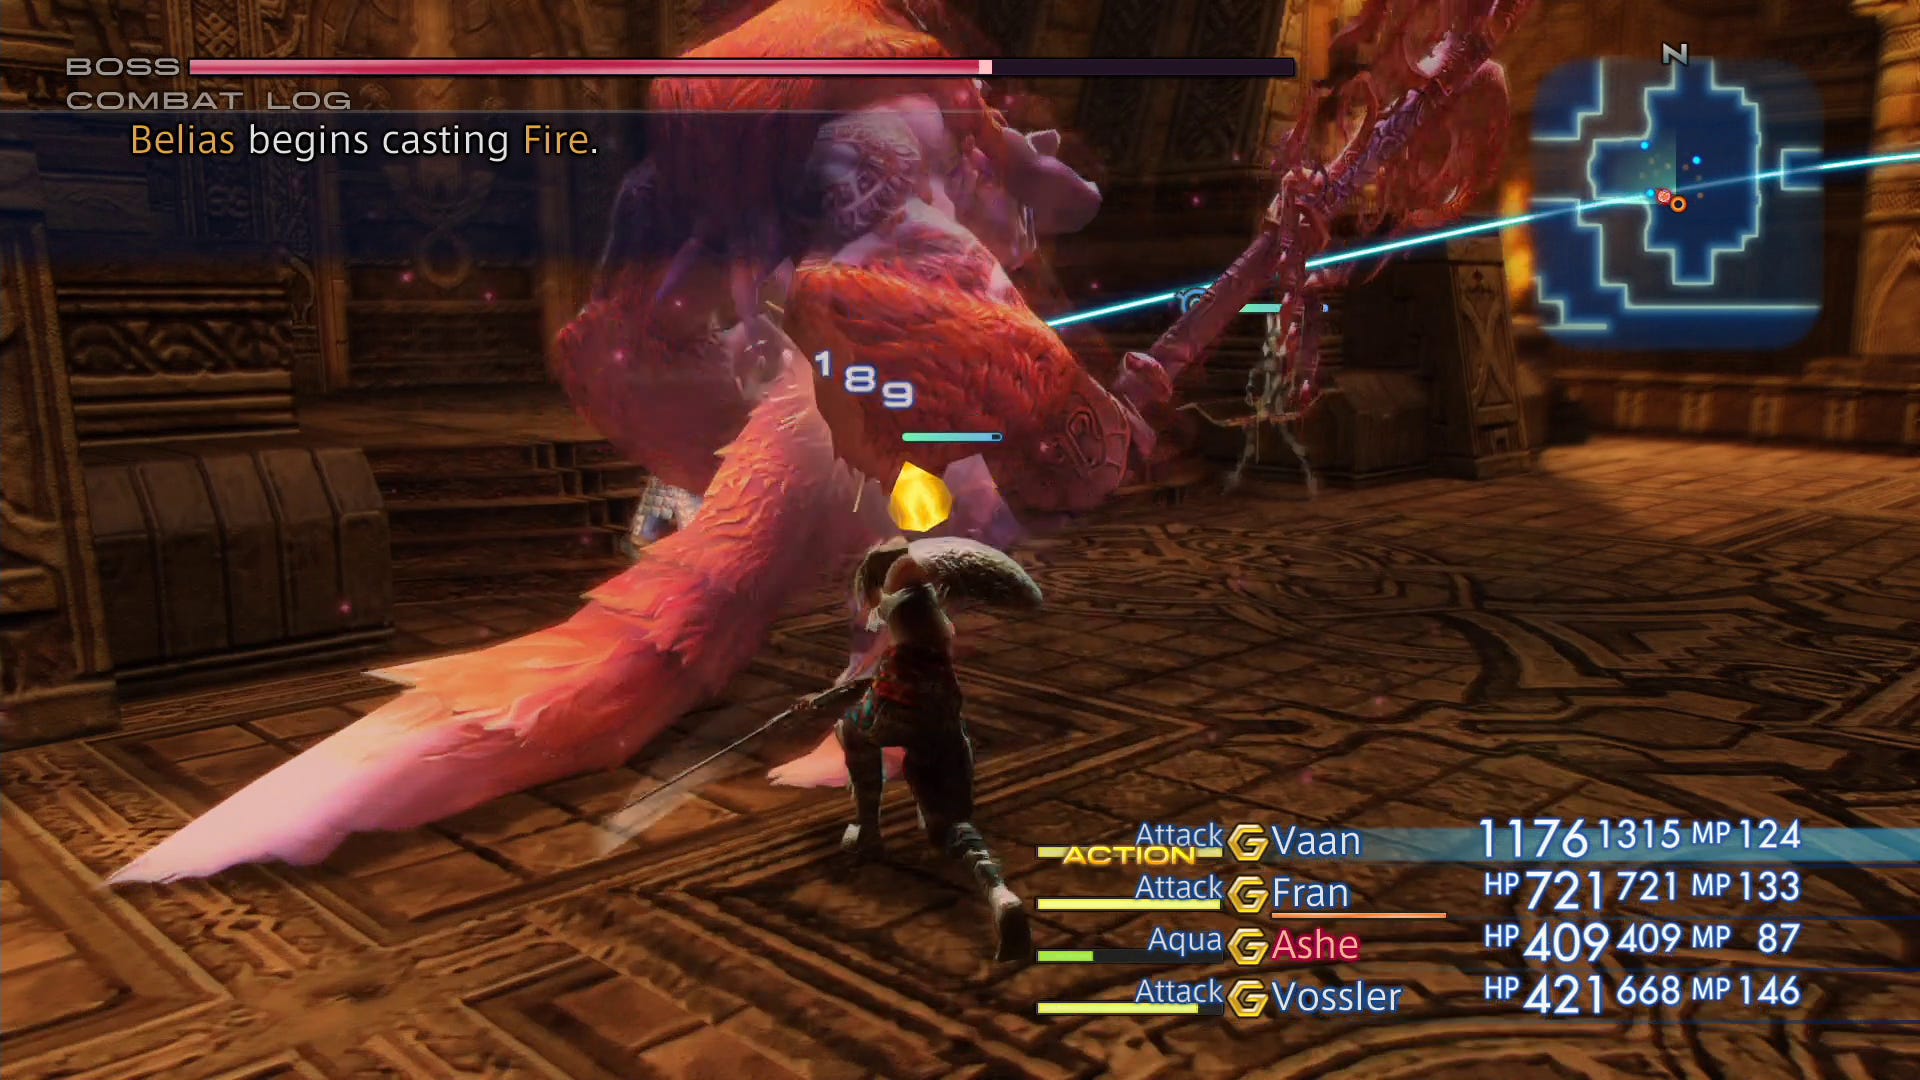
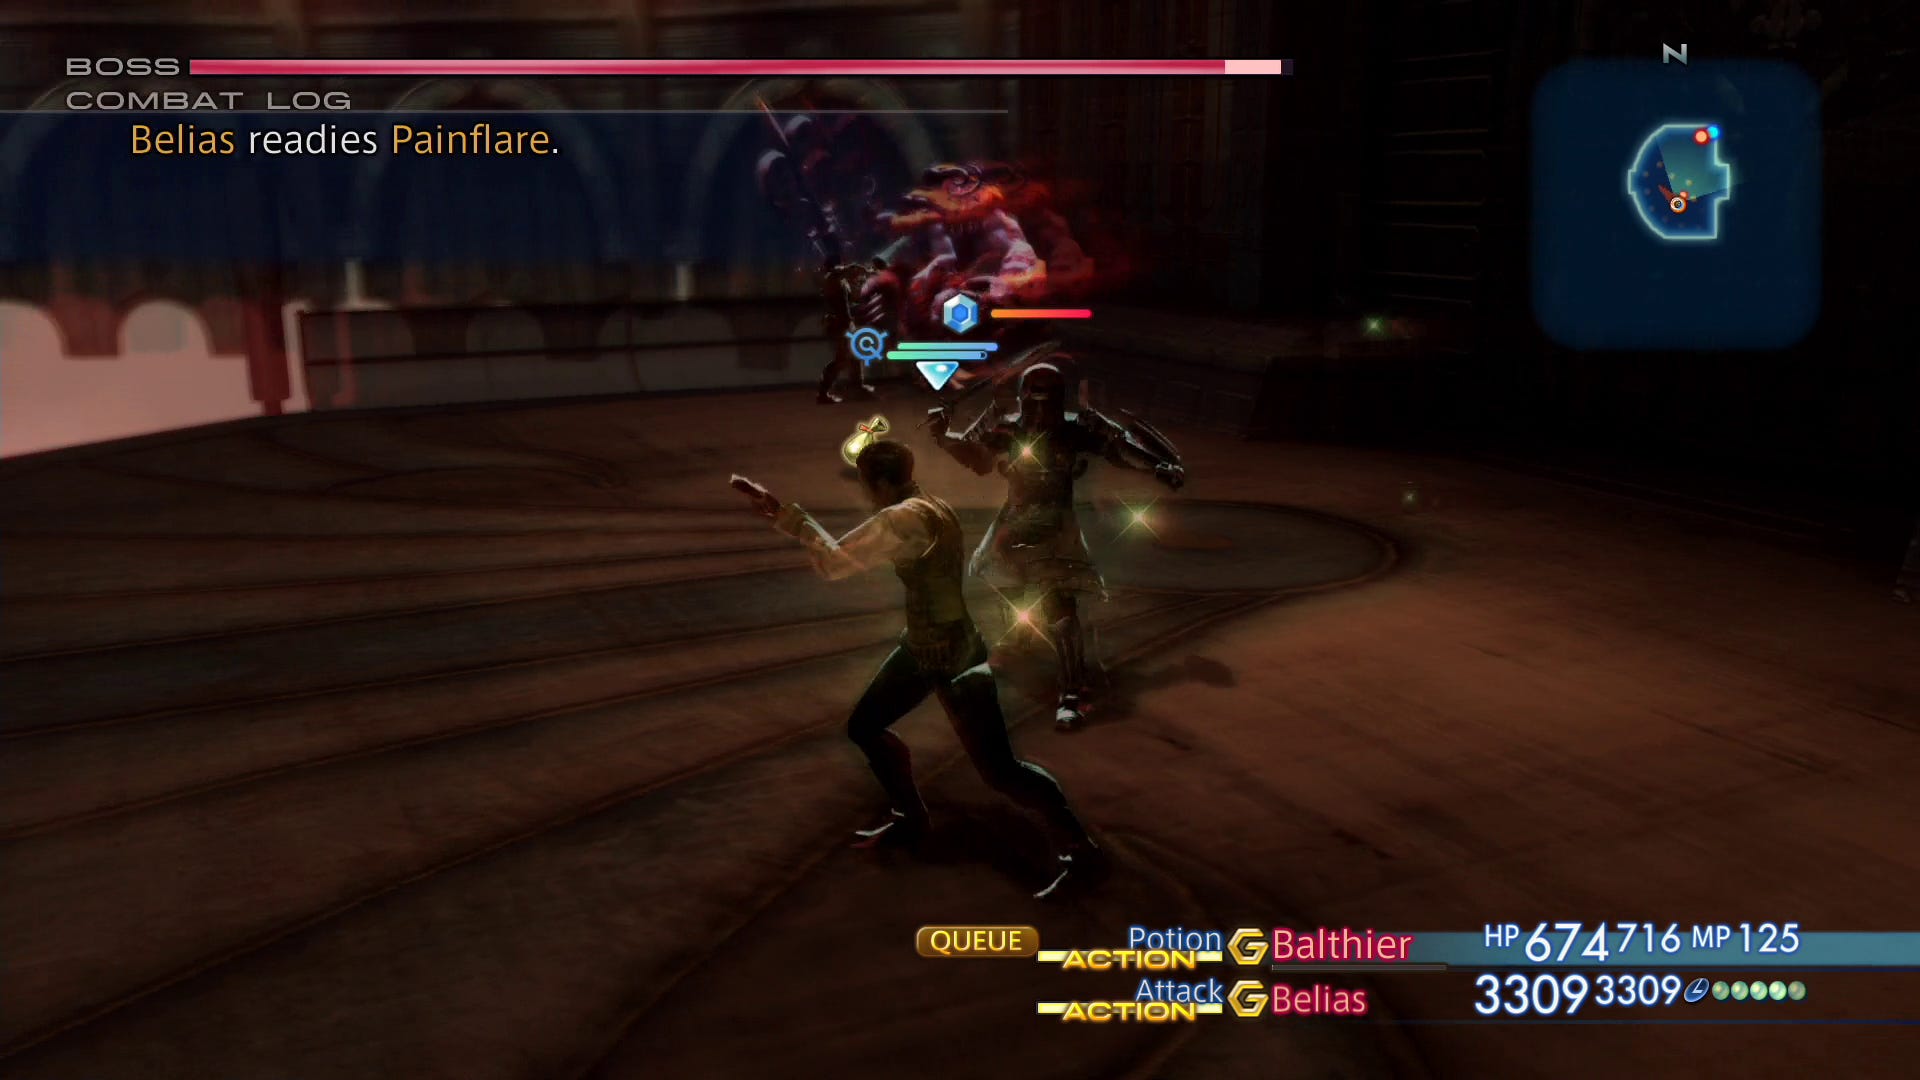
Belias boss fight
Boss fight: Belias
Being a fire-based enemy, the usual rules apply - water-based attacks are good, fire based attacks are very bad. In addition to minor fire attacks and general mayhem, he will repeatedly cast Firaja which can deal 150-200HP if you get caught by it, and he will also soak party members in oil increasing the damage they take so keep your hankies at the ready. If you're using magic attacks on him make sure you keep some MP for healing - unless you've done a lot of grinding this fight will take some time.
Once he's down you'll unlock the ability to summon him as well as the ability to unlock a second Licence board for each party member. (At this point it's worth noting that there's an auto-levelling opportunity later in the game that requires some specific Zodiac options, so if it's something you may want to take advantage over hop over to that bit of the guide to find out more.)
Only one party member can learn the Summon so choose wisely - it's very useful in the next boss fight, but in order to use it in that particular instance you need to give it to a character other than Fran (and preferably not Basch).
Head down the stairs, ignore the pedestal at the bottom, and head up the shorter stairs opposite to collect the Dawn Shard. After the cutscene use the pedestal to head back outside. Save, then head down the steps for another cutscene.
Vossler boss fight
Boss fight: Vossler
There are two options here: a straight up fight, or using your new-found summon. Either way, begin proceedings by casting Protect on Basch if he's in your party as Vossler will concentrate all his attacks on him. If you're going for a standard fight you may have to rely on Hi-Potions for healing as Vossler doesn't provide much time for casting Cure or Cura, and if you can get Basch into a Berserk state things will go a little better.
On the other hand, simply summoning Belias will have the fight over pretty quickly - he'll engage Vossler, pin him in a corner, and beat him to a pulp in a minute or so leaving you free to deal with the minions.
When you're all set, next up is part 6 of our Final Fantasy 12 The Zodiac Age walkthrough: Ozmone Plain, Golmore Jungle, Henne Mines and Tiamat boss fight.