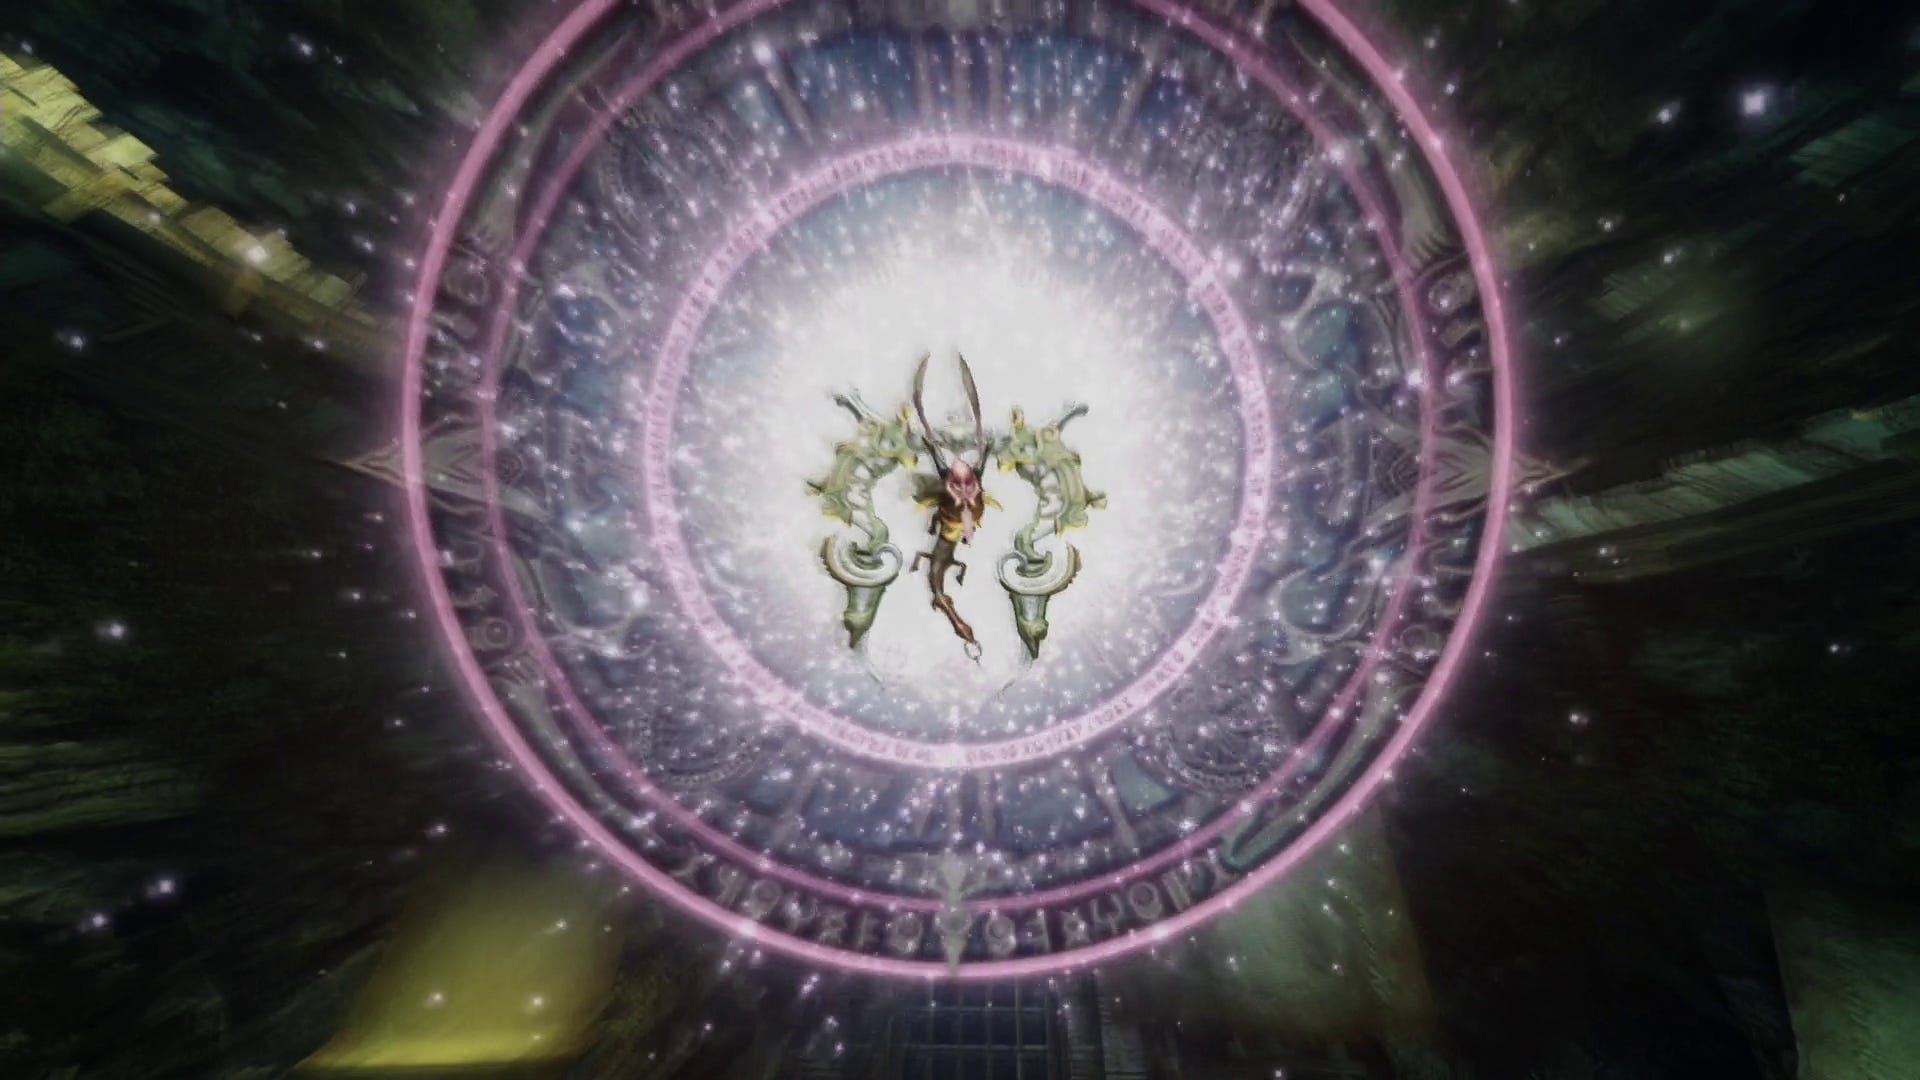
Final Fantasy 12 - Zodiark, Keeper of Precepts location, requirements and strategies
Everything you need for tackling the tricky Esper.

There are thirteen Espers in Final Fantasy 12, eight of which are optional foes outside of the main story. Zodiark, Keeper of Precepts is the last of those optional Espers that you'll be able to attempt tackling, so don't expect it to be easy! In fact, it's possibly the toughest battle in the game.
All of the Espers, nonetheless, are highly challenging, so just like the others, here on this page we'll be taking you through Zodiark's location, requirements, and of course strategies for how to defeat Zodiark in combat, too.
If you're looking for one of the other Espers, you can head back to our Esper battles, locations, and strategy hub. For other tips and explainers meanwhile, head to our Final Fantasy 12 The Zodiac Age guide and walkthrough, where we cover plenty more.
Zodiark, Keeper of Precepts location and requirements
Before you get to the actual battle, here's everything you need to know about Zodiark, Keeper of Precepts:
- Prerequisites: 10 Espers, finish the Mind Flayer mark.
- Location: Special Charter Dig in Henne Mines.
- HP: ~350,000
- Weaknesses: Light.
- Absorb: Dark.
- Recommended level: 65+
- Steal: Serpentarius, High Arcana, Megalixir
Once you've met the prerequisites, head to Jahara and speak to the Geomancer sat on the small hill to the right as you cross the bridge into the village. He'll have another gate in Henne Mines opened for you that leads into yet another hidden area.
Teleport to the crystal in the mine and head for the room where you fought Tiamat. Your new exit is to the right. The area ahead is a pretty tough slog but most of the enemies within are easy fodder for your healers to Curaja out of existence, and if you've got Excalibur it can also make short work of them. A word of warning, though - the further you descend into this area the higher the likelihood that fallen enemies will spawn a Necrofiend, so don't rush ahead after a fight as they may end up sneaking up behind you.
Phase 2 Dig
Start by heading all the way to the east to find an Urn containing the Henne Mines candle - the additions to your map will show the extent of the task ahead! Make your way south, and when the tunnels give way to a walled corridor keep your eye out for Abysteel bats.
Once you're back in the rocky tunnel heading west take the exit about half way along to the south - there's a hidden tunnel not marked on your map that will lead to the south side of the area. Head east, and when you reach the brick area watch out for more bats and the occasional Hecteyes.
Crossover C
Follow this south and then all the way to the west.
Pithead Junction C
Whatever you do, do not pull the switch - not only will it block your way off, but a load of Abysteels will drop into the room and claw you to shreds! Just head south…
Phase 2 Shaft
Head east through the narrow corridors, and when you emerge into the tunnel head north, east at the junction, and then south and through some more narrow corridors to the east.
Special Charter Shaft
This will be your last quicksave, so get used to the next section - if you don't beat Zodiark you'll be trudging through here a lot. (And don't be tempted to Flee through this area on subsequent visits - you won't survive.) This place is lousy with Necrofiends and Etéms, so take it slowly - they have a habit of teleporting in or materialising out of the mist, so a fight with one can quickly turn into a fight with several if you rush ahead.
Make your way through the brick-lined corridors and you'll emerge into another rocky passage. There's quite a lot of loot down here, but we'd recommend leaving exploring until after you eat Zodiark - spending time collecting it all only having to do it all over again is no fun.
In the small cavern about half way along the west-east passage there's a path to the north not marked on your map. Follow it round and it will lead to the L-shaped passage to the north. Follow that, and you'll eventually reach your destination.
For more help with? Final Fantasy 12? Our Final Fantasy 12 The Zodiac Age guide, walkthrough, Switch and Xbox differences gives an overview of the game to get you started. Elsewhere, there's our hidden Espers strategy and locations and Elite Hunts and Marks pages, how to get the best Zodiac Jobs for each character, advice on farming LP from Jellies and even how to get the Zodiac Spear.

Zodiark, Keeper of Precepts strategies and how to defeat it
We'd suggest stripping your party down to just your most useless single character when you enter; as soon as the fight begins Zodiark will fire off a Darkja, and his can hit for 8000HP, carries a chance of Death, and can inflict Blind, and he uses it a lot - there's an 80% chance that his opening move will kill everyone in your active party, so having someone take one for the team is really the only safe bet. We'd also recommend having two healers - one for use during most of the fight, and one you can swap in after a Darkja to resurrect your primary healer before swapping them back out.
In addition to his regular bursts of Darkja Zodiark will hit for 200-3000HP of damage with a single swing, with a high chance of Disease thrown in. Try and Dispel him of his buffs when possible, but when he uses his Magick Shield disable your Dispel gambit to conserve MP for healing and resurrection.
For most of the fight staying alive should be your main priority, and even your primary damage dealer should have a "Self: HP less than x% - X-Potion" gambit ahead of any combat commands. Rushing the fight will likely lead to an early demise, and if you start to lose too many people it can be difficult to recover.
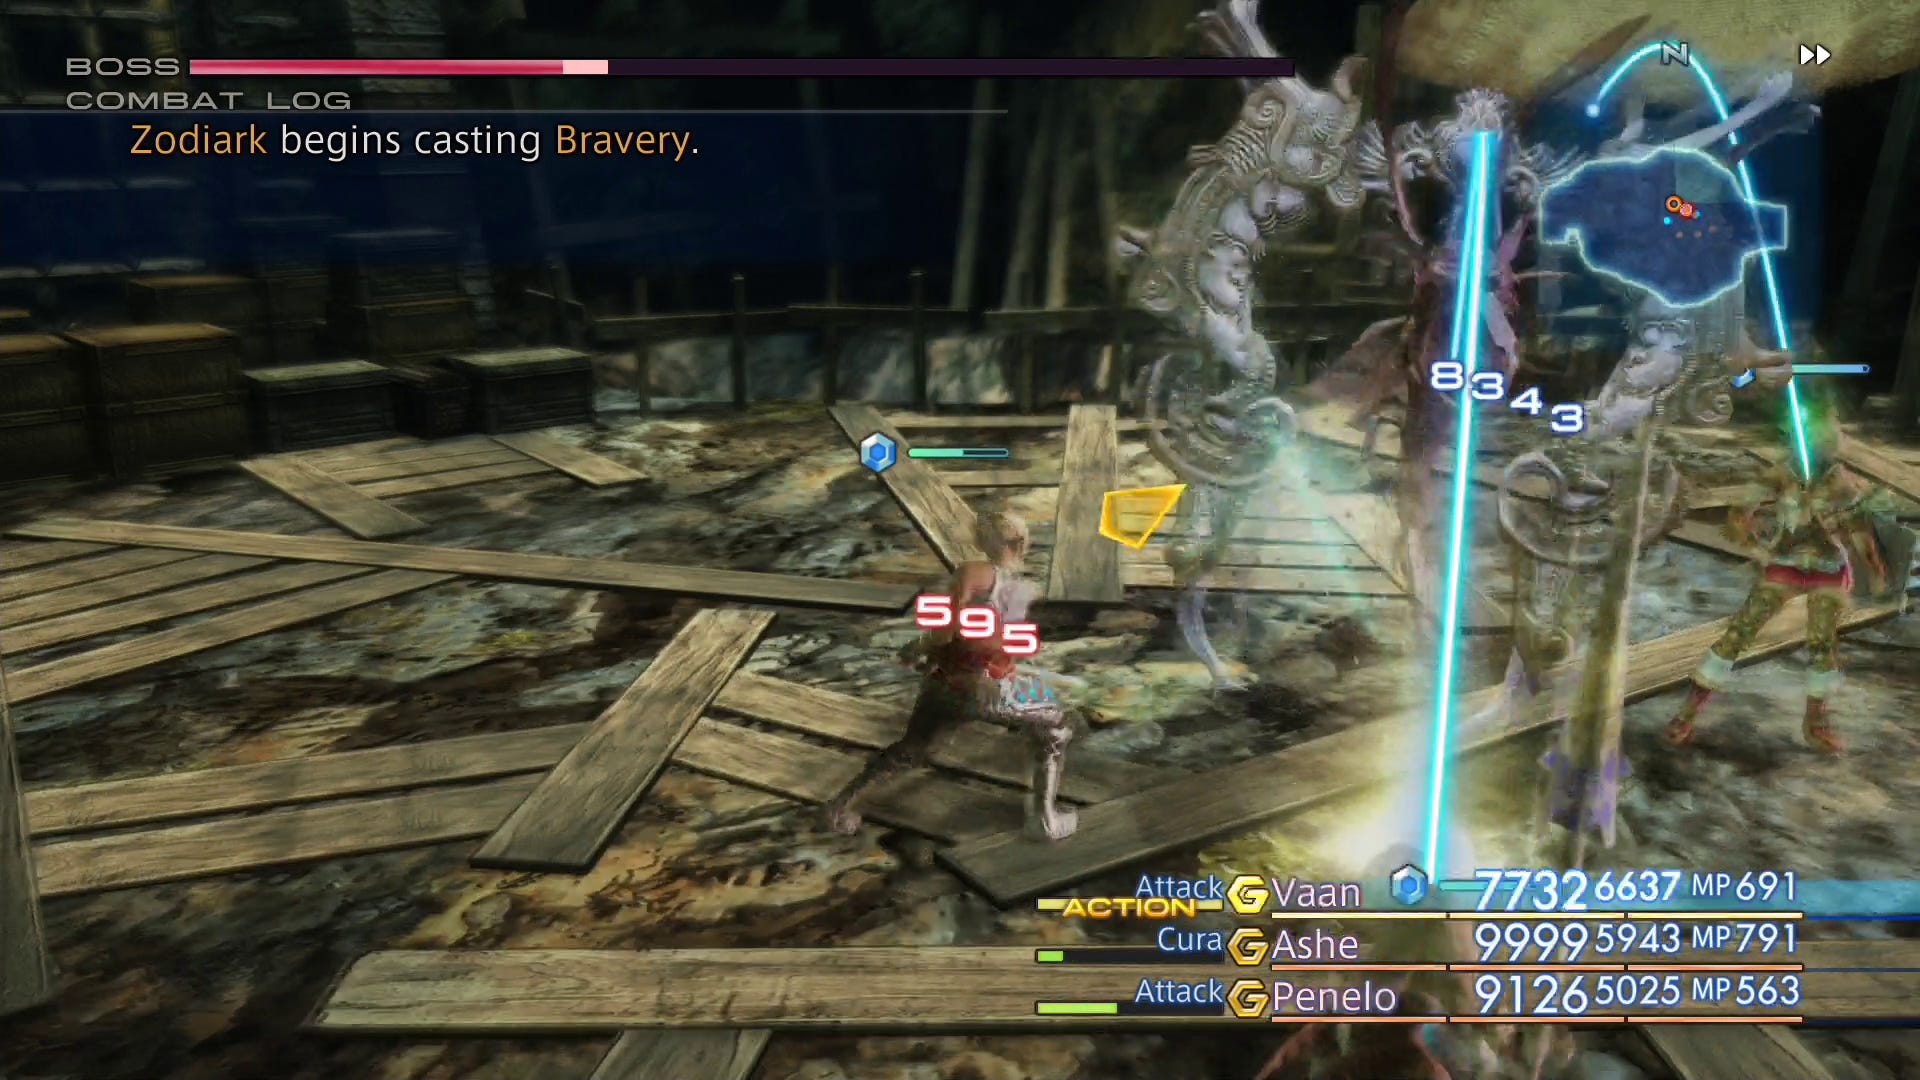
When he reaches 25% HP he will start to use Shift, Great Barrier, Faith, Bravery, and Mana Spring, and become increasingly hard to deal damage to. At times he will become completely impervious to attack, so during those periods we'd recommend removing your healer and whoever else you're using from active duty - he'll continute to use Darkja, so if your lone member dies you can quickly swap in your healer, resurrect the fallen, and then swap them out again.
When he's down to 10% or so we'd suggest turning battle speed to it's lowest setting - you're going to have very narrow windows to make an attack now. Watch the Combat Log, and as soon as one or other of his barriers drops get in an attack - he'll bring them back up very quickly, and you may only have a couple of seconds to get a hit in before having to wait it out again.
Yiazmat aside, this is probably the toughest fight in the entire game, so even if you cruised through everything else expect to be repeating this one many many many times! Once you've finally bested him the exit on the west of the room will take you back to Crossover C, so on the plus side at least the way out is a lot quicker than the way in.
Head back to our Esper battles, strategies and locations hub for more on the various other Espers, or our main Final Fantasy 12 The Zodiac Age walkthrough and guide hub for plenty of other guides, too!