Final Fantasy 15 Crestholm Channels - location, how to beat Nagarani and Jormungand
How to beat Crestholm Channels in Final Fantasy 15.

Crestholm Channels is another high-level end-game dungeon to tick off the list in Final Fantasy 15. As with Costlemark Tower, be sure to be a few levels higher than the recommended 55, get a good meal and get a few EXP buffs to ensure you take advantage of the high level monsters inside.
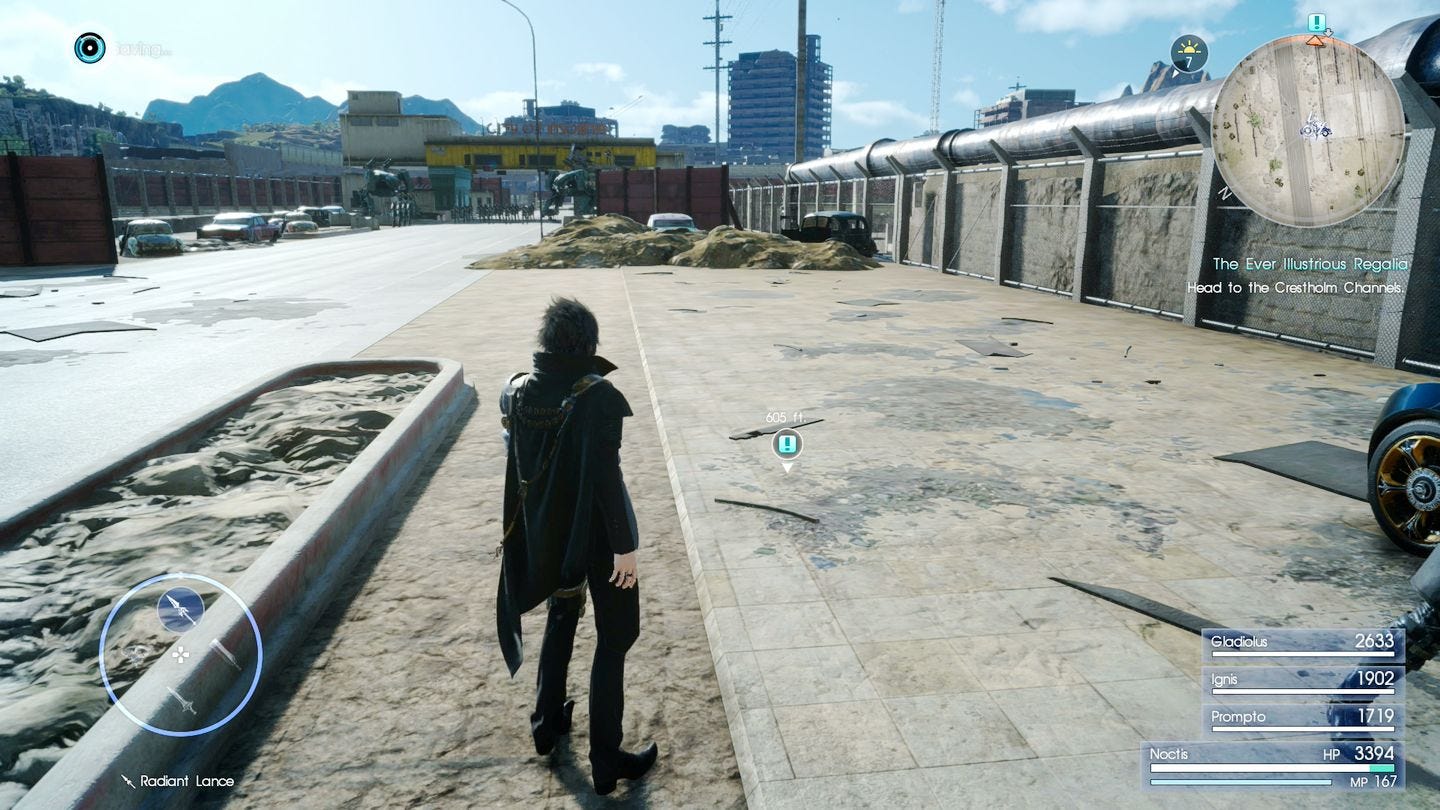
It's worth working through Cindy's fetch quests as the last one will lead you here and it saves a second visit, so if you've not done those yet, head to Hammerhead and have a chat with her.
When you're done, be sure to check out other Final Fantasy 15 dungeons and tombs for more places to explore.

Crestholm Channels
Recommended level: 55
The dungeon entrance is near Insomnia, right back where you started the game. Head for the parking spot and deal with the Imperial troops and a couple of MA Veles mechs, but if you're level-appropriate for the dungeon they should be no problem at all.
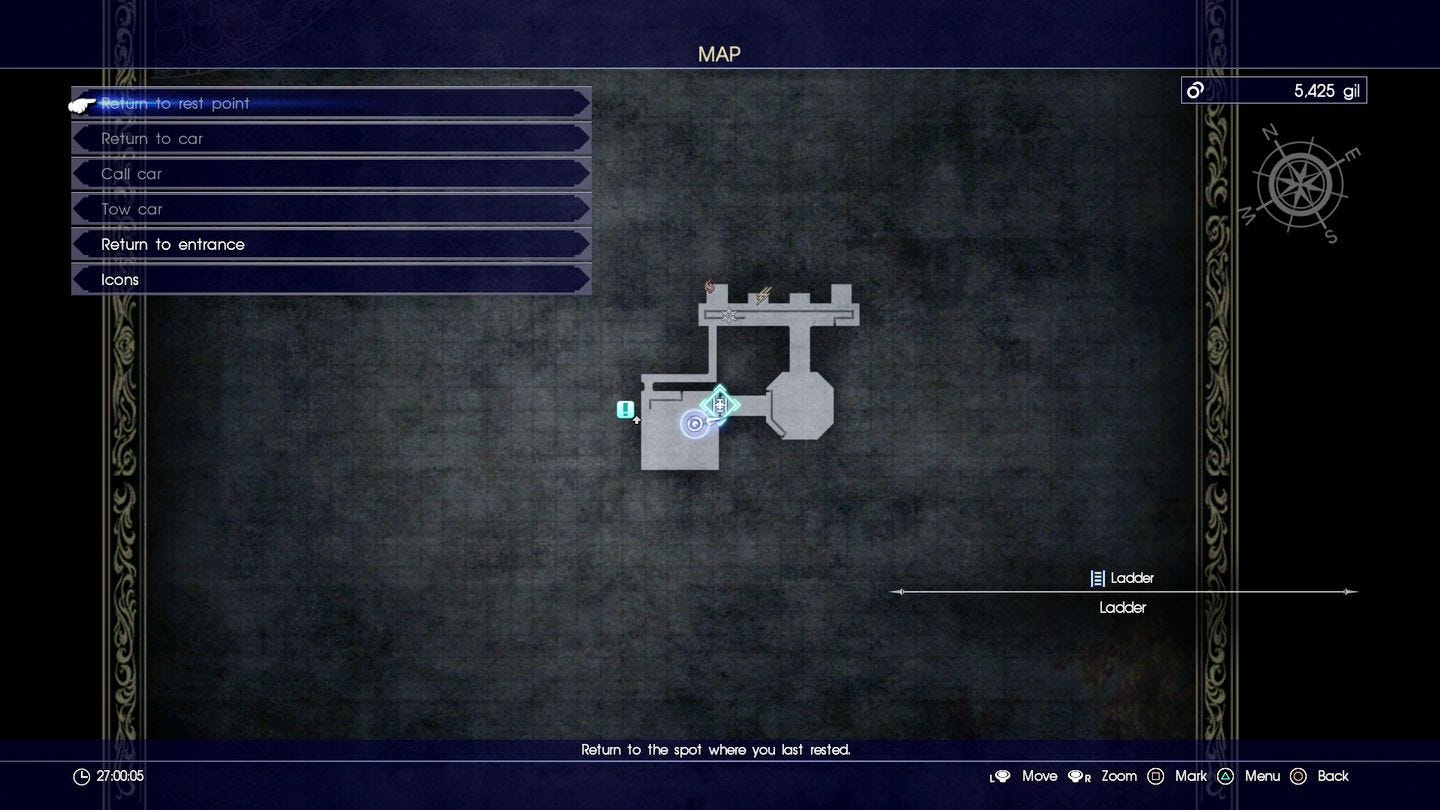
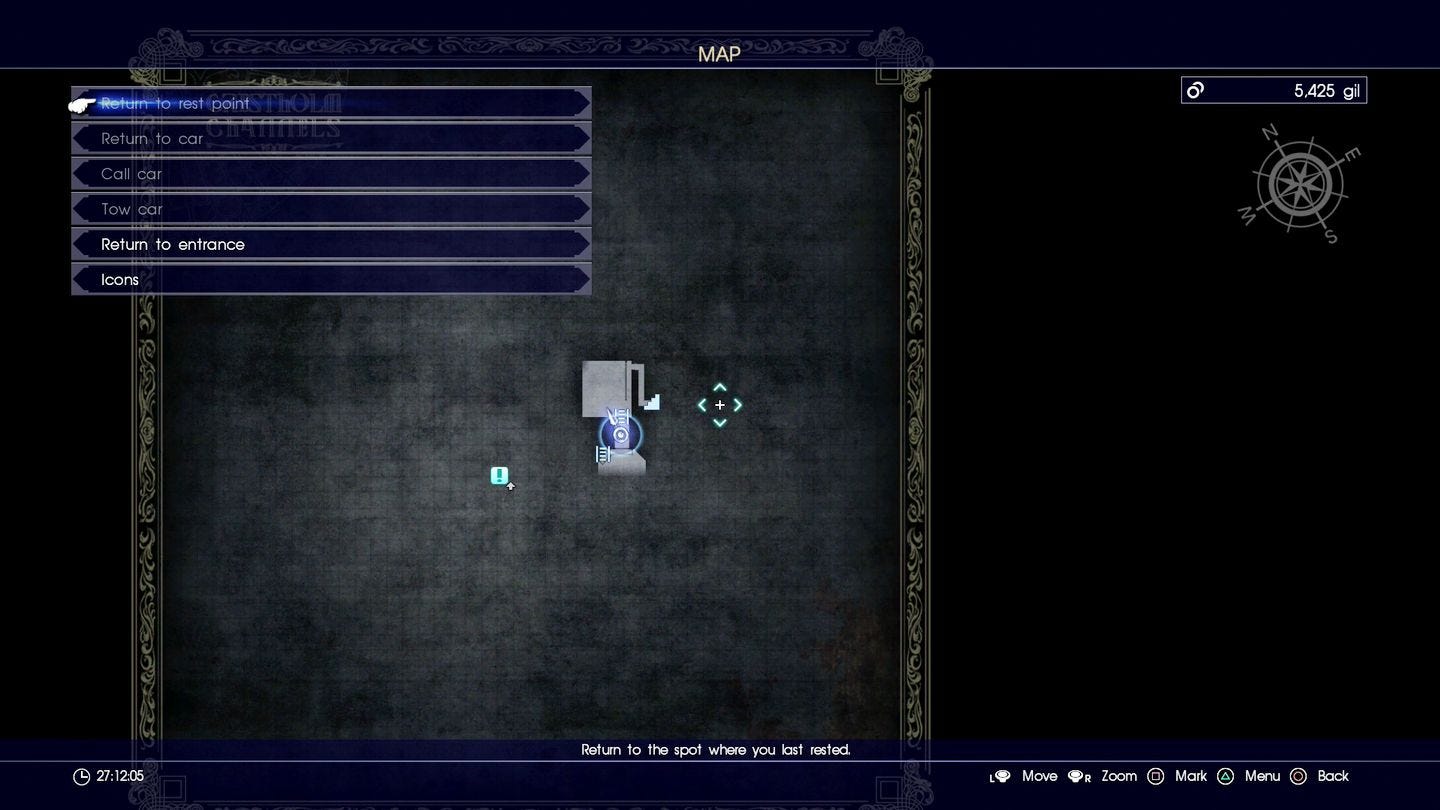
Head through the gate and turn right, go through the small opening in the fence, and head down a short flight of steps. Climb the long ladder down to enter the dungeon.
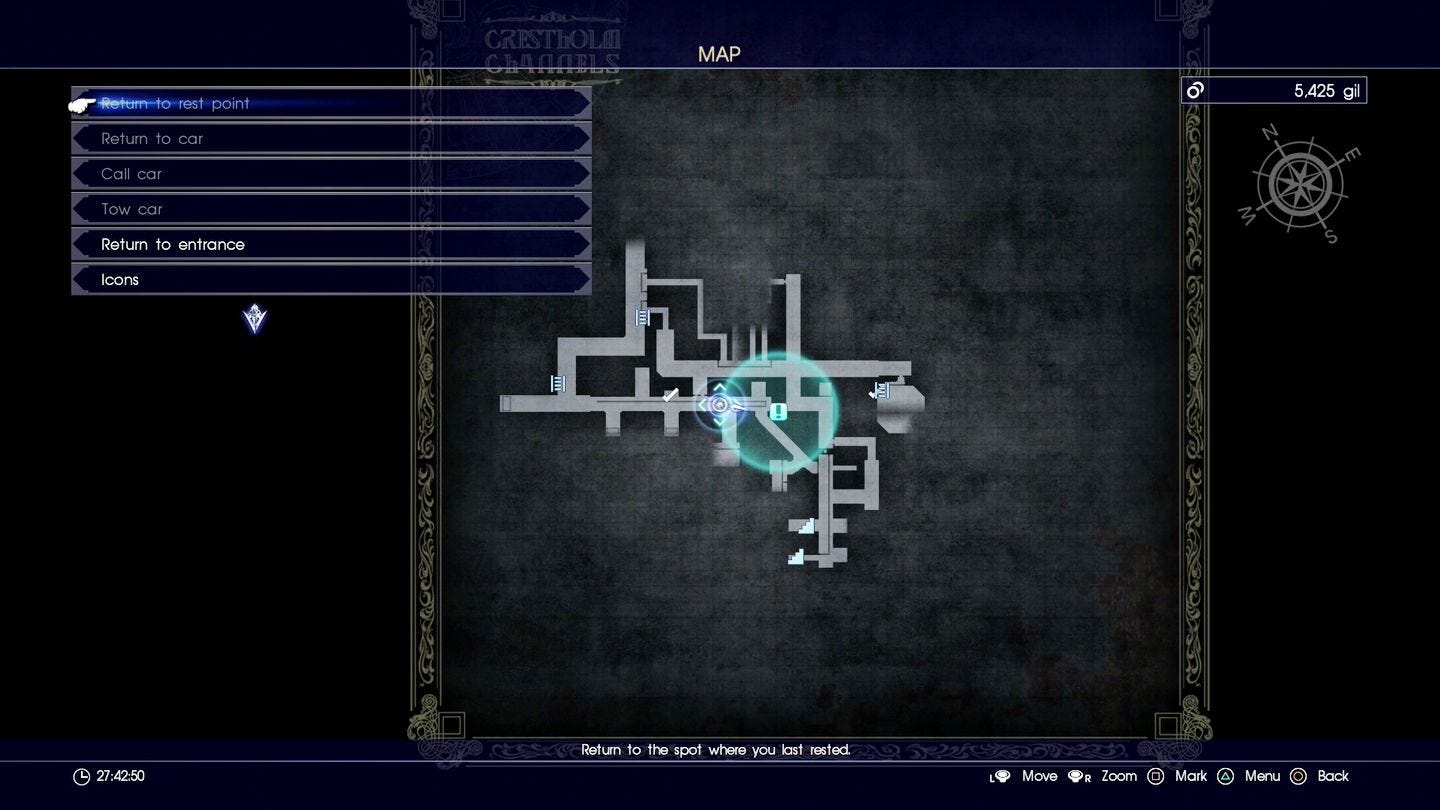
Head south along the corridor and up onto the raised platform to the left. Interact with the electrical panel (one of four you need to locate), and then continue to the end of the corridor. As you approach you'll be ambushed by some Bussemands - use Broadswords, Mechanisms, and Fire to take them out, and then slide down the water to the level below.
Waiting for you will be some Gelatins (higher level versions of Flans), more Bussemands, and a Yojimbo (vulnerable to Javelins, Guns, and Lightning, and resistant to Fire). Head up the steps and round the corner to find a few more Gelatins and another electrical panel. Flick the switch then rejoin the corridor and follow it to the end. Deal with the Bussemands and then drop through the hole in the floor to the next level.
There are more Gelatins and a Yojimbo in here. You'll need to drop down the slope in the north east corner, so it's up to you whether you fight or just head straight for it. Either way it's a big drop and you'll take some fall damage, so be careful.
Once at the bottom heal yourself immediately as you're about to be ambushed by the Nagarani. You can flee from the fight for now, but it will only delay the inevitable so it's safest to get it over with. She uses the same tactics and attacks as the Naga from way back in Chapter 5, but is weak to Swords, Shields, Ice and Royal weapons and resistant to Fire.
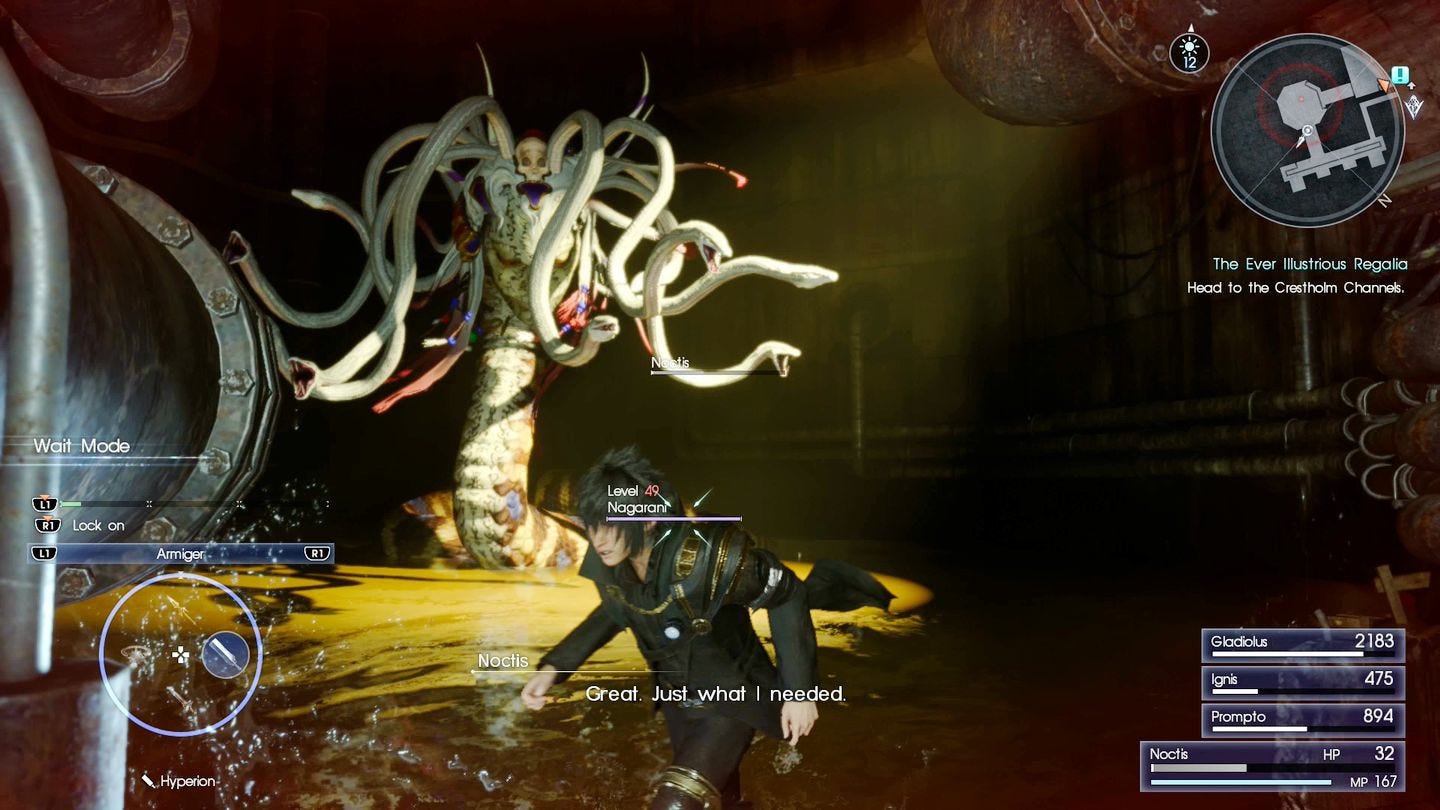
You'll be fighting in a very confined space, and she takes up quite a lot of it, and a lack of Warp Points and cover can make this a tough battle.
Once she's down head out of the exit to the north, turn left, and make your way to the upper walkway. Follow it to the end, go up the stairs, and into the next room to face more Bussemands. When they're down climb the ladder in the north east corner, make your way down the tunnel, and into the octagonal room above where you fought Nagarani; if you didn't kill her she'll just knock you back down to the floor.
Climb the ladder, edge along the platform, cross the pipe over the chasm below, and head into the next room to face some Ereshkigals. Use swords, Shields, and Fire to eliminate them, and make note of where you are - we'll be back to this room later.
Climb the ladder and make your way up the steps to another square room. Fight the Black Flan you find there, climb the ladder, head for the octagonal room, and up another ladder. Flick the switch on the third panel, open the door, and head onwards.
You're now back on the floor you started on, but in a different location. On the northern side of the walkway you're on you'll spot four narrower passages on your minimap; jump over the railing and head in through the passage second from the right.
Need more help? Our Final Fantasy 15 guide and walkthrough can provide tips on main story, as well as the open-world's many quests and activities. Learning how to get AP fast, EXP fast and money or Gil fast will aid you in many optional dungeons and tombs - including how to open and explore their locked doors. There's also plenty of interesting side-quests, too, such as the Scraps of Mystery and Professors Protege frog locations. And if you want to get around easier, you can rent a Chocobo, learn the infinite sprint trick and later in the game, get the flying car Regalia Type F. There's also more to see and do with DLC, such as Episode Gladiolus and Episode Prompto.
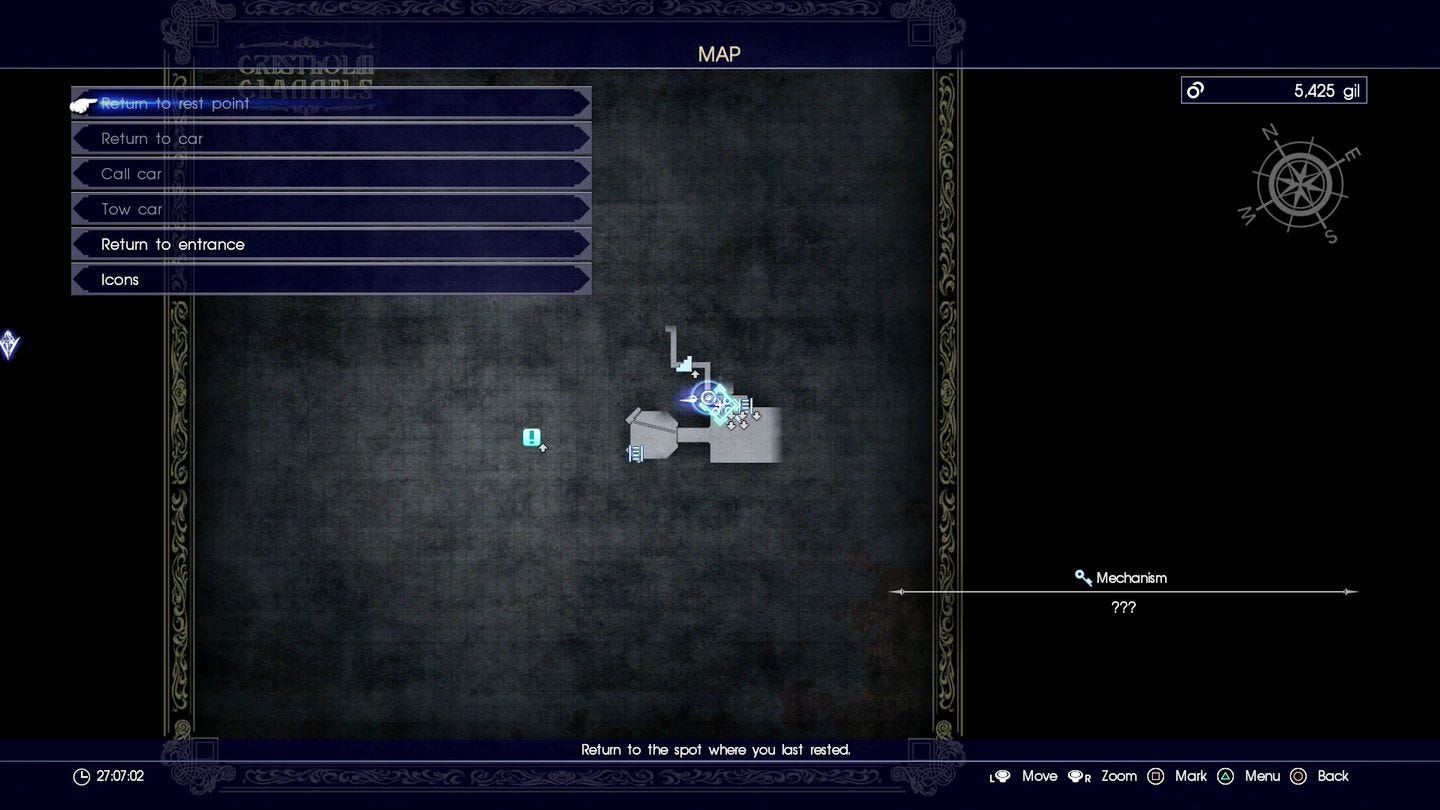
Follow the passageway - if you're doing Cindy's The Ever Illustrious Regalia quest then the headlights will be next to the fence on the western side of the first room, and the final switch is on the western wall in the second room.
Now all four switches have been flipped, head back to the room you noted earlier - you can either drop down and climb back up, or climb down to it, but either way takes about the same time. When you get there there's now a new exit in the north west corner of the room. Head through to face Jormungand.
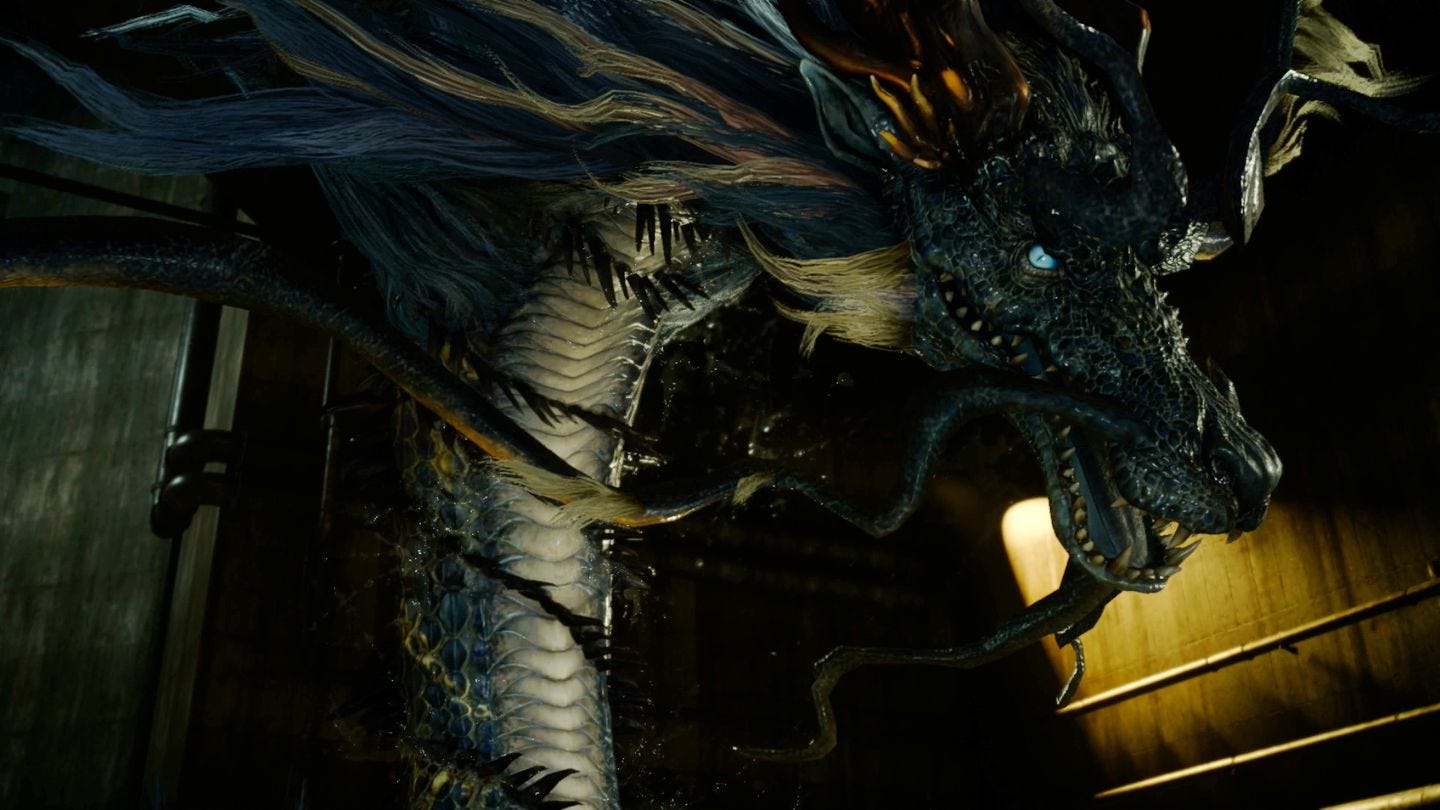
We couldn't find any particular strengths or weaknesses for the beast, but Gladio's Tempest Link Strike was an effective method of removing chunks of health. Once done, the dungeon is complete.