Final Fantasy 12 - Nalbina Dungeons, Barheim Passage, the Mimic Queen boss fight, and Bhujerba
A full companion guide to the third act of Final Fantasy 12 The Zodiac Age.

This section of our Final Fantasy 12 walkthrough deals with the game's third act, including Nalbina Dungeons, Barheim Passage, the Mimic Queen boss fight, and Bhujerba.
If you're looking for more guides and tips meanwhile, then head to our Final Fantasy 12 The Zodiac Age guide and walkthrough hub, where you'll also find this walkthrough's contents for all the other sections, too.
Nalbina Dungeons and Barheim Passage
Nalbina Dungeons
There are a couple of chests to loot in the area before heading towards the save crystal. Save your game then exit through the north. After a cutscene you'll be in a hand-to-hand brawl, but you can still use Magic and Technicks to being the odds more in your favour.
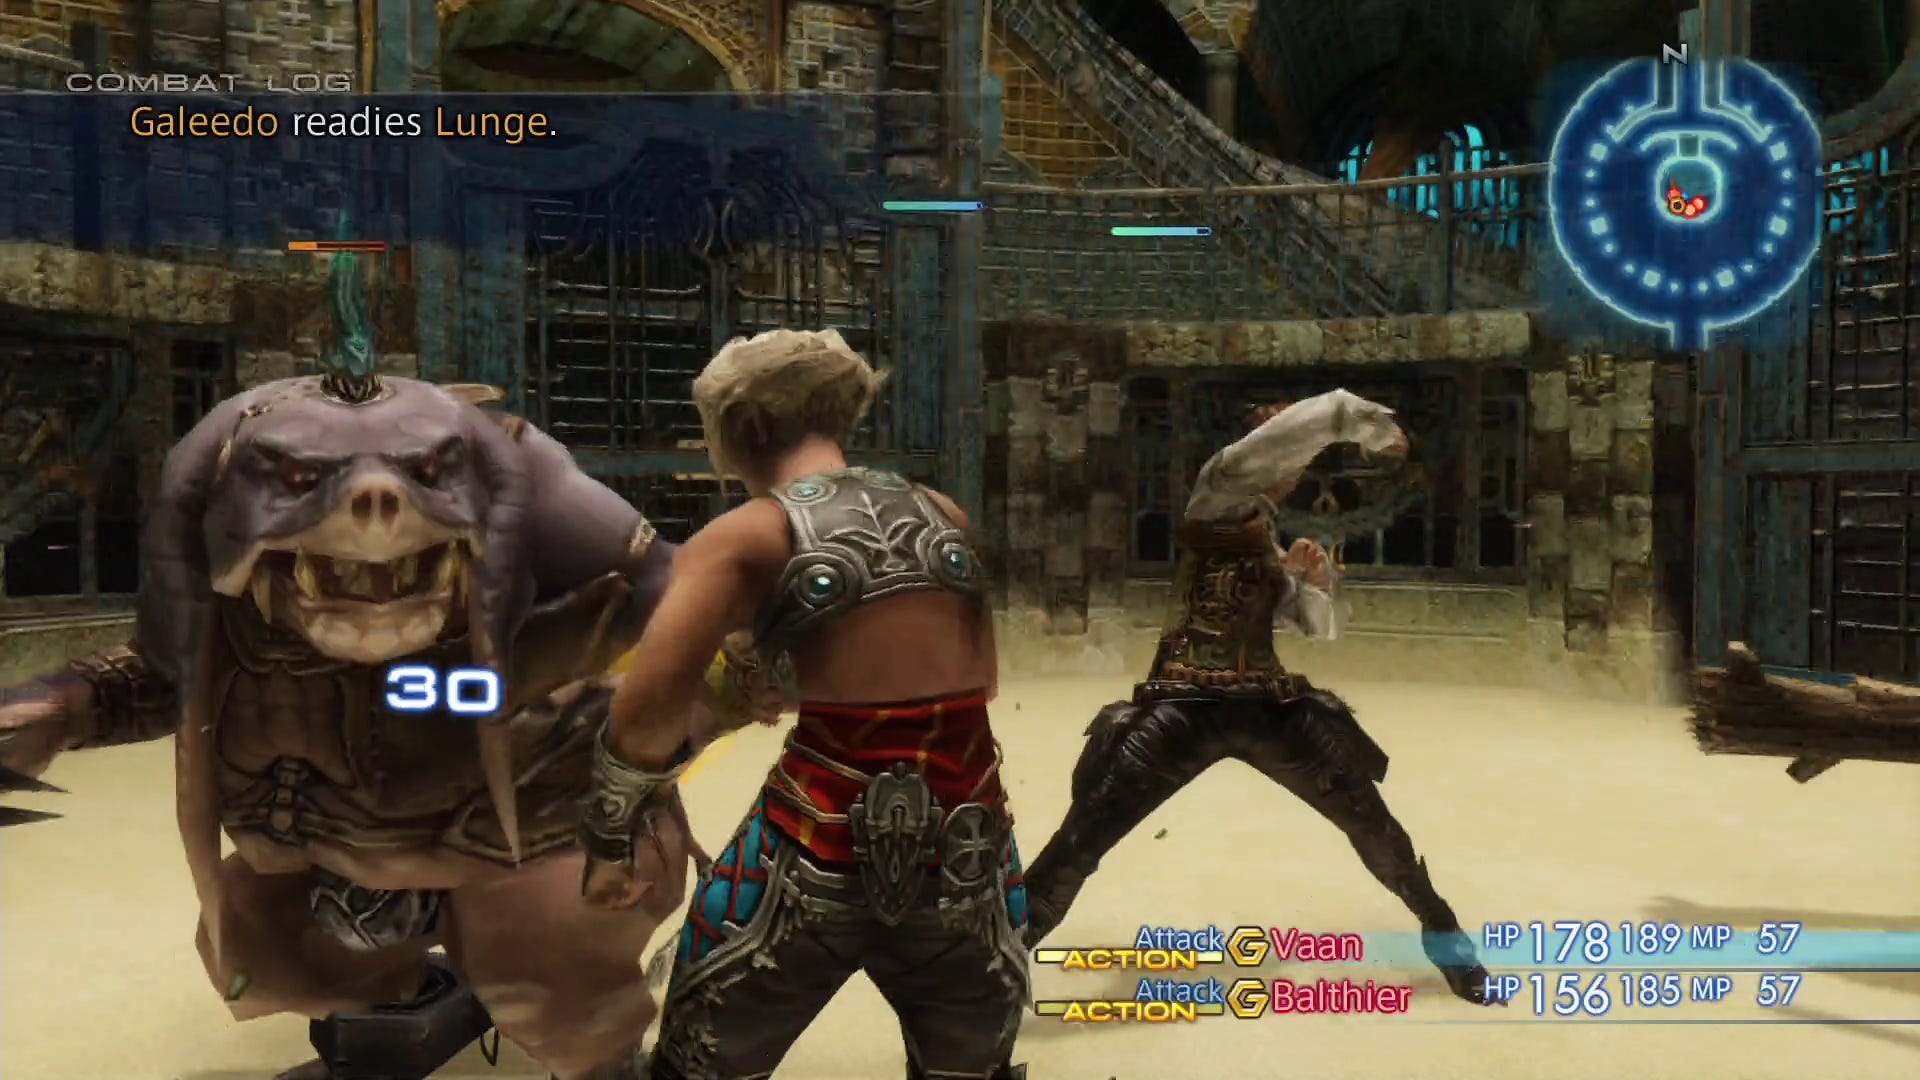
Once the scrap is done you'll end up in The Confiscatory. Head towards the save crystal and you'll be reacquainted with your gear along with a handy map of the dungeon. As you make your way through The Black Watch you can either avoid combat by keeping out of sight, or you can fight your way through. Duking it out has the advantage of extra loot and EXP, but bear in mind that sounds of a fight will carry and one lone enemy can quickly escalate into three or four before you know it.
When you reach the locked door in the middle of the northern area a cutscene will play. Once it's finished follow the Imperials down the steps into the next area.
Barheim Passage
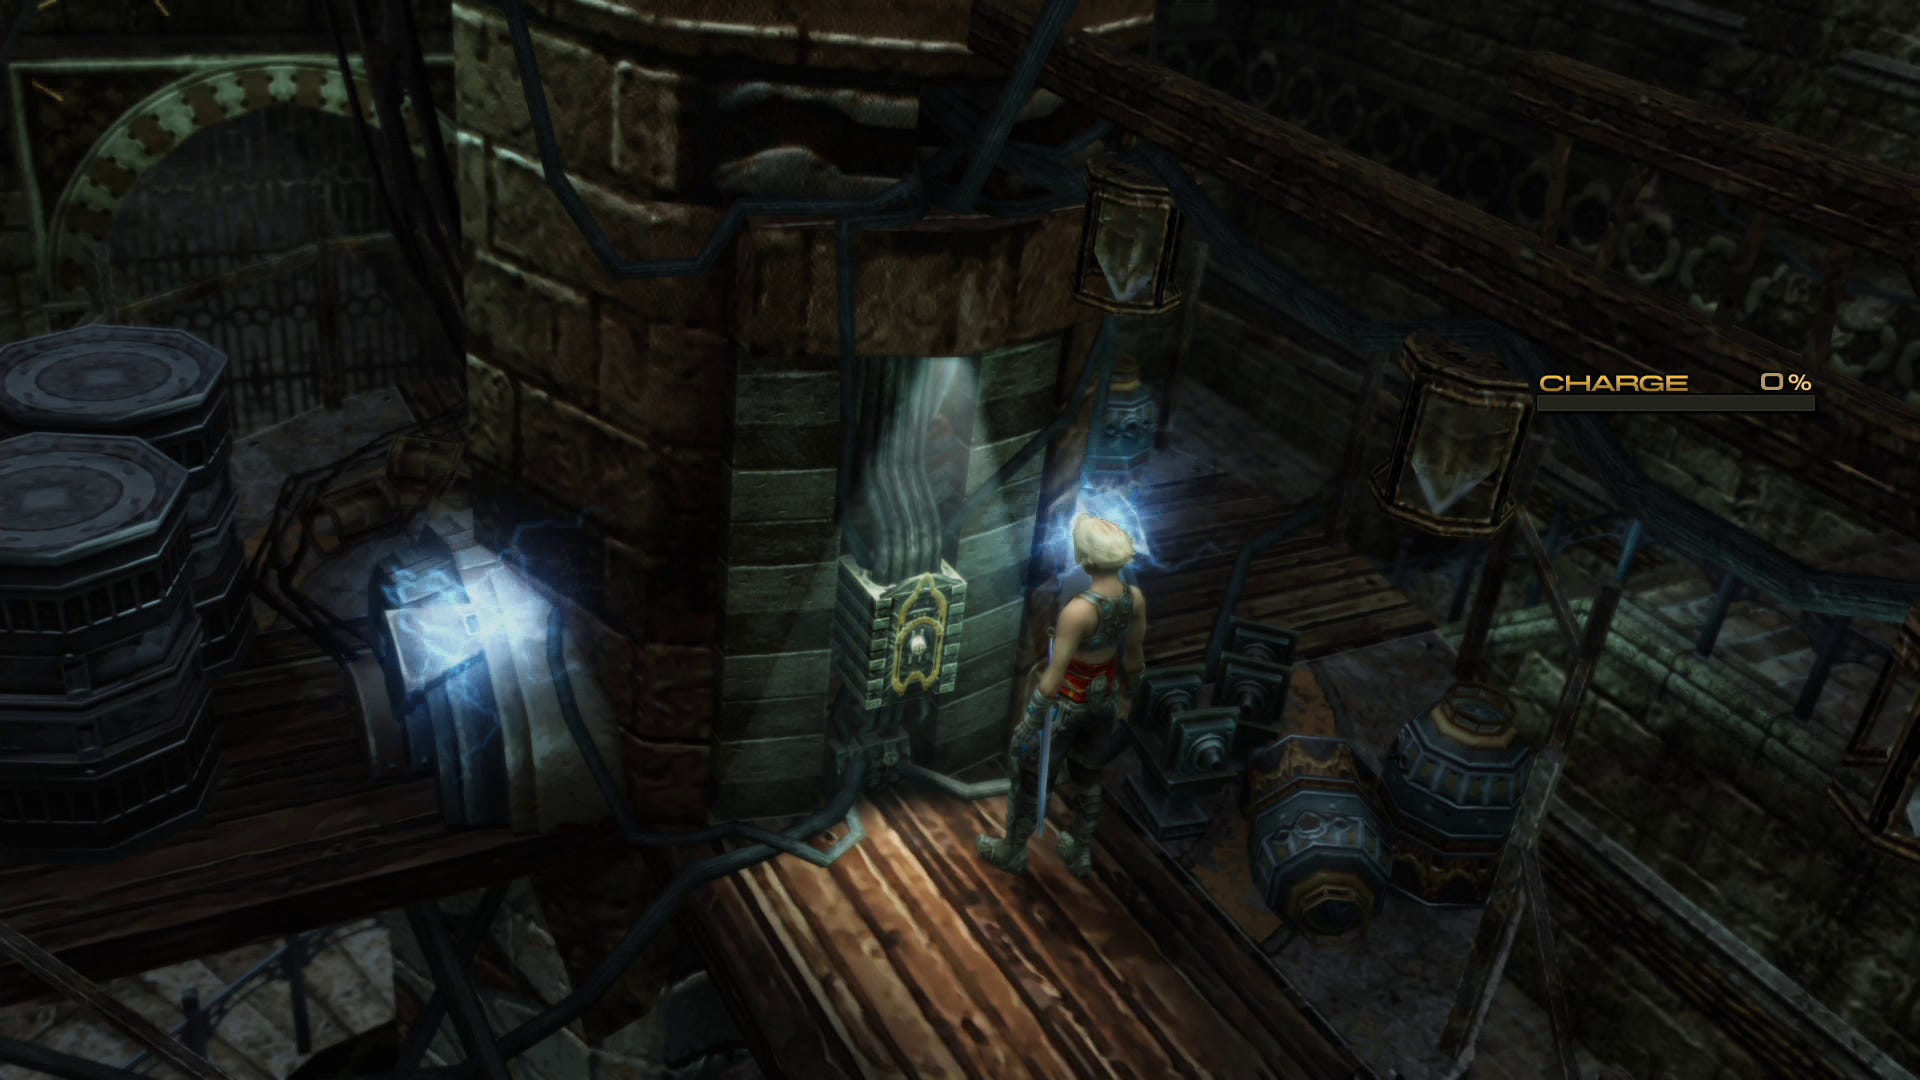
You'll have a new guest joining you here, and although he starts off unarmed he's still a handy addition. Head down the steps and make sure to loot the chests as you go for a stash of Gil. Use the save crystal then examine the Timeworn Device in the middle of the room before heading down and talking to the merchant and he'll give you a fuse that you need to install in the device. Pop it in, then head back down and hit the switch.
Before moving on sell your loot (apart from your Teleport Stones) and stock up on anything you need - the merchant has a couple of gambits for sale, the Blizzard spell is useful in this area if you have someone who can cast it, and you'll want to grab a dozen each of antidotes and eyedrops.
As you make your way through the underground passages a number of Battery Mimics will be marked on your map in the following locations:
- Op Sector 29
- Great Eastern Passage
- Op Sector 36
- Special Op Sector 3
- Op Sector 37
Head for each one and take them down as quickly as you can - they're weak to ice so use Blizzard to keep it quick as if you let them check on the cables for too long the lights will go out, and then you'll be in serious trouble. Thankfully they don't start draining the power until you get near them, so between Mimics you don't have to rush.
Once you reach North-South Junction Basch will find some weaponry and armour making him more useful. Use the save crystal and head south through Great Central Passage and Zeviah Subterrane - there are another few mimics in here including a couple that are disguised as chests. When you reach Terminus No. 4 Adjunct save again and prepare for another boss fight.
For more help with? Final Fantasy 12? Our Final Fantasy 12 The Zodiac Age guide, walkthrough, Switch and Xbox differences gives an overview of the game to get you started. Elsewhere, there's our hidden Espers strategy and locations and Elite Hunts and Marks pages, how to get the best Zodiac Jobs for each character, advice on farming LP from Jellies and even how to get the Zodiac Spear.

Mimic Queen boss fight
Boss Fight: Mimic Queen
When the fight begins your first job is to take out the Tiny Mimics that are in the area before turning your attention to the queen - even during the fight you need to keep an eye on the power gauge, so whenever new mimics spawn stop what you're doing and take them down.
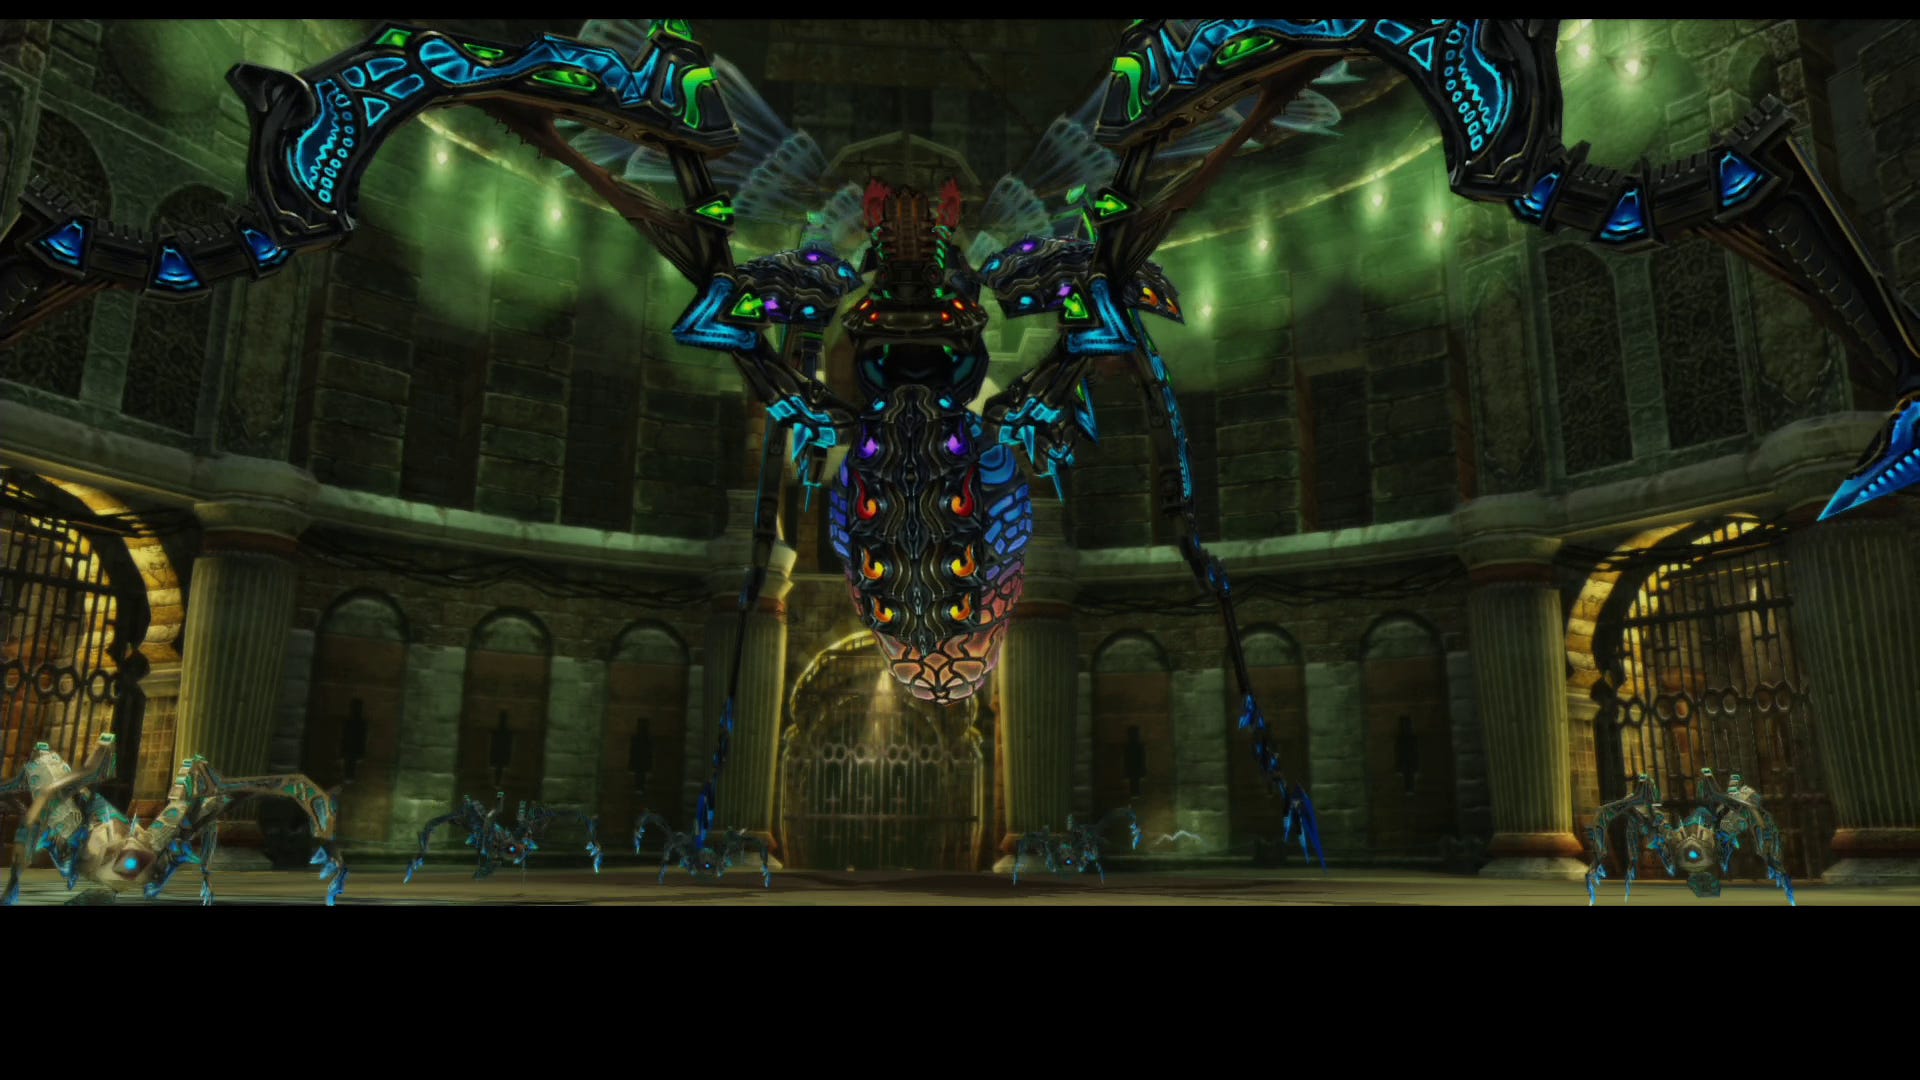
Not only will this mean the lights stay on, it also keeps her busy spawning more - she has a Shockstorm attack that can take over 150HP from anyone caught in the blast, but she'll only use it if there's a full complement of Tiny Mimics in the room.
Dalmasca Estersand
Save, then head back towards Rabanastre. While you're in Sand-Swept Naze you may run across a cockatrice that seems a little tougher than the rest - this is Nekhbet, a rare fiend, so he's worth attempting while you have four party members. You'll also pass the location of a Mark, so if you've accepted it but not yet tackled it it's worth detouring and dealing with him.
Rabanastre
Your clan rank has probably gone up by now and you've defeated a boss or two, so don't forget to head to Clan Centurio to get some goodies, then head to Migelo's. Speak to Kytes, head to Old Dalan's house, then head to the point he marks on your map and Basch will now join your party permanently, and finally head to the Sandsea and make your way up the stairs to the upper level to trigger a cutscene.
Now's a good time to get all your Licenses in order, buy the best appropriate gear you can afford for everyone, add as many gambits as you can, and stock up on magic - even if you can't use the spells yet you'll need them eventually, and buying them now means you don't have to wait to find a merchant when the time comes. If nothing else, but Libra and set up a gambit so that whoever can use it casts it on "self" - among other things it will detect traps for you, and there are plenty of those coming up in the next area. It's also worth taking on a few hunts now for extra EXP, LP, and items, and generally doing a bit of grinding in relative safety - we'd recommend being at least level 14 before proceeding.
Once you're ready save your game, head for the Aerodrome, and speak to Balthier.
Bhujerba and Lhusu Mines
Bhujerba
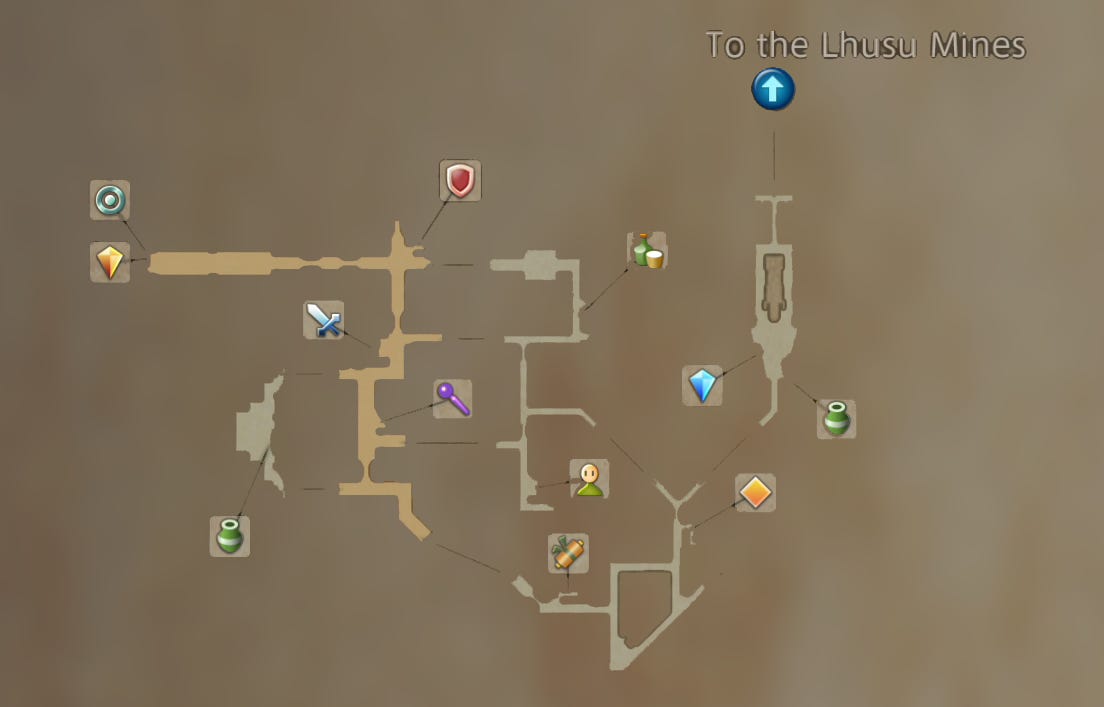
Head for Lhusu Mines - it's easy to find as all the exits to other areas are currently blocked off so you can only go one way, but you can buy a few items and a map of the mines as you go. When you reach the mine "Lamont" will join your party as a guest - he's a super-helpful healer, but sadly he won't be with you for long. After the cutscene save your game (there's no save point inside) and head into the mines.
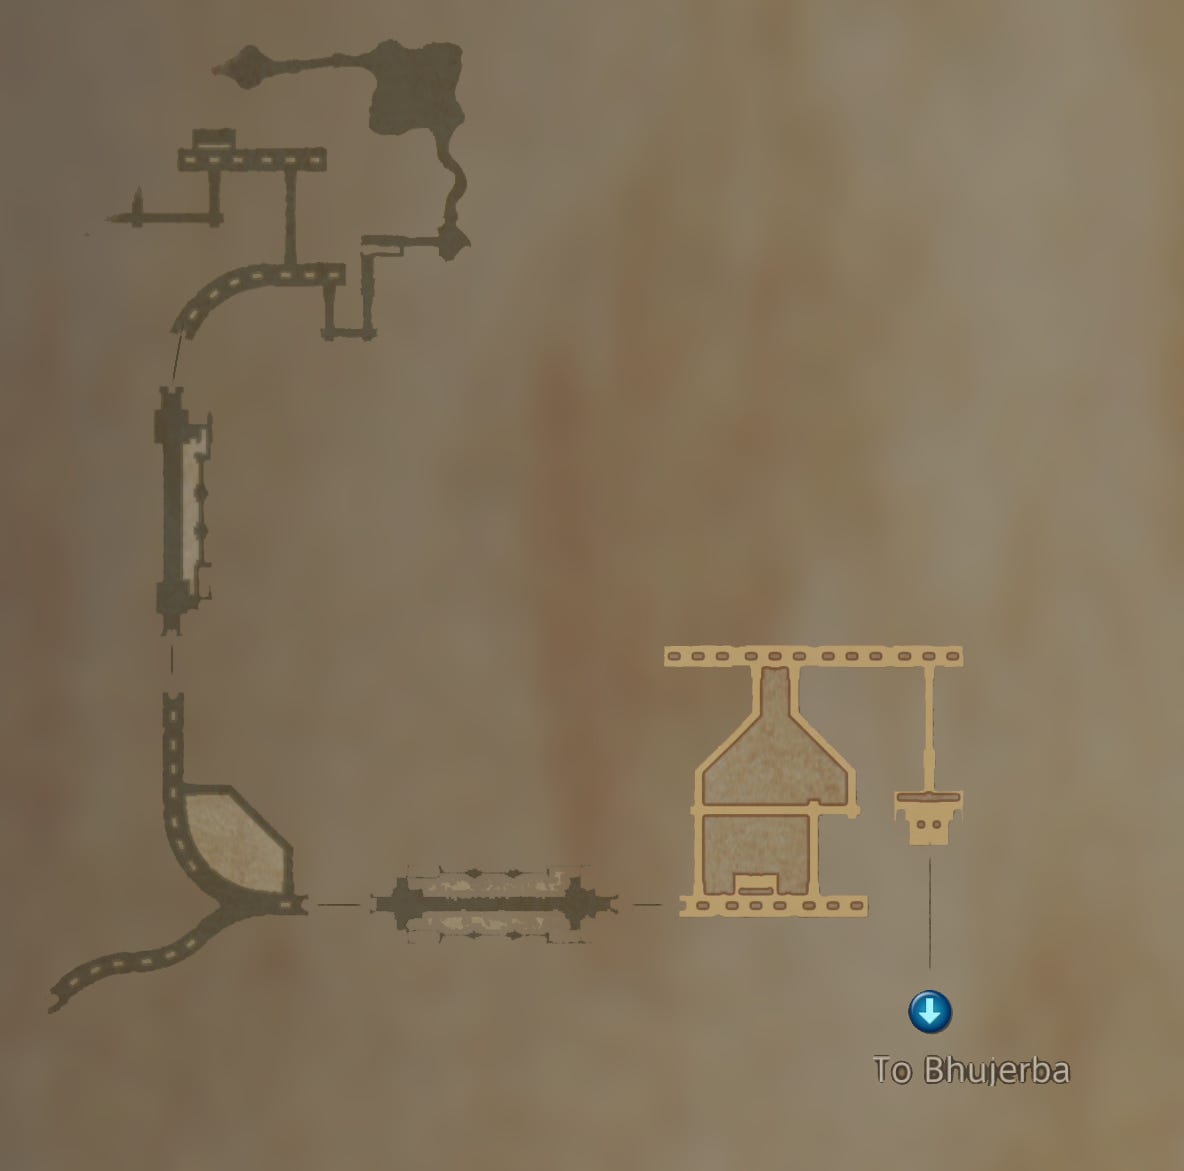
Make sure you have "Self > Libra" equipped on a party member to help you avoid traps - they can wipe out your entire party if you're unlucky. Make your way through Shaft Entry, Oltam Span, and Transitway 1 until you reach Shunia Twinspan (that don't impress me much), a good spot to pause for some grinding as the Skeletons will just keep coming.
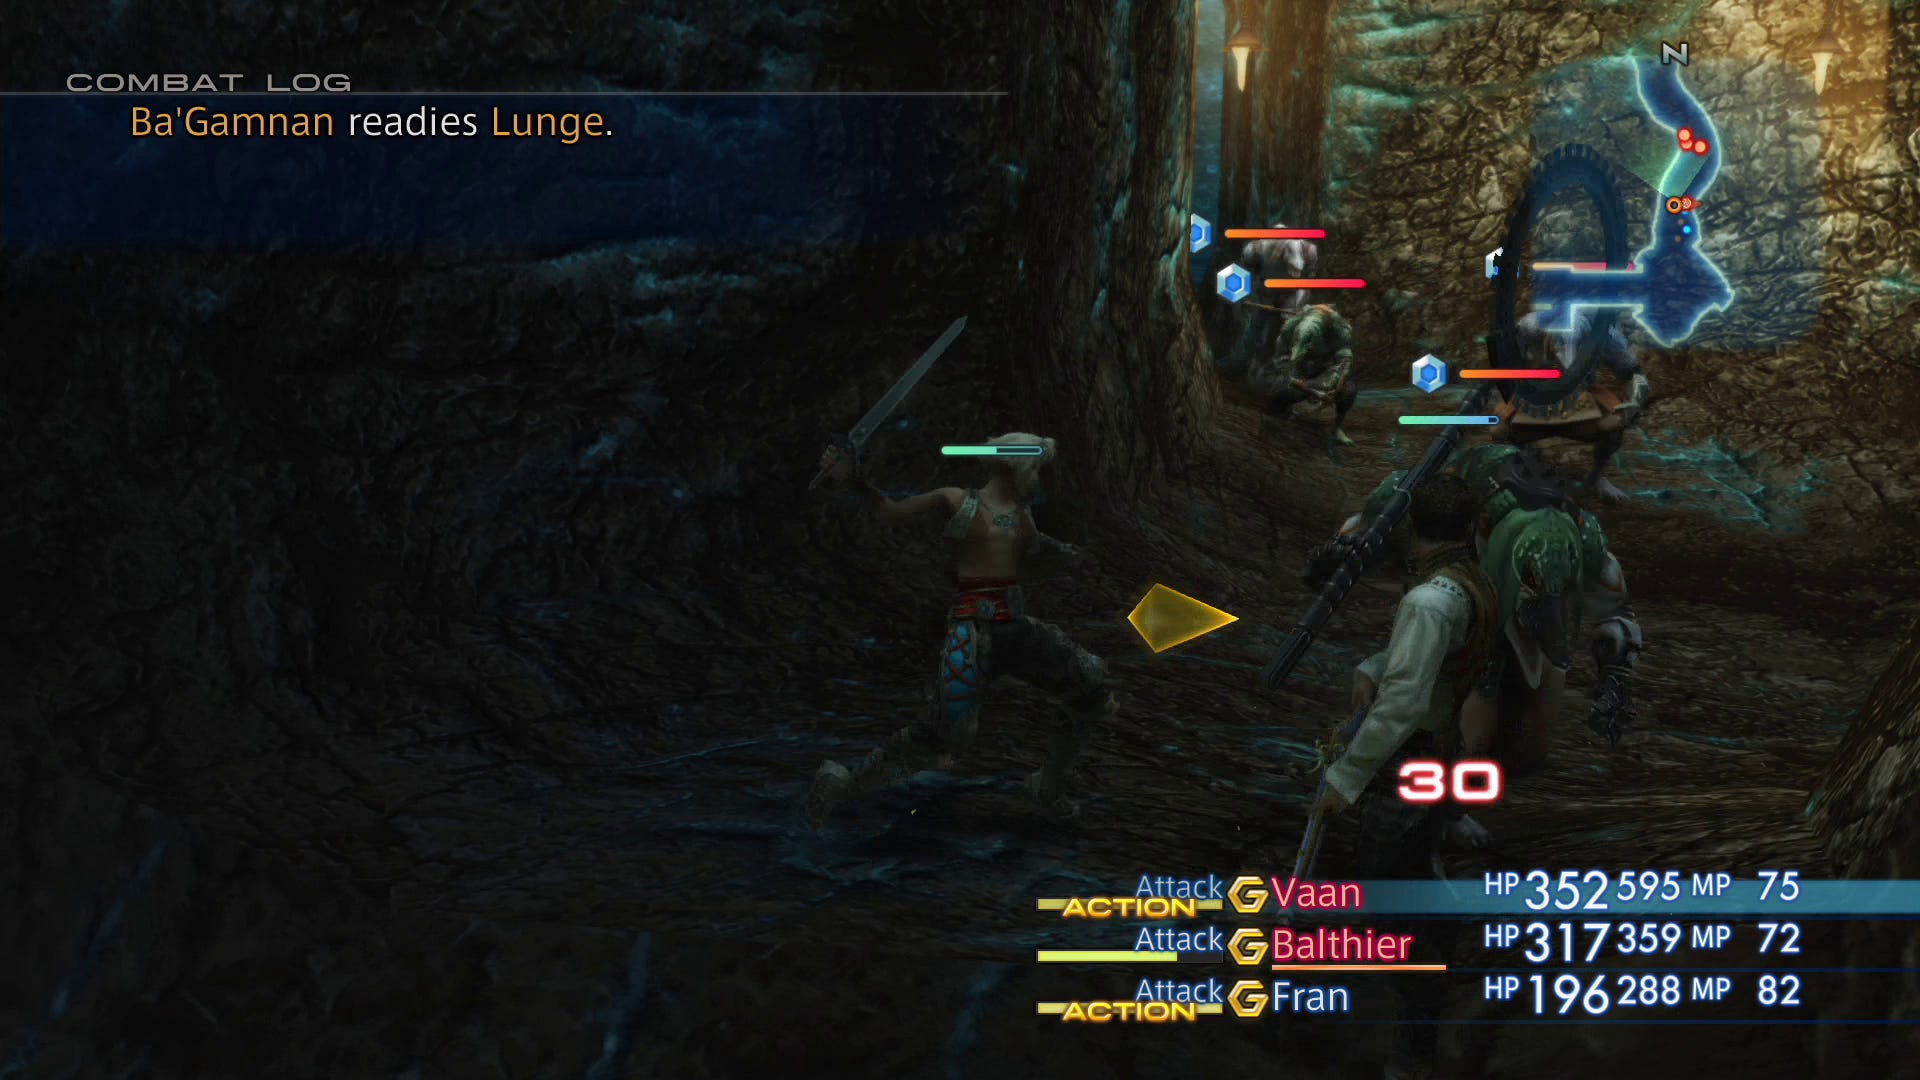
When you enter the next area a cutscene will play and Lamont will do a runner. When it finishes hold down R2 and run for your life until you exit the mines - while it is possible to defeat the enemies it's not intended and it's not an easy fight, but should you want to engage in combat (there's a Clan Primer entry in it) focus your efforts on Ba'Gamanan as once he's down the other three will flee.
Whether you choose to fight or flee, once you leave the mines there'll be a cutscene, and you'll now have to spread some rumours.
Wander around the town looking for people carrying books, then stand nearby and press Square; keep an eye out for guards wearing helmets as if one of those overhears you you'll be back to square one.
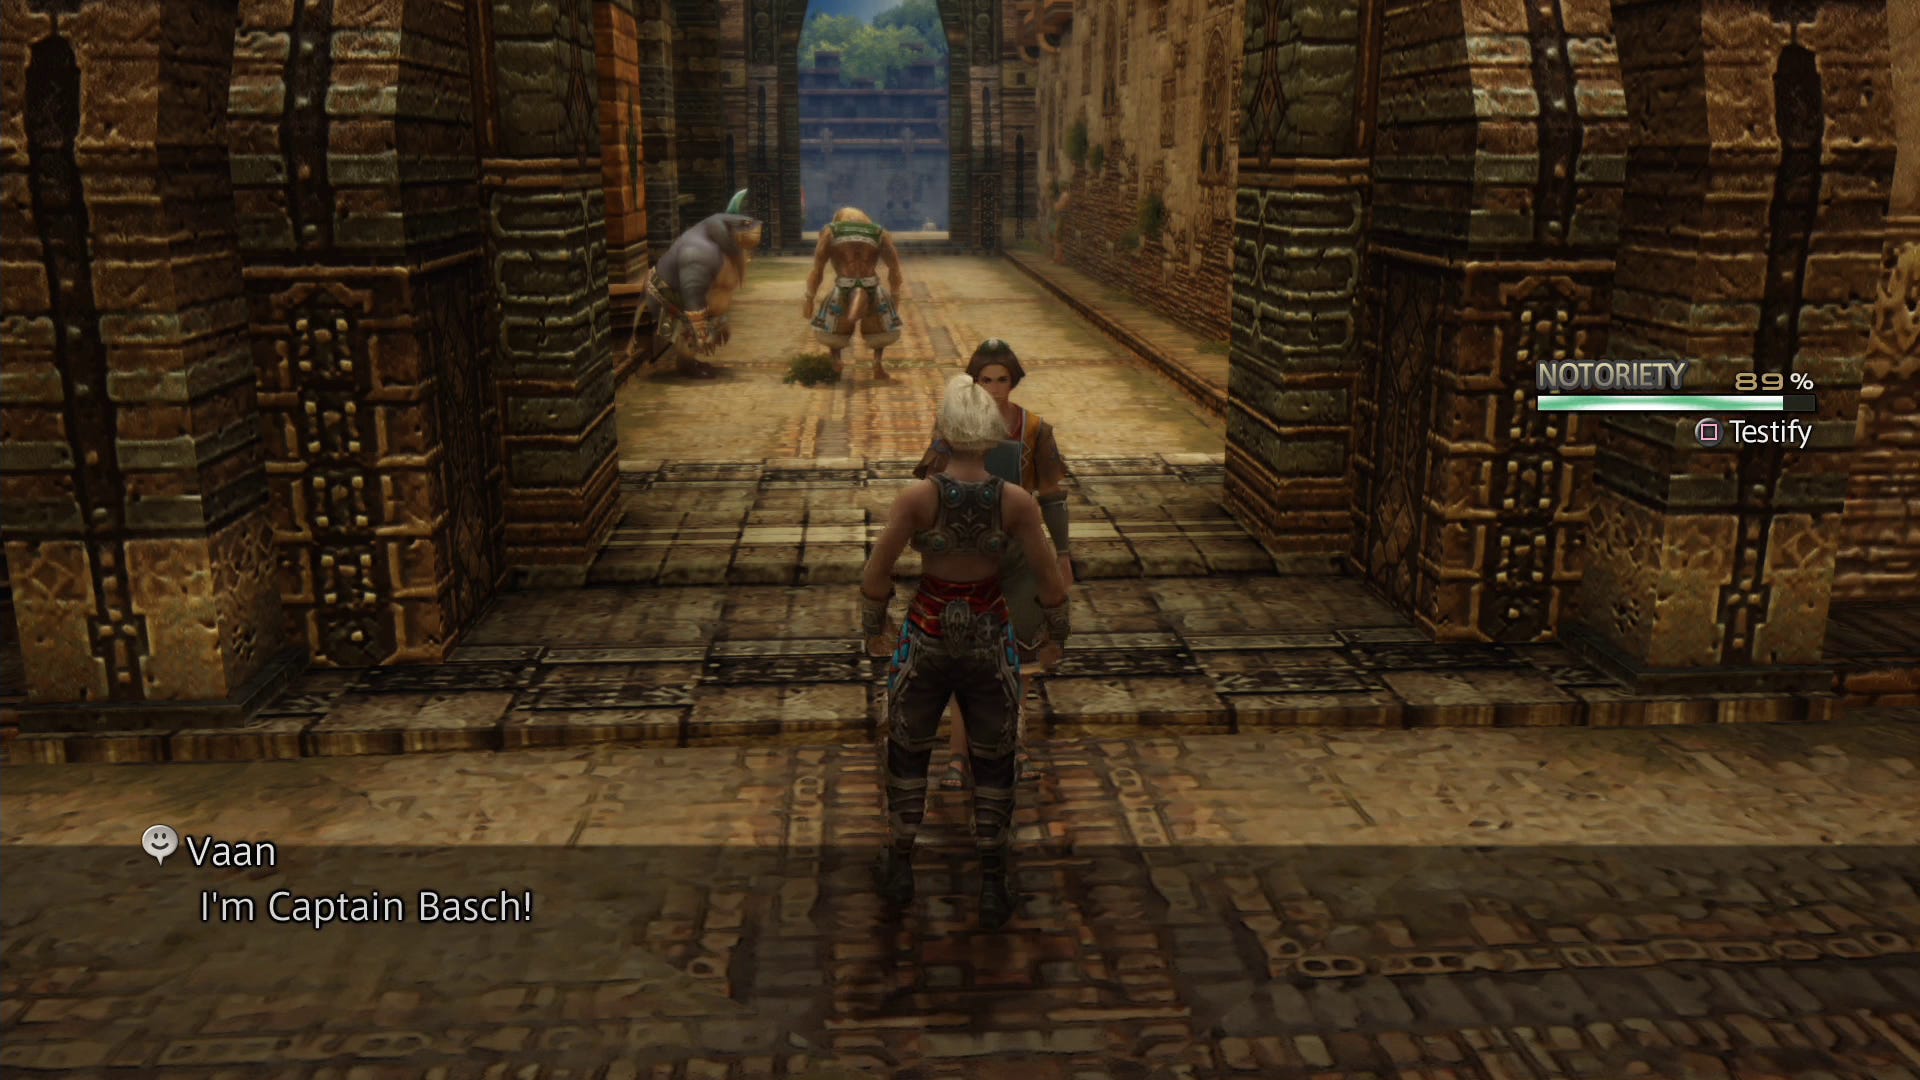
Once your notoriety meter hits 100% you'll be whisked away to the Cloudborne Tavern, and once your conversation is over head to talk to the Marquis.
With that done, next up is part 4 of our Final Fantasy 12 The Zodiac Age walkthrough: Dreadnought Leviathan, Judge Ghis boss fight, Nam-Yesa Sandsea and the Sandscale Bank.