Final Fantasy 12 - The Feywood, Rafflesia, Ancient City of Girguvegan, and Daedalus
A full companion guide to the first part of Final Fantasy 12 The Zodiac Age's seventh act.

This section of our Final Fantasy 12 walkthrough deals with the first part of the game's lengthy seventh act, including the Feywood, the Rafflesia boss fight, the Ancient City of Archades, and the Daedalus boss fight.
If you're looking for more guides and tips meanwhile, then head to our Final Fantasy 12 The Zodiac Age guide and walkthrough hub, where you'll also find this walkthrough's contents for all the other sections, too.
The Feywood and Rafflesia boss fight
You'll find yourself in Balfonheim Port now. This is a trigger for new spells, weapons, and armour to become available, so check the shops both here and elsewhere in the world to see what goodies are available. (Consult our list of what's where for more information.) You're going to need a fair few status-effect curing items so stock up on Antidotes, Chrons Tears, Echo Herbs, and similar items - by now you've probably accumulated enough Gil to buy 99 of everything, so go crazy!
When you're ready to move on, teleport to Eryut Village and exit into Golmore Jungle. The enemies here should be a lot easier to deal with than during your last visit, so feel free to wreak vengeance on them for any grief they gave you. Keep heading south through the jungle and you'll eventually emerge in the Feywood.
The Feywood
Keep your eyes open for traps, and proceed ahead with caution; visibility is poor here and the deeper you go the worse it gets - things have a tendency to loom out of nowhere. The enemies here are fond of their status effects, and Stop, Confuse, and Sleep can really screw with your party so prioritise removing those in your Gambits if you can.
Heading west from here will take you to the Paramina Rift, and south east will lead towards your goal.
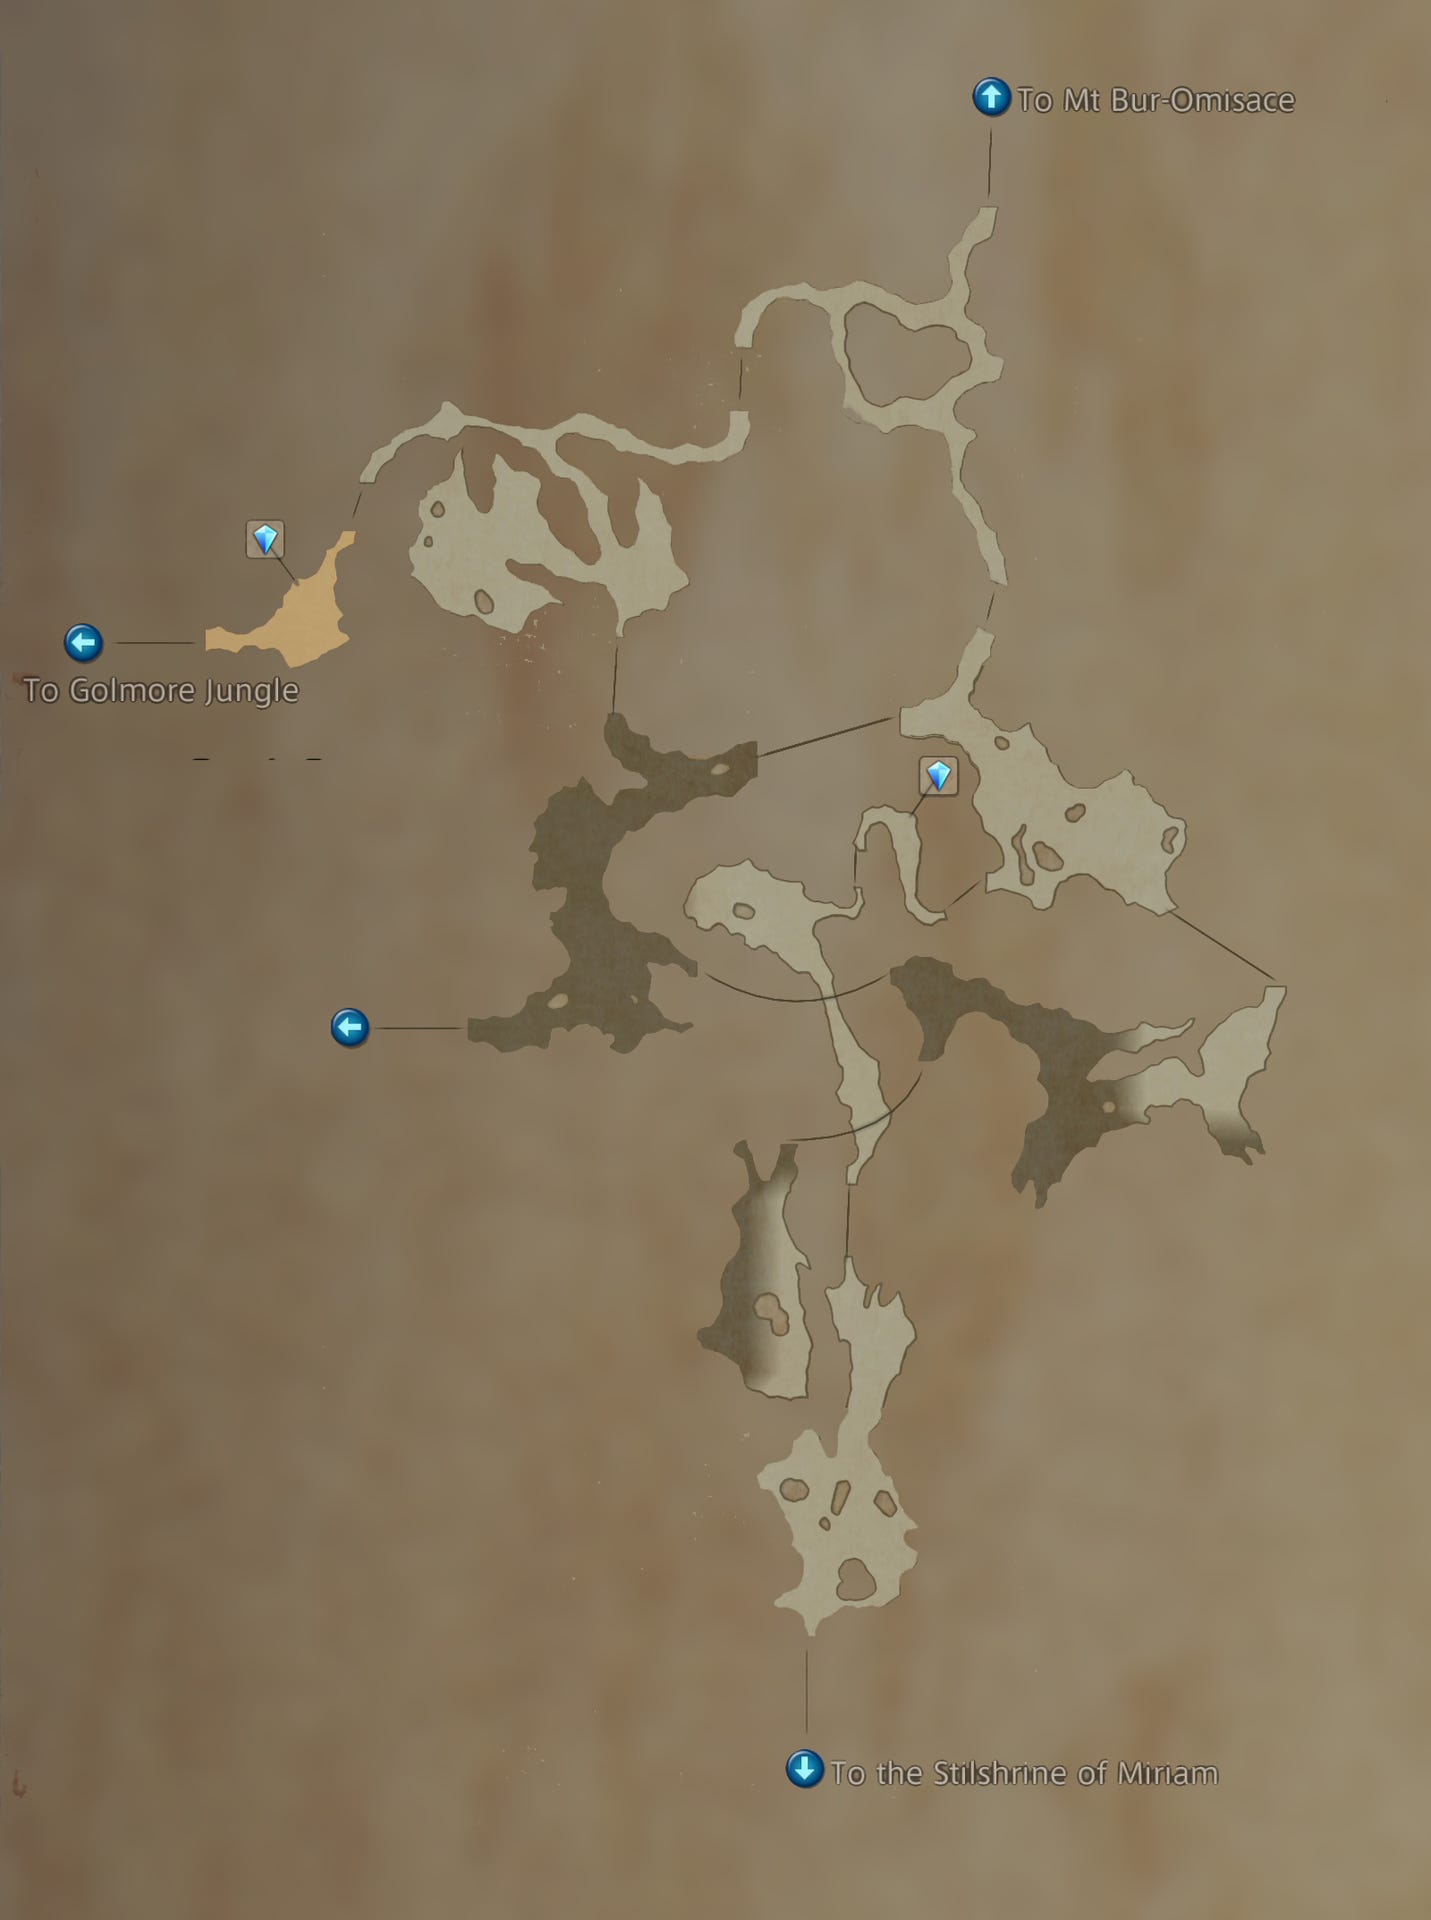
When you reach Walk of Stolen Truths your minimap breaks, but (intentionally or due to developer oversight) the transparent map available by clicking L3 still works just fine. Head over to the east of the area and you'll find the Urn with the area map, and the exit is to the south.
From Antiquity's End you can head west to Walk of Dancing Shadows for a spot of grinding if you're struggling, and the exit to the north west takes you into Henne Mines, but unless you're drastically OP it's advisable to steer clear as the level 65 Abysteels Bats in there will tear you a multitude of new ones.
To the south lies a boss fight, so buff yourself up as much as you can, use the save crystal to refill your MP, and head through to Redolent Glade.
Boss Fight: Rafflesia
When the fight begins your MP will start to be drained, so there's no harm in using it all up now as you won't be able to hold on to it. Cast Dispel and Silence on him, unleash any Wind attacks you have, and follow it up with a Quickening Chain.
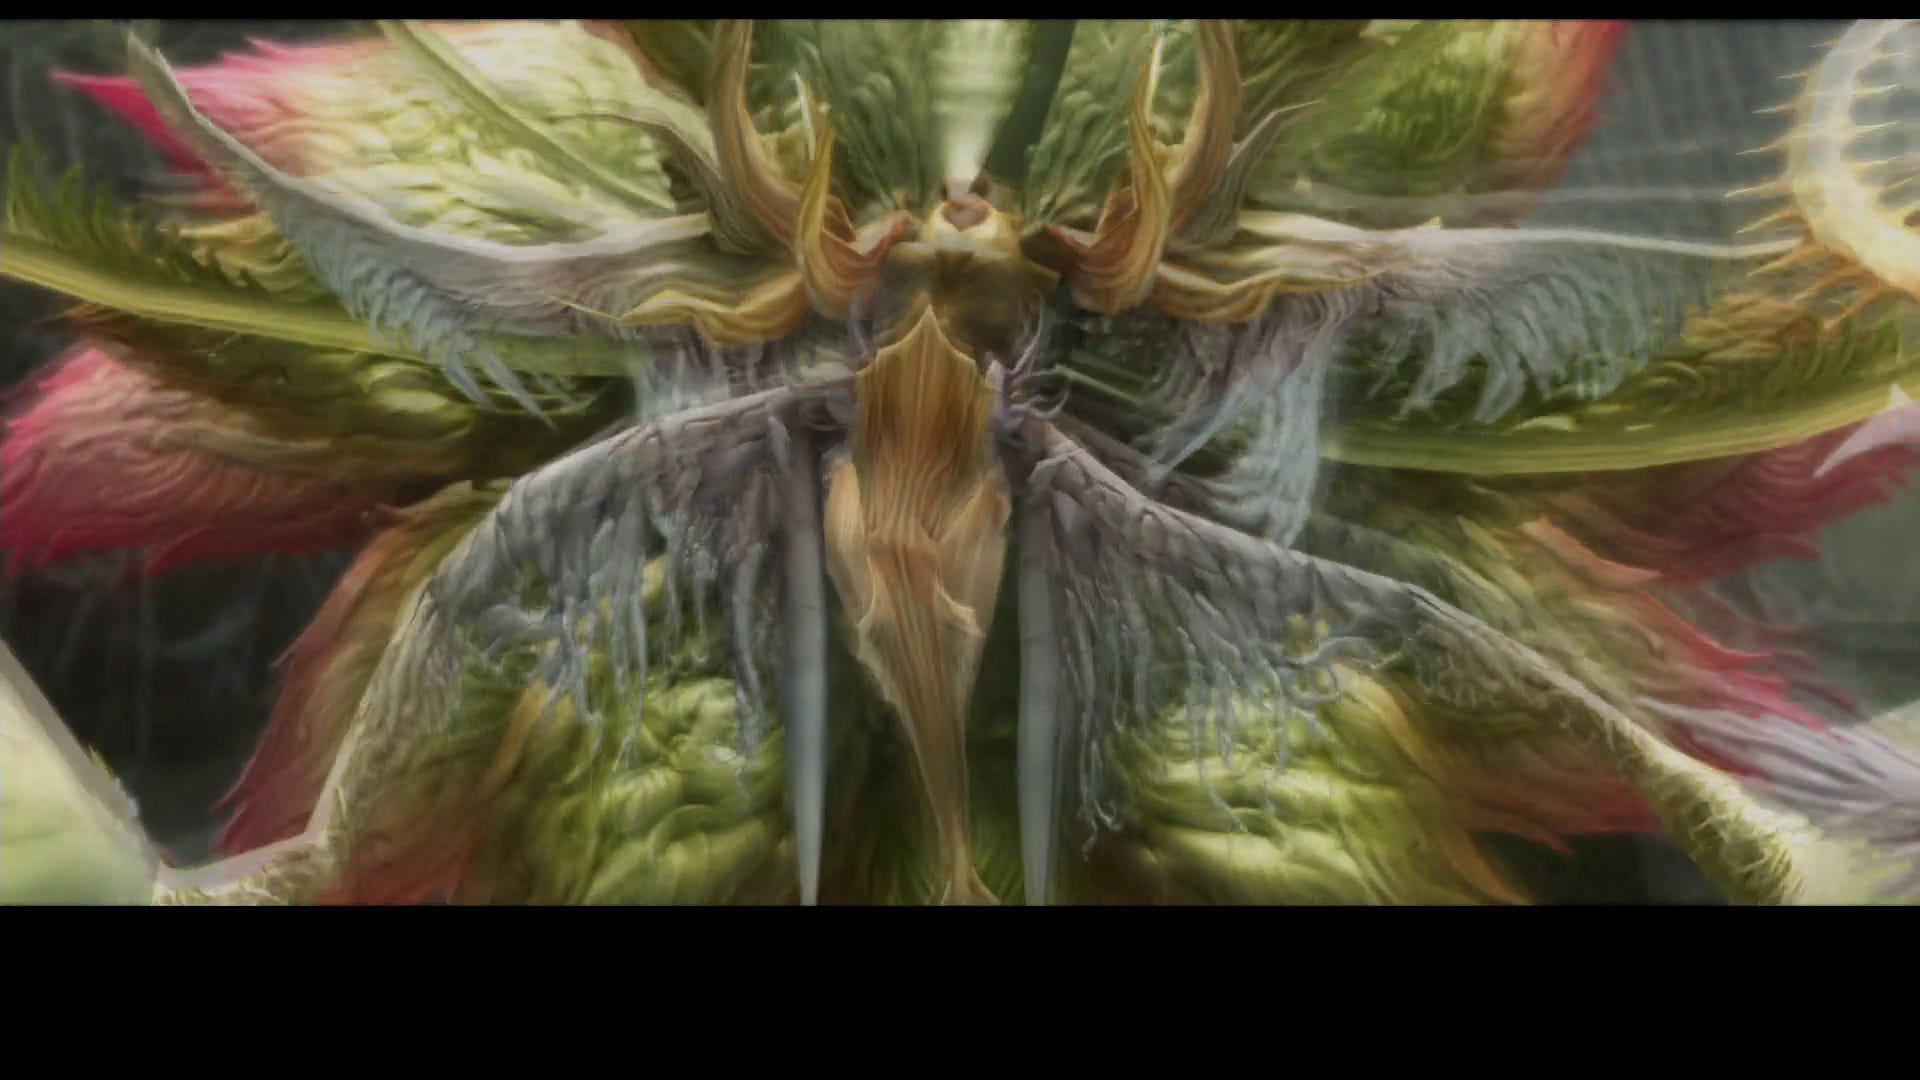
Once you're out of MP and Quickenings things will start to get ugly - Rafflesia can inflict Sap, Poison, Sleep, Disable, Disease, and Confuse, and he'll summon Marlboros that do much the same, but due to the MP drain you'll have to deal with these the old fashioned way with healing items. If you've got Silence Motes or can scrape together enough MP by spamming Ethers to keep him Silenced the fight will be substantially easier - all he'll be able to do is Sap and Confuse you. If he's not Silenced he'll continue to keep you fully occupied dealing with status effects which can drag the fight out, and he will use Call For Help three times to summon Marloboros, then switch to Drain, so you may want to assign two part members to doing nothing but keeping everyone free of debuffs and leave all the attacking to your beefiest character - Rafflesia isn't actually that hard to kill if you can manage to stay alive.
After the excitement is over head back to the save crystal to get your MP back, then resume your journey south.
Visibility is now awful, but there's still worse to come. If you can make out where you're going, head for the eastern edge of White Magick's Embrace to find the Urn containing the Feywood Candle, then keep heading south.
In the ironically named Ice Field of Clearsight you won't really be able to spot enemies until you've bumped into them, so tread carefully. You'll see some shapes on your map that look like flowers; aim for the most northern one and examine the glyph in the centre.
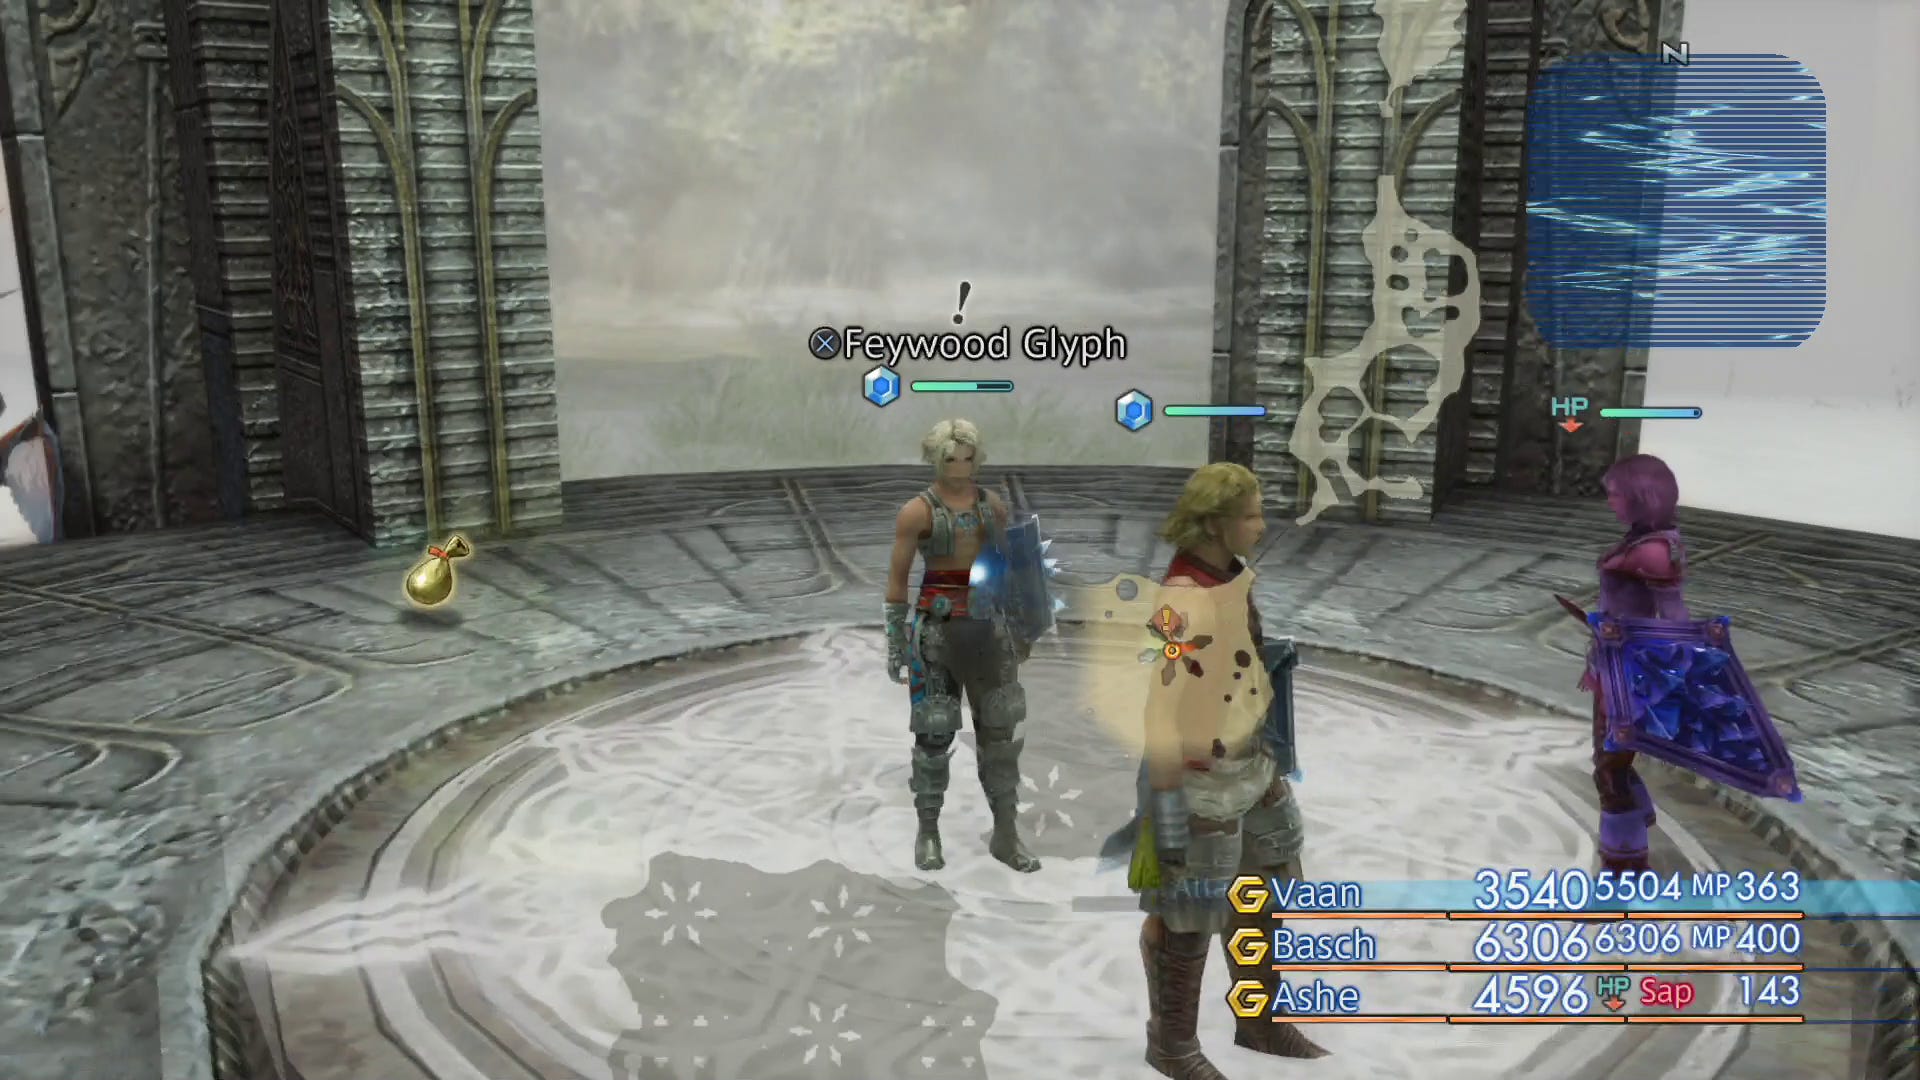
Remain in the middle of the shrine and pan the camera round - through most of the sides you'll just see mist and snow, but one of them will look a lot clearer. Walk through the clear gap and keep going in a straight line and you'll arrive in another shrine - repeat the process a couple of times and you'll be led to the exit into the next area.
The Edge of Reason repeats the shrine process - start with the one in the middle, and work your way around until you reach a door labelled Great Gigas. Read the inscription, summon Belias, and then touch the gate and let Belias take care of business.
For more help with? Final Fantasy 12? Our Final Fantasy 12 The Zodiac Age guide, walkthrough, Switch and Xbox differences gives an overview of the game to get you started. Elsewhere, there's our hidden Espers strategy and locations and Elite Hunts and Marks pages, how to get the best Zodiac Jobs for each character, advice on farming LP from Jellies and even how to get the Zodiac Spear.

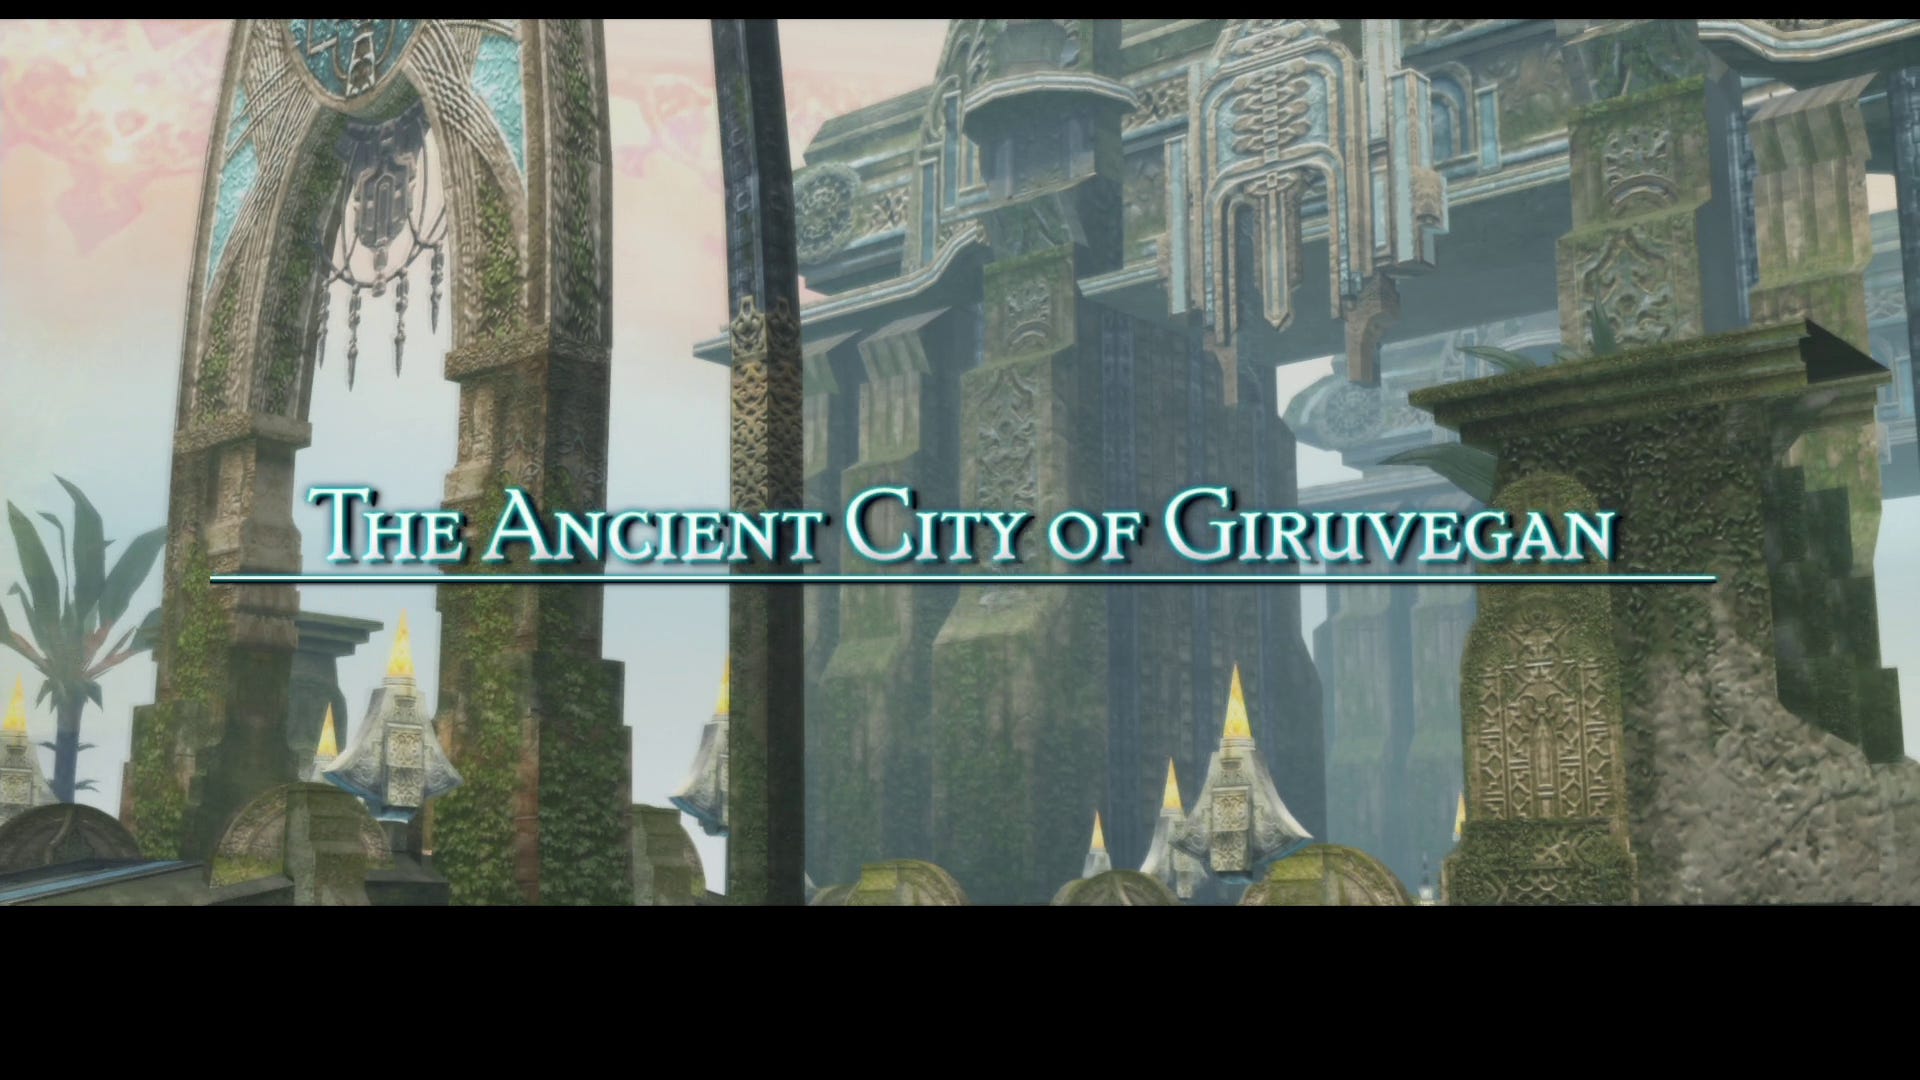
The Ancient City of Girguvegan and Daedalus boss fight
Ancient City of Girguvegan
How tranquil it looks here! However, it also looked tranquil at the Stilshrine, and that was no picnic. Make use of the orange save crystal to teleport elsewhere if you need supplies - we'd strongly recommend you have Martyr, Inquisitor and Remedy Lore 1 unlocked on the license boards for all your characters, plenty of Remedies, and all the -aga level elemental spells to make the next few boss fights a little easier, and you'll need to be able to cure Disease later so Remedy Lore 3 and some Remedies, a load of Serum, or the Cleanse spell are a must.
When you're ready head to the Way Stone and touch it for a boss fight in the Gate of Water.
Boss fight: Daedalus
As you approach the statue ahead the camera will pan around and focus on the statue. Head towards it and… Wait, that's no statue!
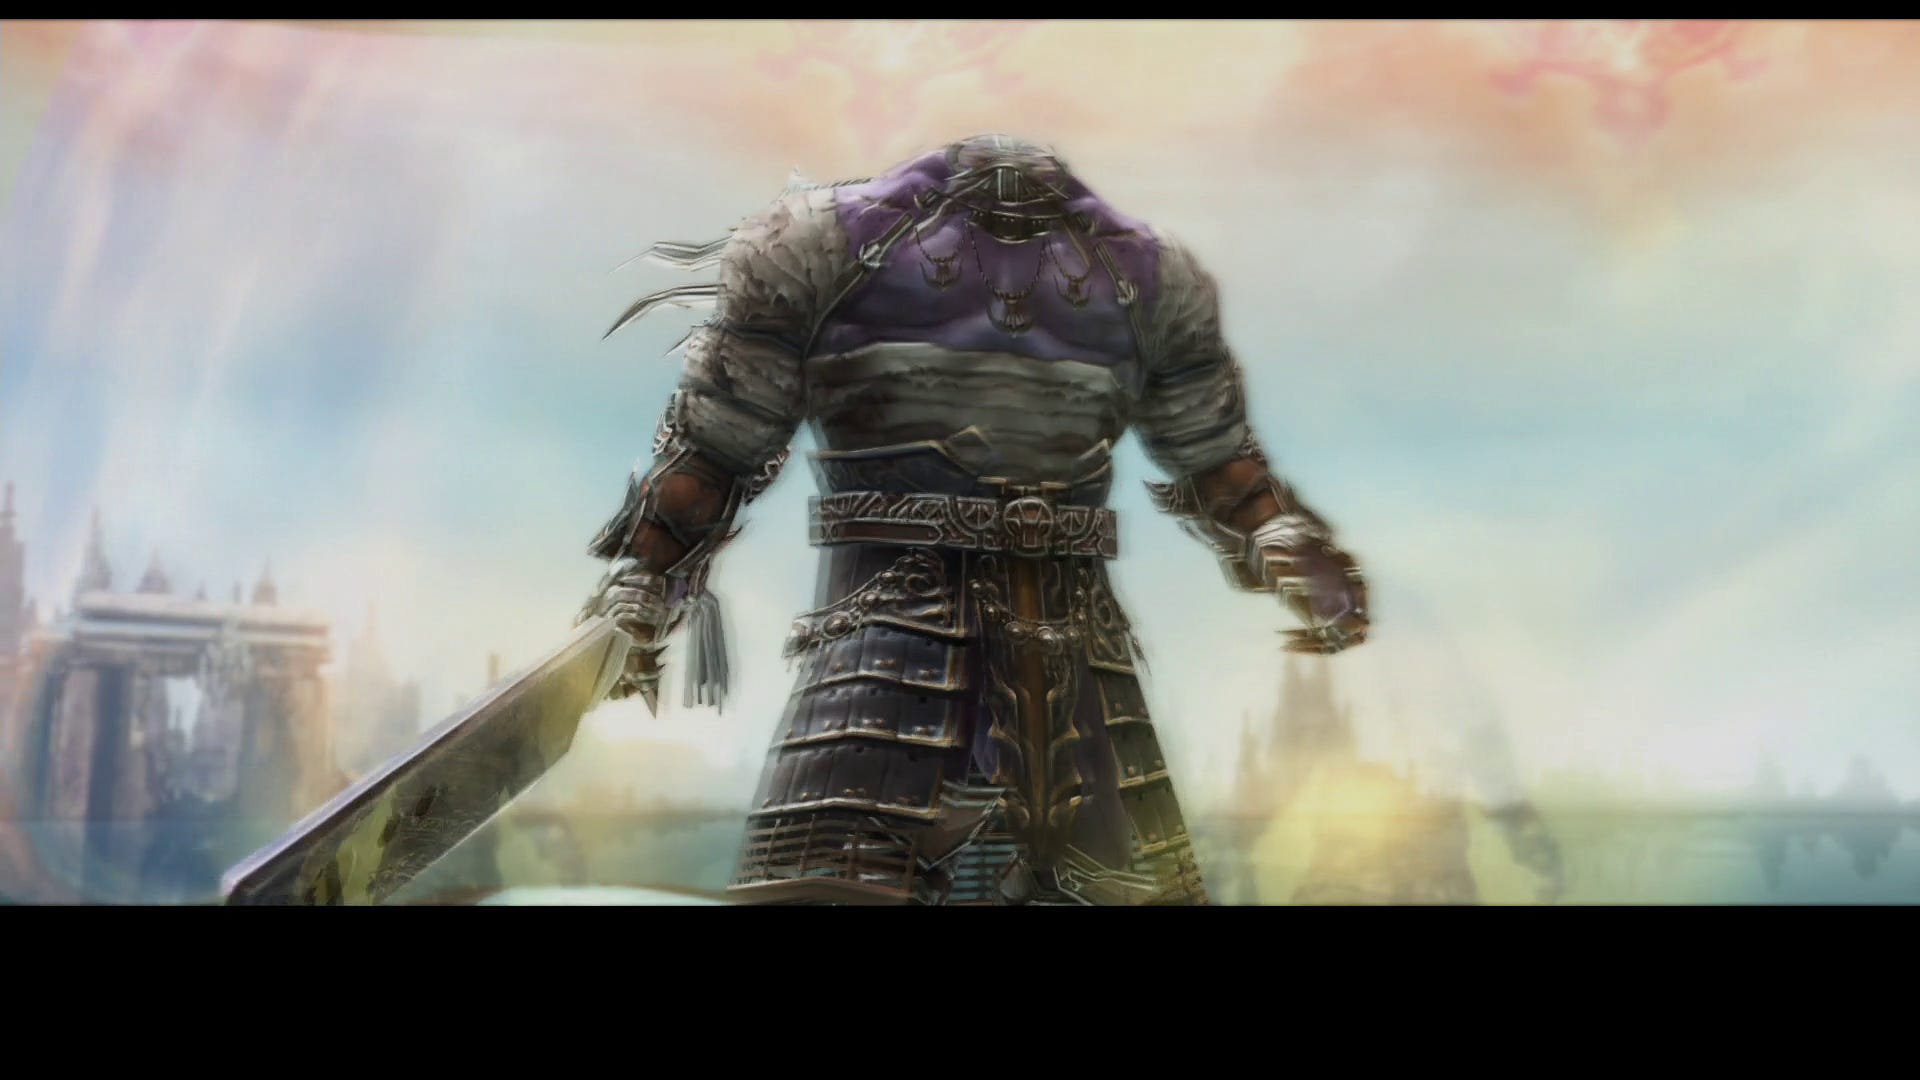
Like most of the enemies you'll be facing for a while Daedalus is weak to Holy, so put your healers on double duty, try and keep Shell and Protect going, and Dispel haste whenever the enemy uses it.
He sticks mainly to physical attacks - these may occasionally inflict Slow, so be ready with a Haste to fix it. When he starts to charge up Darkra Silence him, and when his HP gets low try and keep anyone that's not a tank well away from him - his defence and strength will both go up as his HP goes down, and he will continually pull off a Smite of Rage that can do 1500+ HP of damage to anyone caught full face.
Once he's down a Way Stone will appear. Head back and use the crystal to regroup if you need, then use the Way Stone to continue your journey.
Next up is part 12 of our Final Fantasy 12 The Zodiac Age walkthrough: The Water Steps, Tyrant, The Great Crystal, and Shemhazai boss fight.