Zelda - Mirro Shaz and Tempered Power trial solution in Breath of the Wild
How to solve the Woodland region trial.

Mirro Shaz is one of the many Shrines located throughout Zelda: Breath of the Wild. The challenge inside, named the Tempered Power trial, is a puzzle that has you use your Stasis ability and a provided sledgehammer to knock objects in specific directions. Get it right, and you'll walk out a success.
If you need help finding and solving other Shrines, our Shrine location maps page can help, while our Zelda: Breath of the Wild walkthrough and guide covers other aspects of the game.
Where to find Mirro Shaz
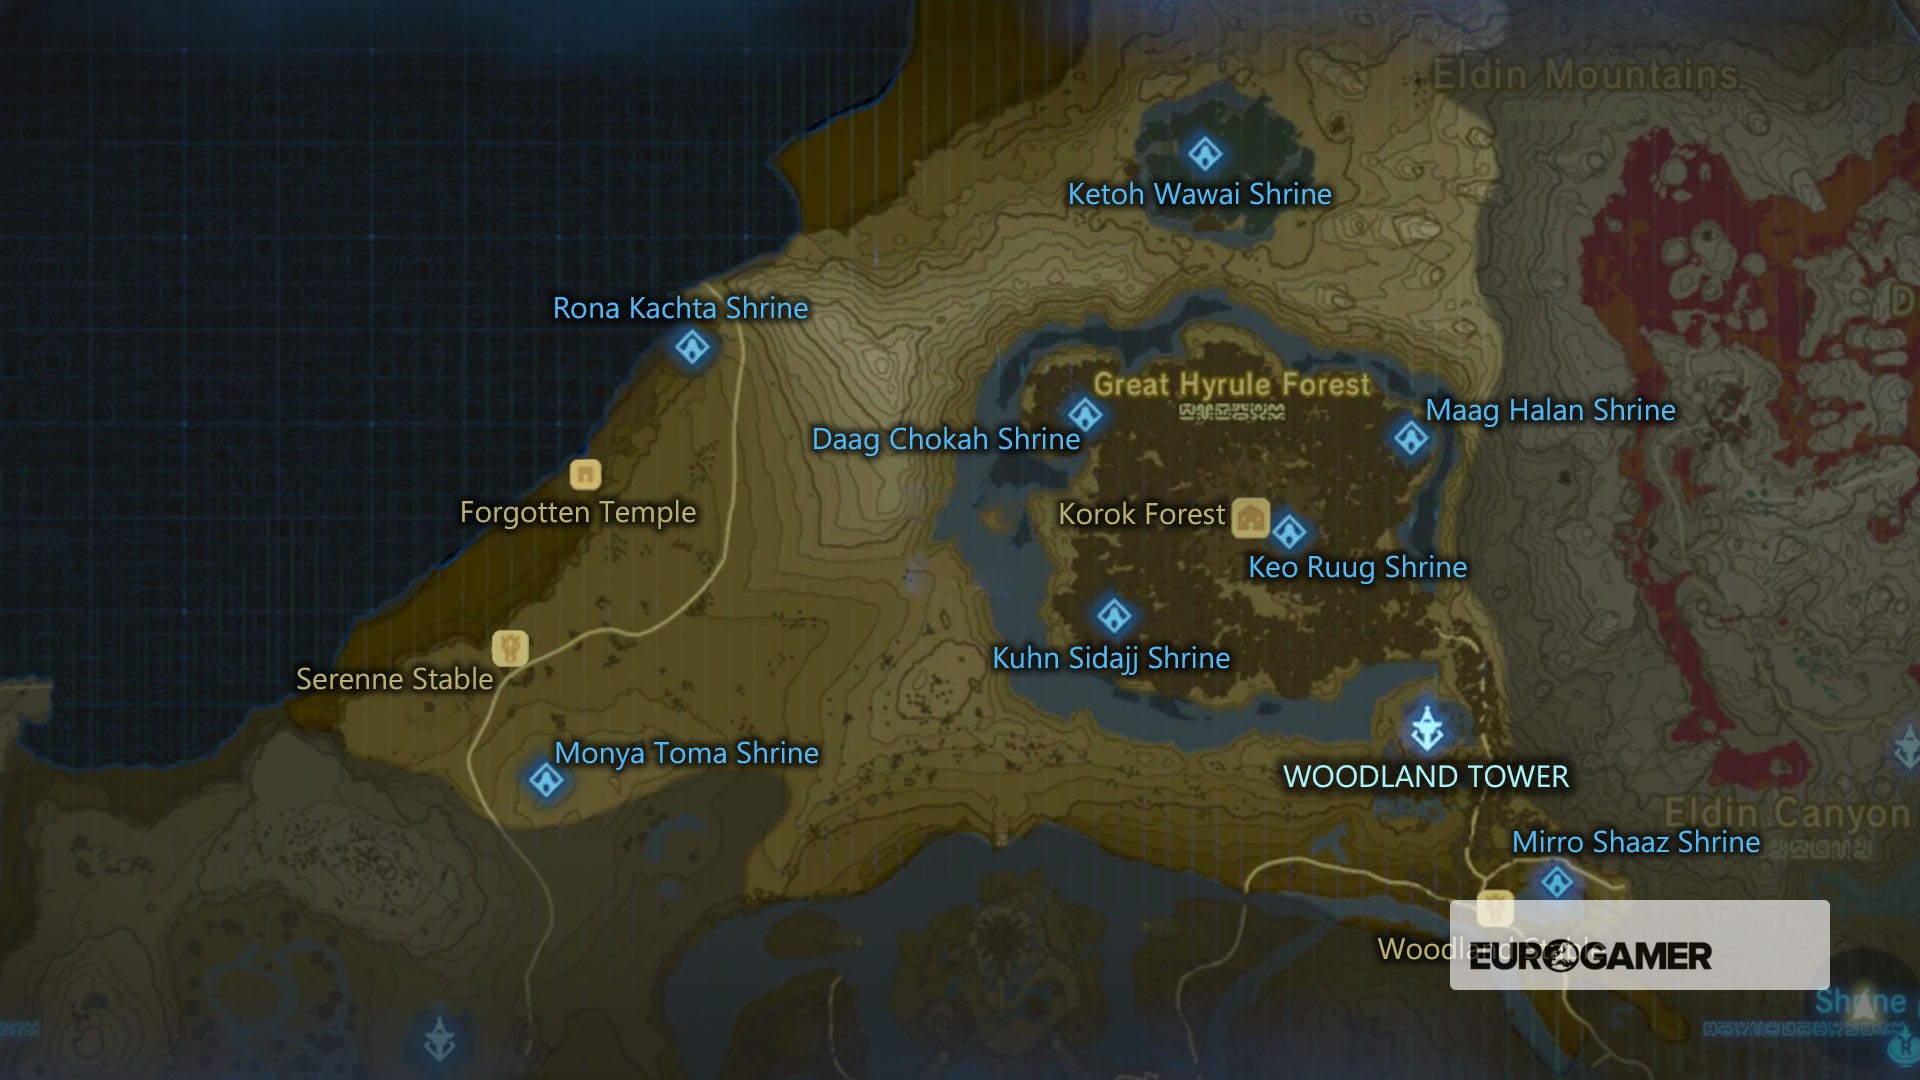
The Mirro Shaz shrine is located within the Woodland region, specifically just north east of the Woodland Stable. To get there, simply head a very short way north east from the stable, or jump and paraglide to the south east from the Woodland Tower.
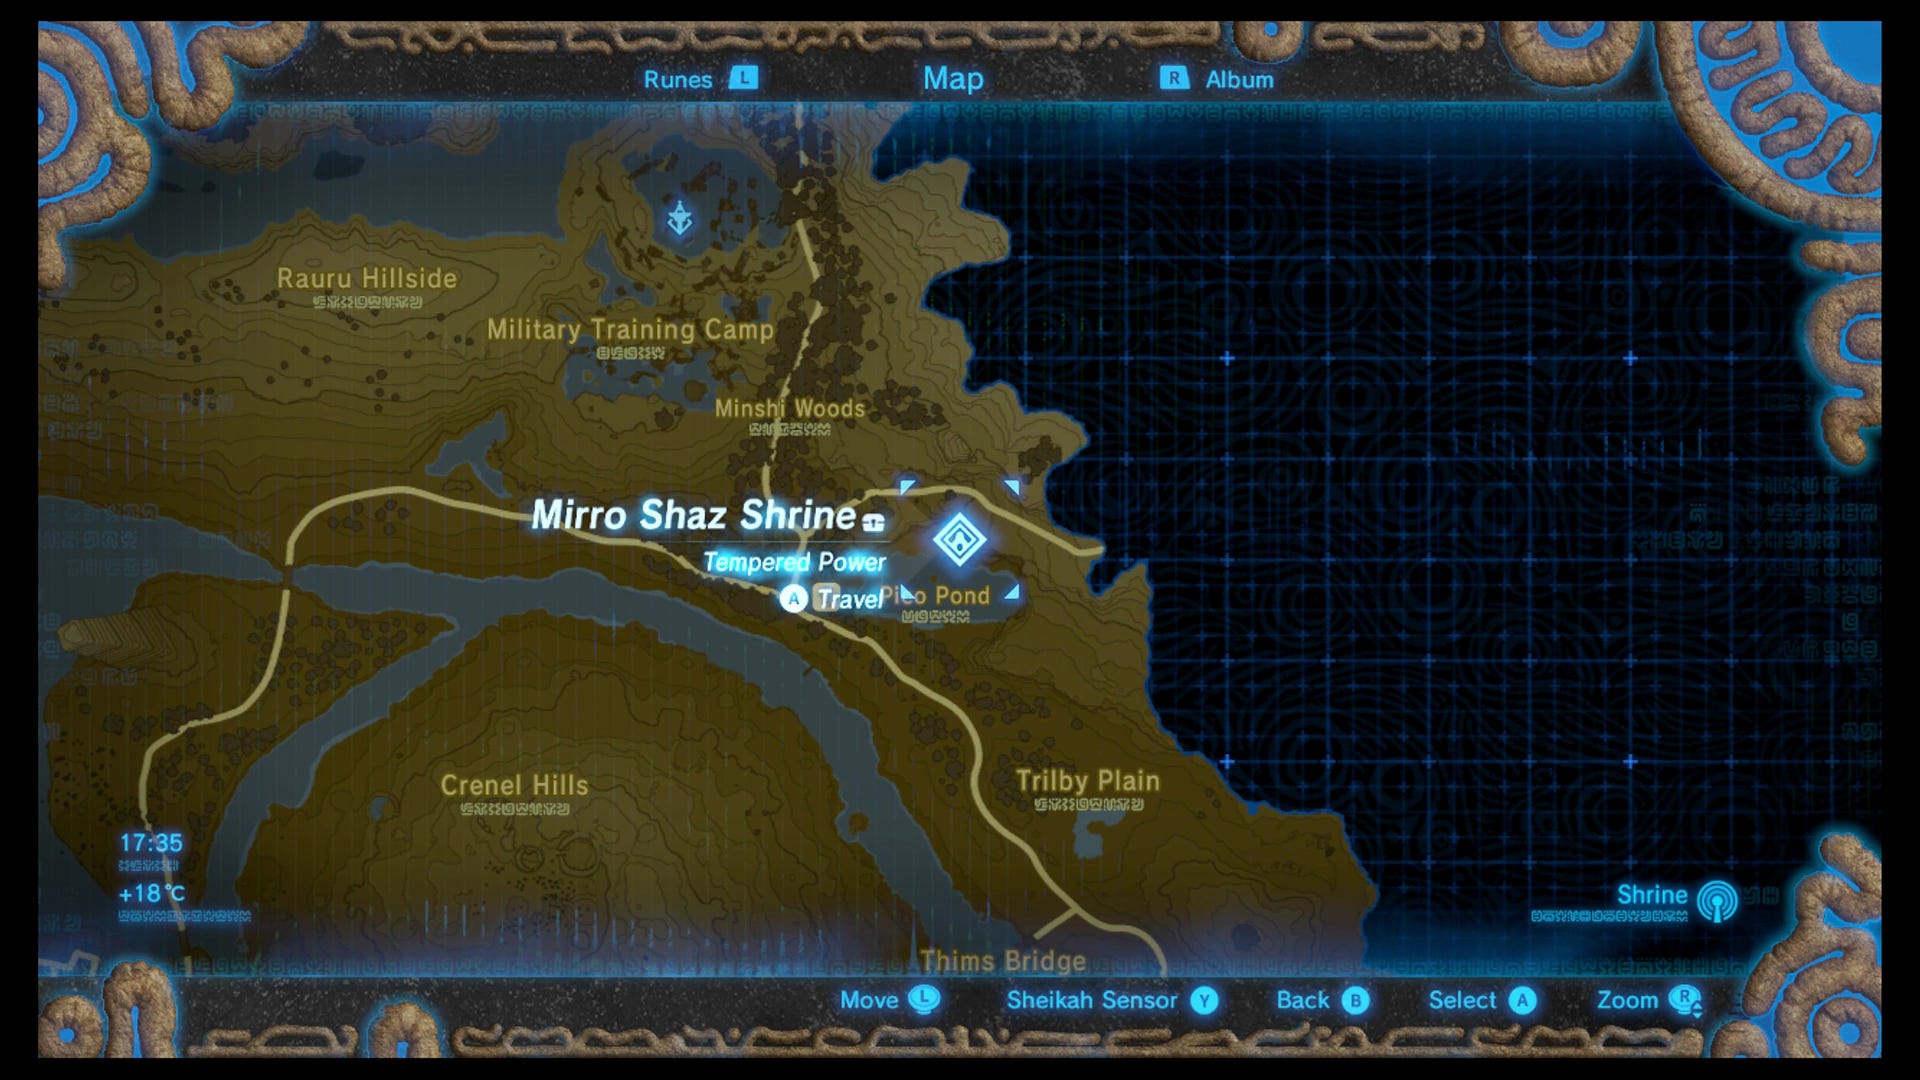
The shrine's located in clear view, the other side of a small body of water, near a rock face.
There's no puzzle to solve here in order to access the shrine, so simply dive in when you're ready.

Mirro Shaz and Tempered Power trial solution
Mirro Shaz is all about whacking things with a sledgehammer. On entering the shrine you'll first of all see a caged wall - head to your right and down the elevator shaft there to the ground floor, which has a chest, an orb, and a crystal in front of you.
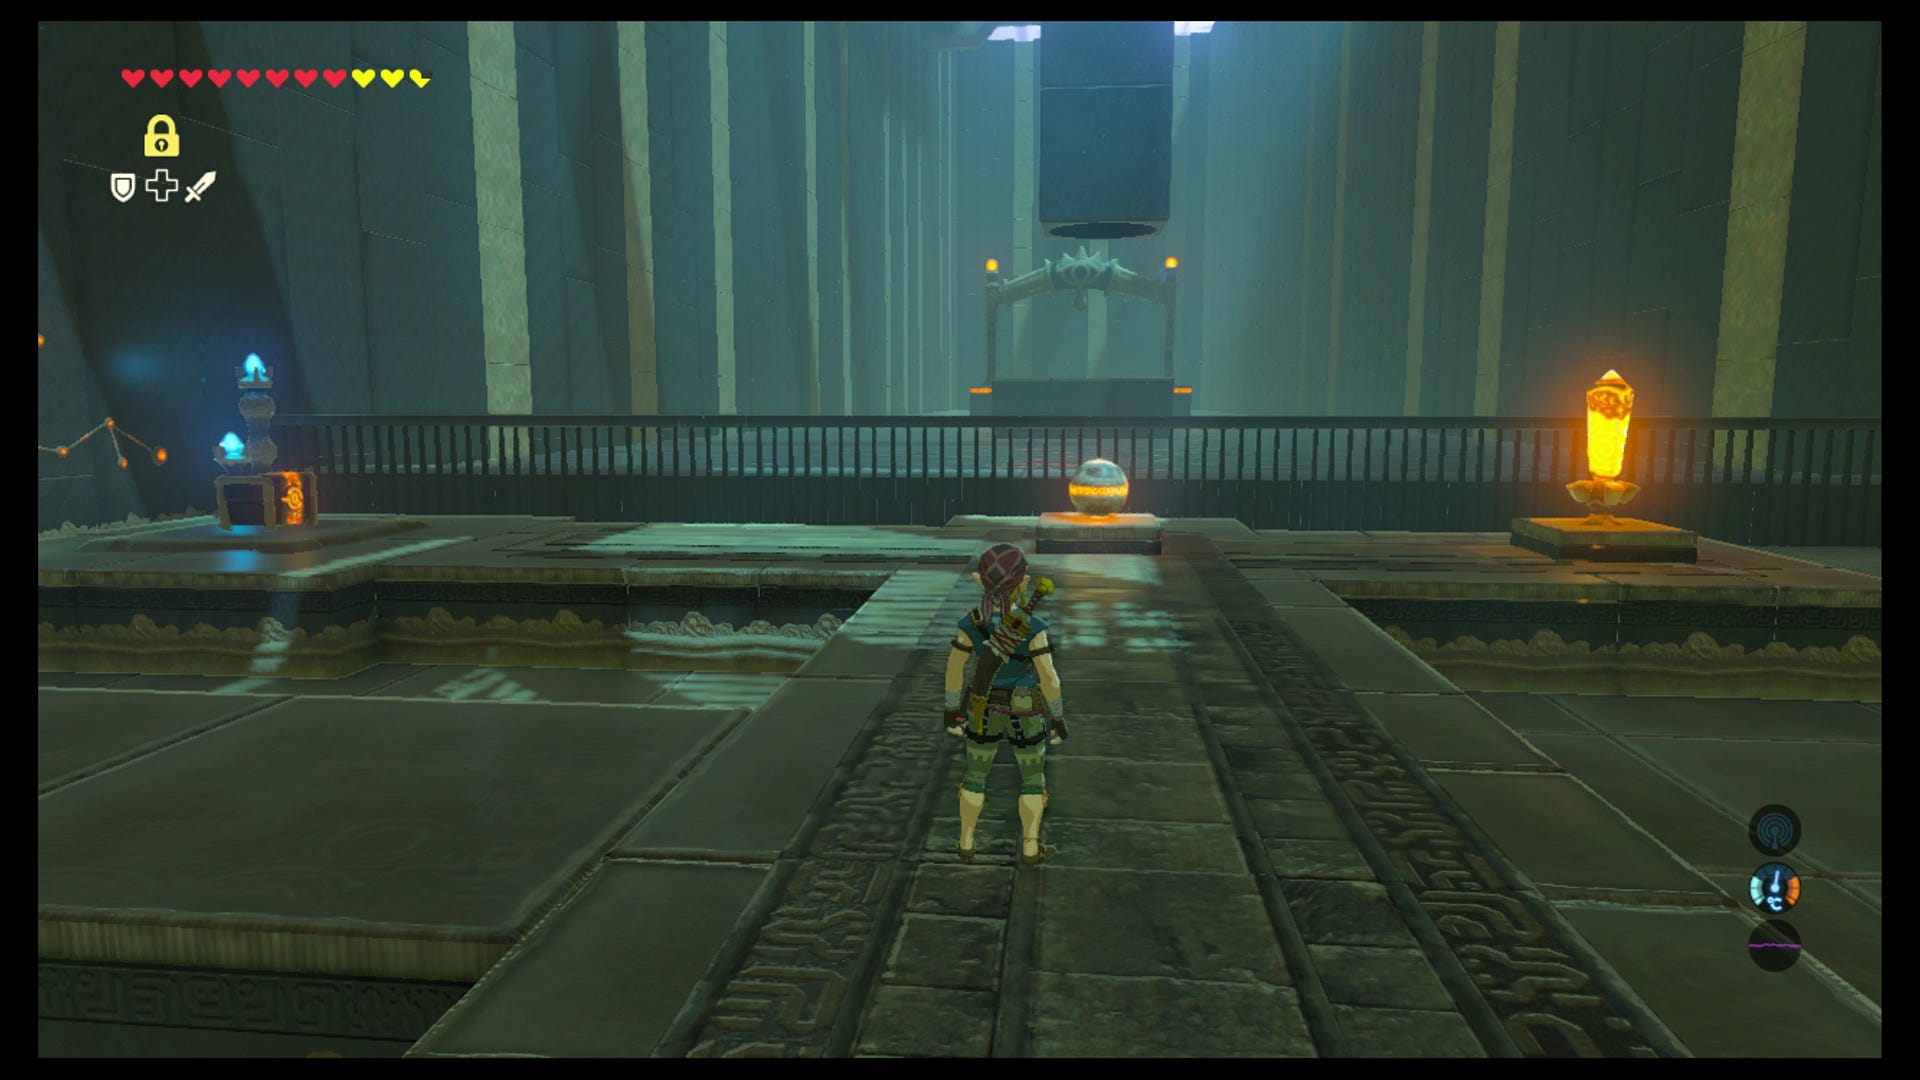
First, open the chest and grab the Iron Sledgehammer inside.
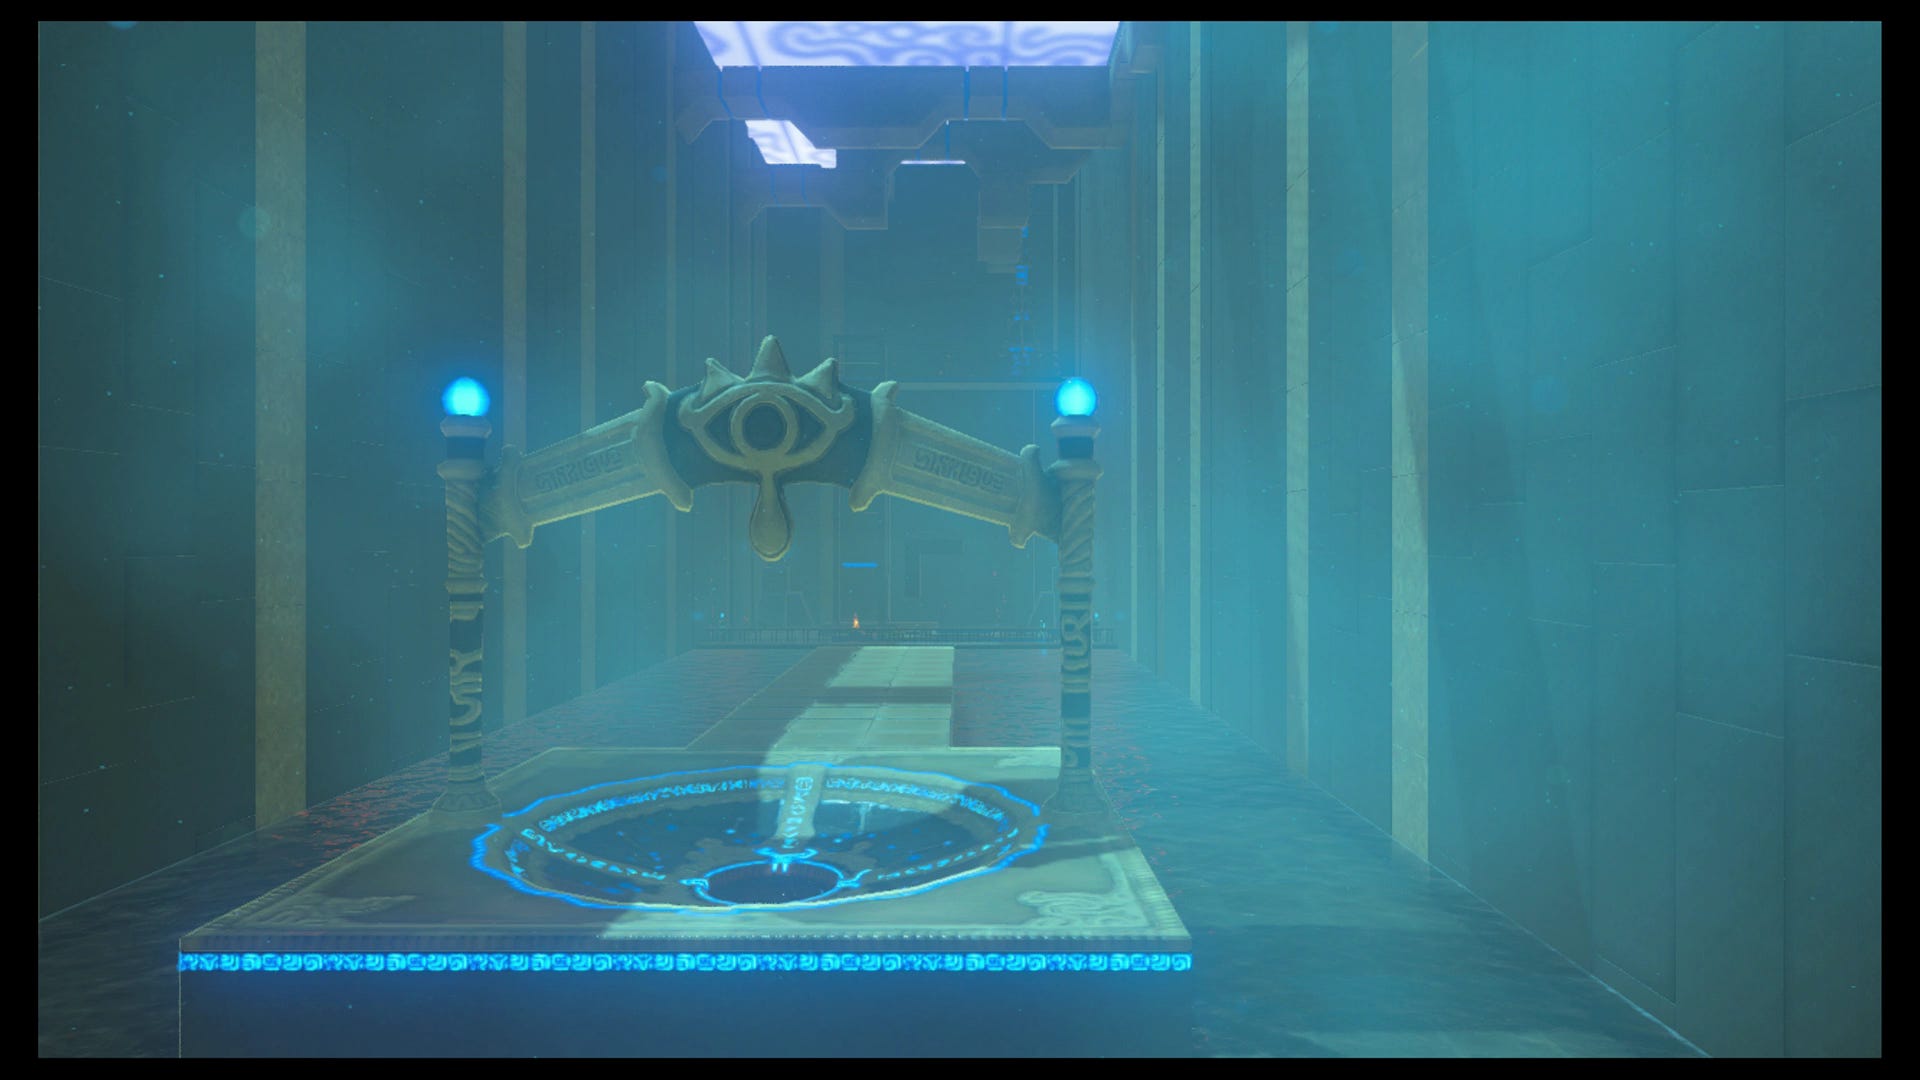
Your task here is to first cast Stasis on the orb, then hit it with the sledgehammer, so that it lands in the socket in front of you - essentially like golf. If you miss, you can hit the crystal in the right to drop another ball onto the plate in front of you.

Thanks to a new update, it's now possible to play Zelda Breath of the Wild in VR. Want help with the main game? Our Zelda: Breath of the Wild walkthrough can help complete Divine Beasts Vah Ruta, Vah Rudiana, Vah Medoh and Vah Naboris and more. There's also how to get the Master Sword, Hylian Shield and all Zelda Captured Memories and Great Fairy Fountain locations, while our Shrines locations and Shrine maps hub explains where to find and solve every puzzle room, including dragon locations and Labyrinth solutions. We also have a DLC 1 guide and DLC 2 guide, including all Tingle, Majora's Mask, Phantom, Midna outfit locations.

We found that four or five strikes with the hammer was about right. Note that the direction Link is facing determines the direction of the arrow (and orb), not the direction the camera is facing.
It takes a few tries, but it's very doable once you have the knack.
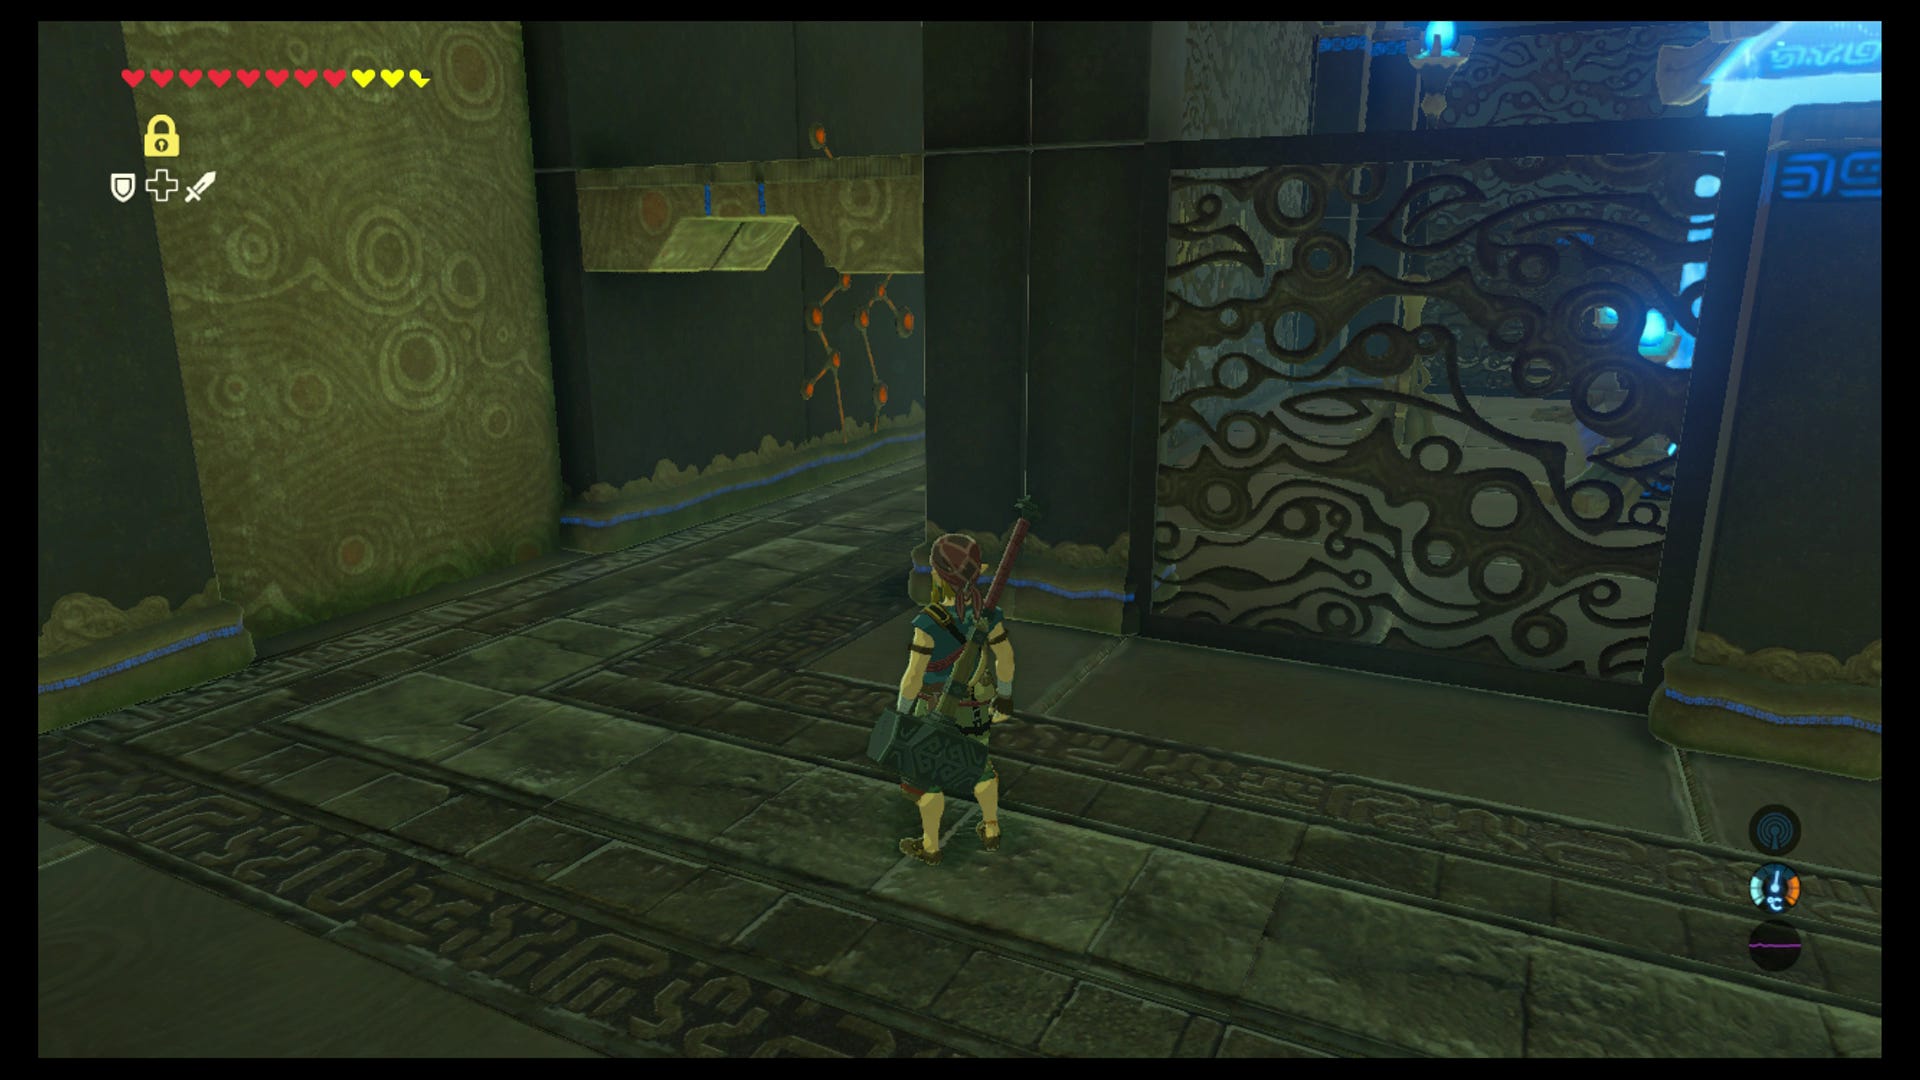
After that, a wall opens to your left, showing a chamber with a large concrete cube and a big concrete wall. The same principle applies here: use Stasis on the block, then hit it about three times.
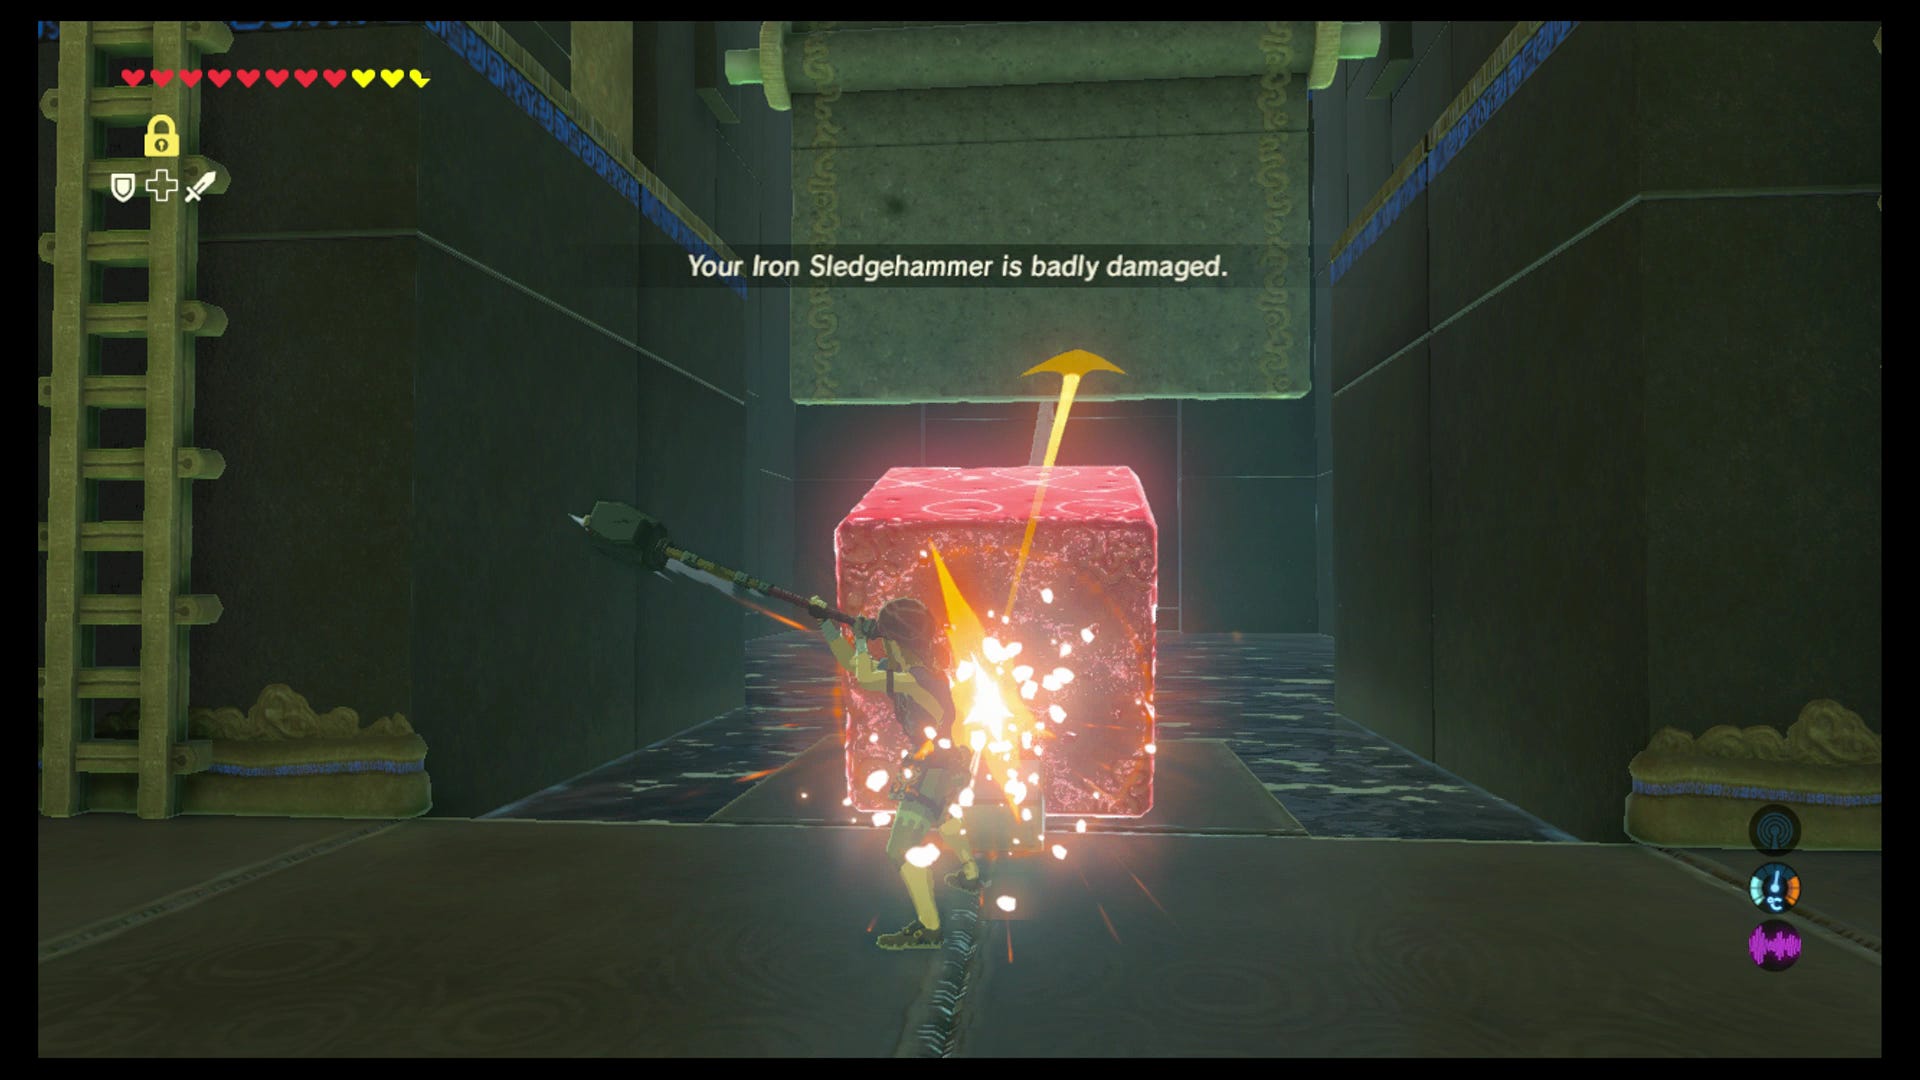
The block should then knock the wall towards you, turning it into a ramp up towards the exit. Head up the ramp, but don't leave just yet!
At the top of the ramp, turn left and you'll see a side passage. Take it, and you'll arrive in another room very similar to the first, but this one has a more difficult shot to make, thanks to several obstacles in the way.
Interestingly, another Iron Sledgehammer is provided, but you'll actually need to mix and match between the hammer and a one-handed weapon to get this one right. We recommend saving first, or farming some crummy one-handed weapons from monsters outside, so that you can reload or use those up instead of breaking your best weapons trying this one over and over again.

Aim directly straight, and go for about nine, maybe ten hits with the one-handed weapon, then one with the sledgehammer. You'll also need to get it dead straight, too, for this one to work.

Adjust the number of one-handed weapons hits up or down accordingly, then once you've cracked it, a gate will open to your left to another chest containing a great reward: a Giant Ancient Core.
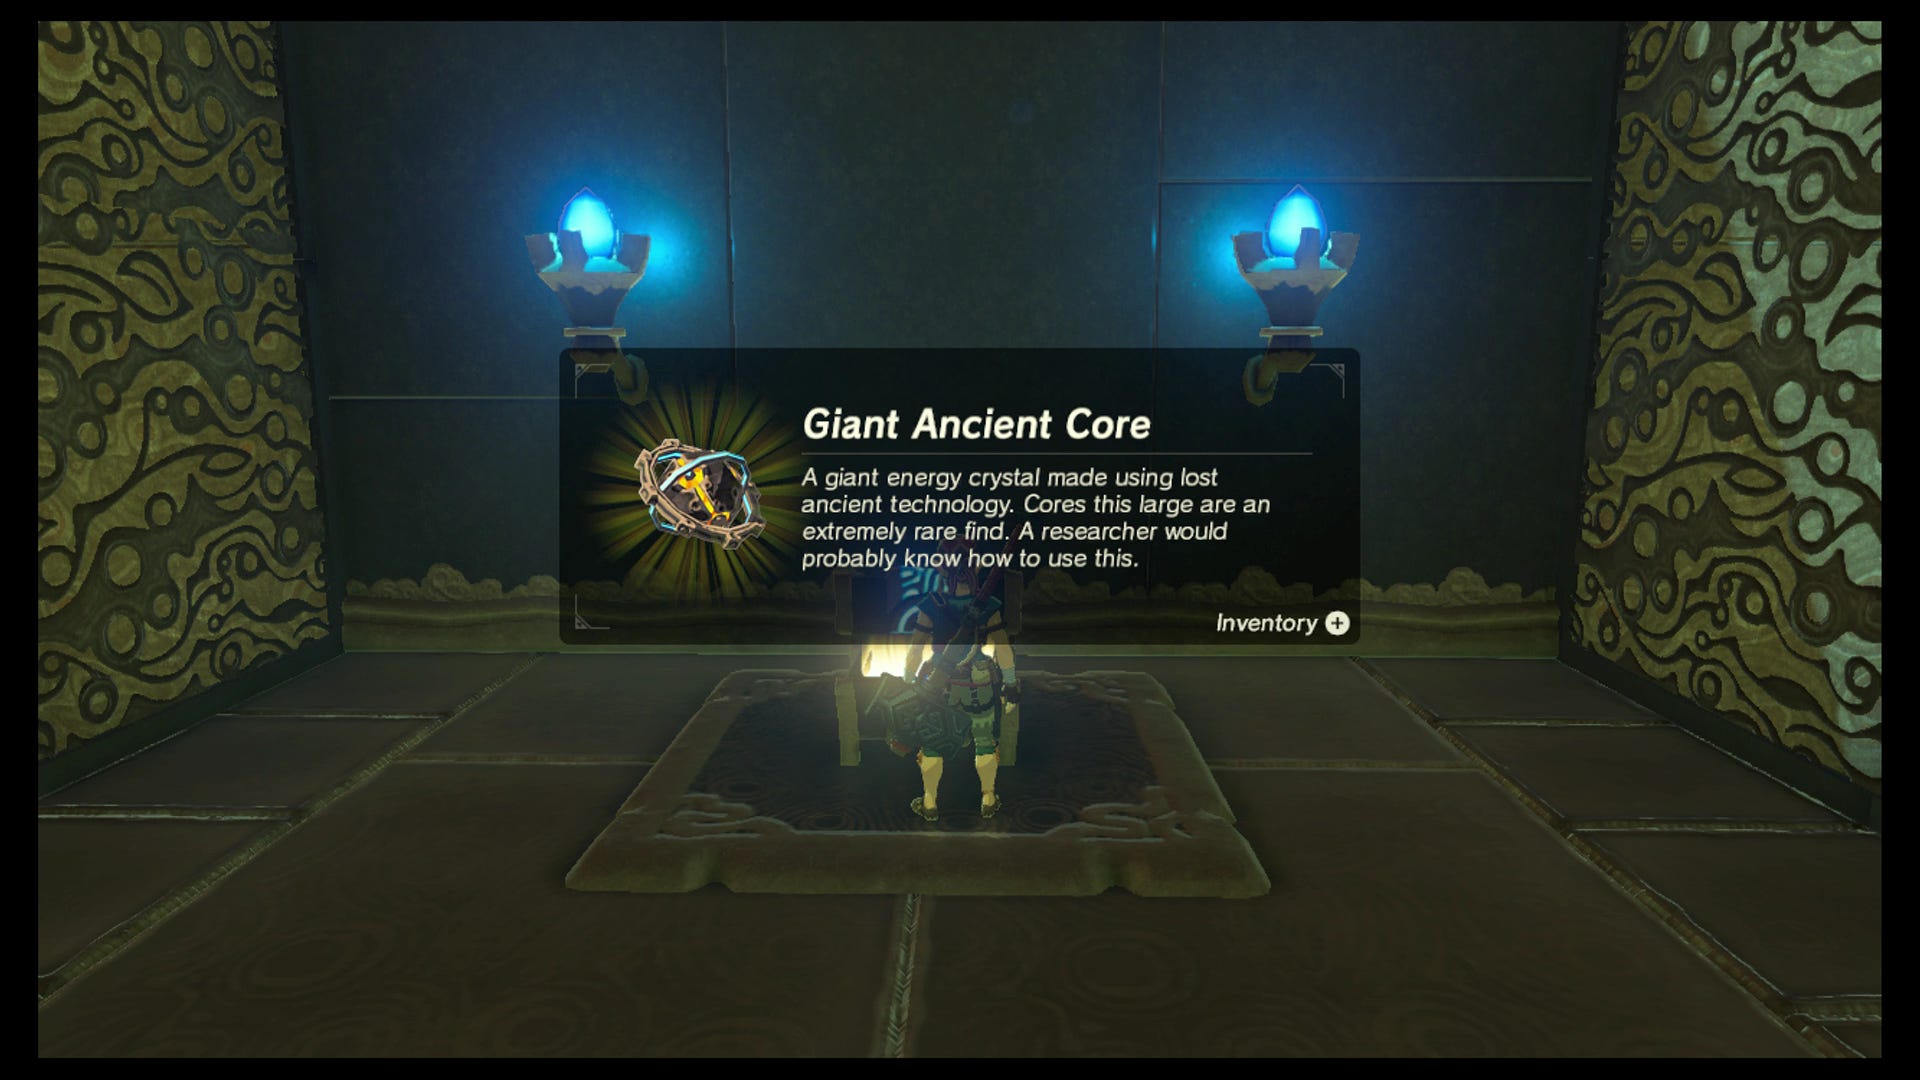
Grab that, then head back up the elevating platform you came into this chamber by, and exit in the usual way.
While you're here, here are other Shrines within this region:
Woodlands region (8 Shrines)
- Daag Chokah and The Lost Pilgrimage solution
- Keo Ruug Shrine and Fateful Stars trial solution
- Ketoh Wawai and Thyphlo Ruins solution
- Kuhn Sidajj and Trial of Second Sight solution
- Maag Halan and The Trial of Wood solution
- Mirro Shaz Shrine and Tempered Power trial solution
- Monya Toma and Drawing Parabolas solution
- Rona Kachta and the Forgotten Temple solution
If you're after other trials, then our Zelda: Breath of the Wild Shrine locations and maps hub page can help with other regions.