Zelda Mo’a Keet and Metal Makes a Path trial solution near Foothill Stable in Breath of the Wild
How to beat the Eldin region trial.

Mo'a Keet is one of the many Shrines located throughout Zelda: Breath of the Wild. The challenge inside, named the Metal Makes a Path trial, involves a series of boulders that may be familiar from the game's opening shrines, but sees them coming more thick and fast.
If you need help finding and solving other Shrines, our Shrine location maps page can help, while our Zelda: Breath of the Wild walkthrough and guide covers other aspects of the game.
Where to find Mo'a Keet
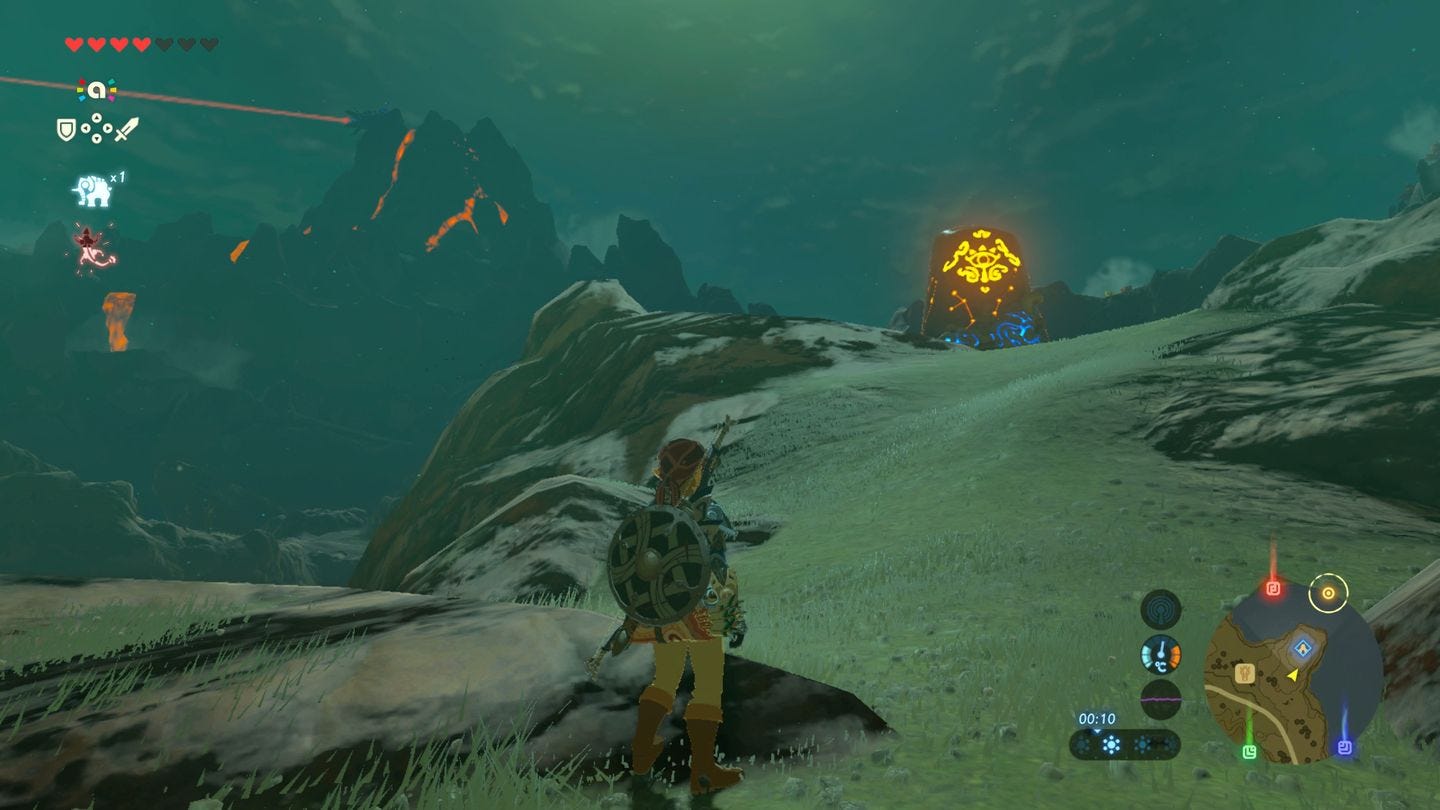
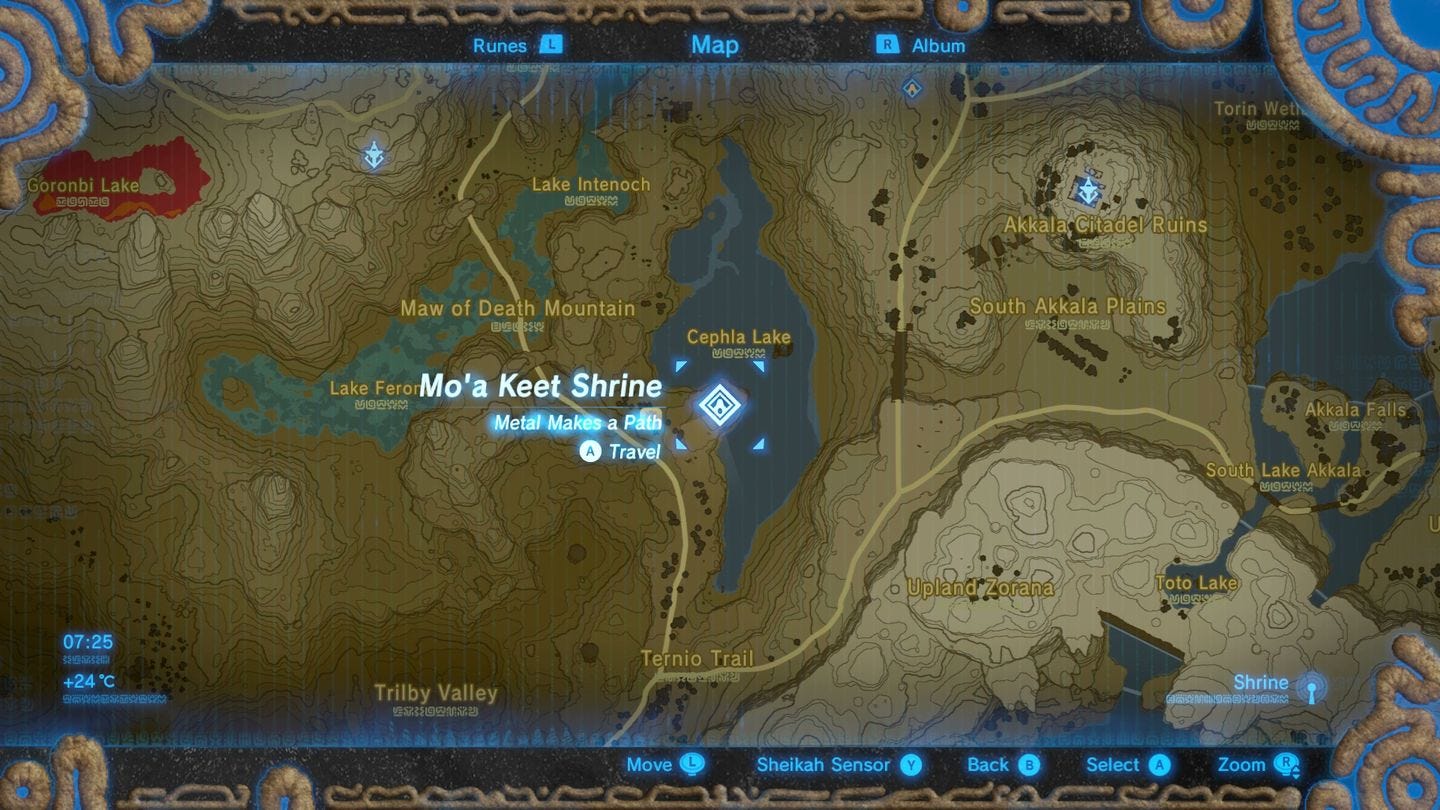
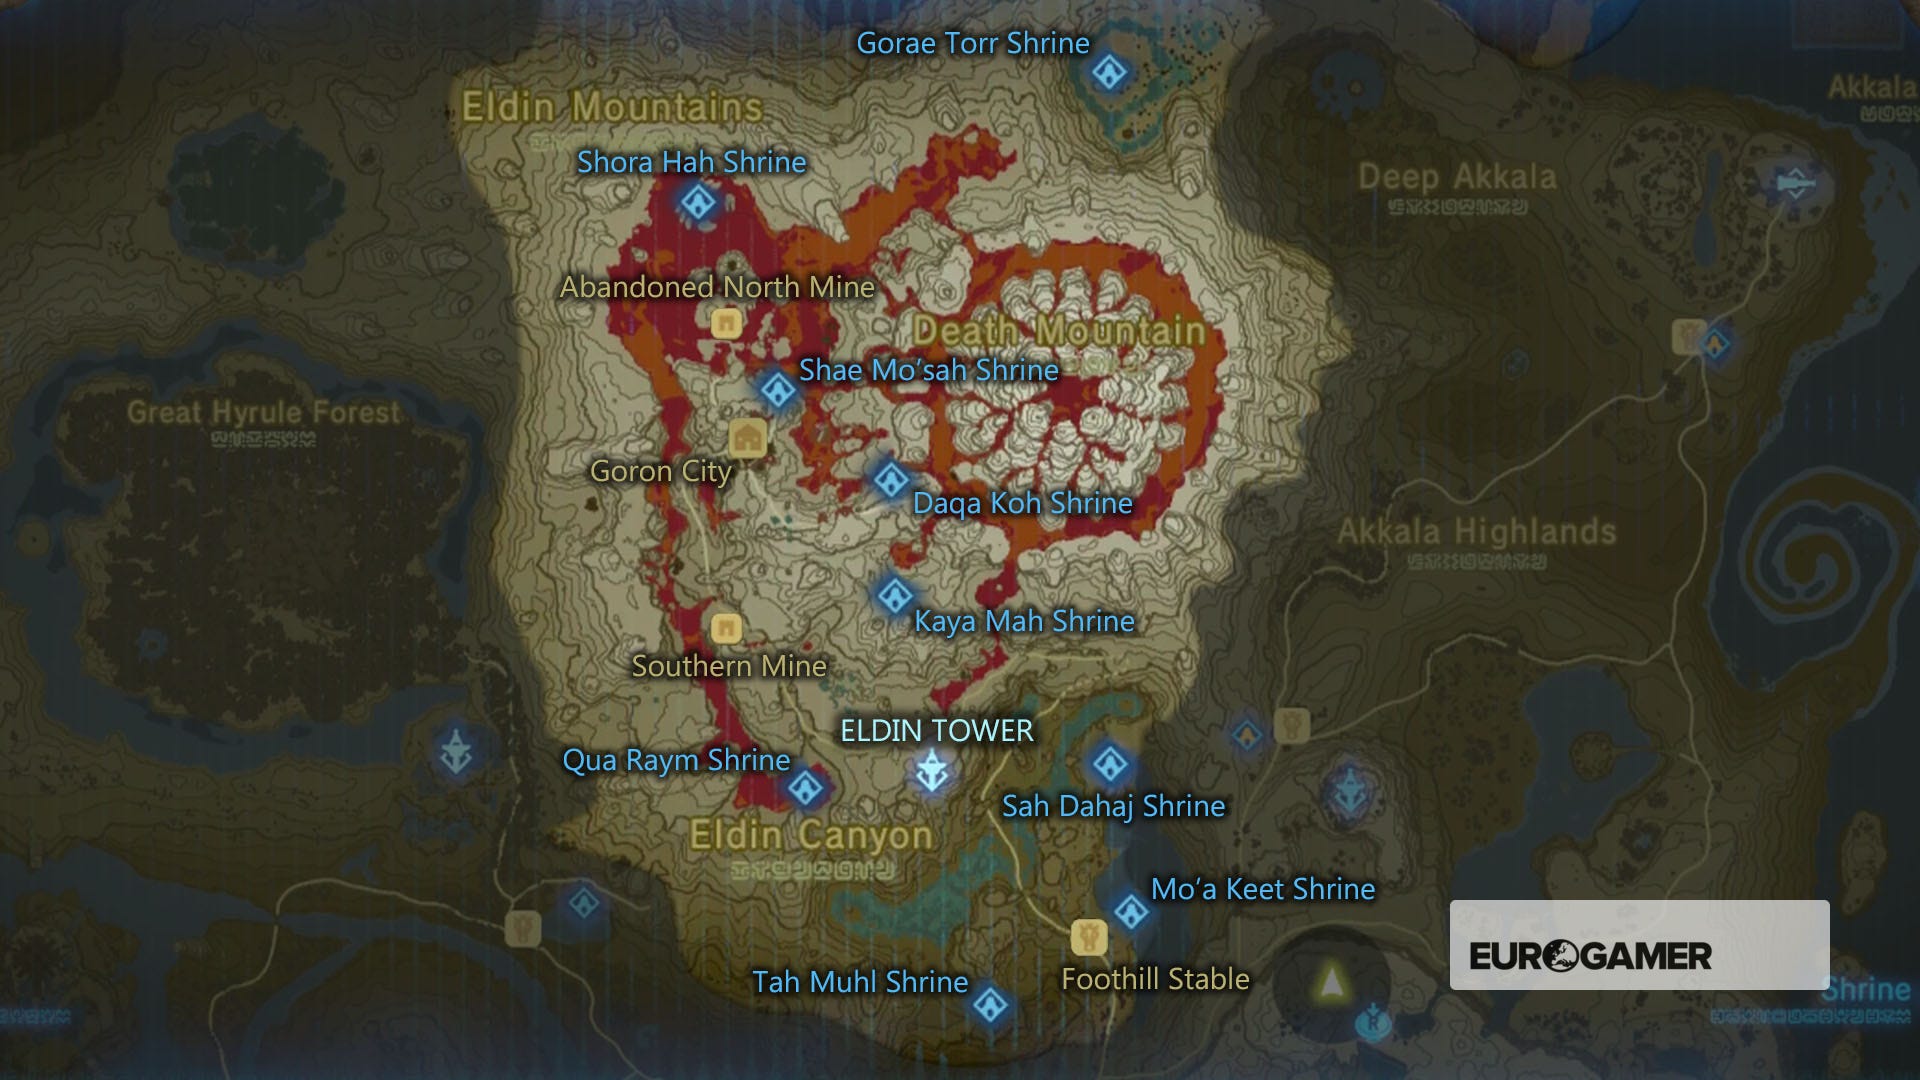
Mo'a Keet shrine to the east of Foothill Stable in the south east of the Eldin Tower region, which you'll reach on the way north from Lanayru Tower (the region where you enterZora's Domain) up towards Death Mountain. Just take a short walk off the beaten path to the east and it'll be there.
Mo'a Keet and Metal Makes a Path trial solution
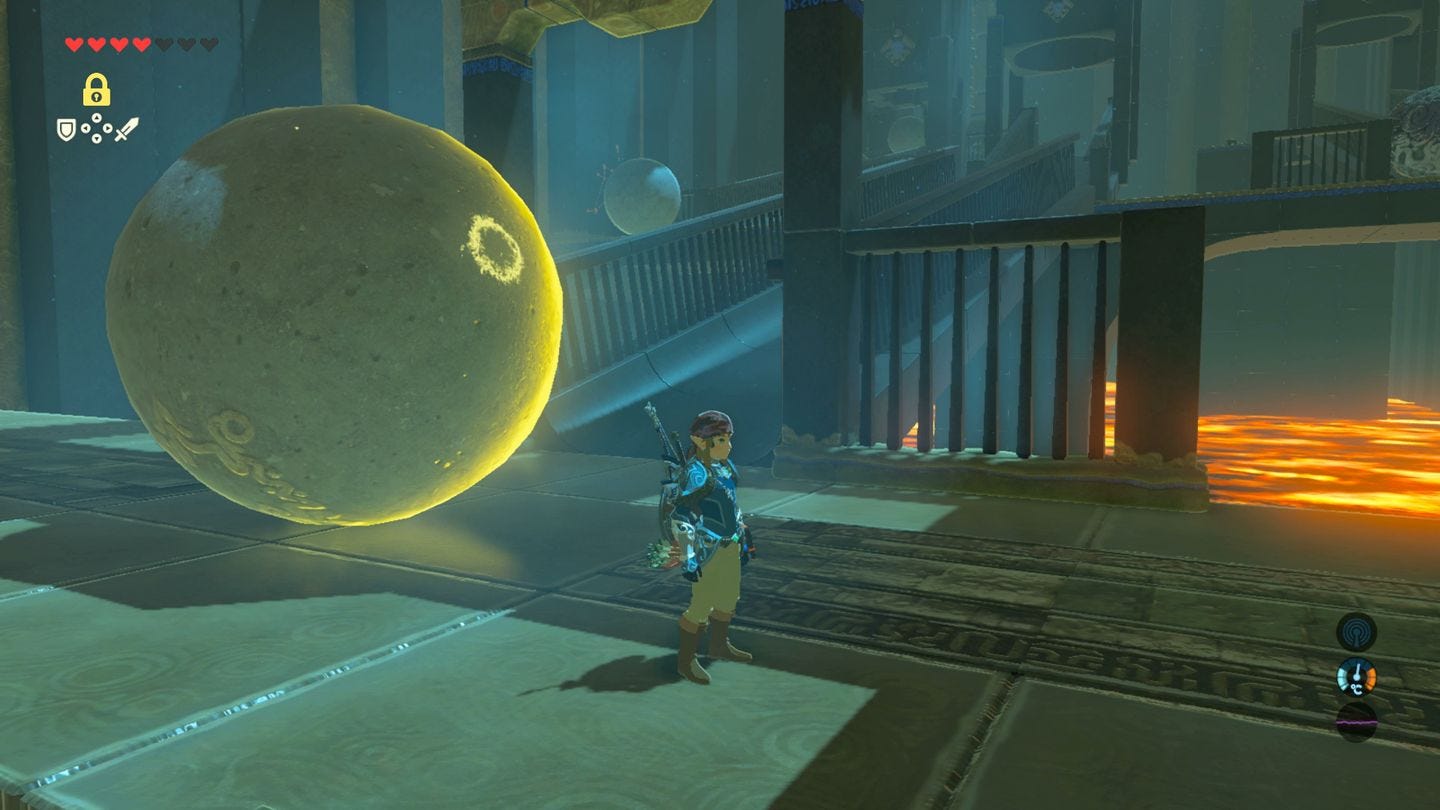
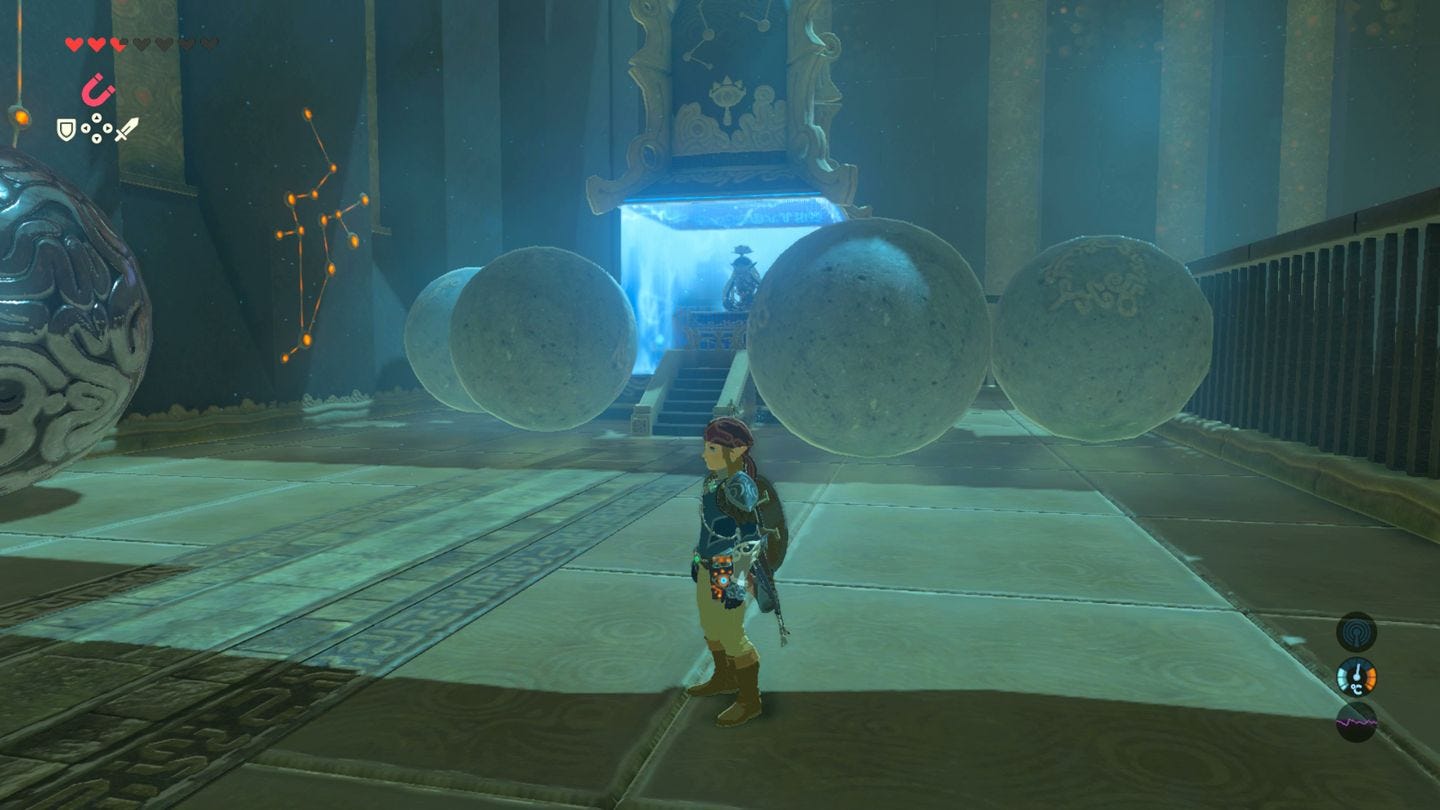
This Shrine contains three rolling boulder chutes with paths connecting them together. Only one comes down to the bottom, and as with the Owa Daim shrine, you'll need to use Statis on the boulder when it leaves the chute, stopping the flow so you can sprint up to the central platform.
Next, go right, where a metal boulder is rolling down. Stop it with Statis - it's probably easier to stand with your back to the chute, facing out where the metal boulder falls, to give you enough time to use the rune on it - and when suspended, sprint up and open the chest at the top containing the Knight's Broadsword.

Thanks to a new update, it's now possible to play Zelda Breath of the Wild in VR. Want help with the main game? Our Zelda: Breath of the Wild walkthrough can help complete Divine Beasts Vah Ruta, Vah Rudiana, Vah Medoh and Vah Naboris and more. There's also how to get the Master Sword, Hylian Shield and all Zelda Captured Memories and Great Fairy Fountain locations, while our Shrines locations and Shrine maps hub explains where to find and solve every puzzle room, including dragon locations and Labyrinth solutions. We also have a DLC 1 guide and DLC 2 guide, including all Tingle, Majora's Mask, Phantom, Midna outfit locations.

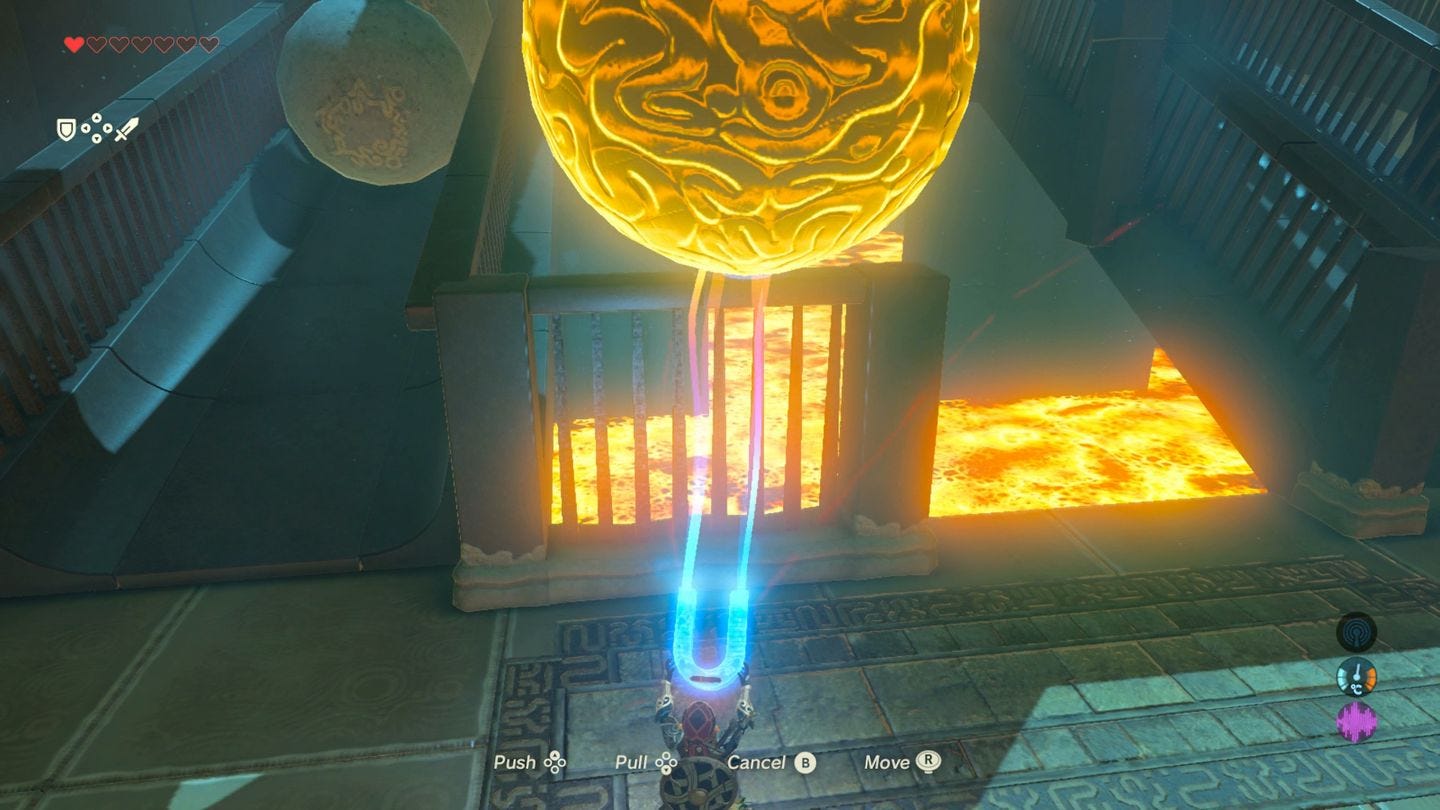
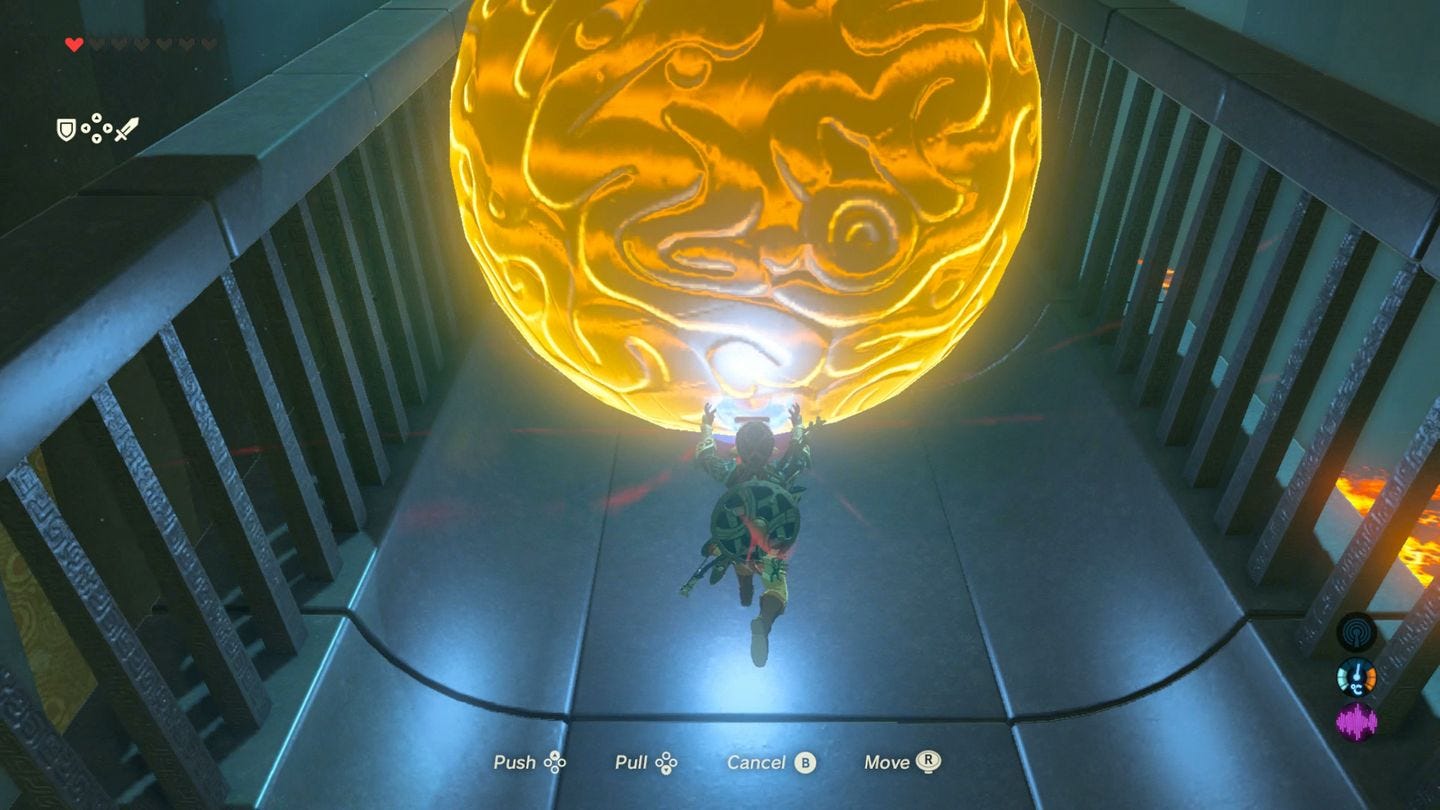
To complete the Shrine, grab this metal boulder using Magnesis (you can face the chute head on at the bottom this time), and carry it past the middle chute to the one on the far left.

This far left chute has a continuous flow of boulders, but with the metal boulder hovering in front of you, you can use it as a blocker to push them out the way as you walk up. At the top is the altar to finish the Shrine.
(Note as we pushed up the chute one time, Magnesis disappeared - we're not sure whether we took too long, or pressed a button, but either way if you go direct from one chute to the next, the solution will work fine!)
While you're here, here are other Shrines within this region:
Eldin and Death Mountain region (9 Shrines)
- Daqa Koh Shrine and Stalled Flight trial
- Gorae Torr and The Gut Check Challenge
- Kayra Mah, A Brother's Roast quest and Greedy Hill
- Mo'a Keet Shrine, Metal Makes a Path trial near Foothill Stable
- Qua Raym Shrine, A Balanced Approach trial solution
- Shae Mo'sah Shrine and Swinging Flames solution
- Sah Dahaj and Power of Fire
- Shora Hah Shrine location and Blue Flame trial solution
- Tah Muhl, A Landscape of a Stable quest, Passing the Flame
If you're after other trials, then our Zelda: Breath of the Wild Shrine locations and maps hub page can help with other regions.