Zelda: Breath of the Wild - Vah Medoh dungeon, all terminal solutions inside the giant bird dungeon
How to explore the sky dungeon, find all terminals and hidden chests.

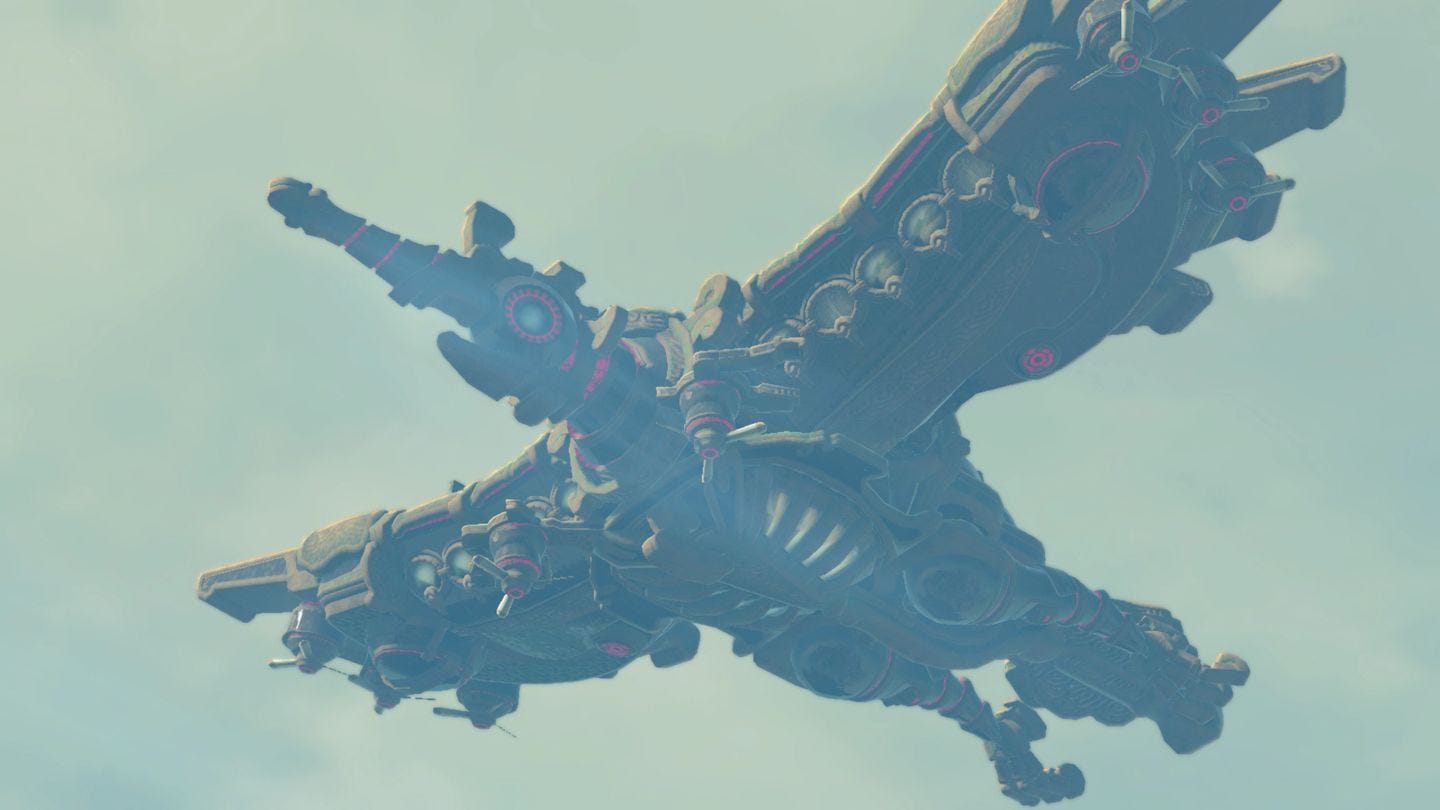
Zelda: Breath of the Wild's Vah Medoh dungeon is required for you to complete one of four Divine Beasts scattered around Hyrule.
If you have yet to arrive at the dungeon, make sure you read how to get started with the quest:
After that is the dungeon's boss fight Windblight Ganon - but if you've yet to get that far, read on for help with the five terminals.
If you're after help for parts of the game, consult our Zelda: Breath of the Wild walkthrough and guide.

How to start Vah Medoh dungeon
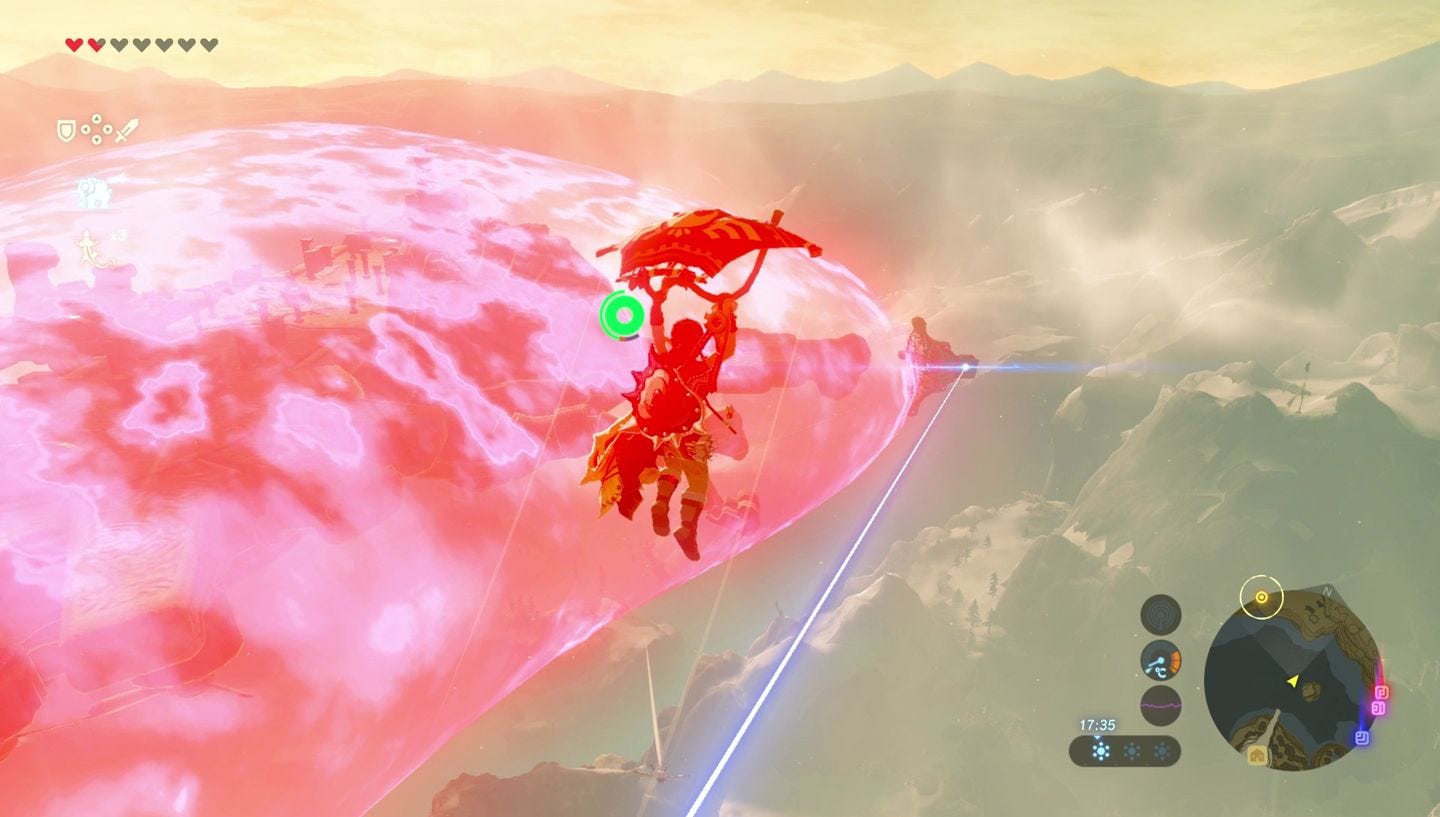
To start the Vah Medoh dungeon, make sure you visit Rito Village and find Teba at the Flight Range. After the short trial, you'll be whisked into the skies, and have to take down the Beast's defences before you can board.
There are four cannons surrounding the Beast which you must fire. Glide over to each one, and when close enough, aim a Bomb Arrow and let rip.
The distance here might mean you'll have to get nice and close or aim a little above, which puts you in prime range of laser attacks. Whenever you start getting locked on, wait a few moments then stop gliding so you suddenly drop (or if you're falling, start to glide to ascend up quickly) ensuring the laser will miss you with a large margin, then return to the same height and continue again.
Two hits per cannon will destroy them, and you can easily fire one after another to make the process quite a quick one. As instructed, don't fire or get close to the red forcefield, as that will be destroyed when all four canons are down, paving the way to the Vah Medoh dungeon.
Vah Medoh dungeon and terminal locations
Before you enter the dungeon proper, turn around and you'll see some Calamity blocking your way to a chest. Either shoot the Calamity Eye to the right of the chest, or leap past it, for a Sapphire.
Finding the map and opening bonus chests in the Vah Rudiana dungeon
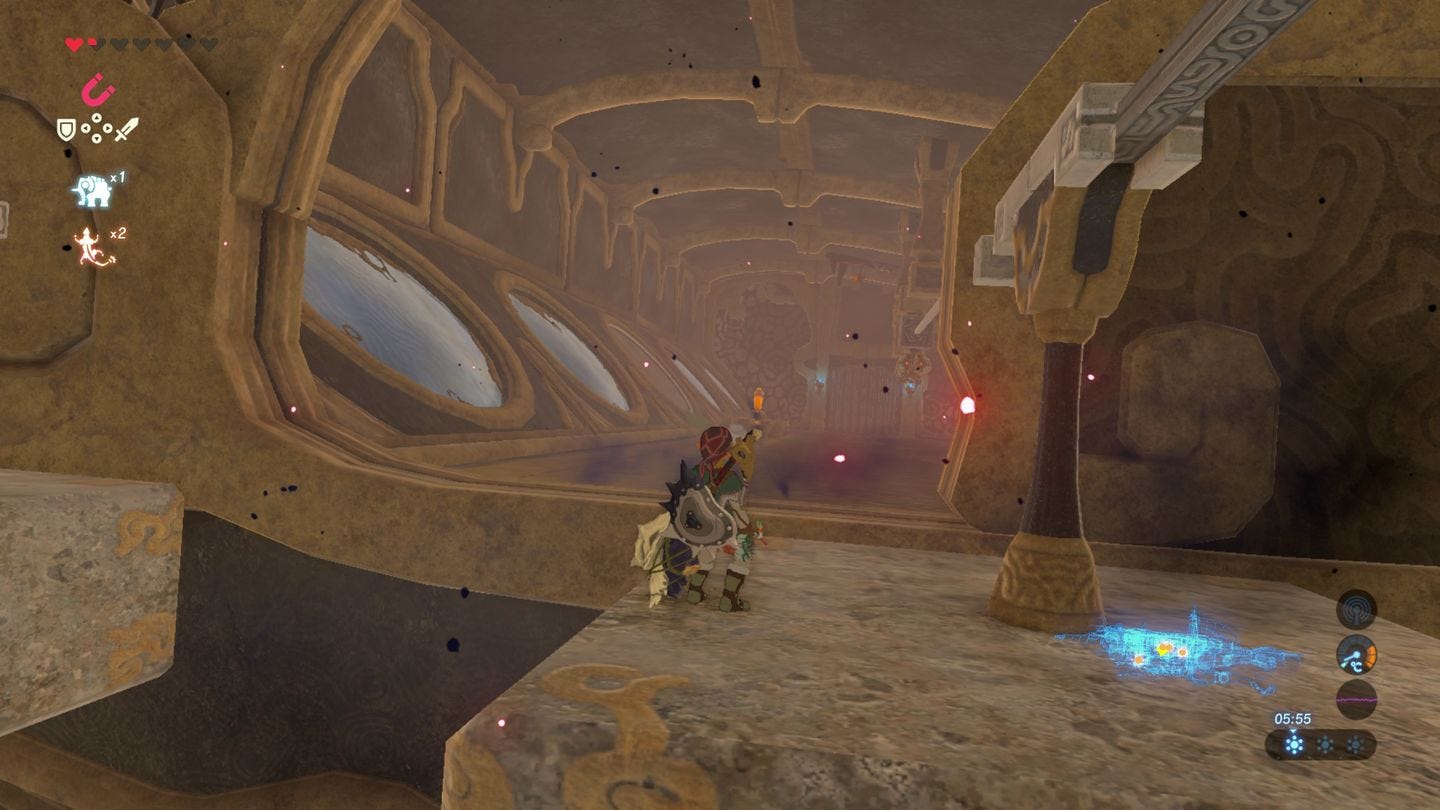
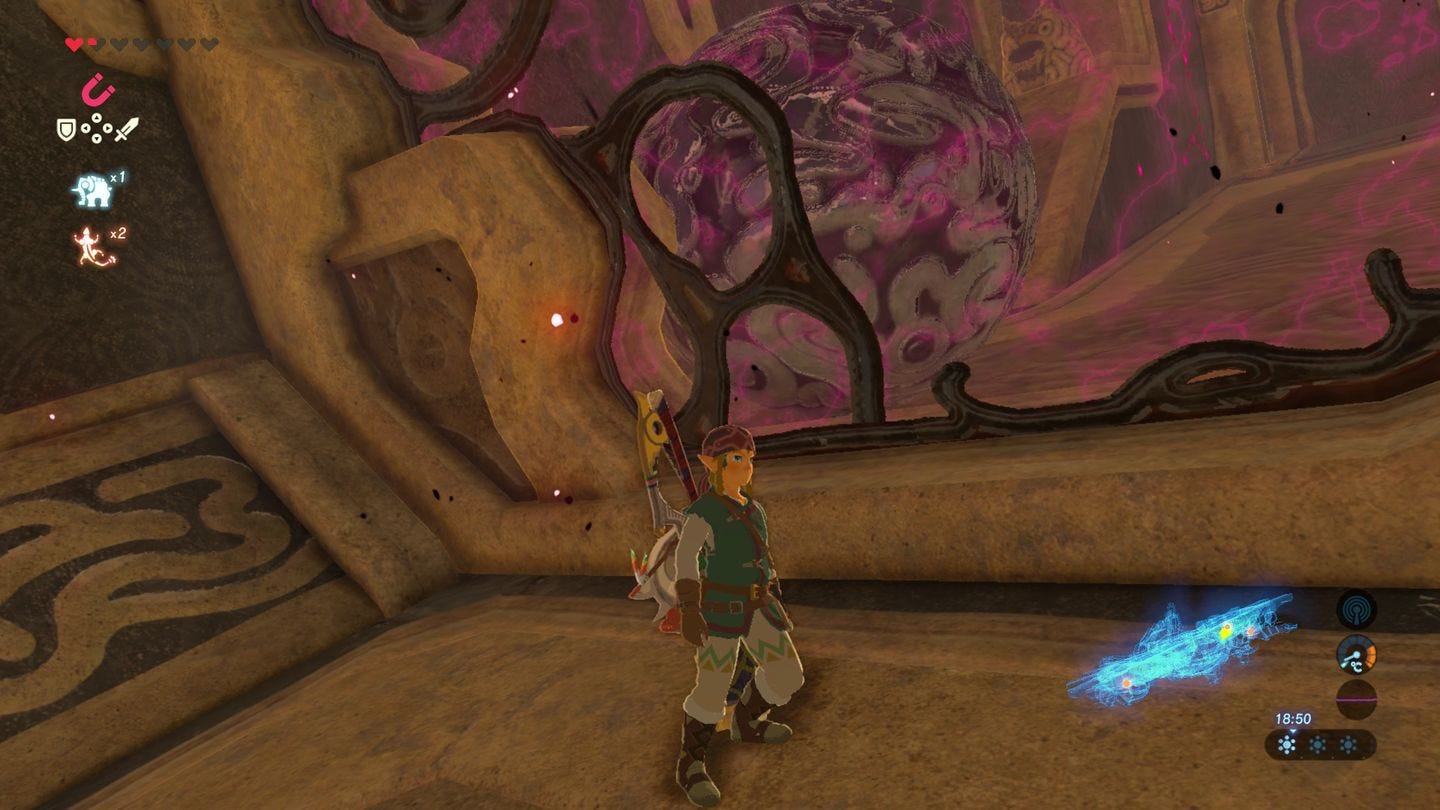
Enter the dungeon, clear the Calamity by shooting the eye to the right, and skip past the gust of air (we'll come back to it later).
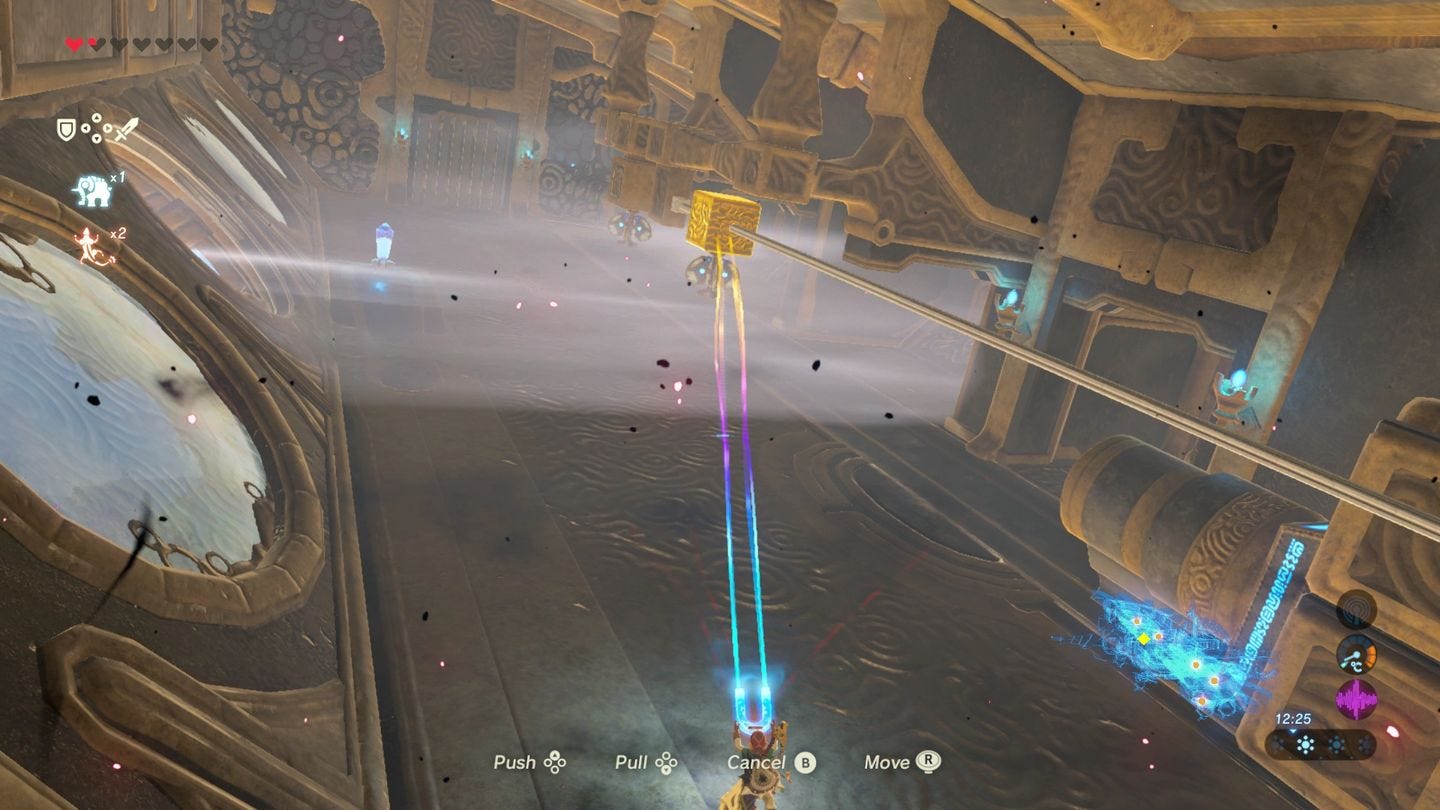
Ahead are a series of platforms, two of which you can move using Magnesis - shift them towards then away from the stone platforms to make stepping stones to the far side.
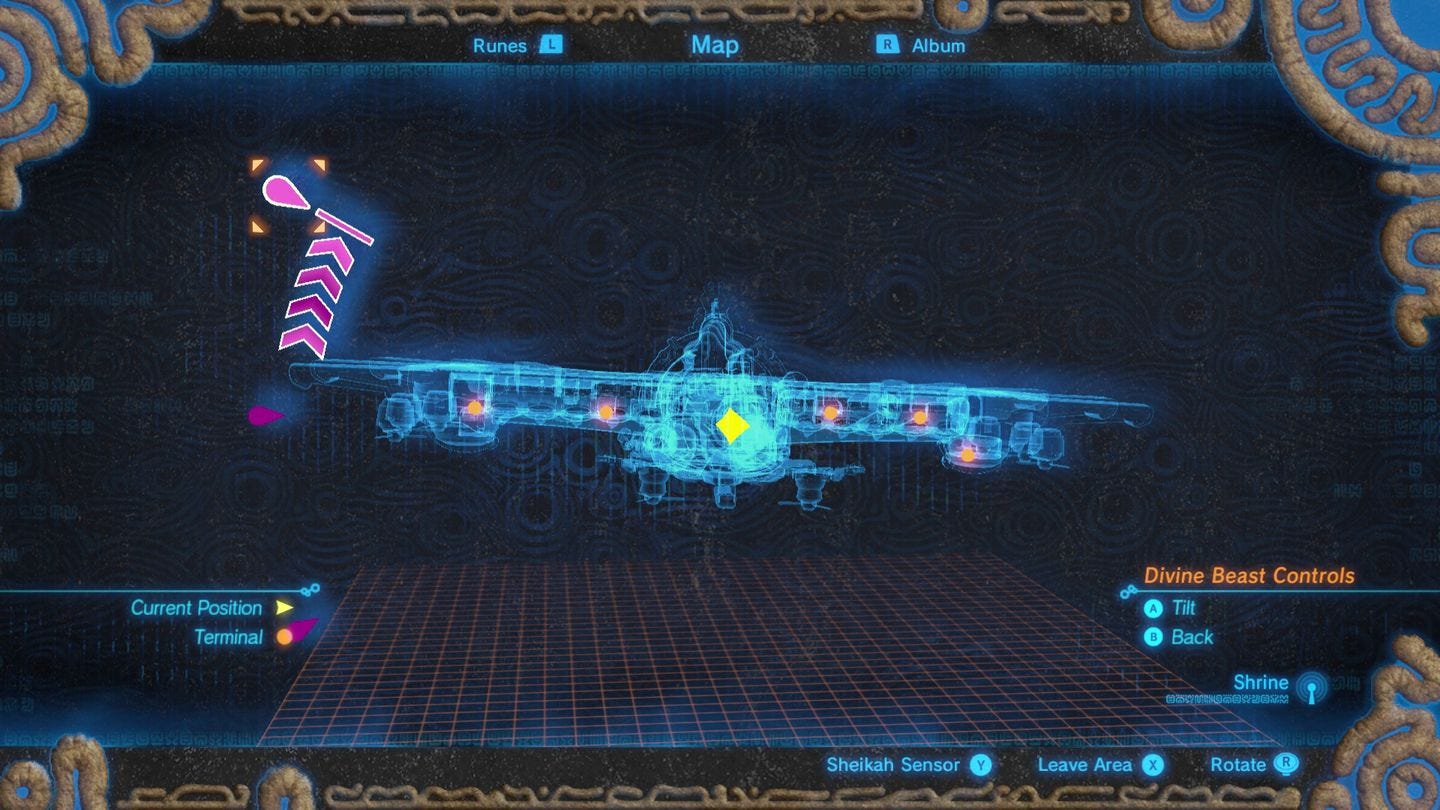
Kill the Guardian Scout then use the pedestal at the end for the Guidance Stone and the area's map, telling you the trick to this Beast is tiling the beast up, level or down.
First, let's get some chests. If you drop down onto the higher ledge from this side, you'll find some Bomb Arrows in the corner, then down to the bottom, destroy the Eye right on top of the chest for an Ancient Shaft.
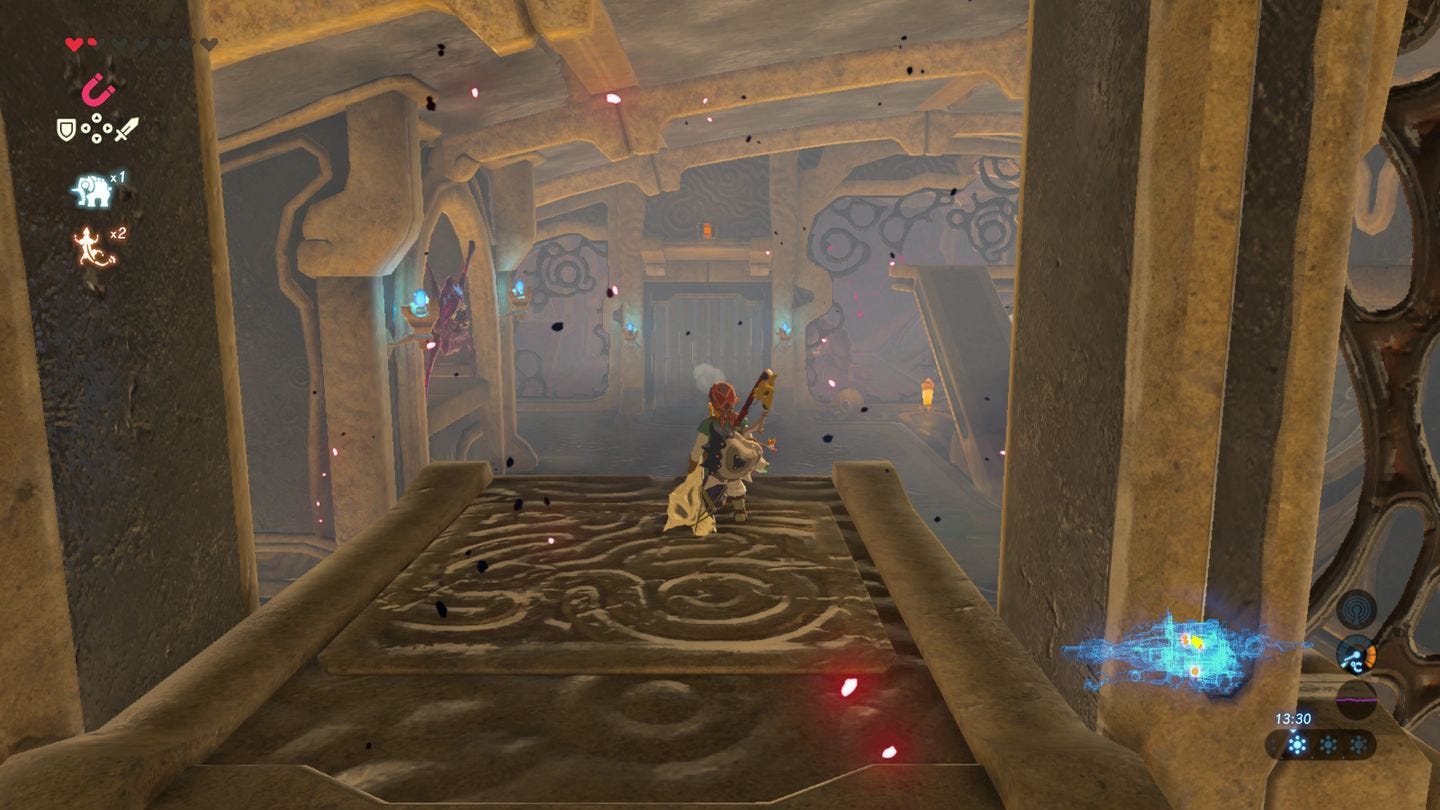
There are some doorways down here - don't take them yet, but remember them for later. Take the gust of wind up at the end back to the normal level.
Move the metal platforms so they aren't in line with the closest stone platform. Tilting the Beast up will move this nearest stone platform toward the left, in front of the climbing wall with the chest on top. Use Statis is as it's sliding past to stop it right in front, then climb up and open the chest for an Ancient Core.
First Terminal in the Vah Medoh dungeon
Now it's time to get the first Terminal. Tilt the Beast all way down, sliding the stone platforms to the right side so you can access the right wing.
Hopping from one stone platform to the next isn't possible, so you'll have to alternate the metal platforms one after another (stand on one, move the other ahead, leap across, move the first one ahead, repeat) then glide across to the new side area, which is the right wing where our terminal is located.
First, a few more optional chests. Shoot the Eye on the ceiling to drop one with Ice Arrows, then tilt the Beast all the way up, then hit the switch to open the windows and let a gust of air through. If you stand one the window to gain some height, glide back down the way you came and up to the left, where there is a chest on the ledge, for a Knight's Bow.
Now to solve this area. You'll notice with the wind blowing in, fans just opposite will spin, opening two gates. You want to open the gates so the stopper moves along the rail to the far end, hitting the switch, but you'll realise tilting the Beast will also move a fan out of the way, stopping you from opening a gate.
Use Magnesis to line this loose fan up with the right gate, so the gate remains open and the stopper moves along. Keep holding it in place, and tilt the Beast down, so the stopper goes to the far end of the wing, then all the way up, so it gathers speed along the far end, passing the opening gates and hitting the switch with some force, opening a door with the Terminal inside.
Second Terminal in the Vah Medoh dungeon
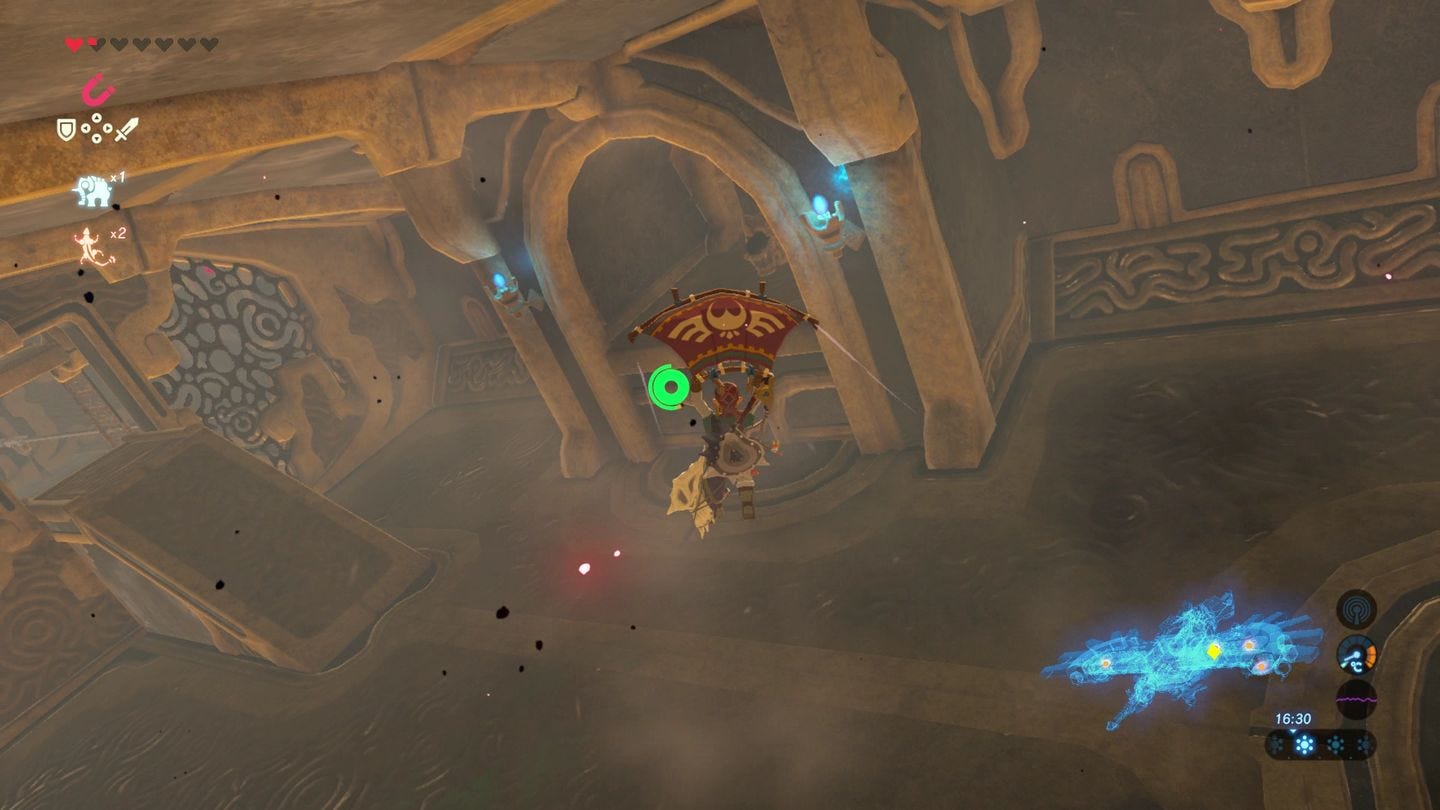
Now it's time to head to the left wing. You can do this by tilting the Beast up, jumping from the slanted windows in this right wing and gliding through the air coming through the window across, through over the centre room with the stone and metal platforms and into a hole in the wall.
Alternatively, you can do the same technique as with the Ancient Core chest, by moving the stone platform to the climbing wall below by tilting, using Statis to stop it, then climbing up and hopping over.
Whichever way you chose, drop down to the ground and look up the left to see an alcove covering in Calamity gunk, with a Terminal behind. Shoot the eye to clear the mess, then run up the ramp in the far corner. Tilt the Beast all the way down, and glide across to the alcove to activate the Terminal.
Third Terminal in the Vah Medoh dungeon
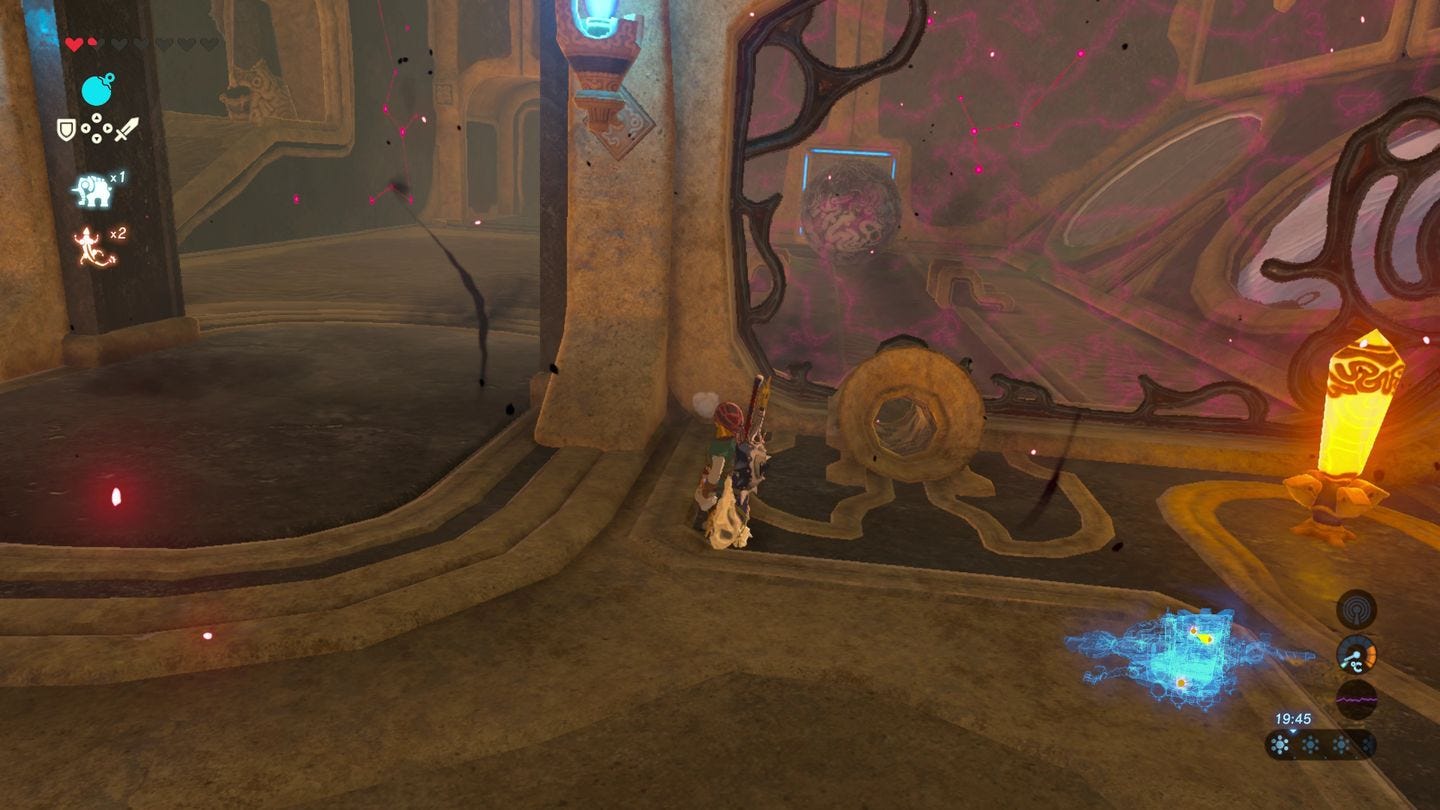
Drop down to the lower level and to the corner underneath the ramp you just leapt from to see a switch and a chute.
Tilt the Beast up and roll a bomb through the chute. Detonate it when it stops by the rocks to clear a path.
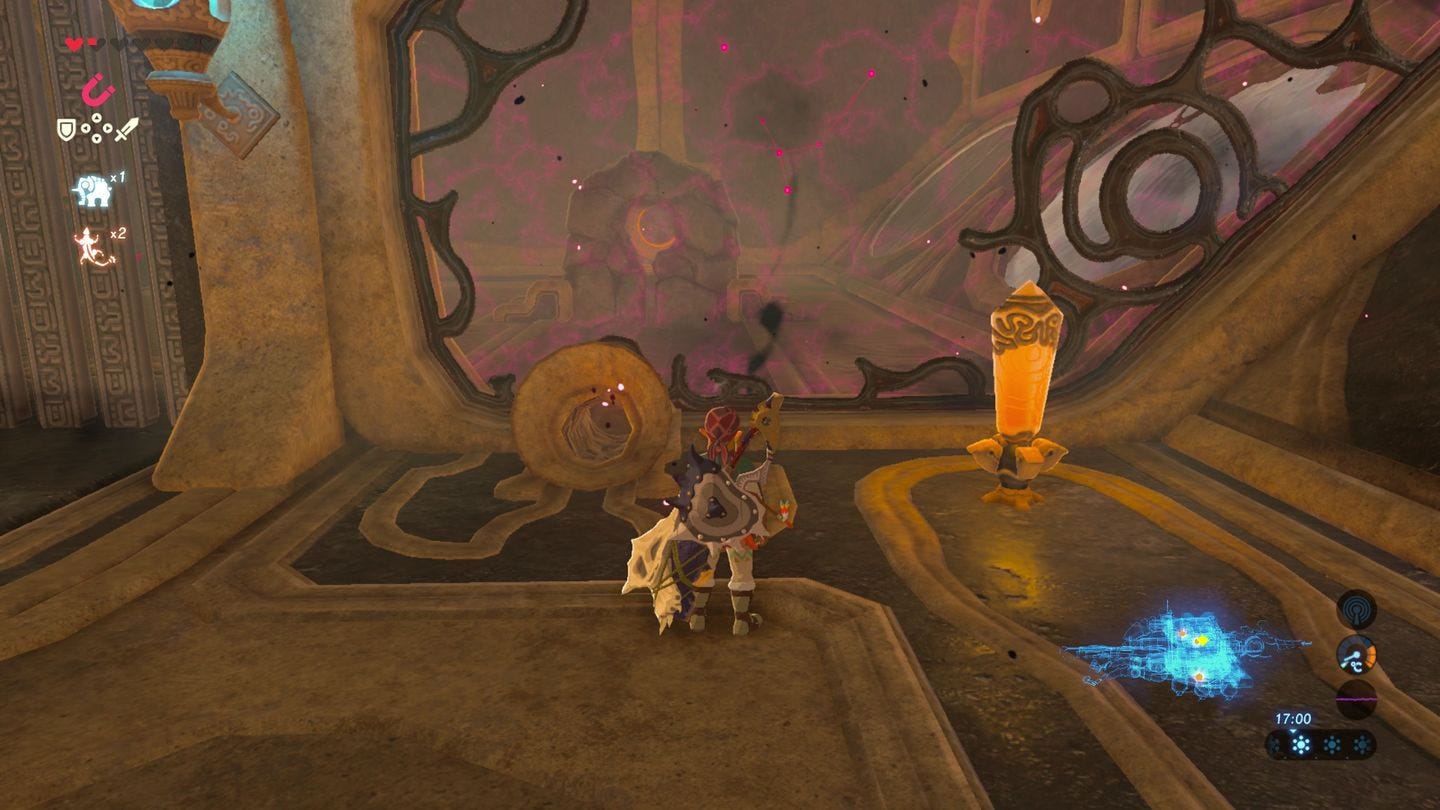
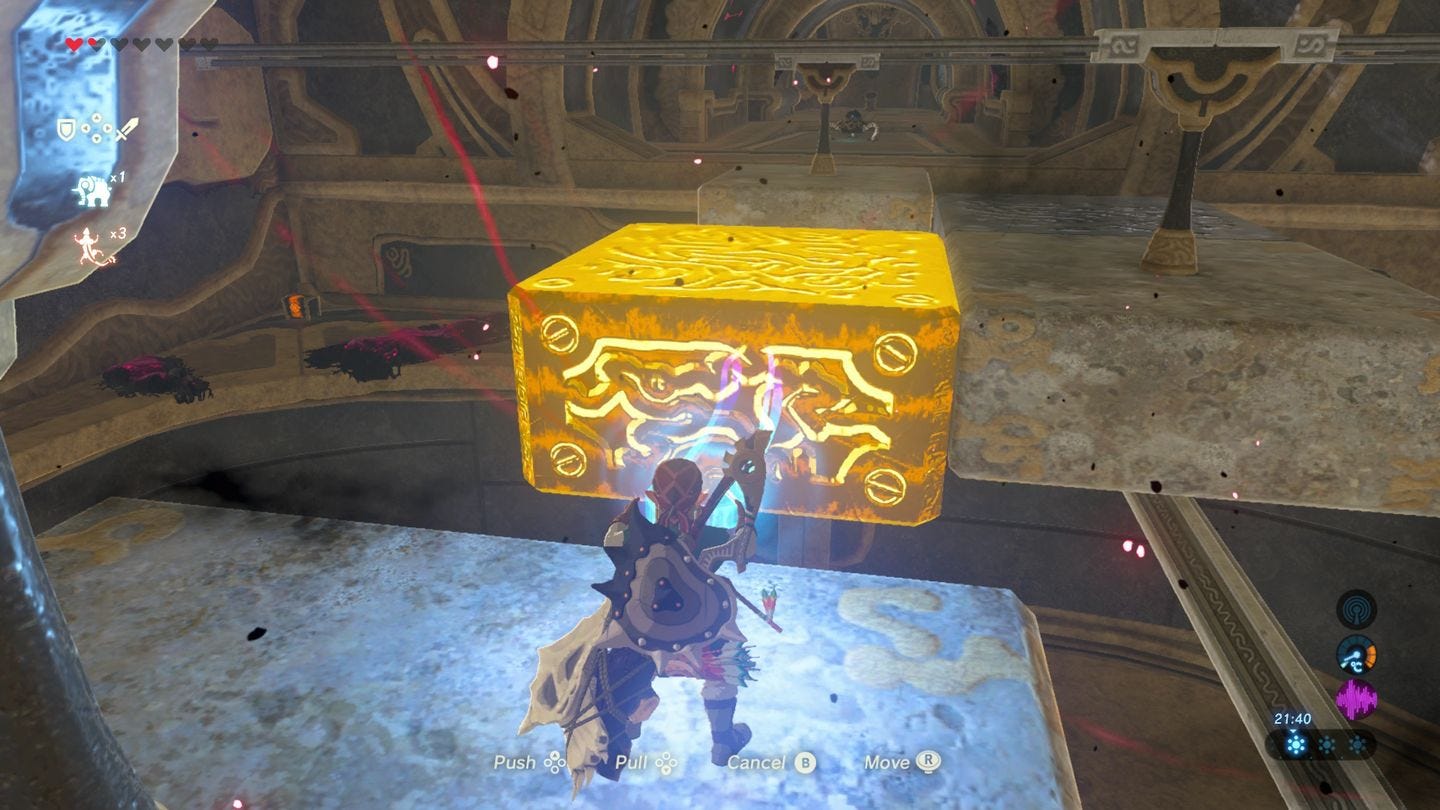
Roll another bomb, and swing at the switch to activate a current of wind, blowing the bomb along a path to the far corner. Detonate it as it reaches the corner rock wall to reveal a metal ball.
Run over to the other side of the room so you're opposite the metal ball, and tilt the Beast down so it rolls towards you.
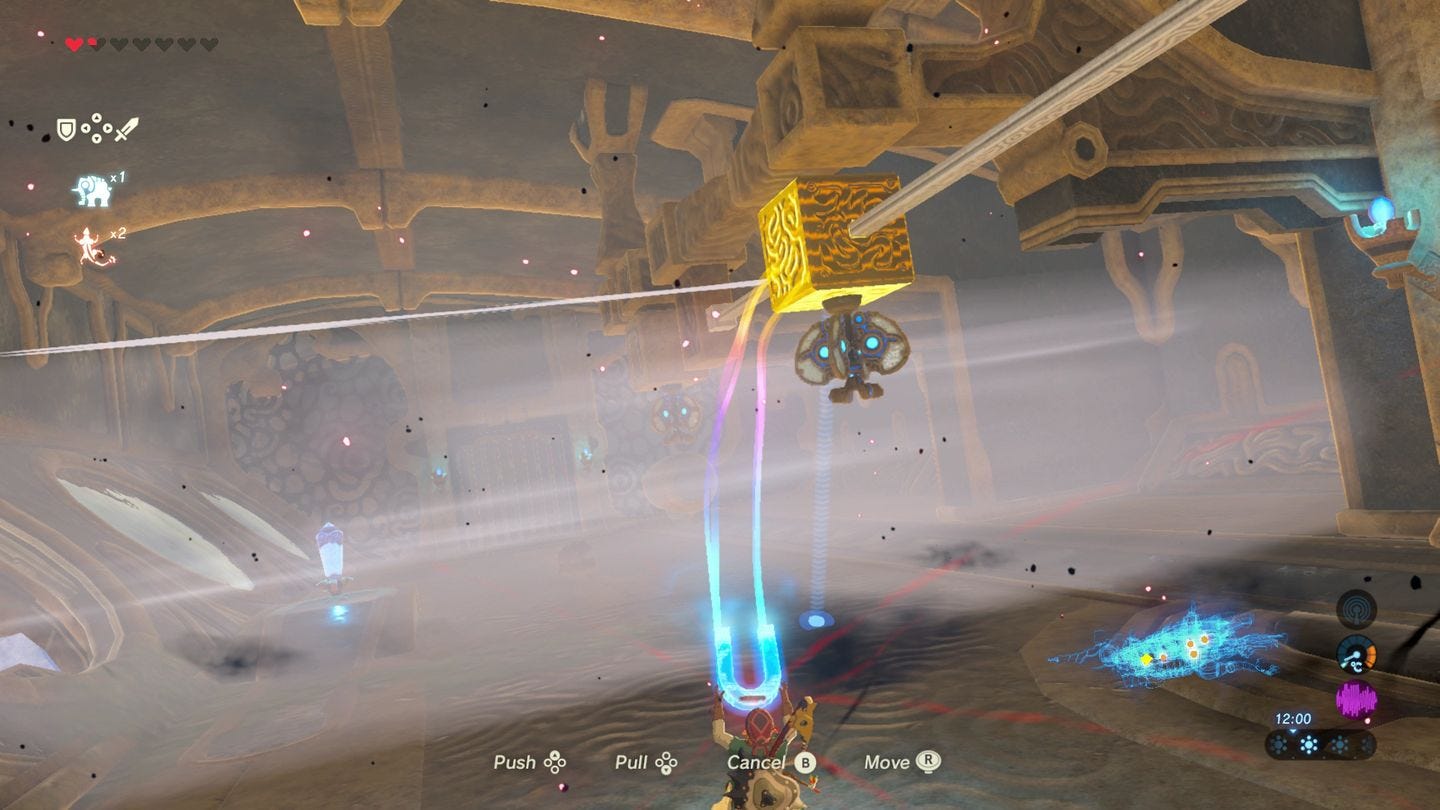
Use Magnesis through the wall and take it back to where the chute is.
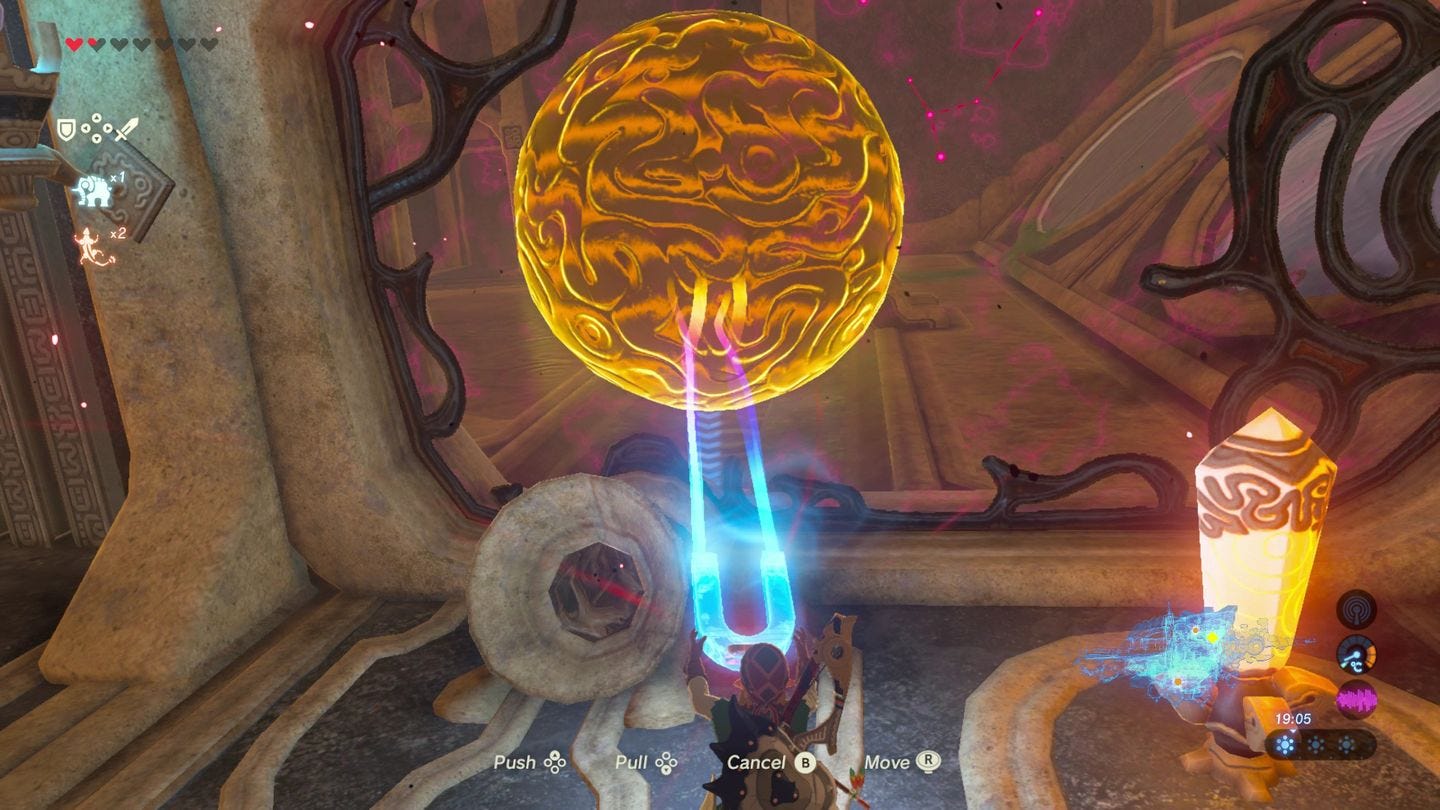
Place it down, tilt the Beast up, so it rolls to the switch opposite with some force, opening the gate and allowing you to progress into the room.
The Terminal is on a ramp on the left, waiting to be activated.
Thanks to a new update, it's now possible to play Zelda Breath of the Wild in VR. Want help with the main game? Our Zelda: Breath of the Wild walkthrough can help complete Divine Beasts Vah Ruta, Vah Rudiana, Vah Medoh and Vah Naboris and more. There's also how to get the Master Sword, Hylian Shield and all Zelda Captured Memories and Great Fairy Fountain locations, while our Shrines locations and Shrine maps hub explains where to find and solve every puzzle room, including dragon locations and Labyrinth solutions. We also have a DLC 1 guide and DLC 2 guide, including all Tingle, Majora's Mask, Phantom, Midna outfit locations.

Fourth Terminal in the Vah Medoh dungeon
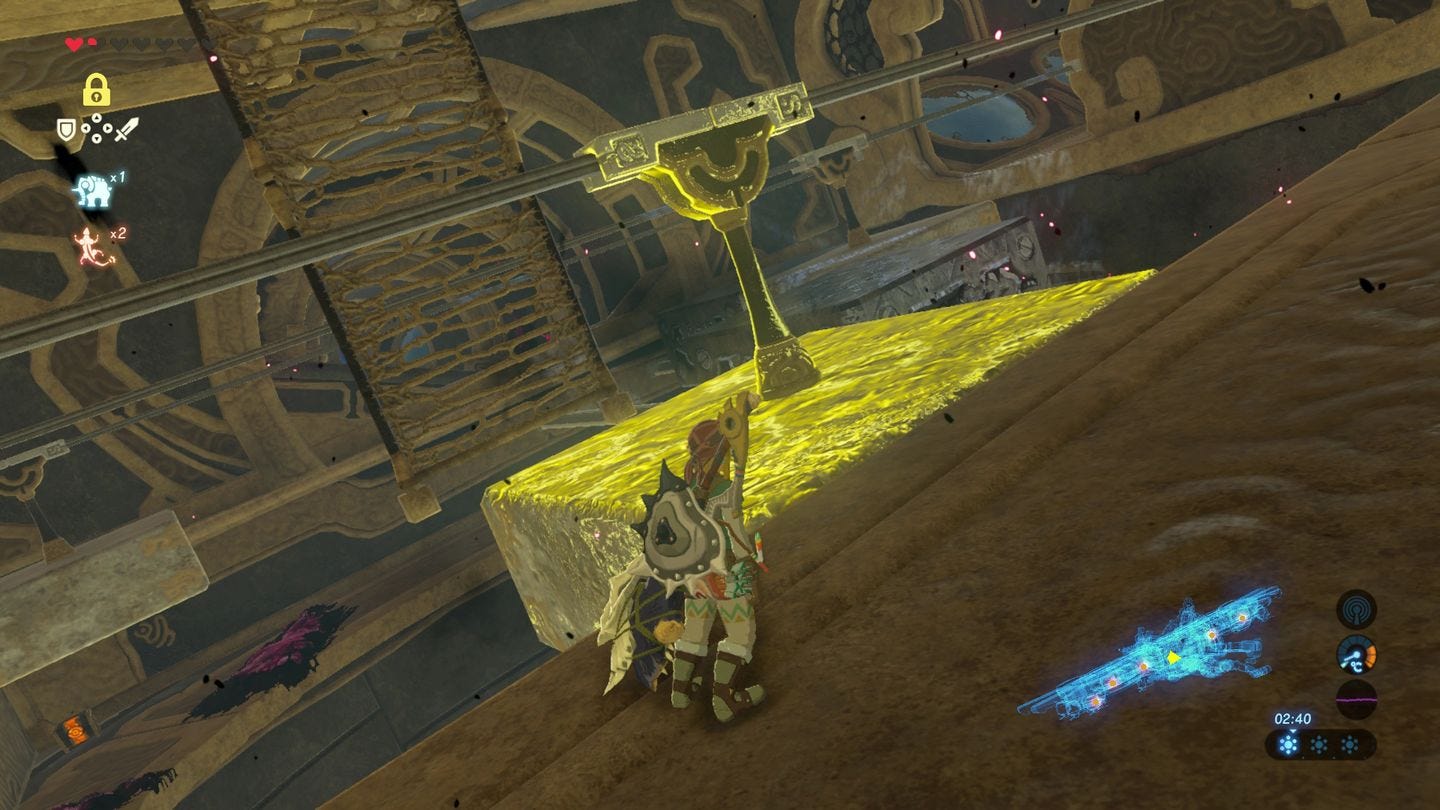
Return to the starting area with the stone and metal platforms and drop down to the lowest level. To the side are two doorways leading outside. Head out towards the right wing - the one without the Calamity gunk - to see a cable car in the ceiling.
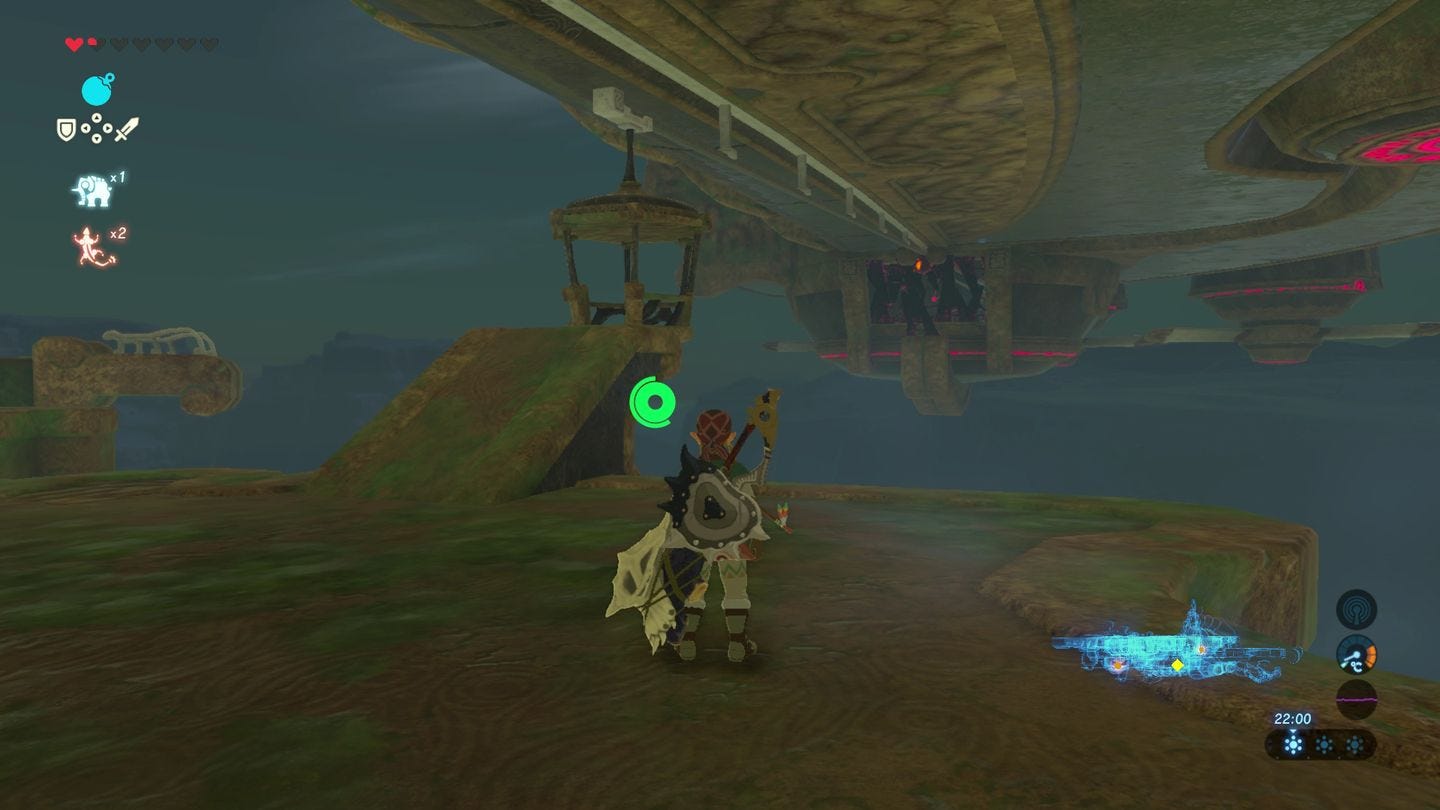
Jump in, and look out towards the wing to see an Eye. Shoot it to clear the Calamity blocking the area ahead, then tilt the Beast down to move the cable car over. Hop out, go up the ramp, and use the Terminal.
Fifth Terminal in the Vah Medoh dungeon
Activating the fourth Terminal will open the gate back to where you solved the first Terminal, but instead, head back to the cable car and ride it back towards the centre.
You want to head to the left wing, but since the doorway through the central area had calamity blocking the way, you can take a walkway in this outside area round the front and over. Shoot the Eye outside the doorway, as well as on the platform to the right, activating an airflow upwards.

To get across to the tip of the left wing, you must glide over. Tilt the Beast up, and from this airflow you've just reactivated, jump from the ledge with the railings and glide across. The Terminal is in there waiting. Tilt the Beast back over the other way and glide to the central part of the Beast now.
Now it's time to head to the main control unit and the Windblight Ganon boss fight. It's at the very top of the Beast and the vertical air flows outside from the wings and in the starting area will take you there.