Persona 5: Shido Palace - locked doors, Shadow IT President, Shido boss fight in the Cruiser Palace
How to explore and beat the seventh Palace.

In Persona 5 Shido Palace is the seventh dungeon that starts during the months of November and December.
As before, you'll be taking a few visits to the Shido Palace ship dungeon, with several infiltrations and a run to get the Treasure and take on the boss.
If you're after help for other parts of the game, consult our Persona 5 guide and walkthrough.
Shido Palace dungeon
Investigation
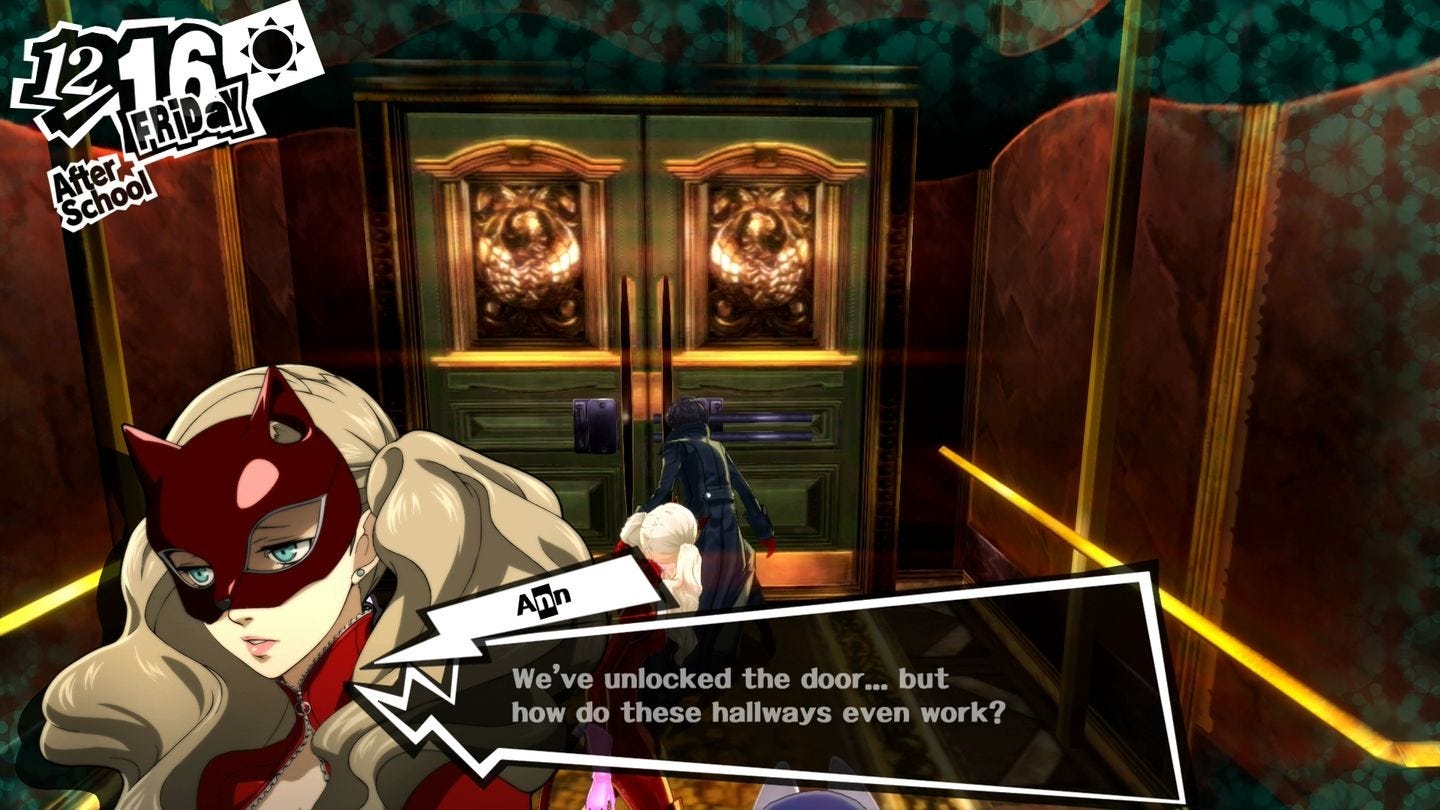
Make your way up through the entrance hall to the central passage and examine the large door ahead, then explore the Central Passage area to speak to your teammates. Grab the map that Morgana points out to you, then use the safe room to return to the real world.
Infiltration
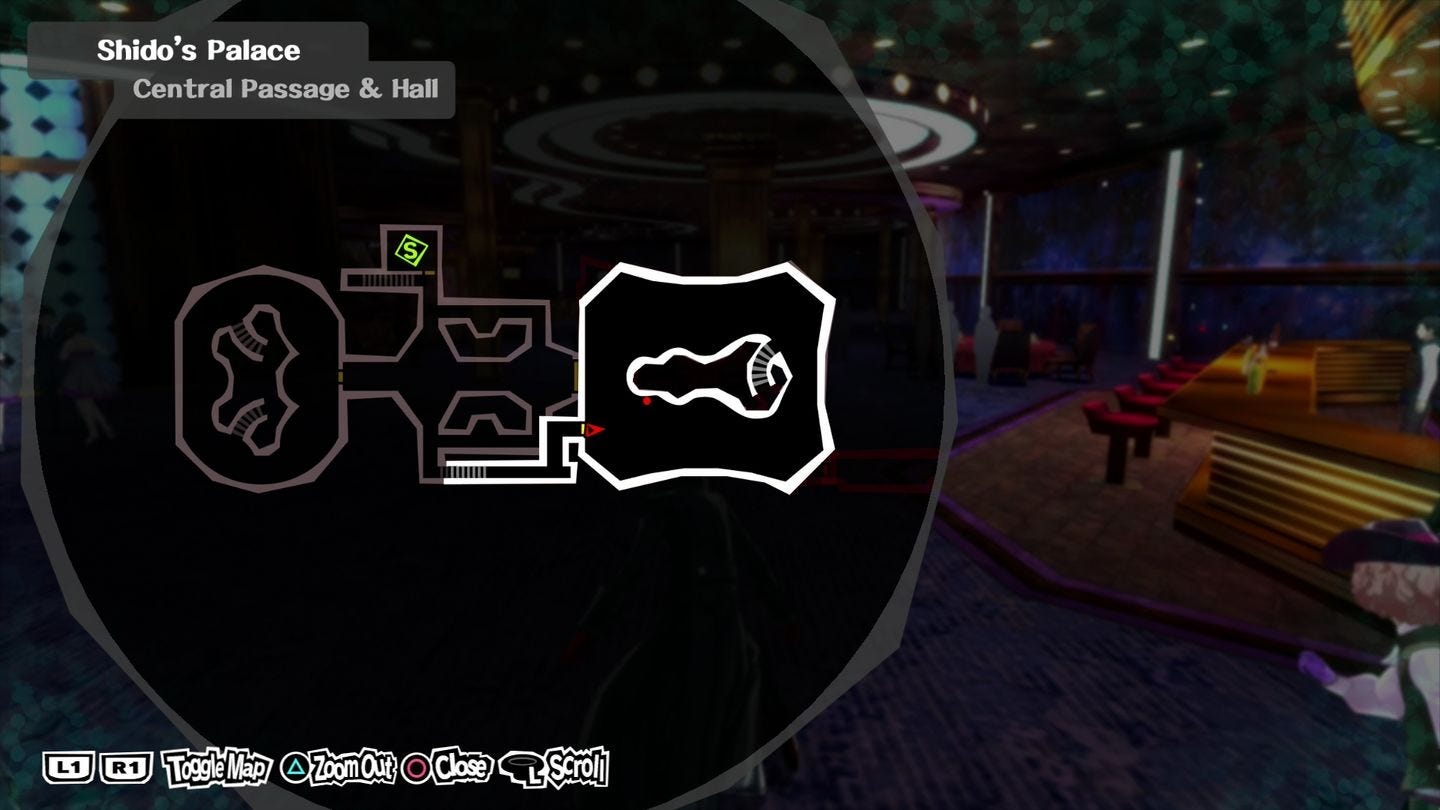
Central Passage and Hall
Return to the Central Passage and climb the stairs in the south corridor to reach the main hall, then head down the curved stairway at the far end and through the door in the south east corner of the lower room to the end of the passageway.
You won't be allowed in to the restaurant, so head back down the corridor, up the curved stairs, and to the group of people in the north west corner of the upper floor.
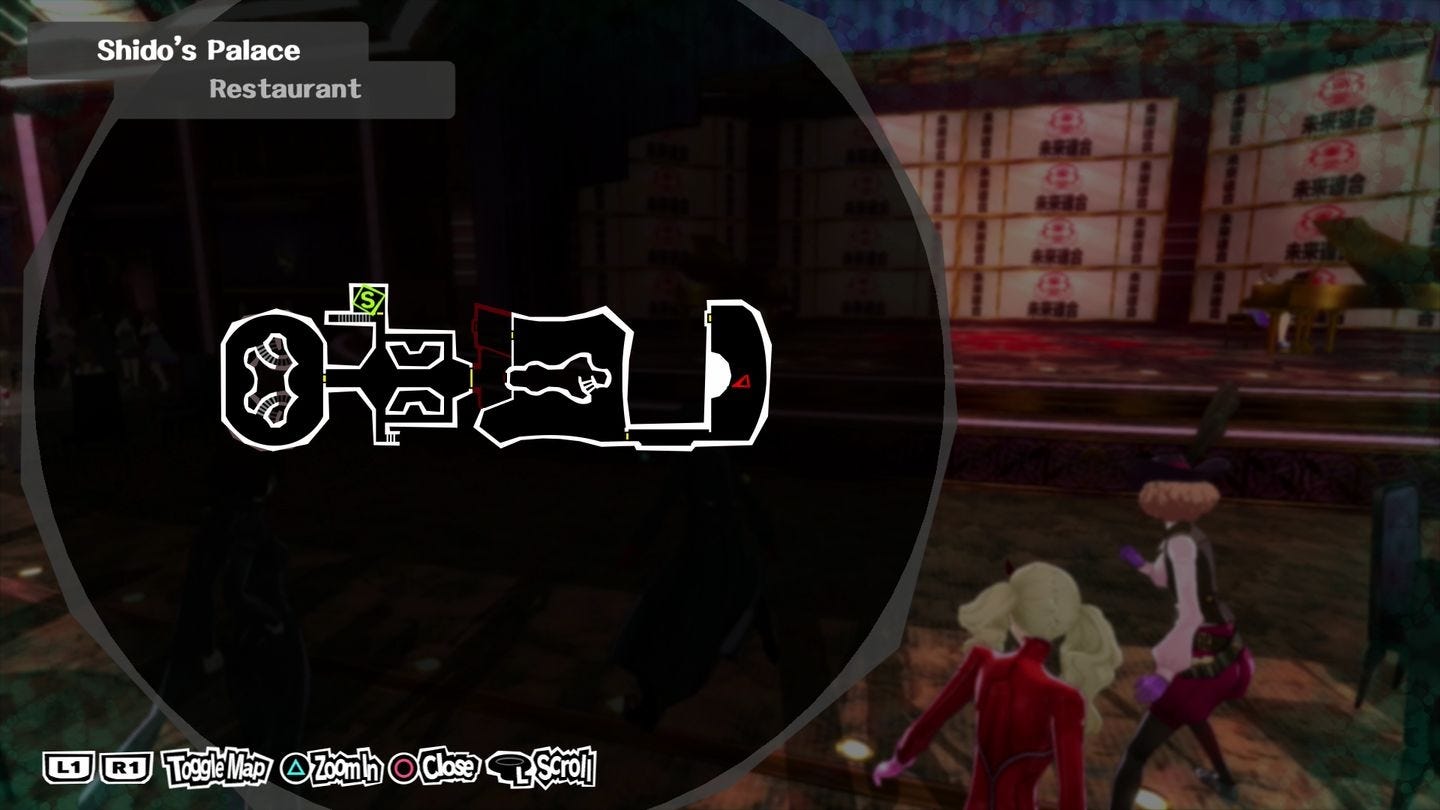
Restaurant
One of them will complain that he's lost his card, so use Third Eye to follow the trail of footprints back down to the lower level and speak to the barman. With your newly acquired key you can now enter the restaurant - Makoto will take a seat at the table, and you'll face the first of five sub-bosses from this Palace.
Politician Ooe is weak to Psy damage, and he wastes his first couple of turns applying buffs to himself, so you should be able to get in a fair amount of damage before he attacks you. Once you've got your first letter of introduction head for the elevator in north west corner of the restaurant and make your way to the next floor.
Locked doors
Mid-Starboard Hallway
With this and the other puzzle areas we recommend attempting to open any locked doors you come across; even though you can't get through them it will mark them on the map and makes navigation easier.

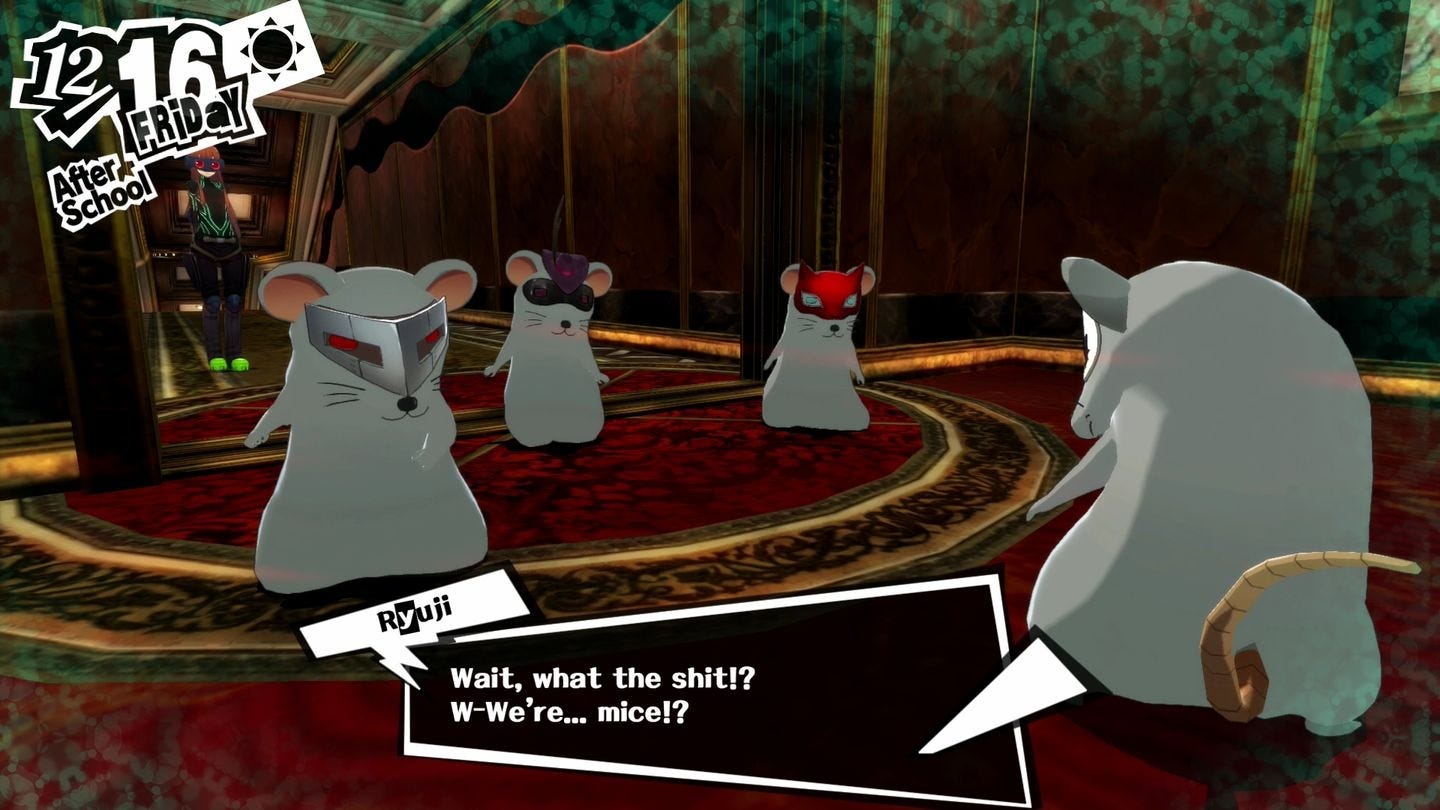
Head east along the passage, past the locked door, and into the room at the end where you will be transformed into mice. Once Futaba has explained what's going on, head back into the room and exit through the small vent in the south east corner of the room. Head south and unlock the door, the turn around and head north through the door ahead.
Turn left at the end, enter the large room where you'll become a mouse once again, and head through the vent towards the eastern end of the north wall, and unlock the door to the west.
Head to the room at the end and activate the switch to disable the mouse transformations, then turn around and follow the passage east.
Head through the door and into the next room, leave to the south, follow the passageway and head through the locked door, take the turning on the left, and then left again into another small room. Leave through the door in the south, and follow the passageway to the end to find the lift.
Pool Deck
Head down the stairs to the north, and once you reach the pool talk to the man reclining on a sun lounger in the south west part of the deck. Once he's brushed you off head to the far east of the deck and speak to the woman about hiring a swimsuit, then make your way to the bar.
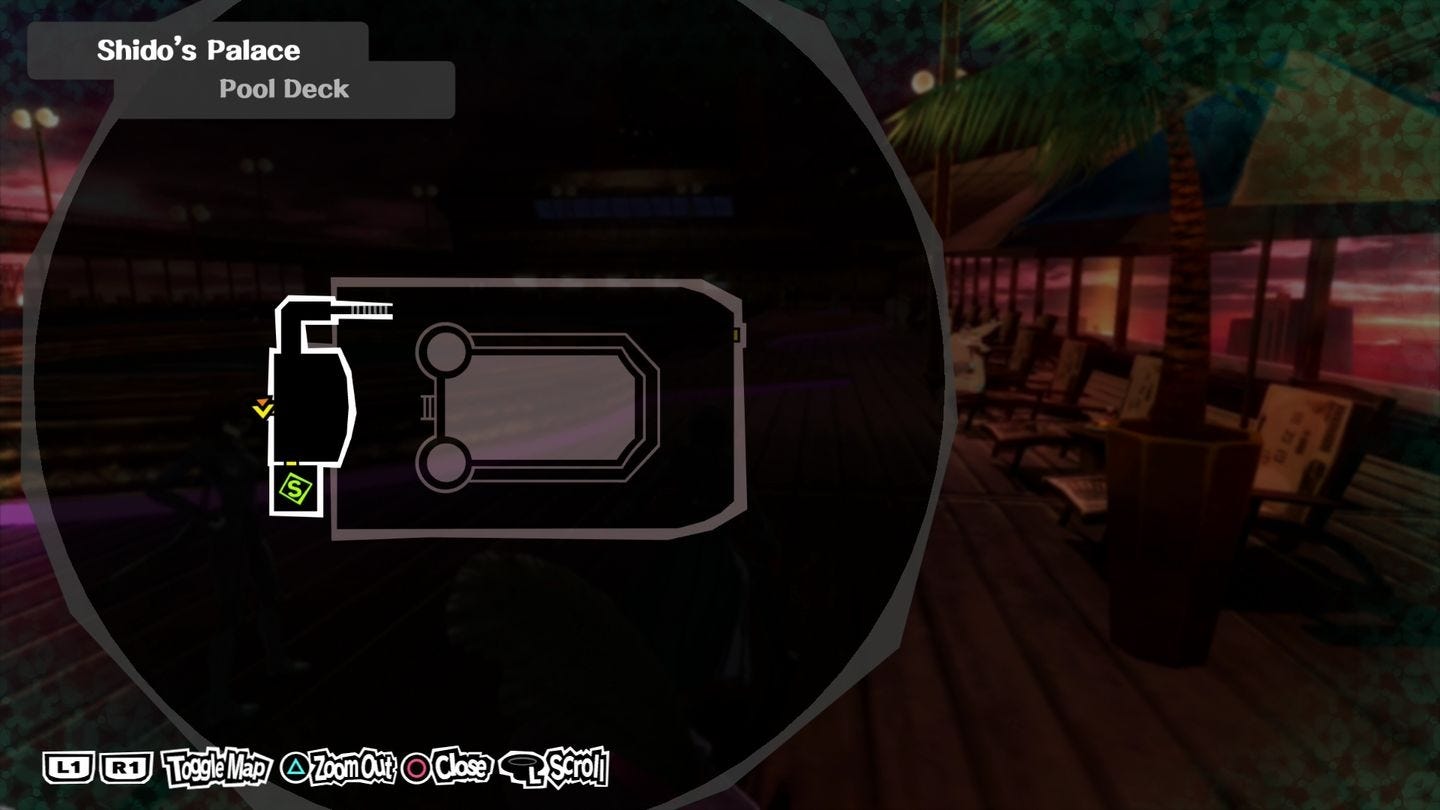
The barman won't help, so now head around the back of the steps and climb in through the vent, examine the changing room cubicle, and then watch the cutscene before facing off against Former Noble.
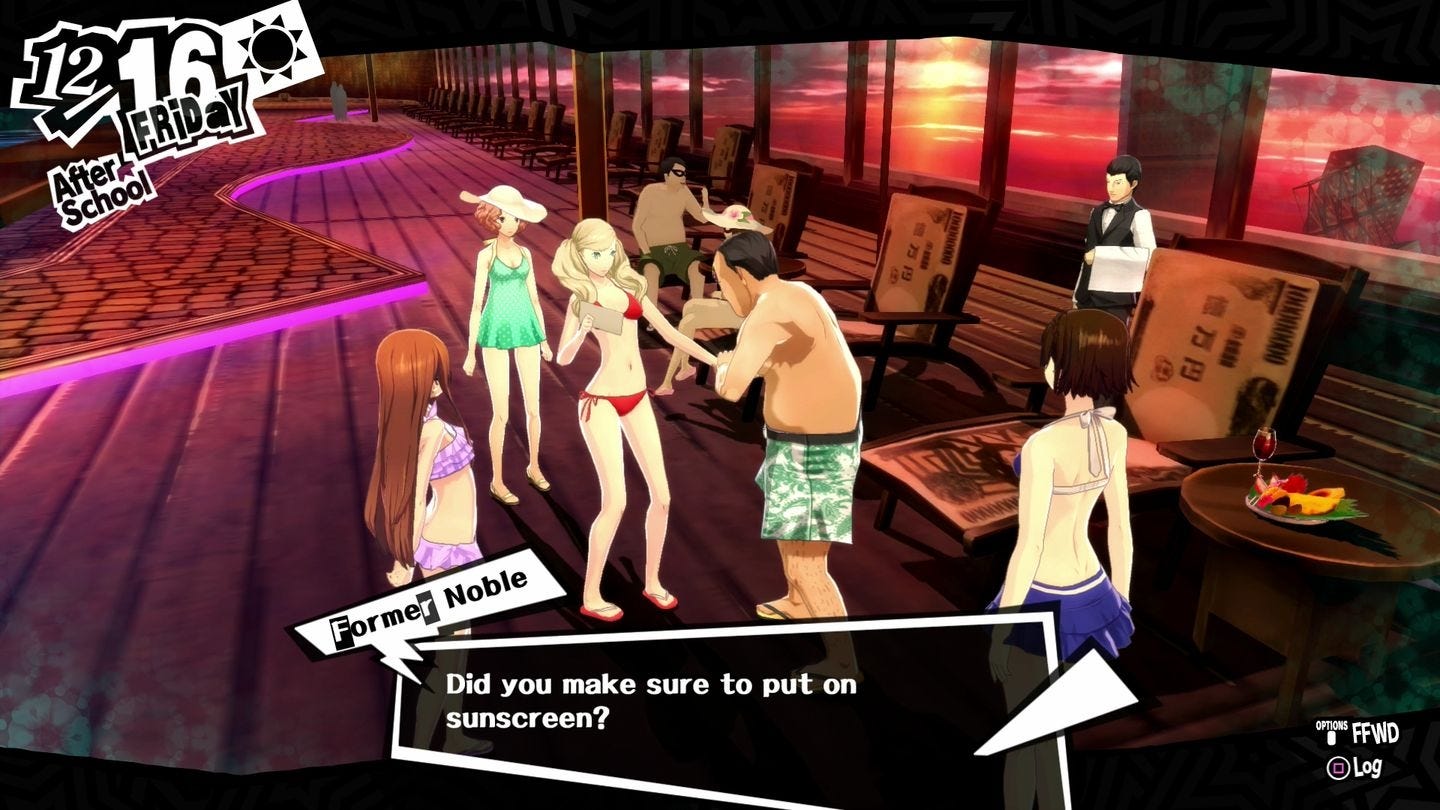
He uses Brainwash a lot and he'll absorb Psy damage, but is otherwise a fairly simple fight, so once you have his letter of introduction head for the exit in the north east.
Upper Starboard Hallway
Head along the corridor and turn left, and at the end you'll turn back into mice. Head east along the mouse corridor and take the second right, follow it round, and unlock the door. Return to the mouse corridor and go east again, and squeeze through the small vent in the south just before the end.
Unlock the door, head south, and then west to unlock the door at the far end. Backtrack slightly and head south, and open the door to the switch room.
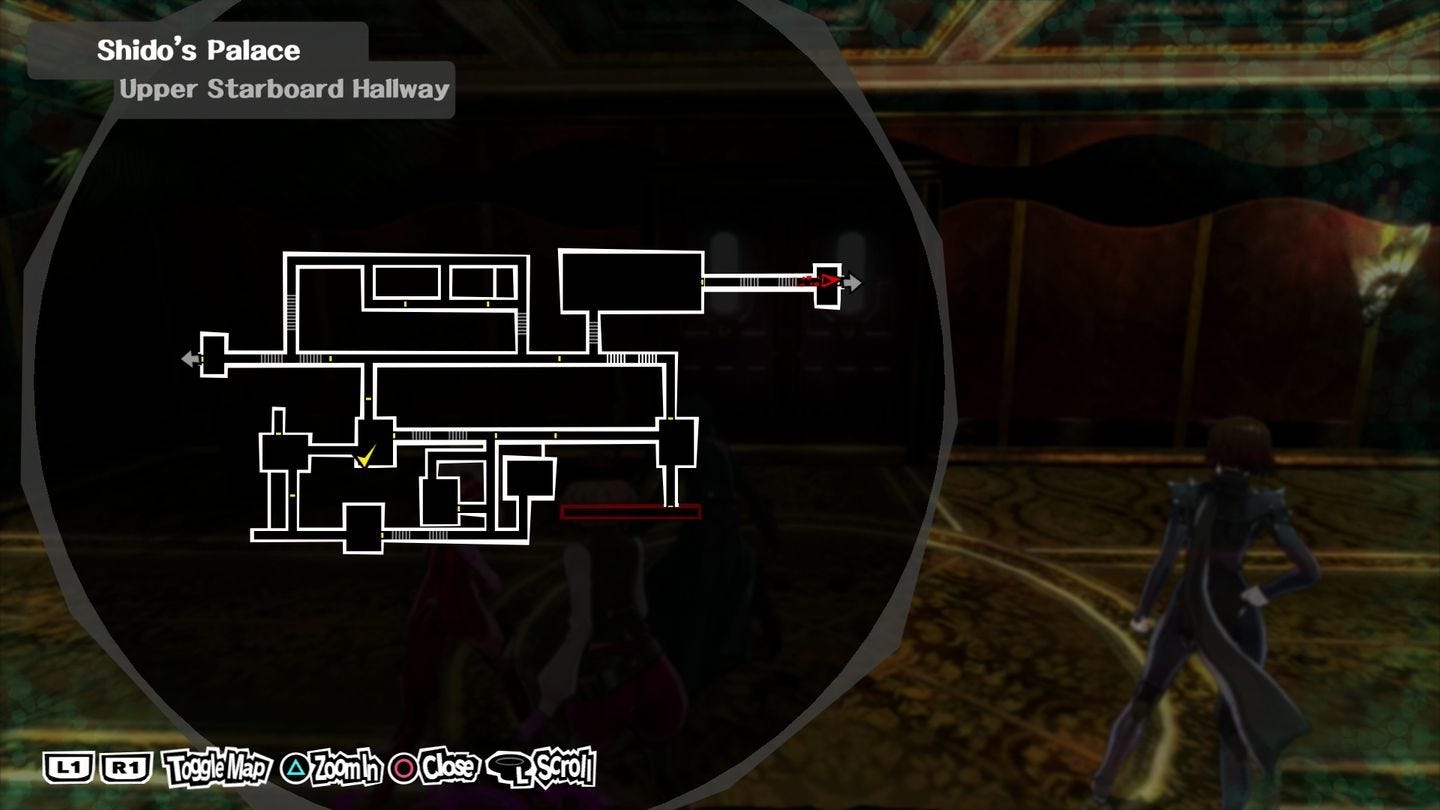
Ignore the switch for now and head west, sneak through the vent in the south west corner of the next room, then head west along the corridor and into the room at the end.
Crawl through the vent in the north east corner, unlock the door to the west, and return to the switch room. Deactivate the mouse transformation, leave through the door in the east, and follow the passageway until you reach the long room, then exit through the far east door to reach the elevator.
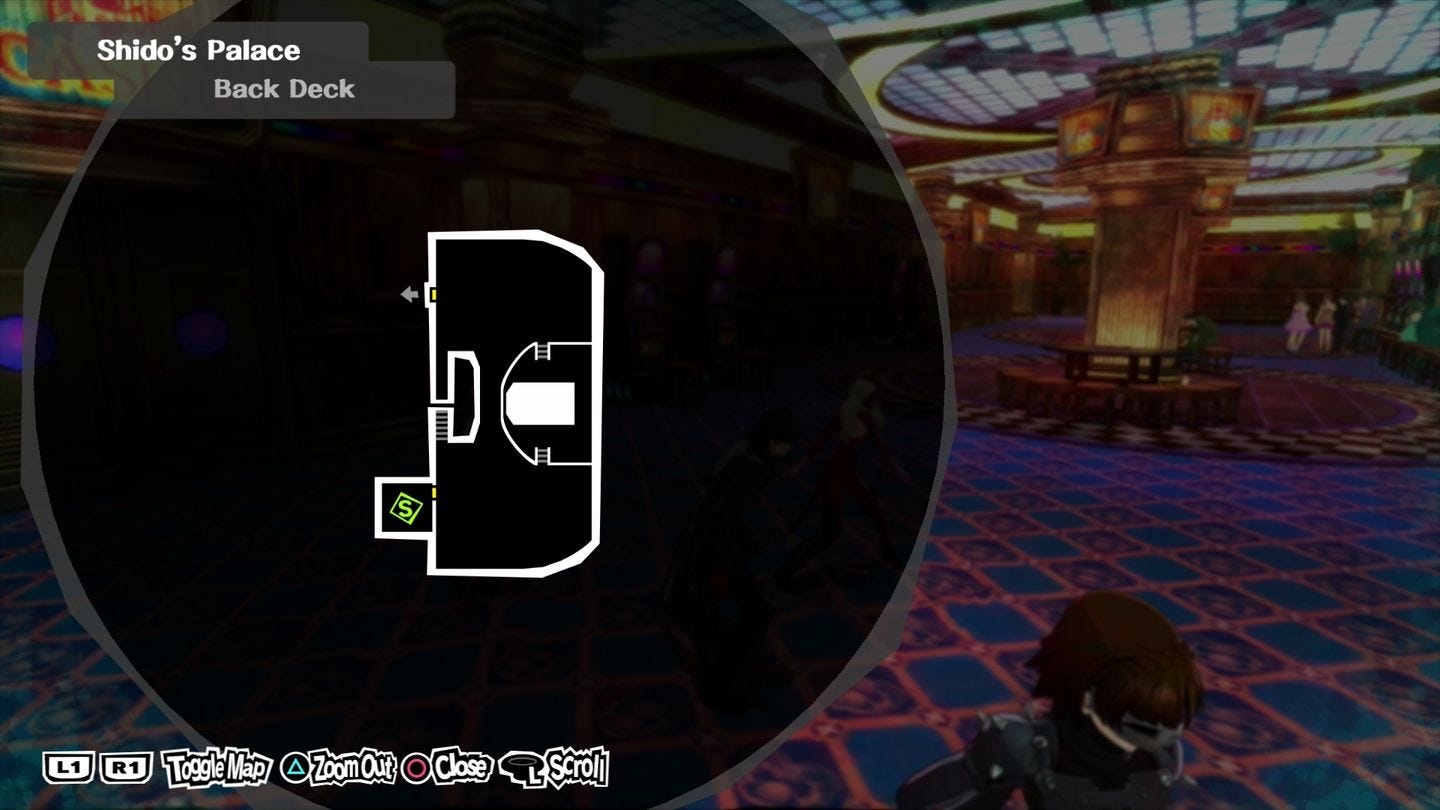
Back Deck
Head down the stairs, use the safe room, then head for the northern end of the lower floor. Just before you go through the door you'll be intercepted by The Cleaner, but you won't be fighting him just yet.
Entertainment Hall
Head down a few flights of stairs, use the safe room, and then talk to the woman standing just opposite the door before descending to the ground floor for a fight with Shadow TV President.
He absorbs fire damage, and his minions will heal him which can drag the fight out - try and tackle them first and don't worry too much about him until they're gone. Once he's defeated, head through the Lower Port Hallway door next to the safe room.
Lower Port Hallway
Head straight across the large room and through the exit in the south west. Follow the corridor round the corner and take the second turning on your right, turn left at the locked door, and hit the mouse switch.
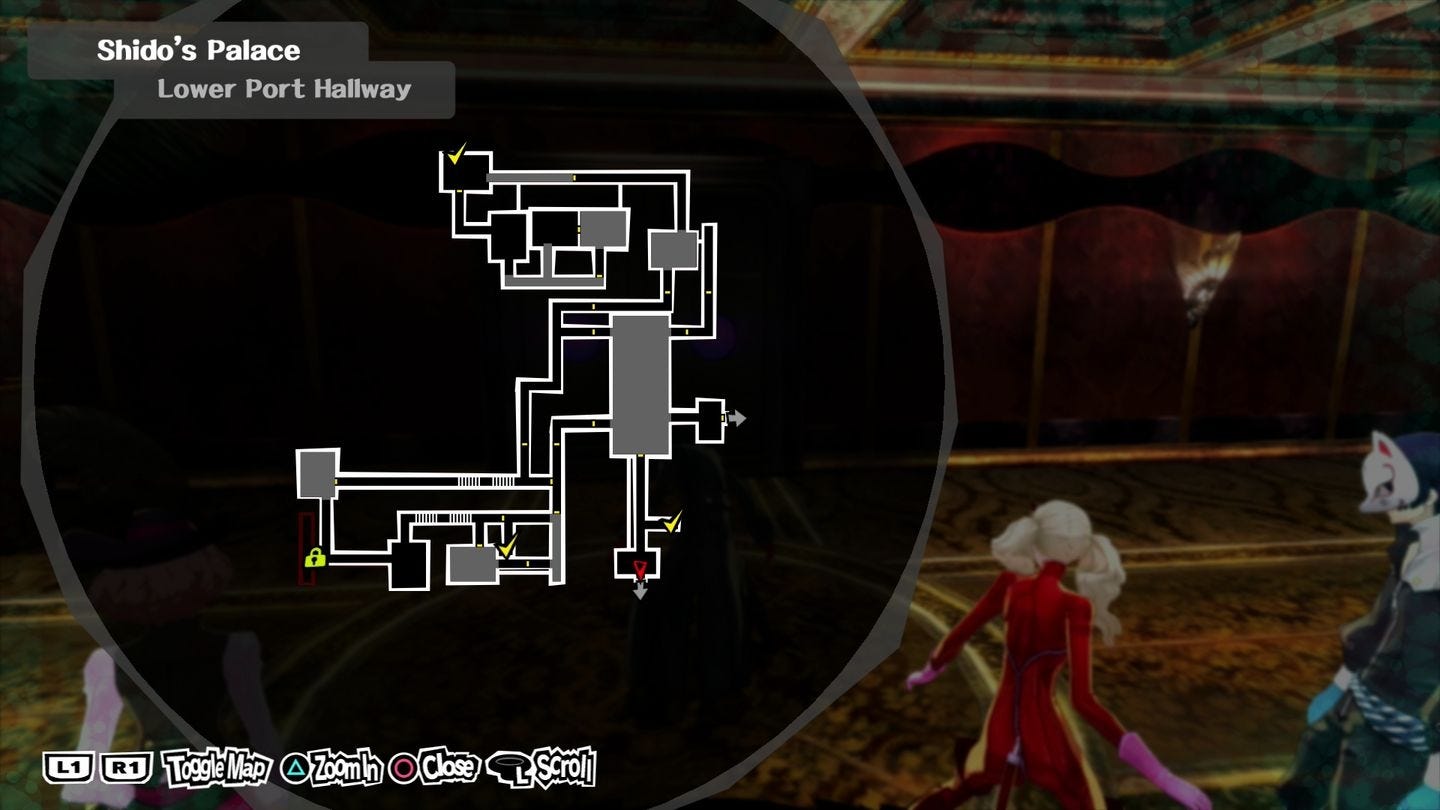
Double back and turn right once you're turned into a mouse, and follow the corridor around. Squeeze through the small vent at the end, leave the room through the doorway just north of the vent opening, and unlock the door.
Return to the mouse switch, hit it again, then double back and exit through the door to the north, turn left, and follow the passage up some stairs, round the corner, and down some more stairs. Turn left immediately at the bottom of the steps and head to the north.
Follow the passageway until you reach the switch room, hit the button, and then leave to the east. When you turn back into a mouse climb through the vent to the south, head west back to the switch room and hit it again.
Leave via the south door, follow the corridor round, and open th door to the furthest room, then return to the switch and hit it one last time. Exit to the east, south through the vent, down the corridor to the south, and into the room at the end. Exit through the vent in the north end of the east wall and follow the passage to the large room.
You'll turn back into a mouse, so scamper to the south end of the room and use the vent to the right of the door to reach your destination.
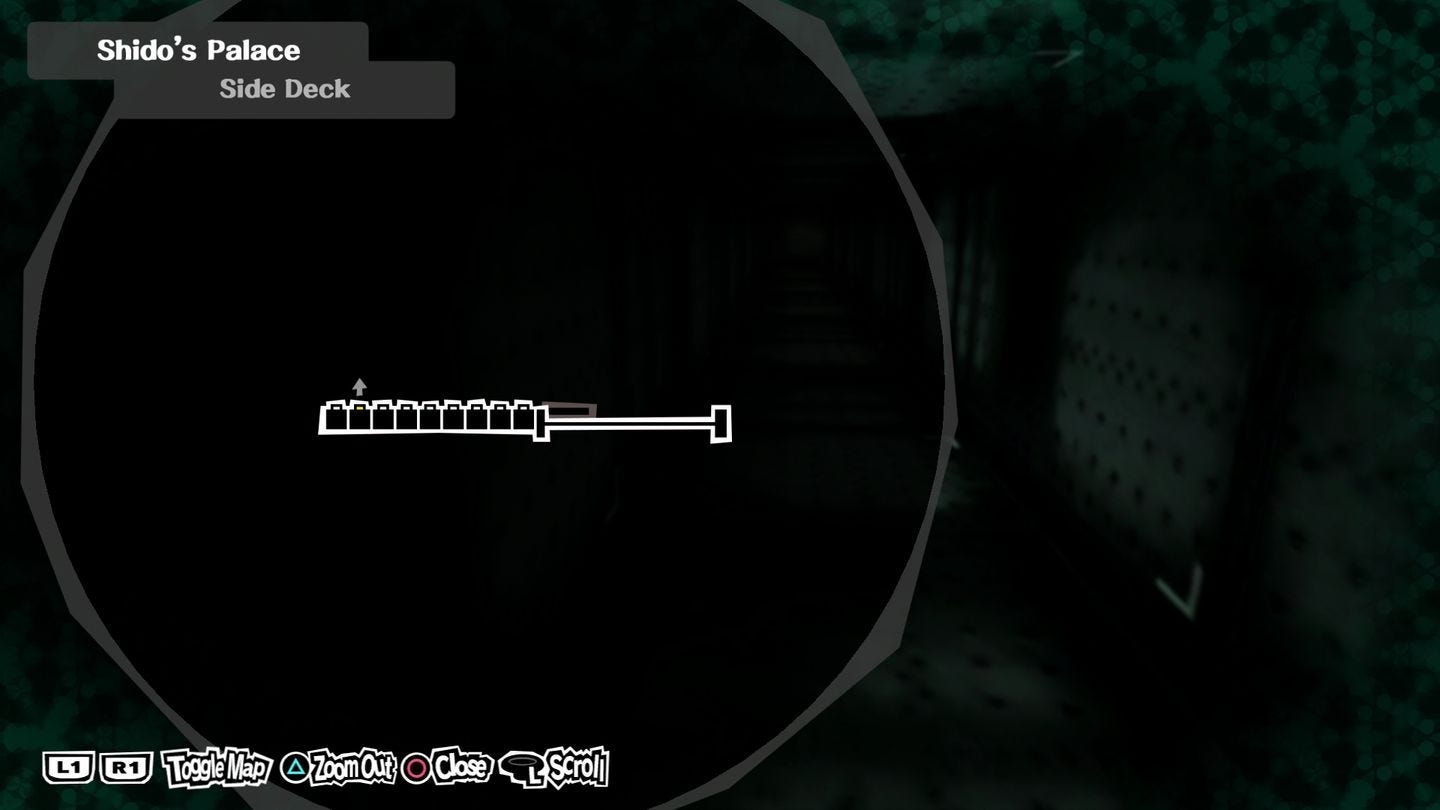
Side Deck 1
Use the safe room and then head towards the steps to the west. You'll be intercepted by The Cleaner again, but as before it's not time to fight him yet. Once he's gone, head through the door in to the next area.
Mid Port Hallway
Head north to the first mouse room, head through the vent in the south end of the west wall, head west to another mouse room, south through the vent, and unlock the door to the east.
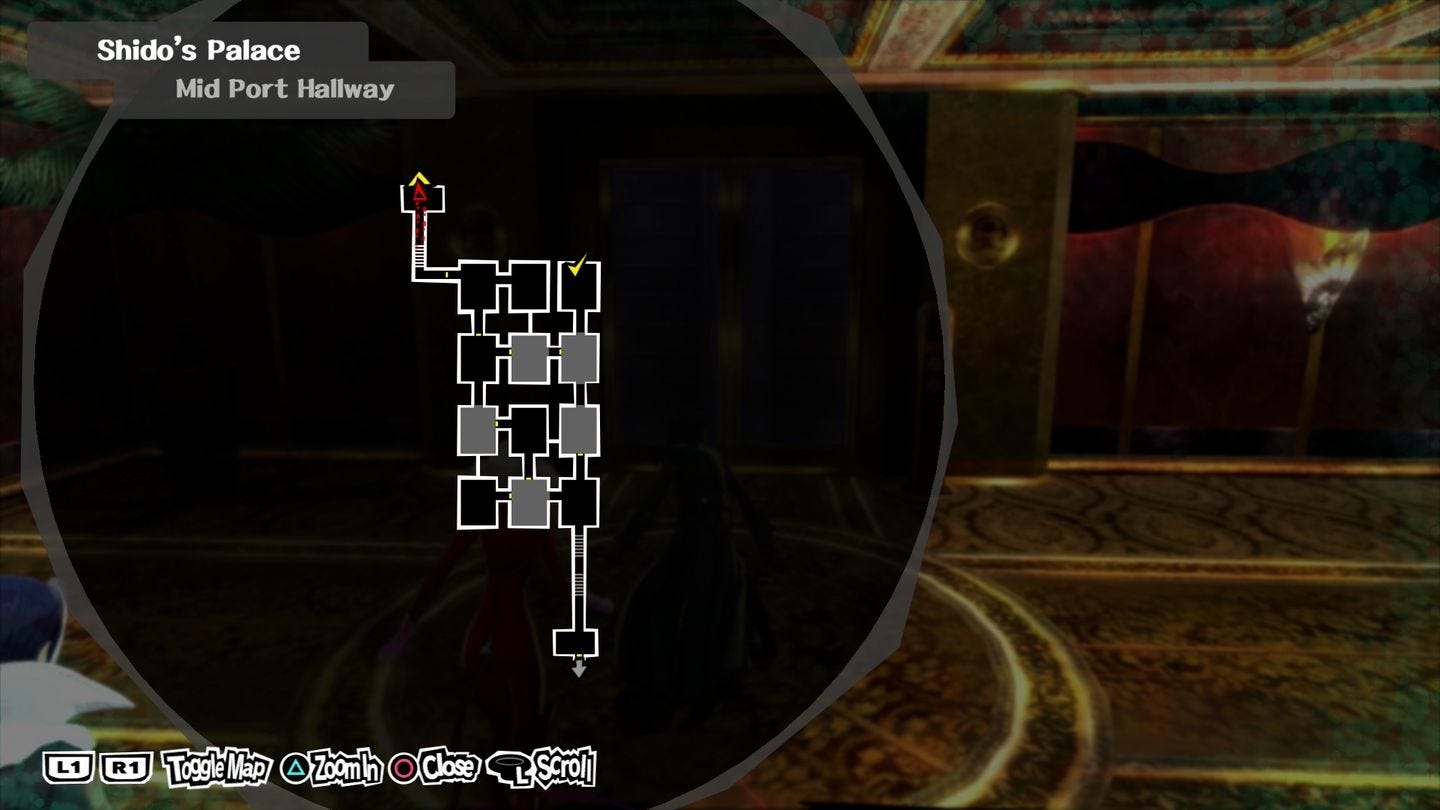
Head back to the south east room and then head north to the switch room and turn off the mouse transformations.
Head to the south east room, go west once, north, west, east, and east again, hit the mouse switch once more, head south twice, use the vent to go west, west again, north, east, north through the vent, then west to the end of the area.
Central Passage and Hall
Once you emerge in the main area talk to the group of people directly ahead and then head to the restaurant. Speak to the waiter, then head downstairs and use the safe room to return to the Side Deck.
Shadow IT President
Side Deck 2
From the safe room head west and climb onto the outside wall of the ship. Climb up and to the left, jump across the backs of the cabins, and then deal with Shadow IT President.
He's not a particularly challenging foe, but he will continually spawn new minions if you kill either of them so work on him first rather than wasting time and SP on enemies that'll pop right back next turn. Once he's down head back to the side deck and examine the vent with the smoke pouring from it, then crawl inside to the engine room.
Need more help? Our Persona 5 guide and walkthrough features a complete month-by-month summary with important dates and Palace strategies, as well as how to get the True Ending. Elsewhere, learn how to make the most of your free time with all Confidant, Social Link and romance options, the best ways to increase Social Stats such as Knowledge, Guts, Proficiency, Kindness and Charm, create the best Personas through Fusions, how to cheat on exams with our test answers, how to get Mementos requests, unlock the entire Trophy list and learn about the upcoming DLC schedule.
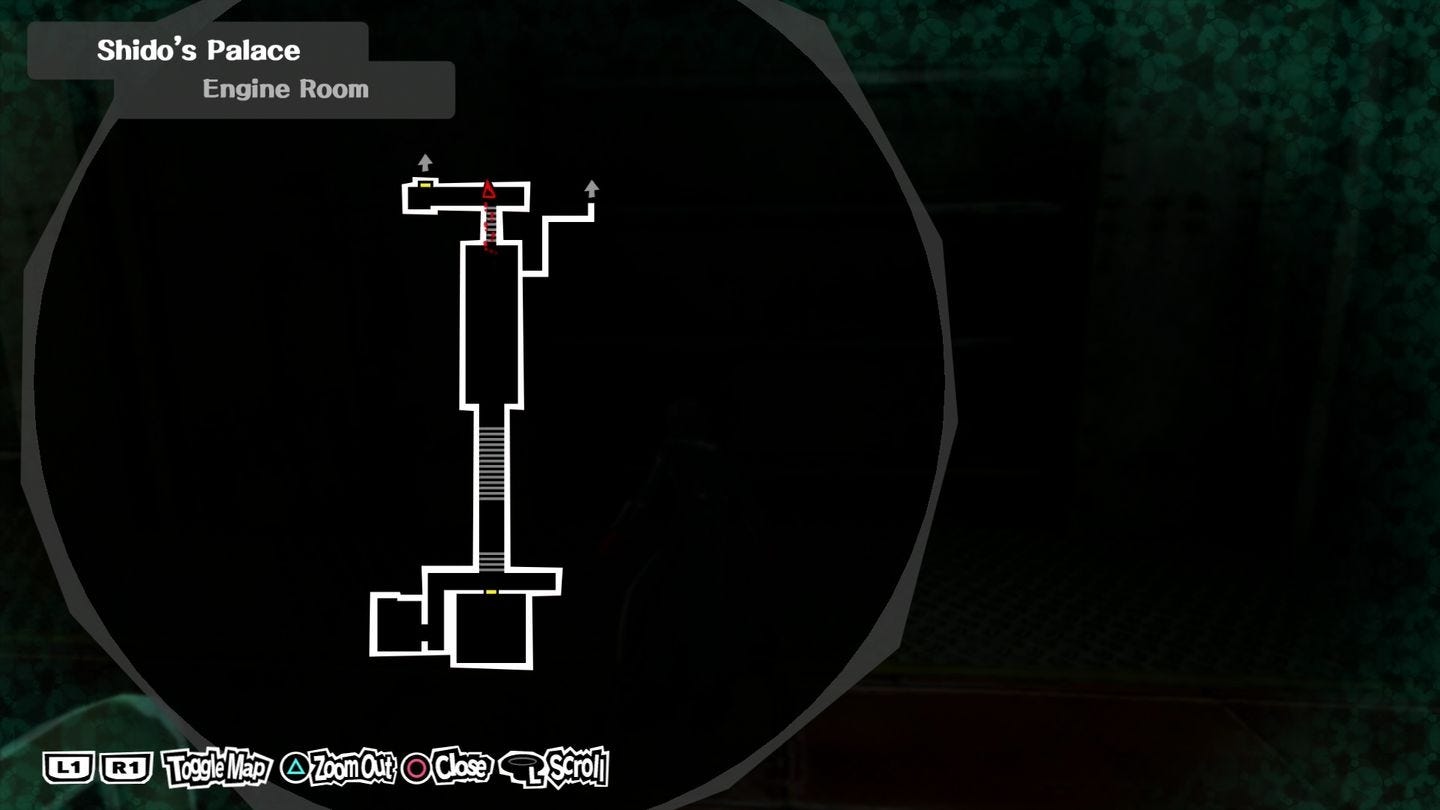
Engine Room
Head south, turn right at the end of the corridor, and climb up and through the vent to meet The Cleaner for the final time - he's a bit of a damage sponge, but he doesn't do anything particularly out of the ordinary.
Head north, and you'll be greeted by a familiar but unexpected face, and have to deal with a three phase fight. It opens with a warmup against a couple of minions - they're not too challenging, so it's worth saving your SP for what comes after and trying to deal with them using basic melee attacks instead.
The second phase is a little tougher, but with only one opponent you won't have to split resources. He deals bless and curse damage and has no specific weaknesses, but Fire seems to do more damage than other forms of attack.
The final form escalates things further - his attacks hit harder, and he will regularly deploy both Physical and Magical walls, so pay close attention to avoid your own attacks backfiring on you.
Once he's down and the cutscene is over, head for the Central Passage and Hall, open the large door, and use the elevator to reach the treasure, then return to the real world.
Shiro Boss fight
The final battle is split into two phases, and each of those is split into more.
The first involves your opponent switching forms between the Wings, Beast, and Tomb of Human Sacrifice. None of them are particularly tough, and it pays to conserve as many resources for the next phase as you can.
Once the Human Sacrifices are down you'll be facing off first against Masayoshi Samael and then his True form, and in both cases he's a huge damage sponge and very fond of using debuffs on you so a large part of the fight will revolve around restoring your party to full strength to avoid it taking an inordinate amount of time to wear him down.