Mass Effect Andromeda - Liam Costa missions Armor Diplomacy, Day Out on Aya, and All In
How to complete the squadmate's quests, including their Loyalty Mission.

Mass Effect Andromeda's Liam Costa is one of your squadmates that'll be exploring the new galaxy with, has several quests on offer along the way.
One of these is All In, Liam's Loyalty Mission, a key optional mission recommended if you want to flesh out the character's story further.
Liam's missions will only become available once you've established outposts on Voeld, Elaaden, Havarl, and Kadara, so if you want to make heavy use of him you'll need to concentrate on exploration as early as possible.
If you're after help for parts of the game, consult our Mass Effect Andromeda walkthrough and guide.

Armor Diplomacy
Speak to Liam in the storage room on the Tempest's lower deck, and head for the research station and build the custom armour he wants - it's in the "Special Items" section of the development tab.
Day Out on Aya
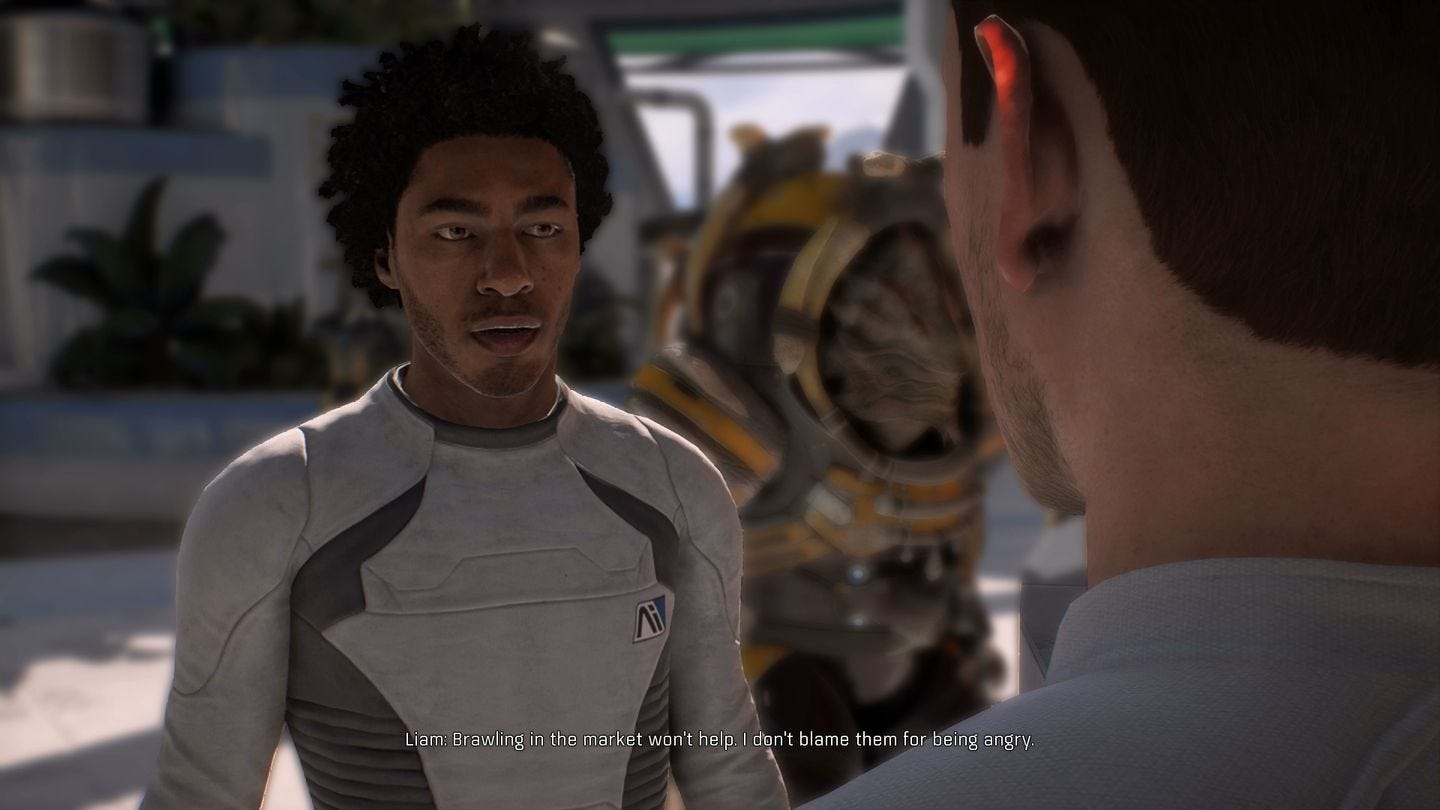
Head to Aya and speak to Liam at the Tavetaan, and then go to the marketplace and use your scanner on one of the vendor stands then return to Liam.
All In
Speak to Liam and then take the Tempest to the Sephesa system and scan the debris before boarding the captured Kett vessel. Clear out the Raiders from the cargo bay and then use the comm station (complete with Star Wars reference).
Head for the waypoint and the doors will slam shut in your face and you'll have to tackle another wave of Raiders.
Use the console to trigger a cutscene, and you'll now find yourself looking at the same room from a very different perspective.
Jump and climb your way to the door and fight along the corridor - the angles can make movement difficult and it's easy to get wedged into tight spots so if possible deal with any enemies from a distance as soon as you see them.

When you reach the dead end jump up onto the yellow pipes, scan the vent, and then shoot your way through it, then repeat for a second vent. The large room ahead is full of enemies, but if you stick to the yellow pipes you can pick most of them off from a safe place before dropping down and taking on the stragglers.
Climb into the alcove in the corner and scan the control hub, and then activate the two consoles back in the main room. Open the door, and perspective will shift again.
Head into the small room in the far left, head to the other end, and jump up and through the opening. A few more Raiders will ambush you, so take them out and head through the door they emerged from. Open the next set of doors, deal with more Raiders, and then head deeper into the ship.
Want more help? Our Mass Effect Andromeda walkthrough and guide provides steps to completing every main mission, and our on-going Remnant Decryption puzzle solutions can help with the many Sudoku-like challenges the game can throw at you. Meanwhile, we can help with Memory Trigger locations, Architect locations and the hidden Fusion Mod of Adrenaline, as well as helping you decide on the many Mass Effect Andromeda Romance options for both male and female Ryder.
The next room contains two Talon Hydra mechs - they're heavily armoured, and if they get a target lock on you they can deal huge amounts of damage so either keep moving or try and deal with them from range.
Head into the small storage room and up through the hatch at the far end, activate the door control, and the ship will finally be the right way up again. Head down the corridor to the final confrontation.
Calot has an impenetrable shield so the first stage of the fight requires you to hold position in the marked zones until your allies can remotely disable them - there's plenty of cover at each point, but beware of the cloaked Allits that can sneak round behind you.
Once the shield is down Calot's a fairly easy target, so rub him out and clear out any remaining trooops then use the console to start the evac procedure and end the mission.