Persona 5: Futaba Palace dungeon - Great Corridor puzzles, Chamber of Guilt codes, Futaba boss in the Pyramid Palace
How to explore and beat the fourth Palace.

In Persona 5 Futaba Palace is the fourth dungeon that starts during the month of July.
As before, you'll be taking a few visits to Futaba Palace dungeon, with several infiltrations and a run to get the Treasure and take on the boss.
If you're after help for other parts of the game, consult our Persona 5 guide and walkthrough.
Futaba Palace dungeon
Investigation
This is a very short visit - head in through the main entrance and up the steps and you'll be confronted by Shadow Futaba and forced to leave.

Infiltration
Go through the main door, head to the left around the lava pit, and examine the sealed door. You'll need to find another way in, so head outside - Futaba will interrupt you briefly.
Once outside, climb up the wooden steps on the south east of the courtyard and ask Morgana to take you to the nearby town.
Desert Town - Grant Futaba's request
Your first task when you arrive is to clear out the enemies, and then make your way to the town square in the south east corner. A bandit will appear and taunt you before running off. His path is random, but if you follow him a couple of times you'll eventually be told to change tactic.
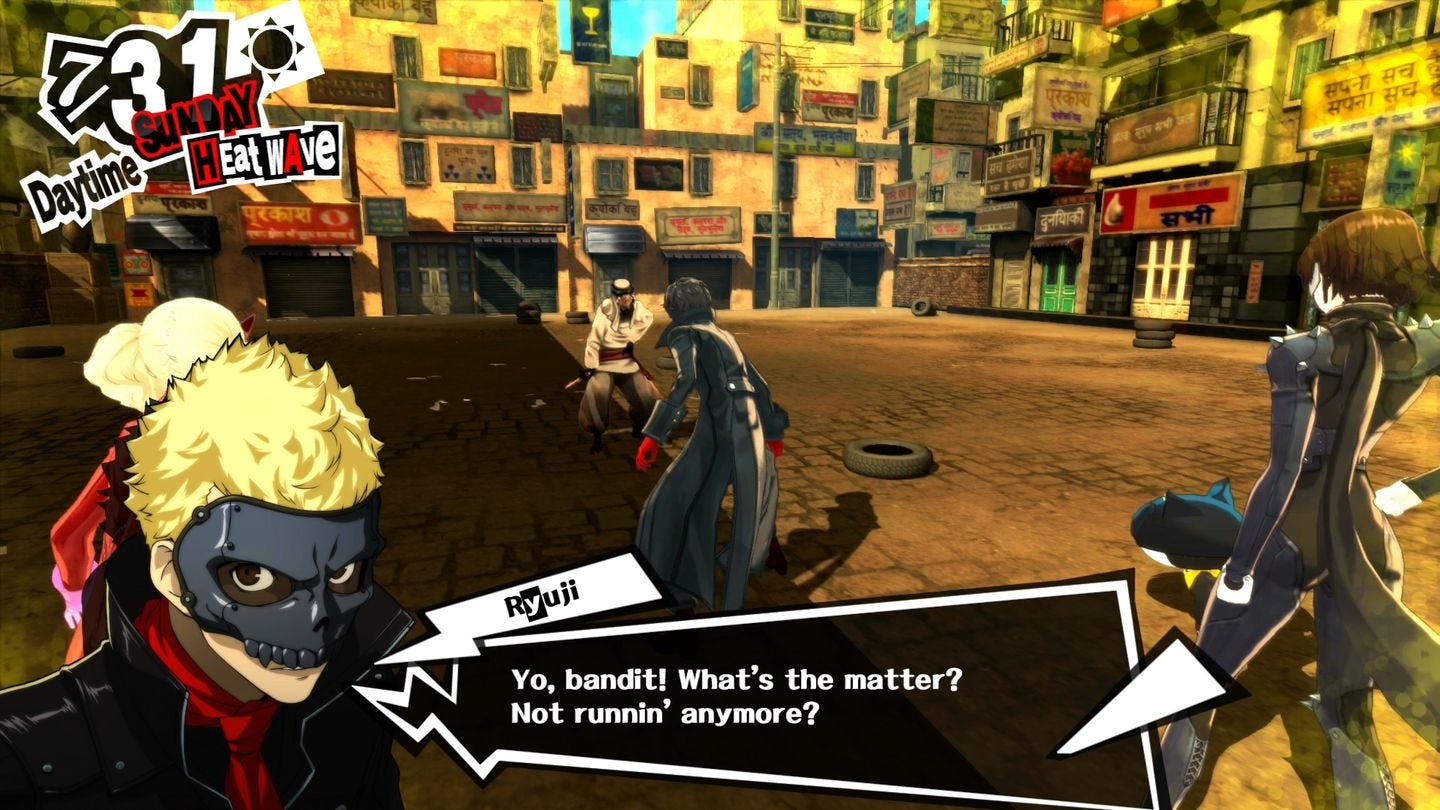
When he runs off again, rather than following him go the "opposite" way to sneak up behind him and he will end up corralling himself in the square. Once you have the stolen papyrus head back to Futaba. It turns out to have been a map, but also a trap, and you'll find yourself beneath the pyramid.
Underground Cavern
Head for the north east corner of the room and climb on top of the sarcophagi, then to the south east corner of the next level and up again, then head east and through the door.
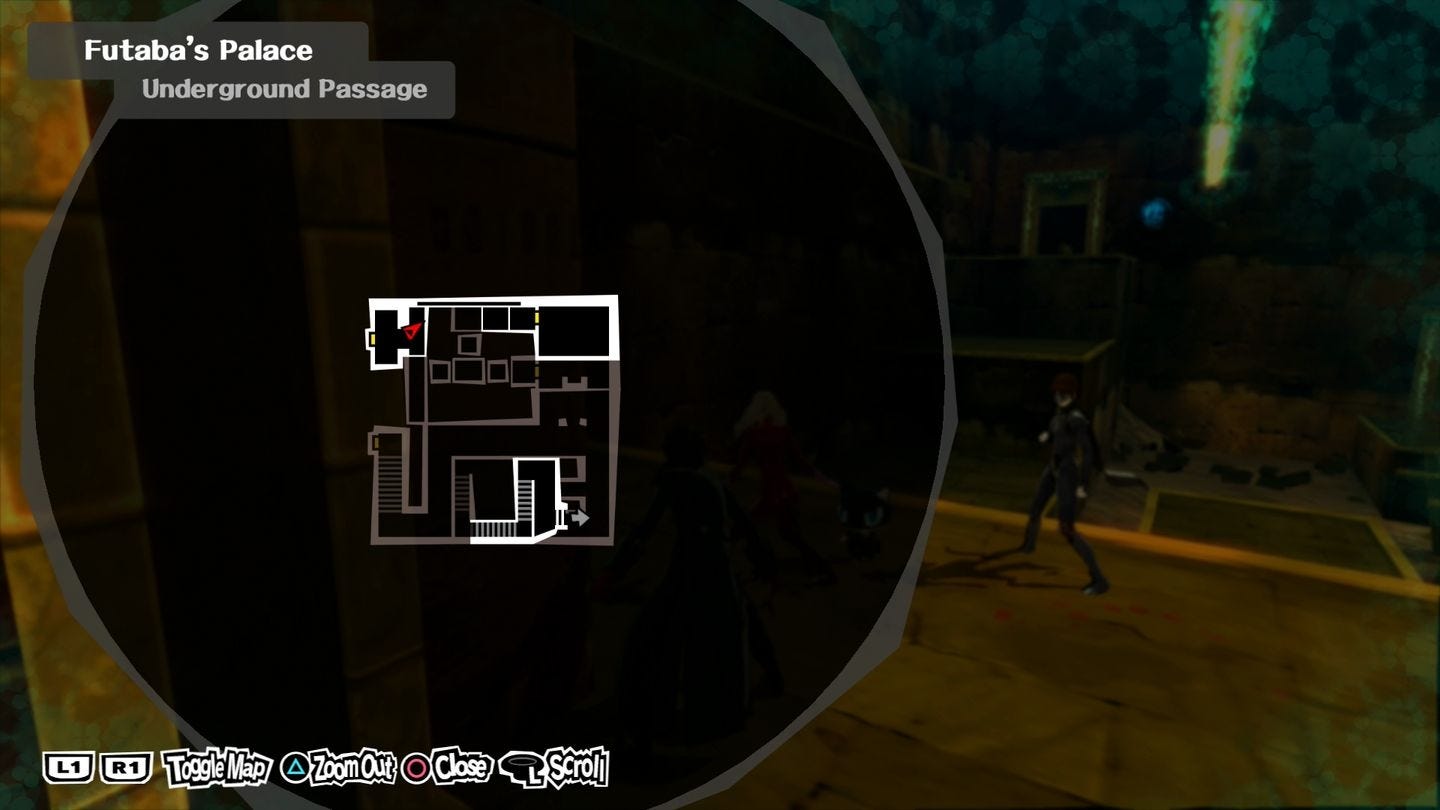
Underground Passage
Follow the passage round until you encounter an enemy in the north east; Makoto advises against tackling him, so continue to follow the passage. Climb the stairs and open the door, and you'll find yourself back in the courtyard.
Save the game, then head back through the door and make your way to the shadow you bypassed earlier. He's weak to wind so use Morgana to keep him on the ground, but be aware that he'll summon support if given the chance.
Once he's down climb on the sarcophagi in the north east corner of his room and jump across the first two platforms to the left, then head north.
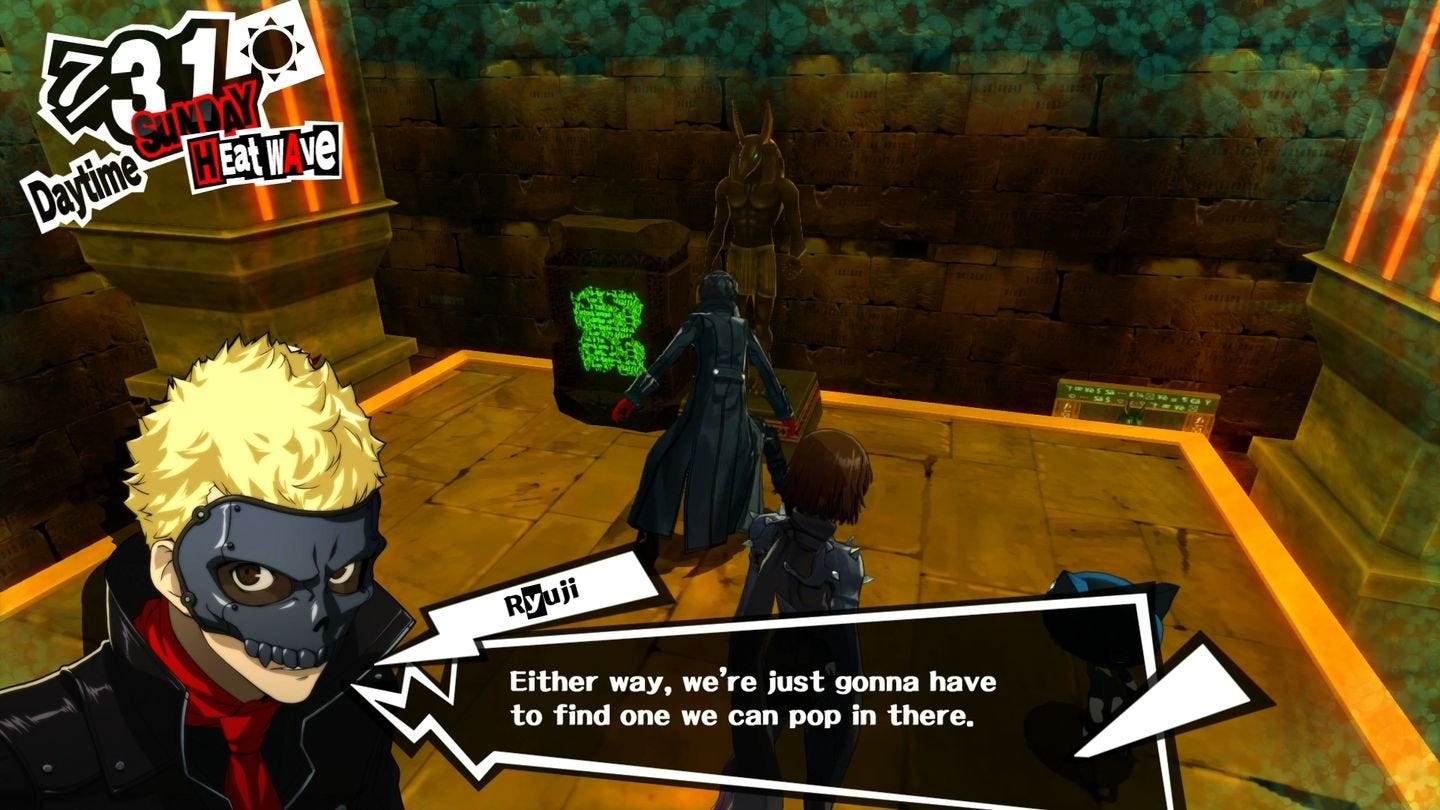
Climb up the wall to your right, open the door, and inspect the reflective panel with the green glowing thing on it, then leave the room and climb up to the ledge to your right and follow it round to the switch in the corner then press the button, then jump down and open the door.
Chamber of Sarcophagi
Read the green glowing inscription then head left. Climb onto the sarcophagus in the far left corner of the room, then make your way to the smaller room in the south west and take the glowing orb from the Anubis statue.
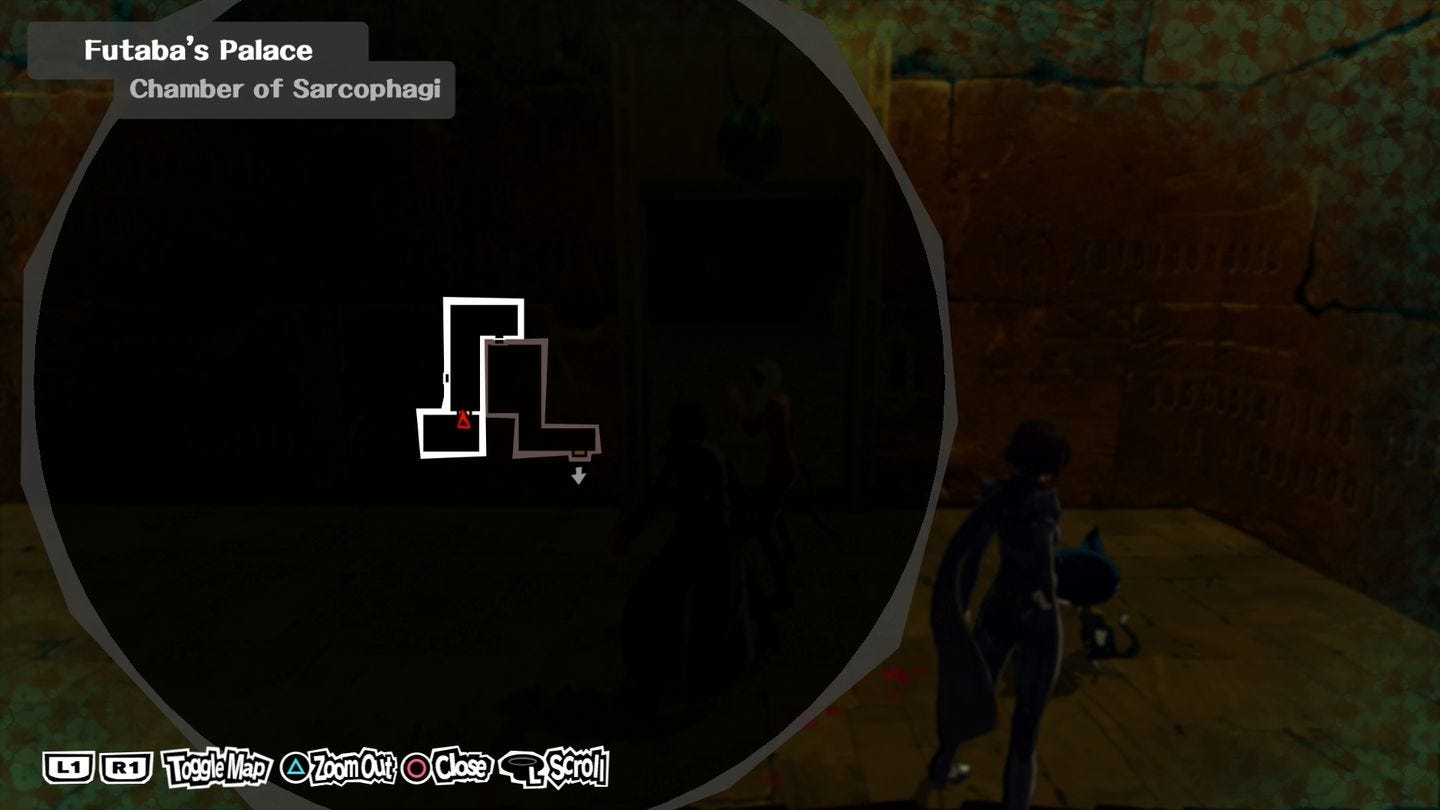
Leave the room and climb on the sarcophagus to your left, climb up onto the next batch, deal with the shadow, then climb up again. Grab another glowing orb from the room on the east, and then head through the door at the end of the ledge.
Great Corridor
Examine the reflective panel then interact with the two pedestals at the western end of the room to place the orbs. Drop down to the lower level and the large door ahead will open giving you access to the staircase. Head up to the next large door and use the safe room on the right before heading through the door on the left.
Chamber of Rejection
Head along the corridor and you'll have another brief encounter with Futaba. Once she's left keep heading west and climb up the stairs. Defeat the shadows then go through the door and jump across the platforms to the north and examine the Anubis statue in the centre of the room.
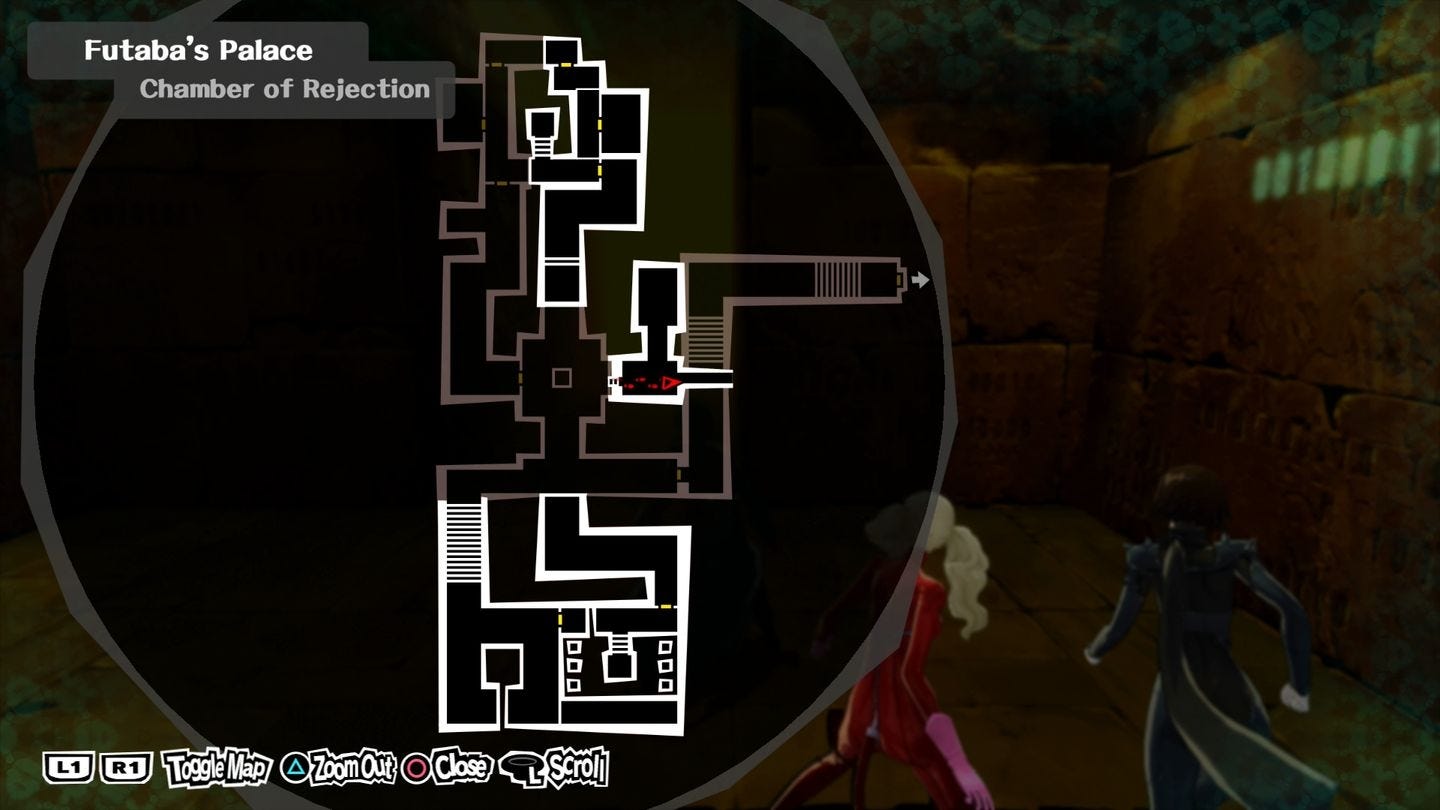
Take the gem and head through the door in the north east, then follow the corridor until you reach the arrow trap, double back and replace the orb, and then head back to where the trap was - you can now pass safely. (Taking the orb is probably optional, but better safe than sorry.)
Press the button, then jump down to the floor below and enter the room ahead where Futaba gave you the slip earlier. Go through the door in the west, follow the passage through another door, and keep heading north into another small room. Climb the sarcophagi, open the door, climb the ledge at the far end, and examine the Anubis statue on the platform ahead.
Great Corridor Puzzles, Chamber of Guilt codes
Double back to the previous Anubis statue and grab the orb then double back again and place the orb in the second statue. Exit through the door to the east and follow the passageway until you reach a button. Press it, then return to the Futaba room and climb the sarcophagi to the east then head through the glowing portal.
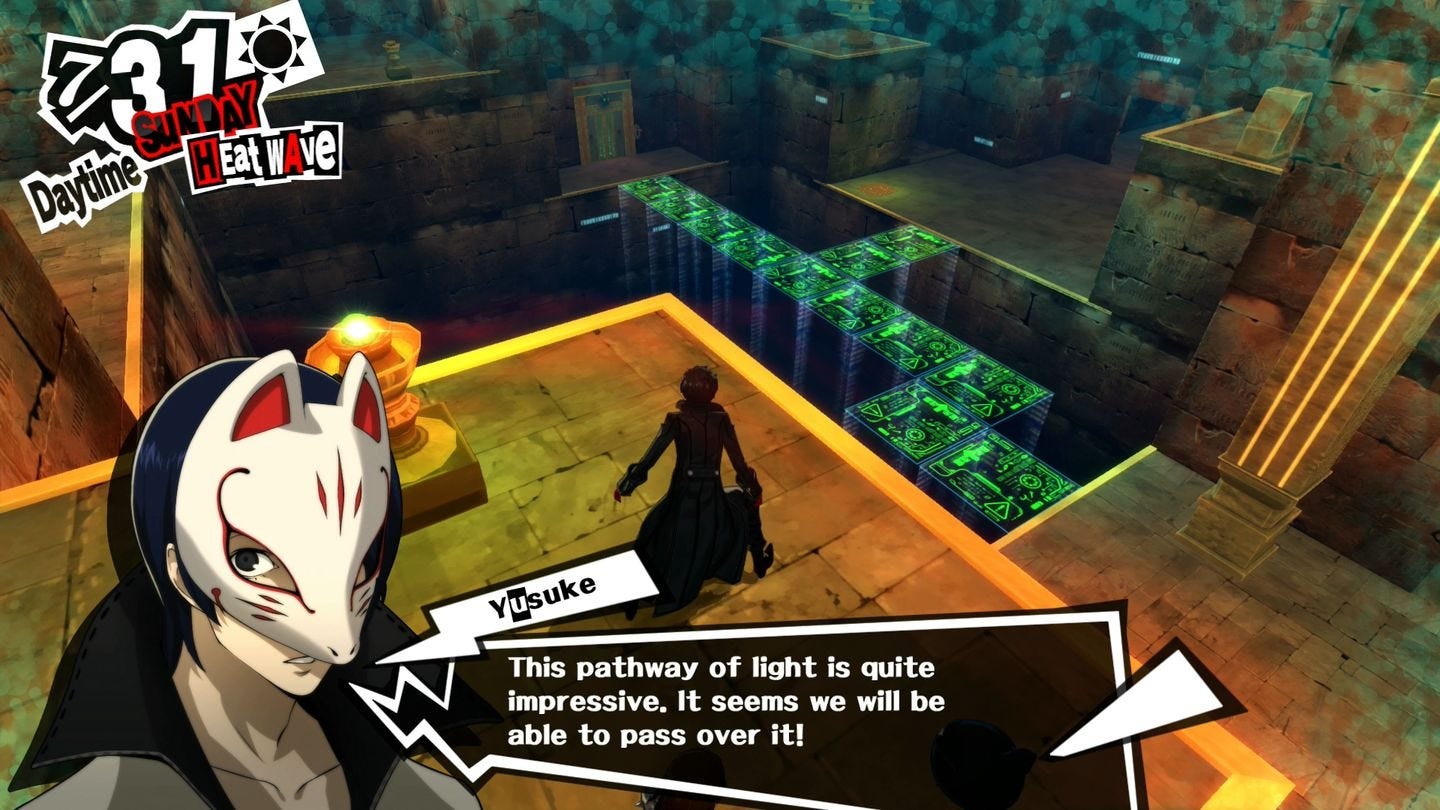
Great Corridor Puzzle 1
Interact with the glowing pedestal to activate a sliding block puzzle. There are probably elegant solutions to this and the ones that follow, but for simplicity they can all be solved in the same way: locate the piece that belongs at the far right and swap pairs until it's in place, locate the next piece and swap more pairs, and repeat until it's reassembled.
Drop down to the Great Corridor and head up to the next blocked door and use the safe room before moving on to the next area.
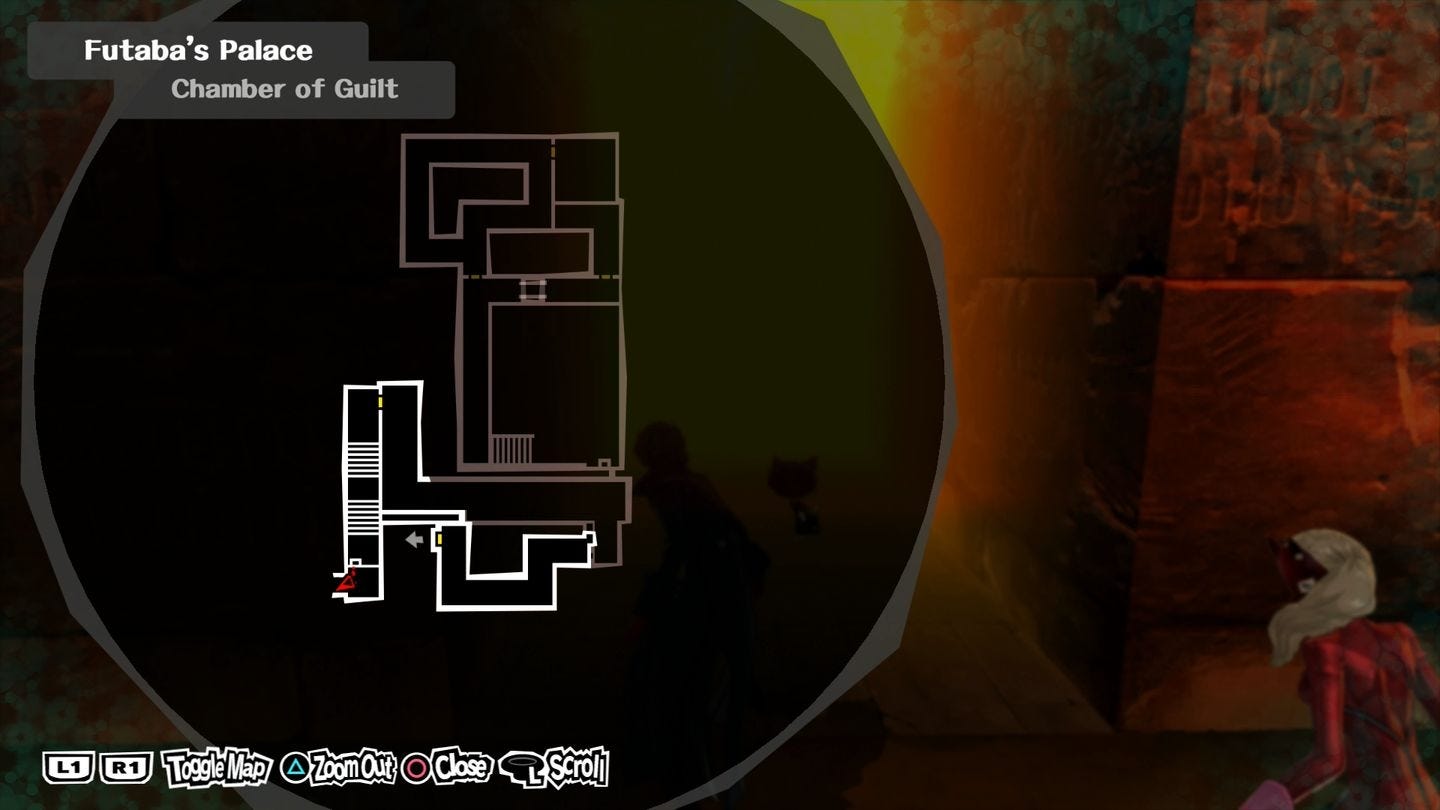
Chamber of Guilt
Follow the passage and drop down at the end for another meeting with Futaba then start to follow her. After your narrow escape head forwards and crawl through the hole in the wall into a room lined with coffins.
Head up the steps on your left, ignore the button for now, and follow the walkway around the side of the room. Interact with the broken plank at the end to create a bridge, then cross over and enter the small room at the end and interact with the slab inside to reveal the code B01010. (We're not sure if the code is random or not.)
When you return to the main room some of the coffins will be emitting strange holograms. The panels on the front of each one can be used to turn them on or off to match the code; the one nearest the makeshift bridge can't be turned off and represents the B, so if your code matches ours then the one next to it, the one in the middle, and the one at the far end need to be switched off.
Once you've entered the code press the button you ignored earlier to open the door in the corner of the room. Follow the passage round to the north east corner and open the door to find a red slab - read it to reveal two codes, R01100 and B10011.
Return to the coffin room and turn the appropriate coffins off - the B code corresponds to the blue holograms from before, and the R code corresponds to the red ones, and they both start at the same end of the room.
Hit the button again, wait for the chaos to subside, and then climb the sarcophagus that's near the hole you crawled in through and jump up the row of giant balls to your right. Climb onto the ledge at the end and follow the passageway up the steps and through the glowing portal.
Great Corridor Puzzle 2
There's another sliding block puzzle here. It looks more complicated because the pieces are a funny shape, but the same strategy of working from one end to the other by swapping pairs works. Once it's completed, drop down and head up the steps to the next safe room.

Need more help? Our Persona 5 guide and walkthrough features a complete month-by-month summary with important dates and Palace strategies, as well as how to get the True Ending. Elsewhere, learn how to make the most of your free time with all Confidant, Social Link and romance options, the best ways to increase Social Stats such as Knowledge, Guts, Proficiency, Kindness and Charm, create the best Personas through Fusions, how to cheat on exams with our test answers, how to get Mementos requests, unlock the entire Trophy list and learn about the upcoming DLC schedule.
Chamber of Sanctuary
Cross the narrow beam in the centre of the room and go through the door, then follow the passage around the corner to the large square pit. Crawl through the hole in the wall to your left, take the turning on the right, follow it round, and climb onto the sarcophagus at the end and hit the button on the upper platform.
Drop back down and crawl through the hole, open the door, and head to the small room to the north. Use third eye to identify the sarcophagus that looks different from the others then open it and hit the switch inside.

This will open a second sarcophagus with another button, and finally a third. Leave the room and return to the one in the south to find another open sarcophagus with a hidden button - pressing it will open a secret door. Grab the orb from the Anubis statue inside, return to the larger room, and take the door to the west.
Follow the passageway over a couple of sets of sarcophagi and place the orb in the pedestal at the end, then drop down and head straight across the glowing bridge to the far side of the pit and go through the door. Deal with a couple of shadows, then head through the other door, use the safe room, and then continue along the passage.
Futaba will reappear and summon some more shadows - they're all weak to wind so it should be a fairly simple fight. Once it's over climb up the sarcophagus to the left of the room and grab another Anubis orb, then drop back down and climb over the altar at the far end and follow the passage to another glowing bridge.
Cross it, drop down at the end of the short passage, and place the orb in the pedestal to activate another bridge. Follow it, take the fork to the right, and follow the passage to another bridge that leads to a glowing portal. Head through it, climb over the statues ahead of you, and follow the beam of light along the passage to the final puzzle.
Great Corridor Puzzle 3
This one's a bit more complicated as the pieces need to be rotated as well as moved, but it's still simple to solve if you do it methodically. Start by turning everything the right way up, then swap pairs as before - the edges of the puzzle don't move so it makes it easy to see which goes where.
Drop down and examine the last door, speak to Futaba, and then use the safe room to return to the real world.
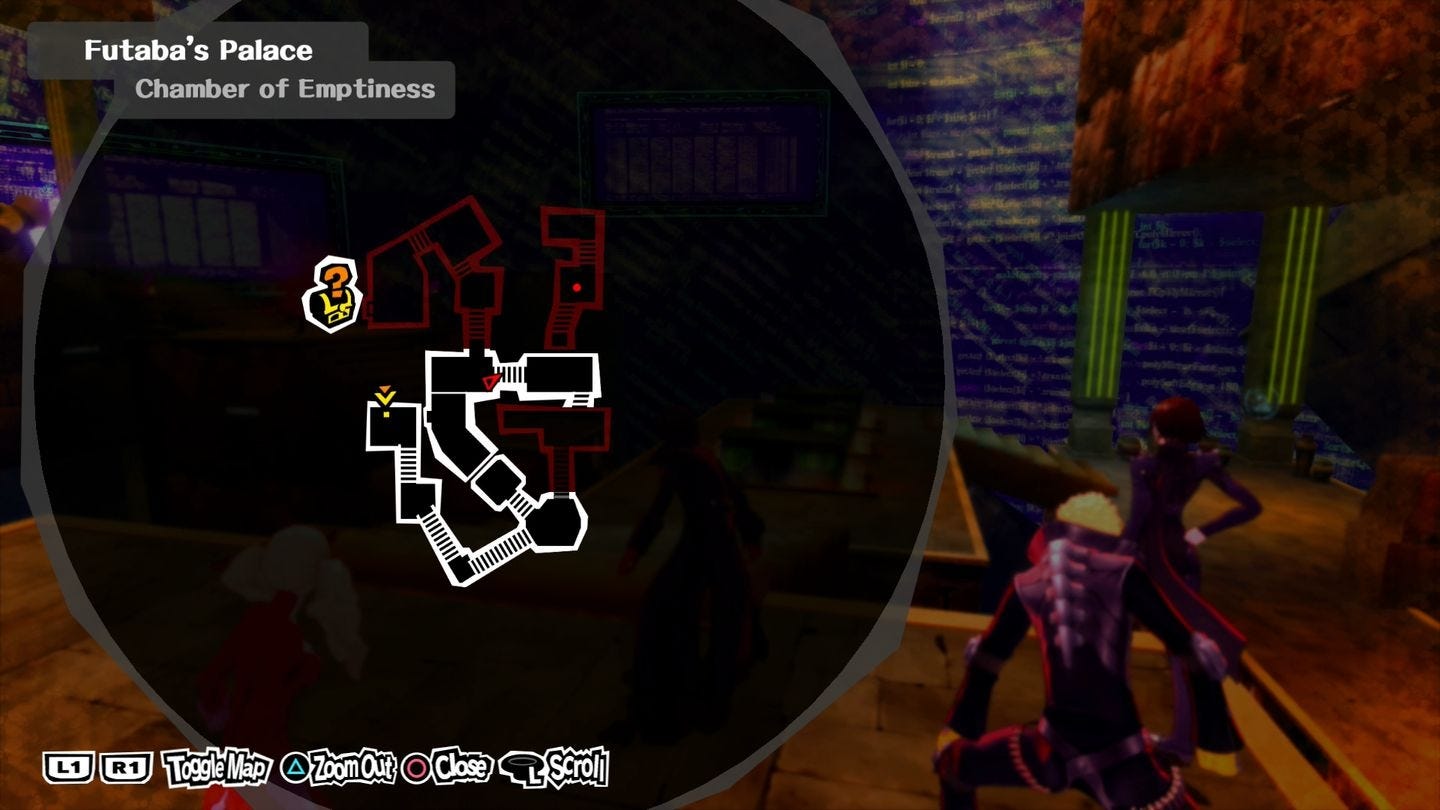
Chamber of Emptiness
Head up the steps and take the left turning whenever you get a choice, or take the right turning to grab a couple of treasure chests if you want to take the scenic route - there are a few shadows along the way, but it's just a warmup for the final confrontation.
Futaba codes
The fight operates in two phases. During the opening rounds you'll not be able to use melee attacks at all, and elemental attacks will only do minimal damage. Chip away at the Beast That Rules the Palace until she disappears into the clouds, and then keep guarding until she slams back down.
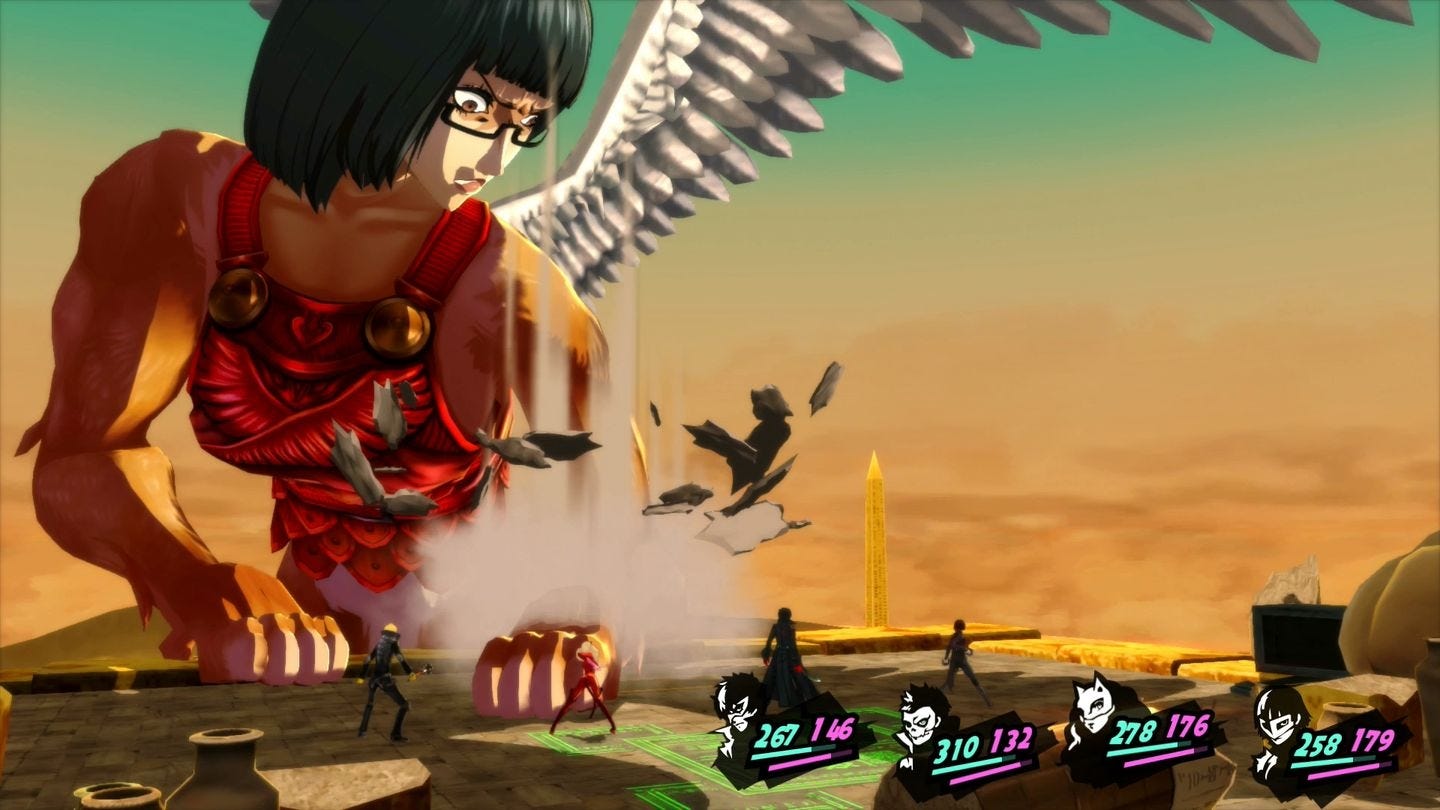
Futaba will now summon a ballista, and you'll be given a choice of party member to go and man it - if you've got anyone weak to wind we'd suggest picking them as it will avoid them getting knocked down in the next phase.
After another couple of rounds of elemental attacks the ballista will knock the beast out of the sky and allow you to use melee attacks to deal a decent amount of damage for a couple of rounds, and then the cycle will repeat - keep it up until she's vanquished.
With the dungeon done and dusted, time to continue with the August event before the next investigation.