Persona 5: Niijima Palace - Members Floor, House of Darkness Maze, Battle Arena in the Casino Palace
How to explore and beat the sixth Palace.

In Persona 5 Niijima's Palace is the sixth dungeon, and takes place during the months of October and November.
As before, you'll be taking a few visits to Niijima's Palace dungeon, with several infiltrations and a run to get the Treasure and take on the boss.
If you're after help for other parts of the game, consult our Persona 5 guide and walkthrough.
Niijima's Palace dungeon
Investigation
On the Main Floor, head up the stairs to the right and go through the door - you'll recognise this area from the game's opening moments. Make your way across the suspended platforms to the south west corner of the room, try the locked door, then head across to the western edge of the room and crawl through the vent. Drop down to the area below and speak to the Palace's owner.
Once they're gone head to the lower area and try the elevator, defeat the shdow that appears, and then return to the real world.
Infiltration

Main Floor
Make your way back to the elevator, use the safe room, and then head through the door in the south west corner.
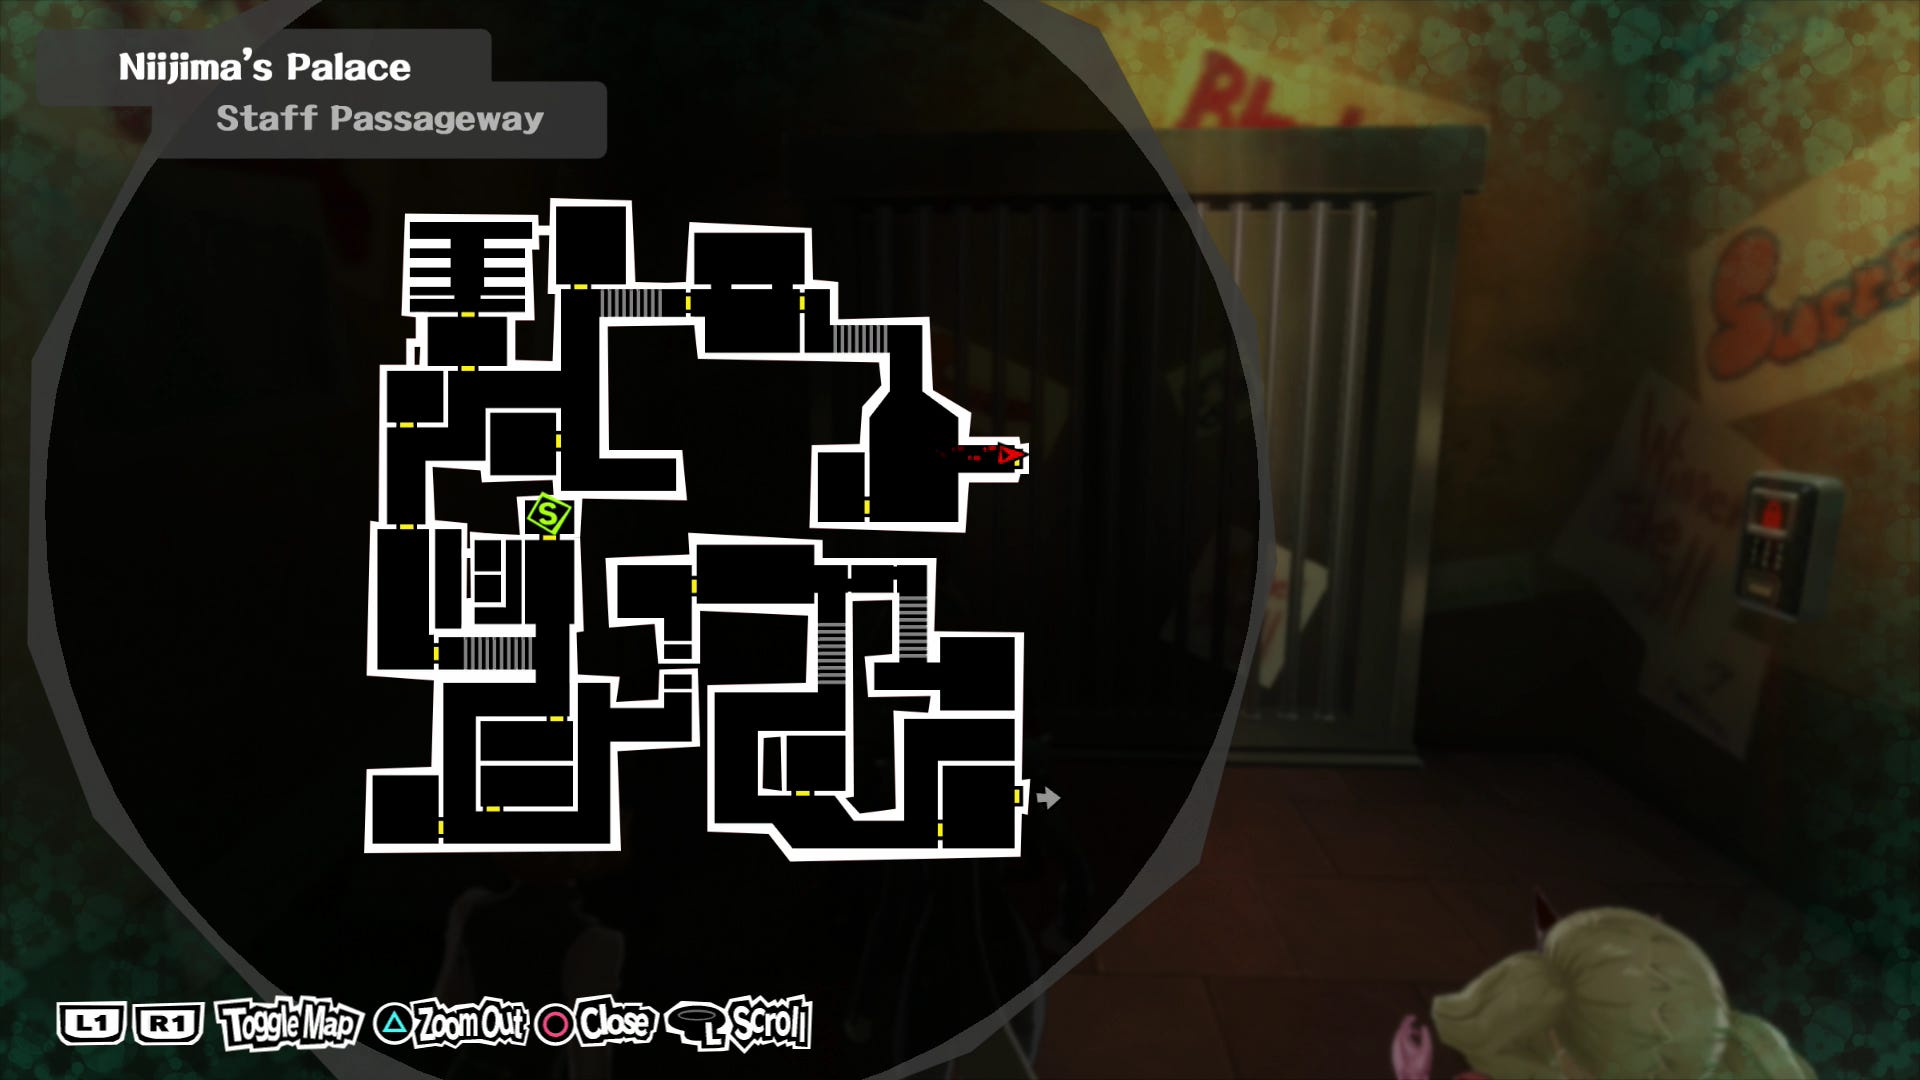
Staff Passageway 1
Follow the corridor around to the west, climb the stairs, go through the door ahead, and climb over the machinery to the south. Keep following the passageway until you find a flight of stairs with a powerful shadow at the top - you will have to fight him eventually, but for now leave him be. Head north to find another safe room, then climb on the machinery on the west of the room to find an air vent.
Crawl through, drop down on the other side, and go through the door to the east - this will allow you to ambush the shadow you skipped earlier and make the fight a little easier. Once defeated he'll drop a keycard, so head back through the door and head to the north. Use the keycard on the locked door ahead, then crawl through the vent into the surveillance room.
Ambush the shadow and grab the membership card, then leave the room via the vent in the north east corner. Exit the room using the keycard then head up the stairs to the east and use the keycard on the next door to return to the main floor and make your way back down to the elevator to ride to the next area.
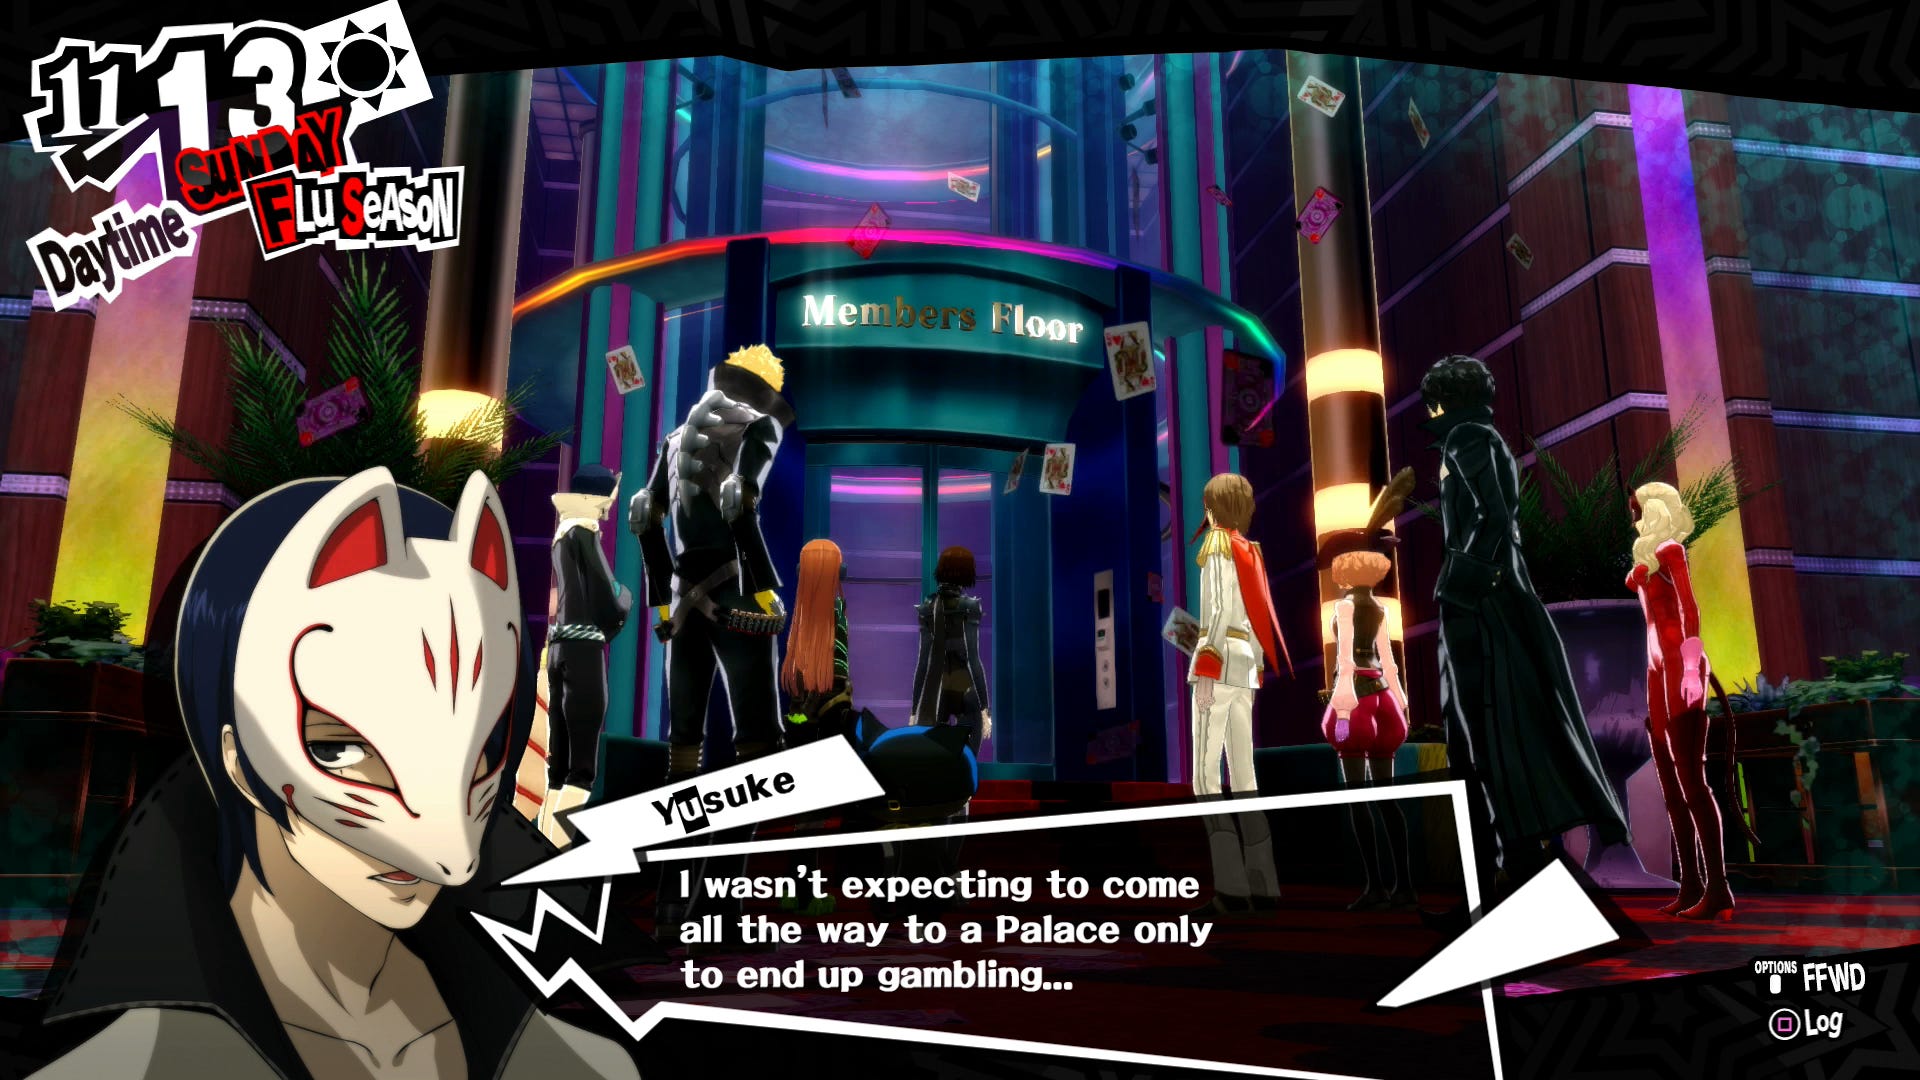
Members Floor Lobby
After another brief meeting with the Palace's owner, talk to the cashier, use the safe room, and then head to the west to enter the dice area.
Dice Game Area
Pick a room at random and try a few games of dice until you realise it's rigged, then crawl through the vent near the northernmost dice room.
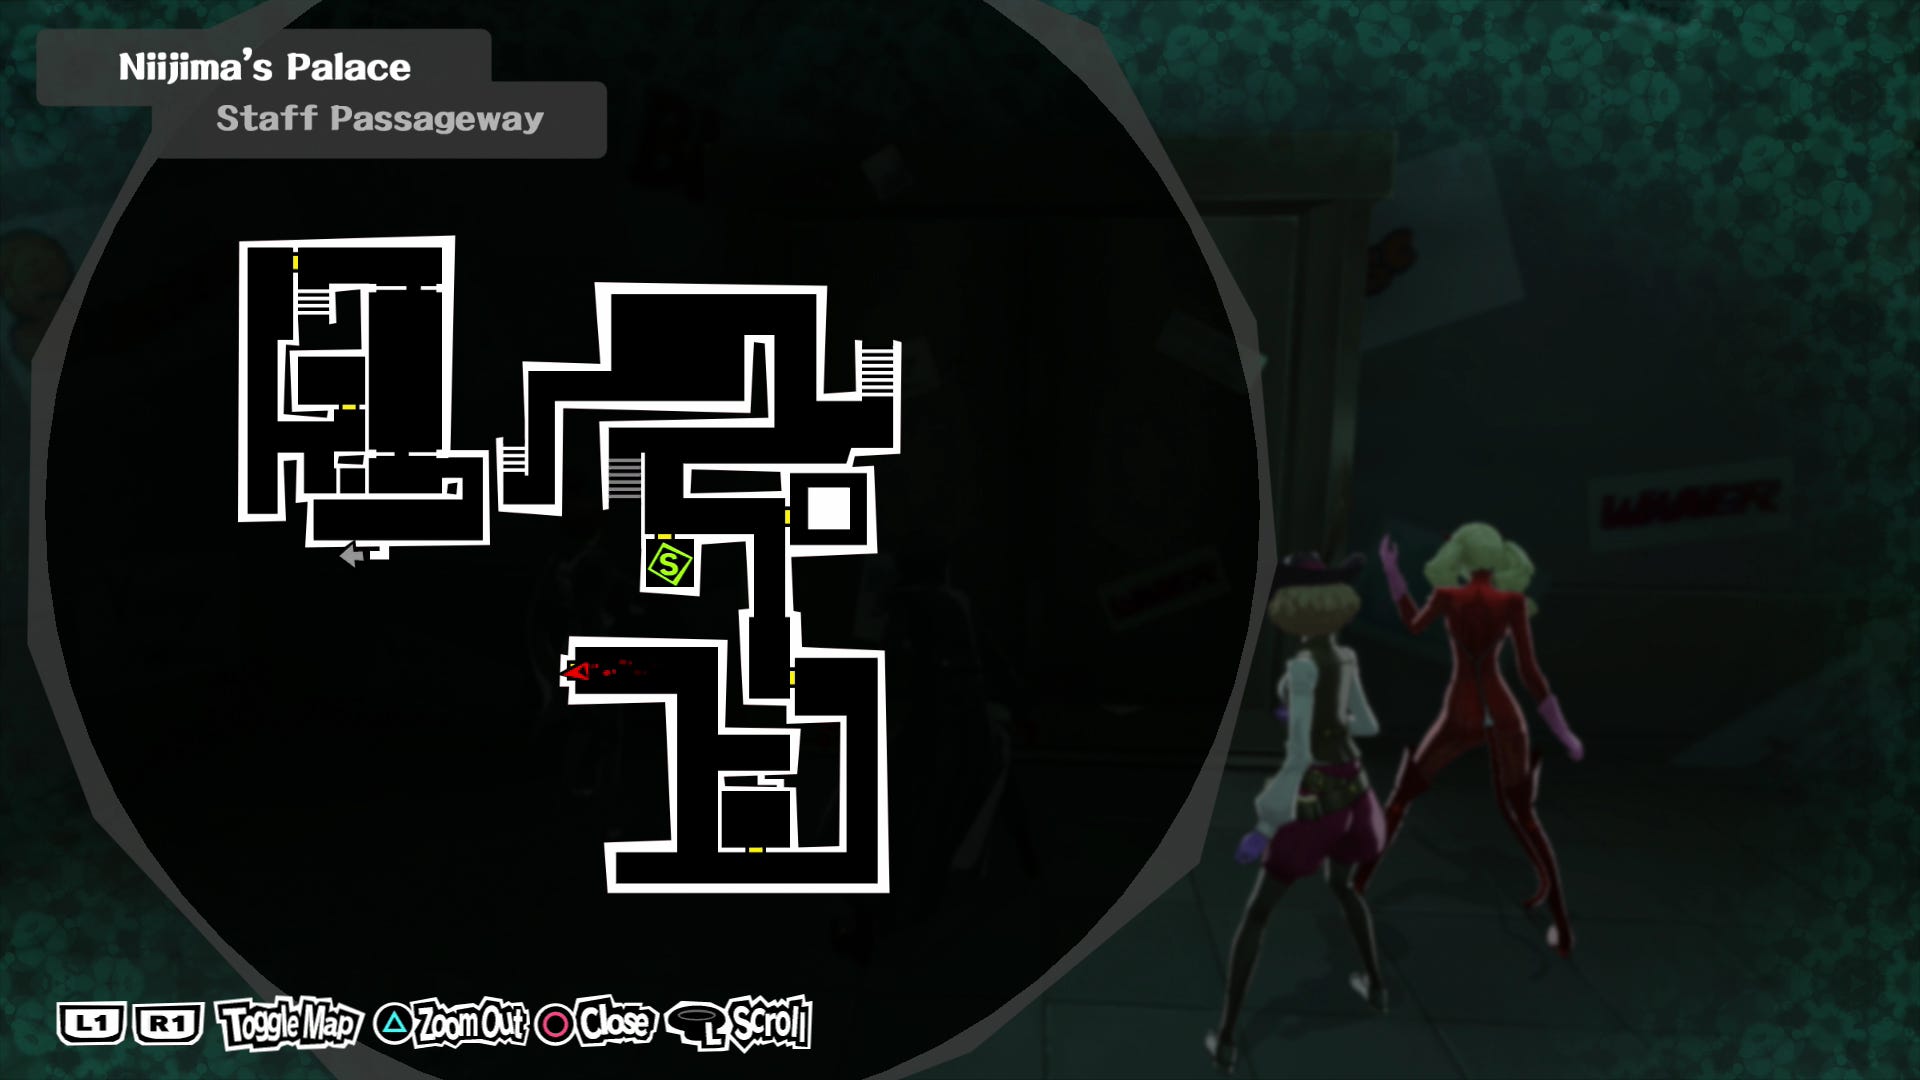
Staff Passageway 2
Follow the passage around anticlockwise then jump over the machinery ahead. Head west, follow the passage north, then turn right and go up the stairs. Once the corridor heads south turn right at the end, use the safe room, and then head east. Keep following the passage around until you reach the door at the end, then head through to enter the dice control room.

Dice Game Area
Defeat the shadow in the control room then return to the main gambling area. Futaba will mark a room on your map, so pop in there and play a few more games of dice - this time you can't lose, so keep going until Ryuji and another member of your party volunteer to grind for cash, then return to the lobby.
Members Floor Lobby
You now have enough cash to play the slots, so make a quick stop in the safe room and then head through the door to the east.
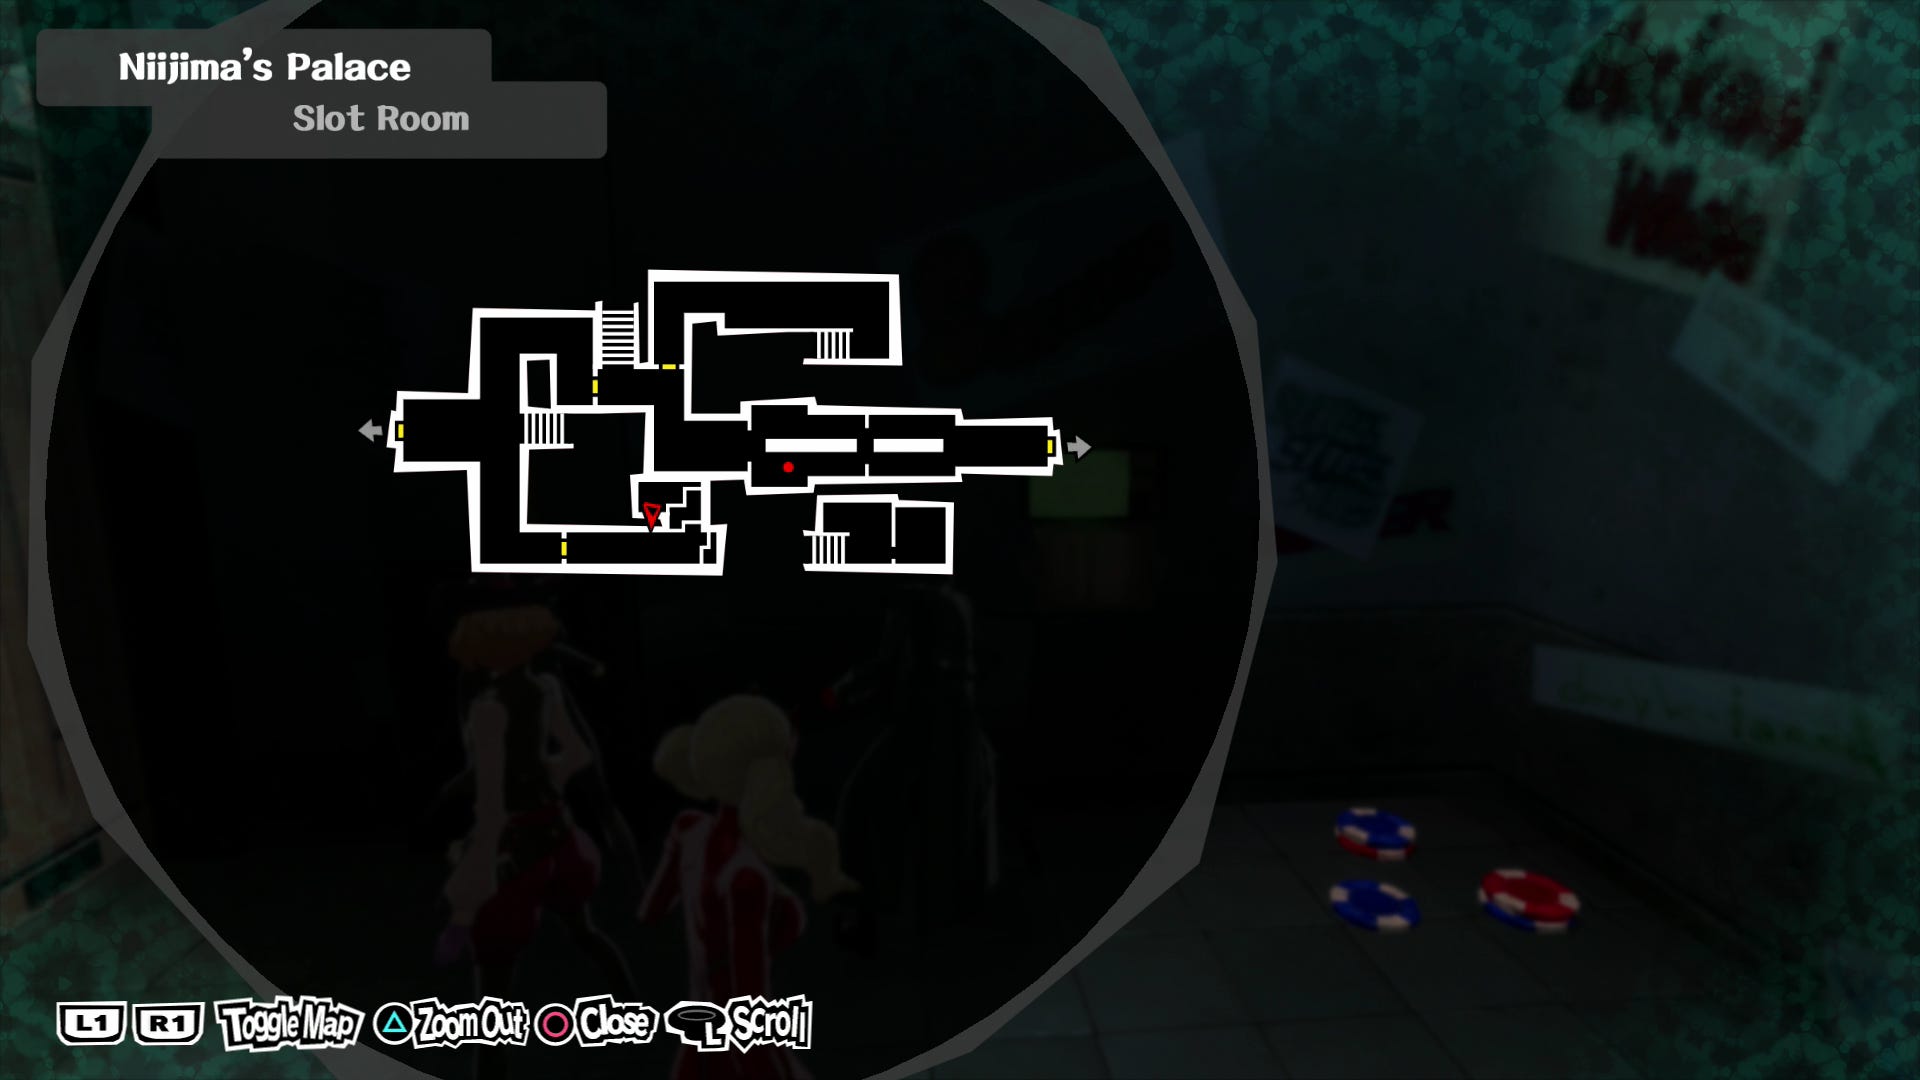
Slot Room 1
Ignore everything going on in this room for now, and just head for the door in the west.
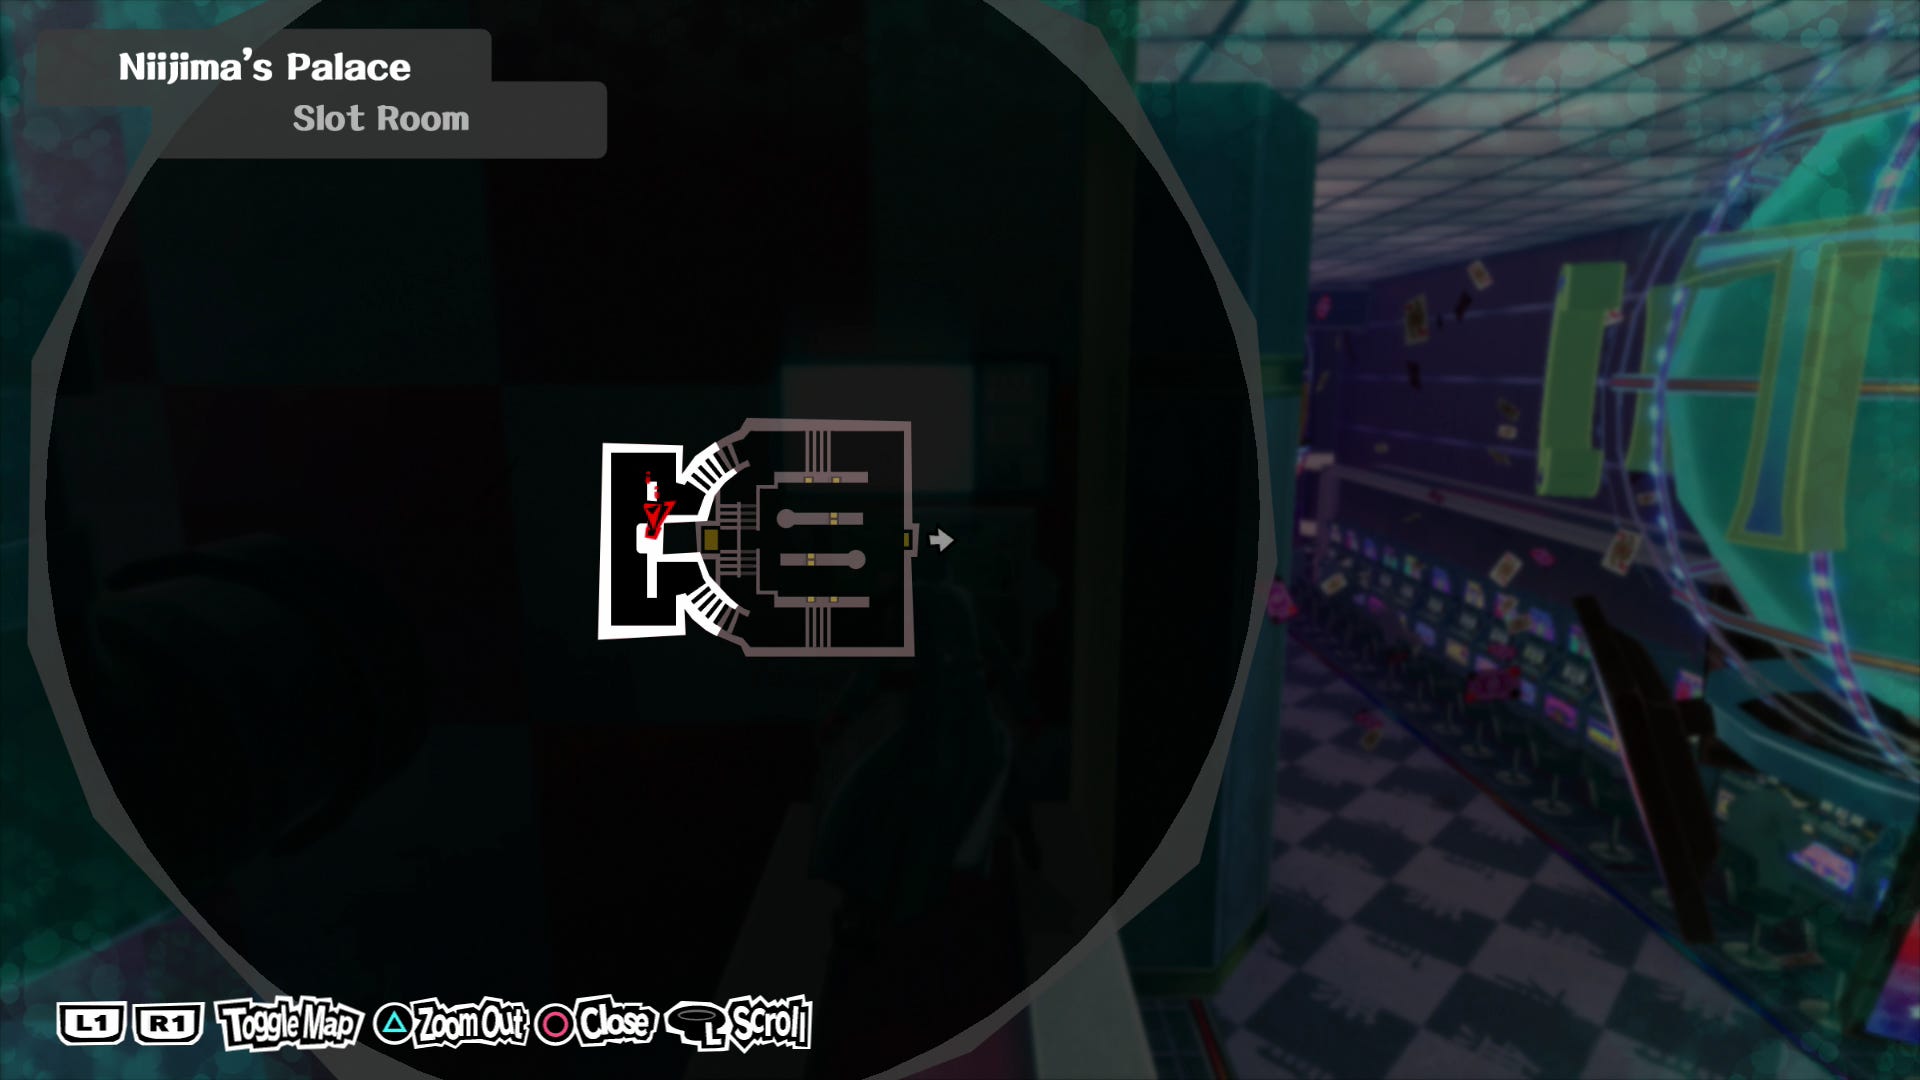
Slot Room 2
Examine the giant slot machine, then head up the short flight of steps to your right and climb onto the bank of slot machines at the top. Examine the panel, then climb back down and return to the first slot room.
Slot Room 1
Turn right and follow the corridor, open the door, and then climb onto the machinery on the left at the end to find the green control panel. Double back and enter the main part of the slot room (heading back to the lobby) and the red panel will be on the wall to your rightjust past the last row of slot machines.
Once both panels are done return to the giant slot machine and give it a whirl, then return to the cashier and collect your High Limit Card then use the elevator to move to the next floor and speak to the bouncer.
This is as far as you can go in this visit, so return to the real world for now.
High Limit Lobby, House of Darkness Maze, and Battle Arena
High Limit Lobby
Ignore everything for the moment and just head through the door to the south and use the machine next to the scales, then return to the lobby. There are two challenges you need to beat to earn yourself the required sum, and conveniently the entry fee for one of them is exactly the prize you can win for the other, so start by heading to the House of Darkness to the west.
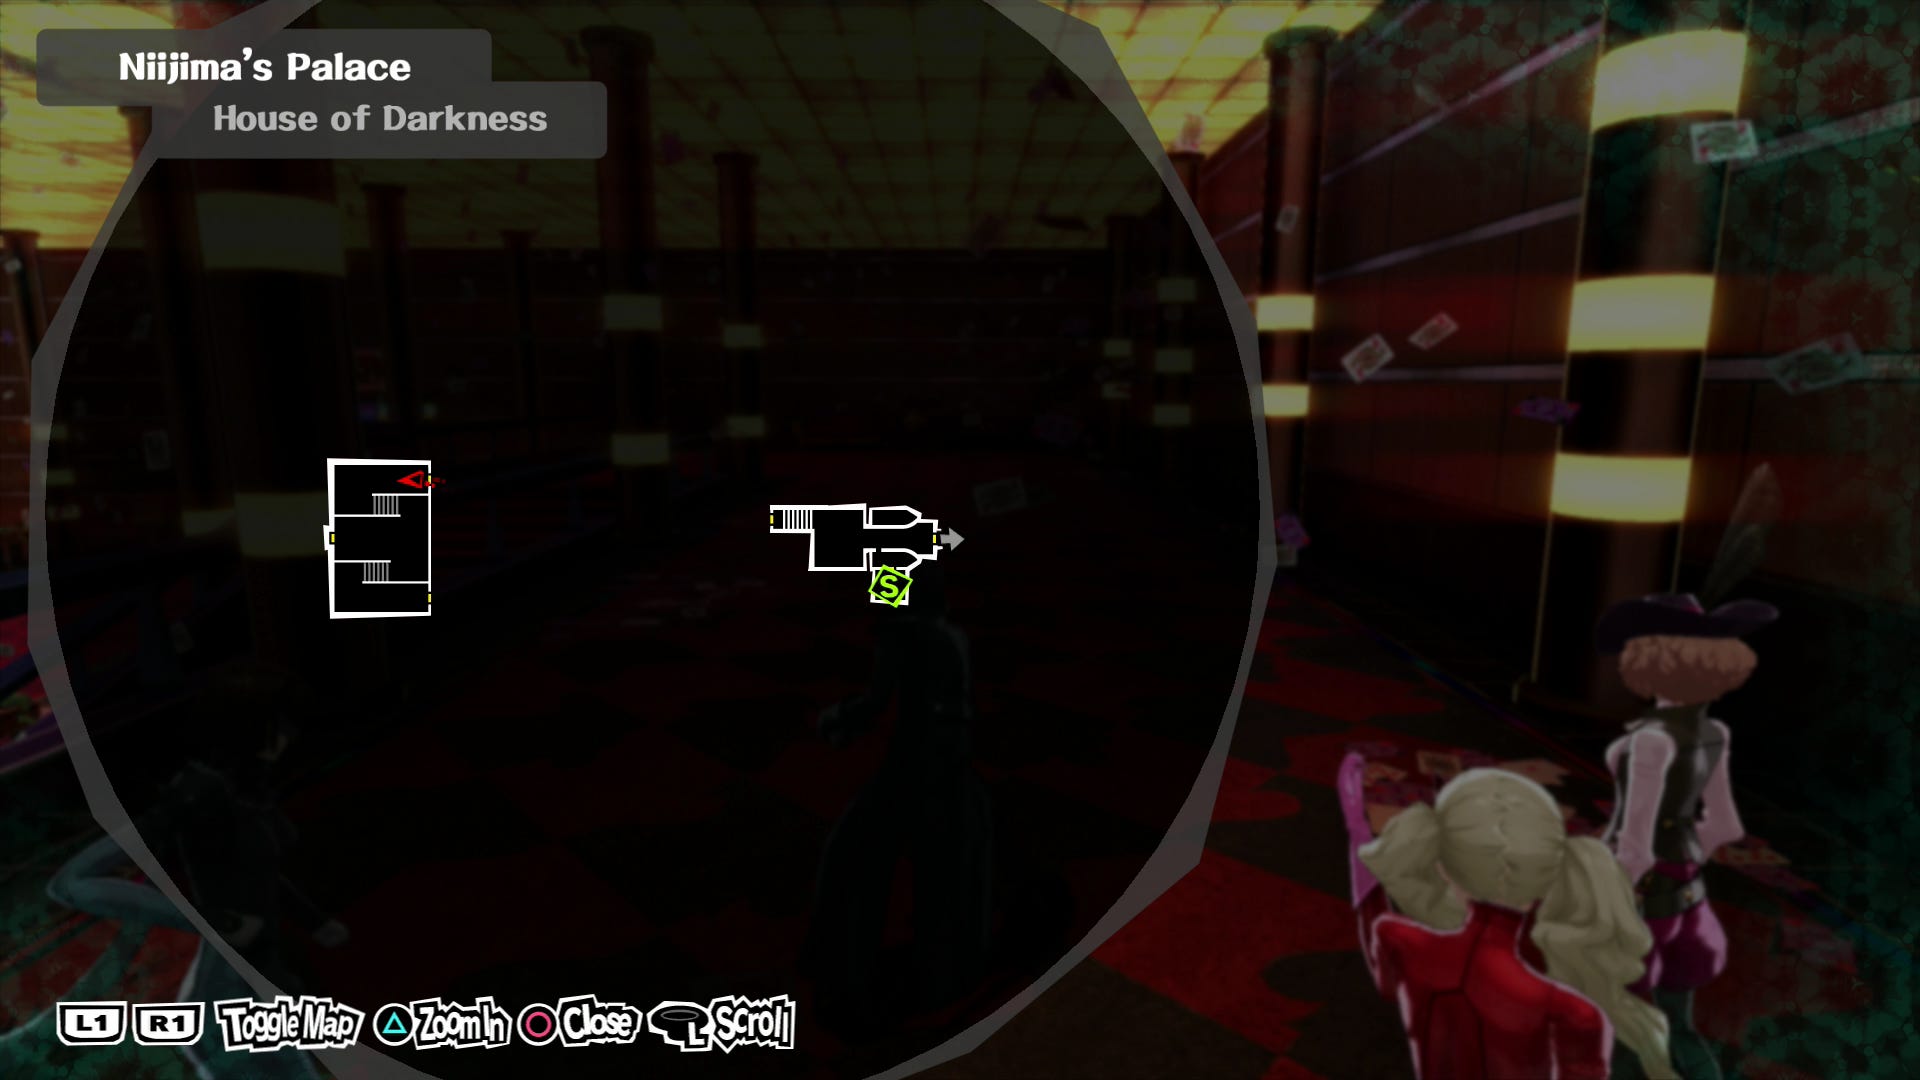
House of Darkness Maze
Once inside the maze visibility is extremely limited and there's no map, but the maze is reasonably simple to navigate.
Part 1: Hug the wall to your left and follow it until you come across a vent, try the nearby door, then crawl through the secret passage.
Part 2: Drop down to the floor below, and keep hugging the wall to your left. Skip past the first passage with the blue lights, then take the next one and keep hugging the left wall until you reach a locked door. Nearby you'll be able to see the back of an illuminated letter - climb onto it and head for the top, crawl through the vent, drop down the other side, and keep hugging the wall to the left until you reach another door, go through, and head down stairs and through the door on the west.
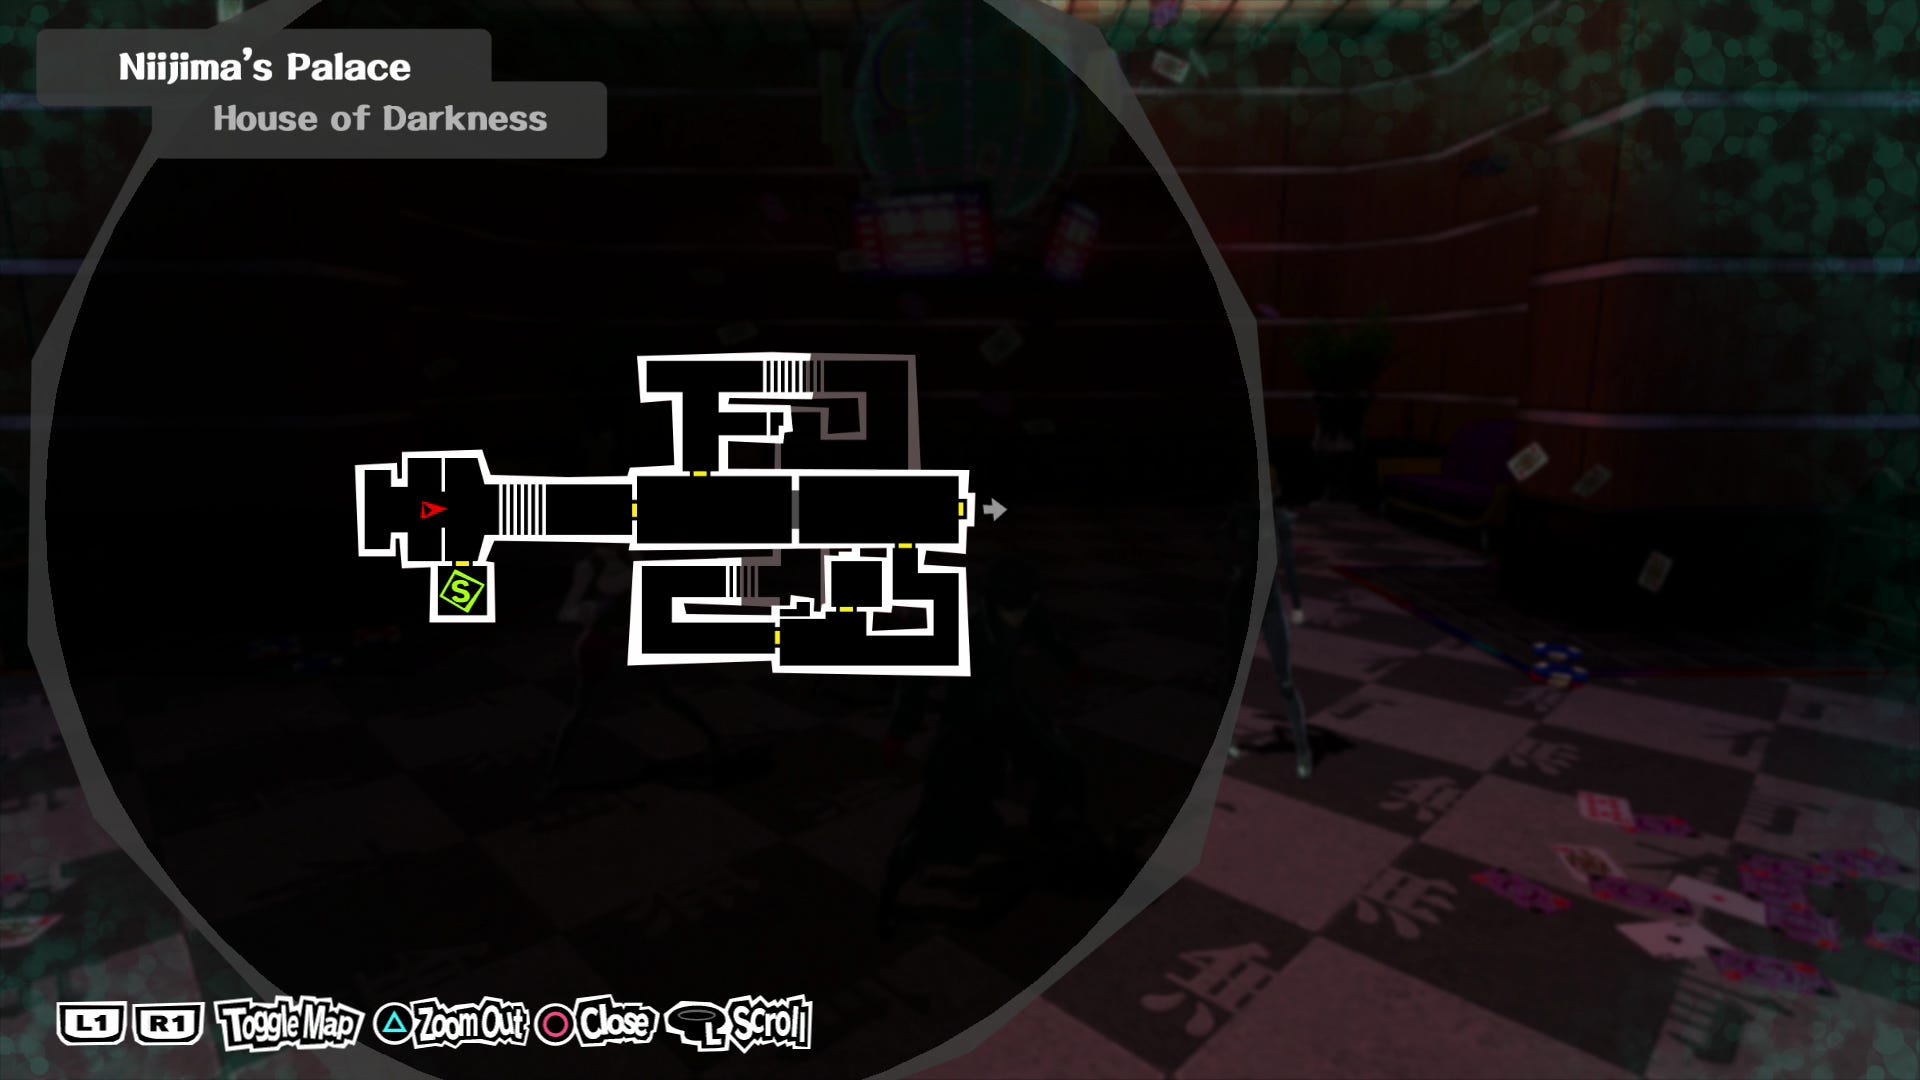
House of Darkness Outer Chambers
After a cutscene your path will be blocked, so crawl through the vent on the left hand wall near the playing cards, follow the passage west and round to a flight of stairs, head up, and then climb onto the machinery in the north west corner of the passage above and take the door to the south to emerge past the blockage in the main hallway. Head through the door to the west, fight the shadow for your prize, and then return to the High Limit Lobby.
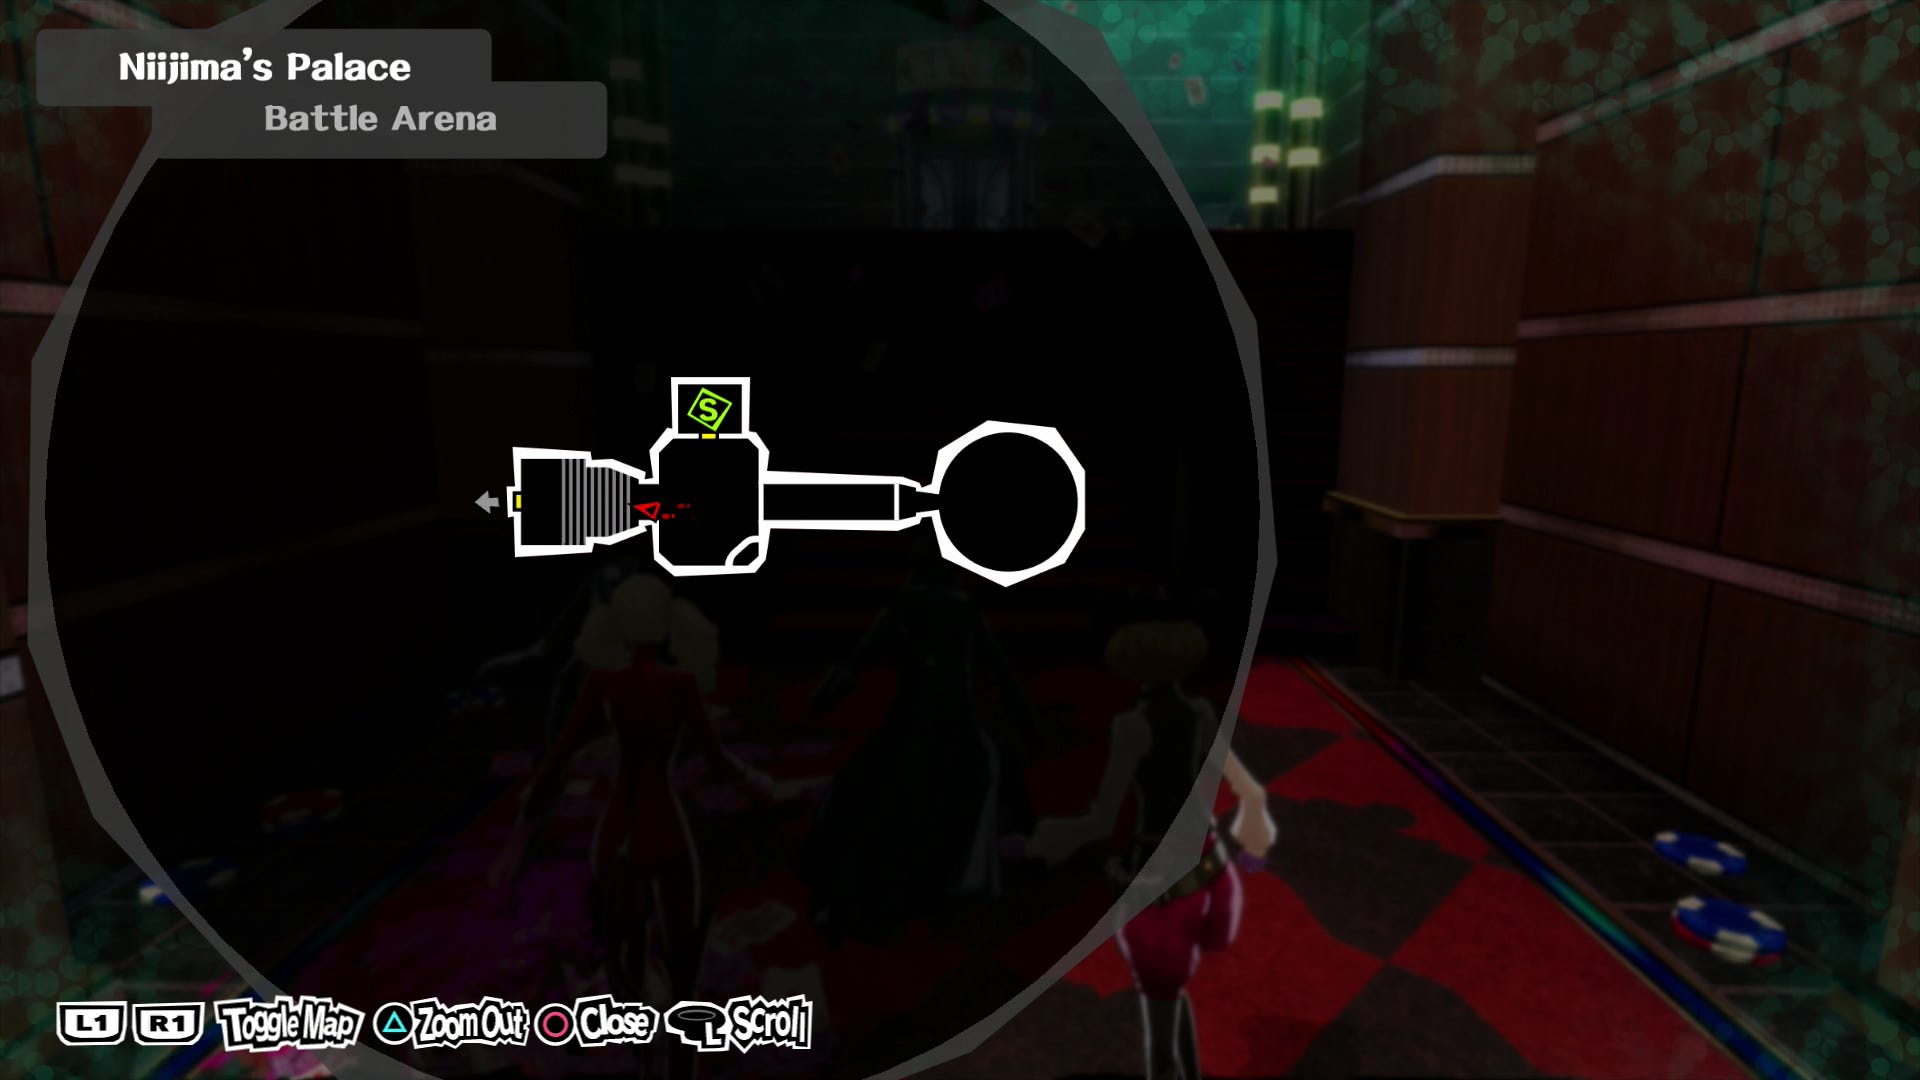
Battle Arena
Cross the lobby and enter the arena area - you'll face off against three rounds of increasingly tough shadows, and you'll be fighting alone, but as long as you have plenty of healing items or Personas with healing skills it shouldn't provide too much of a challenge.
High Limit Lobby
Return to the scales, deposit your winnings, and cross the bridge to the treasure room before returning to the real world.
Need more help? Our Persona 5 guide and walkthrough features a complete month-by-month summary with important dates and Palace strategies, as well as how to get the True Ending. Elsewhere, learn how to make the most of your free time with all Confidant, Social Link and romance options, the best ways to increase Social Stats such as Knowledge, Guts, Proficiency, Kindness and Charm, create the best Personas through Fusions, how to cheat on exams with our test answers, how to get Mementos requests, unlock the entire Trophy list and learn about the upcoming DLC schedule.
Niijima boss fight
The fight itself is straightforward, but is complicated slightly with a gambling mechanic. If you win you'll be granted a buff, have HP or SP restored, or gain some other tactical advantage, but if you lose you'll hand the advantage to your opponent.

For the first few rounds, whatever you pick you will lose so only opt for low stakes bets, but pay attention to where the ball originally lands before being diverted; after a couple of rounds, when Futaba asks if you've spotted how the cheat is being done answer with "There's a glass lid", then send one of your squad to deal with it. Once the cheat has been disabled, place high stakes bets on the number the ball originally landed on and you should be in for a relatively easy ride.
The second phase is a tougher fight, but the mechanics remain the same - we'd recommend using a combination of Concentrate and fire-based attacks if possible, as while it's not a specific weakness it does seem to do slightly more damage than other attacks. Keep one party member on healing duties, and wear away until the fight is over.
Exit
You'll now revisit the opening sequence of the game, but this time it'll make some sort of sense - just do what you did last time around.