Zelda Jitam Sa’Mi on Mount Lanayru and The Spring of Wisdom quest in Breath of the Wild
How to beat the Hateno trial.

Jitam Sa'Mi is one of the many Shrines located throughout Zelda: Breath of the Wild. There's no challenge inside, instead the shrine requires you to complete a Shrine Quest, named the Spring of Wisdom, which is a quest that has you scale a mountain and tackle a corrupted dragon in order to reach the hidden shrine..
If you need help finding and solving other Shrines, our Shrine location maps page can help, while our Zelda: Breath of the Wild walkthrough and guide covers other aspects of the game.
Where to find Jitam Sa'Mi
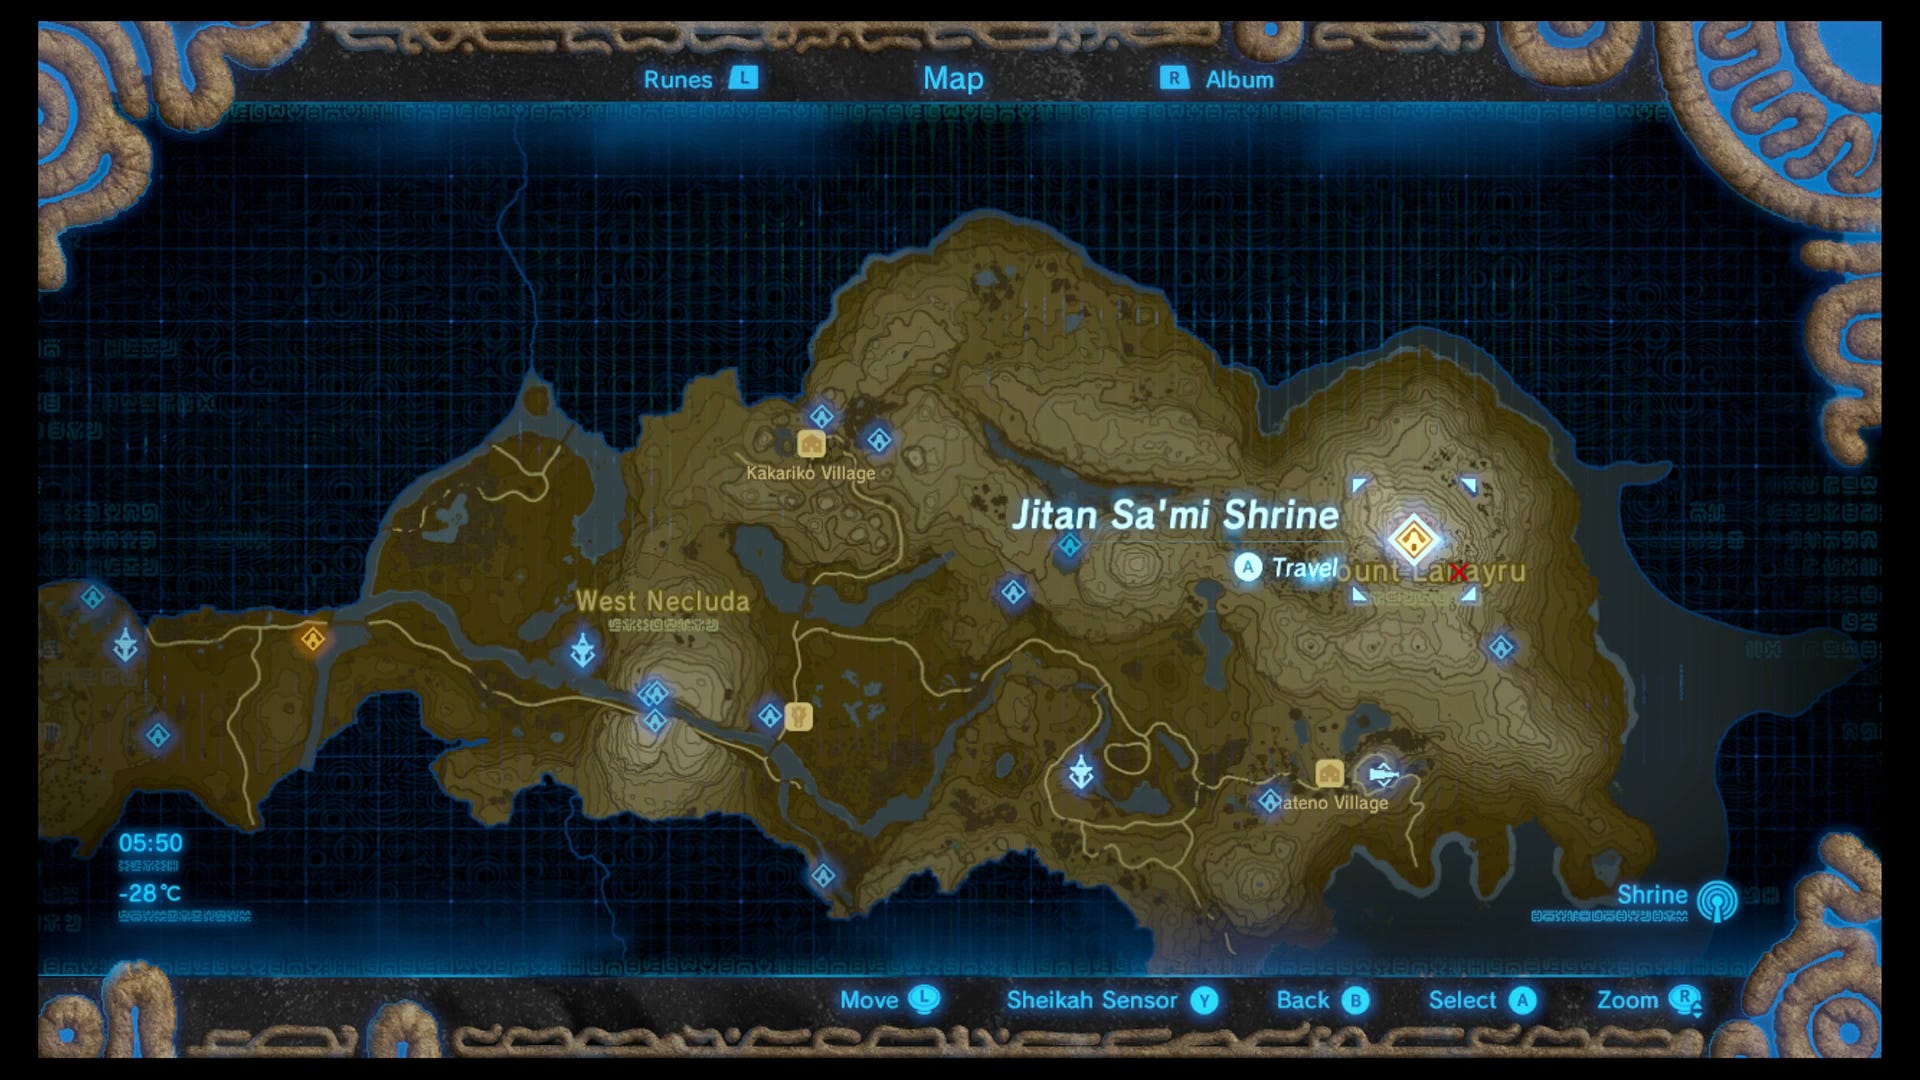
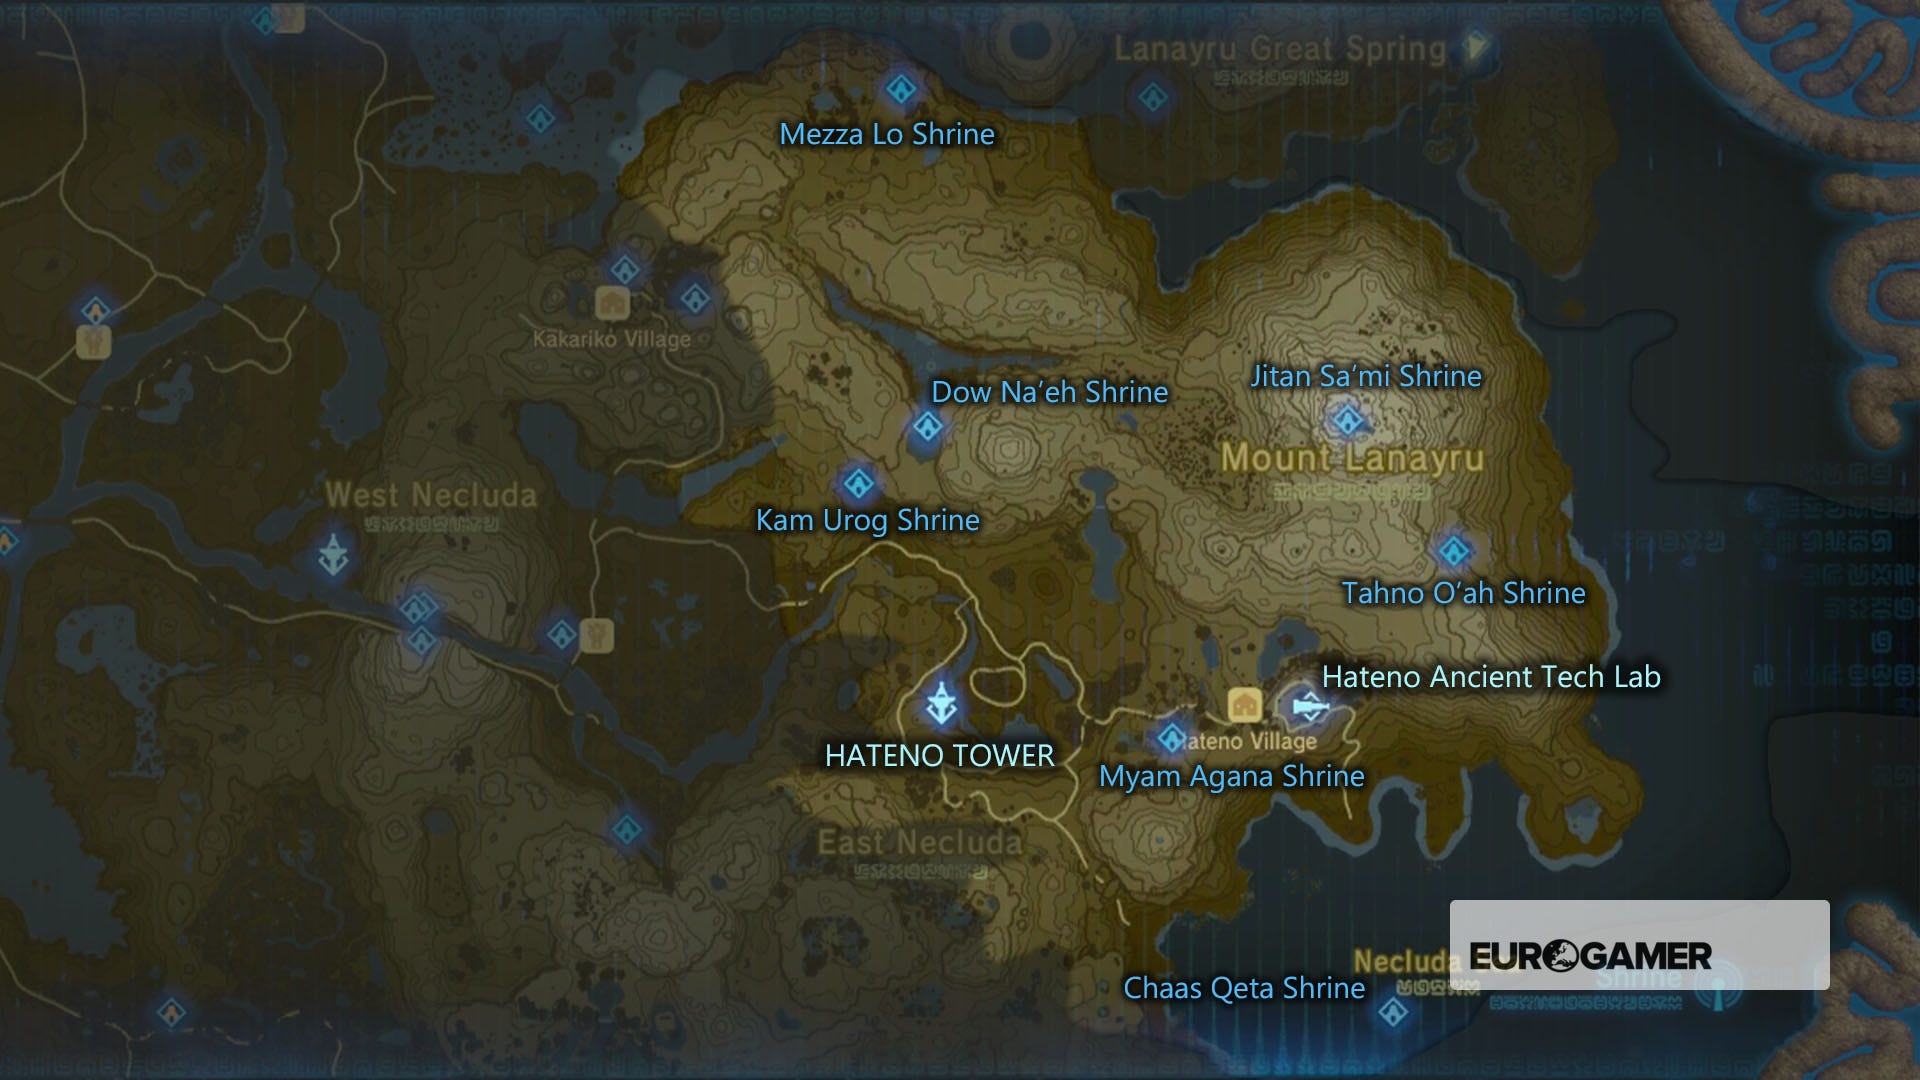
The Jitam Sa'Mi shrine is located within the Hateno region, specifically at the top of Mount Lanayru, due north and a tiny bit easy of the Hateno Research Lab. To get there, your best bet is to start the side quest first.
Start the side quest by heading to Hateno Village, and talking to a man who works growing plants, behind the building that's opposite the dye shop.

Jitam Sa'Mi and The Spring of Wisdom solution
The man you want to talk to in order to start this side quest is called Medda. Once you've spoken with him it's time to scale Mount Lanayru, but be warned: you need two things: a good stock of Arrows, and Level 2 cold resistance to get through the cold of the area, which means using the Warm Doublet - available from an early quest or from a shop in Hateno Village - plus a basic cold-resisting meal.
Or you can whip up a stronger cold resisting meal if you happen to have the right ingredients, which can be rare. For more on that, check out our comprehensive Breath of the wild cooking guide and ingredients list!
The way up this mountain is difficult: there are large numbers of pretty tough enemies, so but there's a way around them, which we recommend. Climbing up the cliffs, rather than taking the winding path, will not only get you safely past the monsters but also get you threre much faster.
Thanks to a new update, it's now possible to play Zelda Breath of the Wild in VR. Want help with the main game? Our Zelda: Breath of the Wild walkthrough can help complete Divine Beasts Vah Ruta, Vah Rudiana, Vah Medoh and Vah Naboris and more. There's also how to get the Master Sword, Hylian Shield and all Zelda Captured Memories and Great Fairy Fountain locations, while our Shrines locations and Shrine maps hub explains where to find and solve every puzzle room, including dragon locations and Labyrinth solutions. We also have a DLC 1 guide and DLC 2 guide, including all Tingle, Majora's Mask, Phantom, Midna outfit locations.

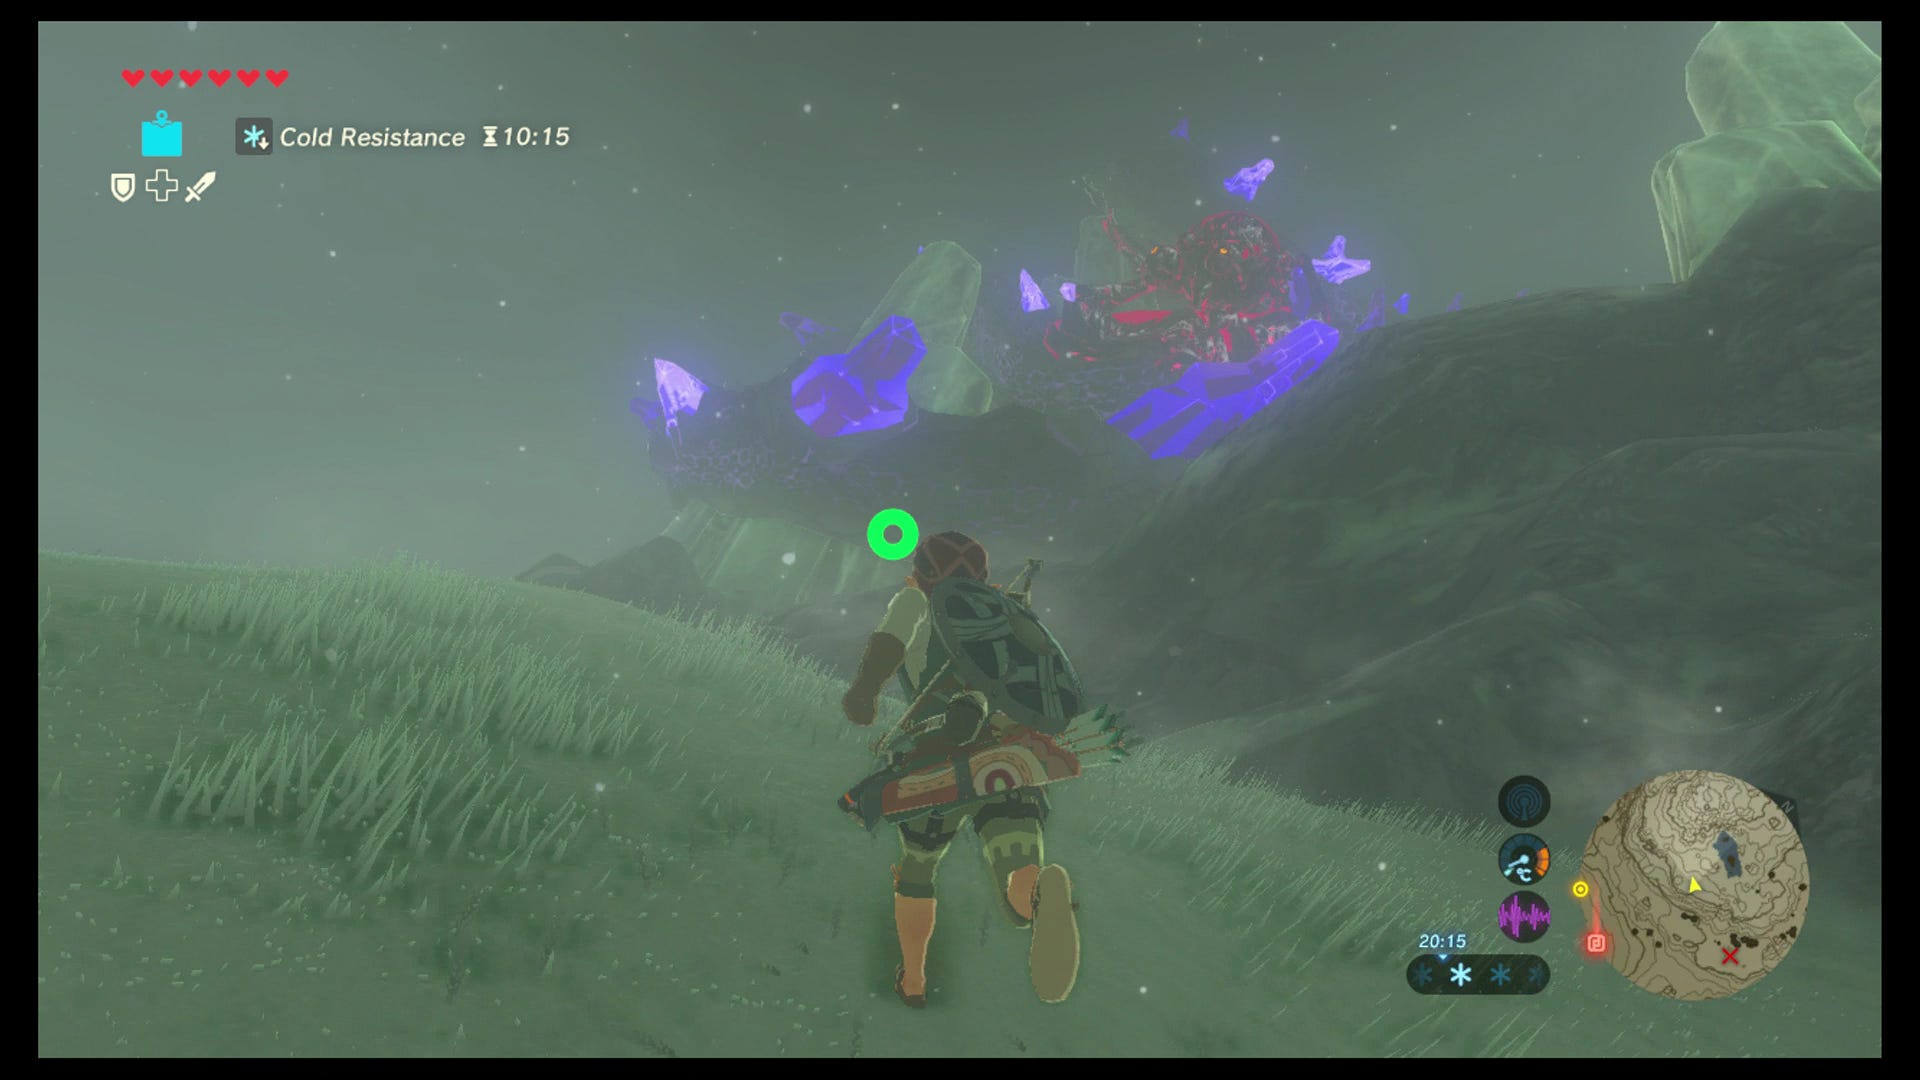
Once at the top of the mountain, you'll see a kind of statue surrounded by water: the Spring of Wisdom. Here, you'll be tasked with cleansing the dragon above from it's corruption.
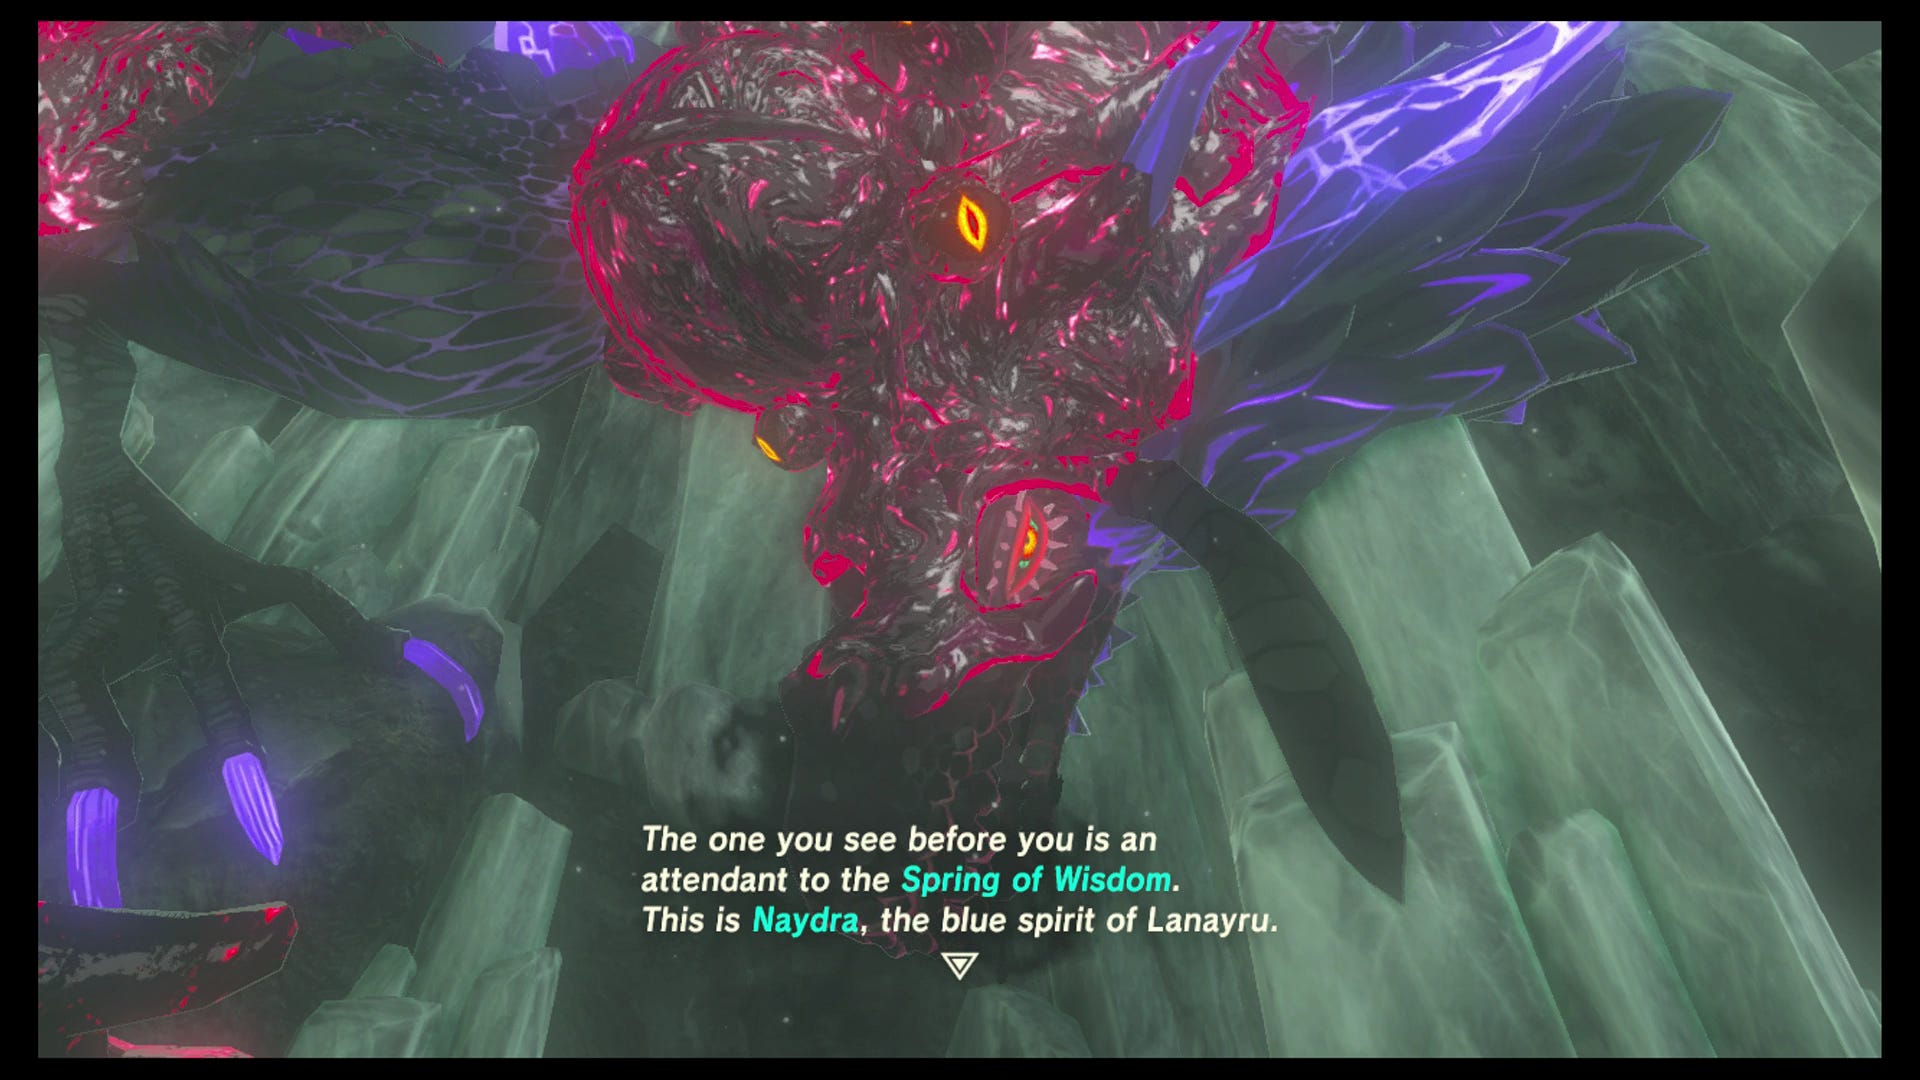
First, you need to shoot the large orange eye on its head with an arrow. After that, the dragon will take flight high above the mountain itself.
To the right is a path that takes you right to the top of the mountain. There, you can use the plumes of air around the mountain top to sail high up using your paraglider. Shooting with your bow from this point will slow down time and make your life easier.
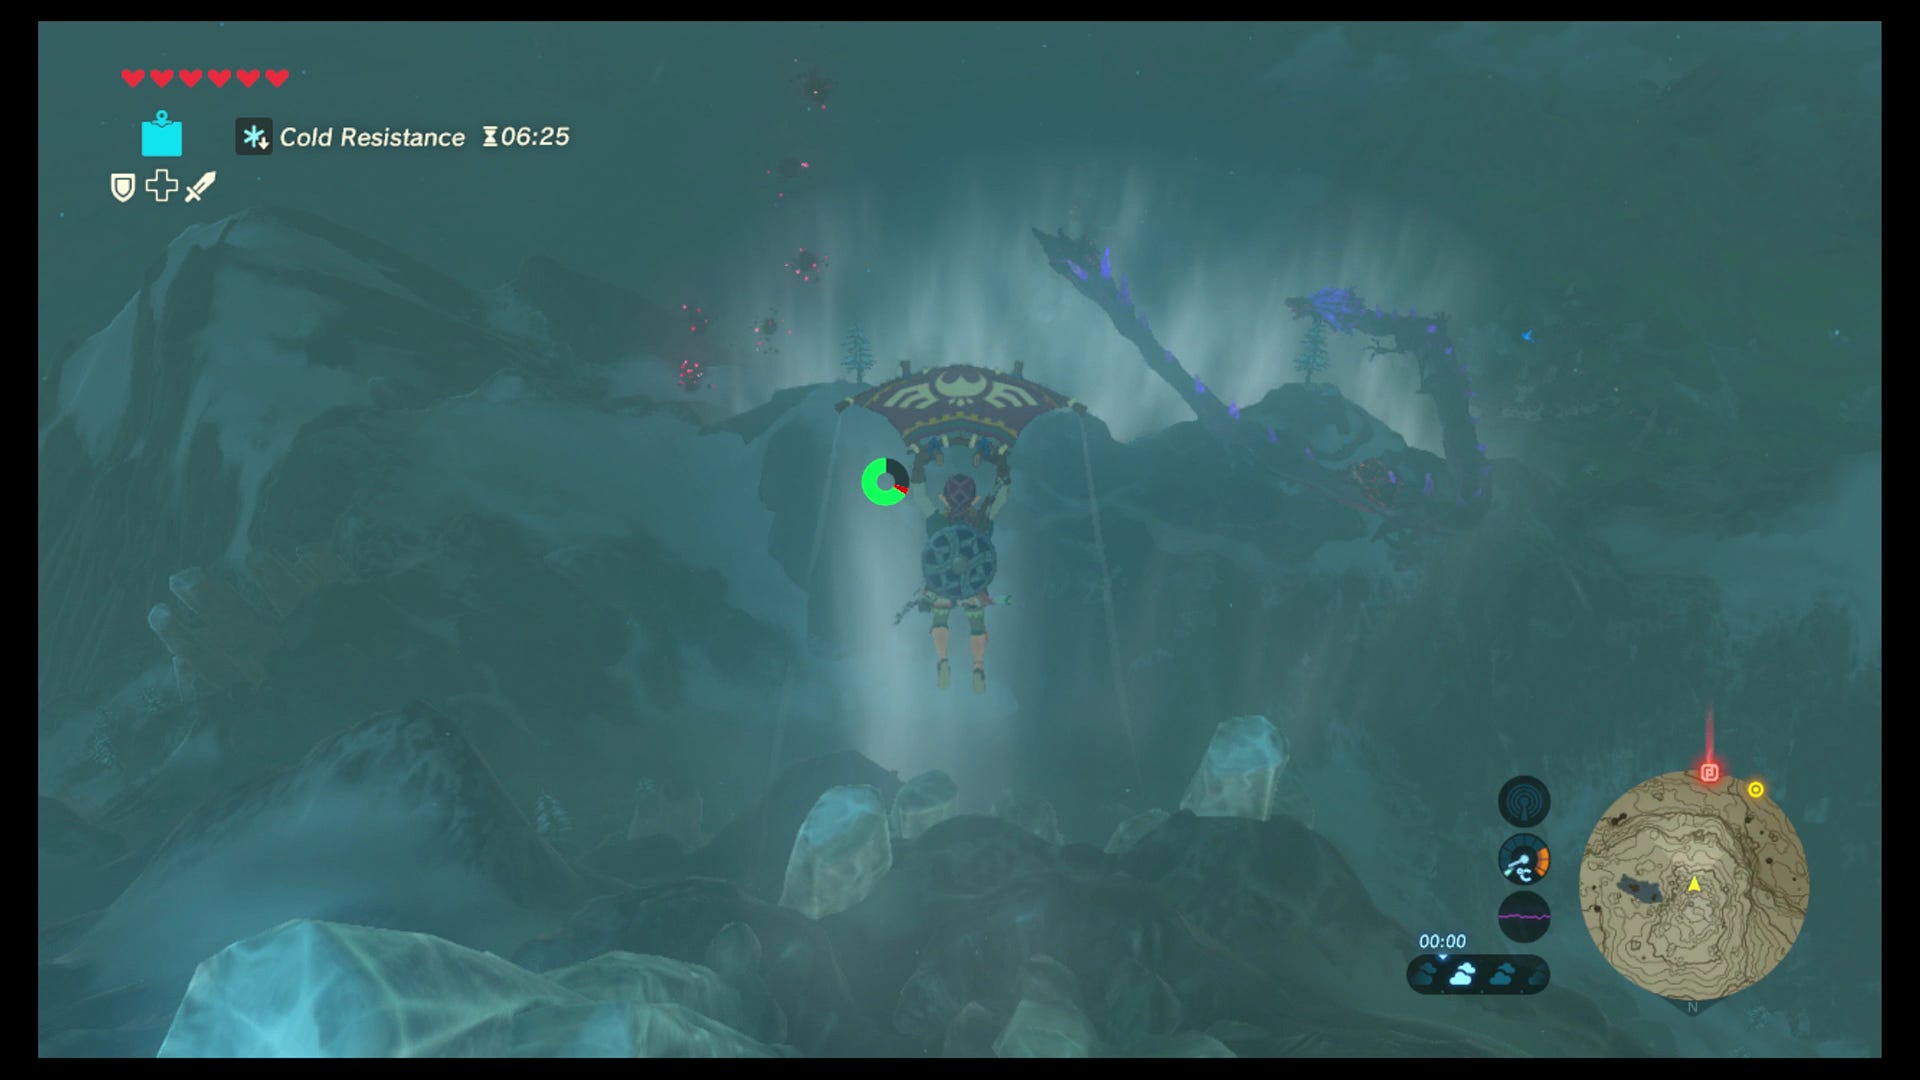
Your job now is to shoot off the rest of the corruption, on the dragon's back and tail, until there's none left. Each time you hit some, the dragon will move to another aerial location.
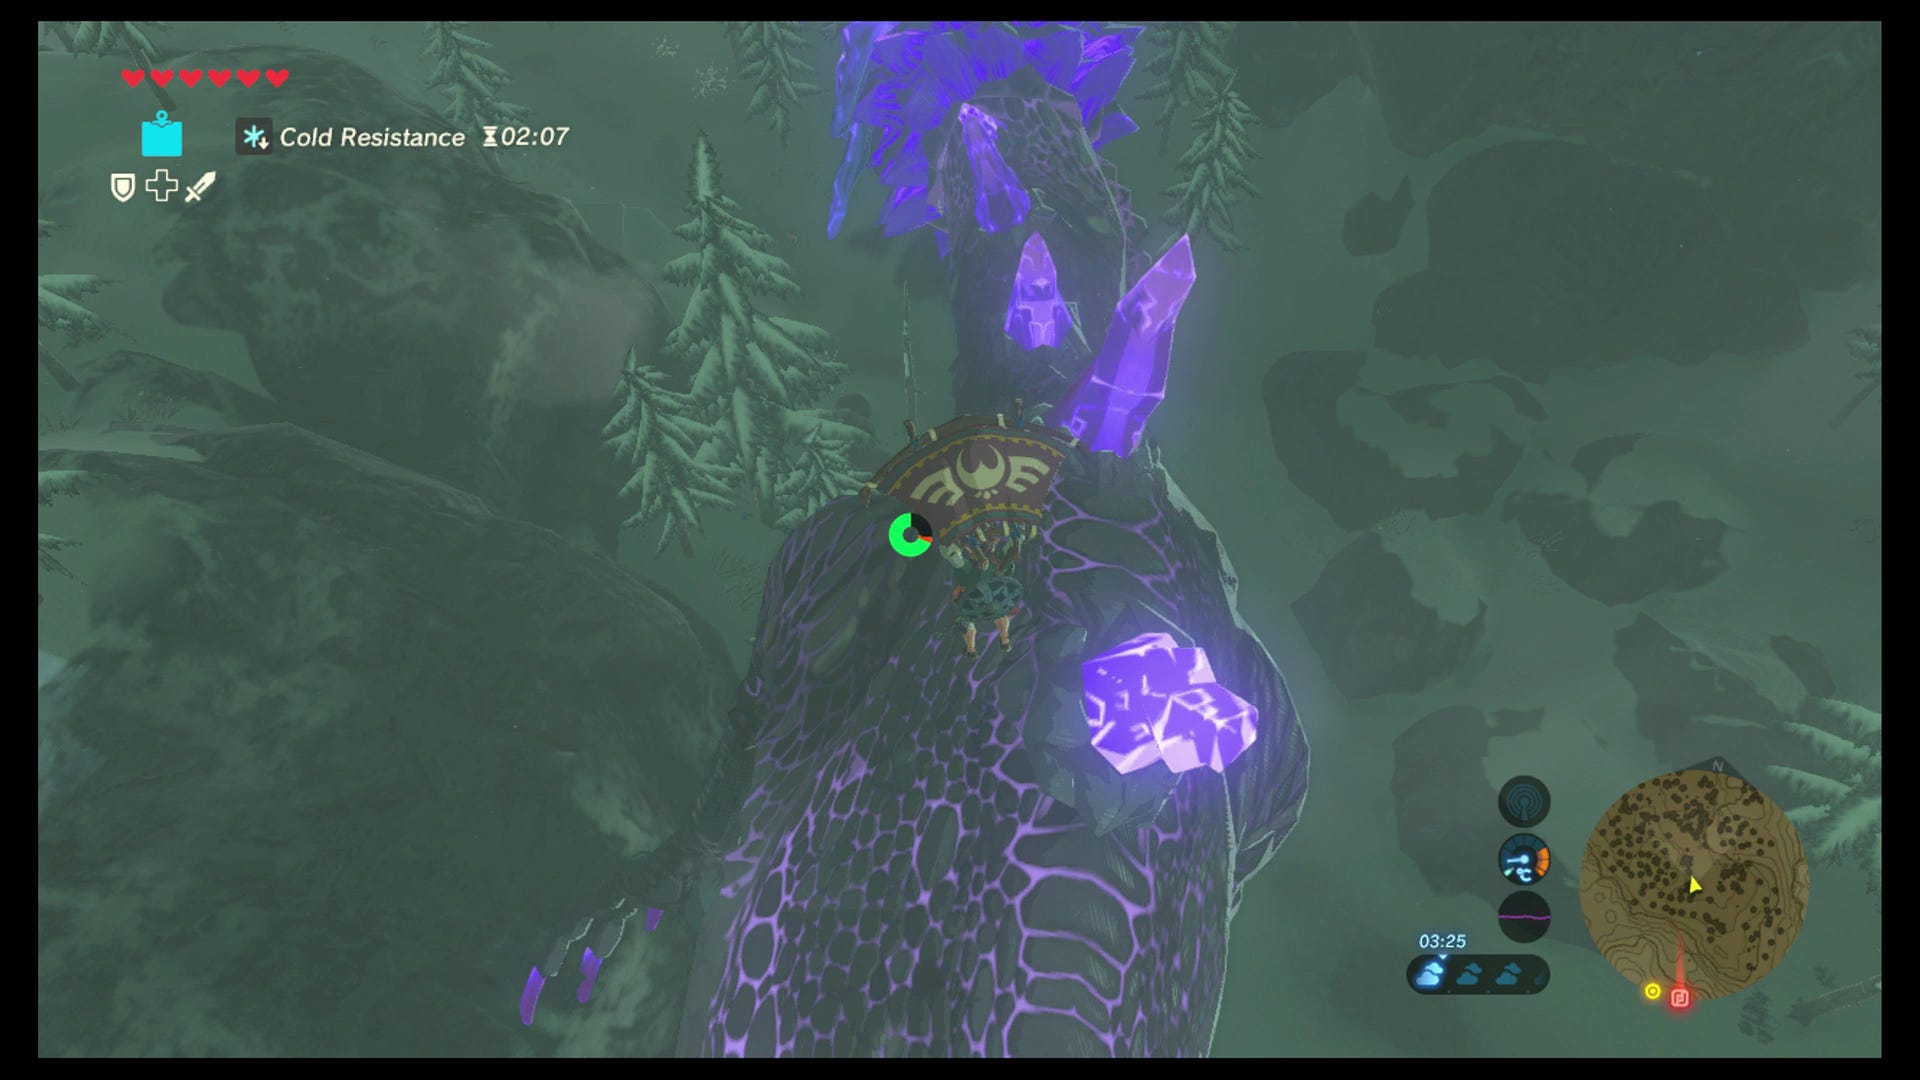
Follow the dragon as it moves, using the streams of air to keep you up. You can also land and get back up to the same height using these airwaves if you fall or need to recover stamina.
Finally, note that you can also drop onto the dragon and hit the corruption spots with a melee attack if you time it just right, which is a big help if you run out of arrows or are finding it difficult to shoot.
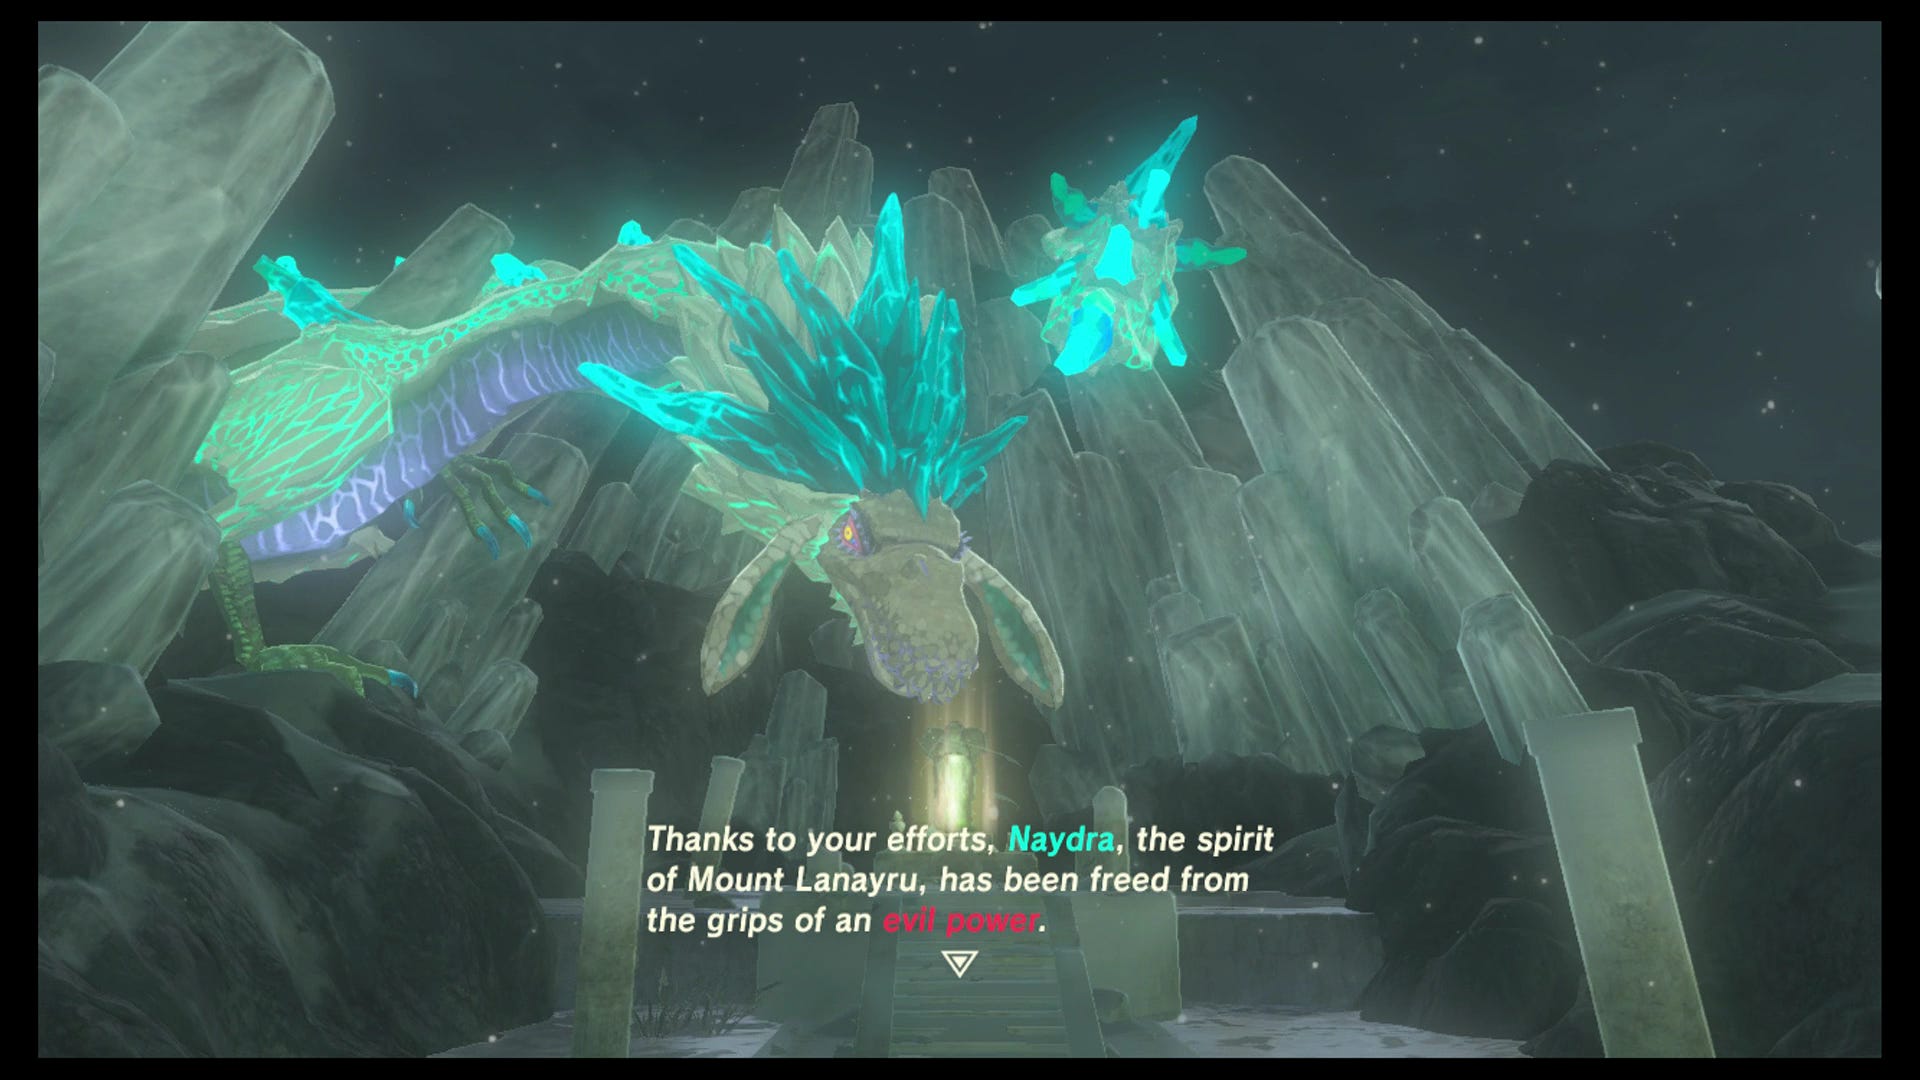
After all the corruption is removed, a cutscene will take you back to the Spring of Wisdom, where you'll need to shoot or hit the dragon one more time (just a whack on the foot is fine!) to receive a scale.
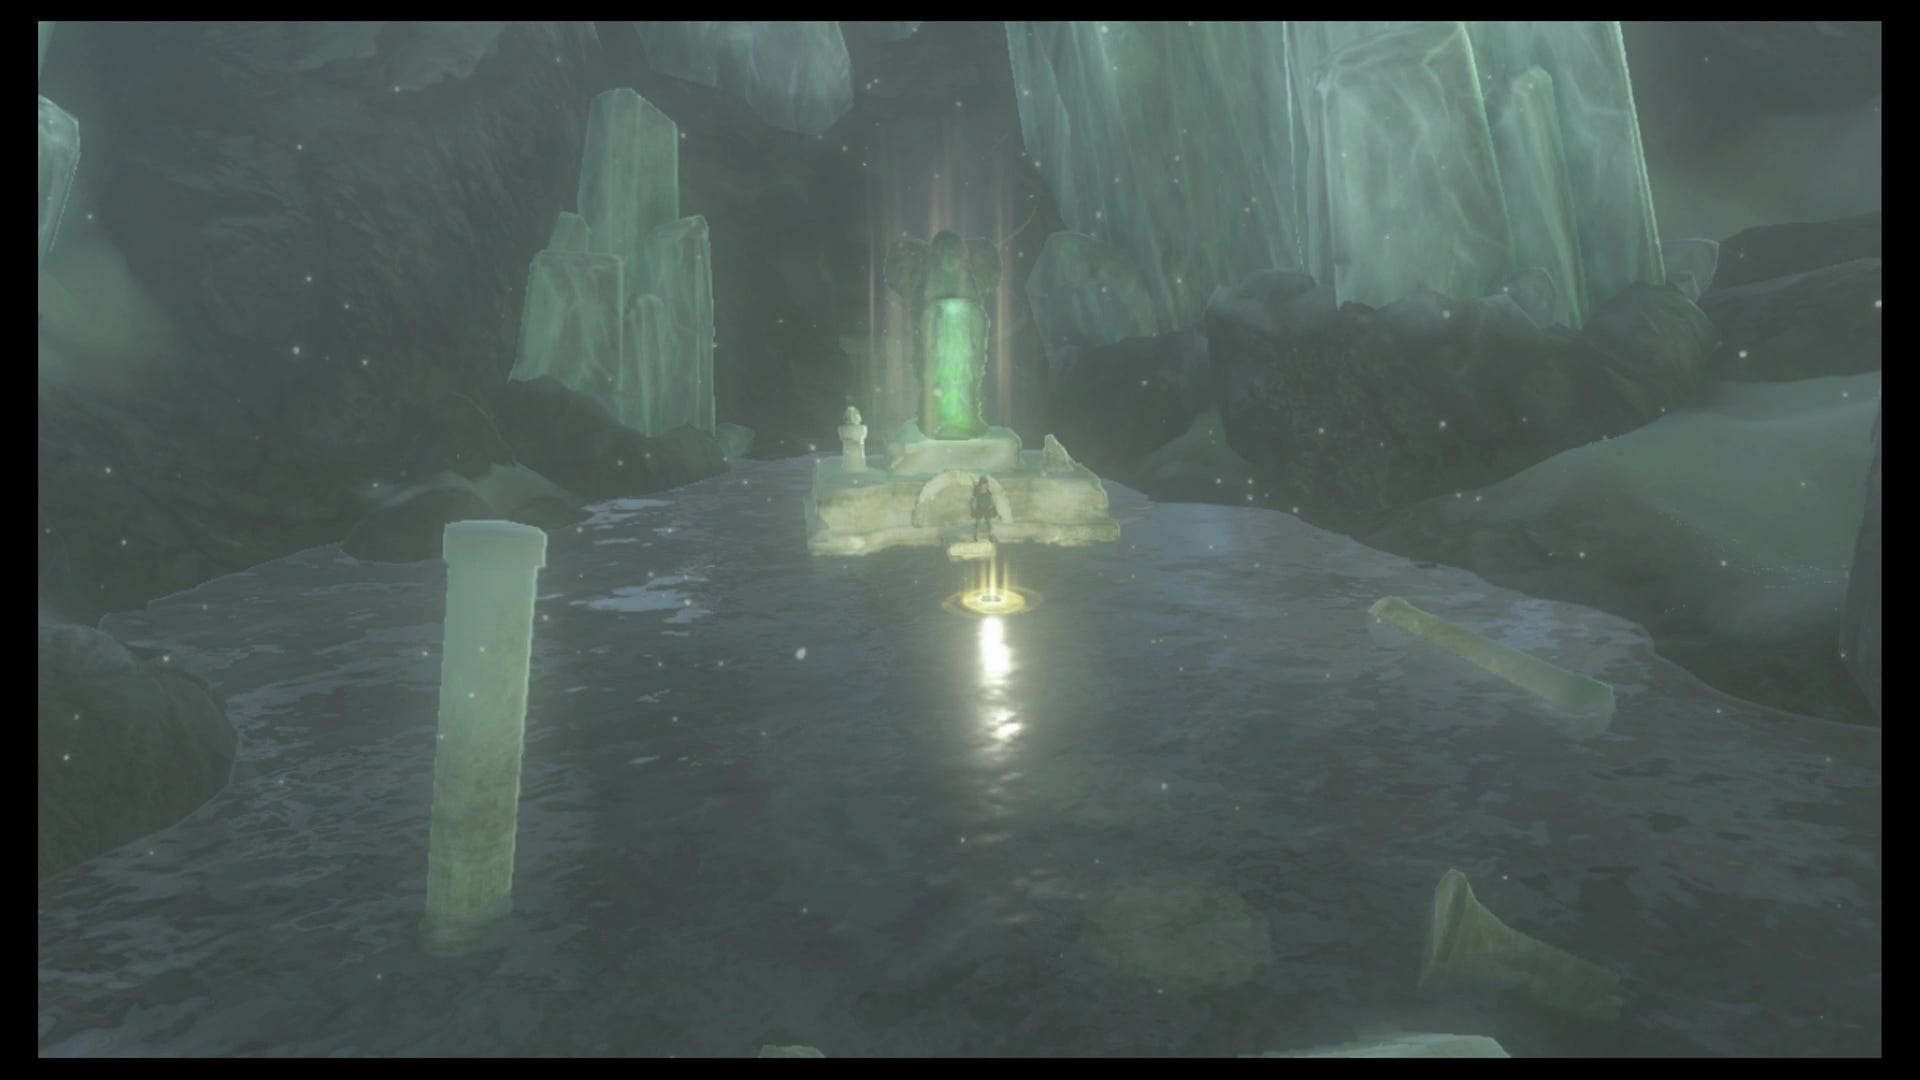
Place that in the water in front of the statue, then press the button to pray like you would for trading in orbs for Heart Pieces or Stamina, and the shrine will open! Inside is simply a chest, then head to the back of the room, talk to the spirit, and you're done!
This dragon Naydra will now roam around the mountain in future, and can be encountered again for more unique items. There are others out there too; our Dragons Farosh, Dinrall and Naydra article explain where to find all three out in the wild and farm their components.
While you're here, here are other Shrines within this region:
Hateno region (7 Shrines)
- Chaas Qeta Shrine location and A Major Test of Strength trial solution
- Dow Na'eh Shrine and The Three Boxes Trial solution
- Jitan Sa'Mi Shrine on Mount Lanayru and Spring of Wisdom
- Kam Urog Shrine, Cursed Statue Shrine Quest and Trial of Passage solution
- Mezza Lo Shrine, Crowned Beast Shrine Quest and the Ancient Trifecta trial solution
- Myahm Agana Shrine and Myahm Agana Apparatus trial solution
- Tahno O'ah Shrine and Secret of the Cedars Shrine Quest solution
If you're after other trials, then our Zelda: Breath of the Wild Shrine locations and maps hub page can help with other regions.