Zelda - Sheh Rata, how to clear the thistles, and Speed of Light trial solution in Breath of the Wild
How to reach and clear the Lanayru Region trial.

Sheh Rata is one of the many Shrines located throughout Zelda: Breath of the Wild. The challenge inside, named the Speed of Light trial, is a puzzle that has you manipulate a beam of light to hit a crystal and activate a pressure plate. Get it right, and you'll walk out a success.
If you need help finding and solving other Shrines, our Shrine location maps page can help, while our Zelda: Breath of the Wild walkthrough and guide covers other aspects of the game.
Where to find Sheh Rata
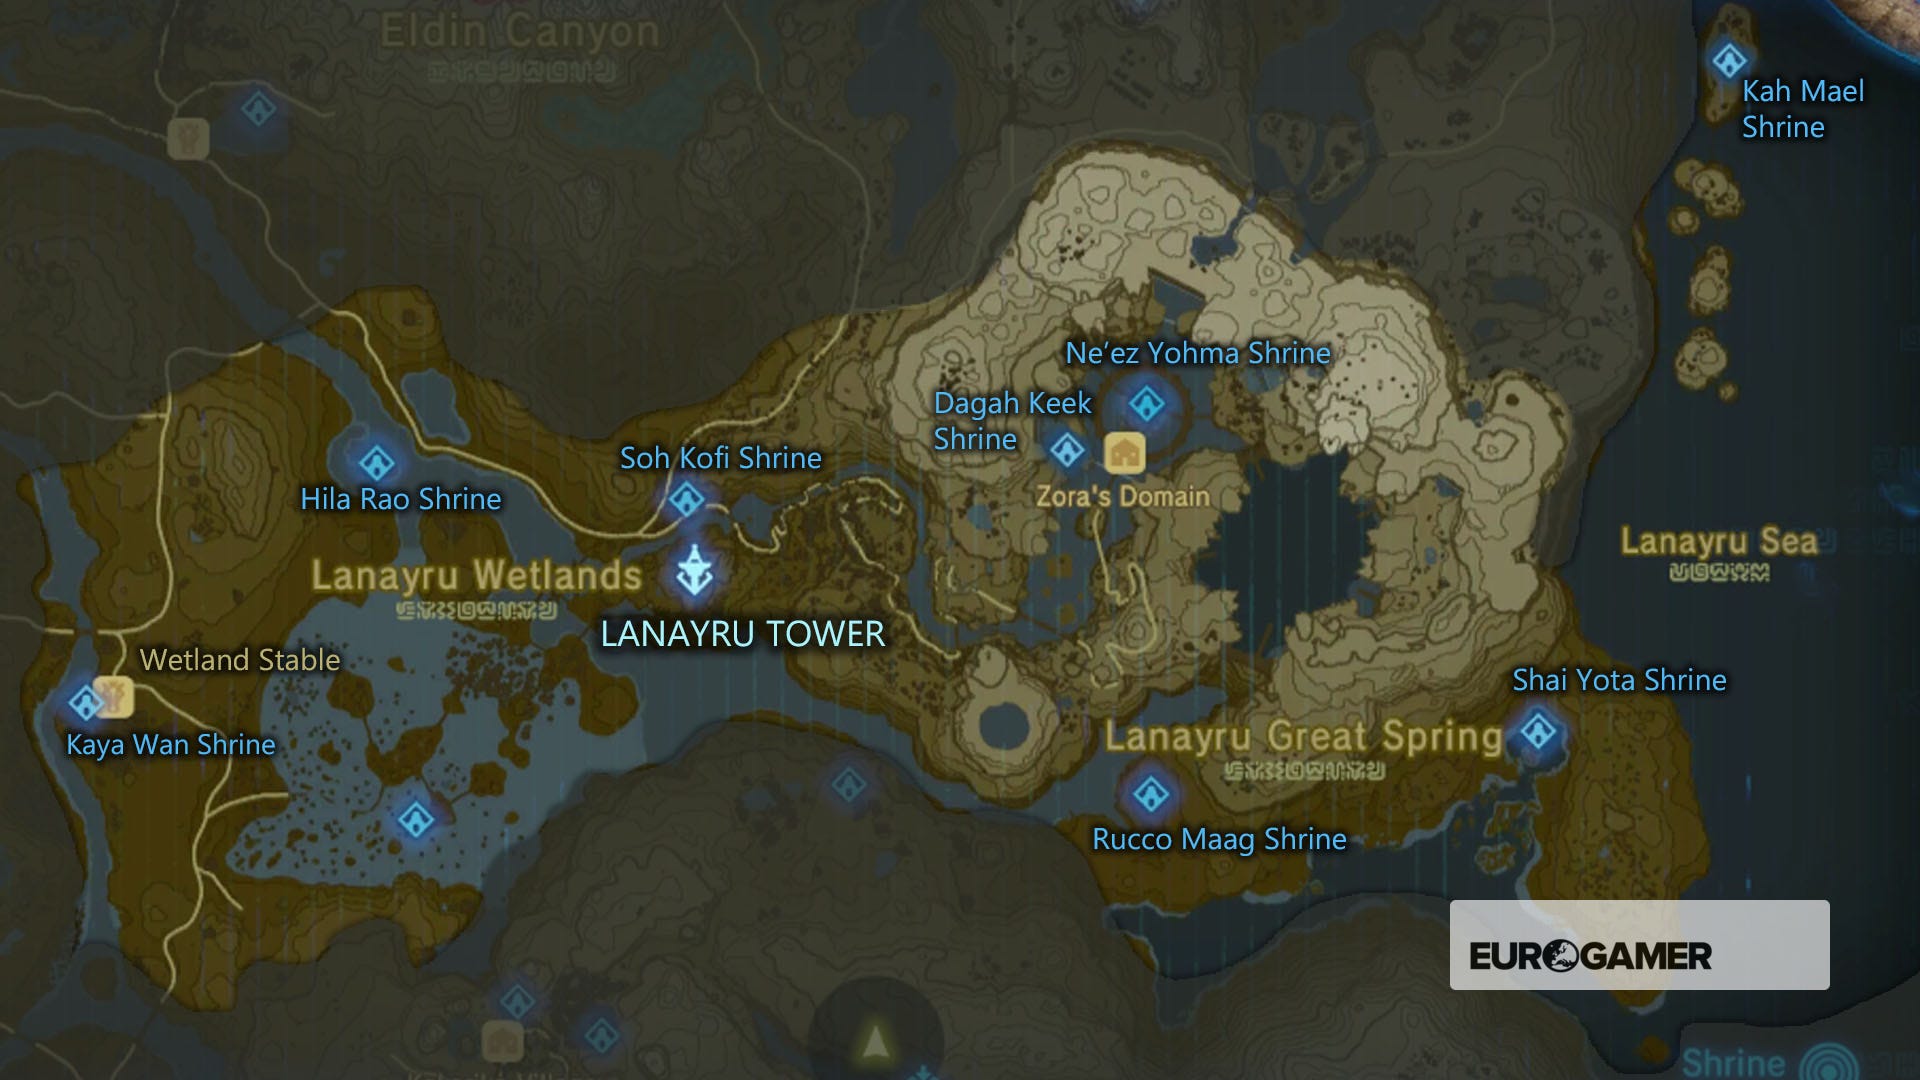
The Sheh Rata shrine is located within the Lanayru Tower region, specifically north west of the Tower in the Wetlands area, on a small island in a lake. To get there, paraglide north west from the Tower and then head to the north side of the wetlands.
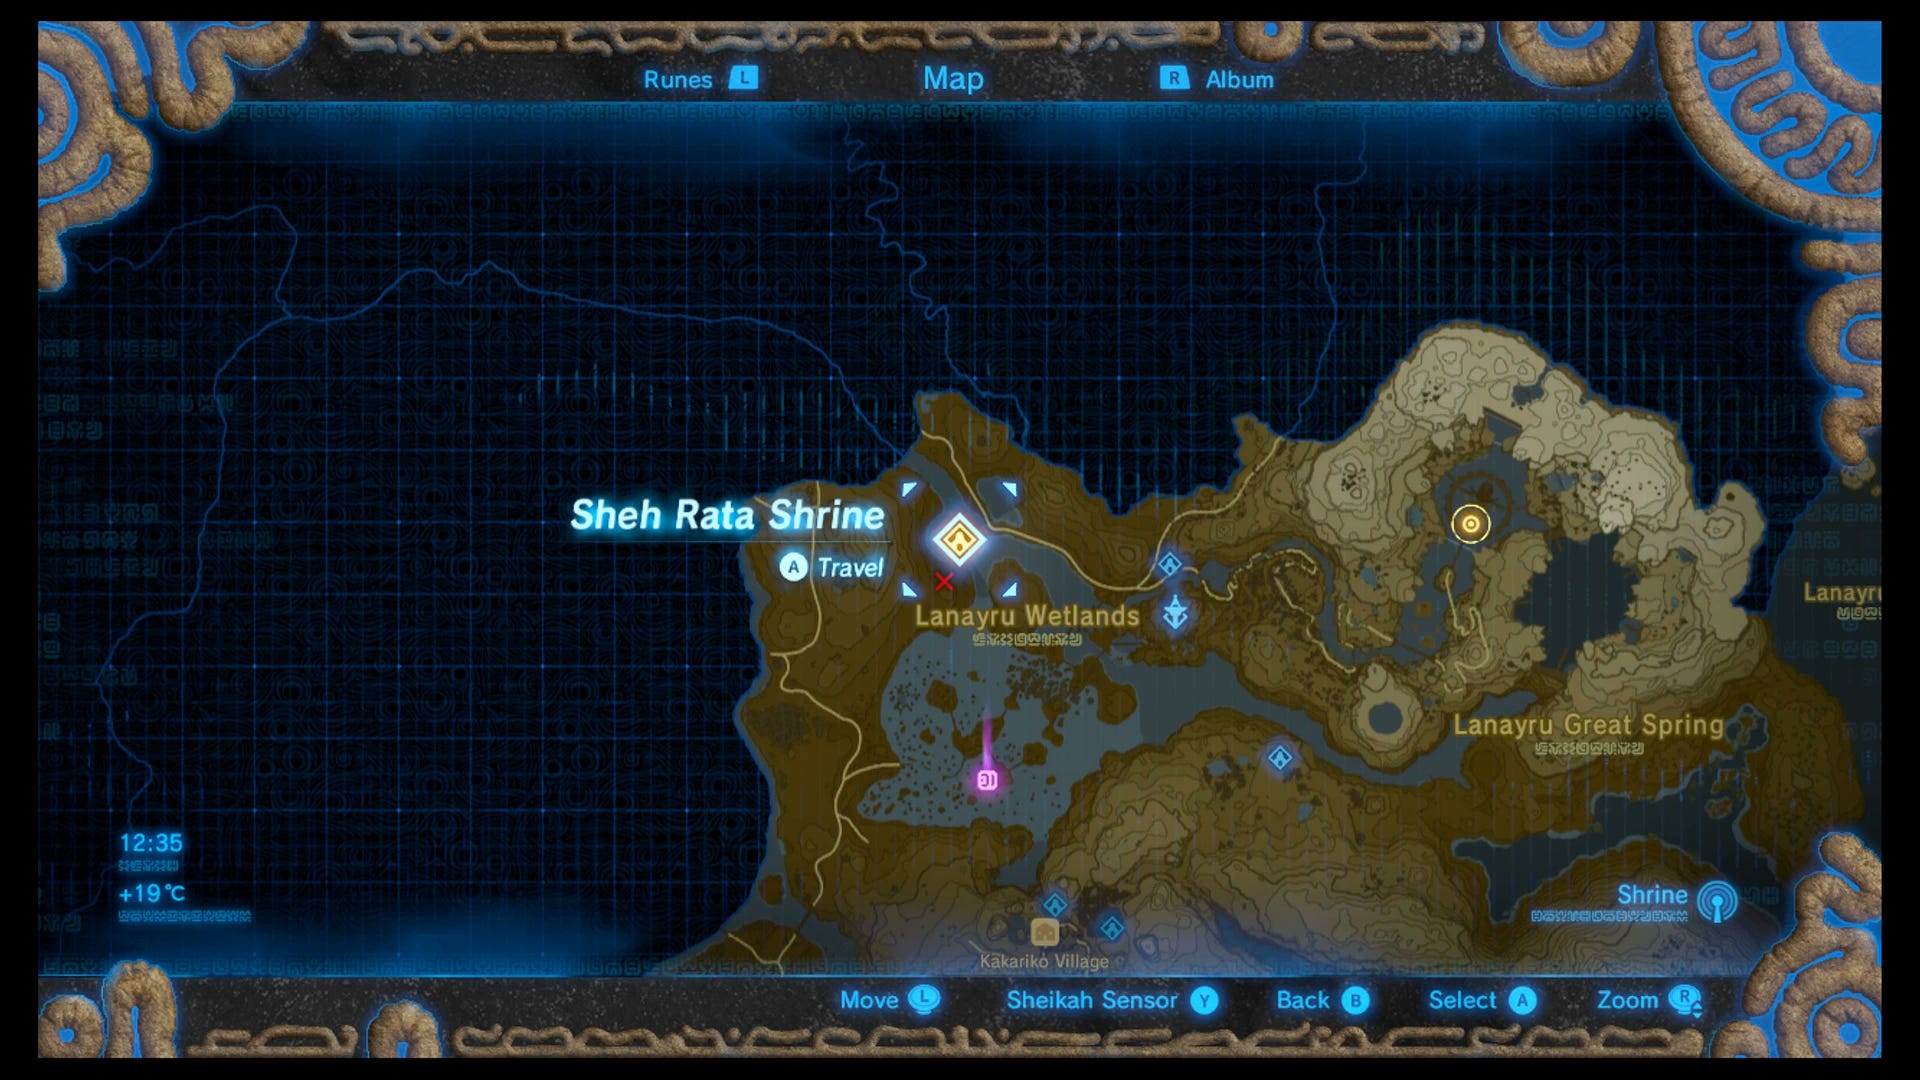
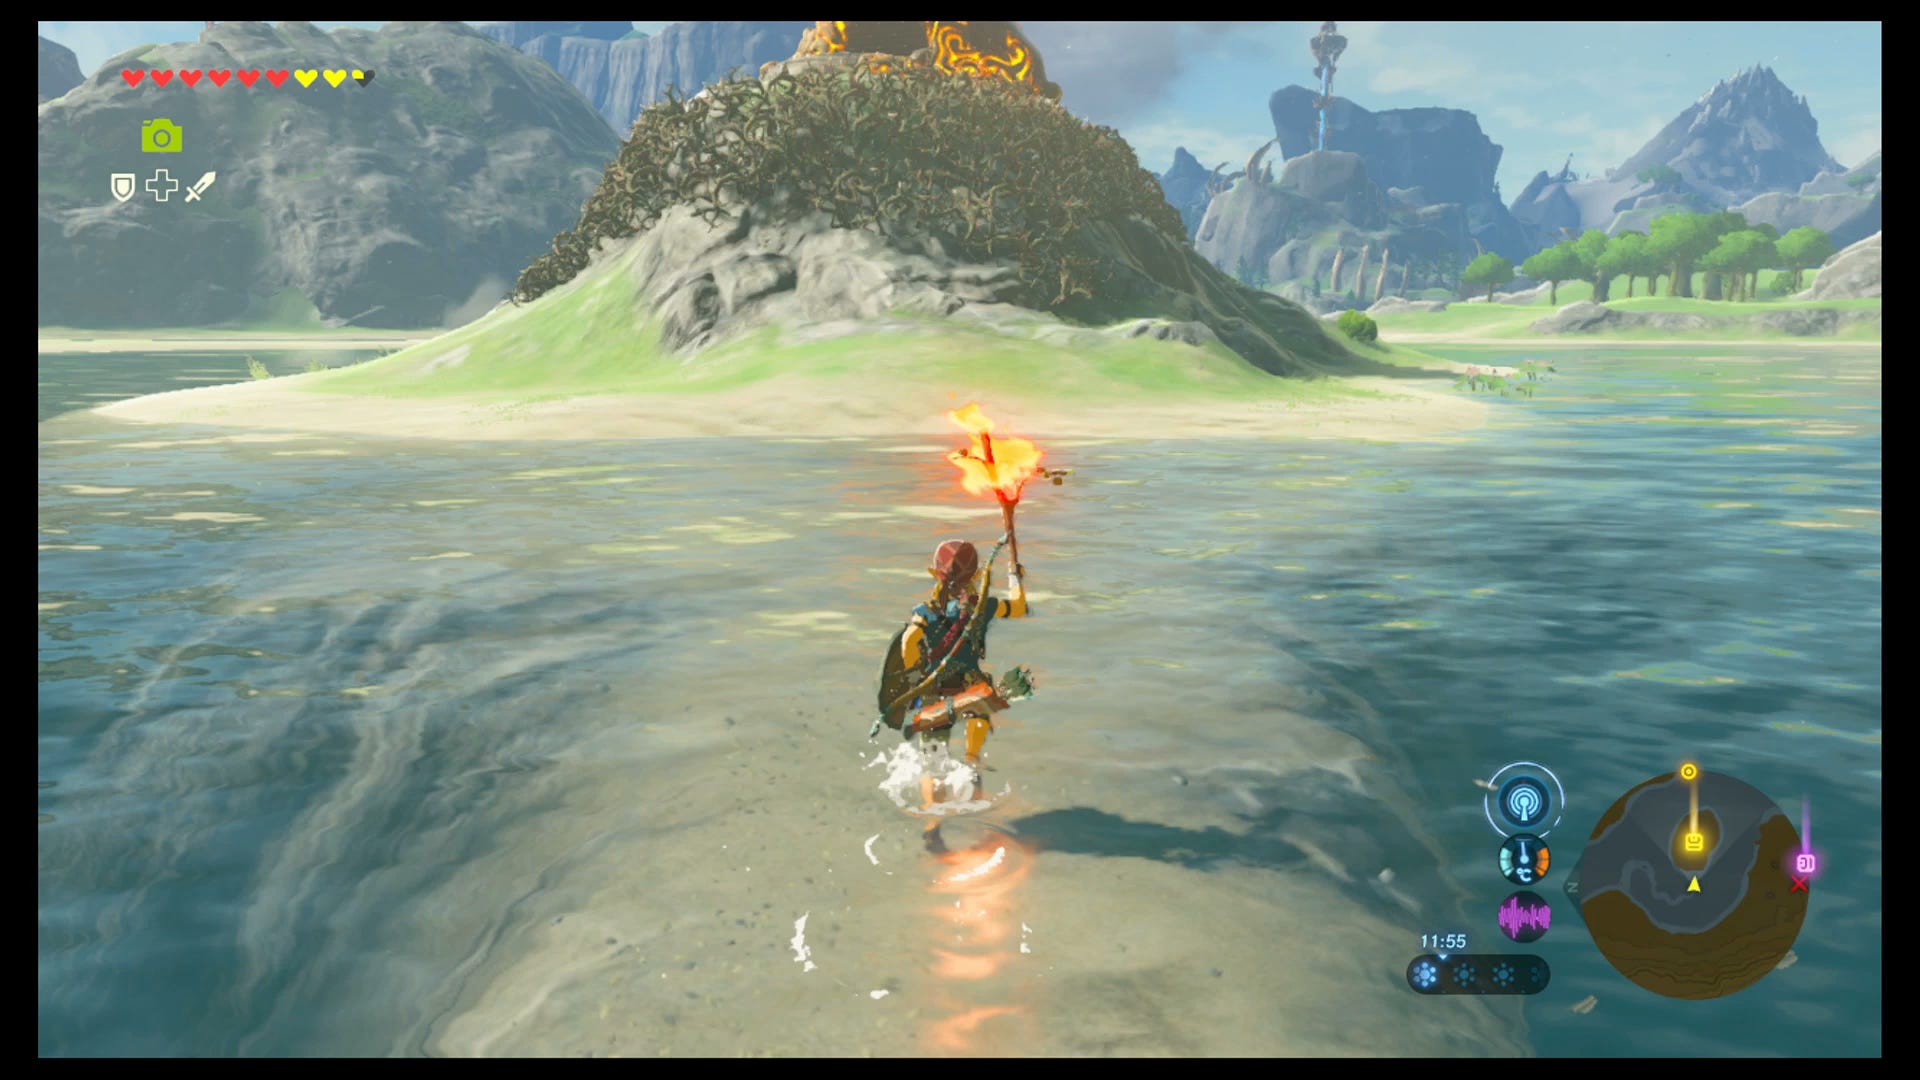
You'll see the shrine in the centre of the lake, but you'll want to come at it from the north for a couple of reasons. First, it's the easiest path to the shrine, as there's a shallow track through the water that means you can avoid needing to swim or glide.

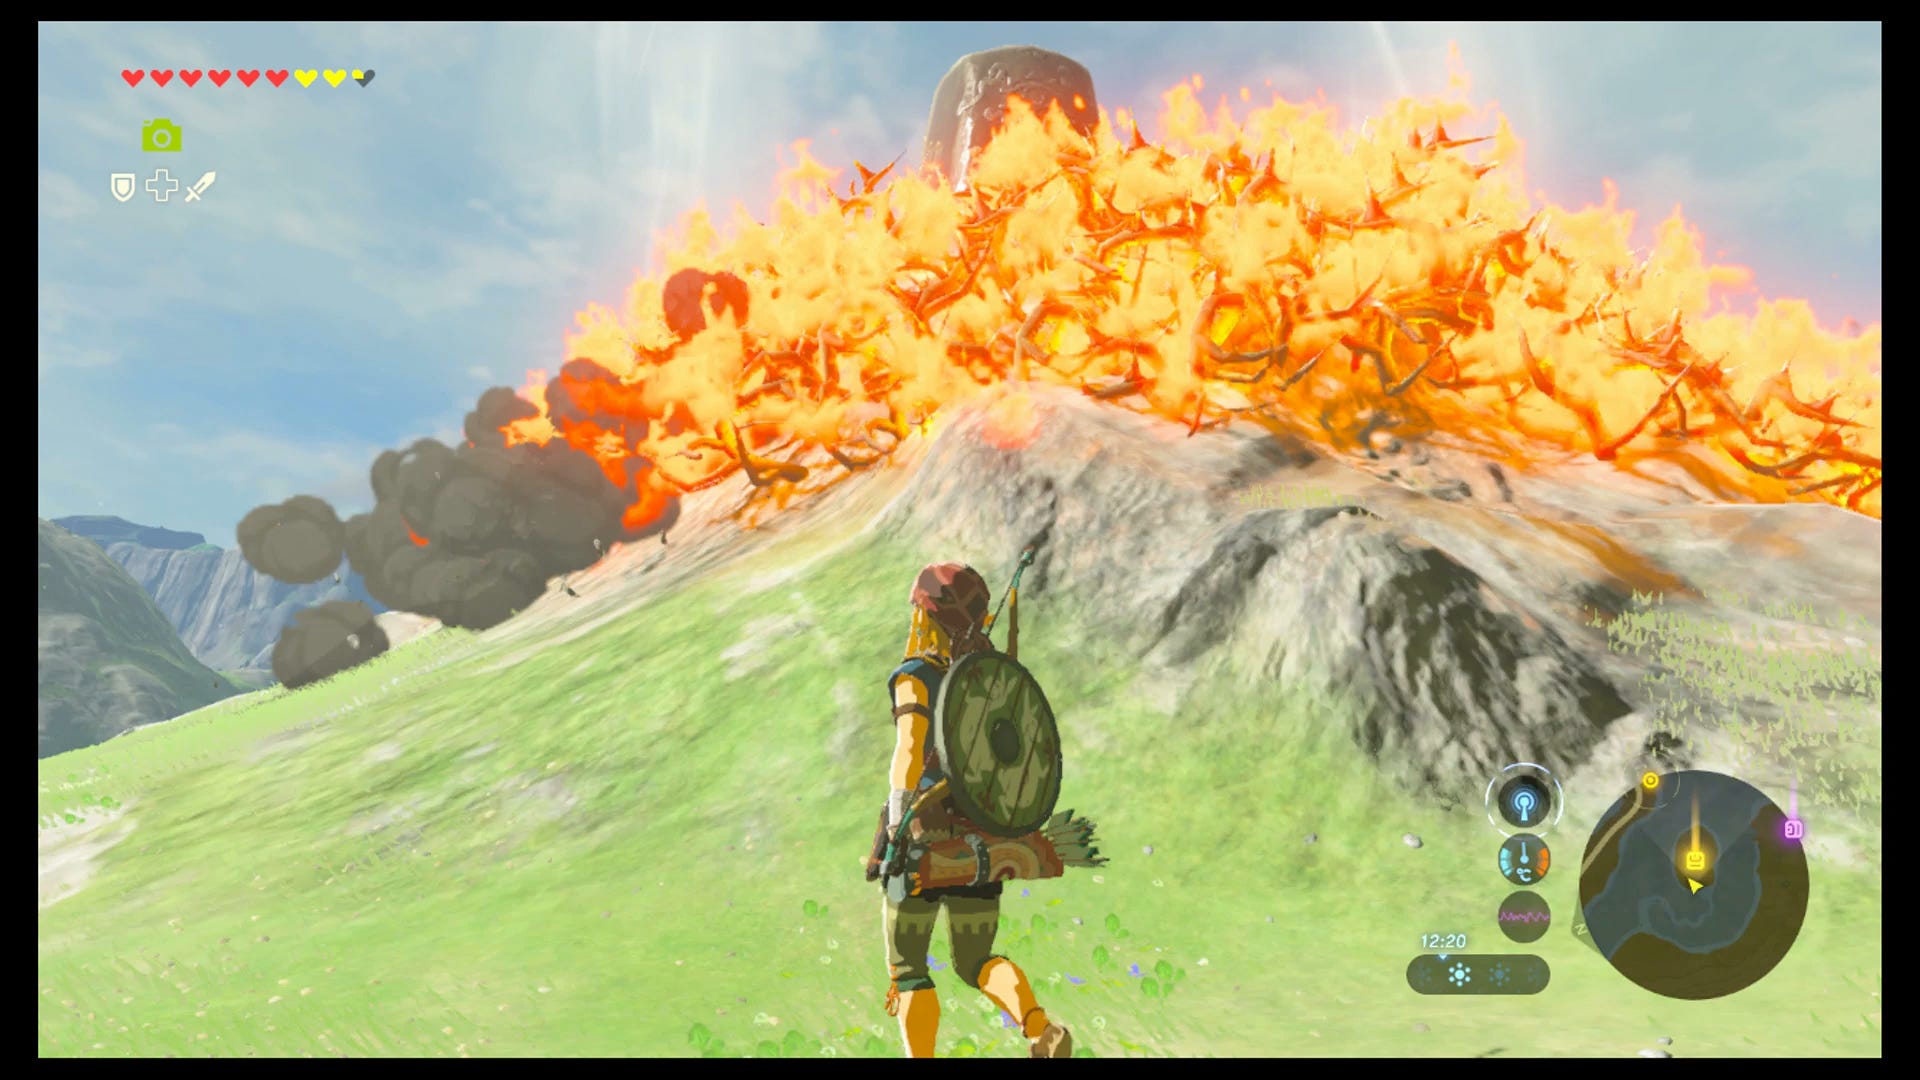
Second, there's an entry puzzle. The Sheh Rata shrine is surrounded by thistles, which can only be removed with fire. If you don't have any fire arrows in your inventory that means you need to light a torch and get it through the water to the thistles - the only way to do that is by using the campfire - guarded by some low level enemies - to the north, and following that track through to the shrine.
Then, you can burn the thistles, and enter.
Sheh Rata and Speed of Light trial solution
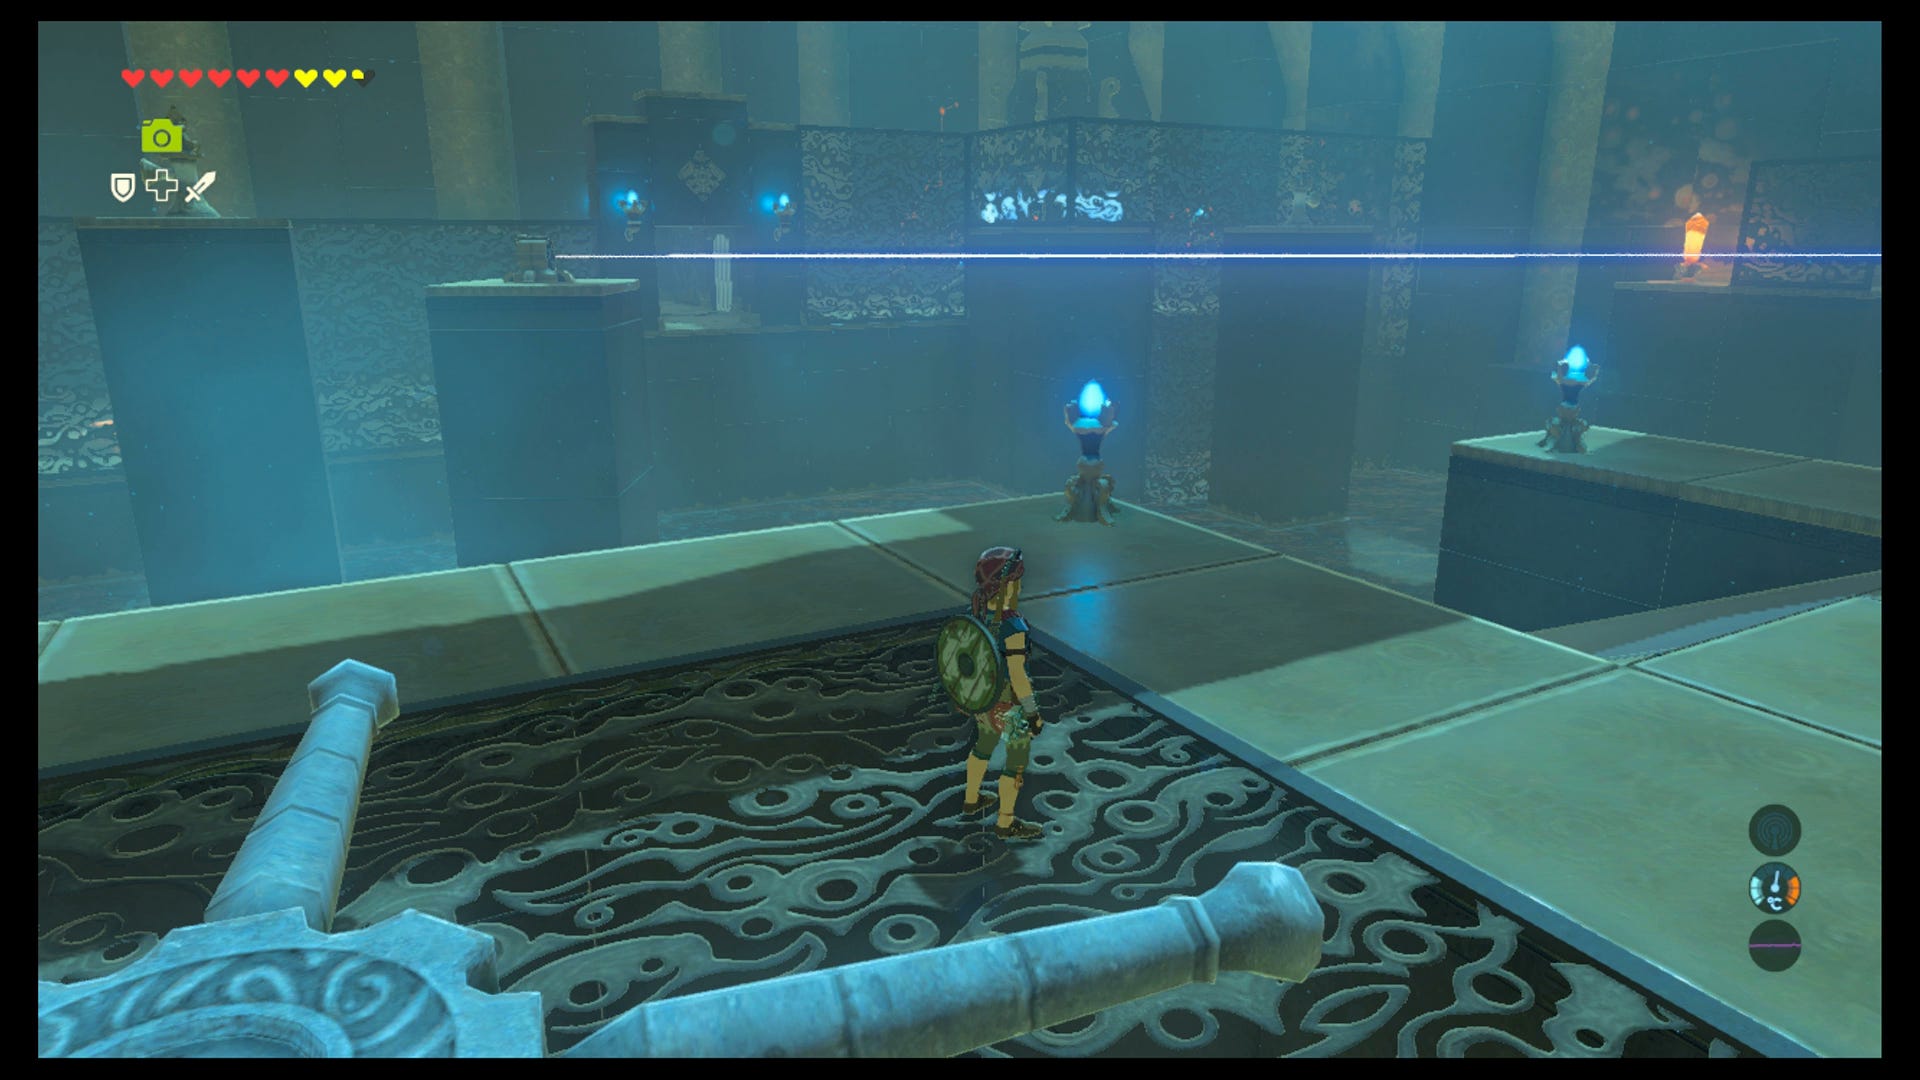
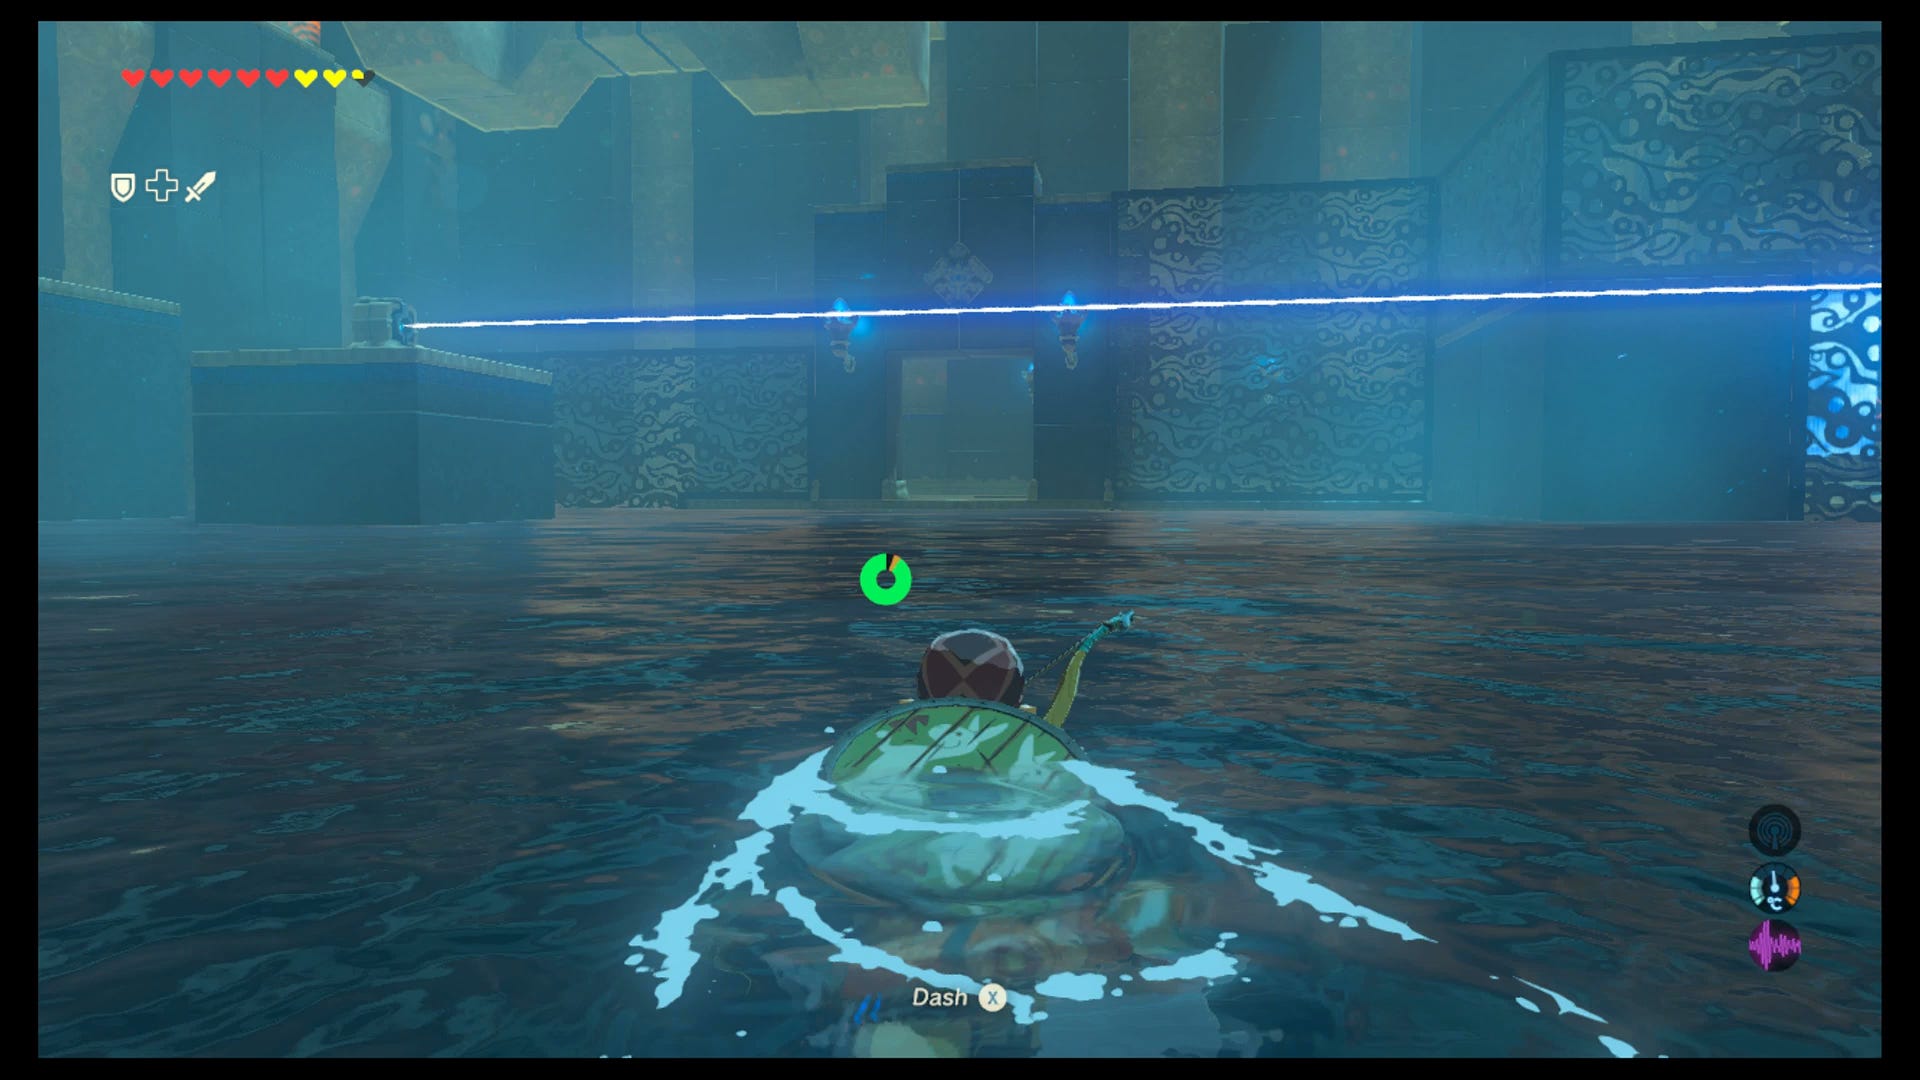
Once inside, you'll see in front of you a beam, a crystal, some low-level water, and to your left a large turnable wheel.
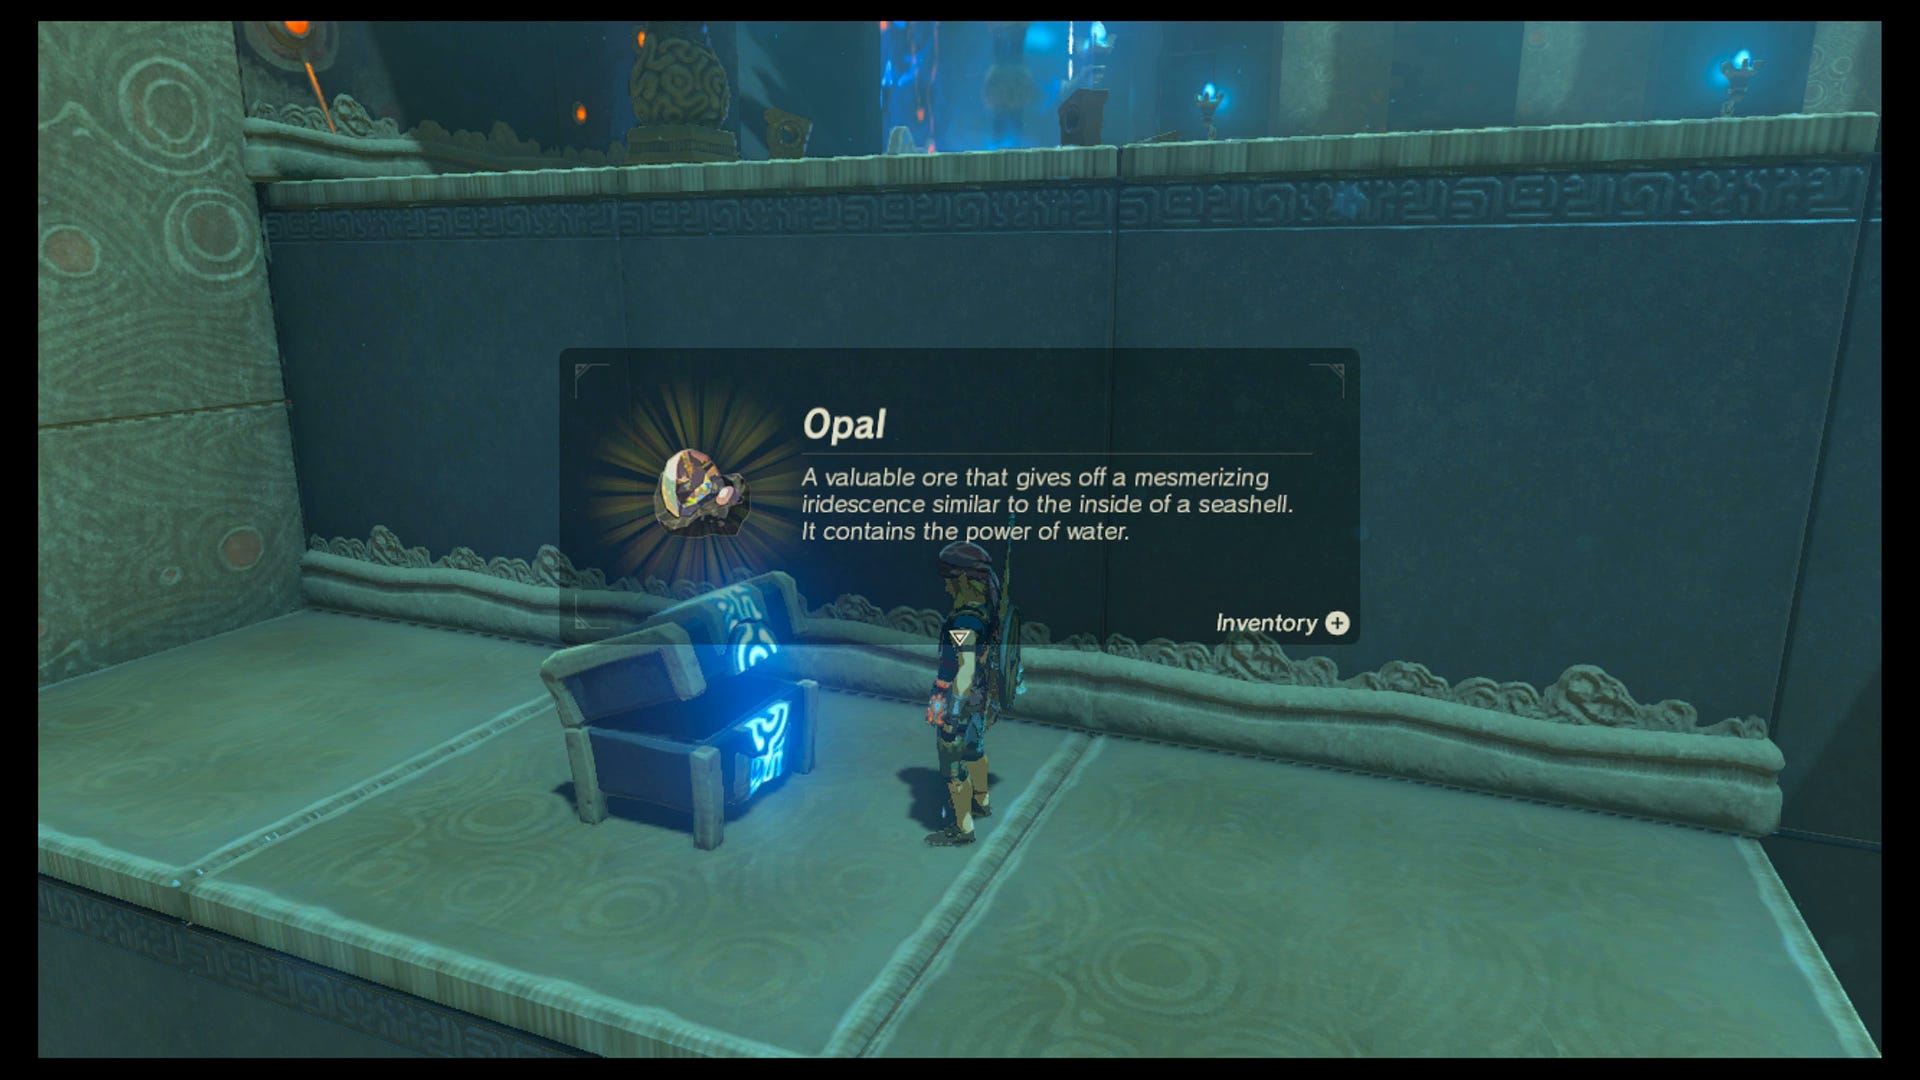
Before you do anything, hop down to the right of the entrance to get a chest on a ledge, which contains an Opal.
Back to the puzzle: turning the wheel will spin the beam round a full 360 degrees, with it hitting the crystal on the way. The crystal being hit will raise the water level, and that in turn will allow you to swim across to the far side.
Thanks to a new update, it's now possible to play Zelda Breath of the Wild in VR. Want help with the main game? Our Zelda: Breath of the Wild walkthrough can help complete Divine Beasts Vah Ruta, Vah Rudiana, Vah Medoh and Vah Naboris and more. There's also how to get the Master Sword, Hylian Shield and all Zelda Captured Memories and Great Fairy Fountain locations, while our Shrines locations and Shrine maps hub explains where to find and solve every puzzle room, including dragon locations and Labyrinth solutions. We also have a DLC 1 guide and DLC 2 guide, including all Tingle, Majora's Mask, Phantom, Midna outfit locations.

Once you're over the other side, you'll see the exit door is closed, and to your left is another body of water with a pressure plate at the bottom, and a metal barrel by your side. Your task here is to get the barrel to sit on the pressure plate - but it'll only do that when the water is at its lowest level.
What you won't see is that there's also a hidden chest on the other side of the door, which requires the water level to be high in order for you to reach it. So, somehow, you need to drop the water level to open the door, get through the door, and then raise it again.
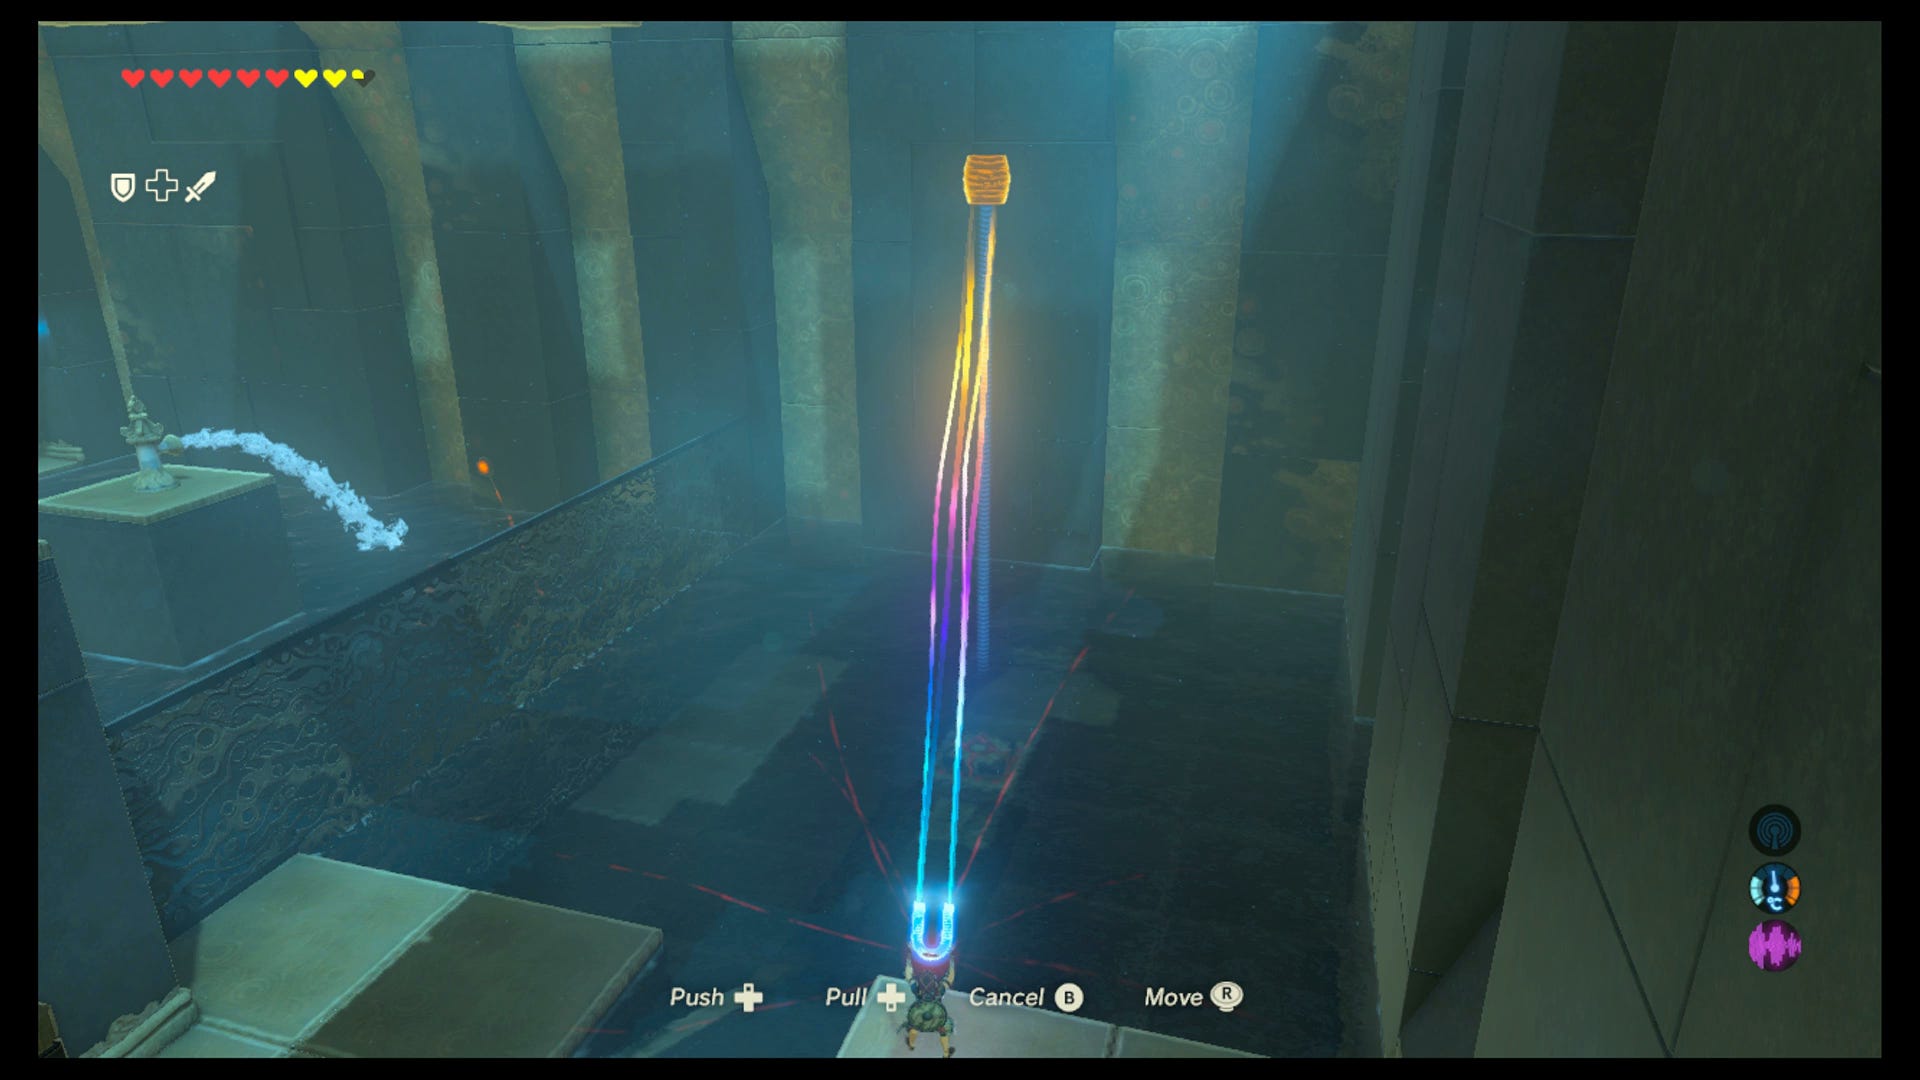
To do so, first line up the barrel above the pressure plate using Magnesis. There's a relatively useful indicator of where it'll drop, but the easiest way to check it is to drop the barrel from a height, and it'll fall through the water.
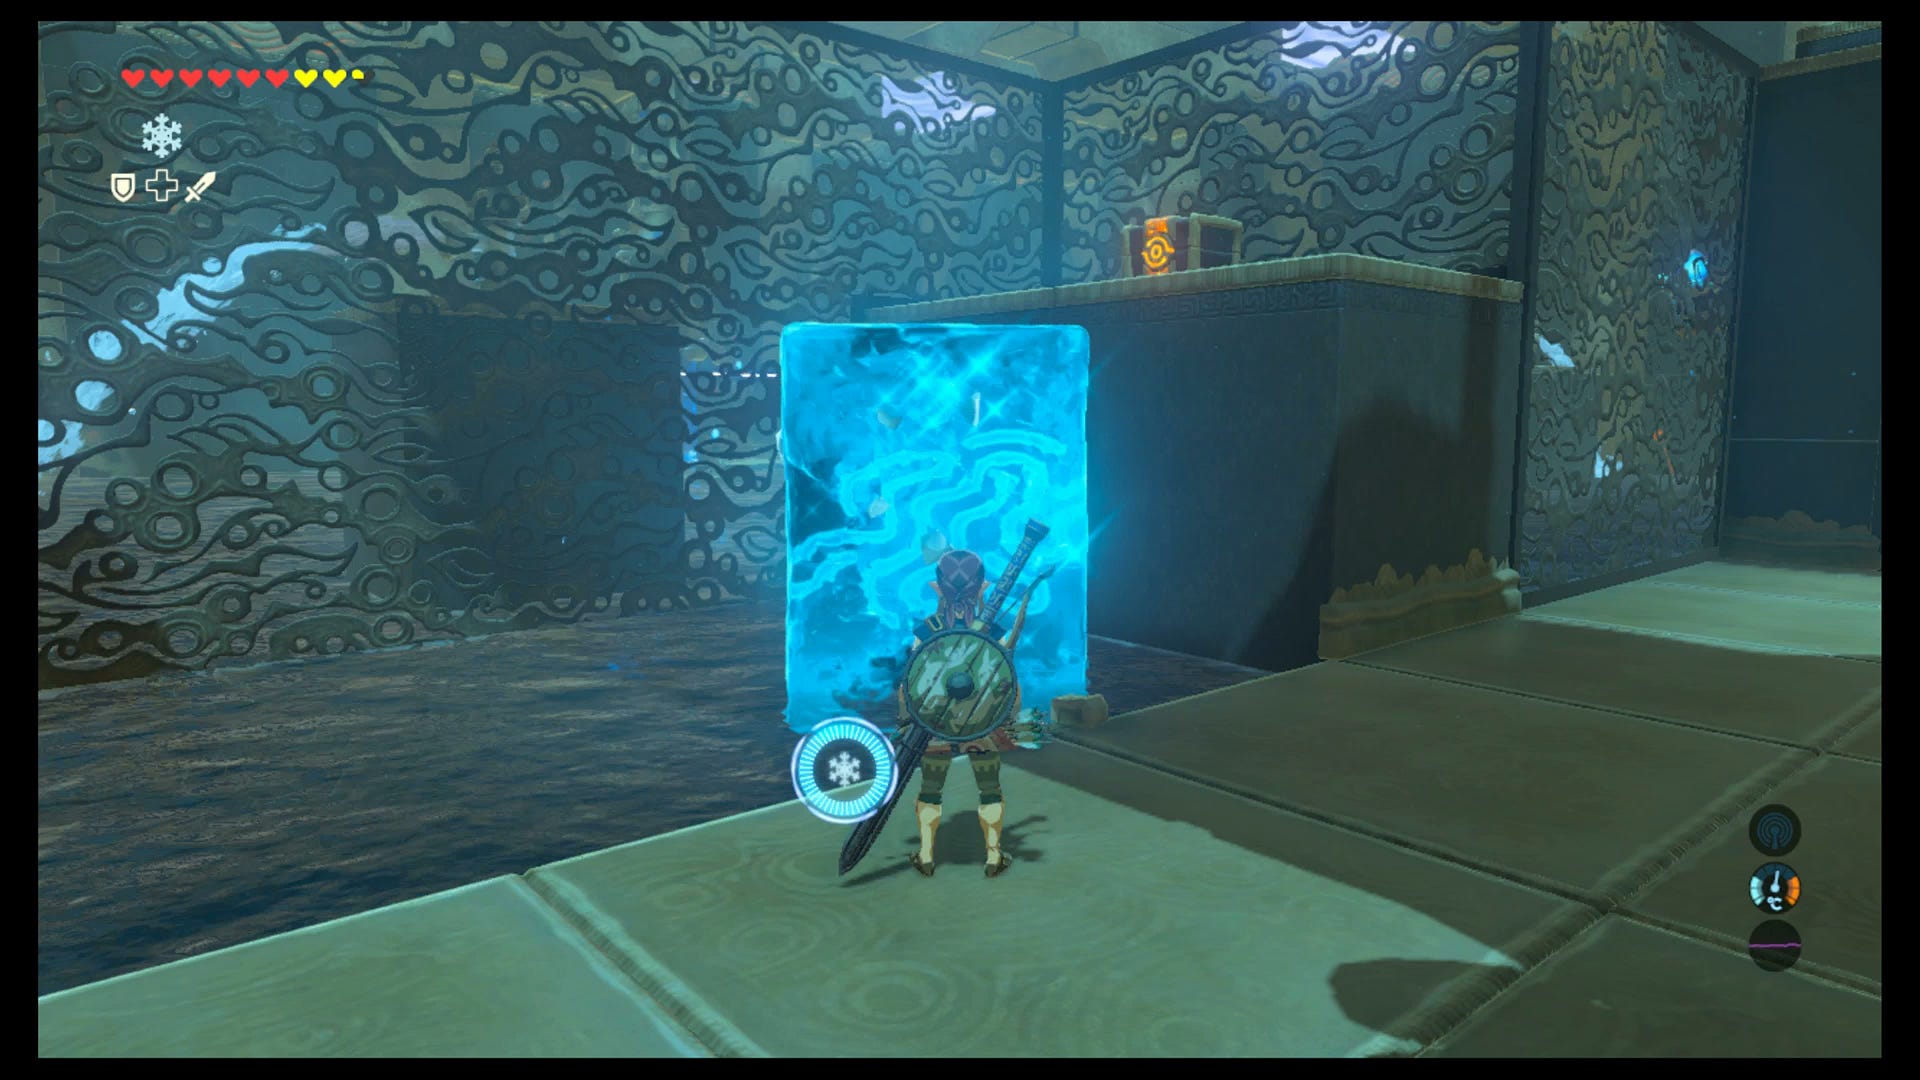
Then, turn back to the main body of water and create a Cryonis pillar for you to hop back to the central pillar with the beam emitter.

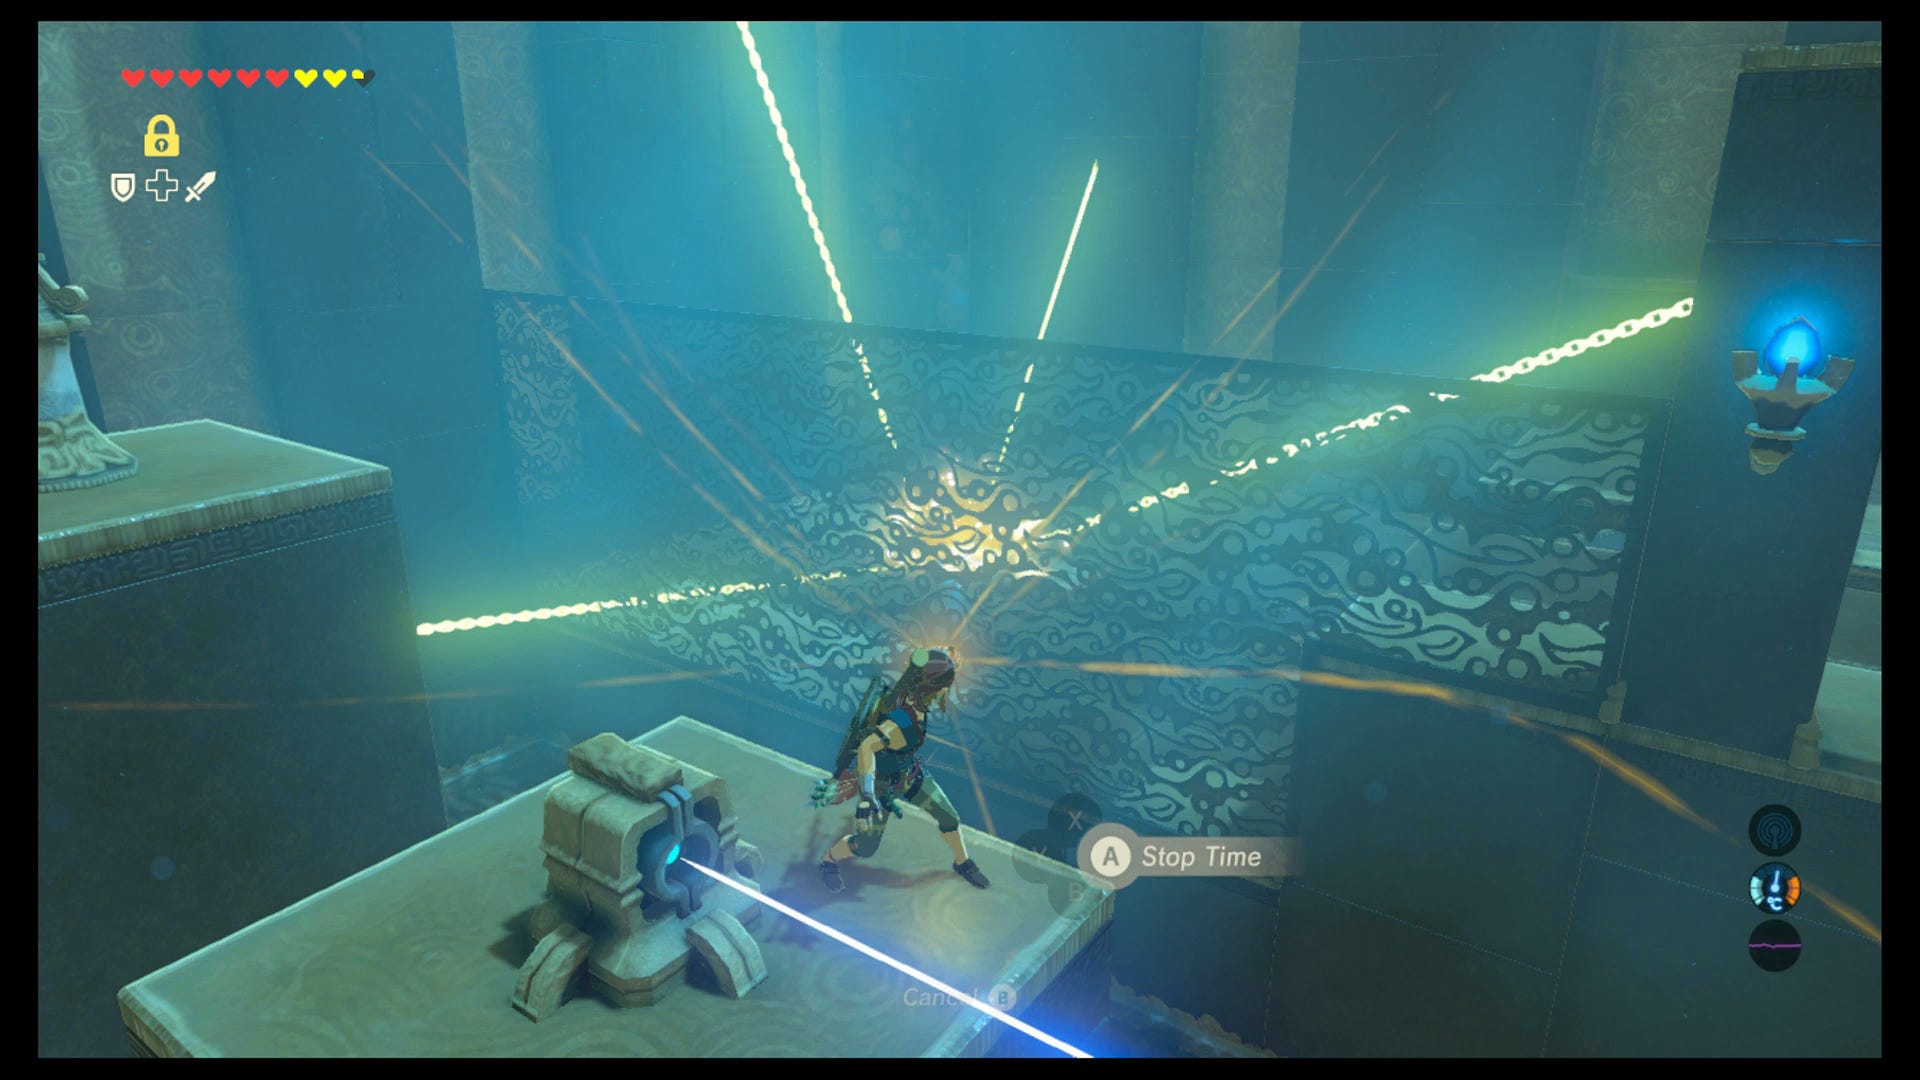
Once on that central pillar, you need to do three things quickly. First, shoot the crystal with an arrow and the gate will open; then, quickly turn to face the pressure plate and use the Stasis ability on the pressure plate (not the barrel!), and it'll stay locked down; finally, quickly paraglide back towards the gate and run through, before your Stasis timer runs down.
When your Stasis runs out, the water level will rise again, and you can then use Cryonis on the water to the right of the shrine's exit portal.
Climb up to get the chest, which contains a Giant Boomerang.
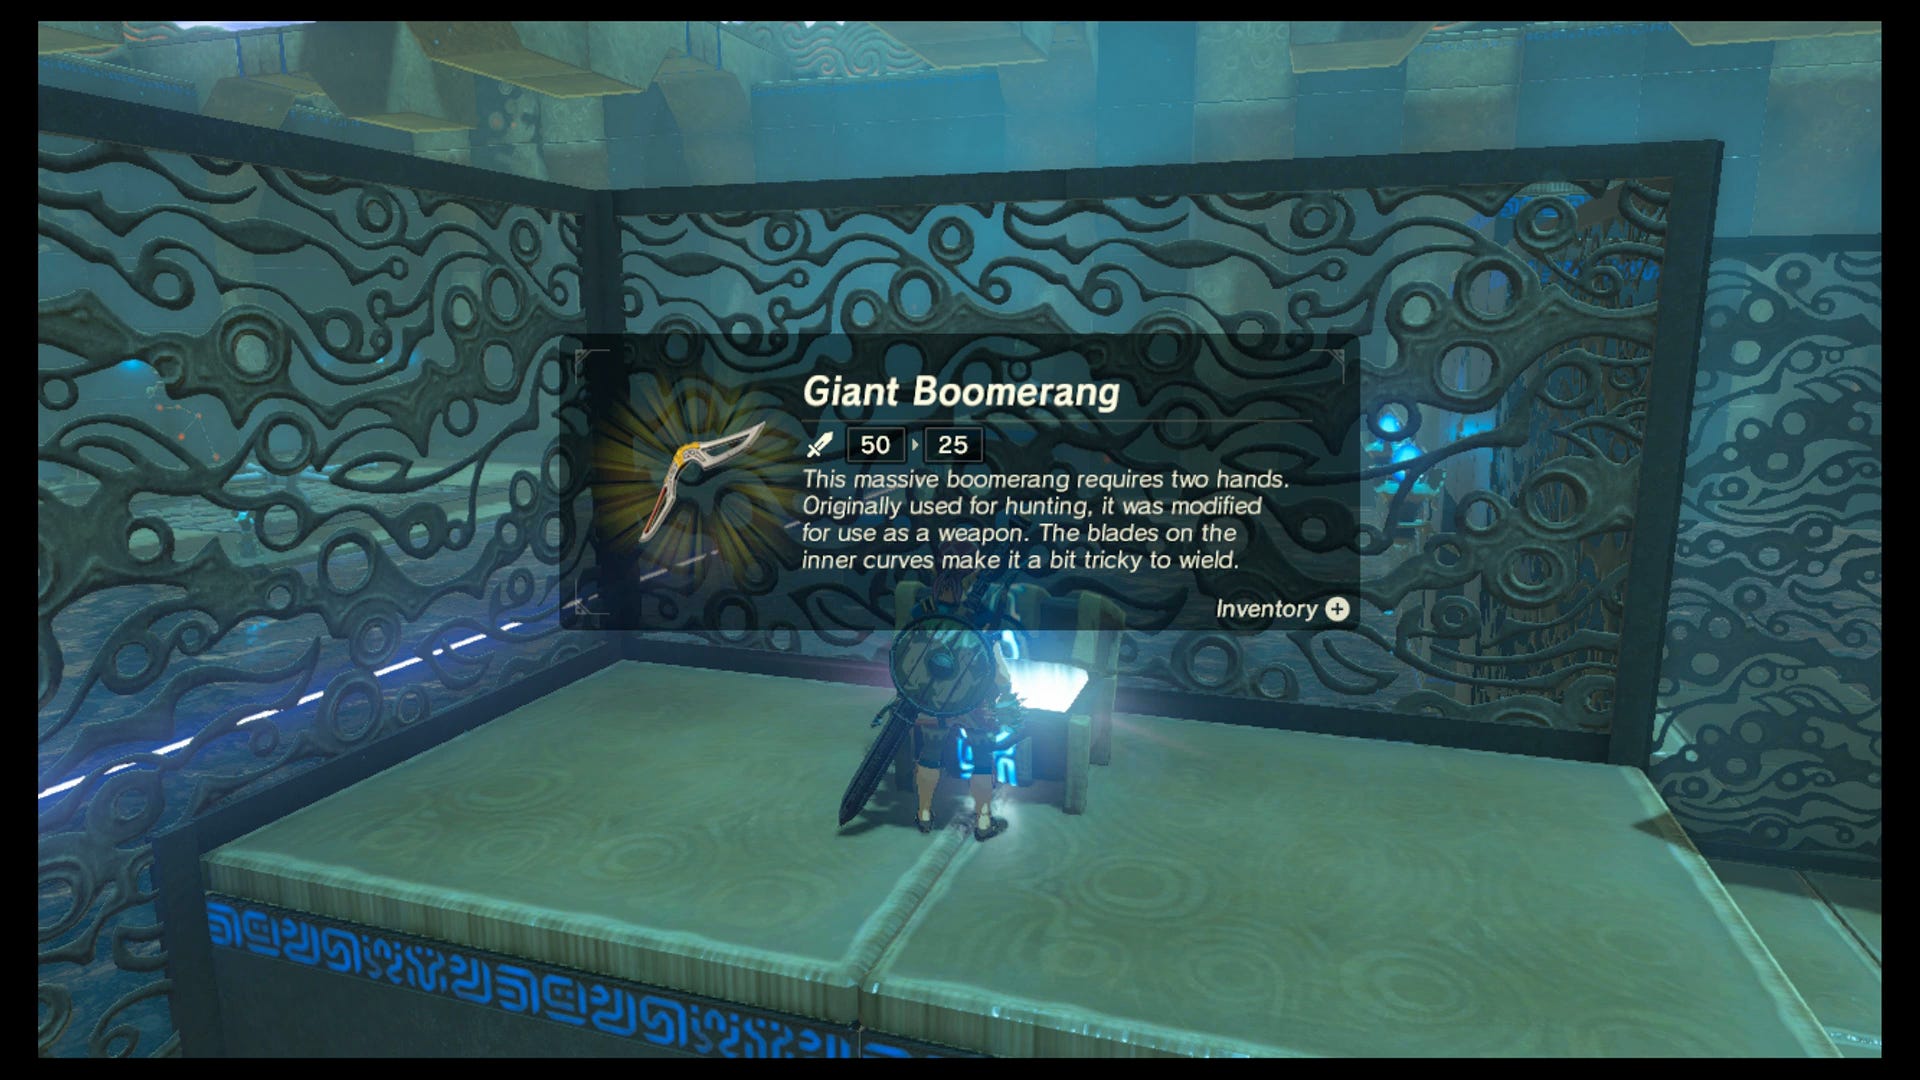
Finally, you can exit. Good job!
While you're here, here are other Shrines within this region:
Lanayru region (9 Shrines)
- Dagah Keek and The Ceremonial Song quest
- Daka Tuss Shrine and Sunken Scoop trial solution
- Kah Mael and Drop and Rise
- Kaya Wan Shrine and Shields From Water trial solution
- Ne'ez Yohma Shrine and Pushing Power trial solution
- Rucco Maag Shrine and Five Torches trial solution
- Shai Yota and the Master of the Wind
- Sheh Rata Shrine, how to clear the thistles, and Speed of Light trial solution
- Soh Kofi Shrine location and A Minor Test of Strength trial solution
If you're after other trials, then our Zelda: Breath of the Wild Shrine locations and maps hub page can help with other regions.