Persona 5: Kaneshiro Palace dungeon - Underground Vault PIN code solutions, avoid CCTV cameras, Kaneshiro Piggytron boss fight in the Bank Palace
How to explore and beat the third Palace.

In Persona 5 Kaneshiro Palace is the third dungeon that starts during the month of June.
As before, you'll be taking a few visits to Kaneshiro's Palace dungeon, with several infiltrations and a run to get the Treasure and take on the boss.
If you're after help for other parts of the game, consult our Persona 5 guide and walkthrough.
Kaneshiro Palace dungeon
Investigation
You can't do a lot this time - walk up the street and interact with the ATM in the alley on the left (where the Velvet Room would be in "normal" Shibuya), head to the end of the street (where the theatre is), and then turn back. Interact with the ATM near your starting location, and that's the end of your first visit.
Infiltration
This is another short visit. When you first enter the bank the guards won't attack you so ignore them and head for the door in the far right.
Keep right in the second room and make your way to the door ahead, then turn right and follow the corridors until you reach the reception room. Examine the stack of cash on the table, then do battle with two set of Chivalrous Guards - they have no specific weaknesses, but they're resistant to physical attacks.
On your way back out you'll fight two more of them, and they're joined by a Floodbringer Demon; he drains ice attacks so those should be avoided, but his one weakness is radiation - you'll now have Makoto in your party and as luck would have it she has a radioactive attack, so he shouldn't pose a problem. Once the fight is over, that's the end of your second trip!

Second Infiltration
The main entrance is now a non starter so examine the piggy bank statue on the eastern side of the courtyard to locate a secret entrance, and head inside.
Head for the doorway on the western side of the lobby - the guards are no longer neutral so either avoid or defeat them as you cross. Ignore the doors and lifts on the other side as you can't do anything with them yet, and just make your way up the stairs in the north west.
Front Hall 2F
At the end of the corridor ahead is an air conditioner that you can climb on. Make your way through the vent at the top, deal with the guard in the room, grab the keycard from the desk and the map from the wall next to the door before opening it and returning to the corridor.
Heading left and use the card on the box next to the shutters to open a shortcut back downstairs, then double back to the only remaining door on the floor to enter the elevator.
Banker Passageway
When you emerge from the ventilation shaft, drop down to the lobby below and use the safe room just ahead to the right.
Once you've rested up head up the western corridor - there are CCTV cameras here, so time your movements to avoid getting caught by them if possible. (They're easier to see using third eye, but still faintly visible without it.) When you reach the end of the corridor smash the box on the wall to disable the cameras.
Open the door, tackle the enemies inside the room, head through the door to the south, and take the first right along the next passageway.
Turn right at the end, enter the small room, and destroy the box on the wall to disable a few more cameras, then retrace your steps and continue south down the passageway, following it round until you reach another small room. Destroy the box in there, then head back to the north and take the door to the west.
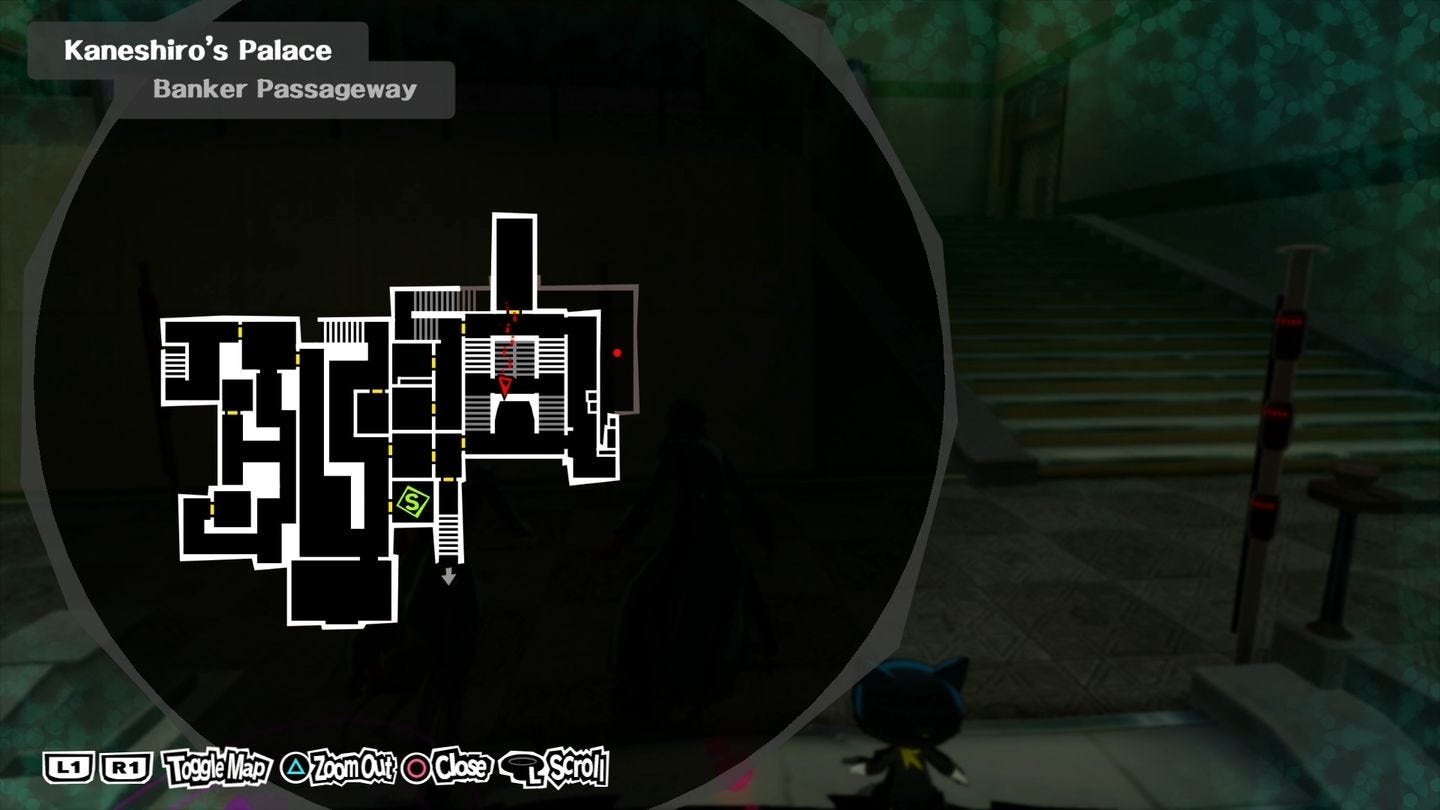
Head up the steps and then down the next set, follow the corridor around and destroy the box on the wall at the south to disable the cameras in the nearby treasure room.
Grab the loot, and then head back to the door next to the box you just destroyed. Used your keycard to open the barrier and make a shortcut back to the safe room, and then head into the new area. The steps to the south will allow you to open a shortcut back to the lower floor, so open that then double back and head east into the room with several flights of stairs.
The stairs are currently covered from all angles by CCTV, so keep going east. In the south east corer of the corridor there's a gap in the railings - jump down and deal with the guard, then follow the corridor up and around.
Head up the stairs to the west, follow them round, and then take the first door on your right. Climb over the filing cabinets and smash the two wall panels in the next room to shut off the cameras, then head to the room with the now-accessible stairs. You'll overhear two guards talking, and then you'll be transported back to the upper area of the front hall.
Head into the security room and use the communicator to draw one of the guards in to collect the first key, and then you'll be transported back to your previous location. Deal with the remaining guard to get the second key and a map, and then head to the vault door and use the keys to make your way through.
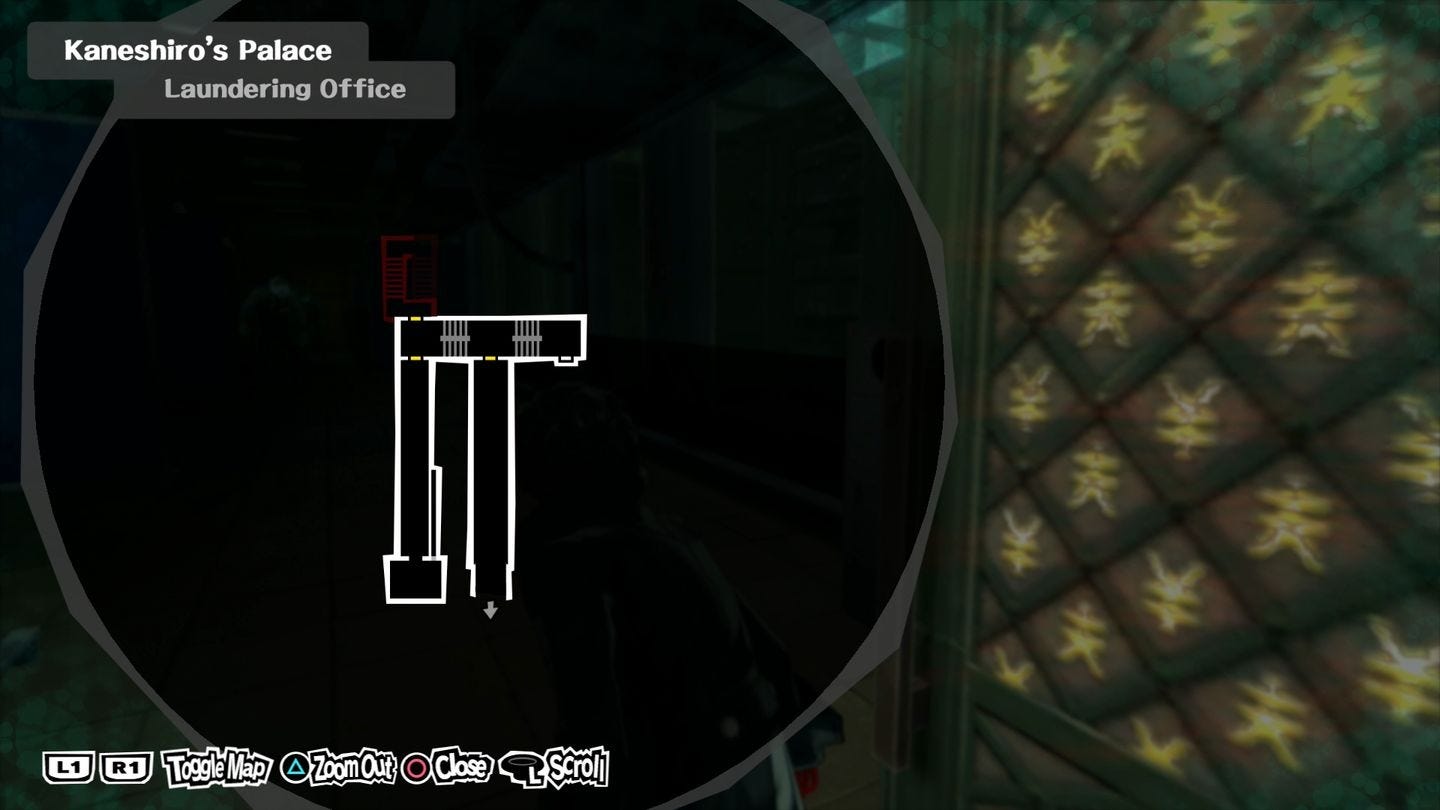
Laundering Office
Turn left at the end of the money-strewn passage to find a second corridor running parallel to it. In addition to patrolling enemies there are intermittent cameras here, so time your movements carefully to avoid getting caught out.
When you reach the small room at the far end crawl through the vent and drop onto the ledge below, then head south through another vent. The large circular elevator in this room takes you to the next area, but before you go you can optionally clear out the corridor to the west to grab some loot and open a shortcut should you wish to return later.
When you emerge from the elevator head along the corridor and take the door to the south. You'll spot Kaneshiro, and he'll not be happy to see you. He'll unleash another Floodbringer Demon on you along with two lesser enemies; their combinations of weaknesses and strengths mean that radiation, fire, and lightning are your best bets in this fight. Once it's over, head into the elevator.
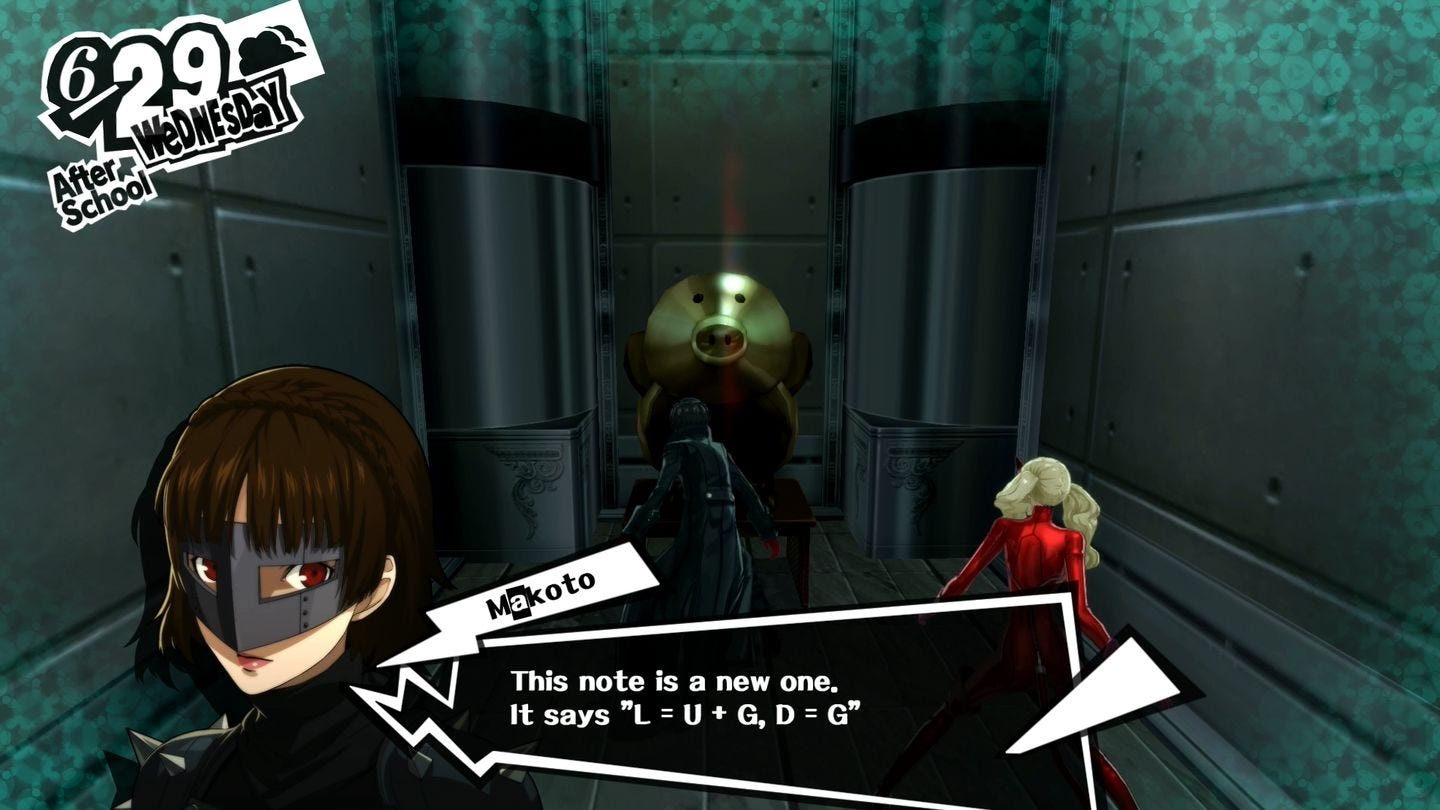
Underground Vault PIN code solutions
Use the safe room just to your left, and then examine the PIN entry panel near the glass floor. It's a pretty simple code to crack, but if you're stuck the solution is 0102.
Entering it will cause the wall to rotate giving you access to the next ring of the vault so head in and make your way down the steps to the left and open the door.
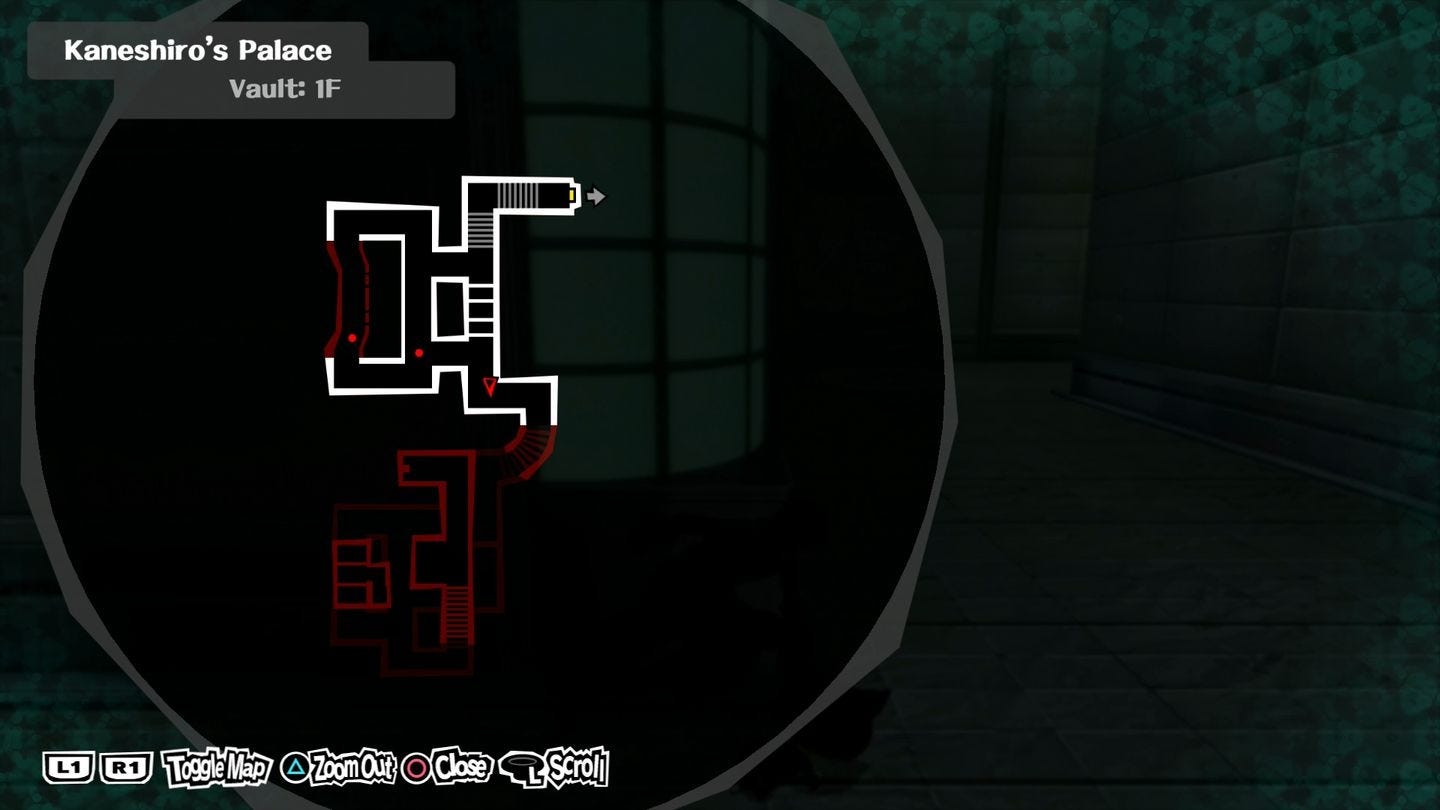
Vault 1F
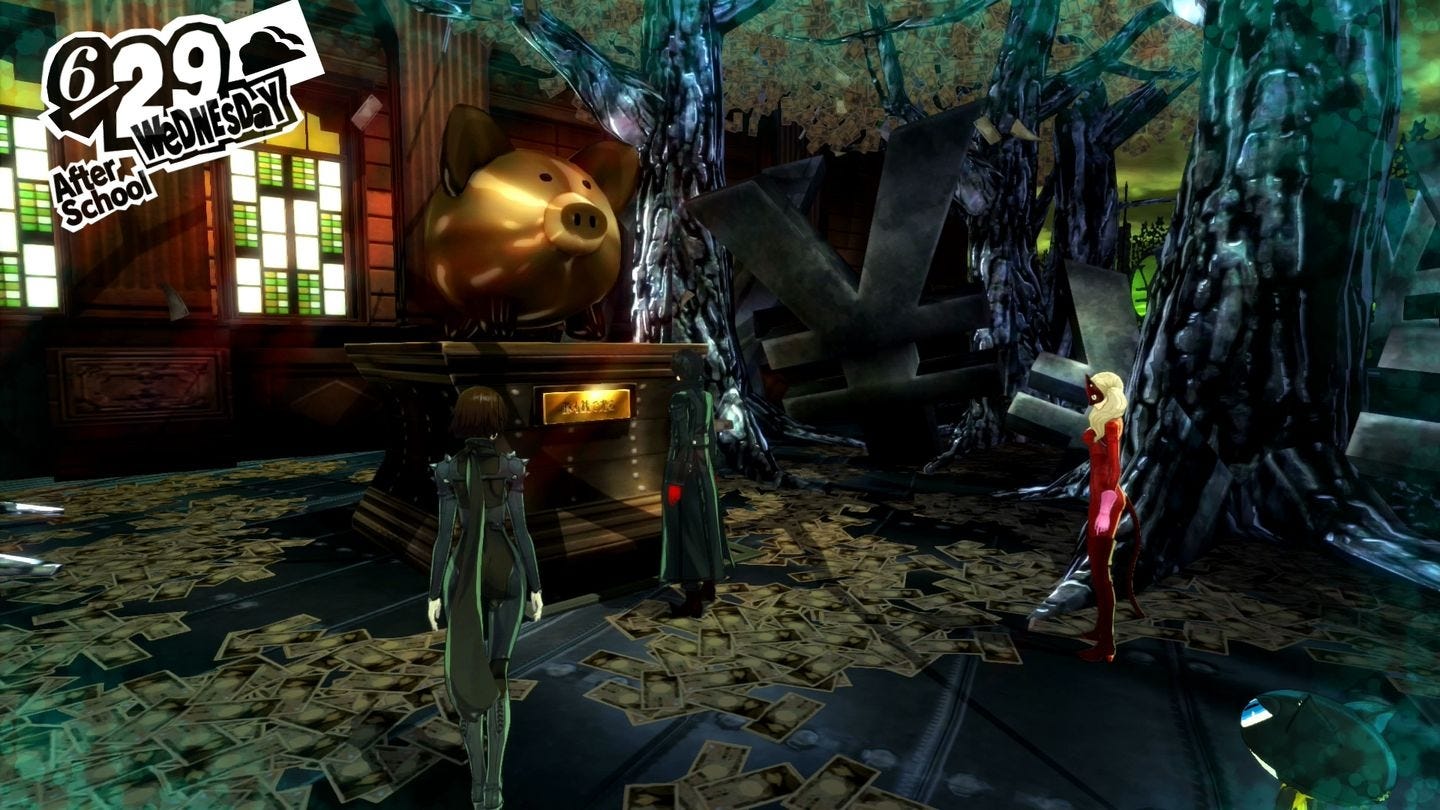
From the entrance head around the back of the room to the west and make your way inside to grab a PIN clue from the piggy bank, then leave the room and make your way south and up the steps. Follow the passage west, turn left and left again, and raid the piggy bank at the end for another PIN clue.
Double back and then head south to the bottom of the corridor, take the stairs up, and turn left to find another PIN panel tucked away at the end. Use the PIN clues (or just enter 0931) to unlock the next vault section, then return to the surface.
Underground Vault
Move into the next ring and down the steps and open the door at the bottom.
Vault 2F
As you pass down the corridor smash the box on the wall, and then be wary of cameras ahead. Open the door and then climb onto the ledge immediately to your right and follow it around until you reach a vent, then crawl through and use the tops of the shelves to reach the south west corner where you'll find another vent.
Crawl through and drop down at the other end then take the stairs to your right. Carefully follow the corridor around (there's a lot of cameras here), and when you reach the top grab another PIN clue from the piggy bank in the alcove to the south, then disable the force fields using the box on the wall in the north east.
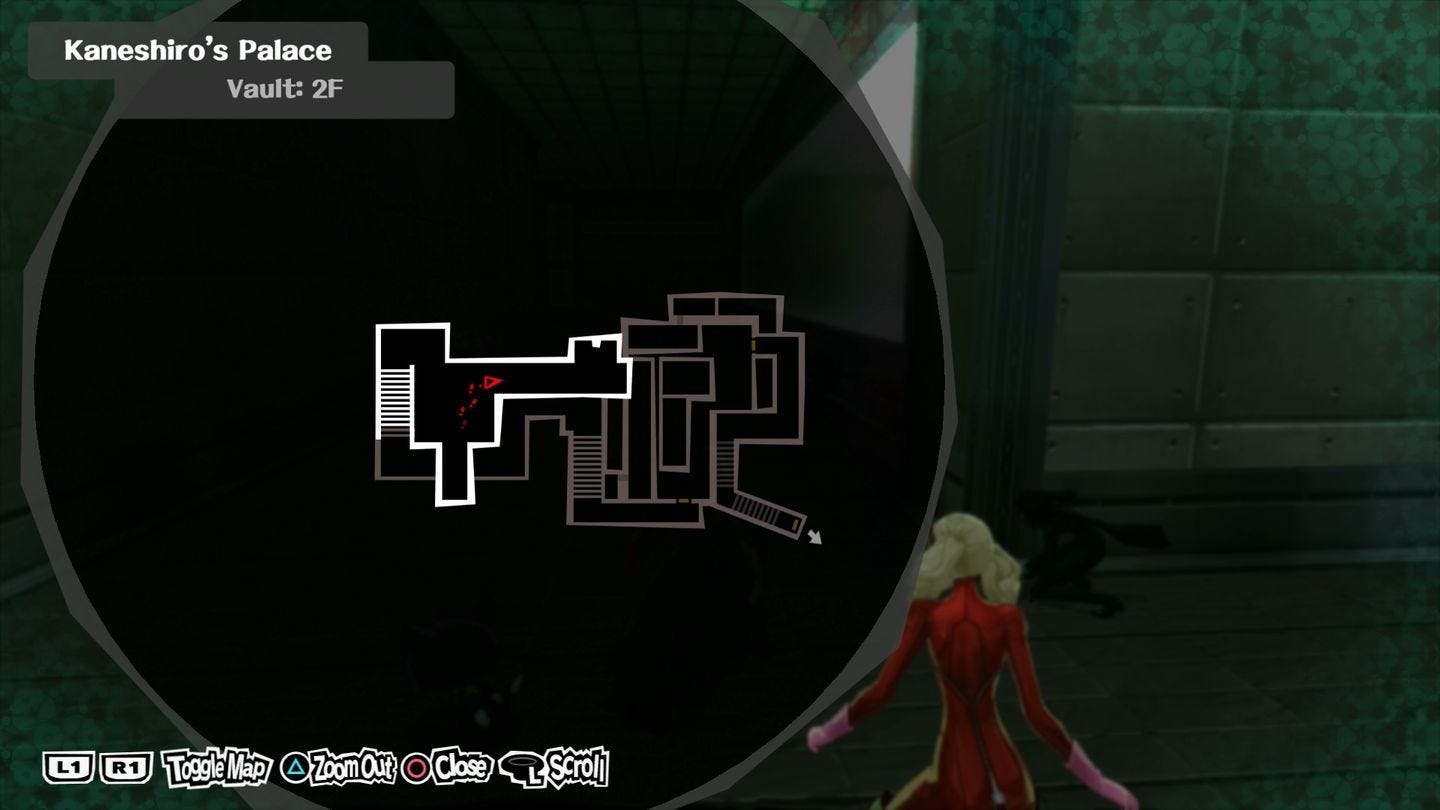
Now the force fields are down you can return to the lower level and raid the piggy bank in the south east corner for another clue. Head back upstairs and use the PIN panel (2319) to unlock the next vault ring.
Underground Vault
The next panel is protected by a couple of Chivalrous Guards. Deal with them and then interact with it - start by hitting the right button, then the other button, then move to the next ring. Hit the button in there, return to the previous ring, and hit the button again, then head for the innermost ring and descend the stairs.
Vault 3F
The first section of this area is puzzle-free - avoid the cameras and use stealth to make your way through the large store room until you reach a locked door.
Head past it along the corridor, destroy the camera box, and take the small turning to the right. Destroy the next camera box and raid the piggy bank, then carry on round the corridor to the room at the south where you'll find the final piggy bank.
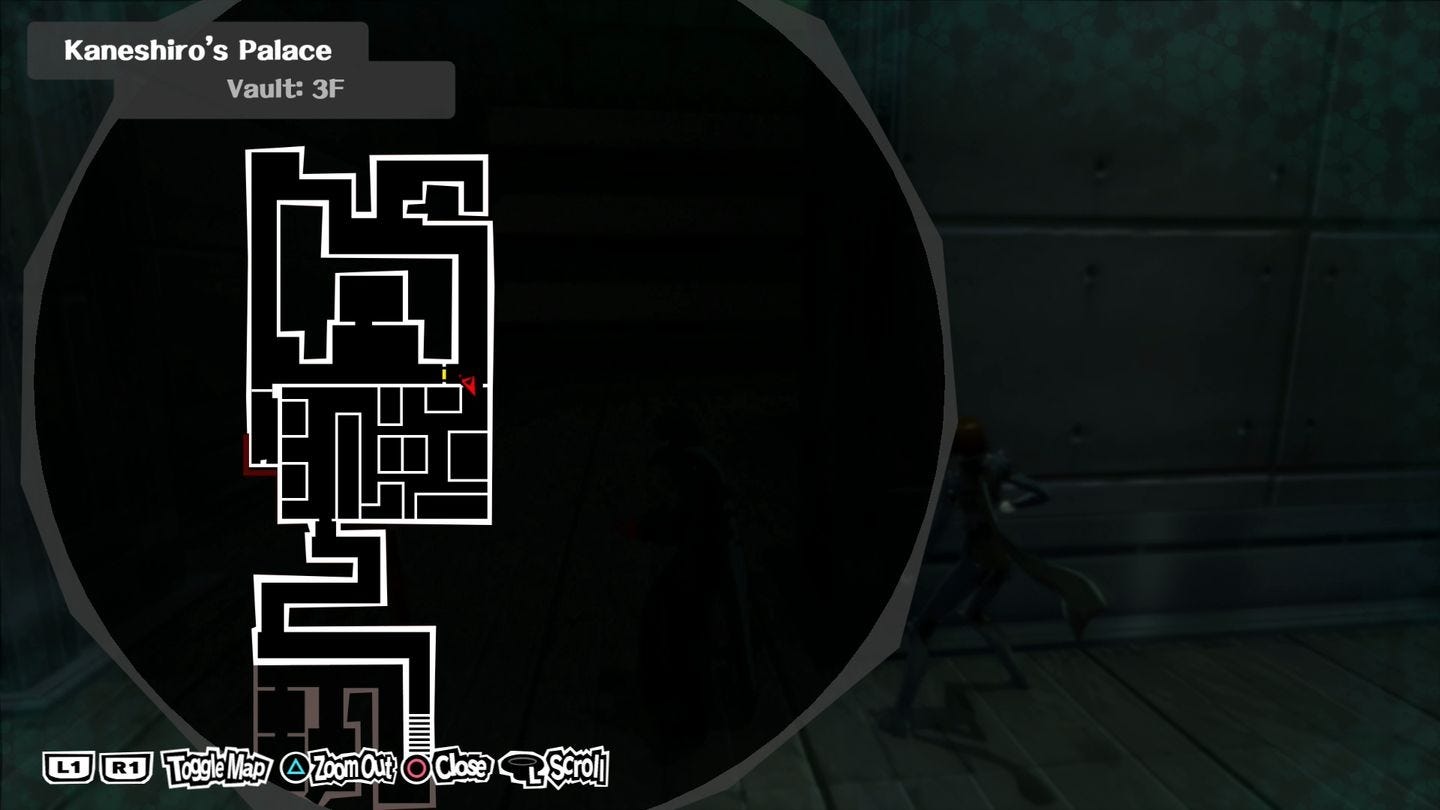
Return to the store room and climb onto the shelving in the middle of the room, cross to the south west corner to locate a vent, and crawl through. Use the final PIN terminal (1841) then make your way to the very centre of the vault to locate the treasure before nipping back to the safe room and returning to reality.
Need more help? Our Persona 5 guide and walkthrough features a complete month-by-month summary with important dates and Palace strategies, as well as how to get the True Ending. Elsewhere, learn how to make the most of your free time with all Confidant, Social Link and romance options, the best ways to increase Social Stats such as Knowledge, Guts, Proficiency, Kindness and Charm, create the best Personas through Fusions, how to cheat on exams with our test answers, how to get Mementos requests, unlock the entire Trophy list and learn about the upcoming DLC schedule.
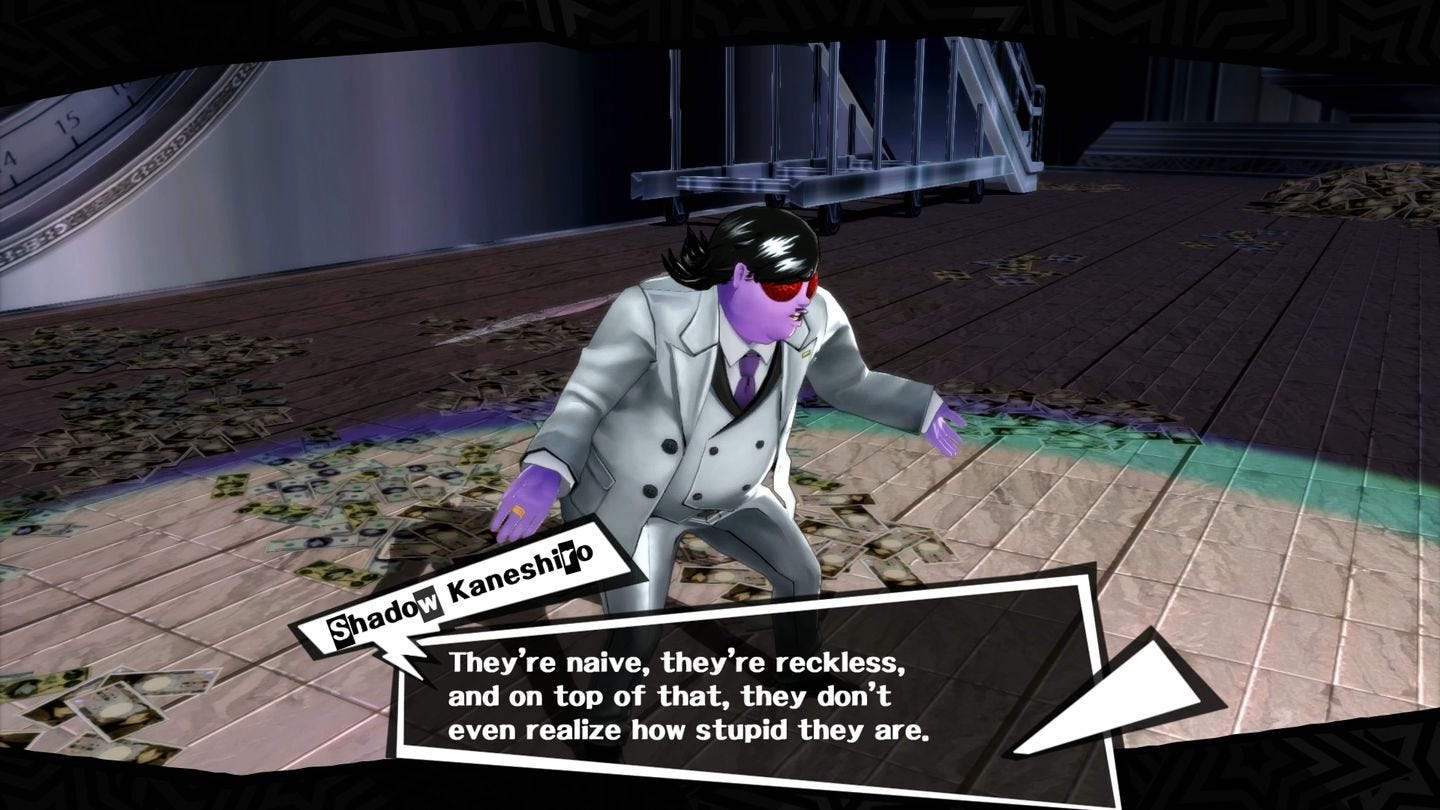
Kaneshiro Piggytron boss fight
Kaneshiro's fight occurs in two phases. First you'll just be facing him on his own - he's not a particularly tough opponent, but he does have a lot of multi-target Darkness attacks so keeping a Death Persona equipped means that even if he takes out other party members you'll be safe from harm.
Once he's down he'll return with Piggytron, a gigantic piggy bank. It has no particular strengths or weaknesses, but it takes a few rounds to charge up its attack so you can safely throw everything at it until it's "spinning faster", at which point assume a guard position.
After that it will make a few smaller attacks including a gas that can give you a Fear debuff before charging its main attack again so you have plenty of time to recover.
With the dungeon done and dusted, time to continue with June or July events before the next investigation.