Zelda: Breath of the Wild - Ja Baij Shrine location and Bomb Trial solution
How to locate and beat the Great Plateau shrine.

Zelda: Breath of the Wild's Ja Baij Shrine is one of four Shrines required to complete the The Isolated Plateau quest, alongside the Keh Nanut Shrine and the Owa Daim Shrine, and doing so will earn you the Bomb rune.
If you're after help for parts of the game, consult our Zelda: Breath of the Wild walkthrough and guide.
Ja Baij Shrine location
This Shrine is off to the east of the Great Plateau, inside a series of Ruins. As you approach, ancient Guardian machines will come to life and target you with their lasers.
Hitting it in its blue eye with an arrow will damage it, but we advice is to ignore them entirely. Thankfully the walls of the ruins will block its tracking laser, so sprint through one open area to the next to avoid their glare.
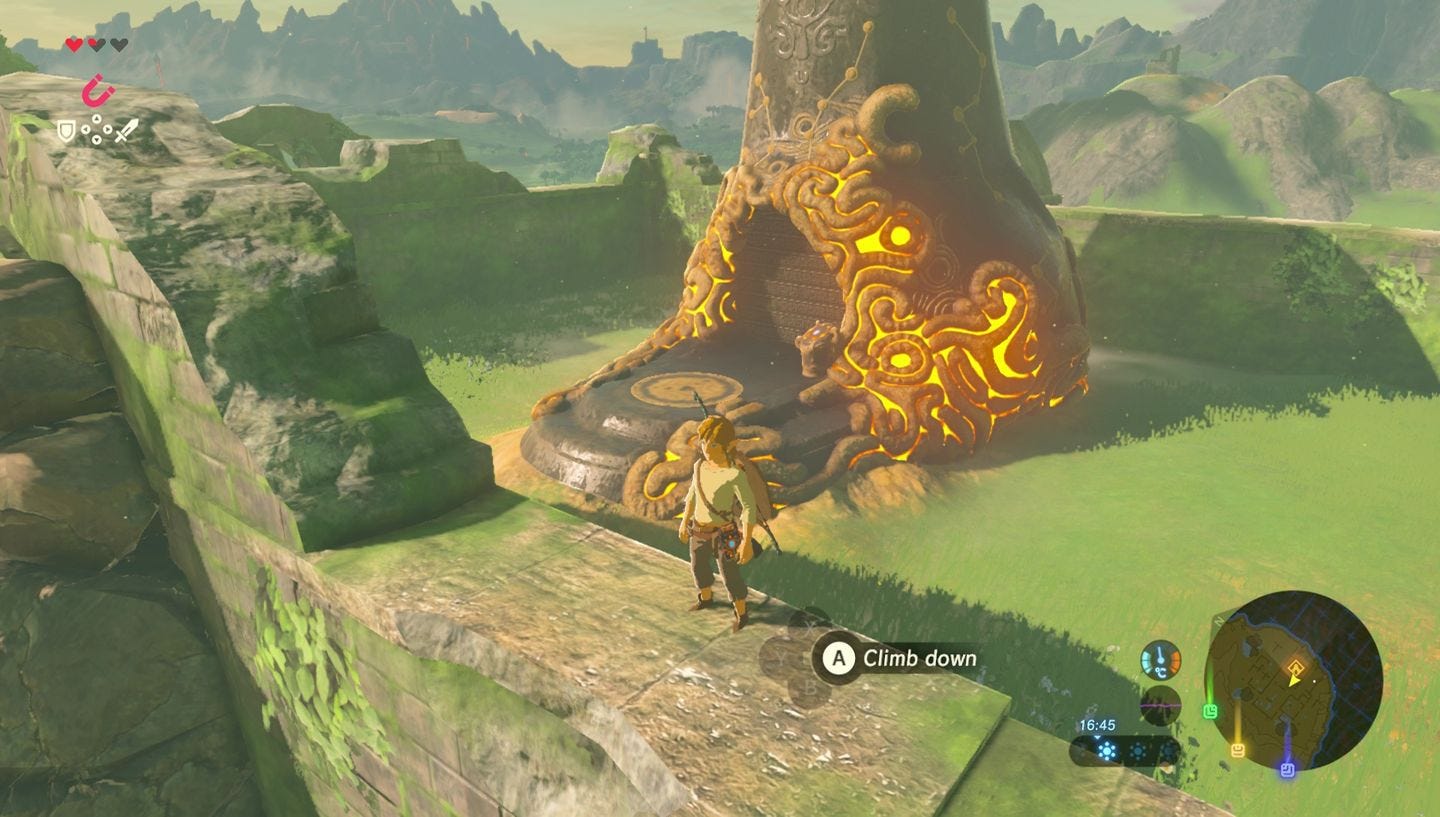
To get access to the Ja Baij Shrine, you have to locate the mass of rock that covers an enclosed area it's inside. The Shrine is just inside there - simply climb up and over the wall to get in.
It's worth nothing if you have the game's DLC, you can find an expansion pass chest on this surrounding wall, which contains a red Switch shirt for you to wear, advertising Nintendo's latest console to the citizens of Hyrule.
Solving the Ja Baij Shrine
As with the other Shrines, investigate the pedestal to get the Remote Bomb rune. This is used to damage monsters and environmental objects.
First, use the rune on the two damaged blocks in the recess in the floor for a passage onward. Use it again on the blocks to the right for a chest containing a Traveler's Claymore, then left to progress. Go up the ladder.
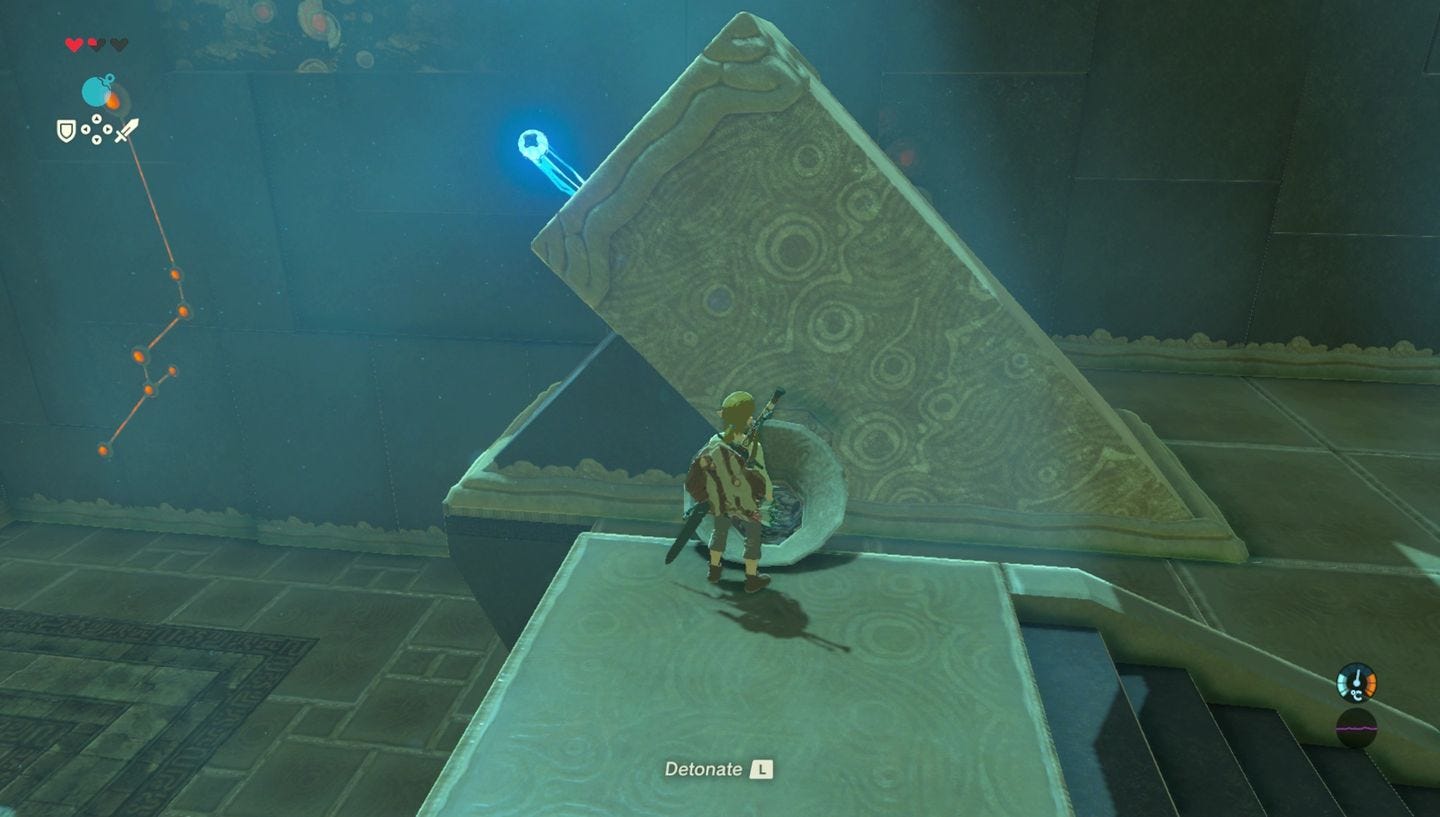
The next section features a moving platform that goes back and forth between the ledge and a wall of damaged blocks. Ride the platform, and just before it rests, drop a bomb and move away to make it explode, clearing the wall.
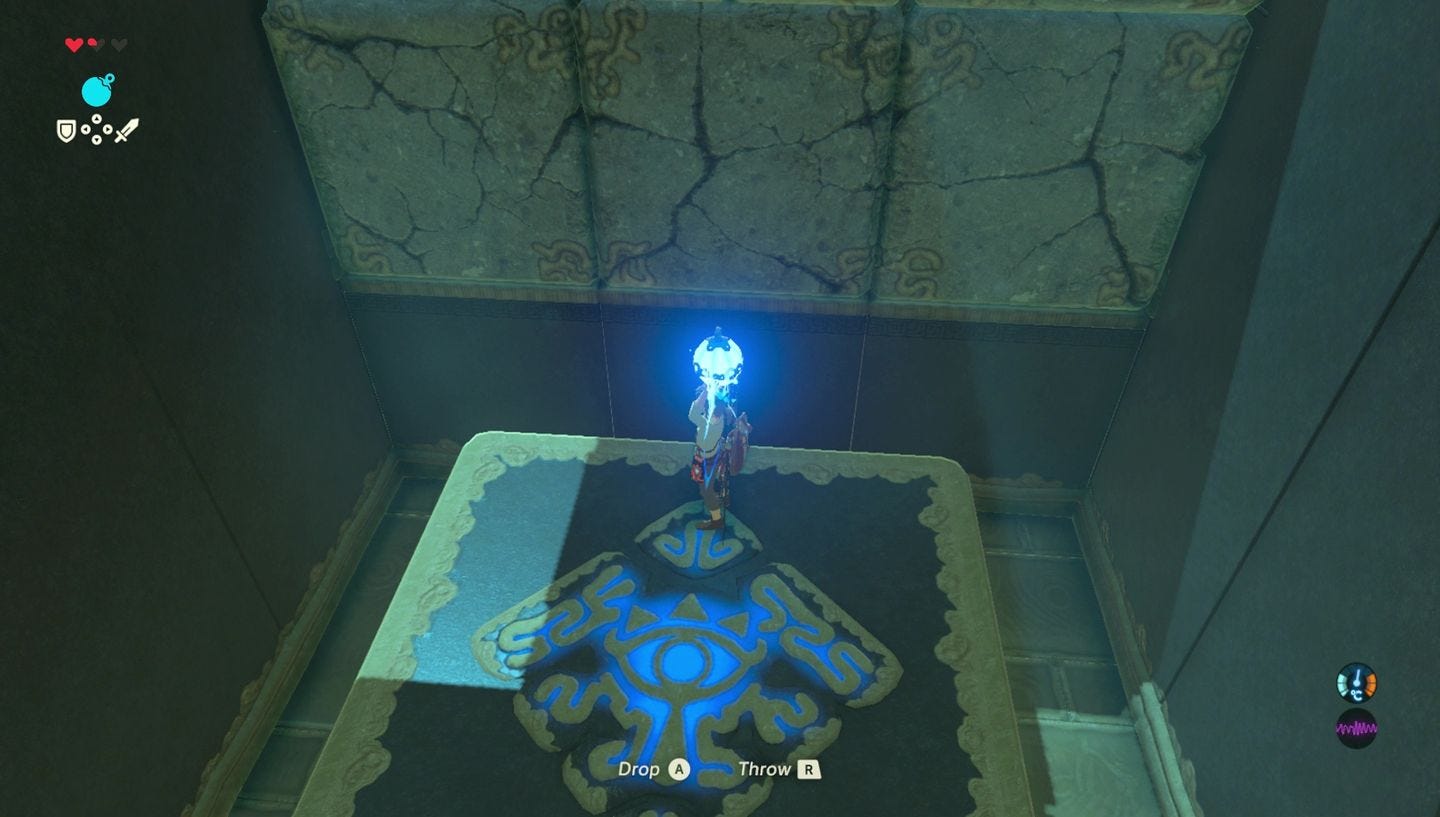
Climb the short set of steps in the next area, and drop a bomb down the chute at the top, so it rolls and lands on the contraption and fires it across opposite. Detonate the bomb and send another if needs be until the way is cleared.
Before you progress, go all the way to the left, and physically stand on the far contraption to be propelled to the ledge opposite, where there's a chest with an Amber.
Thanks to a new update, it's now possible to play Zelda Breath of the Wild in VR. Want help with the main game? Our Zelda: Breath of the Wild walkthrough can help complete Divine Beasts Vah Ruta, Vah Rudiana, Vah Medoh and Vah Naboris and more. There's also how to get the Master Sword, Hylian Shield and all Zelda Captured Memories and Great Fairy Fountain locations, while our Shrines locations and Shrine maps hub explains where to find and solve every puzzle room, including dragon locations and Labyrinth solutions. We also have a DLC 1 guide and DLC 2 guide, including all Tingle, Majora's Mask, Phantom, Midna outfit locations.

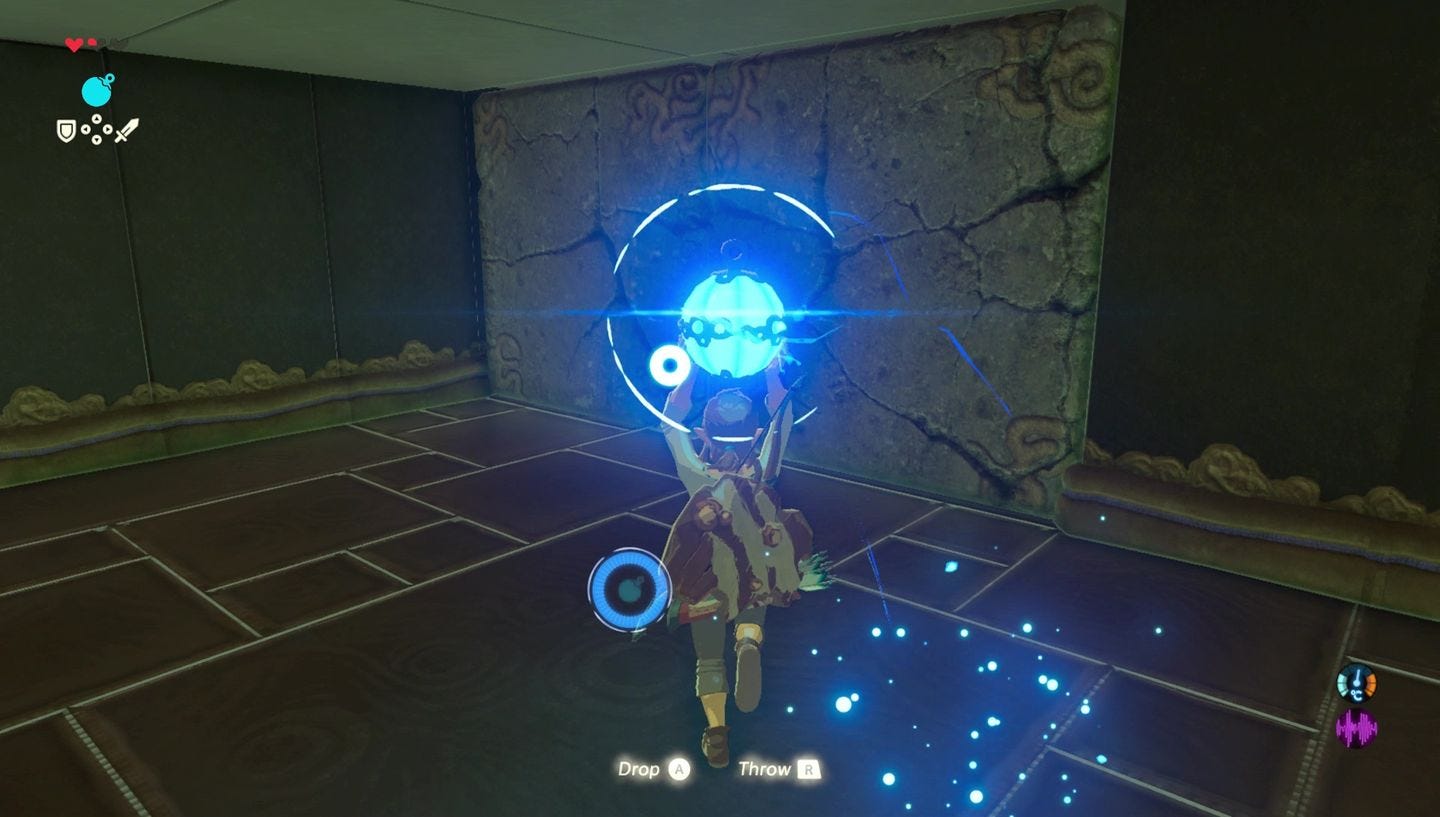
Between those two contraptions is one that is firing a glowing ball back and forth. Ignore it - it's simply to each you how the contraptions work, but if you like you can grab the ball and run around with it.
When you're ready, use the ladder to climb up to past the now destroyed wall and to the altar to get your Shrine Orb.
From there, if you haven't already, visit the remaining Keh Nanut Shrine and the Owa Daim Shrines in order to finish The Isolated Plateau quest and leave the Great Plateau.