Zelda: Breath of the Wild - Vah Rudiana dungeon, all terminal solutions explained inside the giant lizard dungeon
How to explore the Death Mountain dungeon, find all terminals and hidden chests.

Zelda: Breath of the Wild's Vah Rudiana dungeon is one of the game's four Divine Beasts scattered around Hyrule. This page explains how to specifically explore the Vah Rudiana dungeon and the five terminal locations inside the giant mechanical lizard.
If you have yet to arrive there, here are three pages explaining what you need to do first:
- Zelda: Breath of the Wild - Death Mountain and Goron City, how to get fire resistance
- Zelda: Breath of the Wild - Abandoned North Mine, how to use cannons to rescue Yubono
- Zelda: Breath of the Wild - How to avoid sentries and get to each marker before boarding
After that is the dungeon's boss fight Fireblight Ganon - but if you've yet to get that far, read on for help with the five terminals.
If you're after help for parts of the game, consult our Zelda: Breath of the Wild walkthrough and guide.

How to start Vah Rudiana dungeon
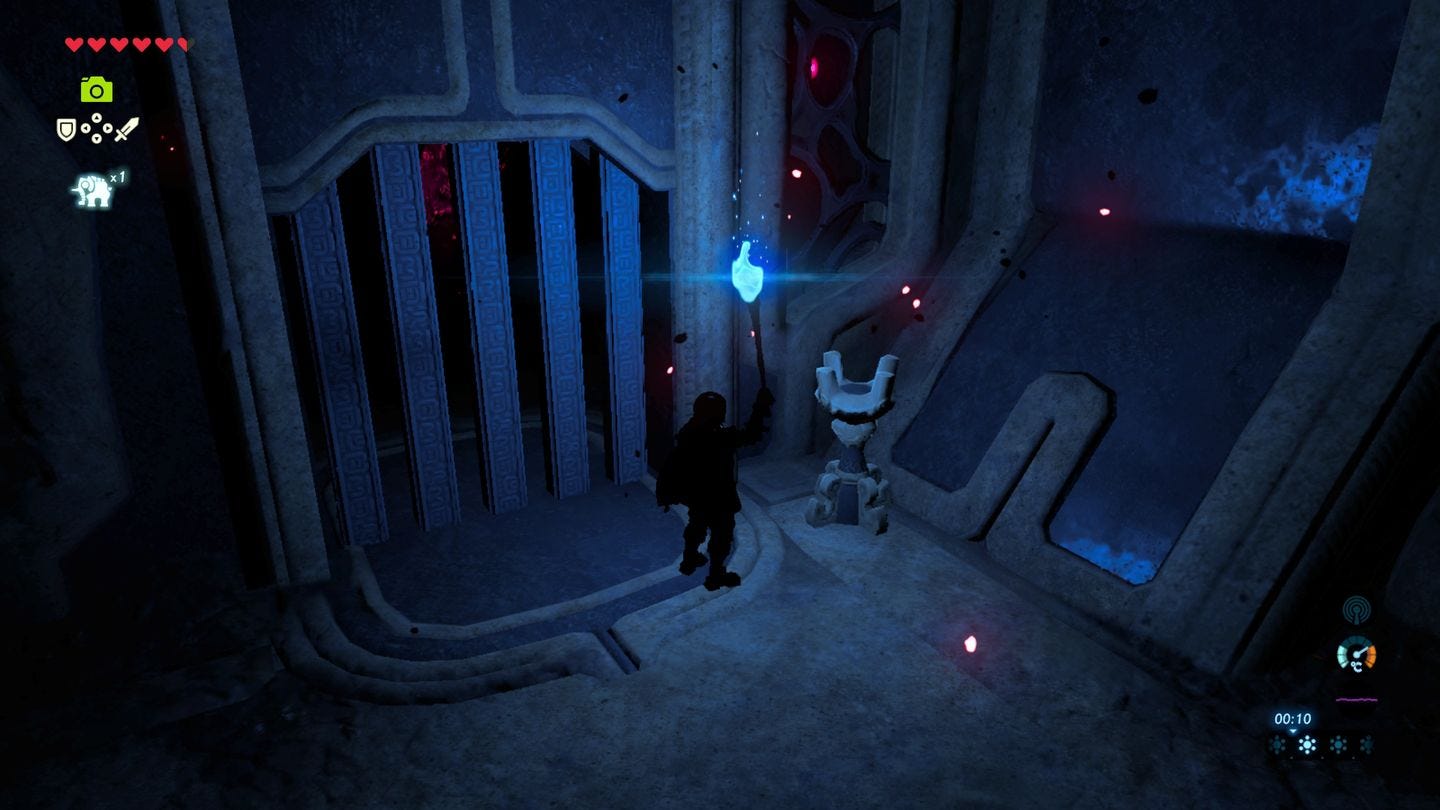
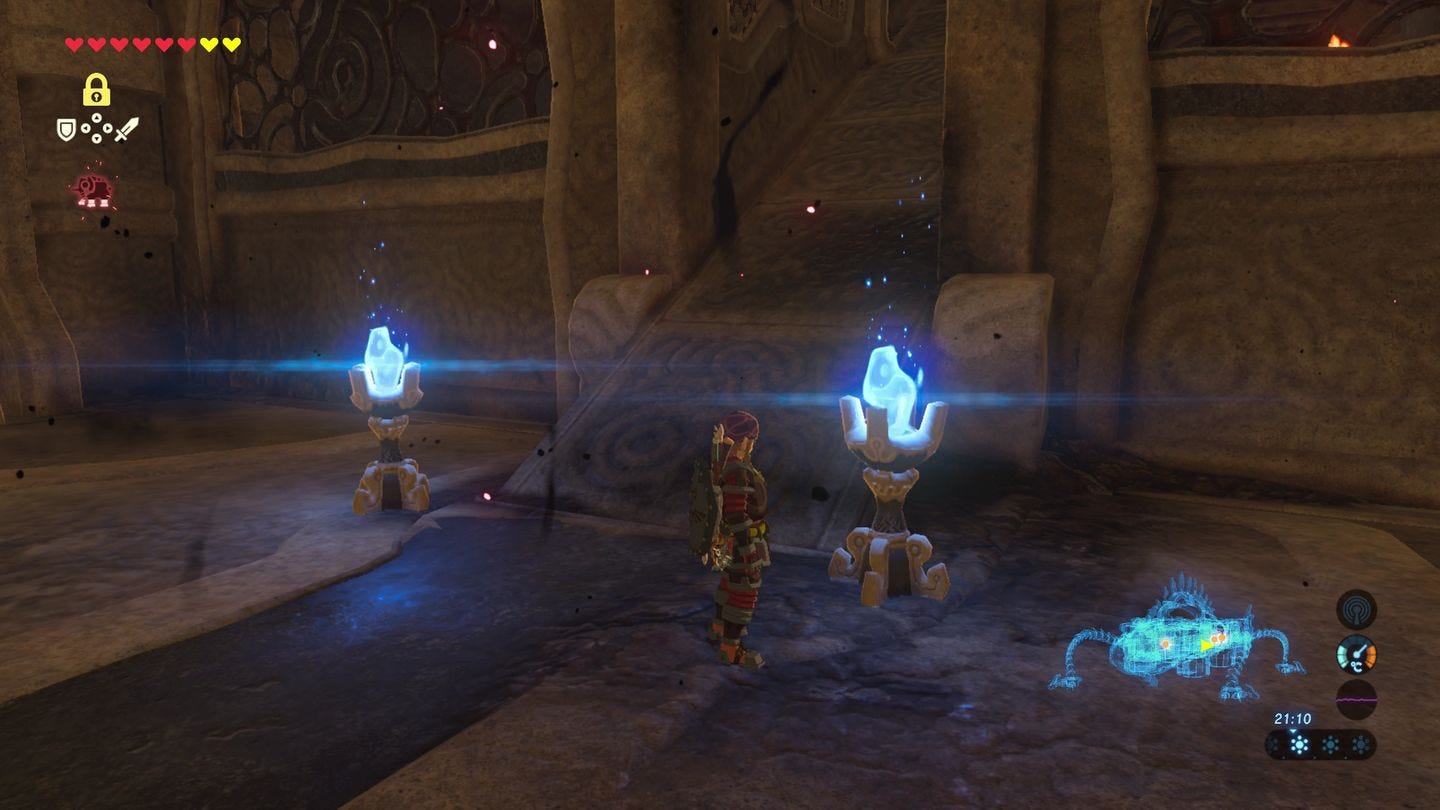
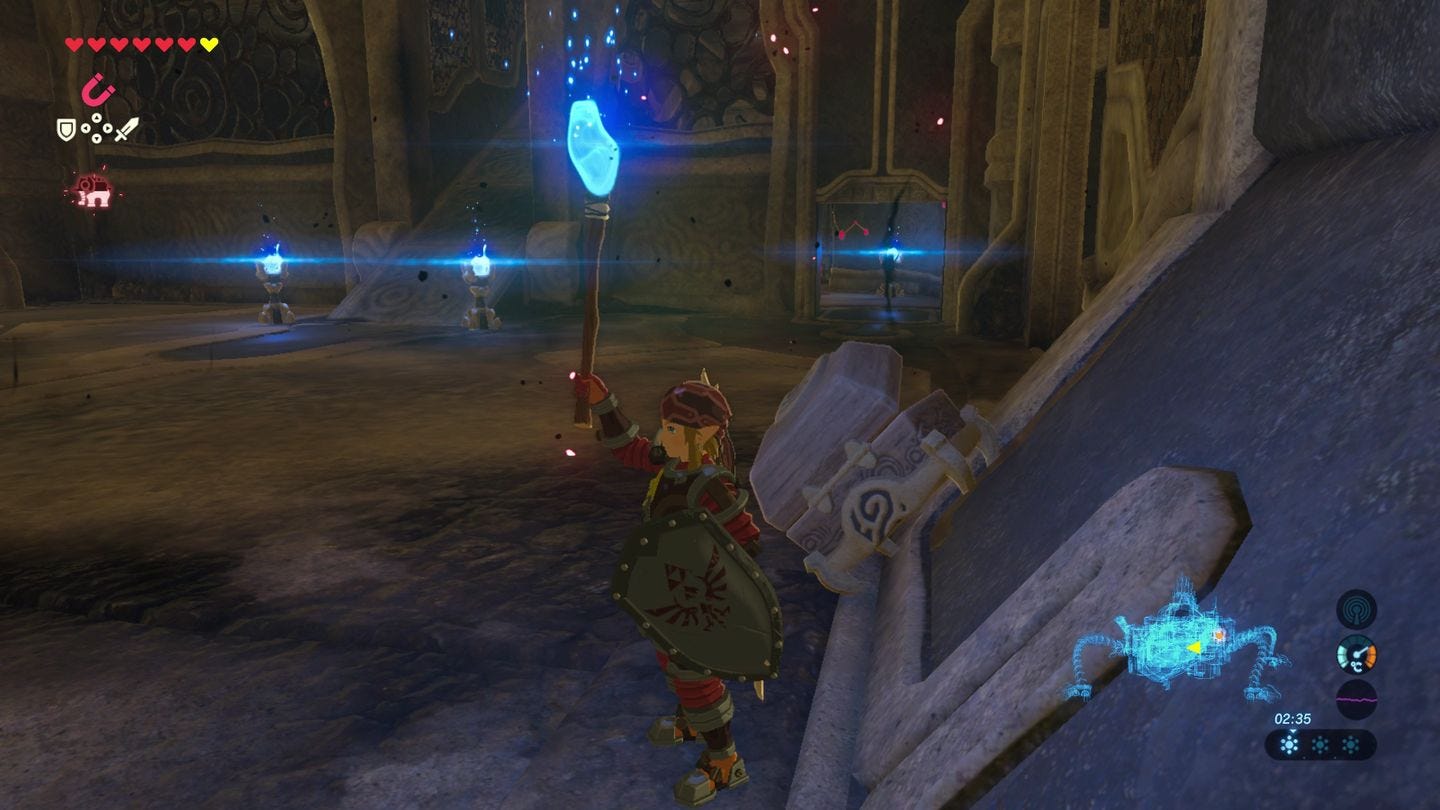
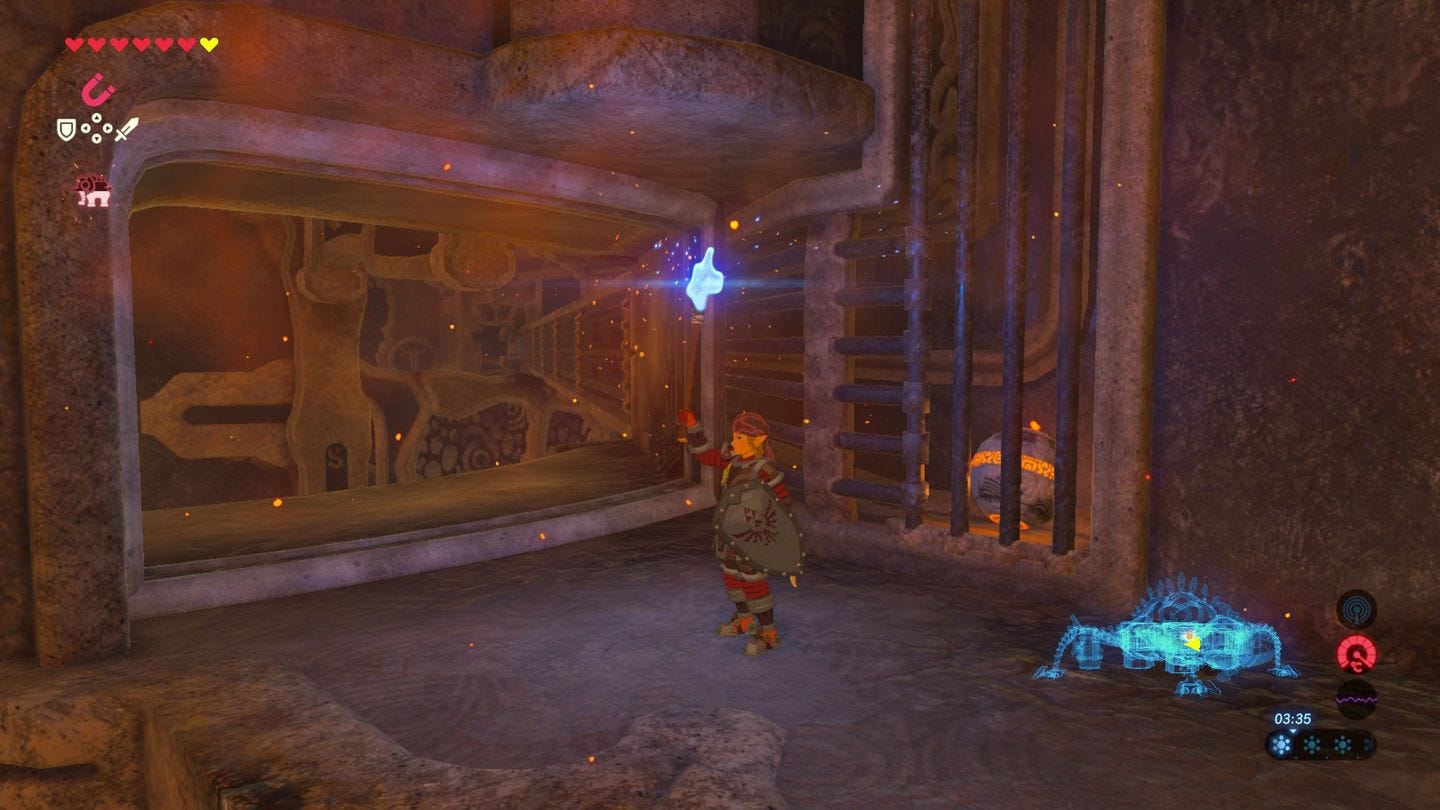
When you head down in the dungeon, it's pitch black aside from three Calamity Eyes peering back you - two on the floor and one on the ceiling.
Take them down with arrows to destroy their Calamity gunk nearby, revealing chests, one of which has a torch. Equip it, swipe the blue flame torches near the entrance and you're ready to continue. Go to the far right corner and light the torch to open the door.
In this section there's three Calamity Eyes to fire at - two on the left side (one halfway, one in the far corner) and one on the right, which can be viewed by standing at the far end wall and looking back towards the torch from the previous room.
All release chests with arrows and bows. When ready, relight your torch from the previous light, and light the torch next to the door on the far left, where you can reach the Guidance Stone and light up the dungeon.
Vah Rudiana dungeon and terminal locations
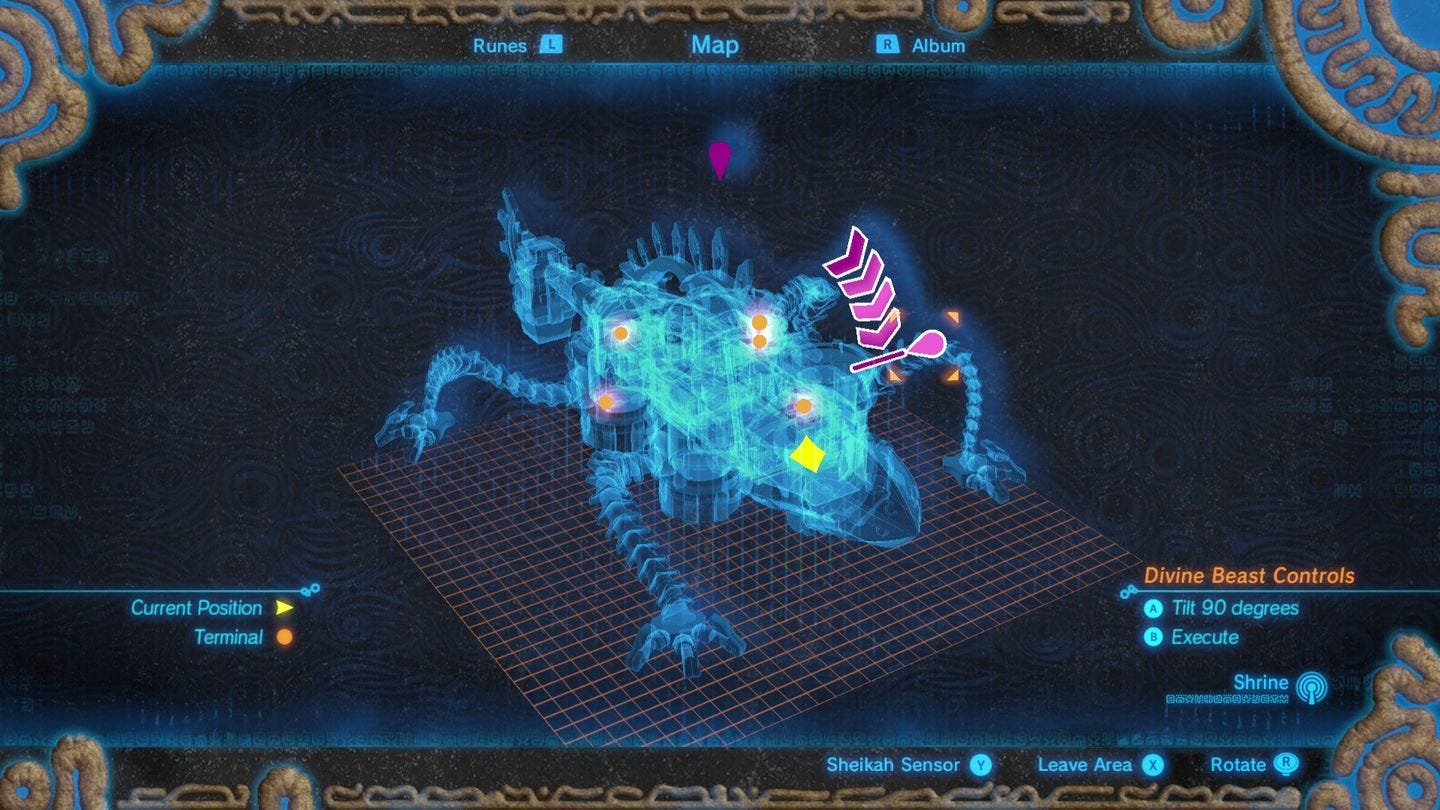
By looking at your map screen, you can flip the Divine Beast 90 degrees, spinning in the inside of the dungeon allowing you to access new areas on the walls.
First Terminal in the Vah Rudiana dungeon
Go to the previous room, and you'll see the First Terminal on the wall. Stand by the doorframe and rotate the Beast by going onto the map and selecting the other purple notch and then backing out to the game.
The Beast will rotate and you'll be on the wall, going from this:
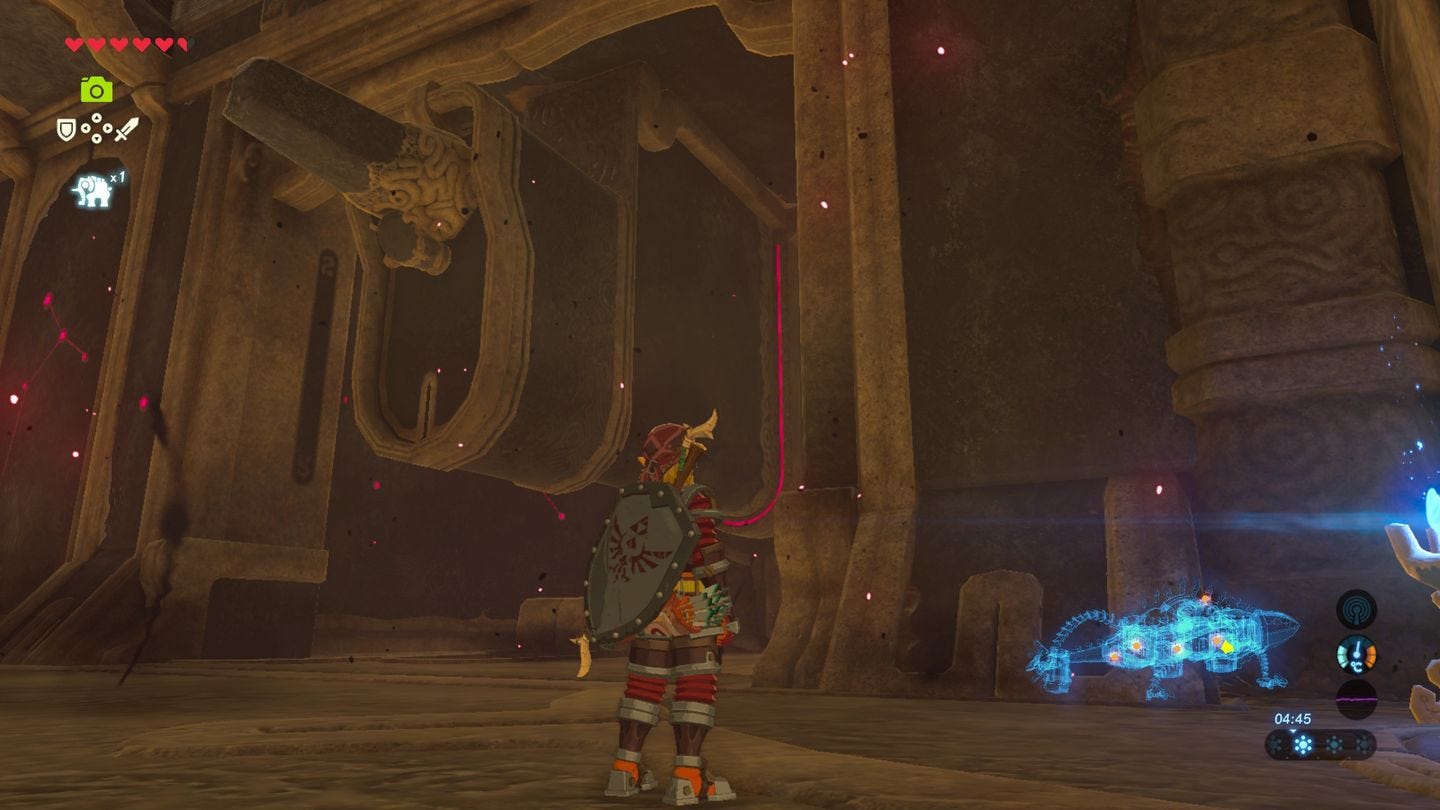
To this:
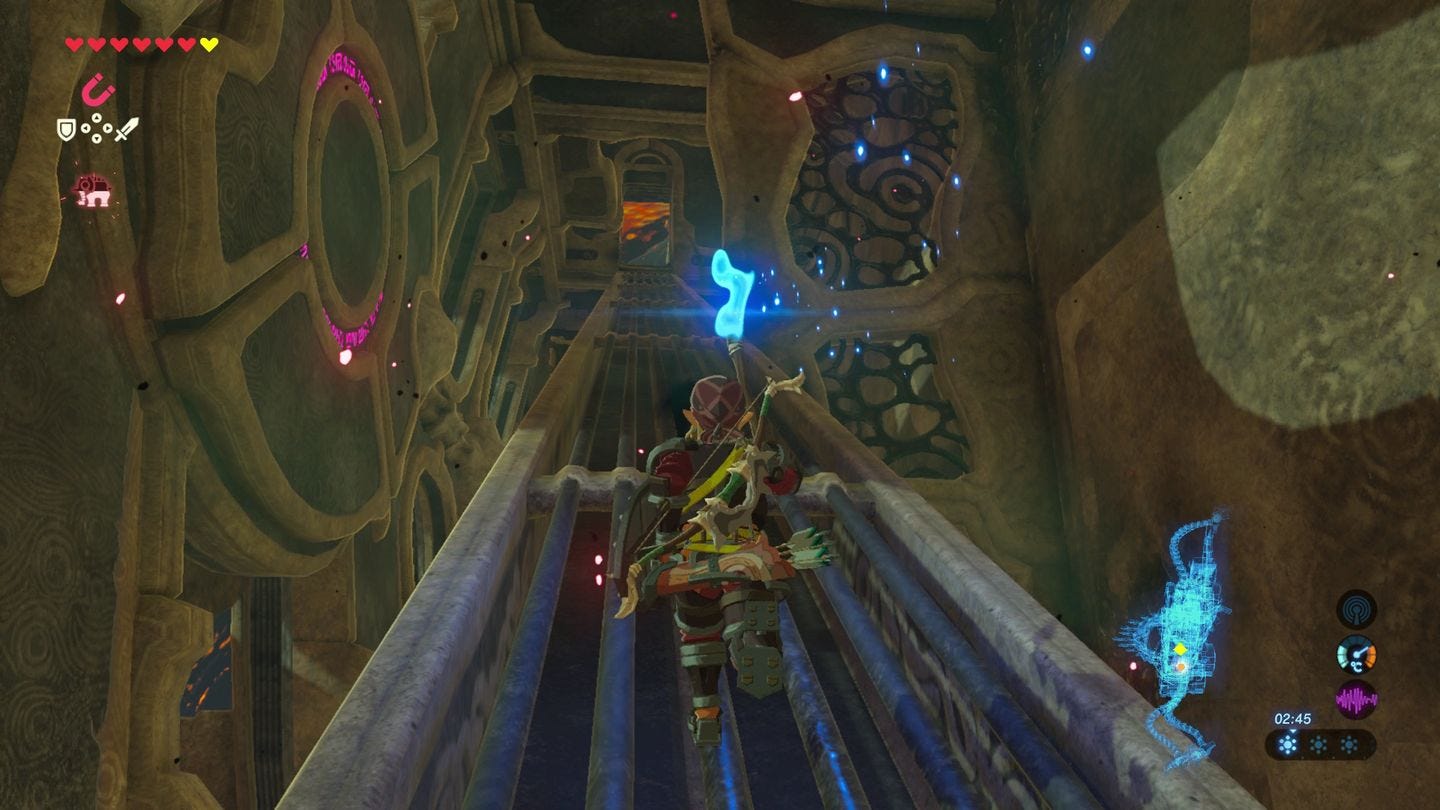
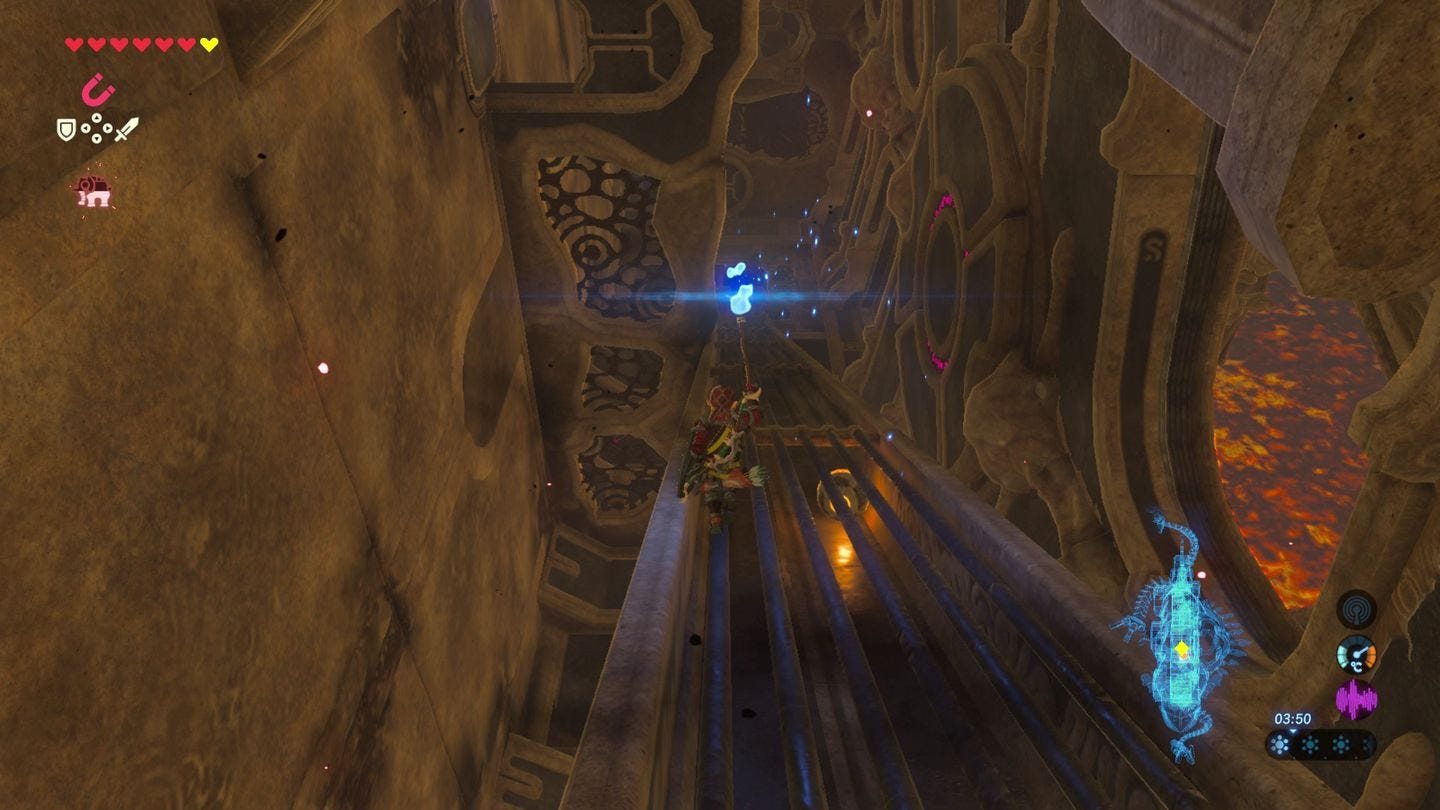
Problem is, the Terminal is out of reach still. To get there, run down the room until you see a slanted platform going into the ceiling. Remember this platform, as it's key to getting outside and on top of the Beast and finding more terminals.
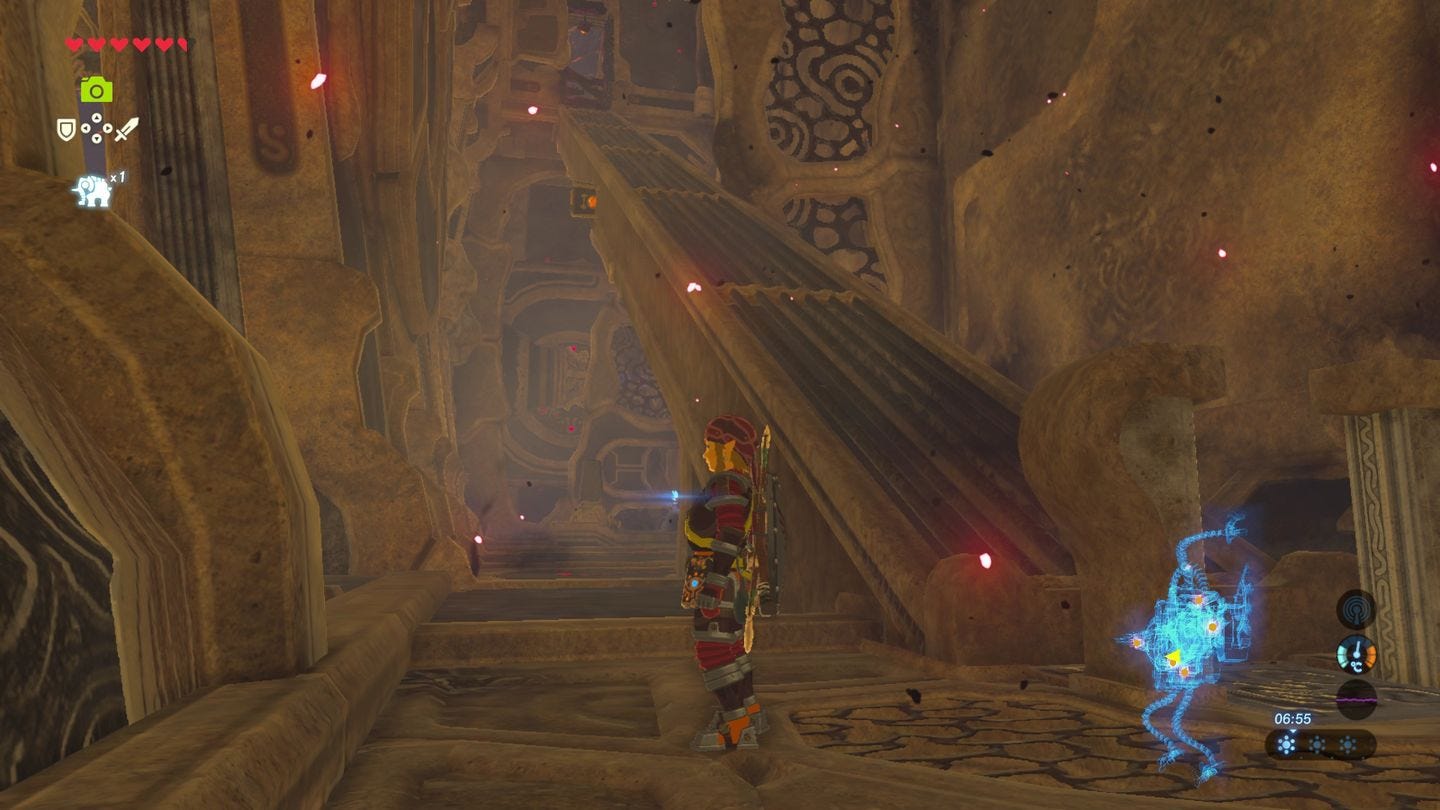
Run up it until you are over the Terminal, and drop down. You might lose two or three hearts, but you should easily land in place.

Second Terminal in the Vah Rudiana dungeon
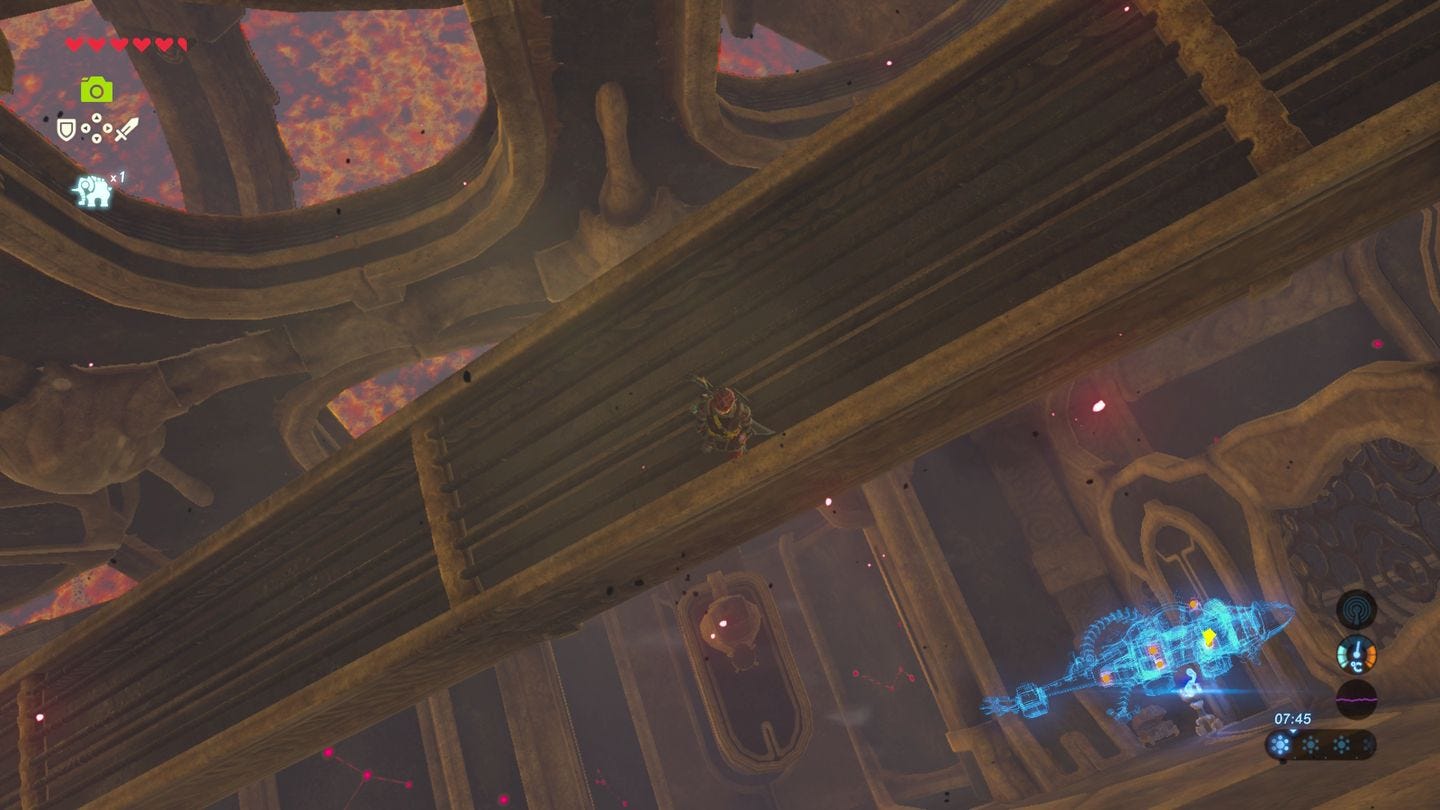
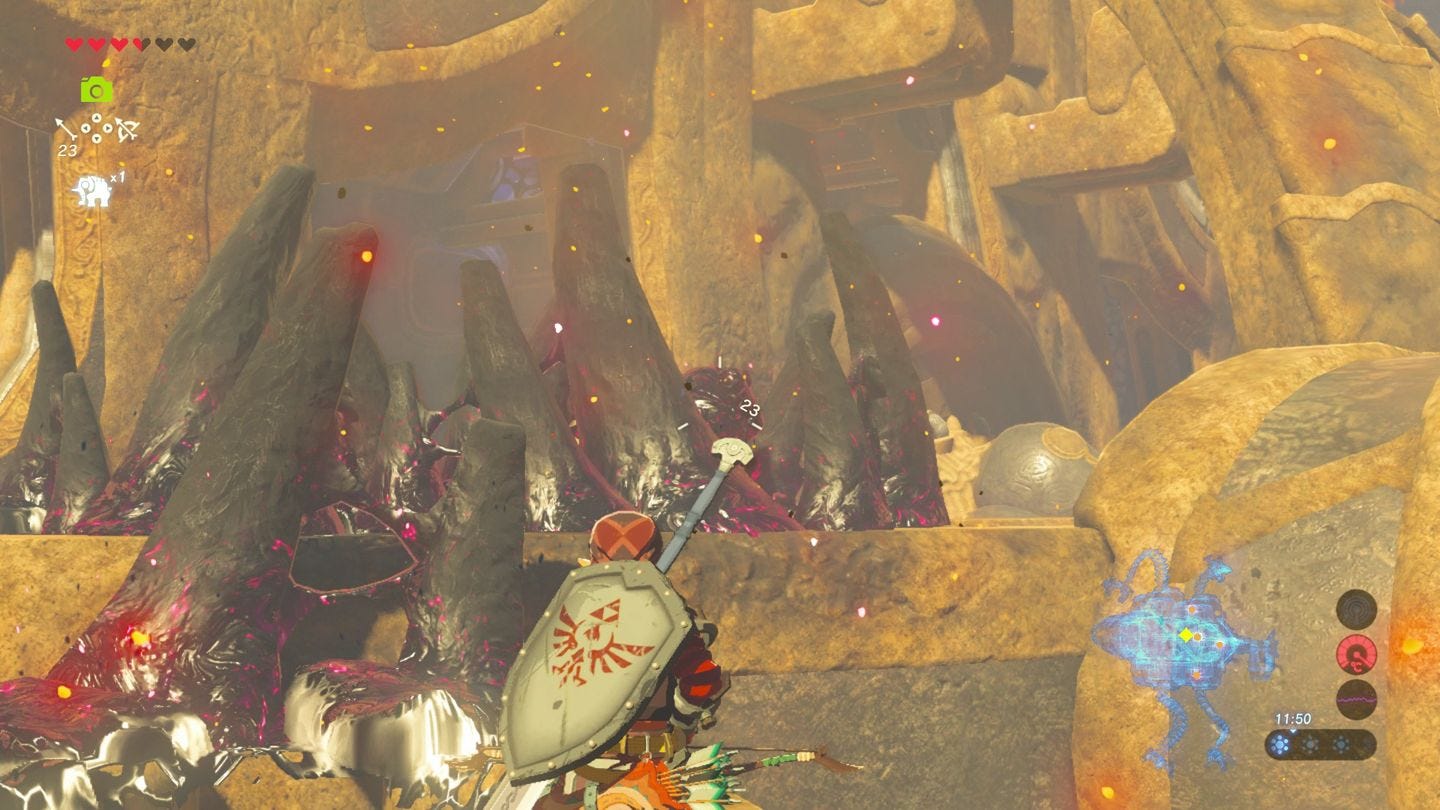
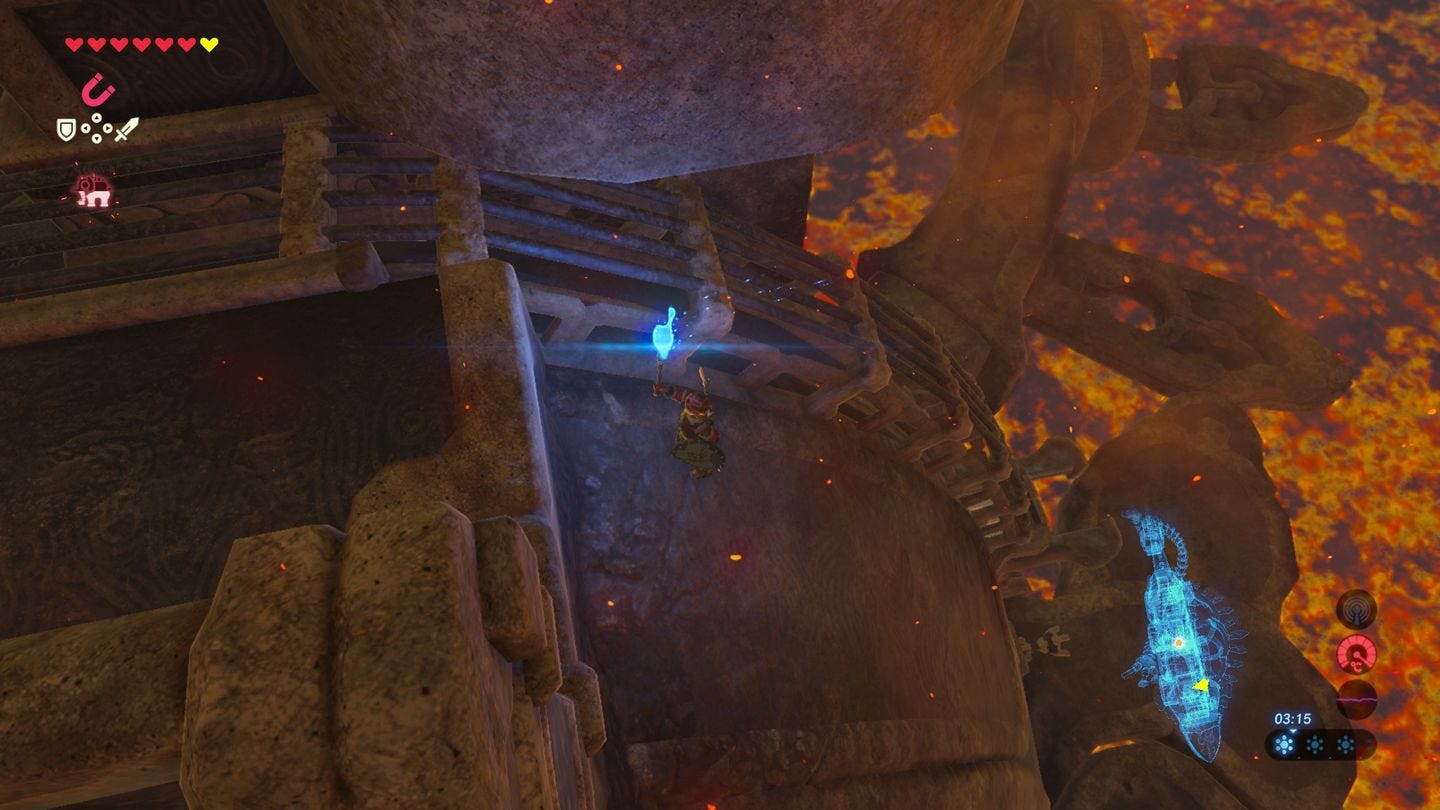
Head back up the slanted platform to the ceiling - if you want the chest, carefully drop off the side and stand on it, then flip the Beast 90 degree for a bow, then back again - and continue to the top to emerge outside. Unequip anything wooden since it'll set ablaze in the heat, and flip the Beast 90 degrees and climb up the wall ahead.
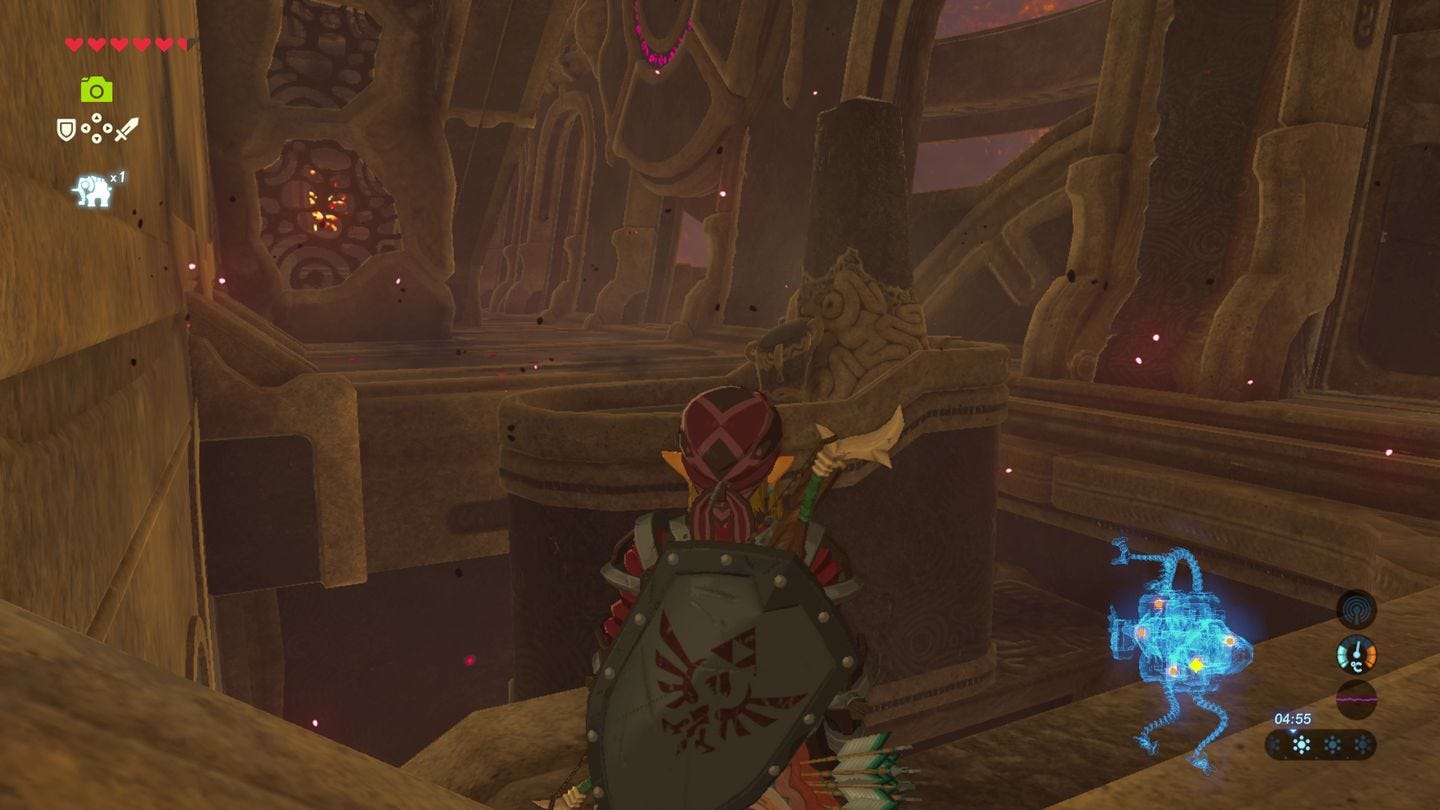
Now on the Beast's back, run up to where the torch is and flip the Beast 90 degrees, going from this:

To this:
Run across the spine to the Calamity Gunk and shoot the eye that's in the middle.
Climb up on that ledge and run along, and you'll see a chest on one of the spines with an Ancient Core inside.
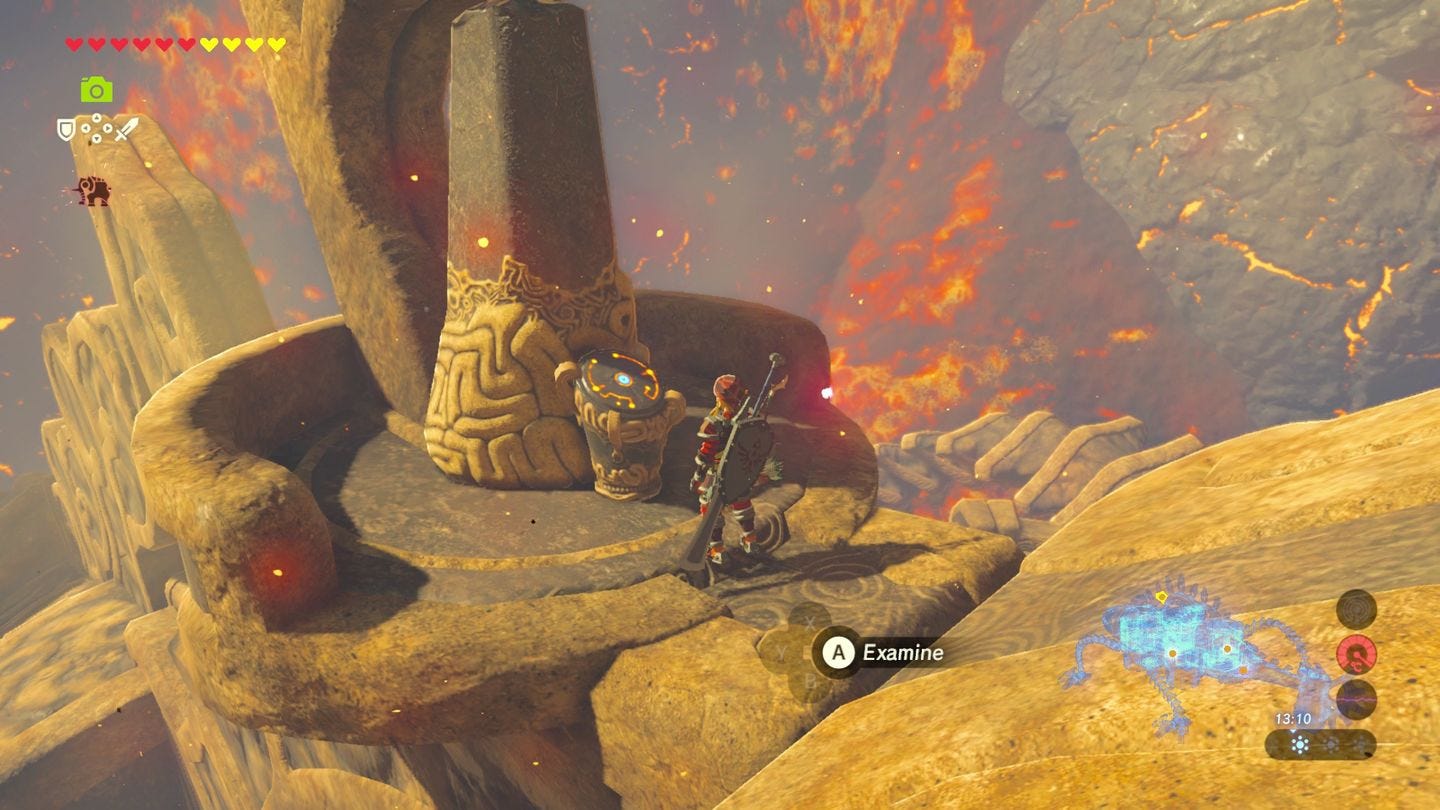
Now flip the Beast, and look along the spines back where you came to see Calamity Gunk and an eye above. Shoot the eye to reveal the Second Terminal, which you can run up to and activate.

Third Terminal in the Vah Rudiana dungeon
Make sure the Beast is laying flat, and drop back in through the ceiling to the room began in, and head to the start with the two blue torches.
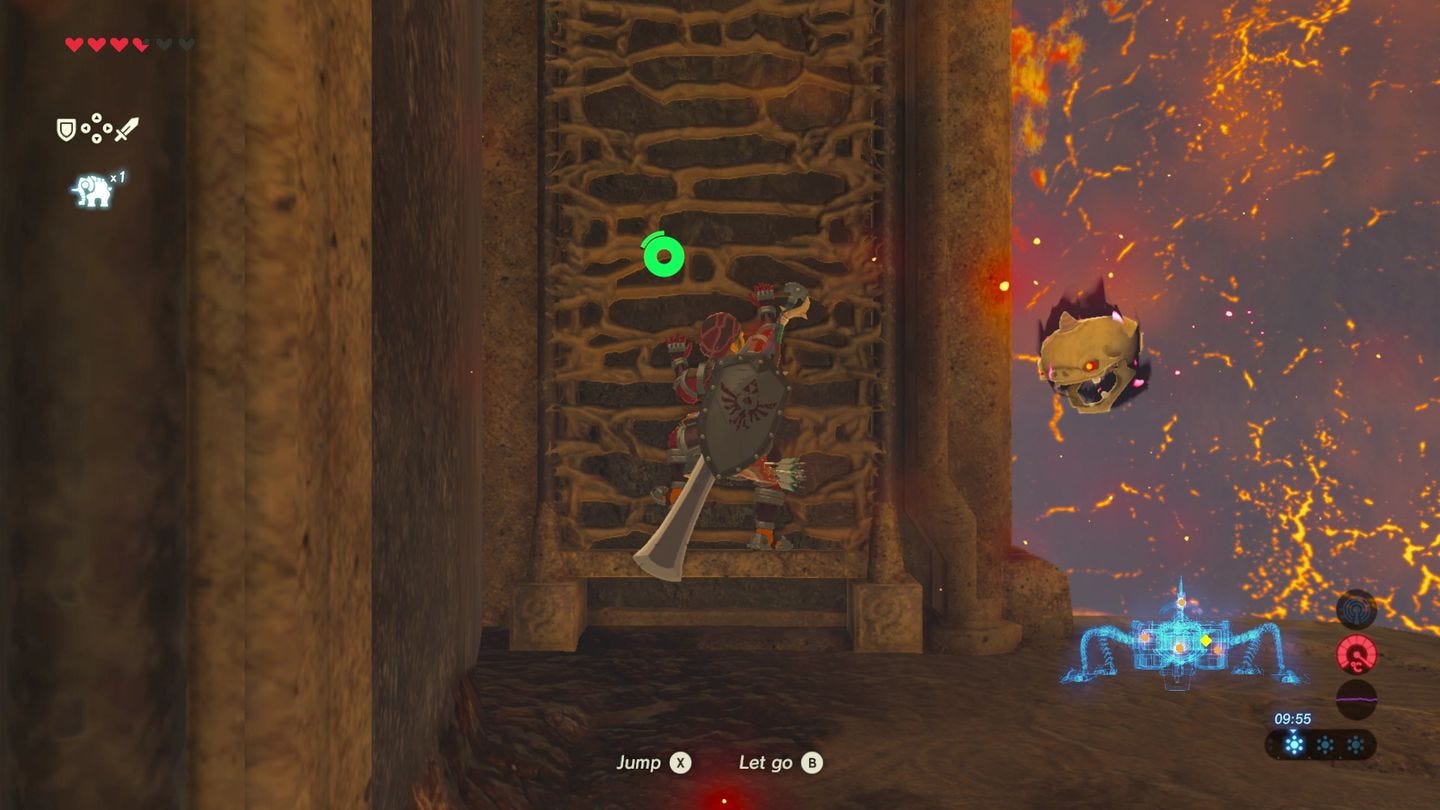
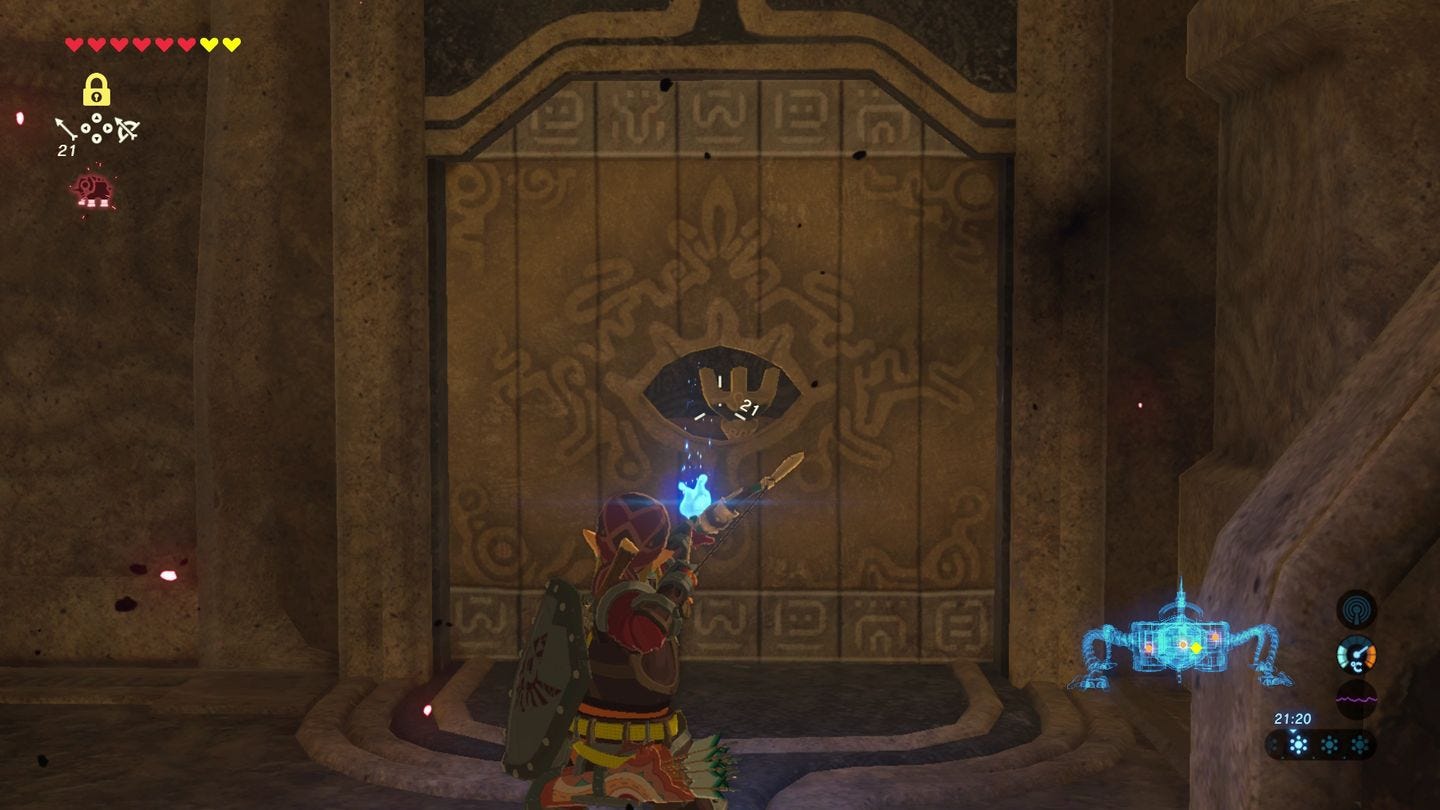
If you face where you came in, on the right there is a door with a small gap and an unlit torch on the other side. If you stand by one of the torches, you can draw your bow and hover by the torch to light the arrow with a blue flame.
Now strafe right to the door and fire it through the hole in the door to light the torch and open the way.
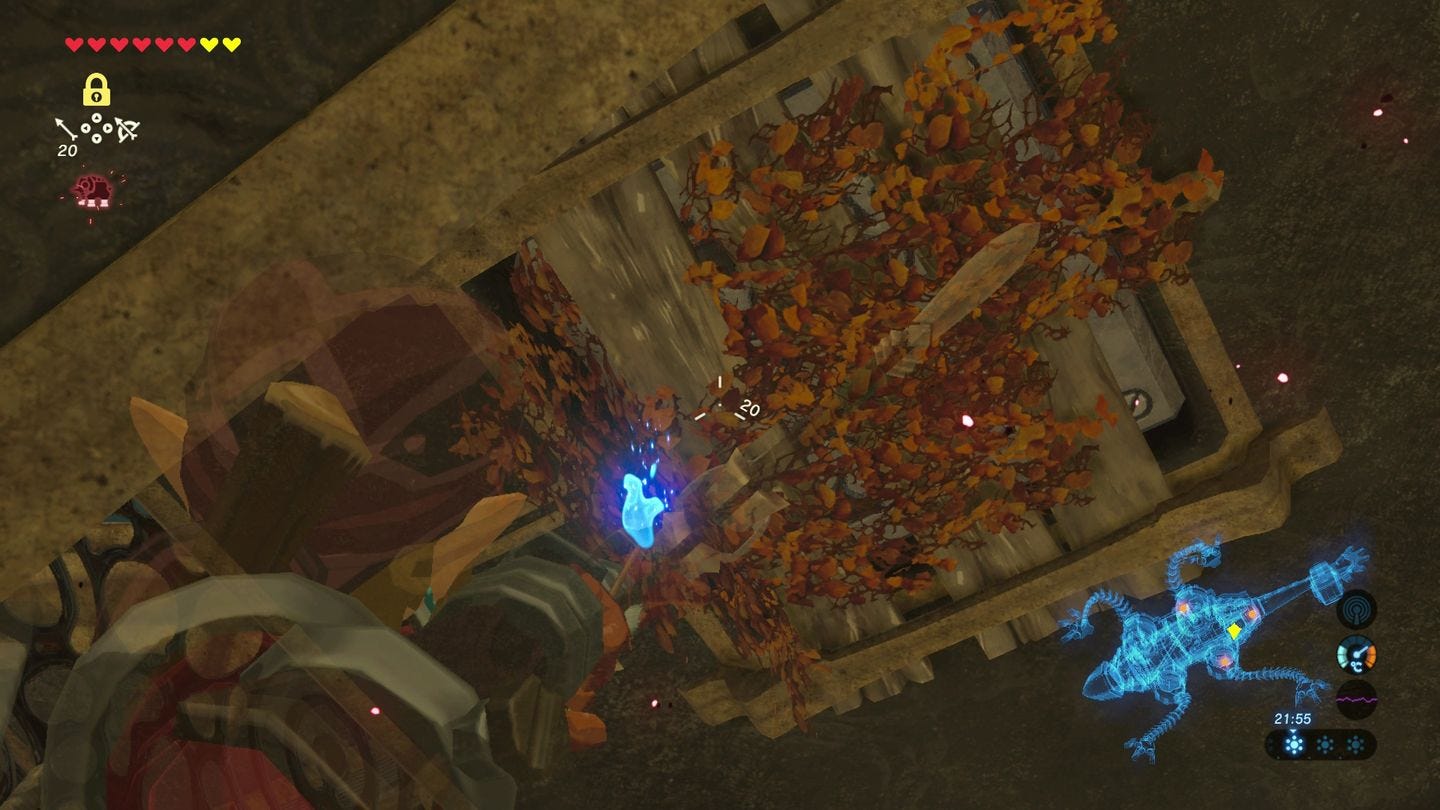
In the next room with the wall of orange flames, once again light your arrow with the blue flame torch and walk through, and look up to see a bunch of leaves. Shoot them to burn them down, dropping a metal box.
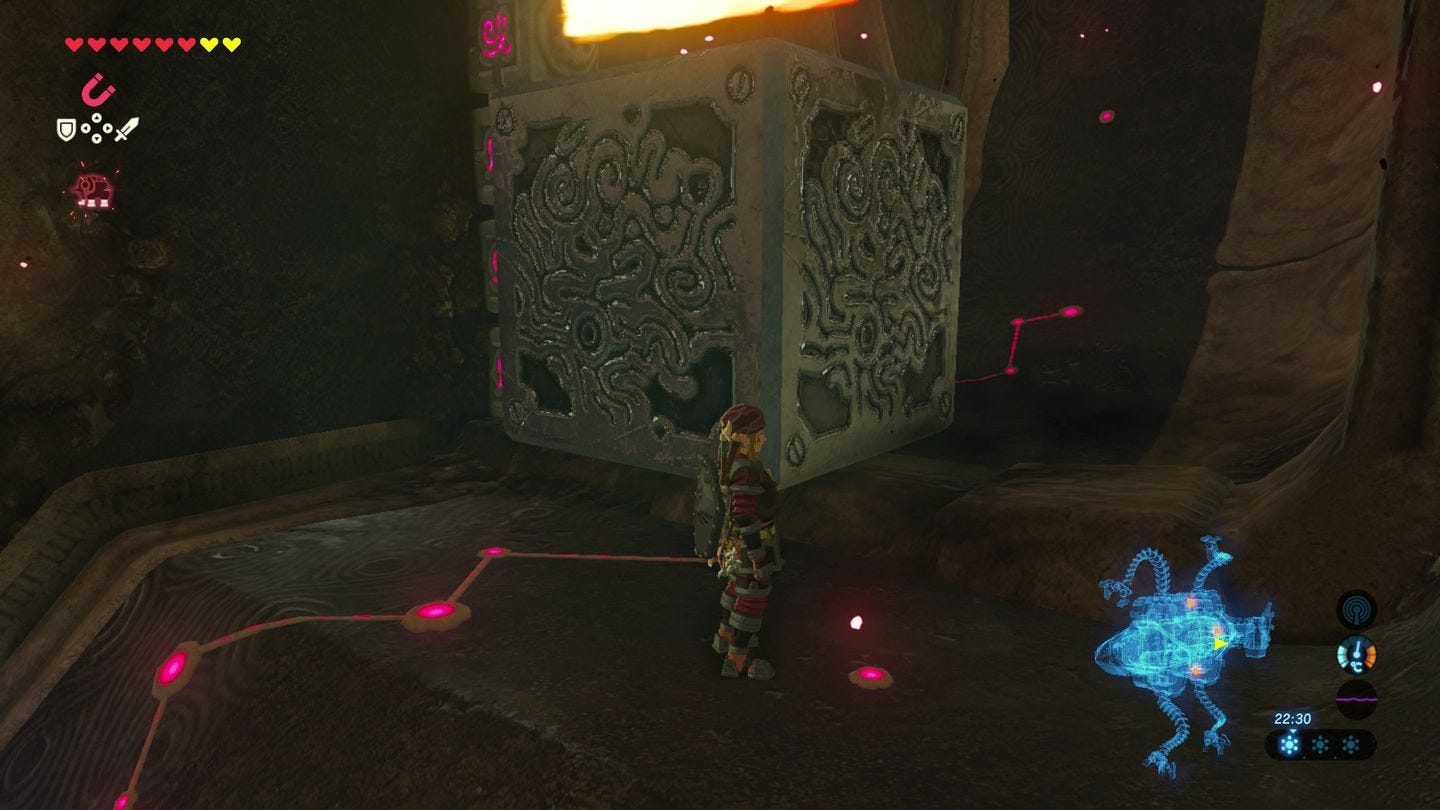
Use Magnesis to move the box in the way of the orange flames, then flip the Beast so it drops, blocking the flames so you can go through. Flip the Beast again so you can then access the Terminal.
Fourth Terminal in the Vah Rudiana dungeon
Head to the two blue torches where you first entered the dungeon and make sure the Beast is flat. Draw your bow over one of the blue torches to set the arrow alight, and look to the left, where you'll see a giant set of metal doors with leaves on the upper half.
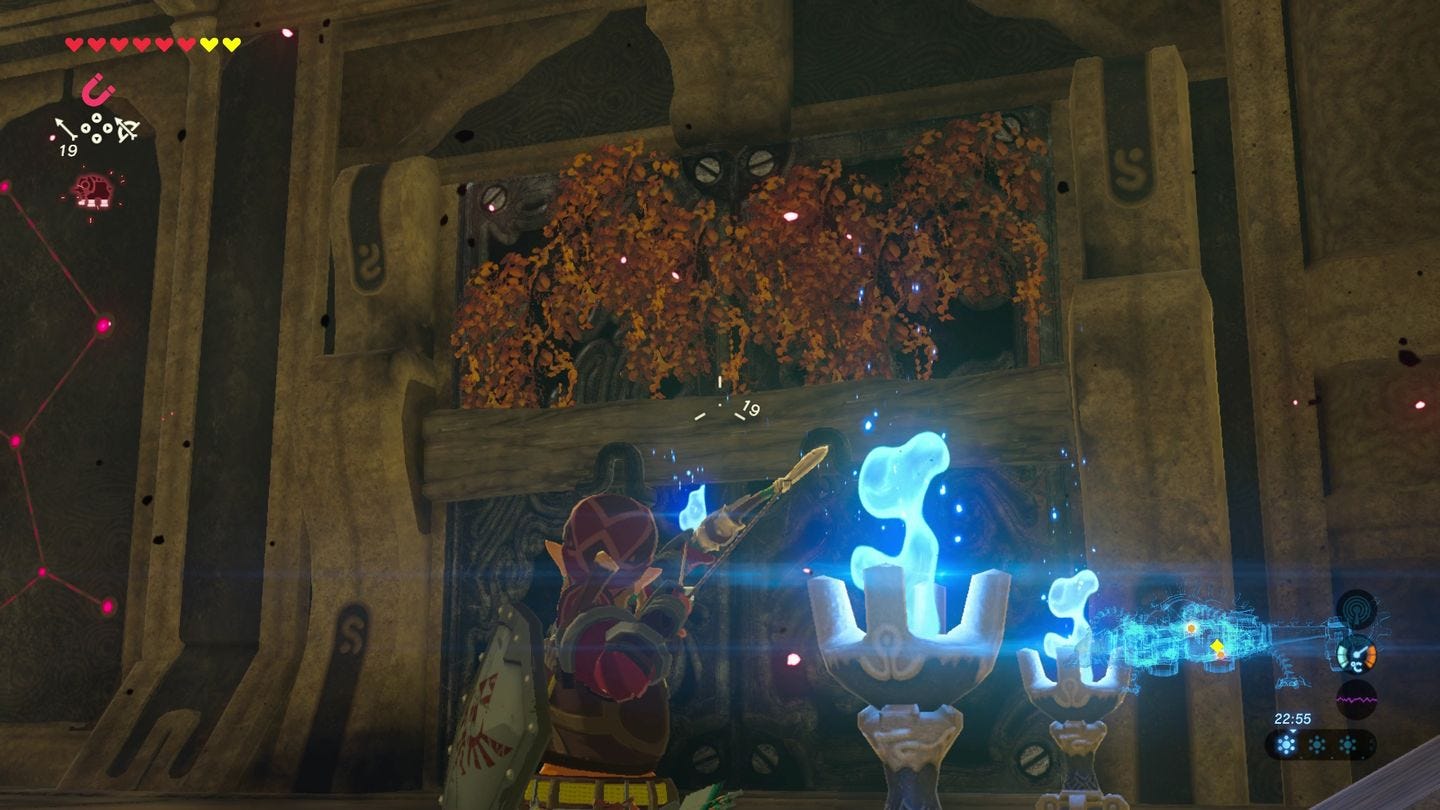
Fire the arrow to burn it, and then open the doors using Magnesis.
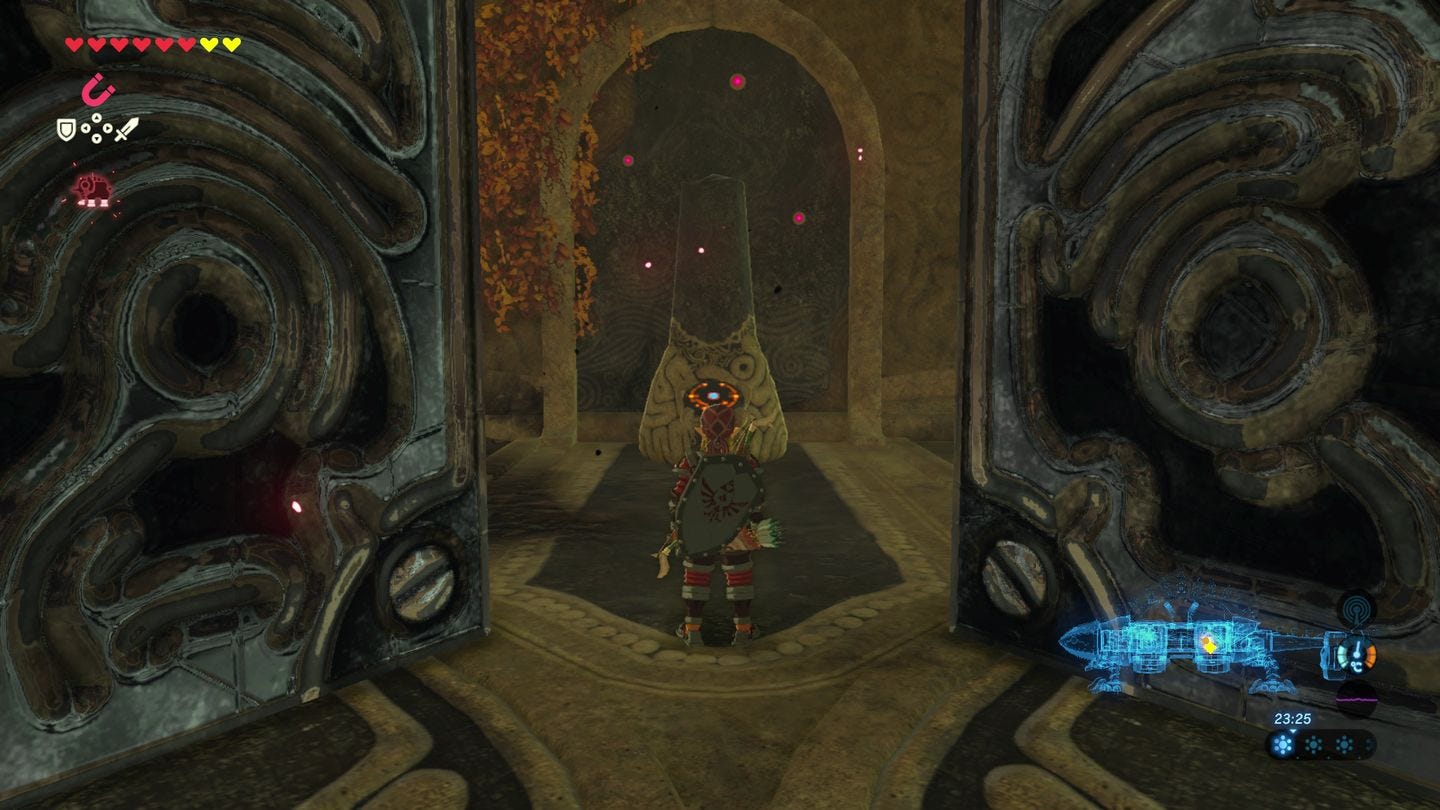
Inside is a Terminal. Be sure to also light the leaves on the wall to drop a chest containing an Ancient Gear.
Thanks to a new update, it's now possible to play Zelda Breath of the Wild in VR. Want help with the main game? Our Zelda: Breath of the Wild walkthrough can help complete Divine Beasts Vah Ruta, Vah Rudiana, Vah Medoh and Vah Naboris and more. There's also how to get the Master Sword, Hylian Shield and all Zelda Captured Memories and Great Fairy Fountain locations, while our Shrines locations and Shrine maps hub explains where to find and solve every puzzle room, including dragon locations and Labyrinth solutions. We also have a DLC 1 guide and DLC 2 guide, including all Tingle, Majora's Mask, Phantom, Midna outfit locations.

Fifth Terminal in the Vah Rudiana dungeon
Head to the two blue torches where you first entered the dungeon and make sure the Beast is flat. Light your own handheld torch, and stand near the wall so when you flip the Beast, you'll safely carry the torch 90 degrees.
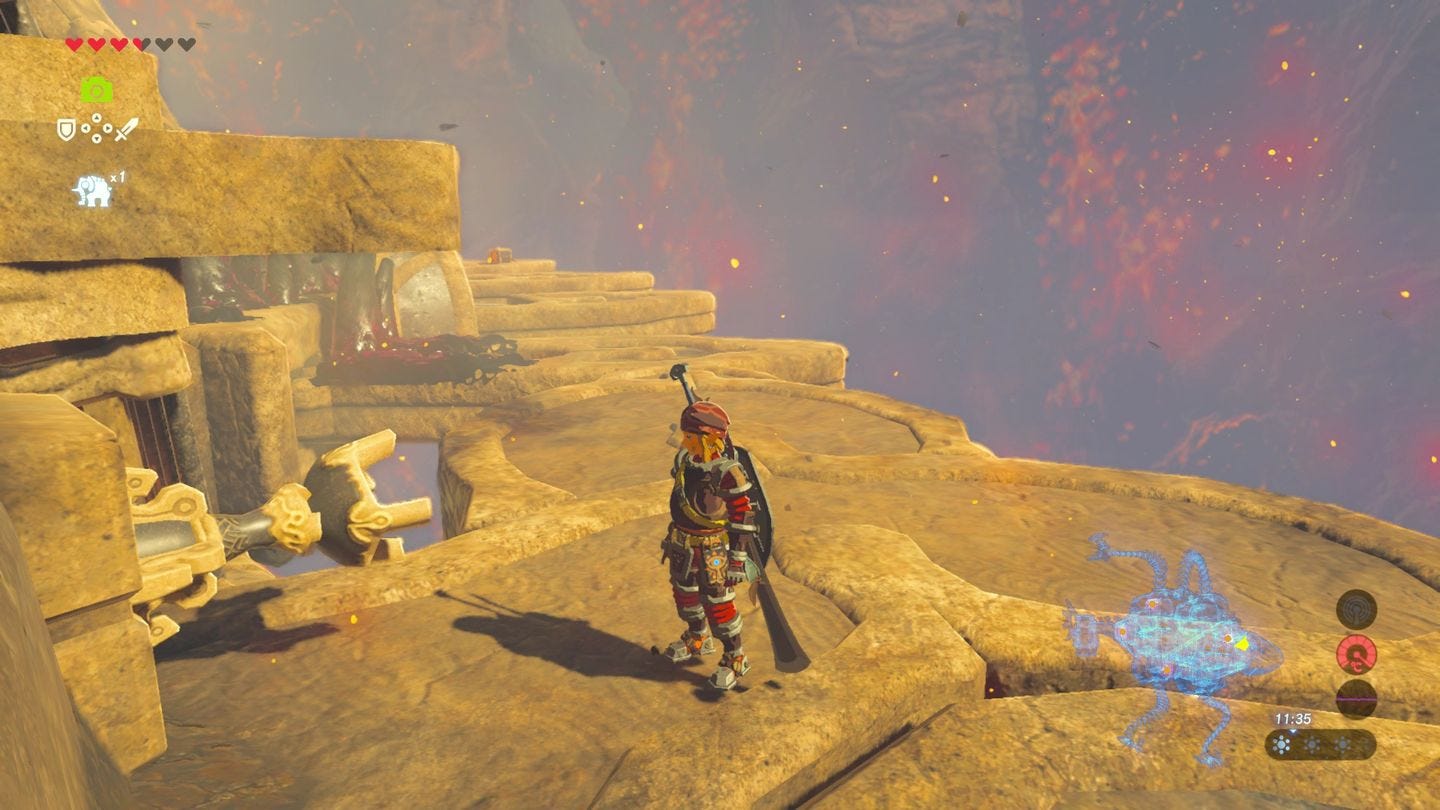
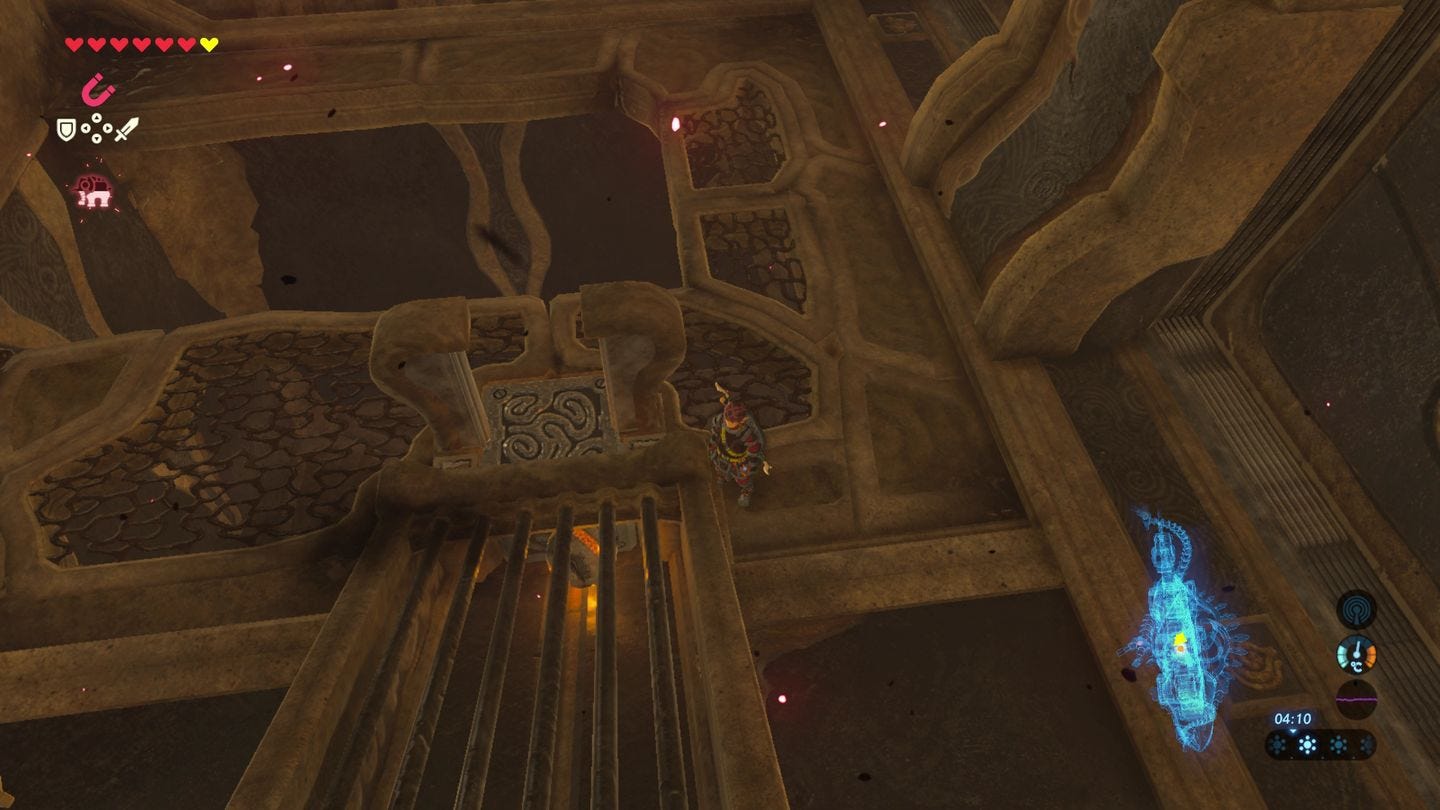
You should now see the long slanted platform leading to the ceiling and outside. Carry the torch up, and when outside, drop down onto the back of the Beast, where it's curved.
Flip the Beast and slowly walk around to the top as it's moving, so you're at a torch you can light.
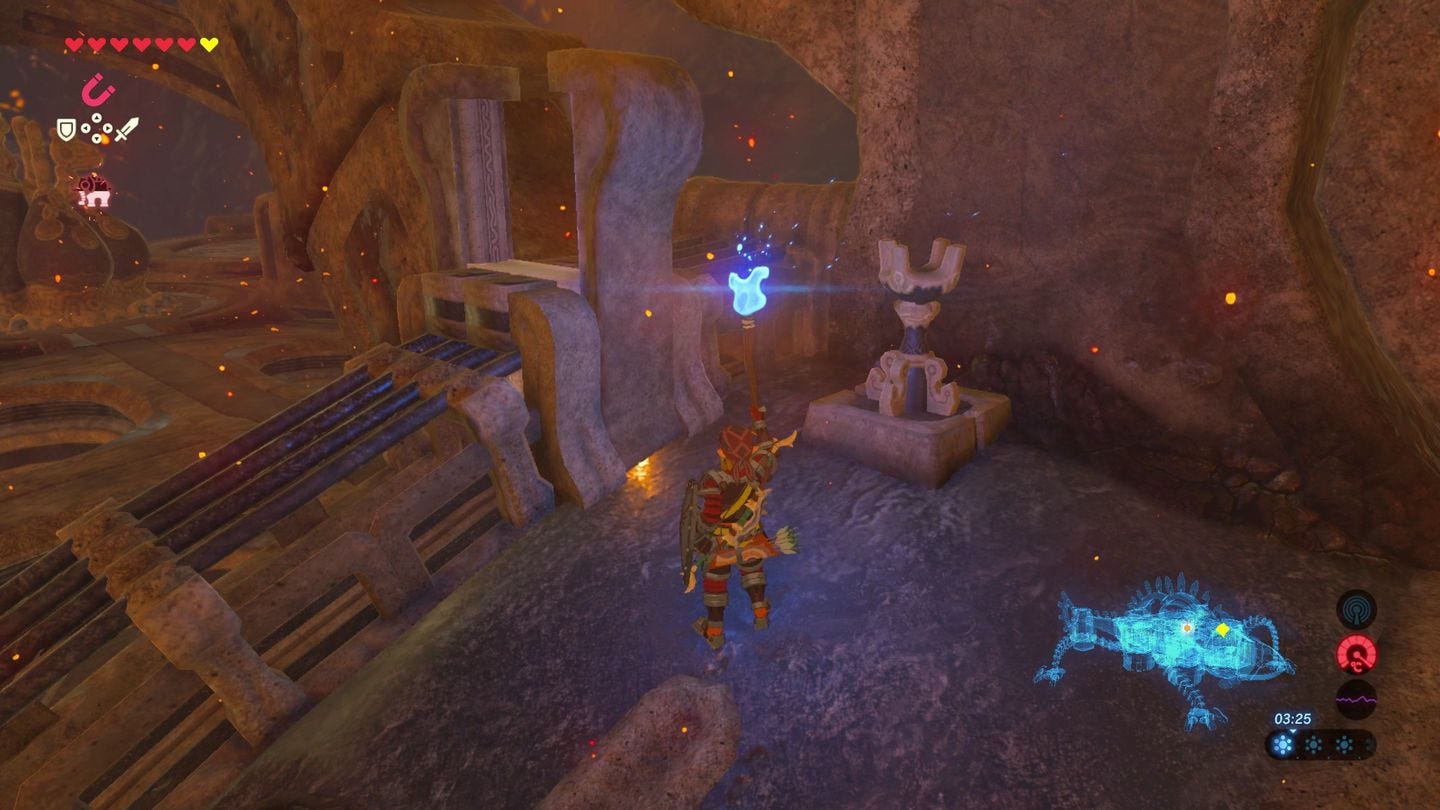
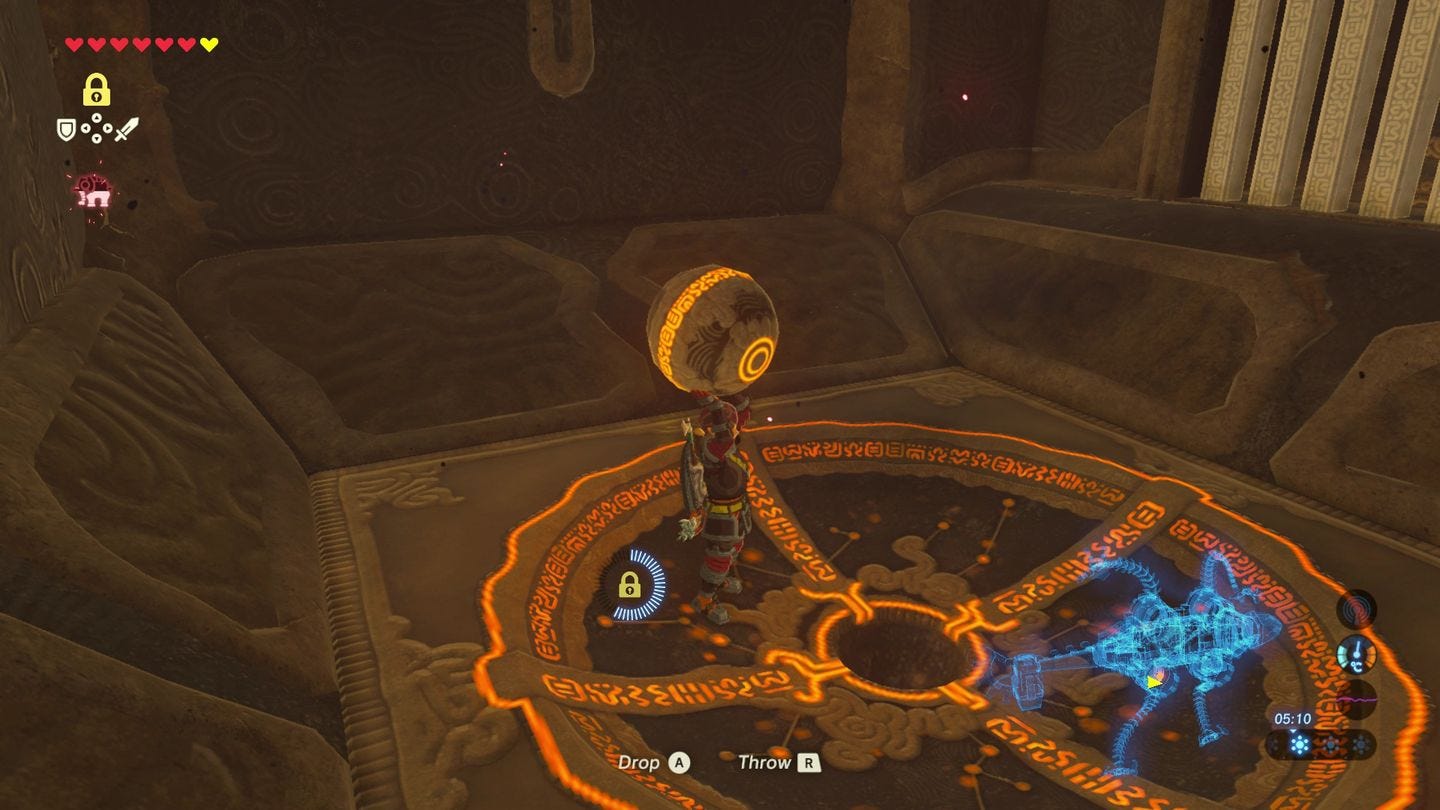
Lighting it will release a ball in the chute below. Follow it back to the interior of the Beast and flip the Beast so the slanted platform can be walked down into the interior, and the ball will travel along it.
At the bottom, it'll stop behind a gate.
Flip the Beast and stand next to the gate, looking up. You have to move the gate to the right with Magnesis (so when it's the other way round, it's up so the ball can travel), then hold it in place with Statis.
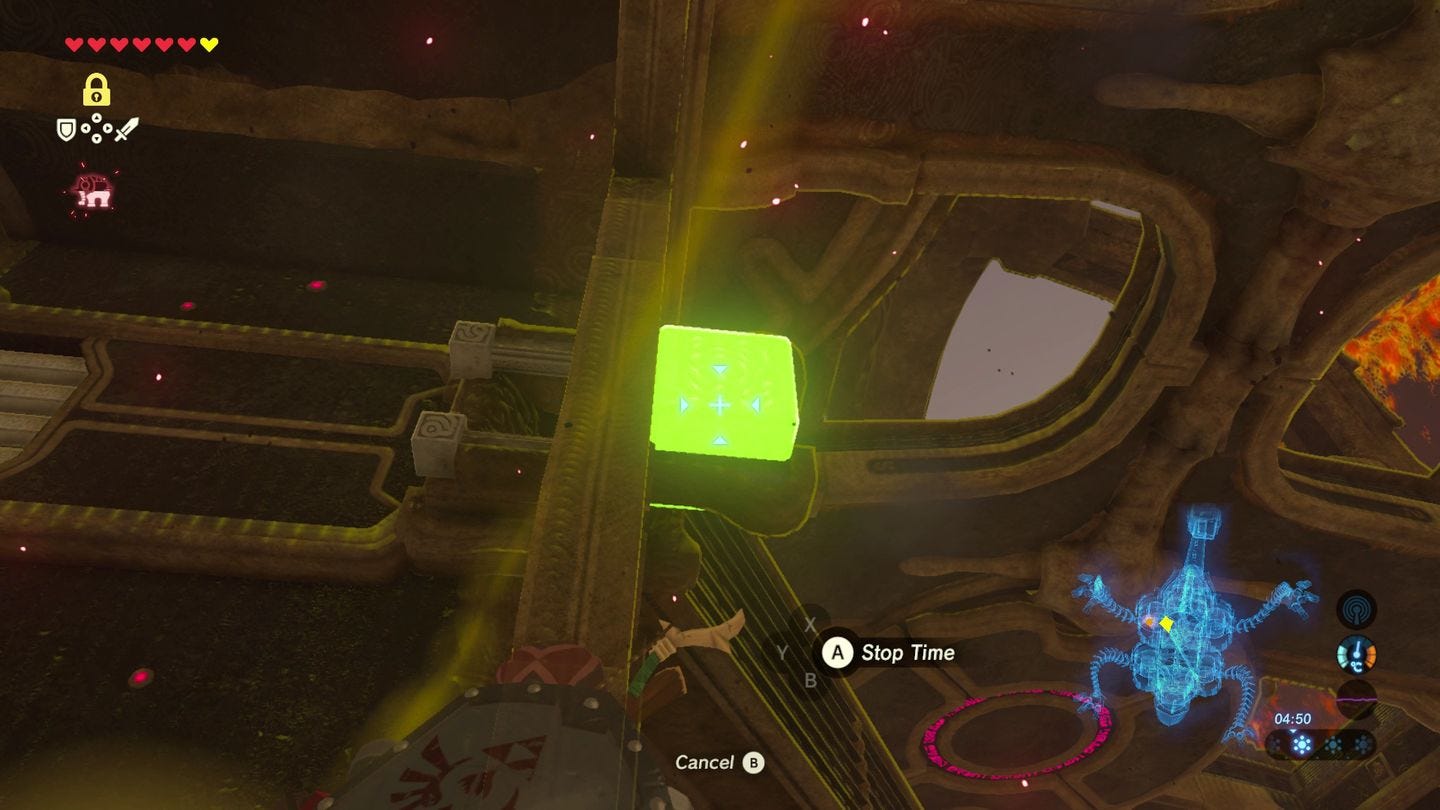
Quickly flip the Beast so when the other way round, gravity will see the ball drop down below. Put the ball in the glowing recess in the floor to reach the terminal.
Now you have completed all five terminals, it's time to face the dungeon's boss, Fireblight Ganon, where we will provide directions of where to start, how to prepare and strategies to defeat it. Good luck!