Zelda: Breath of the Wild - Thunderblight Ganon boss fight strategy
How to defeat the Vah Naboris dungeon boss.

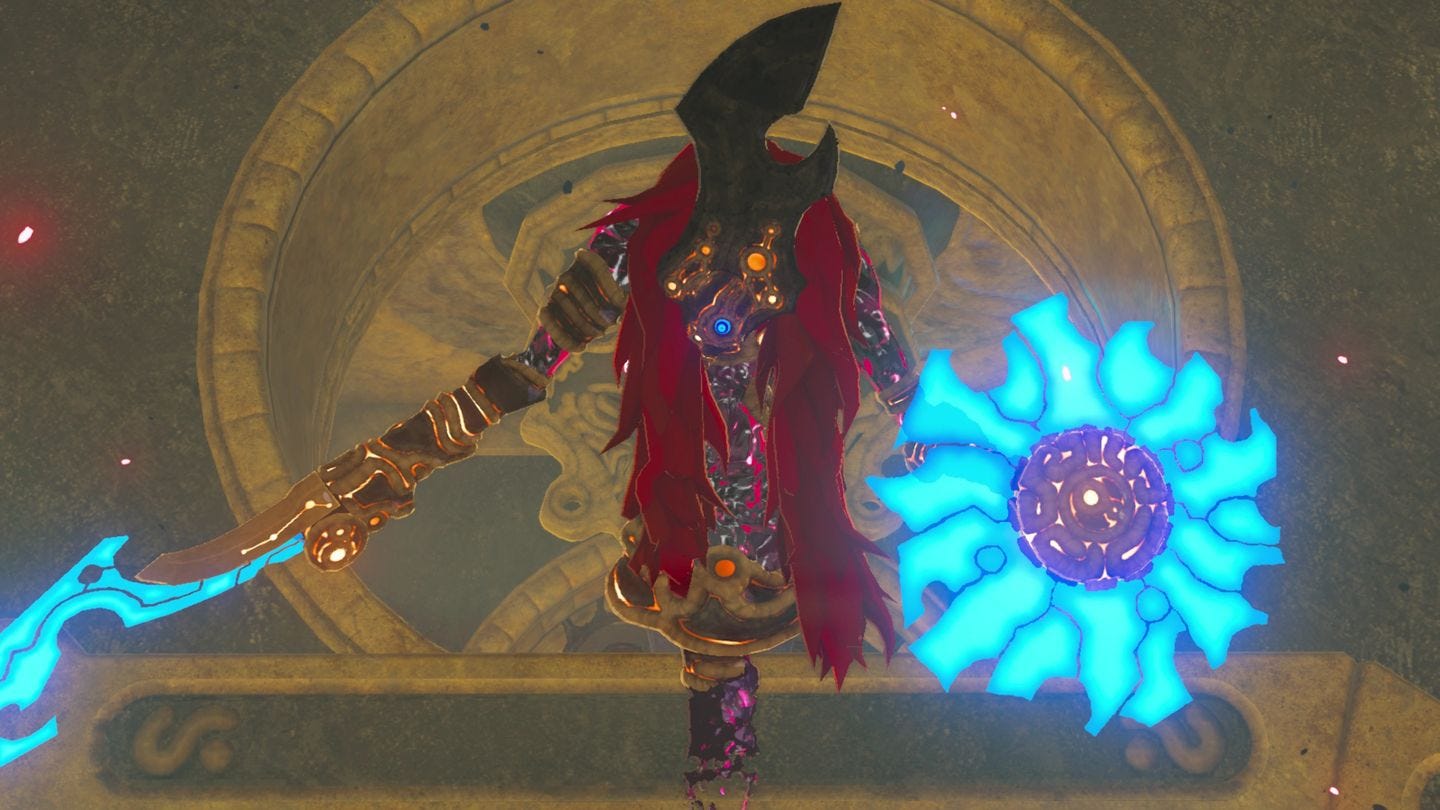
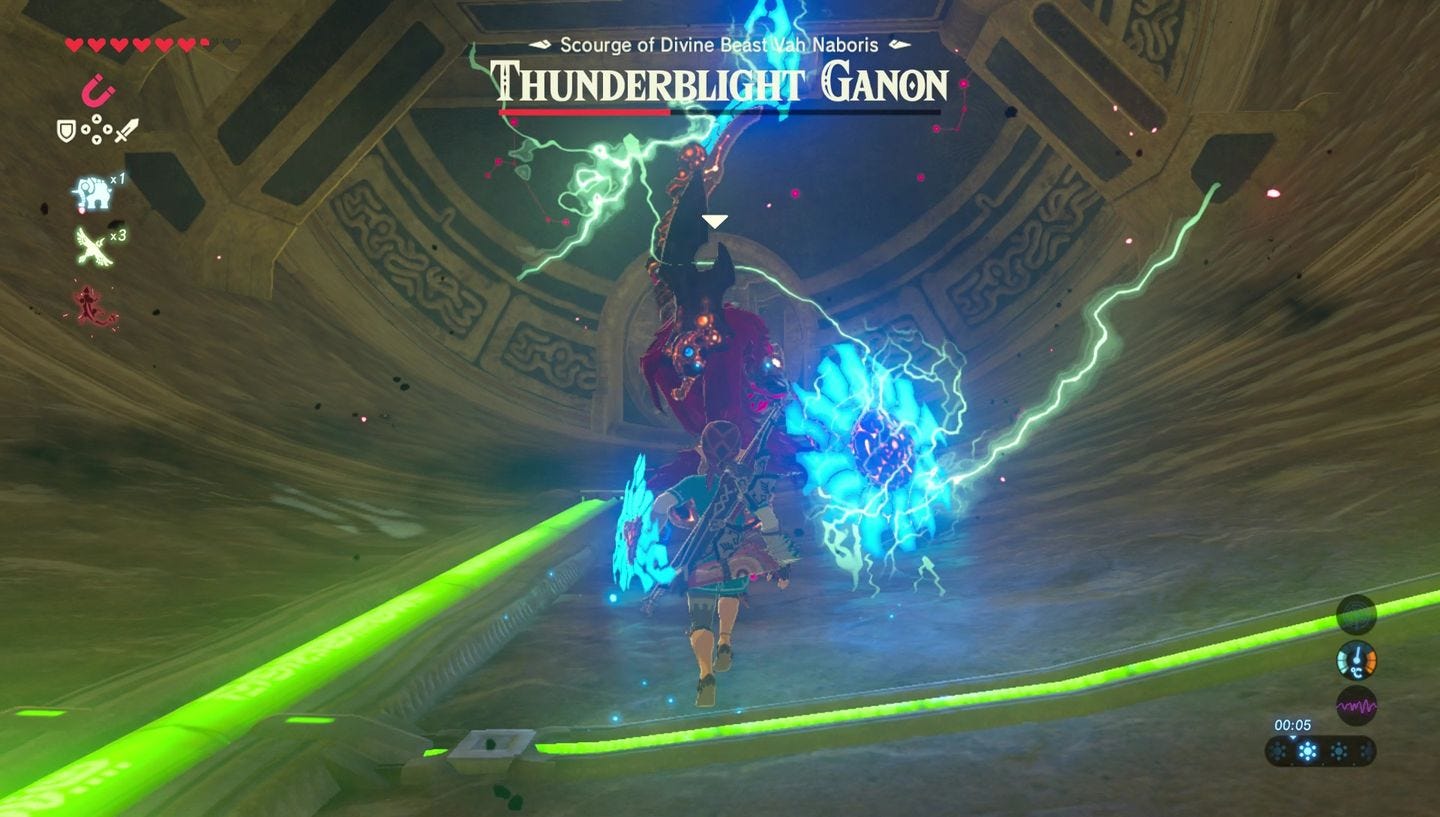
Zelda: Breath of the Wild's Thunderblight Ganon is the boss of the Vah Naboris dungeon, and is required to be defeated in order to claim back one of the Divine Beasts.
If you're after help for parts of the game, consult our Zelda: Breath of the Wild walkthrough and guide.
How to reach the Thunderblight Ganon boss fight and how to prepare
With the five terminals activated from the Vah Medoh dungeon, you can reach the Main Control Unit in the main hall where you moved each compartment and have the circuit running along the ground.
As you did when reaching the map room, run up the far back wall, up the slope, and hop over to the centre, where it'll be waiting.
Before you use the terminal, some preparation is required. As well as the usual heading out to rest in a soft bed for extra hearts and packing some recipes, we recommend a decent one-handed blade (two-handed is doable, but makes defence difficult), some arrows (not essential) and several non-metal shields.

If you are in need of some, then Guardian shields will work great, which can be pillaged from several combat-oriented Shrines in order of increasing difficulty:
- Soh Kofi shrine location, A Minor Test of Strength trial solution
- Muwo Jeem shrine location, A Modest Test of Strength trial solution
- Chaas Qeta shrine location, A Major Test of Strength trial solution
They're also a good place to get Guardian weaponry, which will also work well in this fight.
How to beat the Thunderblight Ganon boss fight
The first phase is simpler than it appears. The boss will quickly warp around and arrive at your feet with a sword thrust. When you anticipate this and are positioned face on, block with your shield and it won't hurt you.
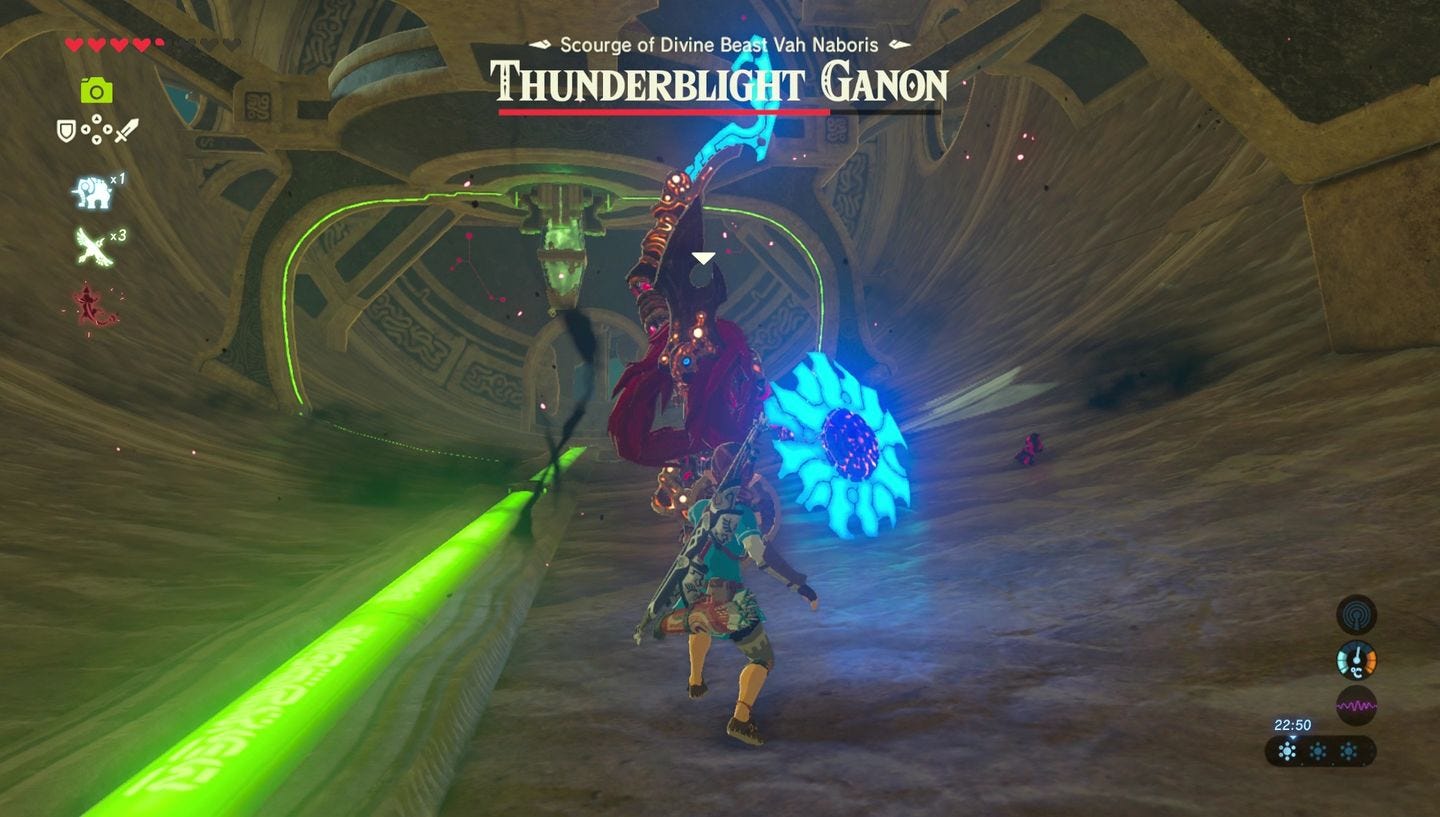
This will leave it open to attack, so quickly swipe with a sword, and if it lands, continue to destroy the shield, and continue to knock it back - before following up with more damage when it's stunned.
If you have a heavier, two-handed sword, then you won't have the time to strike and then block in case he warps away again, in which case, you must rely on Flurry Strikes to dodge and do damage, which is performed by tapping the Y button just as he warps and appears next to you.

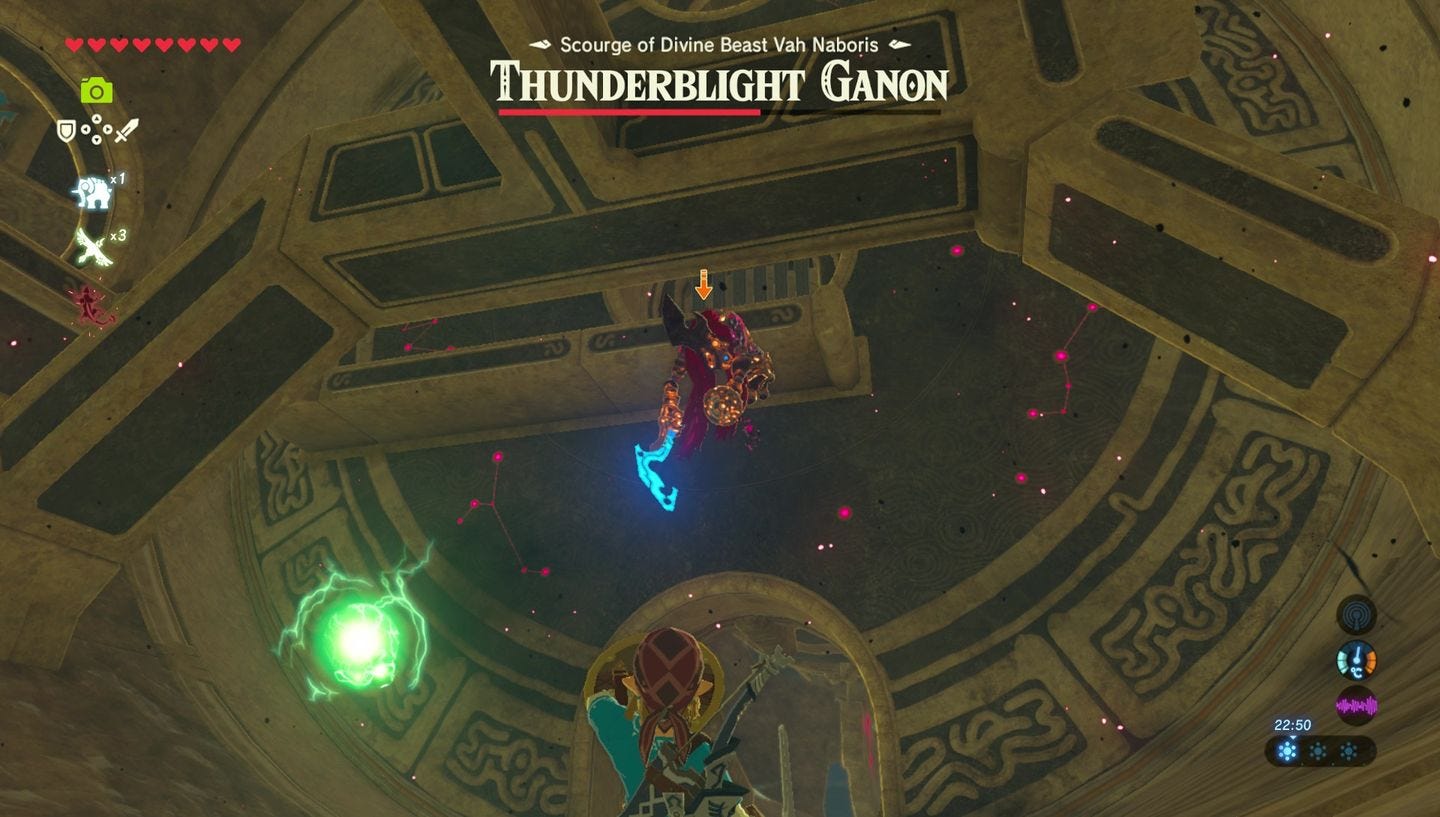
Between these attacks, it may also rise into the air and throw orbs of electricity at you. Keep an eye on the boss and run away from where these land, but they are slow and inaccurate enough you should be able to dodge them with ease.
If it rises into the air after you destroyed the shield, then can you ping over arrows as it won't have anything to block them. Better still, if you land critical hits, it'll drop down to the ground and be dazed again, allowing you to get in more attacks. Then, when he's regenerating his shield, you can actually smash that to pieces and daze him again.
If you get into this cycle, this first phase will go rather smoothly - it's just a question of getting that first chunk of damage in and smashing his shield.
During the second phase, metal posts will drop from the sky and will become electrified. These don't pose much of a threat - it's a case of not standing near them - and these are your ticket to dealing damage.
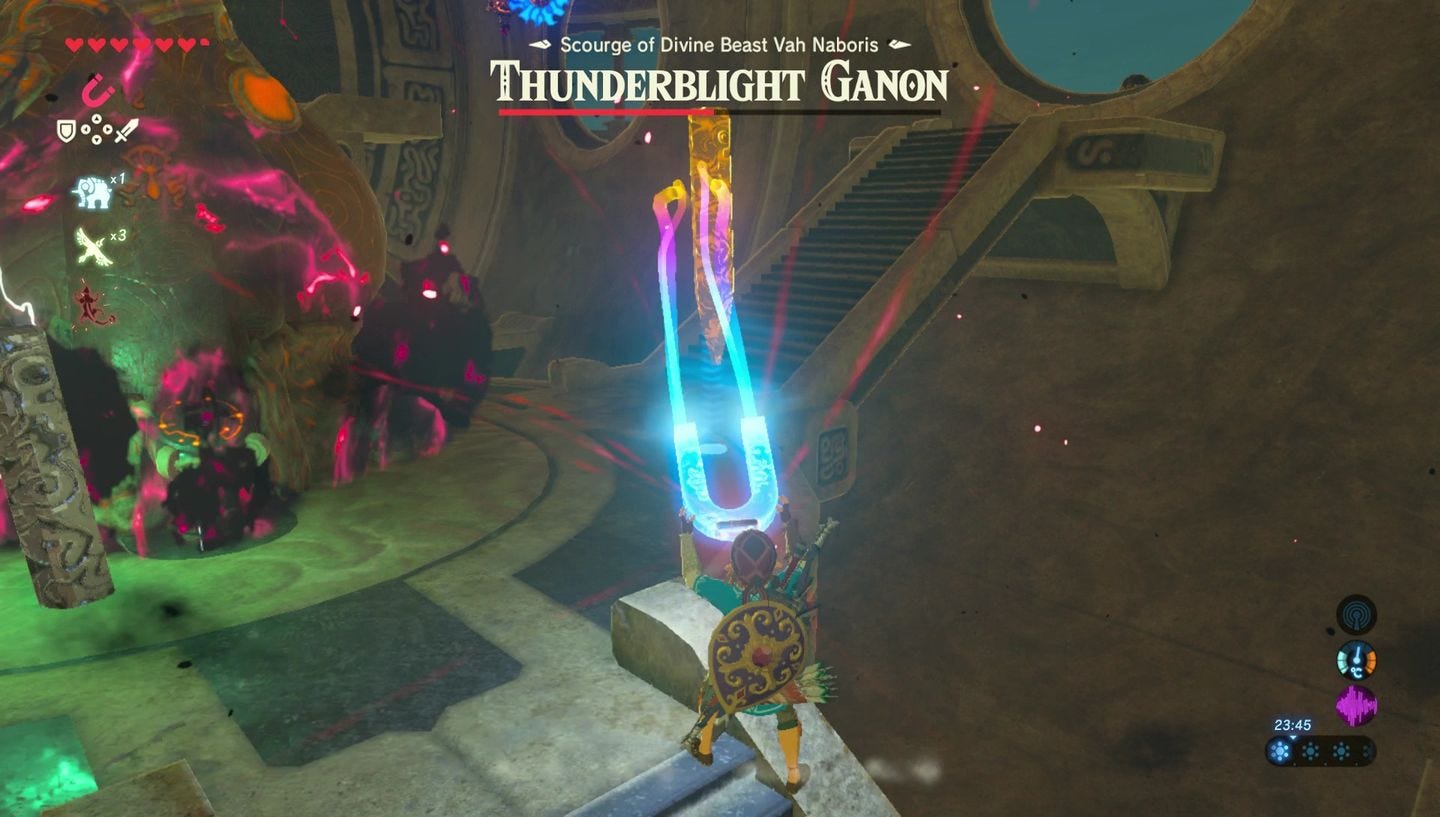
Get onto the upper level from one of the side slant supports, and wait until some rain down. Grab one with Magnesis, hover it next to the boss, and hold it until the next wave, as on the next electrify attempt he'll zap himself. You only need to do this once to get to the third and final phase.
The final phase is the same as the first, except he's faster, has a combo attack and an electrified sword. A note here is any metal shield you have will be useless, and it'll conduct electricity and zap you whenever you block, so hopefully you brought some non-metallic defenses ready.
If you have wooden or Guardians shields (scroll up to the 'preperation' section of this page for some locations) you'll be able to block this rapid attacks, otherwise, you must reply on Flurry Strikes after he teleports to you in order to dodge and then strike back. It's a very difficult final wave, so it's a case of practice or preparation.
There's also a Guardian-style laser attack to look out for, in which case dive and hide behind one of the supports to easily dodge it.
Thanks to a new update, it's now possible to play Zelda Breath of the Wild in VR. Want help with the main game? Our Zelda: Breath of the Wild walkthrough can help complete Divine Beasts Vah Ruta, Vah Rudiana, Vah Medoh and Vah Naboris and more. There's also how to get the Master Sword, Hylian Shield and all Zelda Captured Memories and Great Fairy Fountain locations, while our Shrines locations and Shrine maps hub explains where to find and solve every puzzle room, including dragon locations and Labyrinth solutions. We also have a DLC 1 guide and DLC 2 guide, including all Tingle, Majora's Mask, Phantom, Midna outfit locations.

After the Thunderblight Ganon boss fight
When the battle has concluded, you'll be given a Heart Container - make sure you pick it up before you leave, or it is likely gone for good! - and a cutscene where you'll receive Urbosa's Fury.
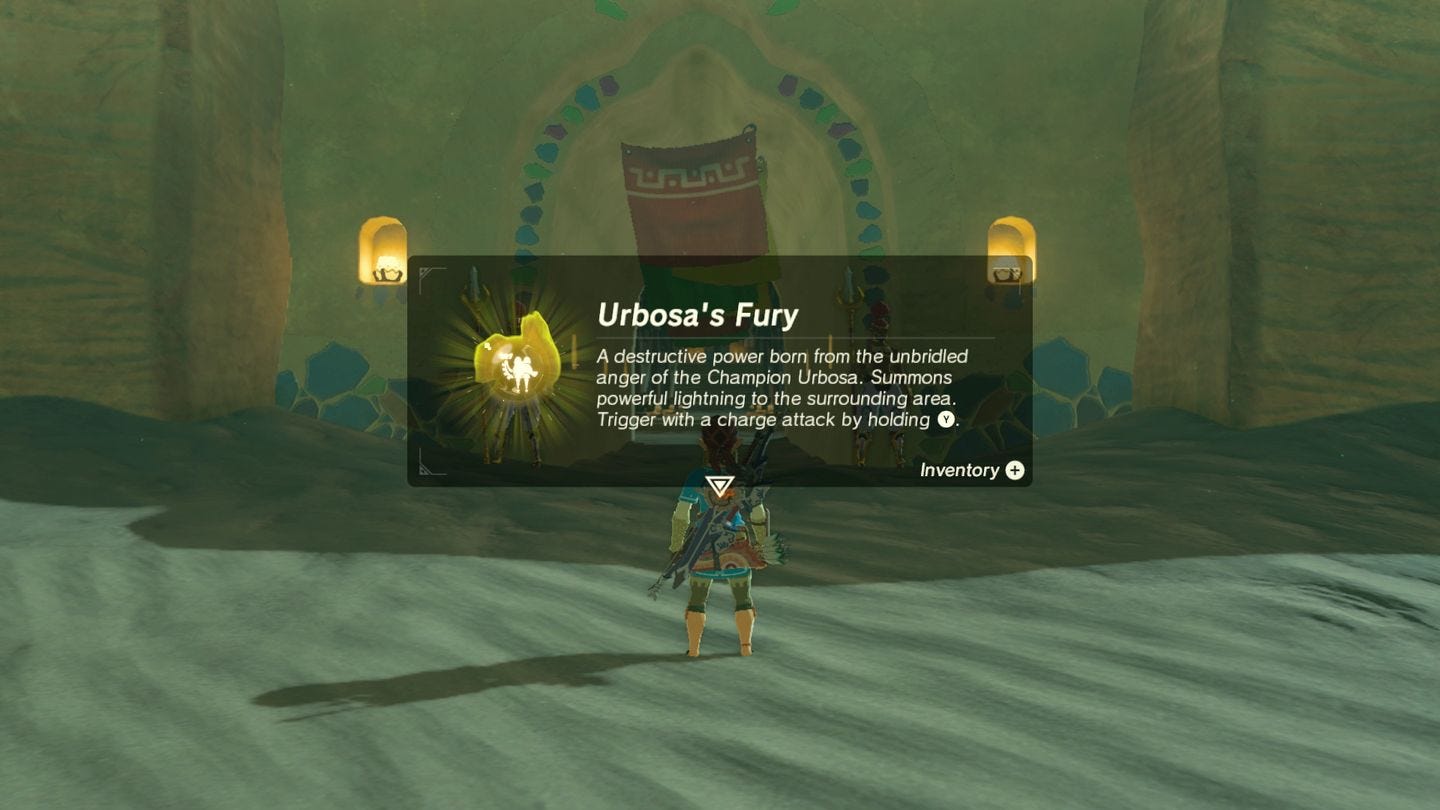
This allows you to deal lightning damage all around you whenever the ability is charged by holding down the Y button.
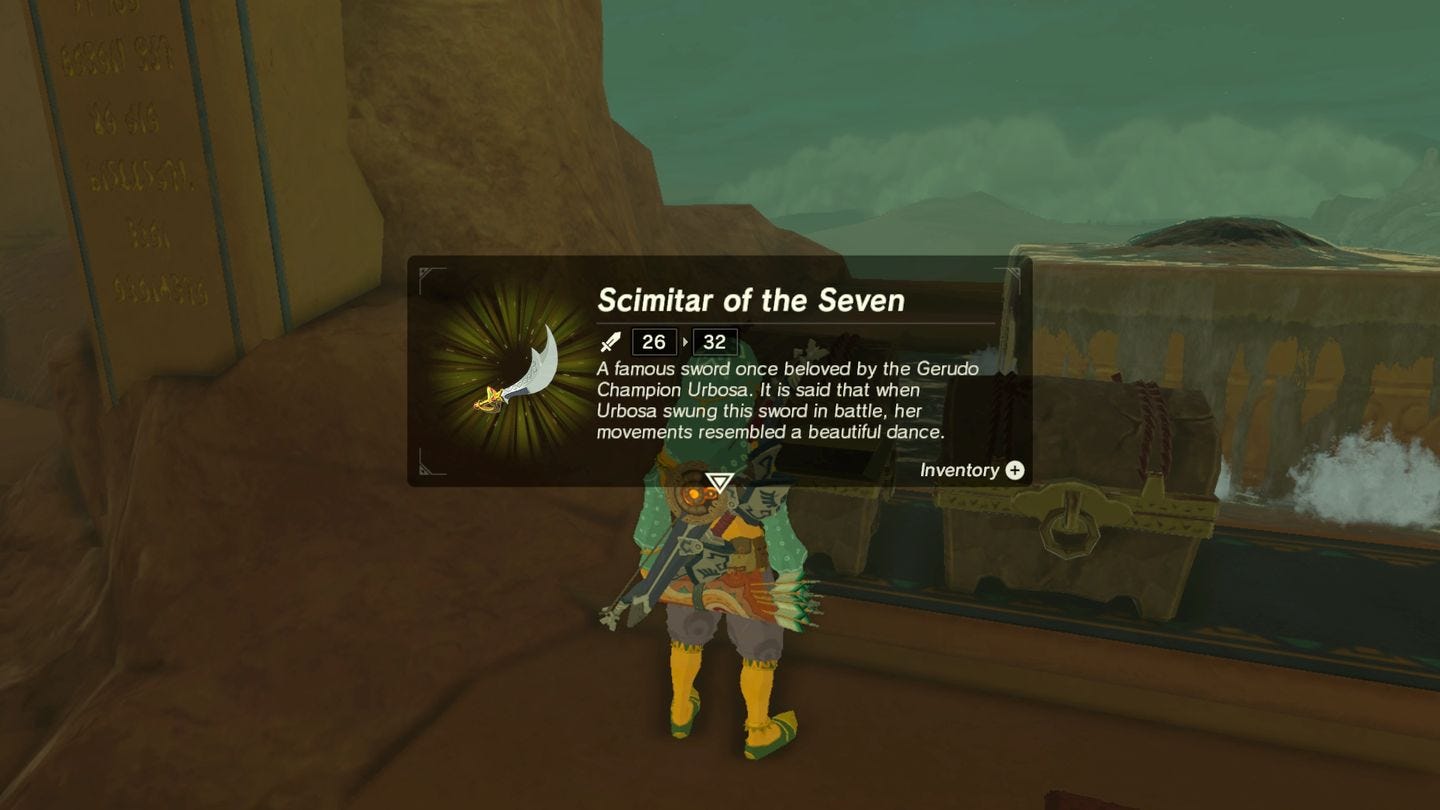
After the cutscene, pay a visit to Riju in Gerudo Town once more, who allows you to open two chests nearby. One gives you a 32 Strength Scimitar of the Seven, and the other a 48 strength Daybreaker shield.
If either break, come back to this room and chat to Buliara by Riju's side, who can fix them provided you have some Diamonds.
If you've yet to complete the other Divine Beasts Vah Ruta, Vah Rudiana or Vah Medoh - then that should be your next port of call. If this is your final Beast, and you're ready, then it's time to Destroy Ganon and complete the game.