Zelda: Breath of the Wild - Vah Ruta dungeon, terminal locations for exploring inside the giant elephant dungeon
How to explore the Zora dungeon, find all terminals and hidden chests.

Zelda: Breath of the Wild's Vah Ruta is one of the game's four Divine Beasts scattered around Hyrule. This page explains how to specifically explore the Vah Ruta dungeon and the five terminal locations inside the giant mechanical elephant.
If you have yet to find it, here are two pages explaining what you need to do first:
- Zelda: Breath of the Wild - Reach Zora's Domain from Inogo Bridge
- Zelda: Breath of the Wild - Facing a Lynel, how to get shock arrows by visiting Ploymus Mountain
After that is the dungeon's boss Waterblight Ganon - but if you've yet to get that far, read on for help with the five terminals.
If you're after help for parts of the game, consult our Zelda: Breath of the Wild walkthrough and guide.

How to access Vah Ruta dungeon
After you have the shock arrows from the Lynel encounter, go to the reservoir west of Ploymus Mountain and south east of Zora's Domain, and find Prince Sidon on the north pier.
This fight has you swim around the Divine Beast on the prince's back while flinging arrows at the projectiles then the shoulders of the Beast. You won't need to worry about where you're going, so just concentrate on aiming.
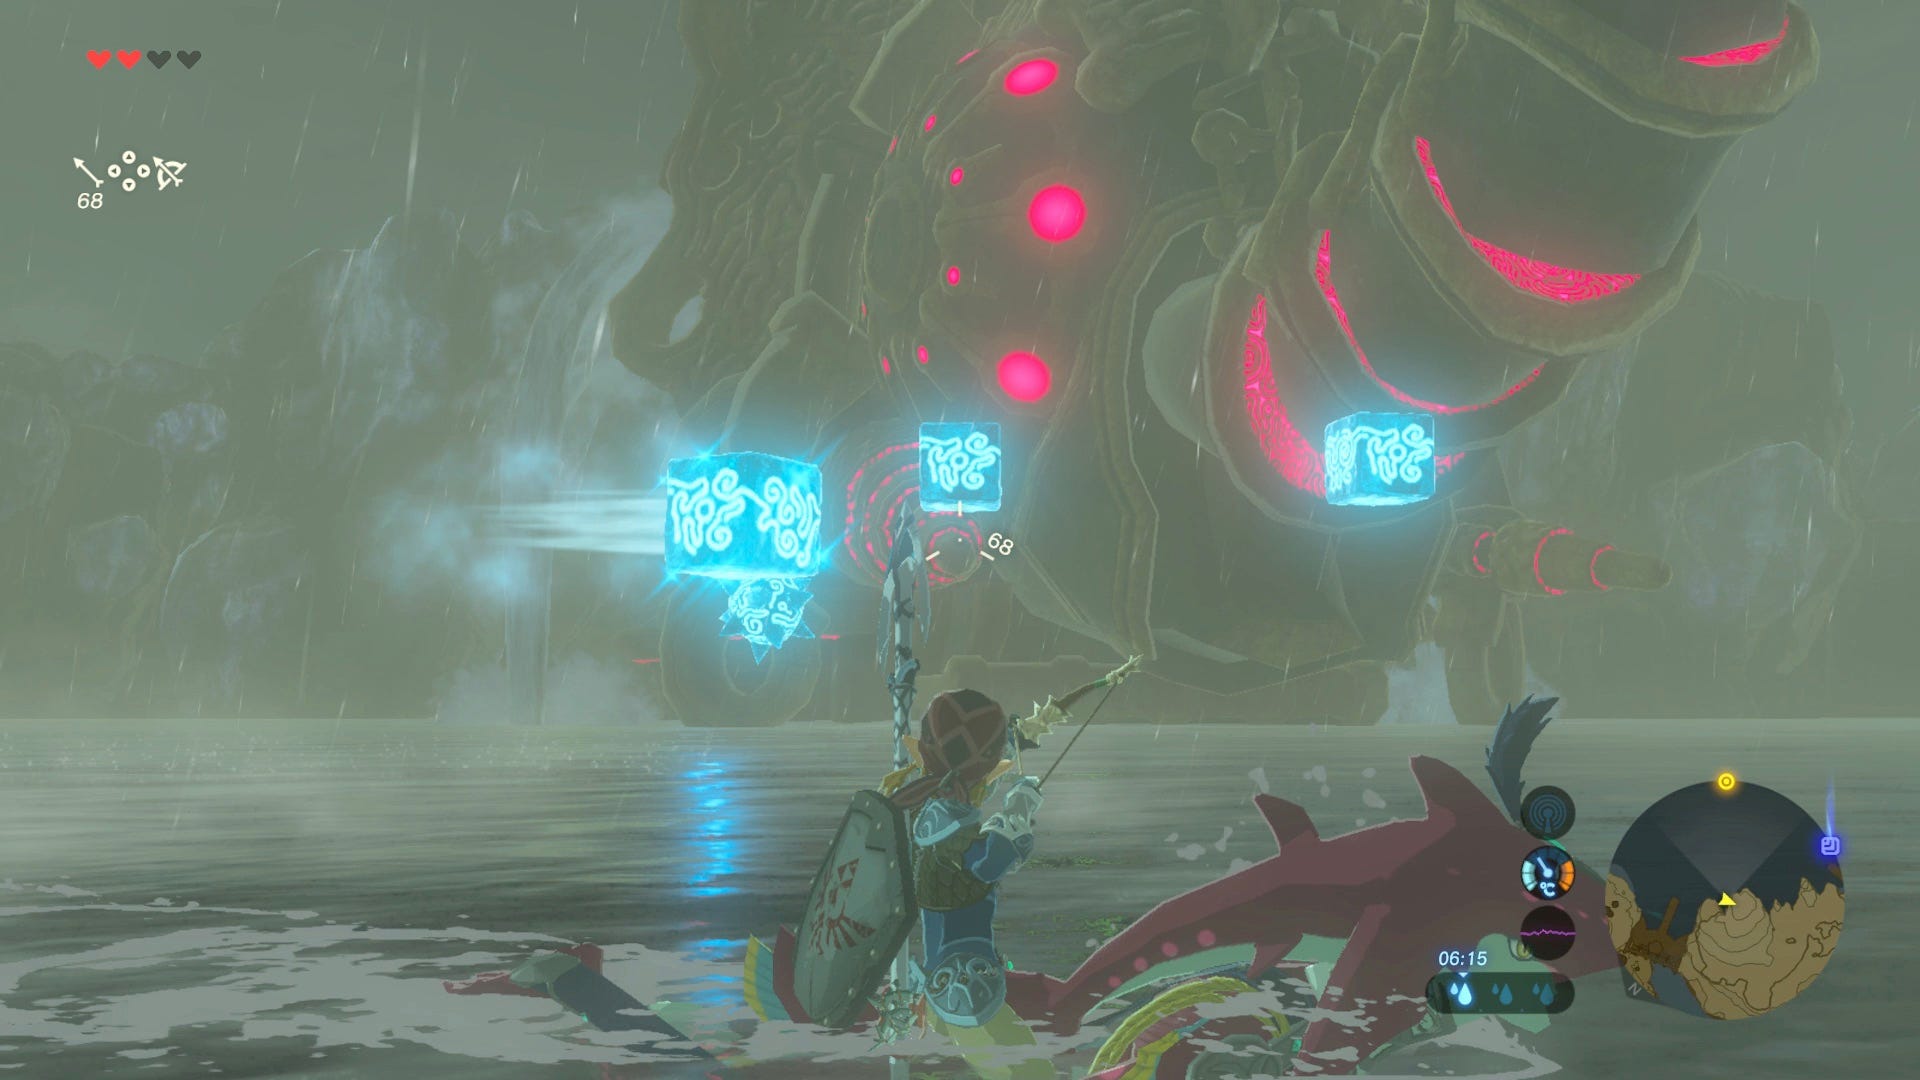
Swap to any bow you like - strength doesn't matter - and normal arrows for the ice projectiles coming your way. Fire only when they're reasonably close, otherwise the wind will take them away.
After you have destroyed a row of projectiles, Sidon will swim next to the waterfalls on one side. Swim up when the prompt appears, and when you start gliding, switch to shock arrows and take aim at one of the glowing pink shoulder orbs. When you land, the Sidon will immediately be there to take you back, and the cycle repeats.
Note it's actually possible to shoot more than one orb while in the air, and towards the end if you are boarding at the wrong side, Sidon will swim to each waterfall until it's the right one. Even if you do go up the incorrect waterfall, you can glide over to the other side and take aim from there.
Also be wary that as the waves go on, the projectiles increase in number and type, with a circular 'mine' that'll give chase in the water. Simply track it and fire at it when it gets close from behind, then turn around and be ready to take out one of the flying variants next.
When the battle is over, a platform with a fast travel point will appear so you can head elsewhere if you like - keep this in mind as you might want to travel out and back before facing the boss for supplies later, but for now the dungeon itself is combat light - otherwise head inside for one of the game's mini-dungeons.
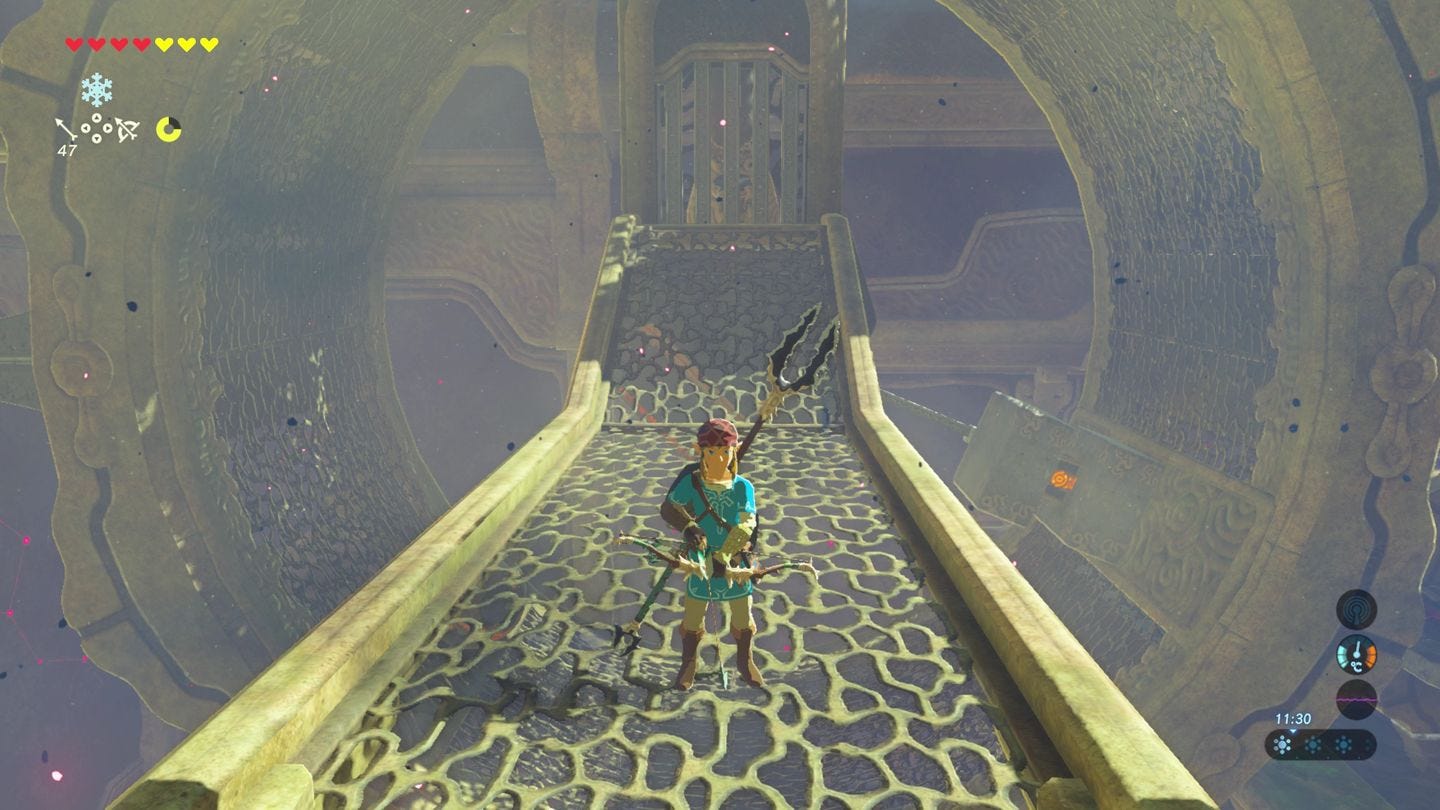
Vah Ruta dungeon and terminal locations
The aim of this dungeon is to activate five terminals then use the main control unit in the room that's to your right as soon as you enter.
Almost all of them require using one of your Runes, so keep in mind their respective abilities in order to navigate the dungeon. There are also hidden chests to find, which we've pointed out along the way alongside their nearest terminals so you reach them in a natural order.
First Terminal in the Vah Ruta dungeon
Right at the start, attack the eyeball at the top of the ramp to defeat it and dispose of the Calamity gunk around it. You'll have to do this several times in the dungeon - so whenever you see Calamity blocking your path, find an eye nearby to remove it.
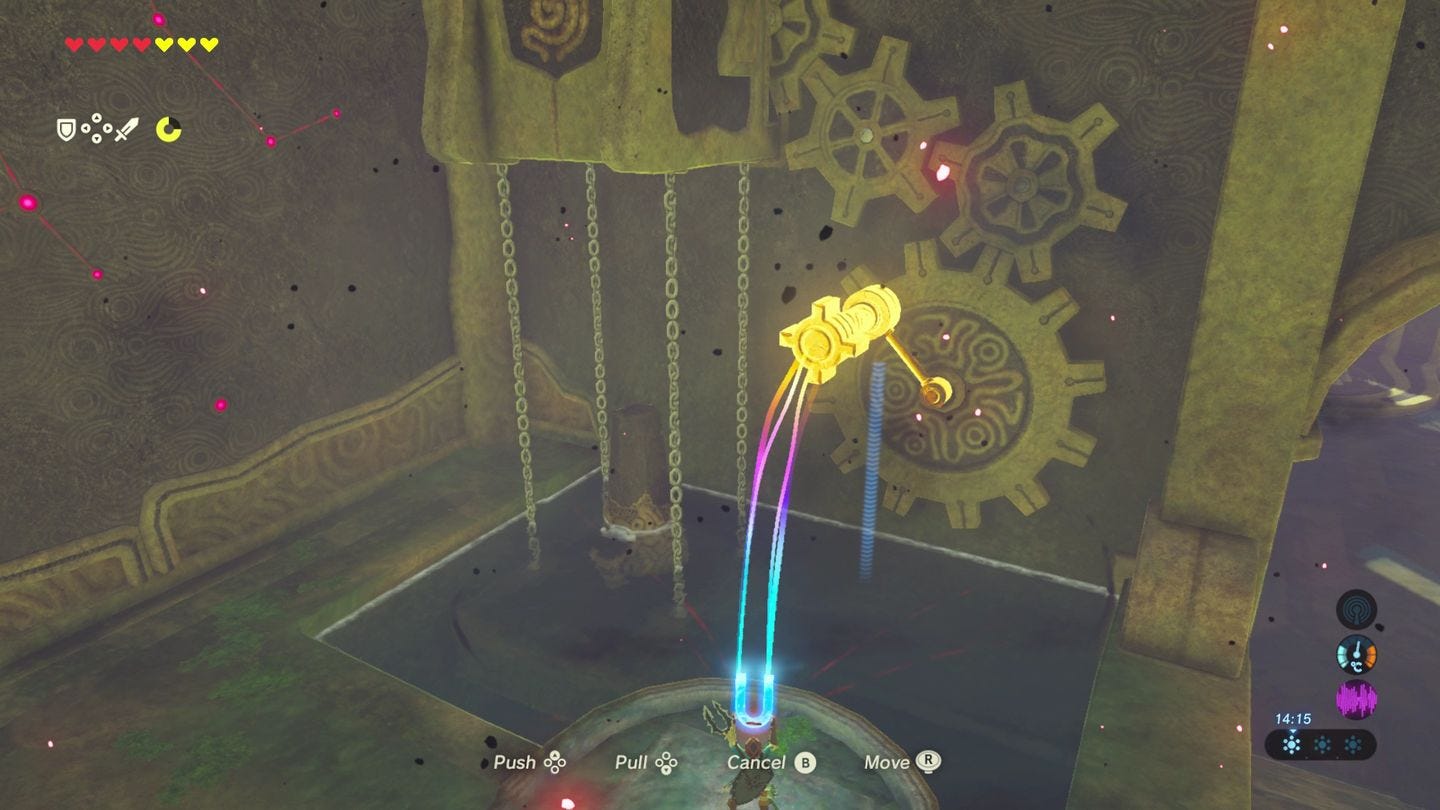
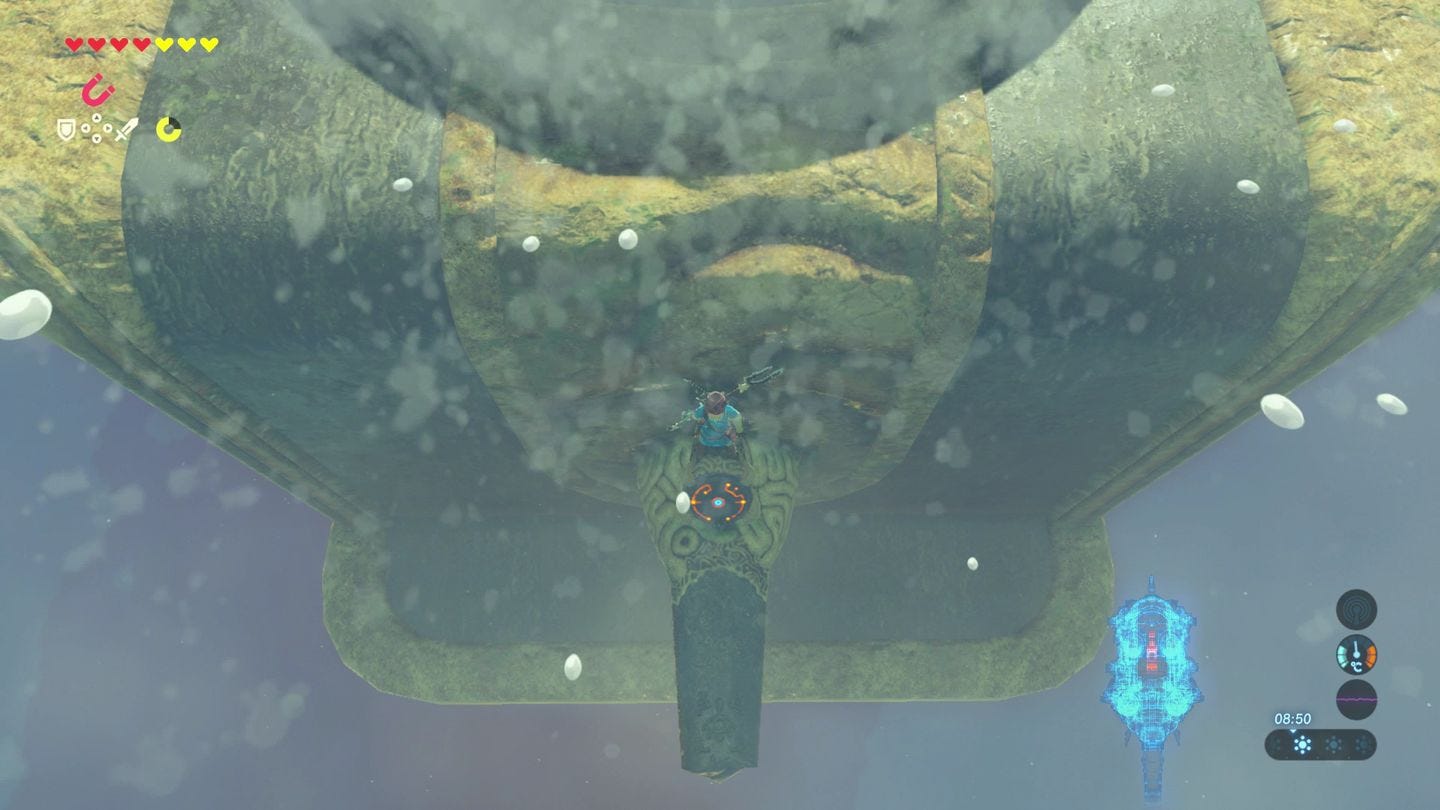
Next, approach the Guardian Scout with your shield raised on the far side so it doesn't blast you, then give it a few swipes to defeat it. Next to it is a platform sumerged in water and a series of cogs on the wall. Use Magnesis on the cogs and move it round in circles to move it up, allowing you to use your slate.
Vah Ruta Map location
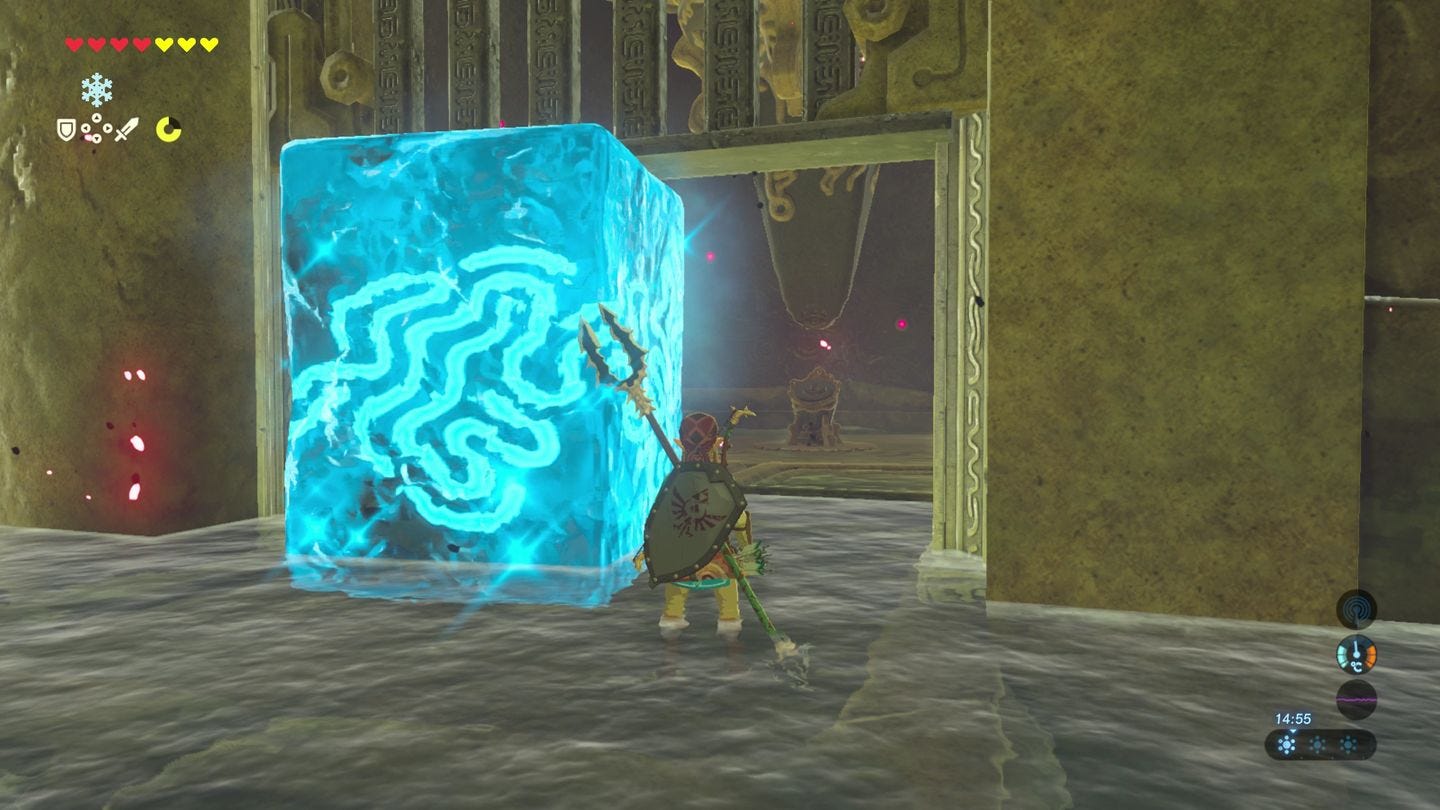
On the far side of the room is the Guidance Stone inside a locked room. Locate the orange eye under the water on the bottom right to destroy the Calamity that envelope it, then use Cryonis to raise the gate. This adds a map function to your Slate, which you'll need to use a little later. Before you leave, use Magnesis on the chest under the water to raise it up for an Ancient Spring.
Second terminal location in the Vah Ruta dungeon
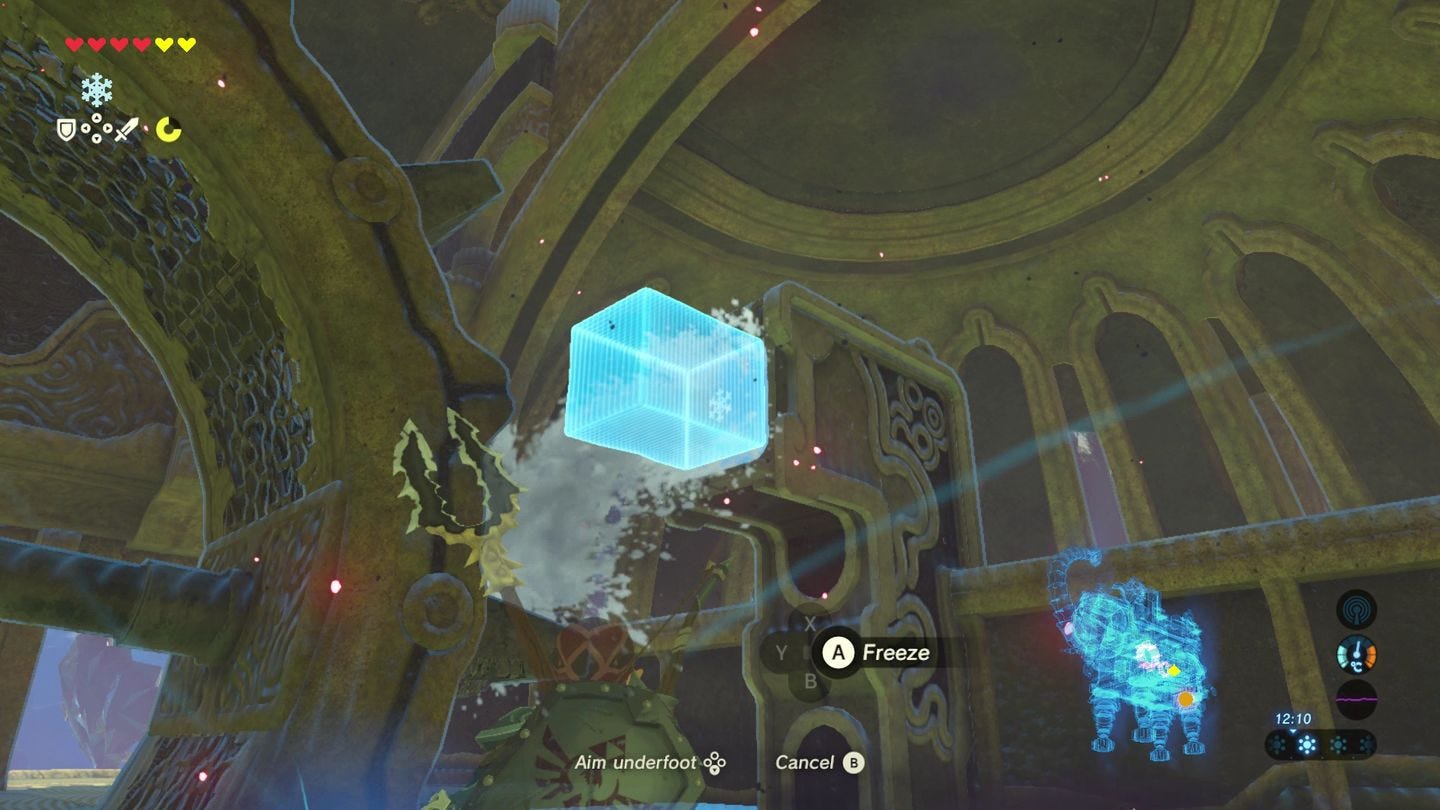
There is a doorway that leads outside just to the right of the Guidance Stone room. Head up the ramp into the next area, and take out another Guardian scout. In this room is a waterwheel. First, to get the chest above, use Cryonis on the water as a stepping stone up, netting you a Silver Rupee.
One of the terminals inside the centre of this waterwheel, spinning around. To reach it, aim your Cryronis rune at where the water is coming out to stop to flow. Time it when the terminal is at its lowest point - look to see the central spokes make a horizontal line - and it'll become accessible.
Third terminal in the Vah Ruta dungeon
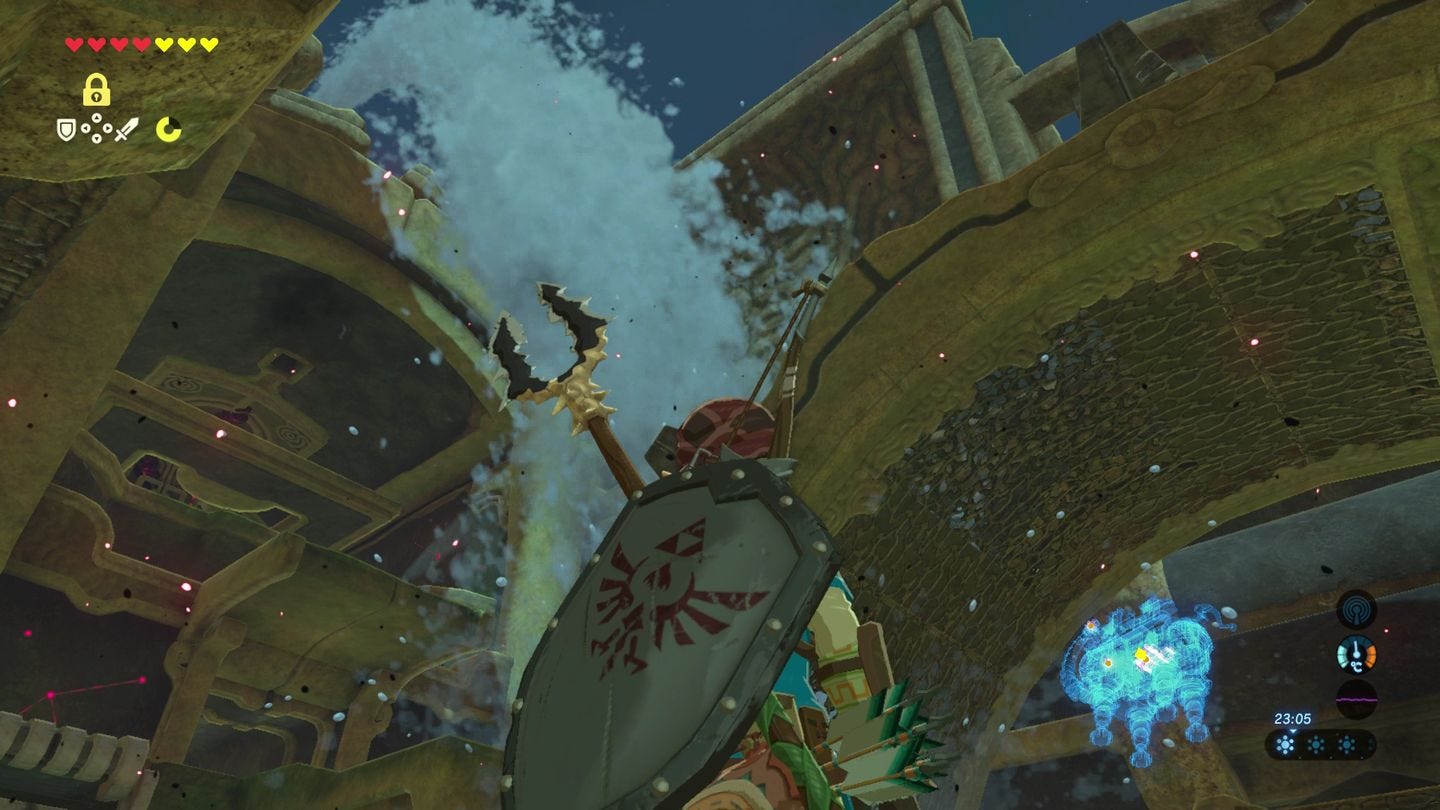
Go through the other side of the waterwheel is another passage leading outside and up. Blocking your path is more Calamity gunk and a mouth spitting out floating enemies. Shoot the orange eye on the upper left to clear the way.
On the next level is a giant wheel with a chest and an orange ball resting below. Open your map, and you'll see that you can select multiple different angles above the trunk.
Select it high above then back of out of the menu to change its position. By moving it up, the trunk will appear over the dungeon, flowing water through the ceiling and onto the wheel.
When the orange ball is above and drops down, it connects and opens the gate to the terminal in the middle. Cast Statis on the ball to hold it in position as it rotates around, allowing you to quickly access the Terminal when it next comes round.
To get the chest, move the trunk again all the way up so the wheel is moving around. Use Statis on the outside block that surrounds the chest just before it drops down. That way, the block stays up, and you can climb up and open the chest for a valuable Ancient Core. Be quick, though, or it'll fall on your head,
Fourth Terminal in the Vah Ruta dungeon
To get to the far ledge, you have to ride the wheel up and over. Move the trunk of the beast until about four notches from the top, so it rotates towards the ledge. Head to the lower wheel where the second terminal was - you can glide down from here - and jump on one of the cog ledges.
Leap off to the ledge and defeat the Guardian Scout. Press the button on the side and it'll create a waterfall; you can use this to get back up here using the Zora Armour if you need to.
Go through the passage and you'll be outside overlooking the trunk. Move it to its lowest level, then leap and paraglide over the trunk to the far end. There's a short grey platform just before the top of the trunk that you can safely land on.
Move the trunk three nudges up, and you can safely stand on top. The terminal will be at a right angle to you, but if you drop down and stand on top of it, when you continue to move it you won't fall off. Continue until about three notches from the top and you'll be able to examine it safely.
Thanks to a new update, it's now possible to play Zelda Breath of the Wild in VR. Want help with the main game? Our Zelda: Breath of the Wild walkthrough can help complete Divine Beasts Vah Ruta, Vah Rudiana, Vah Medoh and Vah Naboris and more. There's also how to get the Master Sword, Hylian Shield and all Zelda Captured Memories and Great Fairy Fountain locations, while our Shrines locations and Shrine maps hub explains where to find and solve every puzzle room, including dragon locations and Labyrinth solutions. We also have a DLC 1 guide and DLC 2 guide, including all Tingle, Majora's Mask, Phantom, Midna outfit locations.

Fifth Terminal in the Vah Ruta dungeon
While you're in the air, glide down to the back of the beast and you'll see two side areas corrupted by Calamity. The one on the left has a chest to get Ice Arrows. Stand by it, and to remove the Calamity, shoot the eye that's on the opposite side with an arrow.
When done, get back to the point before you started gliding so you are stood overlooking the trunk again. Move it to its lowest position, and run along it. Shoot the orange eye at the top of the gunk to give you access to the chest containing an Ancient material.
While on this end of the trunk, raise it up to the top and leap off and glide over to the body of the beast when you slide off.
On the roof, before you drop back to the area with the giant waterwheels, is a small hole you can drop down.
Do so, and you'll be above the next terminal surrounded by flames. First shoot the Calamity Eye on the ceiling, then use Magnesis on the cogs opposite to part the roof before you.
Now move the trunk five notches out from the top to extinguish the flames, gives you access to the Terminal. Drop down one level from here into the centre to find a chest with the Knight's Halberd. If you miss this chest, you can always swim up the waterfall created earlier from the switch and glide to it.
With all five Terminals activated, the main control unit in the room that leads out from the right of where you enter is active. Now to how to prepare and take on Waterblight Ganon, which is the boss you'll face as soon as you activate it, which we'll discuss in the aforementioned link.