Zelda: Breath of the Wild - Seek Out Impa, how to get to Kakariko Village
What's worth seeing along the way to Impa in Kakariko Village.

Zelda: Breath of the Wild's Seek Out Impa is a quest that comes after you complete The Isolated Plateau and visiting The Temple of Time, and sees you traverse into the wider world for the first time.
The journey to Impa at Kakariko Village has a few sights to see - including your first chance to tame a horse - as well as a new Tower to climb.
If you're after help for parts of the game, consult our Zelda: Breath of the Wild walkthrough and guide.
How to get the Kakariko Village
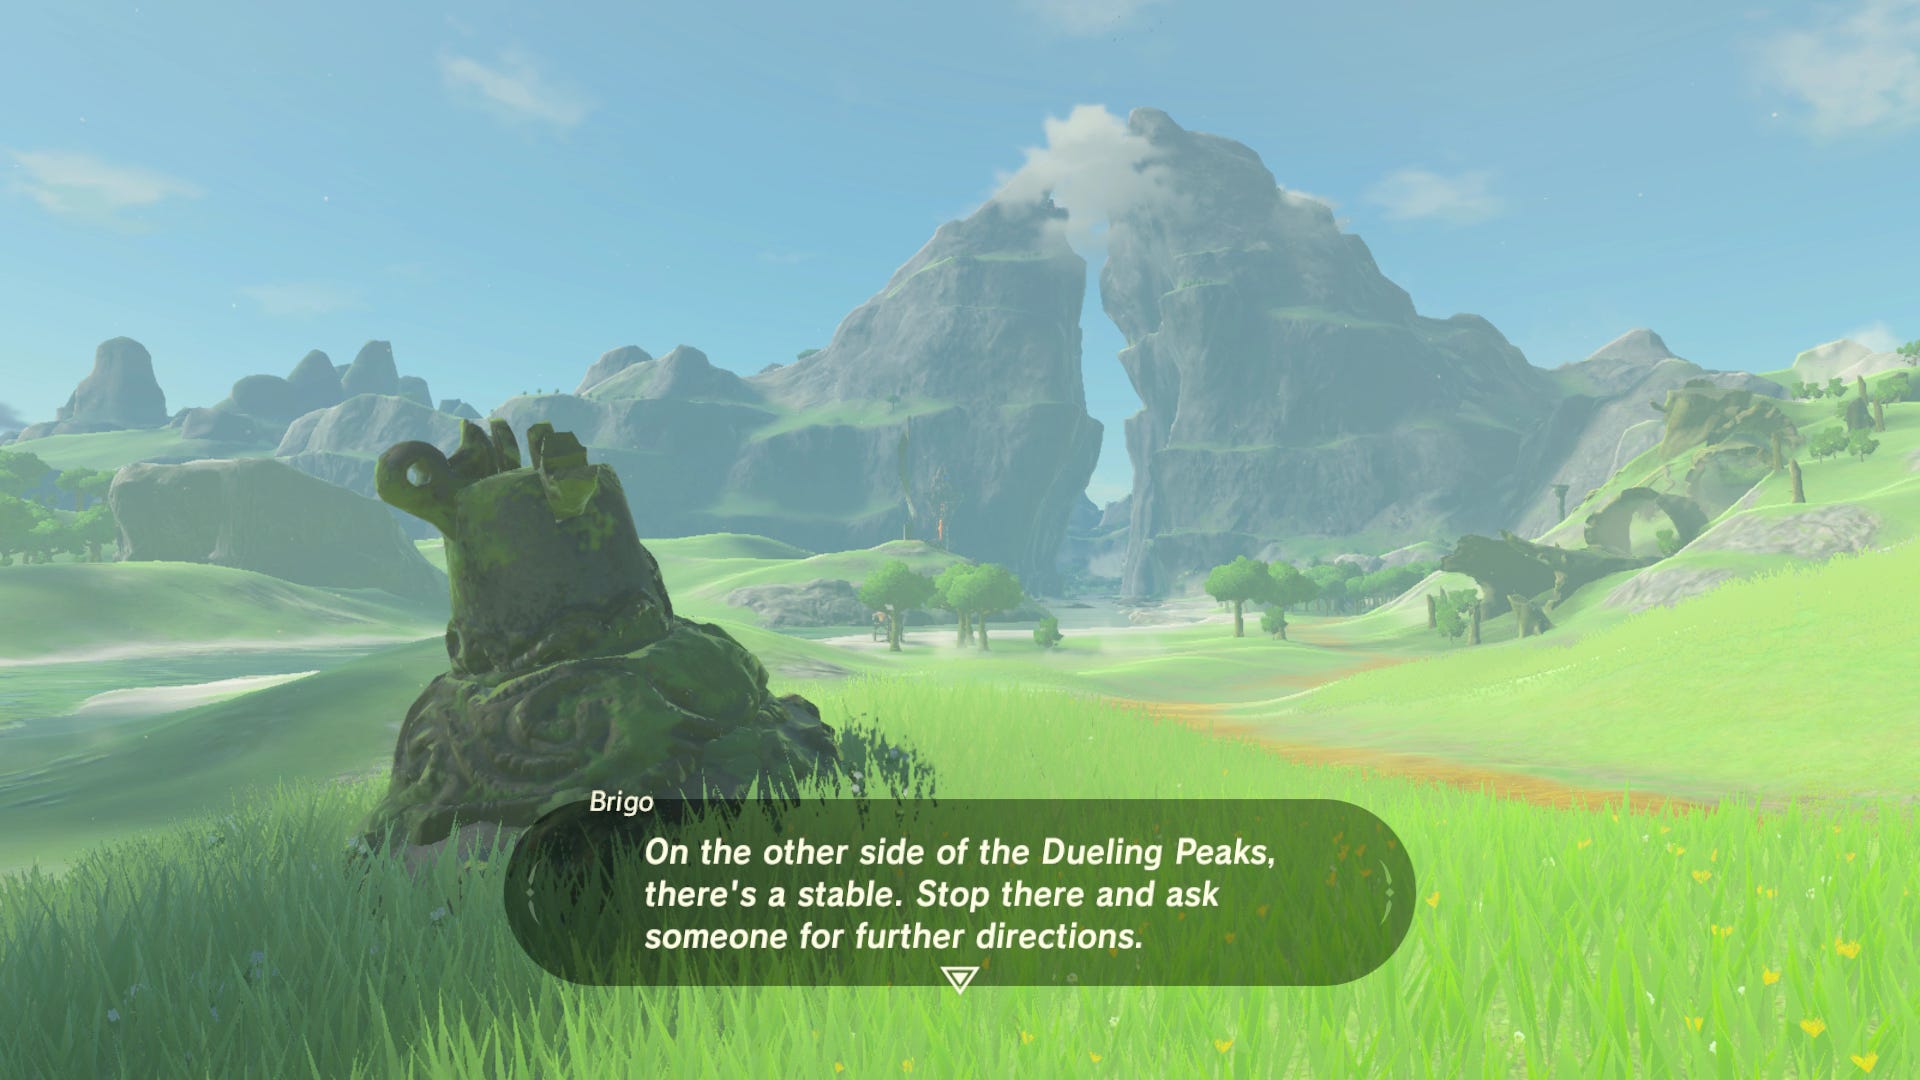
Now you have your Paraglider, you are free to leap from the Great Plateau into Hyrule Kingdom below. Enjoy the ride, park on the grass and set off towards the east towards the Dueling Peaks, which is how you get to Kakariko Village.

The beauty of this Zelda game is the exact route is up to you, so if you get ambushed, find something difficult or simply become distracted, you can find a different path. Here's some things we observed on our trek through Hyrule Kingdom in that direction:
- The Outpost Ruins and East Post Ruins have food and resources you can find, but also feature Moblins, which are large intimidating creatures. We recommend avoiding taking them on, but if you do, Fire Arrows work well, and reward you with Moblin Fangs and Moblin Horns.
- Before the Dueling Peaks is Proxim Bridge has an NPC named Brigo. He'll discuss distance towers and Guardians - pointing out one at the bank of the nearby river. There is a campfire just after the Bridge where you can rest until morning if you like.
- If you head across the river and up the hill, there is a Stone Talus boss by West Nabi Lake. Once you defeat it, rewarding you with lots of valuable resources which you can sell for Rupees.
- Be sure to climb and activate the Dueling Peaks Tower just before the Peaks themselves, which is difficult to miss. It's basically one long climb with ledges all the way so you rest. Doing so will unlock the area's map, as well as add the Shiekah Sensor that'll chime whenever a Shrine is nearby.
- There is a meat merchant named Mezer just south of the Dueling Peaks Tower, across the river, if you have Rupees to spare - but we recommend hunting since there are wild animals all over.
- Underneath the Dueling Peaks themselves, along the river and up a short cliff, is the Ree Dahee shrine.
- There are plenty of ores to smash in the tunnel - use a sledgehammer or bombs to get their valuable innards.
- When you emerge from underneath the Peaks, to your left is Ha Damahar Shrine, surrounded by spikes. Leap off the cliff inside the tunnel and glide over the spikes to access. They'll disappear when you complete the Shrine, but if you want to leave early, then you can awkwardly climb up the side of the Shrine and leap away.
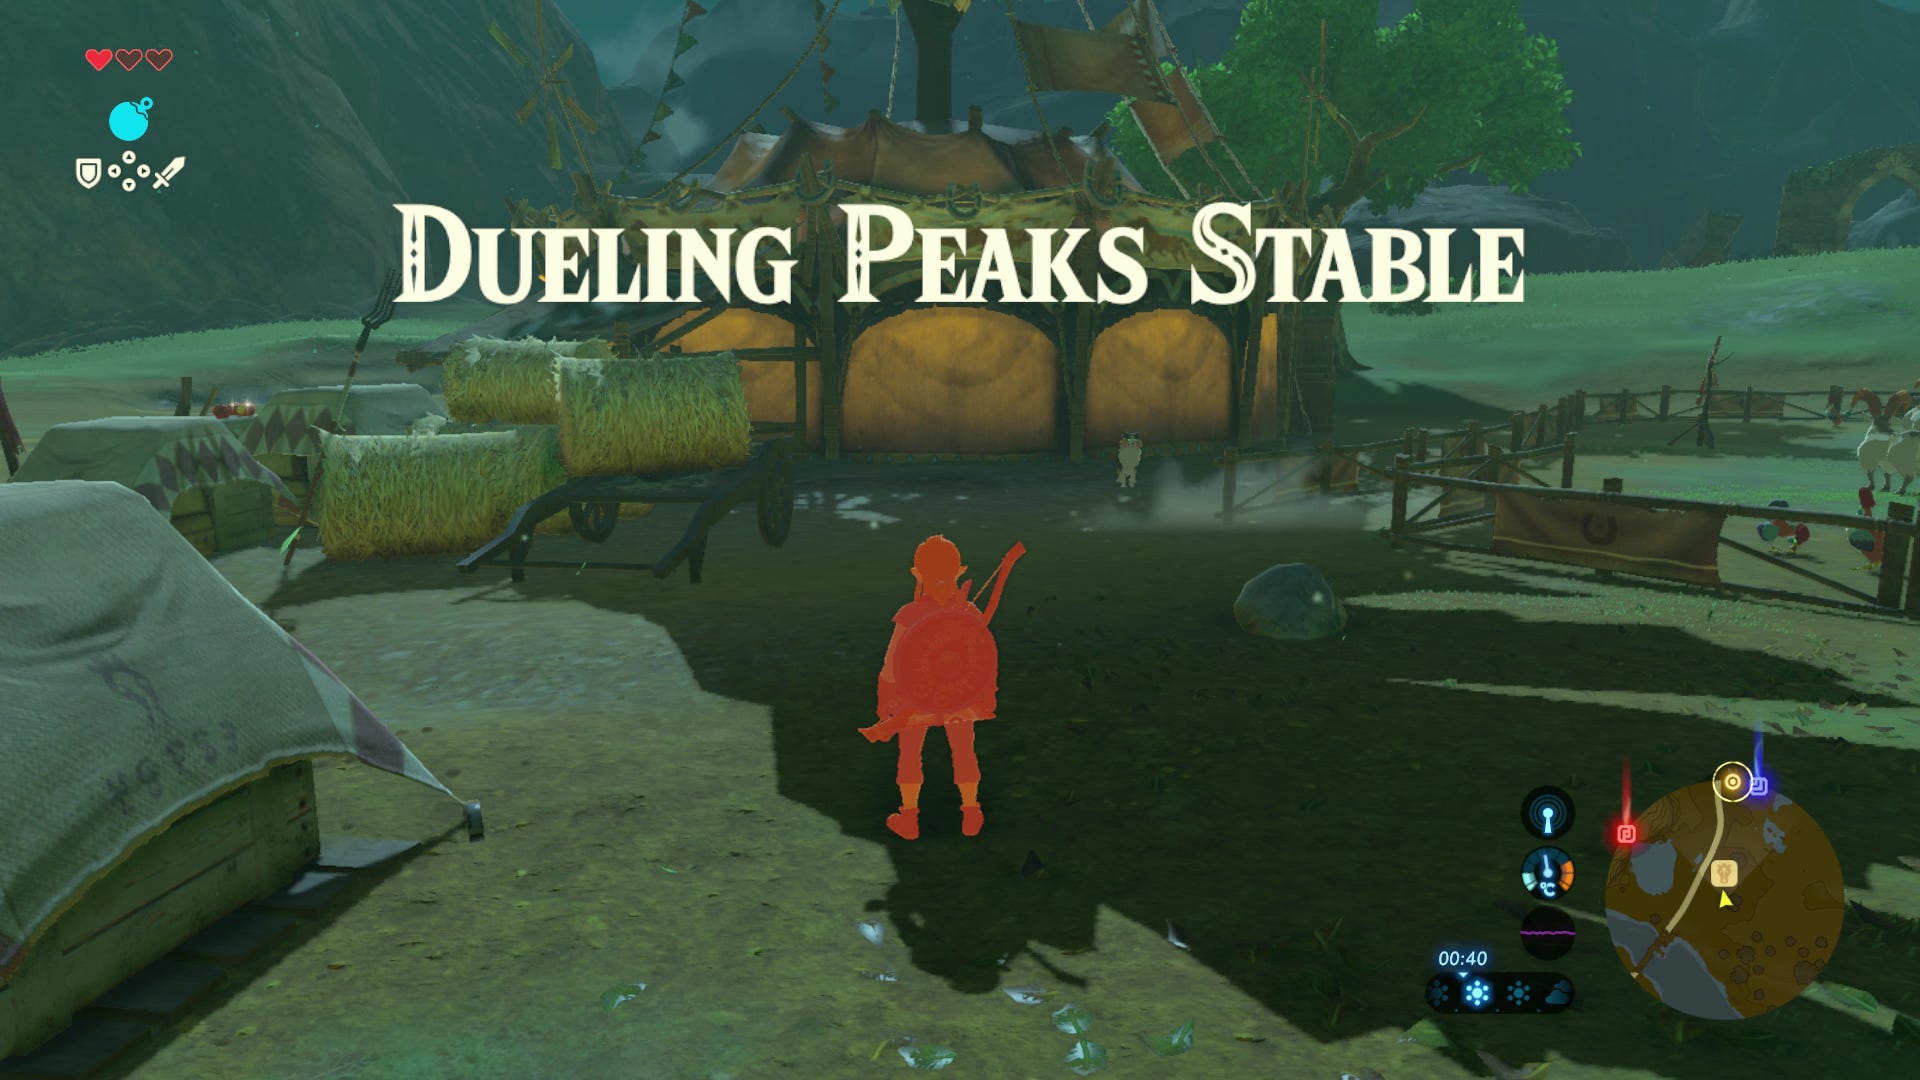
- The stables are well worth visiting to get your first horse by horse taming, as well as get items. There are free Apples and Wood outside, a place to cook, a place to sleep inside (for a price), and chatting to Sagessa in the day time outside about Elixirs and you'll get a Hasty Elixir for free.
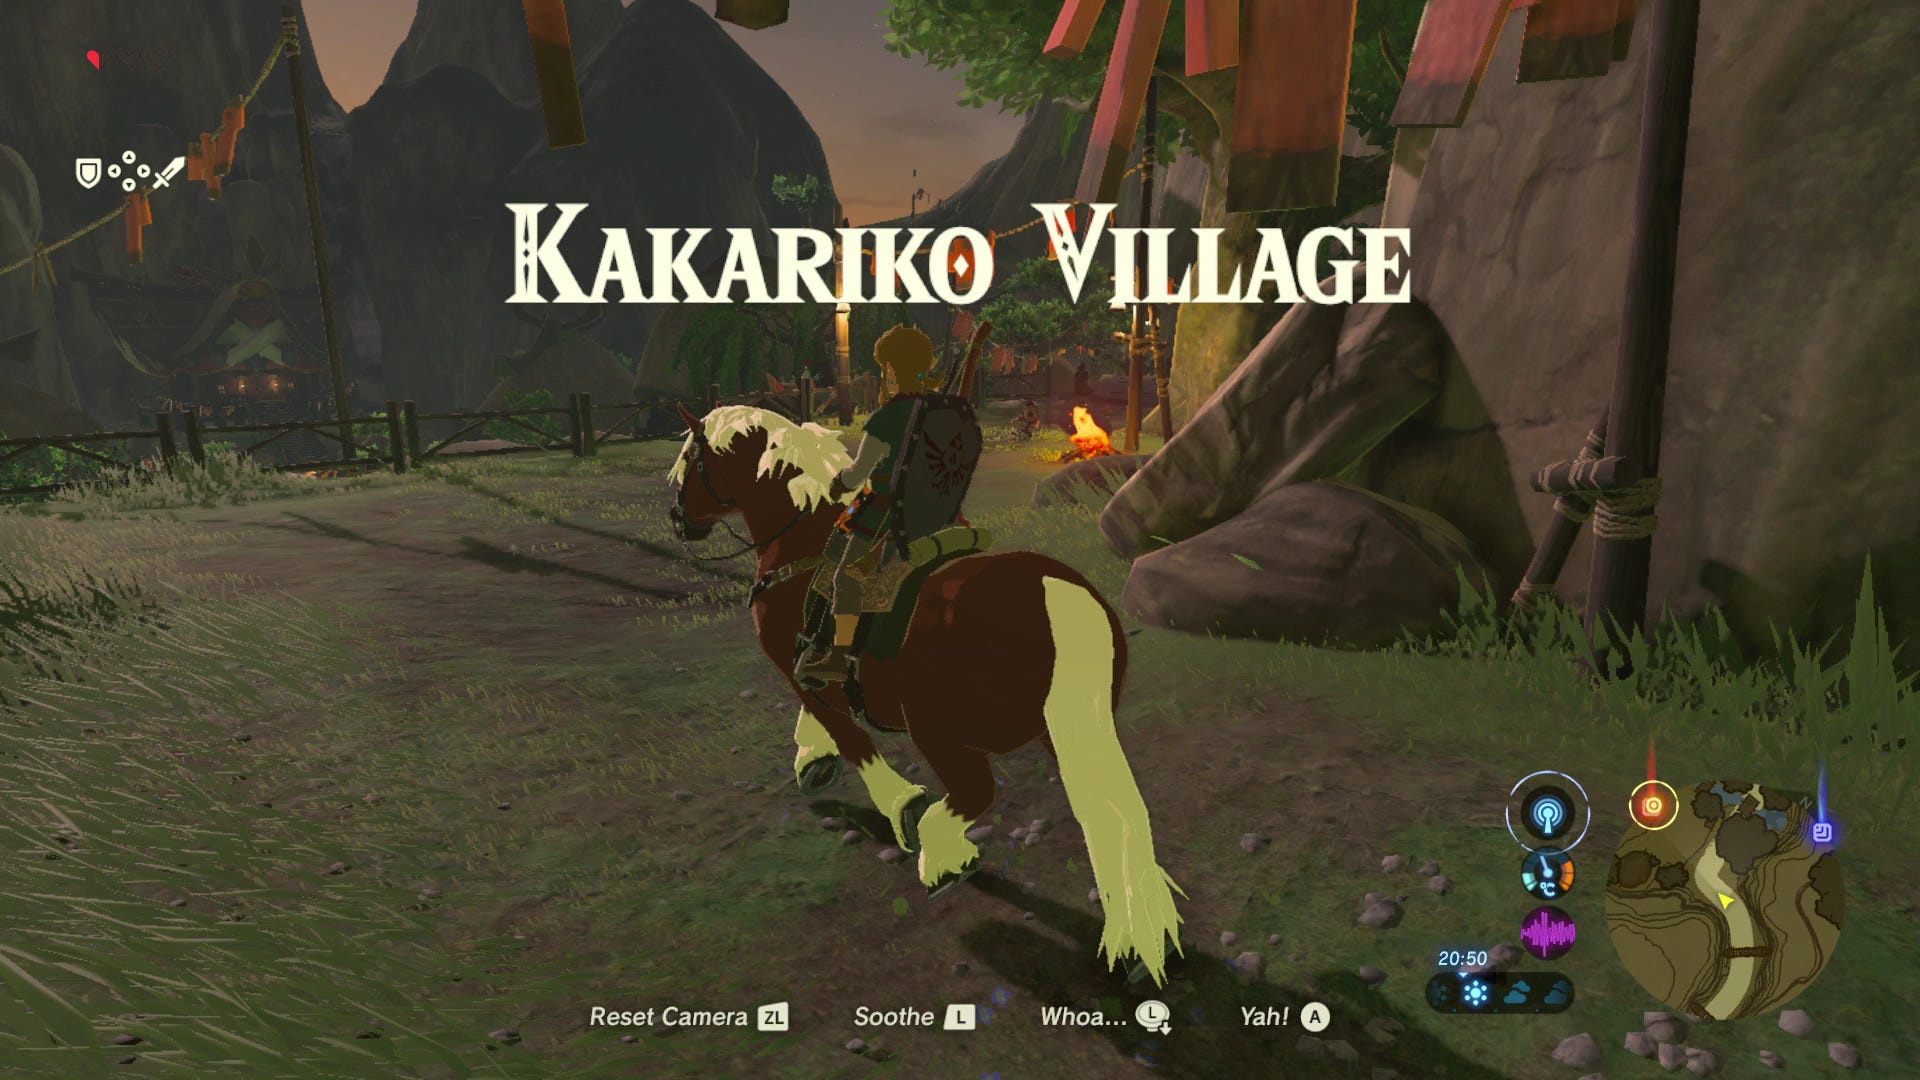
We recommend you tame a horse to make the rest of the journey quicker. Head north, past the crossing (right goes to another village, which we'll be taking shortly) and north over Kakariko Bridge, through the Pillars of Levia and Bonooru's Stand areas to Lantern Lake, where Kakariko Village is.
The Priceless Maracas
On the way is the The Priceless Maracas side quest along the way on the road side. This is a very simple quest where you head north into an enclosed area where three Bokoblin linger. They're stronger than the standard red types so will take a few attacks before downing. You can climb above them for the element of surprise with a bomb or other weapons, or draw them out through the tunnel you came in with to funnel them individually so they don't overwhelm you at once.
Once it's over, smash the crates for some easy resources, then climb the small tower to get the chest, which has the Maracas. Take them back.
You'll learn their power has been lost without Korok Seeds. To fully complete the quest, you need to give him one - which should be easy enough to find - and you'll have the option to expand your inventory between melee weapons, bows and shields. If you're like us, you'll going through weapons like anyone's business, so we opted for that.
The quest is then complete, but you can return here if you want to upgrade more of your inventory if you find more Korok Seeds. Now keep going north and you'll finally arrive at Kakariko Village.
Thanks to a new update, it's now possible to play Zelda Breath of the Wild in VR. Want help with the main game? Our Zelda: Breath of the Wild walkthrough can help complete Divine Beasts Vah Ruta, Vah Rudiana, Vah Medoh and Vah Naboris and more. There's also how to get the Master Sword, Hylian Shield and all Zelda Captured Memories and Great Fairy Fountain locations, while our Shrines locations and Shrine maps hub explains where to find and solve every puzzle room, including dragon locations and Labyrinth solutions. We also have a DLC 1 guide and DLC 2 guide, including all Tingle, Majora's Mask, Phantom, Midna outfit locations.

Kakariko Village
As you enter, chat to Nanna on the right, who will direct you to Lady Impa, who is in the house below Lantern Falls at the far end. Before you head over, there are a number of things to do in the village, such as (but not limited to):
- Make sure you head above over the village - take the path on the right as you come down the hill - to find the Ta'loh Naeg shrine just at the top. Not only is this a useful fast travel point, but it provides a useful combat tutorial and some good strength weaponry for this point in the game. There is also Lakna Rokee shrine in a nearby forest, but requires some steps to access first.
- Not far from the shrine is your first Great Fairy Fountain location, which is useful for upgrading your armour.
- There is a shop in the centre of town which has new clothes. There's a special curated line that's rather extortionate, and some more reasonably priced items that you can probably find on your adventure. We say hold onto your Rupees.
- Visit the vegetable patches in the centre of the village for free Swift Carrots and Fortified Pumpkins.
- The heart of the village is home to a statue where you can trade Spirit Orbs for Heart Containers or Stamina upgrades.
- You can start the Arrows of Burning Heat side-quest by speaking to woman behind the counter in the Archery shop twice. To complete it, shoot at the four torches surrounding the central pray statue with Fire Arrows, then return to get 20 Rupees.
- At night, there are Fireflies and Snails to collect as ingredients all over the village.
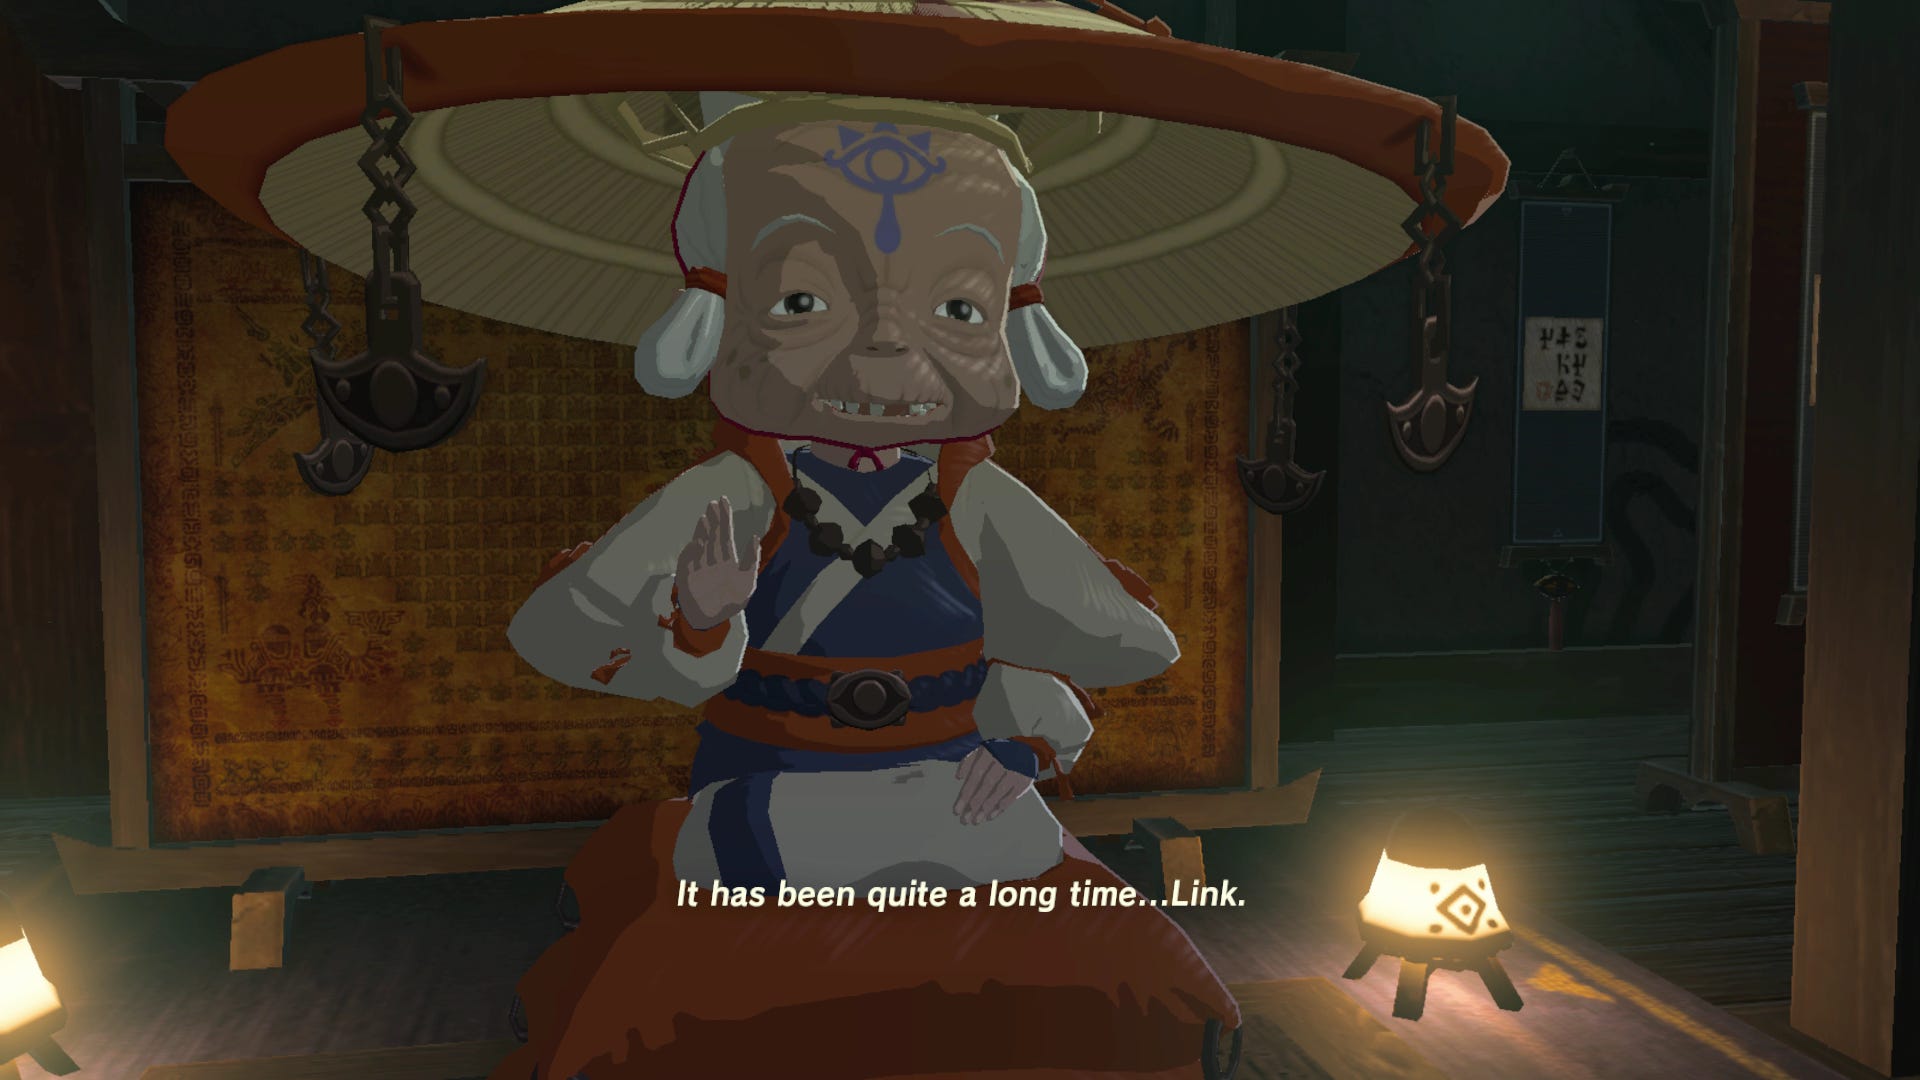
Whenever you're ready, approach the building and speak to Impa inside for a cutscene.
After speaking about memories, chat to Impa again and say you are ready to start for another cutscene. She'll tell you about the four Divine Beasts and add their locations as part of the Free the Divine Beasts quest to your map.
She'll also tell you about Hateno Village and a way to help awaken your memories there, as part of the Locked Momentos quest, which should be your next port of call.