Zelda: Breath of the Wild - How to avoid sentries and get to each marker before boarding Vah Rudiana
How to successfully evade every sentry before boarding Vah Rudiana.

Zelda: Breath of the Wild's Death Mountain sentries comes swiftly after you've crossed Bridge of Eldin and completed Abandoned North Mine and is part of completing Divine Beast Vah Rudiana.
This section has you guide Yubono round Death Mountain while avoiding sentries, which hover from above and can call down showers of hot rocks from overhead. Each one has a safe way of passing or defeating them, which we'll explain step-by-step.
If you're after help for parts of the game, consult our Zelda: Breath of the Wild walkthrough and guide.

How sentries work on Death Mountain
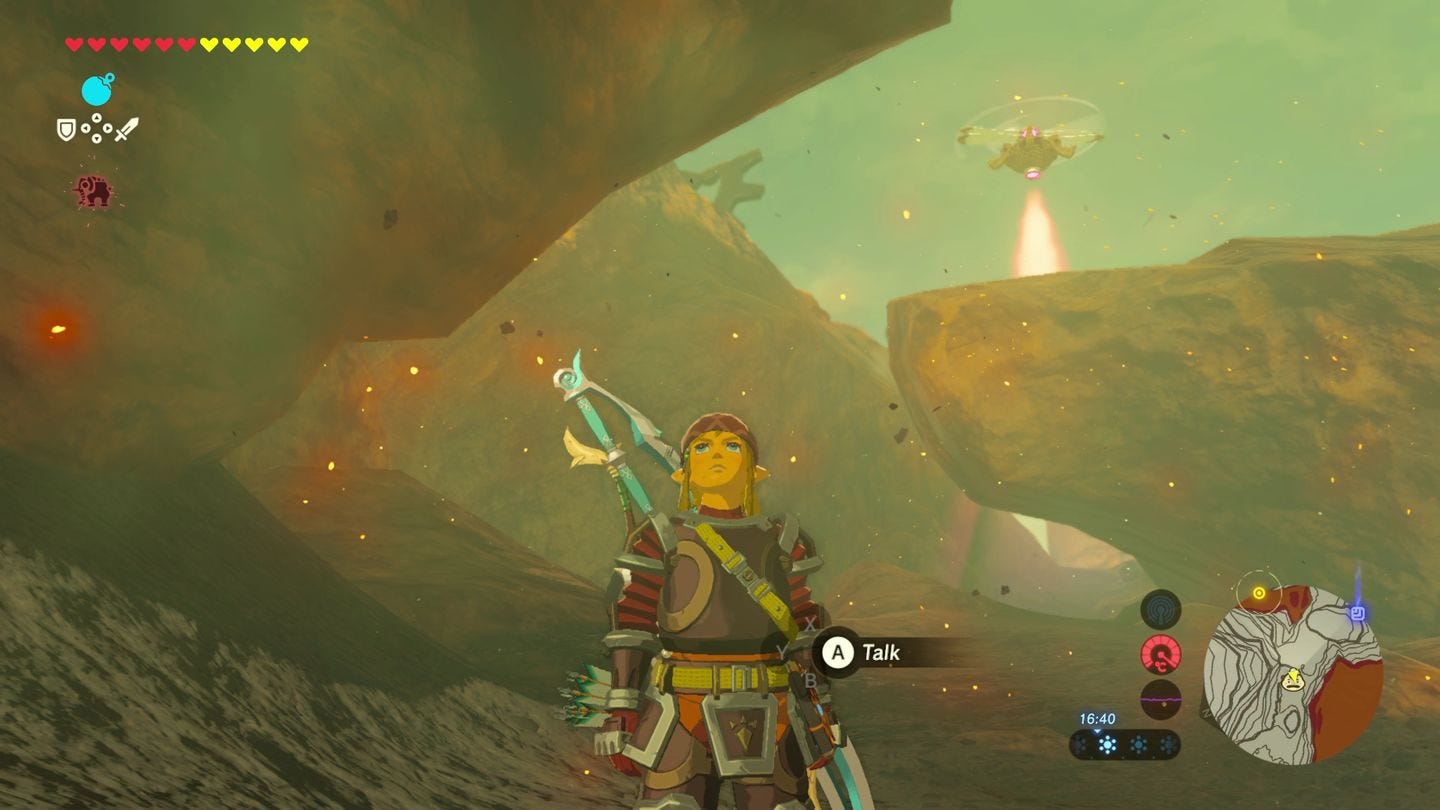
When you cross Bridge of Eldin and watch the cutscene, you must answer whistle to the conversation, and be told what the plan is - essentially an escort mission past sentries, while locating cannons to fire Yunobo at the Beast along the way.
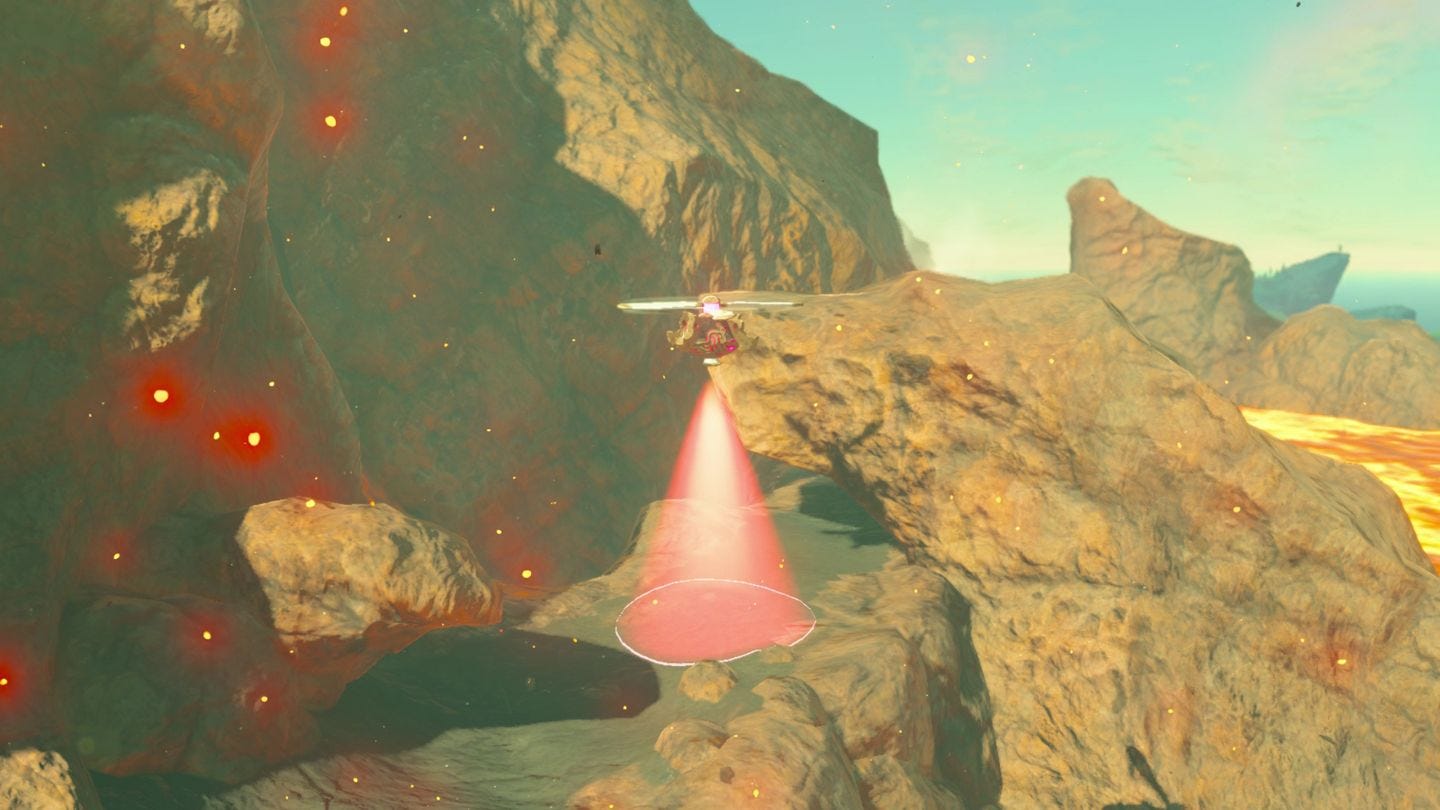
These sentries are lined on the path up to the Divine Beast, and you have to whistle to make Yunobo stop, or again to continue when the coast is clear.
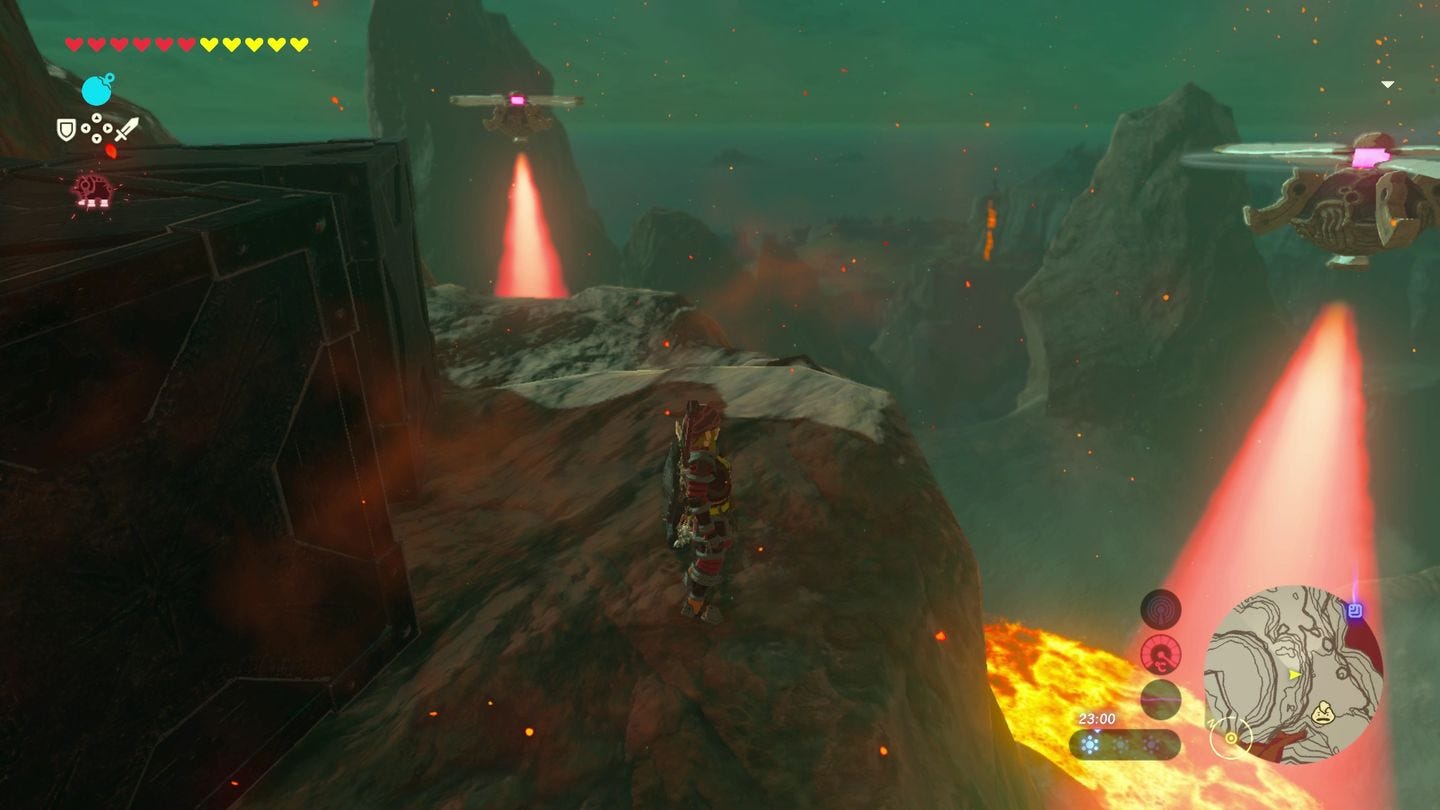
If you get spotted, expect it to rain magma bombs from the sky. If you get caught, then find cover wherever you can until the shower passes. This is probably easier said than done, so before you move past sentries, look for cover points nearby that you can duck into if needs be.
How to avoid the sentries on Death Mountain
The first drone has two overhanging rocks. Run to the first one, wait until the drone moves away, then run under the second, and when the coast ahead is clear, sprint ahead.
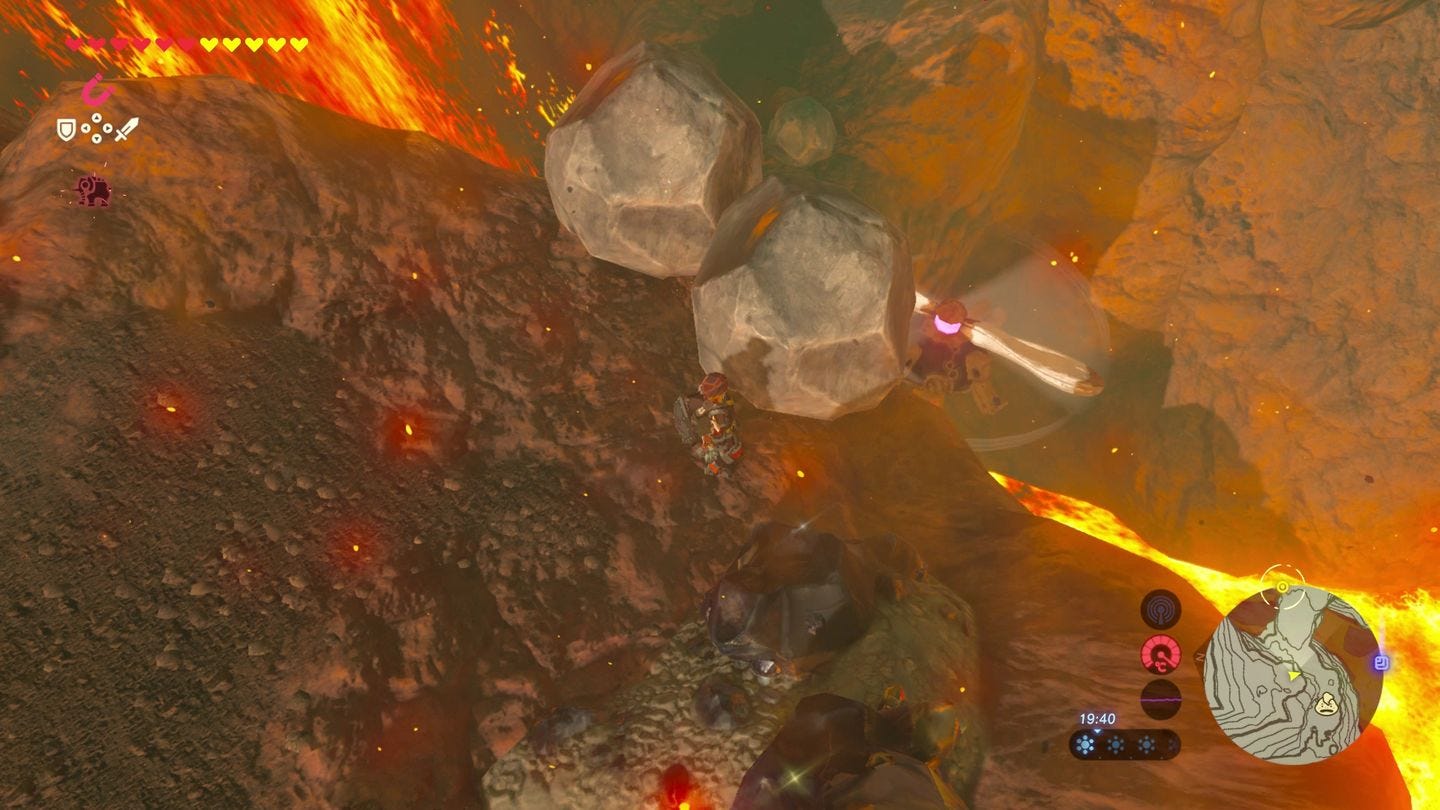
On the next corner are boulders blocking the path onward, and a stationary drone. Climb up the cliff above it, where there are boulders you can push into the drone to destroy it.
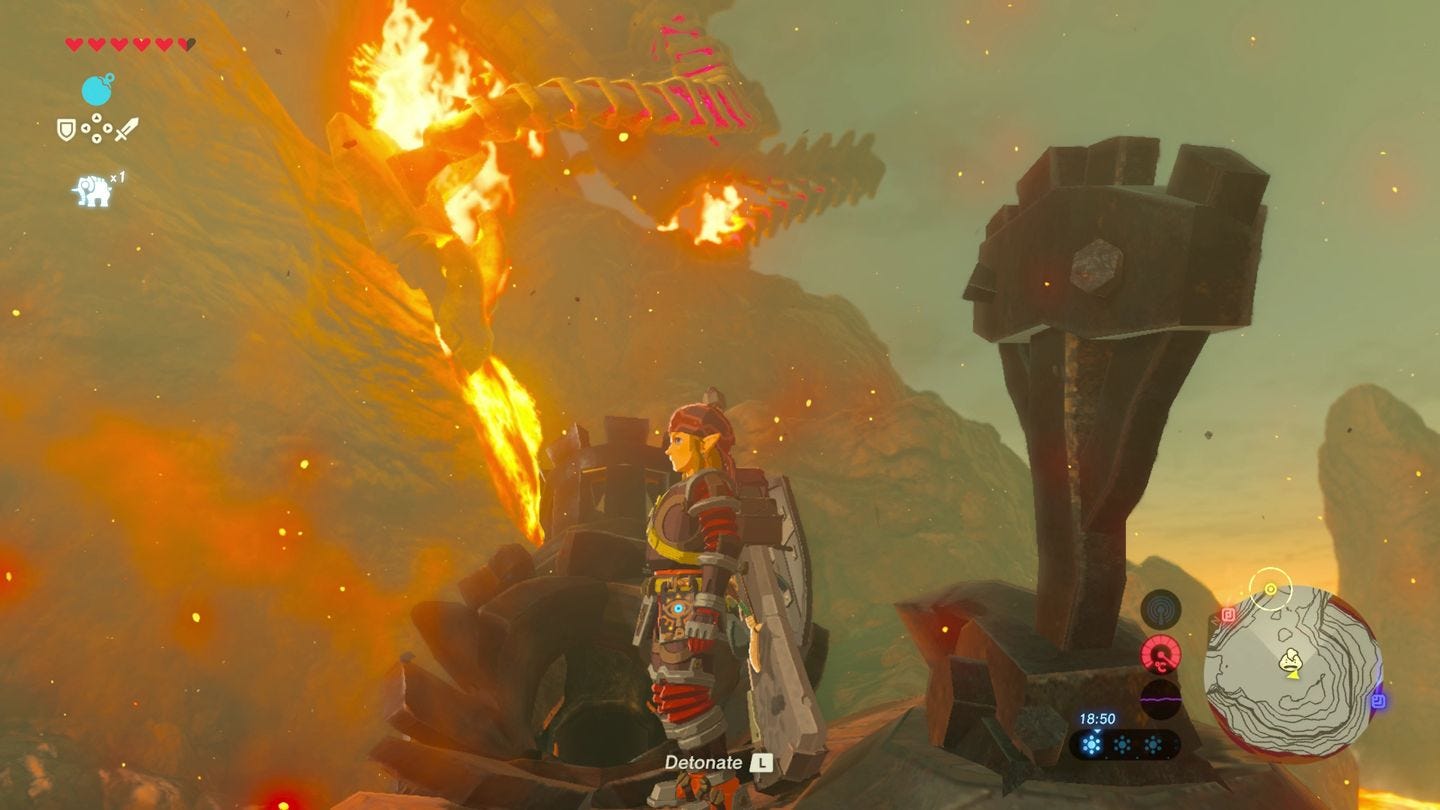
A cannon will follow, and Yunobo will automatically leap in when close. Move it left to take aim at the Beast and fire to move it on. You have to do this with each cannon you come across, and if the Beast isn't there, it means you've missed one and must backtrack.
Now to press onto the two drones that follows the first cannon. Climb up the cliff and use Magnesis on the metal boxes to smash them up. Don't worry if the boxes get 'spotted' by the beam, it makes no difference, so smash away.
Do the same again with the drone hovering between the two tall rocks - you may have to place a metal box up on one of them, climb and then use Magnesis again to reach over - then go up the dark steep path up the mountain at the dead end.
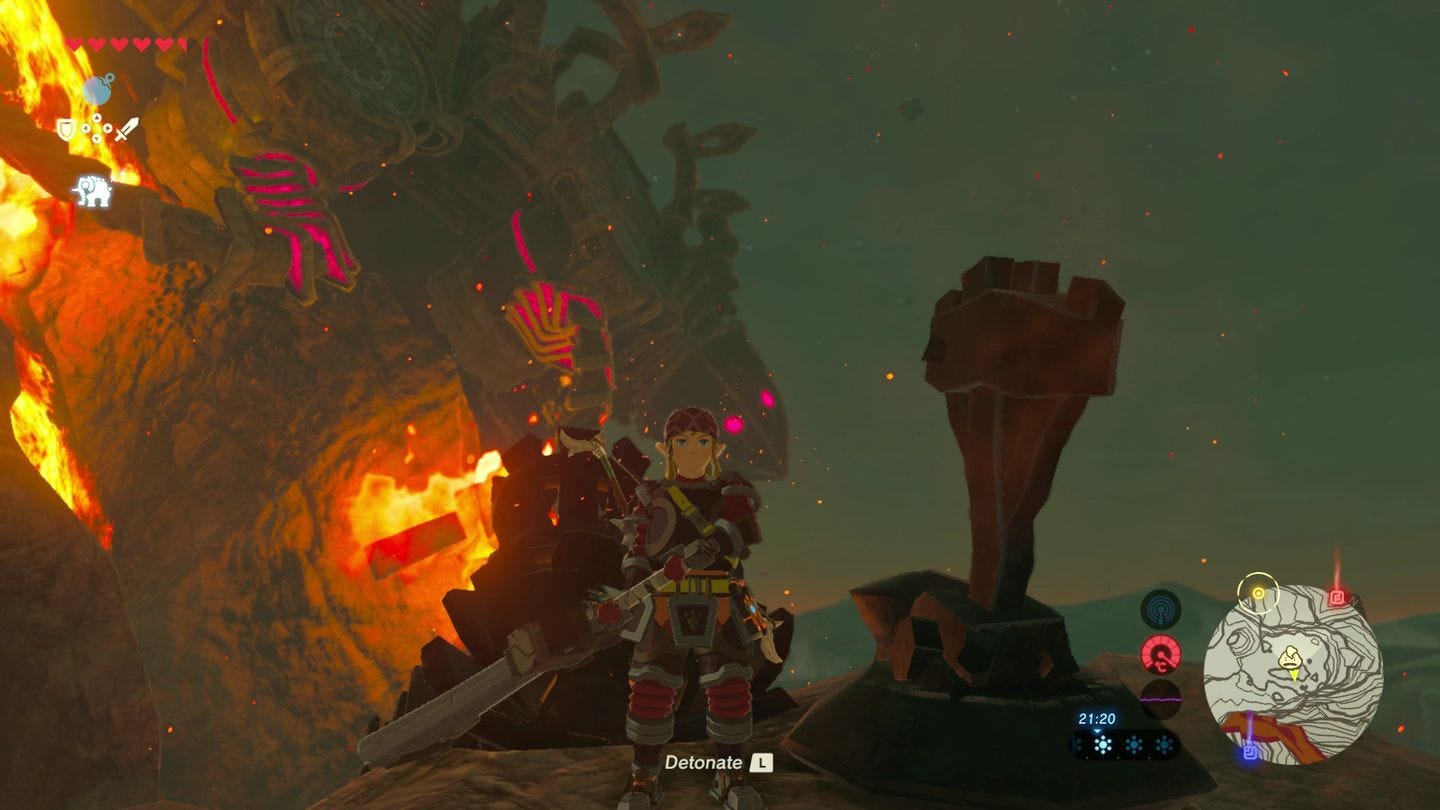
Be wary of the Moblin at the top of the hill by the cannon, and call Yunobo forward and he'll leap in. Load it up, rotate it round and take aim at the Beast (assuming you did it last time - if not, backtrack and do so). You can also fire at the next pair of drones by moving it between the two points and detonating in-between.
If you hit one they should both explode, and as far as we could tell with our many misses, if you fail to hit it won't sound an alarm.
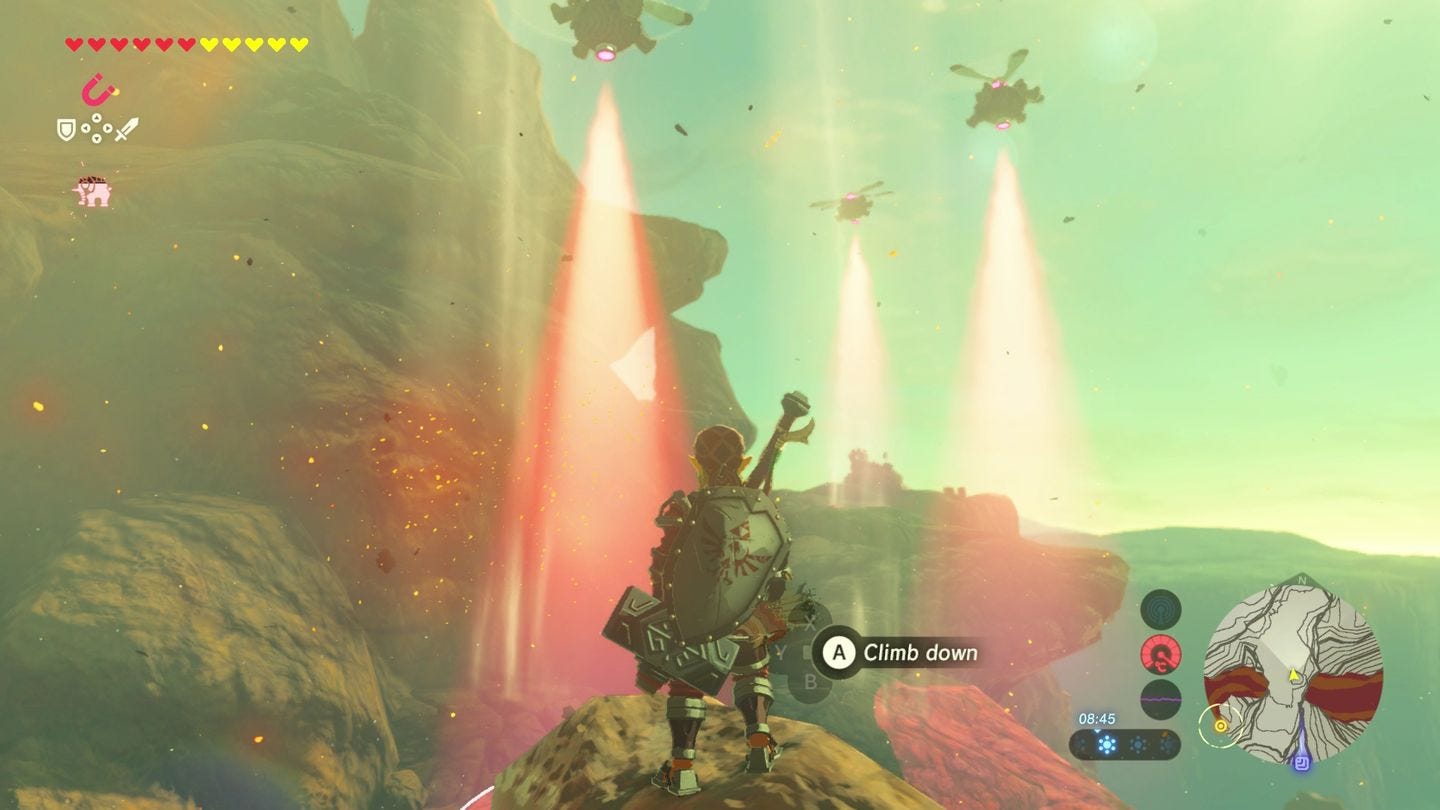
Progress past, and leave Yunobo behind for the three drones circling on the tight path with gusts of wind behind.
Thanks to a new update, it's now possible to play Zelda Breath of the Wild in VR. Want help with the main game? Our Zelda: Breath of the Wild walkthrough can help complete Divine Beasts Vah Ruta, Vah Rudiana, Vah Medoh and Vah Naboris and more. There's also how to get the Master Sword, Hylian Shield and all Zelda Captured Memories and Great Fairy Fountain locations, while our Shrines locations and Shrine maps hub explains where to find and solve every puzzle room, including dragon locations and Labyrinth solutions. We also have a DLC 1 guide and DLC 2 guide, including all Tingle, Majora's Mask, Phantom, Midna outfit locations.

Climb up the tall rock on the right, and paraglide past the first one when it's out the way, and use the draft to take you up into the air. Beware you glide faster than the drones spin, so there's a chance you could clip into one of the drones by accident.
Glide high above the path onto the ledge on the left side where there are more metal boxes you can use to smash up the drones.
The way forward should now be clear - so head back, grab Yunobo and use the final cannon. Again, if the Beast isn't here, backtrack and use the cannons until he's above the end of this path.
With three cannon blasts done, this section is over and you can finally start the Vah Rudana dungeon and begin to claim it back from Ganon.